1979 Rust Heap Clubman Rebuild
#211

Posted 02 April 2012 - 07:45 PM
#212

Posted 03 June 2012 - 06:32 PM
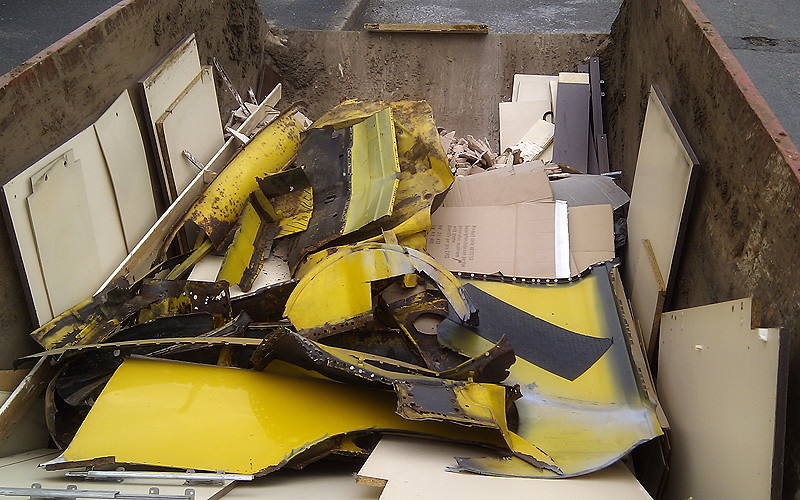
Sorry everyone, but I finally decided enough is enough, and that I'd wasted enough of my life trying to save a mini that should have been scrapped long ago.
So I chopped the thing up and chucked it in a skip.
#213

Posted 03 June 2012 - 06:38 PM
#214

Posted 03 June 2012 - 06:39 PM
#215

Posted 03 June 2012 - 06:51 PM
So yes the work continues after a bit of a break to revamp the kitchen, but today I finally got back in the garage for the first time in a couple of months.
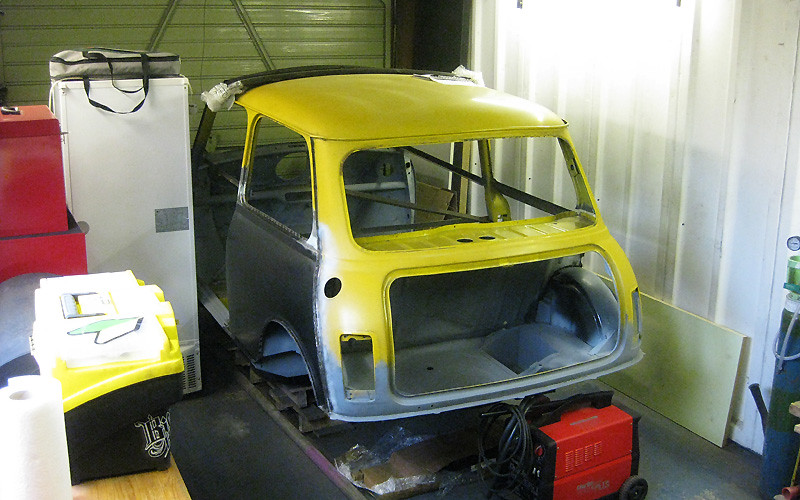
Yes thats our old fridge taking up valuable garage space while its waiting to be ebayed off.
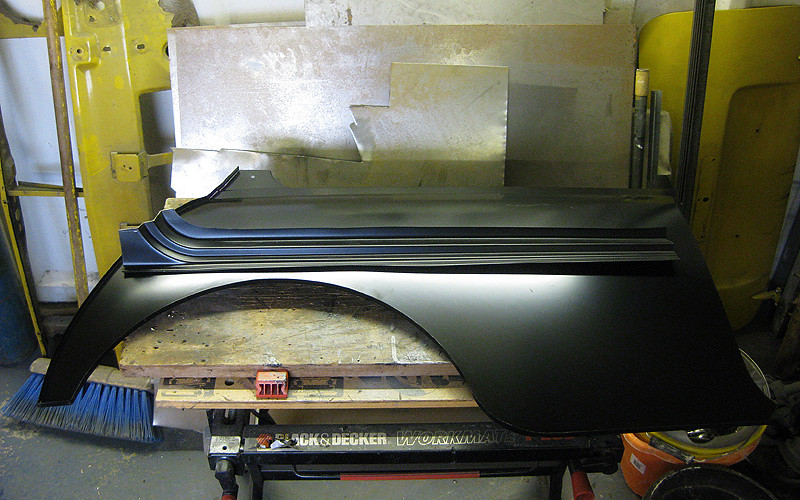
In the meantime I did manage to get a couple of bits ordered. O/S heritage quarter panel and non-gen O/S door step! (Already started cutting the door step down to size.)
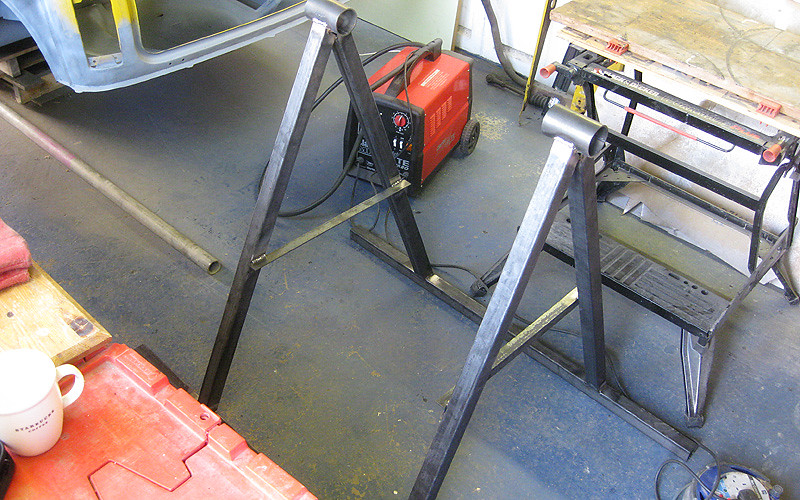
I also got one of these bad boys following miniBrain's recommendation. Its a spit roast jig from mk2mania.co.uk so that I can work on the floors. Have only opened the packaging so far, but can't wait to put it together.
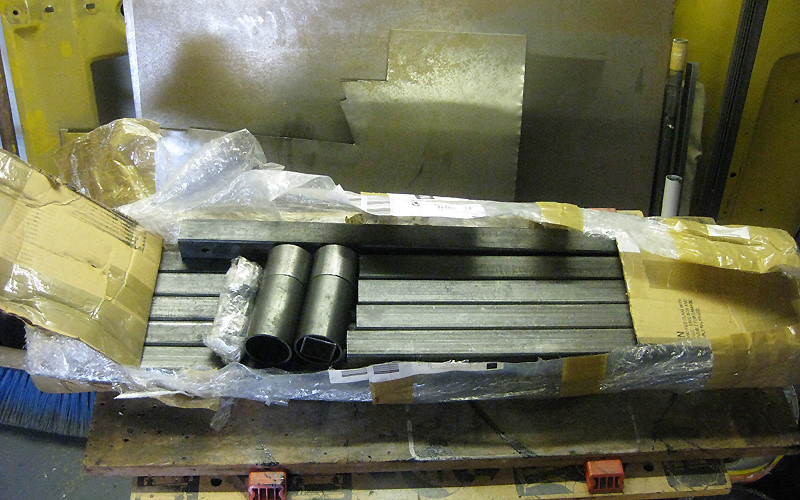
I also sourced a scaffolding pole for it from a local supplier (you can see it on the floor in the first pic). Many lols indeed were had driving home with a 10' pole sticking out the back of my honda civic. :0
Thats all for now, but I promise to get some work done soon!
#216

Posted 04 June 2012 - 12:34 PM
#217

Posted 04 June 2012 - 12:48 PM
Welding whilst underneath the car is bad enough, but drilling through spot welds is even worse................
#218

Posted 10 June 2012 - 08:12 PM
skoughi: Its good to be back :)
Sp today I decided to try to get the doorstep fitted. This job was like ice skating uphill on the passenger side, so I didn't expect it to be easy. The biggest problem is not having a solid reference point to match up the curves. Again, I found lots of trial and error was needed, and inevitably when you find a good fit, you have already trimmed too much metal off. Arg! It also didn't help that the pattern panel was way off the shape it needed to be. I had to make a few extra cuts to line things up...

At the front end, the profile was miles out so I made a long cut to drop the lowest bit down a few mm.

When I had trimmed until I could trim no more, I tacked it all up and test fitted the door. Amazingly it didn't look too bad. Whoop.

Then came lots of welding and grinding. This bit will obviously require a bit more TLC at a later date.

I'm not too unhappy with the result though. Should be able to smooth this area off nicely with body filler.

With the doorstep in place, I made the necessary cuts to the new quarter panel, and offered it up. Not too shabby.

As with the N/S, the pattern doorstep did not include the recess to slot in the quarter panel (grr), so I opted to make an incision and hammer the hidden bit inwards slightly so the quarter can be seamed up smoothly and neatly to the doorstep.

That was as far as I got today, but I already have the companion bin closing panels made up from when I did the other side, so I hope to get this quarter on quite soonish. :)
#219

Posted 10 June 2012 - 08:16 PM
#220

Posted 11 June 2012 - 07:23 AM
#221

Posted 11 June 2012 - 03:35 PM
#222

Posted 15 July 2012 - 07:59 PM
Started out by paint-stripping the joints and enclosed bits, and treating with POR15. The makers of POR15 should be giving me a discount by now for all the free press I am giving them.
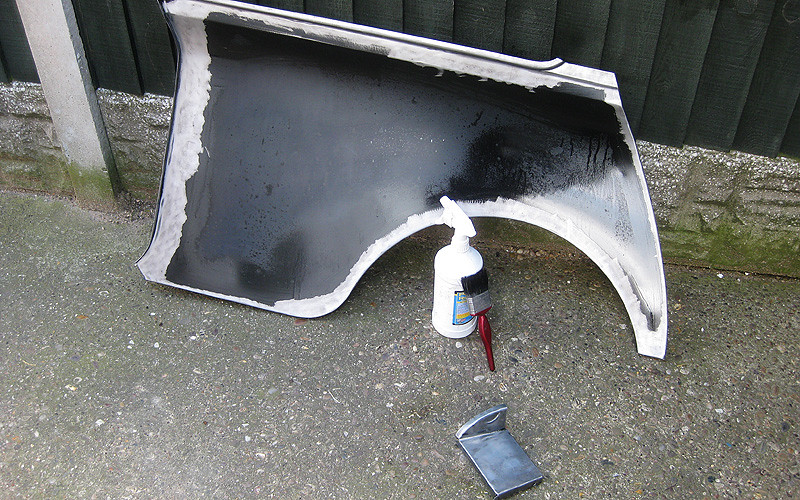
Next job was to get the companion bin closing panel in place, and the other little bracket thingy that fits into the heelboard.
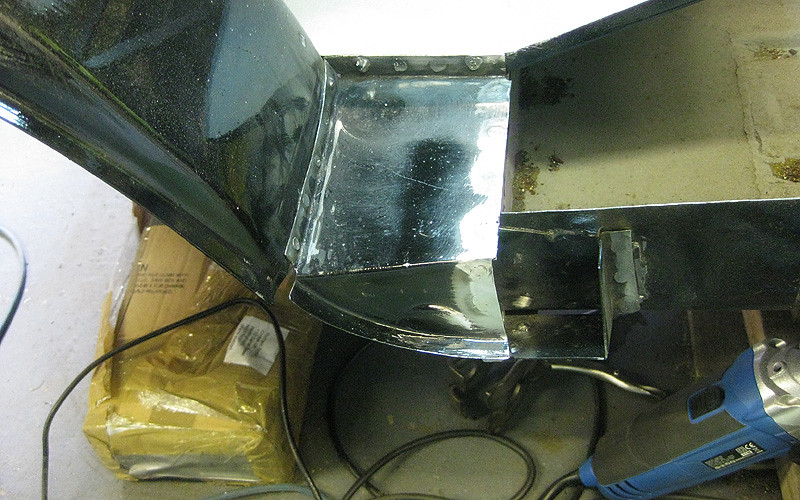
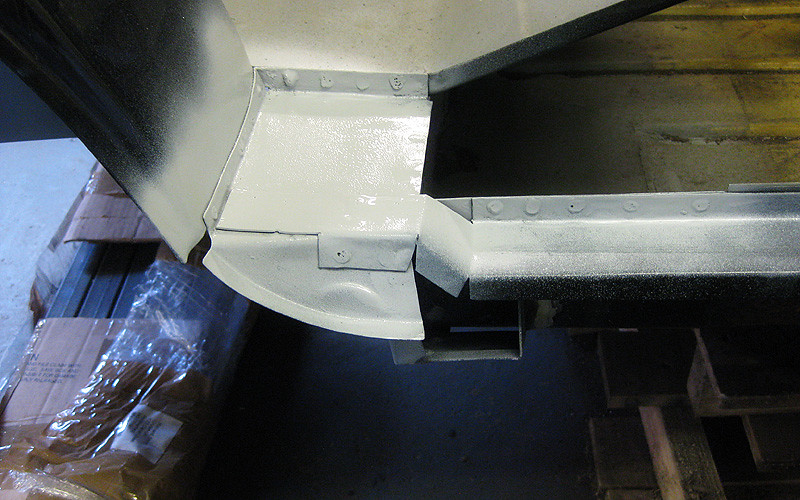
Then on went the extra (home-made) sill stiffener, and a coat of etch prime. The gap to the wheel arch will be welded closed when I have the car upside down.
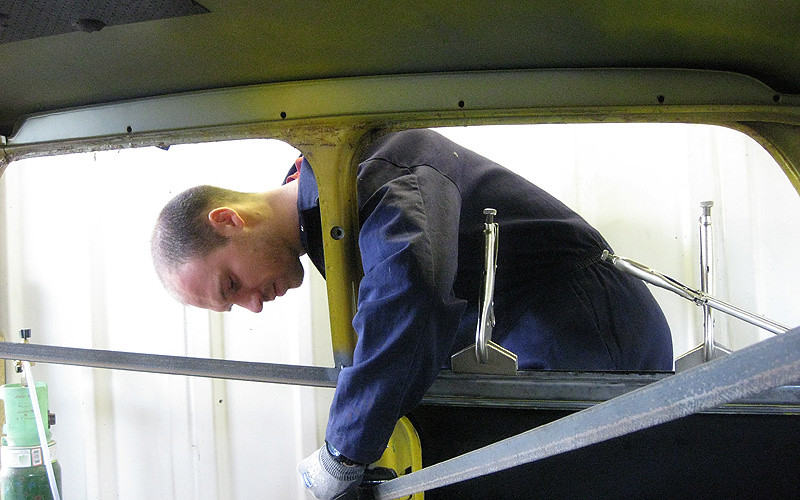
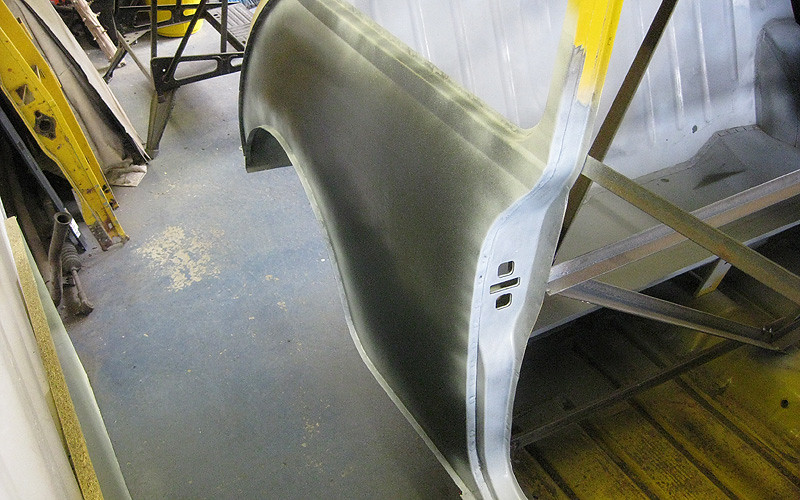
With all of that in place, the quarter panel could be clamped up ready for welding. Plug weld holes were punched with a joggler at 35mm intervals around all edges to be welded. Here is a photo of some idiot trying his best to look like he knows what he is doing.
After much sweaty welding...
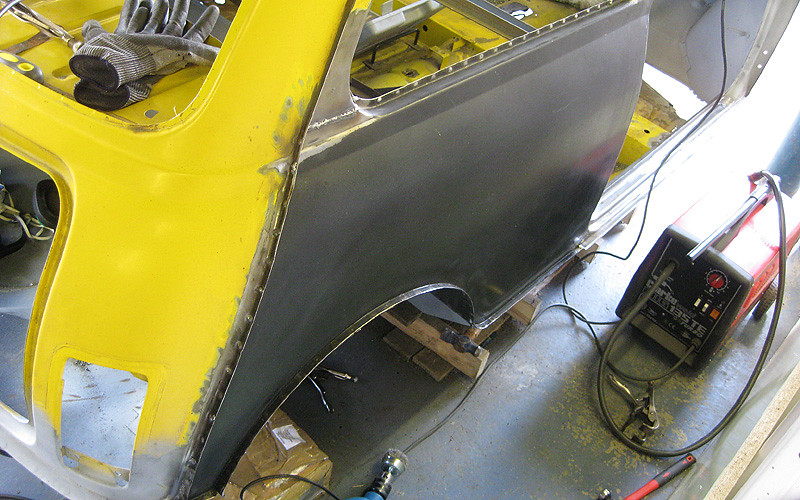
And some time later, after driving the neighbours insane with much noisy angle grinding...
Then I had a bit of time left at the end of the day, so I started building up the rollover jig from mk2mania. Looking good so far, and it went together really easily. Its a shame to cut a hole in the rear bulkhead, but needs must, and I'll make it as neat as possible so it will be easy to close up again.
Must work harder now. My mother in law says she can't see much progress happening. Hmph!!
Next time I'll hopefully be able to post an Aaron Beck style rotiserie animation :)
#223

Posted 15 July 2012 - 08:06 PM
#224

Posted 15 July 2012 - 08:34 PM
#225

Posted 15 July 2012 - 08:52 PM
Graham
3 user(s) are reading this topic
0 members, 1 guests, 0 anonymous users
-
Bing (2)


