Jump to content


Photo
- - - - -

1979 Rust Heap Clubman Rebuild


  • Please log in to reply
625 replies to this topic

#196 rich2

rich2

    Speeding Along Now

  • Members
  • PipPipPipPipPip
  • 351 posts

Posted 27 February 2012 - 09:40 PM

Thanks! Cheers for the pointer Neil! Following minifcd's lead I knocked up a little reinforcing thingy. While I was at it, I made up the other piece that had disintegrated...

Posted Image

A quick lick of paint before fitting...

Posted Image

#197 minifcd

minifcd

    Mini Mad

  • Members
  • PipPipPipPip
  • 246 posts
  • Location: Stamford

Posted 27 February 2012 - 11:44 PM

Nice fabrication work Rich. I'm liking the campanion bin/sill closer panel you've made there. Great stuff! Just had a look back over your last few pages. The door step has turned out great. Better fit than the type I used on my first project. I noticed though, where the rear quarter skin meets the door step at the bottom, you may need to step the door step back a bit (if that makes sense) to allow the quarter panel to sit flush with the door step. The genuine door step has the joggled bit in it. Have a look at page 2 of my project if it makes it clearer, 3rd, 5th, 7th and 8th pictures down. I had to repair the rear quarter at this point but the joggled bit is clearer on picture 5.

#198 Boycie

Boycie

    Camshaft & Stage Two Head

  • Members
  • PipPipPipPipPipPipPipPip
  • 1,978 posts
  • Location: Kent/ East Sussex border

Posted 28 February 2012 - 07:39 AM

Good work :) This will be a lovely honest car when it's done, an example that you will be able to be proud of. Look forward to seeing it at the shows in the future!
Going original colour?

#199 Simonice

Simonice

    Passed Test

  • Noobies
  • PipPip
  • 26 posts
  • Location: Surrey

Posted 29 February 2012 - 12:34 PM

stunning work rich. An air grinder would def help with cleaning back the welds. I have a spare one here which you can have if you want to collect it?

#200 rich2

rich2

    Speeding Along Now

  • Members
  • PipPipPipPipPip
  • 351 posts

Posted 04 March 2012 - 10:11 PM

minifcd: cheers! Yeah I ended up just making a cut where the joggle should be to keep the panels flush. Not ideal but it works. I'll try to get a geniune panel for the other side.

Boycie: Thanks! I can't wait either! At the moment I've got antelope beige in mind... :)

Simonice: Thats really good of you mate but the reason I'm not using air tools is because I can't face forking out for a compressor to run them. Thanks though!

After much faff, I finally got the companion bin closing panel and slinging bracket welded in.

Posted Image

With those in place, this bit went on:

Posted Image

Bosh. This has got to be the most complicated area of metalwork on the whole car. It almost looks like I know what I'm doing.

Posted Image

Then at long last I got onto the final clamp up of the quarter panel. Decided it would be better to weld from inside the wheel arch as it would be easier to grind afterwards.

Posted Image

Much hammering and a zillion plug welds later:

Posted Image

The hardest thing was to get a straight line along the door step into the lower edge of the quarter panel. Its still not great but I'll revisit this when the inner sills are in. I've got a feeling the non-genuine heelboard was not helping as I had to give it a lot of hammer action to make the quarter fit properly.

Posted Image

Some of this will still need a lot of cleaning up but I was running out of time and energy by this point. I took extra care to spread the heat on the C post join because its in a really visible place.

Posted Image

Hopefully I've learnt a few things doing this side and the other side will come together much more quickly. :)

#201 minifcd

minifcd

    Mini Mad

  • Members
  • PipPipPipPip
  • 246 posts
  • Location: Stamford

Posted 04 March 2012 - 10:20 PM

Thats some very nice work with that rear quarter panel! I probably should have gone down this route with mine instead of repairing it in three places but nevermind. Be very light on the grinder and that will all blend together well.

#202 obiwan riley

obiwan riley

    Stage One Kit Fitted

  • Noobies
  • PipPipPip
  • 76 posts

Posted 05 March 2012 - 01:28 AM

nice work, do you have a plasma cutter and a bending brake? if not, how do you get such nice edges, please share :D

#203 rich2

rich2

    Speeding Along Now

  • Members
  • PipPipPipPipPip
  • 351 posts

Posted 05 March 2012 - 08:27 AM

Cheers guys!

obiwan riley: I wish! I just use a pair of tin snips for cutting. For bending I just clamp the metal against a length of steel angle on the bench and whack it with a hammer. It only really works with little bits though, and I'd love a bending brake for bigger homemade repairs.

#204 hughJ

hughJ

    Soldiering Along

  • Members
  • PipPipPipPipPipPipPip
  • 727 posts
  • Location: Highlands, Scotland

Posted 05 March 2012 - 09:09 PM

Absolutely brilliant repair to the rear quarter. I've done this to the very same quarter on mine but not nearly to your standard.

Hugh

#205 Daviewonder

Daviewonder

    Needs an extra inch!!

  • Members
  • PipPipPipPipPipPipPip
  • 1,015 posts
  • Location: England

Posted 10 March 2012 - 04:33 PM

Awesome work as always. This really is the ultimate Mini repair thread, so many useful pictures. :-)

#206 skoughi

skoughi

    One Carb Or Two?

  • Members
  • PipPipPipPipPipPipPip
  • 1,199 posts
  • Location: Lerwick
  • Local Club: Shetland classic car club

Posted 10 March 2012 - 09:28 PM

Good work keep it going. These clubman rebuilds seem to go on for ever! Or should we have sourced out some minis in better condition! ;D

#207 g111mds

g111mds

    Speeding Along Now

  • Members
  • PipPipPipPipPip
  • 432 posts
  • Location: Edinburgh

Posted 11 March 2012 - 03:01 PM

just read through the thread from the start. really nice work.

#208 rich2

rich2

    Speeding Along Now

  • Members
  • PipPipPipPipPip
  • 351 posts

Posted 31 March 2012 - 09:35 PM

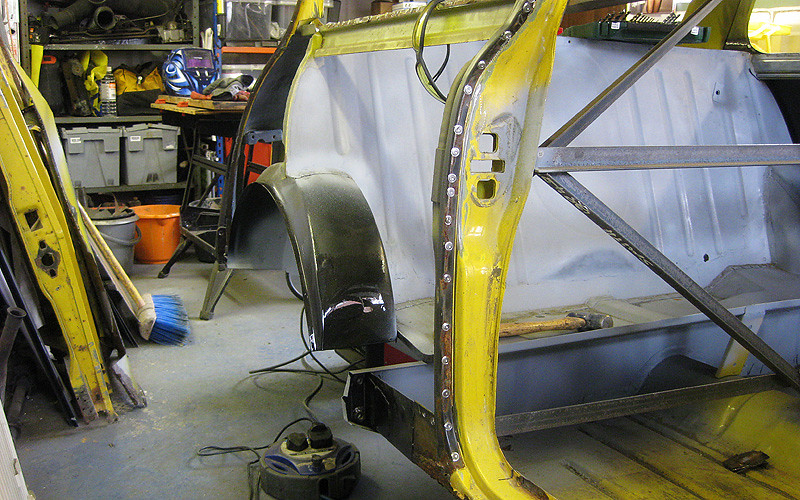
Boring update! Welds on new quarter dressed down. Filler skimmed on.

Posted Image

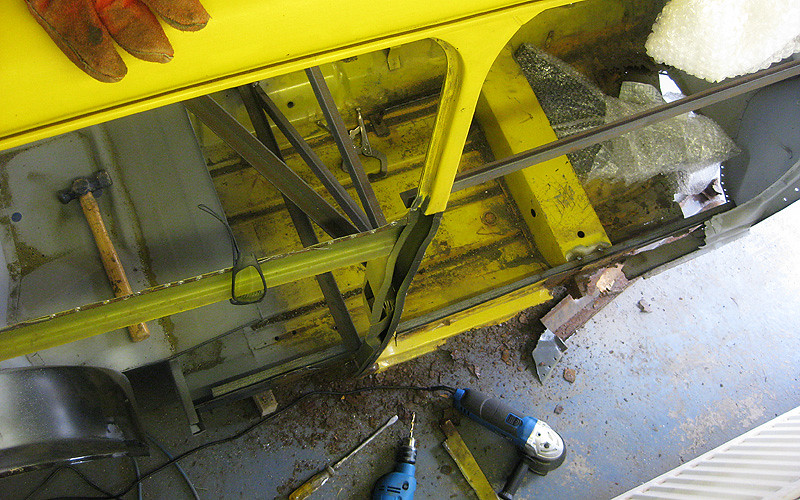
Meanwhile on the off side, destruction commenced!

Posted Image

Everything was much quicker the second time around. The sills on the driver's side are properly cream crackered.

Posted Image

The OS quarter panel wasn't really worth saving...

Posted Image

Paint on!

Posted Image

Now all I need is another quarter panel and door step. :)

#209 minifcd

minifcd

    Mini Mad

  • Members
  • PipPipPipPip
  • 246 posts
  • Location: Stamford

Posted 31 March 2012 - 09:44 PM

Stunning work on that quarter panel mate.

#210 Minuki

Minuki

    Mini Mad

  • TMF+ Member
  • PipPipPipPip
  • 186 posts
  • Location: Luncarty, Perthshire

Posted 31 March 2012 - 10:51 PM

Impressive work. Nice one


2 user(s) are reading this topic

0 members, 2 guests, 0 anonymous users