1979 Rust Heap Clubman Rebuild
#136

Posted 20 July 2011 - 12:43 PM
I've just read the lot, whilst sitting here shaking my head at every step you take. I was thinking about put my clubman project on here, but I might be a bit embarrassed after seeing how much work you guys put in.
Love your work
Steve
Goulburn
Australia
#137

Posted 21 July 2011 - 02:43 AM
Great Project.
I've just read the lot, whilst sitting here shaking my head at every step you take. I was thinking about put my clubman project on here, but I might be a bit embarrassed after seeing how much work you guys put in.
Love your work
Steve
Goulburn
Australia
Hey Steve its Steve from Canberra Small world
I think the big difference for these guys is the rust they get, not so much of an issue where we are
Back on topic, about the awesomeness this thread has, what he said, I wish I had the skills that you guys all seem to have
#138

Posted 27 August 2011 - 08:30 PM
#139

Posted 28 August 2011 - 10:17 AM
#140

Posted 28 August 2011 - 02:08 PM
#141

Posted 28 August 2011 - 07:50 PM
#142

Posted 28 August 2011 - 09:02 PM
Shall keep my eye on this
#143

Posted 22 September 2011 - 01:01 PM
Paul.
#144

Posted 01 October 2011 - 10:09 PM
#145

Posted 02 October 2011 - 01:40 AM
#146

Posted 02 October 2011 - 07:25 PM
Been a bit quiet on the updates, hope you haven't given up / got bored
jbj: Never!
PaulColeman: This is not your mini. Mine is a 1979 T reg. Good luck finding it though.
Daviewonder: The wedding was most awesome thanks!
So, I haven't touched the mini in what feels like ages. I did however manage to sort out this particular piece of metalwork...
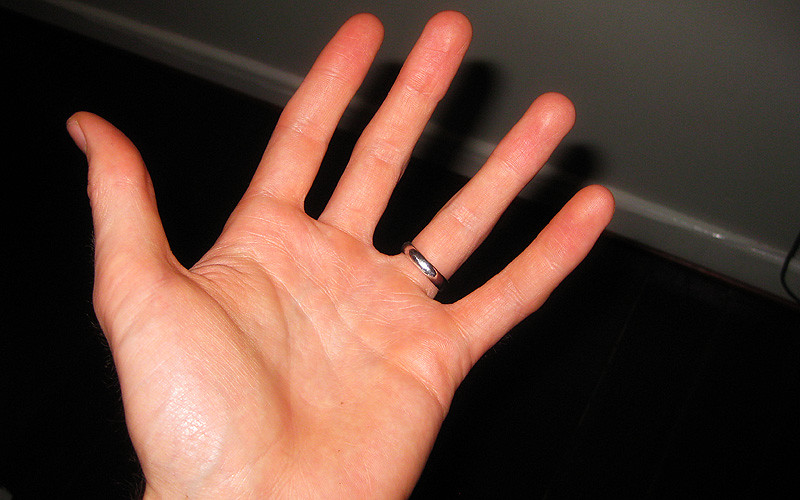
Fortunately, thanks to our very generous parents the wedding didn't entirely bankrupt me, so I got the project rolling again by ordering these bits from M-Machine.
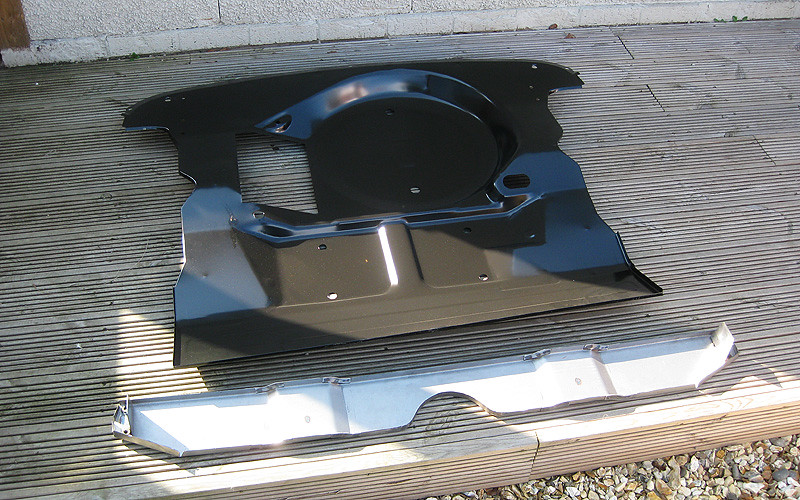
Heritage boot floor skin and m-machine heelboard! For my first non-genuine panel, I was a bit apprehensive as to what the fit would be like, but it appears to be OK. Only minimal fettling to the floor to get a close dry fit.
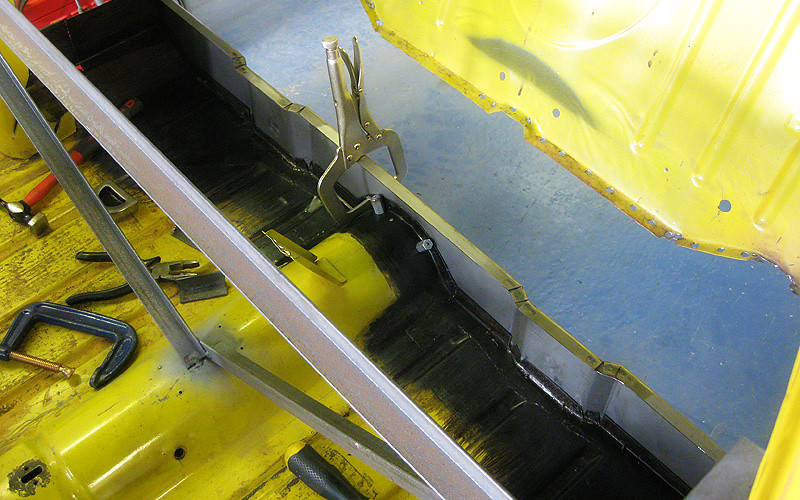
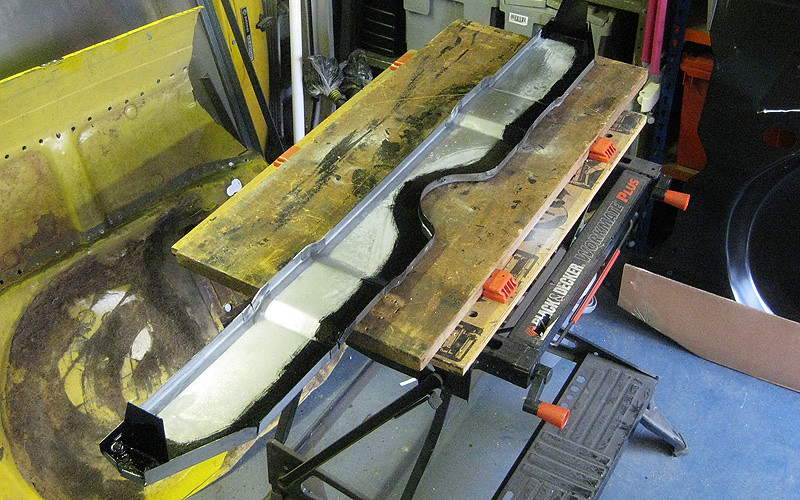
I whipped it off again to treat the enclosed surfaces with POR15. The mating surfaces on the old panel had suffered very badly from rust, so the more protection in this area the better, I think.
I ordered a boot floor without the battery box and fittings on purpose to save cash, so I set about making up a battery box using measurements from the old (unusable) one. Here is the cardboard model inserted into the new panel to check the dimensions.
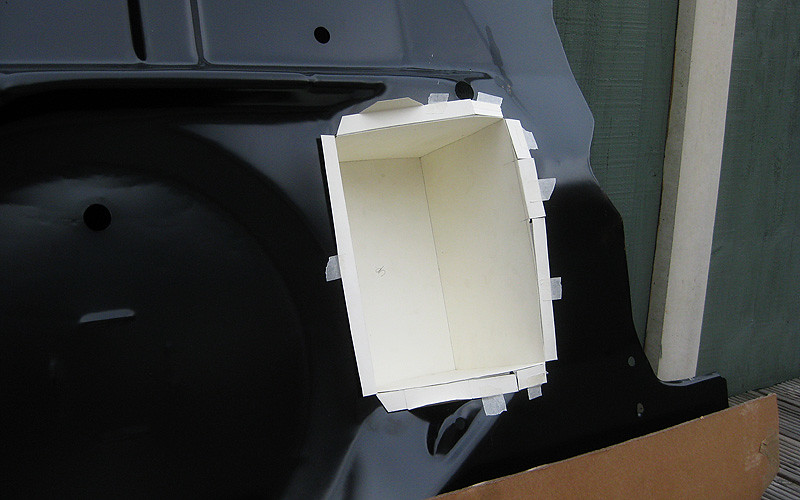
When I was happy, I cut the pieces out of steel...
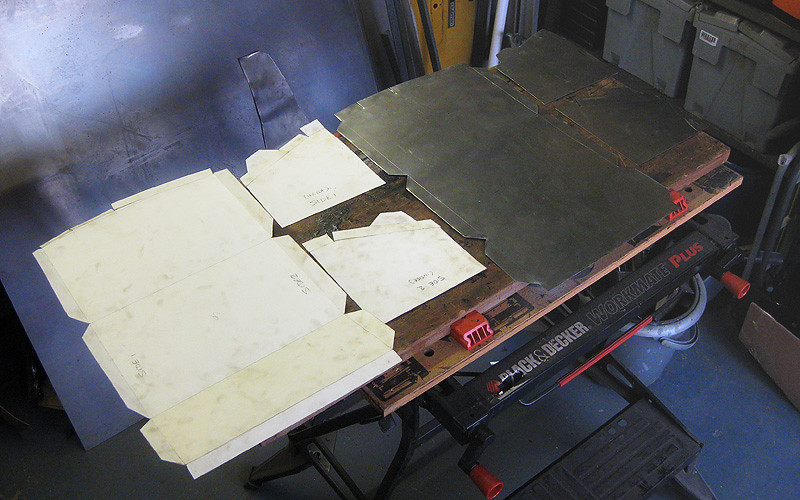
I started folding the metal to form the box, but by this point I was feeling the burn of the first full day of work in the garage for 2 months and decided to go and have a sit down instead!
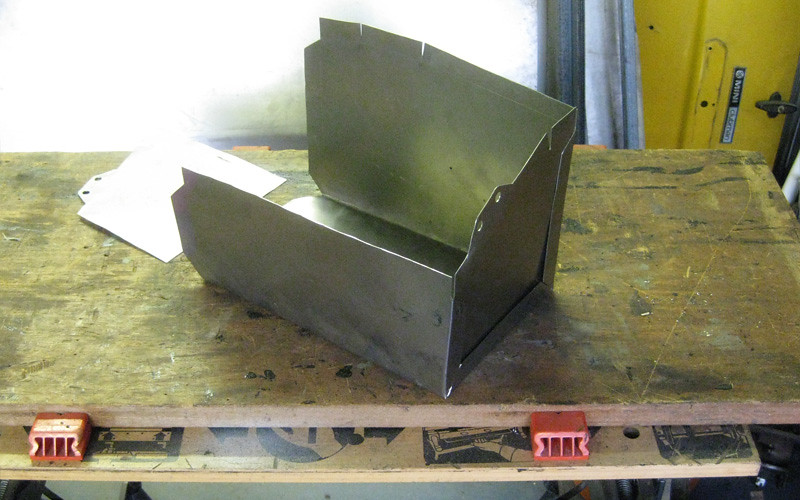
Next step after this is to get the new heelboard welded in. Then I need to rebuild the lower part of the rear bulkhead where I have drilled it almost to pieces. I should then have 3 solid surfaces (including the newly repaired rear panel) on which to fit the boot floor. Not sure yet whether the wheel arches will be removed before or after the boot floor goes in.
As ever, if anyone spots any glaring errors or disasters about to happen, I'm all ears!
#147

Posted 02 October 2011 - 07:46 PM
Graham
#148

Posted 02 October 2011 - 07:50 PM
Liking the battery box fabbing.
#149

Posted 02 October 2011 - 07:53 PM
Lovely fabrication work as well.
#150

Posted 03 October 2011 - 06:38 PM
I do love to see your work. You are one of these people that have the touch. There is just an inbuilt skill there. I don't have it. More like inbuilt disaster!
Hugh
3 user(s) are reading this topic
0 members, 1 guests, 0 anonymous users
-
Bing (2)


