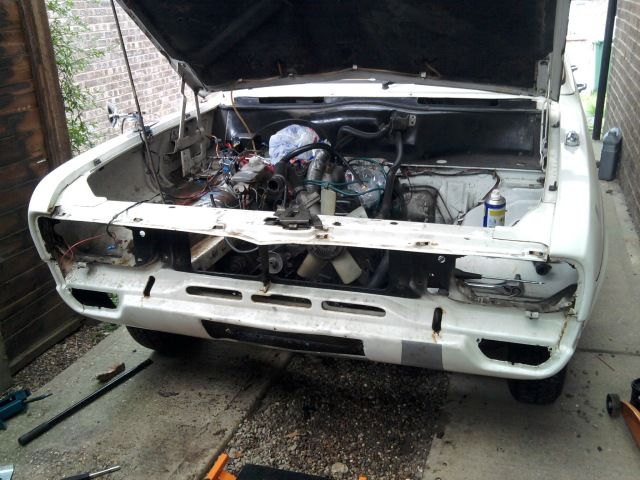
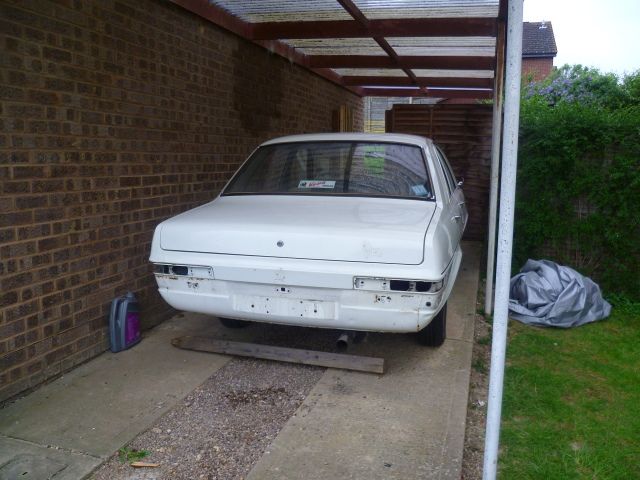
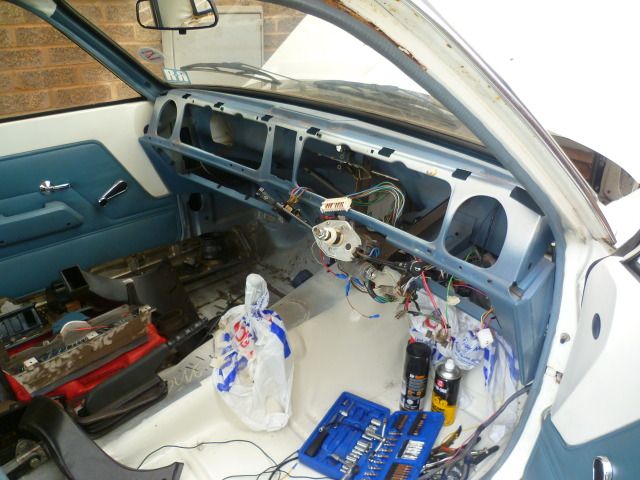
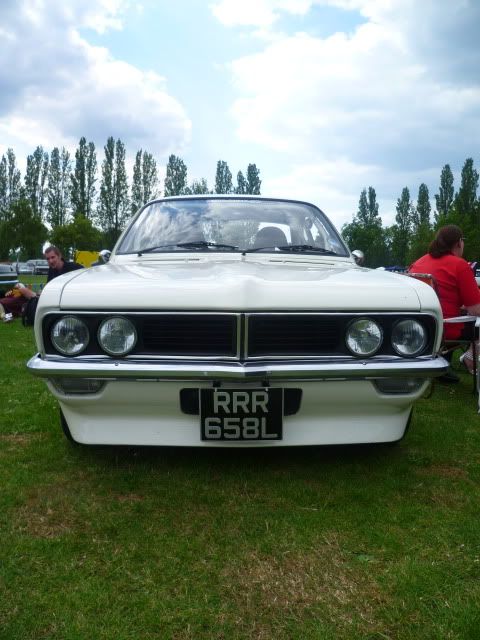
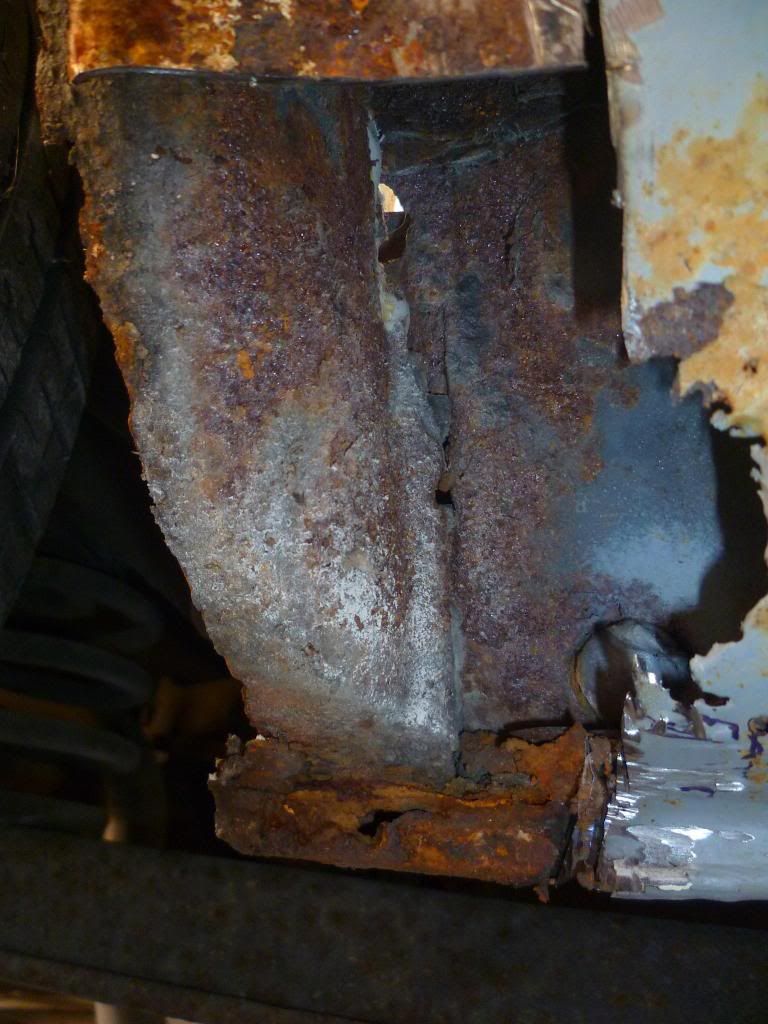
At the weekend I got some life. She started and ran surprisingly well. After yet more coughing I took the plus out. Plus point was they were wet with petrol, bad points were they were gunked up with oil and had white speckley signs of water. Bit concerning but cleaned them up and tried it et voila I do have videos, but as soon as the Viva lived my laptop died and has just cost me a new hard drive :roll: so video coming later.
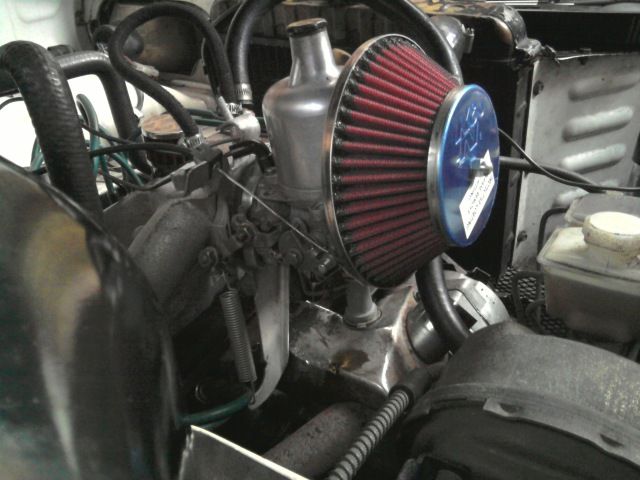
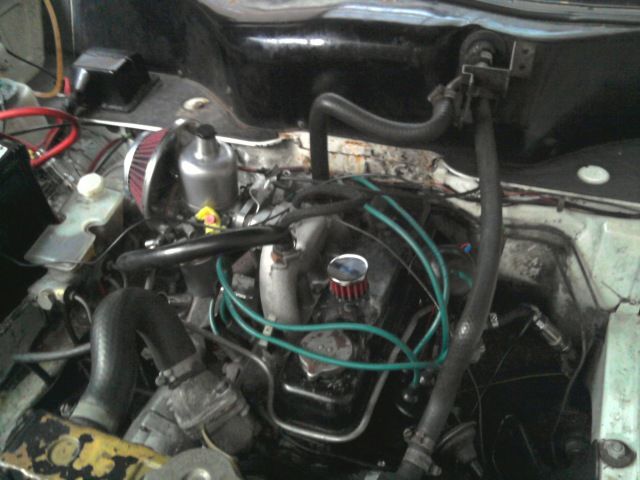
Did a little preliminary tuning and set the jet to give 3.8% CO, later tuned down a little as it seemed run a bit smoother leaner. Still have no idea if it will drive alright and have any power under load, all things to have fun with later down the line. For the moment though it starts first time from cold and is noticeably more responsive at 'blipping' from idle than the Stromberg was. I do like an SU a bit lumpy at idle though.
I've also slightly revised the fuel line under the bonnet and found a bit of hose to fit to the overflow valve so it doesn't spill over the manifold :goodideasign: fitted a cheapie crankcase breather filter to lose the breather pipe with the K&N (still not a permanent feature). Modified the choke cable to fit well to the SU and linked it all up, works a dream. Still need to sort the throttle cable and do a little rewiring for the live on the coil.
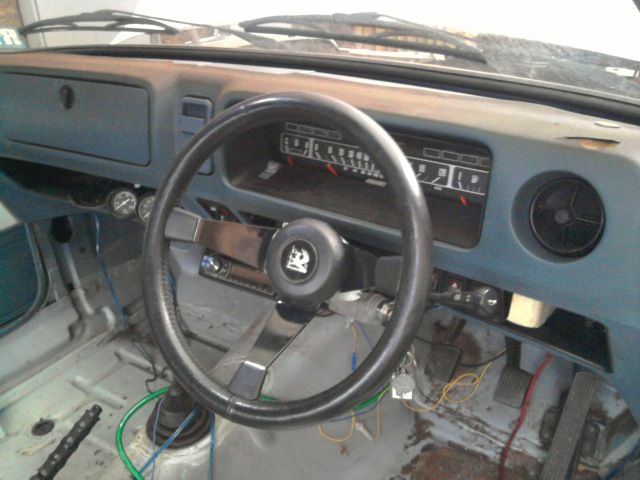
I've also been playing about with steering wheels but have settled on the HPF wheel that Jon was selling. Postman gave it to me today (thanks Jon) and have to say I'm very happy with it, looks great. Will try to recover it with leather to match the bits Jon already did, will see what I can do about the tired Griffin badge, and am considering painting the spokes satin black as per original plans, but the gloss has really grown on me. Plenty of time until the interior goes back in anyway
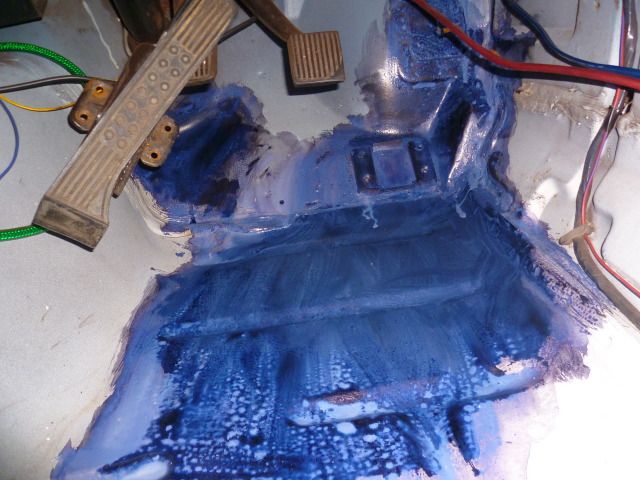
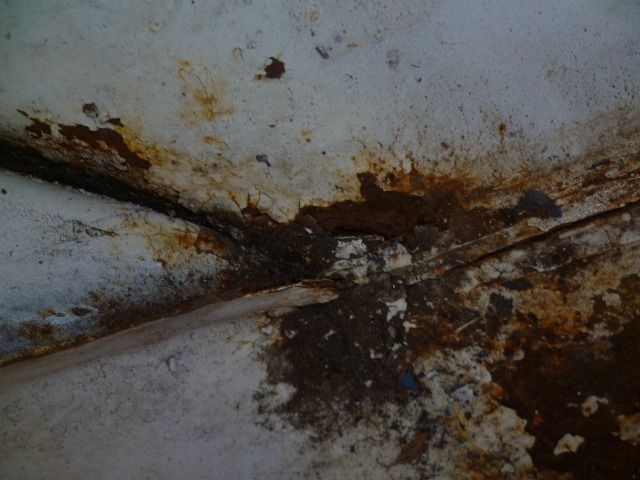
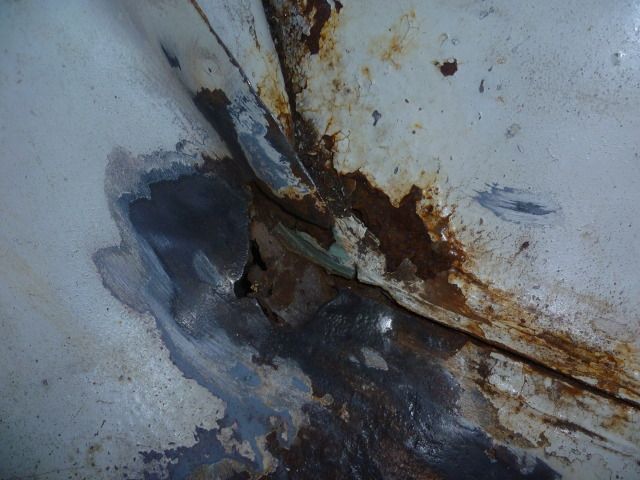
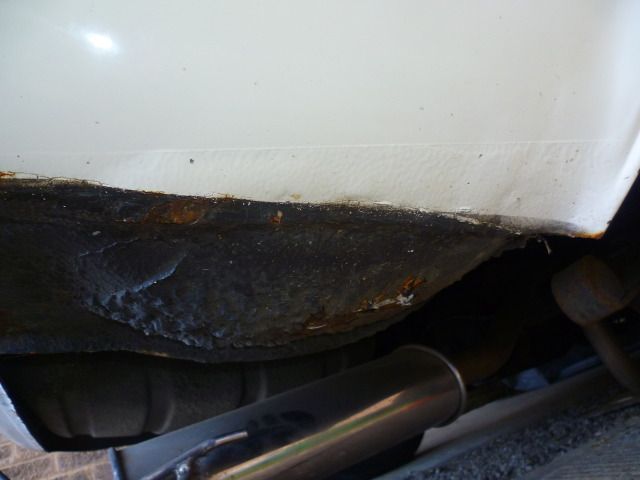
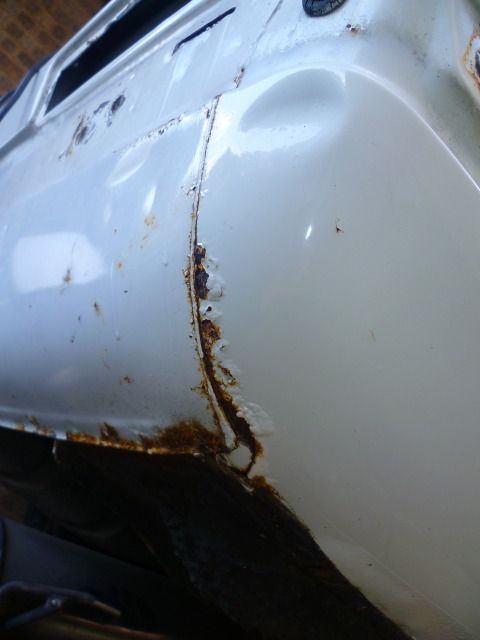
Tomorrow I might even get around to stripping the rust and treating the drivers floor pan, like I planned to do weeks ago.
1975 Vauxhall Viva Hc
Started by
oli8925
, Jul 16 2010 06:22 PM
169 replies to this topic
#166
Posted 01 March 2012 - 06:48 PM
#167
Posted 09 March 2012 - 11:14 AM
A quick video as promised. Not that it shows much but it idles, runs and revs. I figure there's not much I can do with it now anyway until I get a seat and throttle cable fitted to see it performs under load.
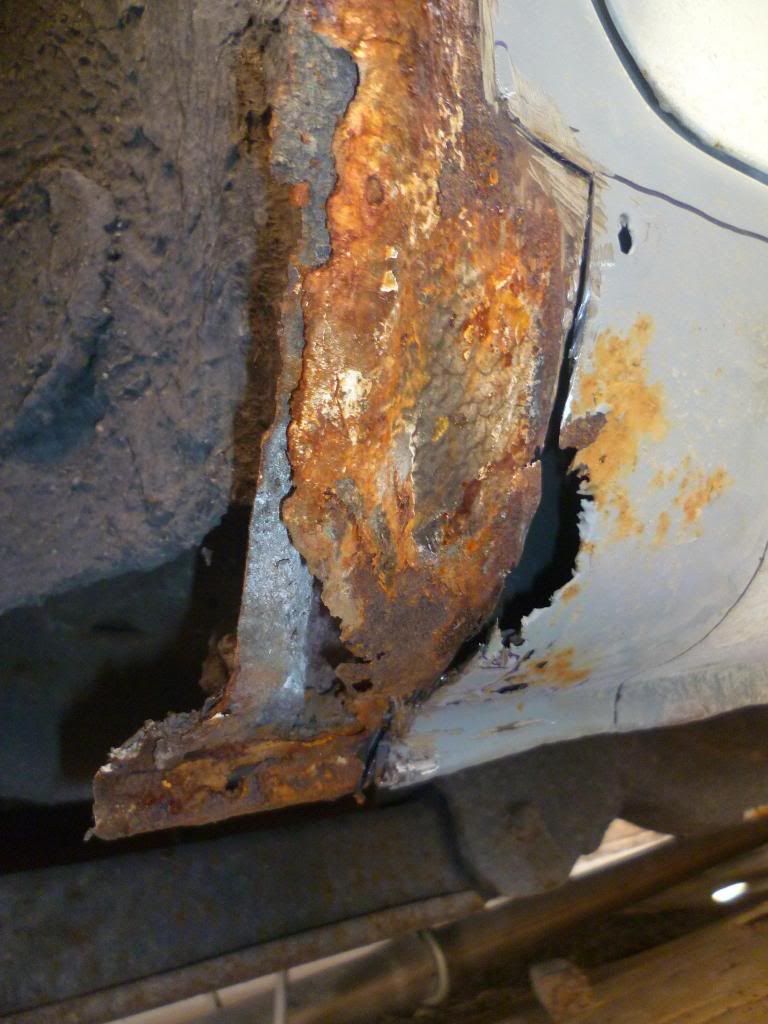
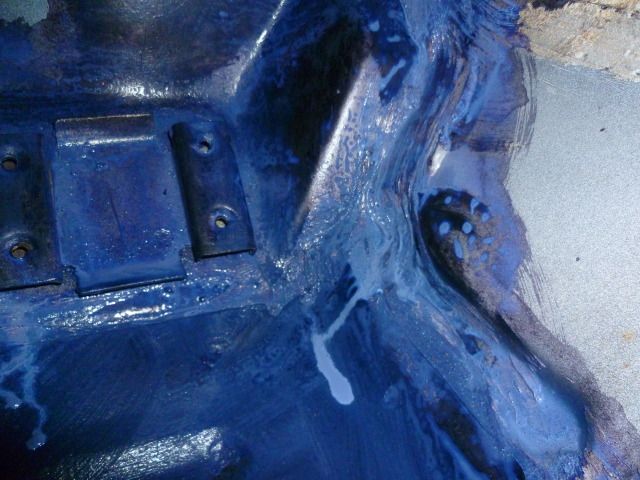
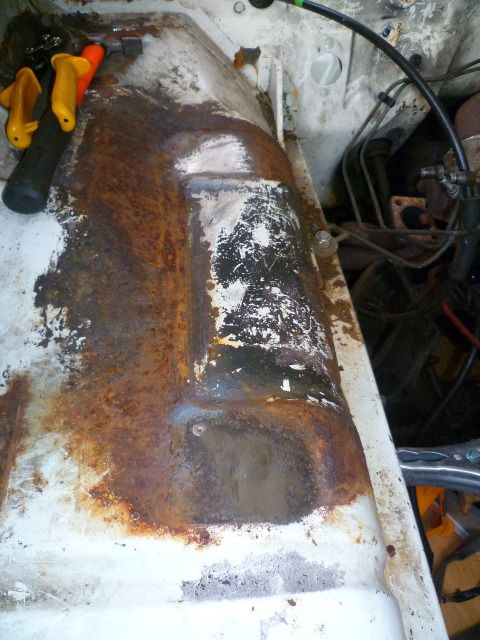
Have also finally got a move on with the floor. Got an angle grinder and used a knotted wire wheel. Paused half way through to get a breathing mask, goggles, gloves and ear defenders and restarted - much better. After the wire wheel I gave it a quick going over with a flap disk to try to get rid of the mountainous pitting. Didn't work fantastically so instead of thinning the metal any more I'll just use some high build primer and sand it back to get it smooth. The end result will be an 'as new' looking floor with fresh paint. As it stands at the moment, a few doses of Kurust.
Having trouble getting in the corners though and still need to take up the seam sealer.
#168
Posted 19 July 2012 - 09:46 PM
So, what's happened in 4 months?
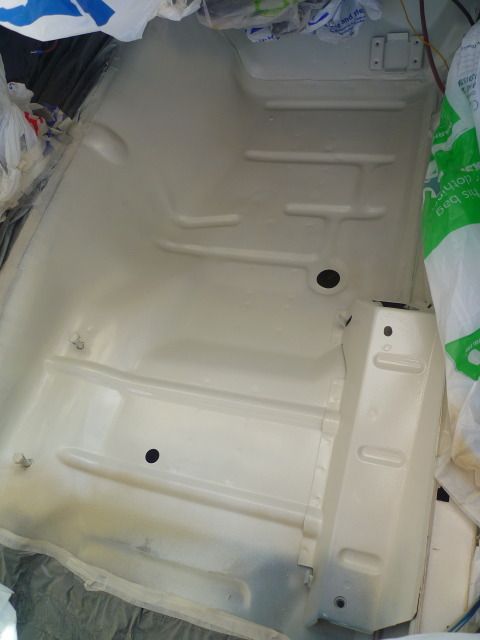
I primed, filled and painted the drivers floor with cans. Decided the finish was rubbish and for the tiny amount done, cans were stupidly expensive. Have a picture anyway.
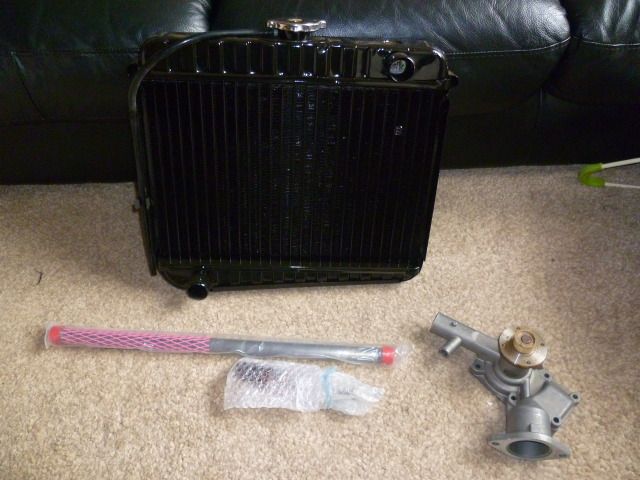
I got the SU running quite well and bought/repainted lots if shiny bits. I then took it all off again ready for the engine to come out, because I'm building a new one to go in (same plan from 2 years ago but finally happening). Managed to pay a lot of money for a NOS crank, and everything else. Valves are being modified and the head being put together as I type. Taking a trip to get a rebored block on Tuesday and will go to a guy with a great reputation in the Viva community to get the bottom end fully lightened and balanced. Today I picked up my refurbished radiator and heater matrix.
That's also a new quick rack kit that a guy on the Droop Snoot Group got made up. Should improve the feel of the car when pushing it in corners. Cost enough!
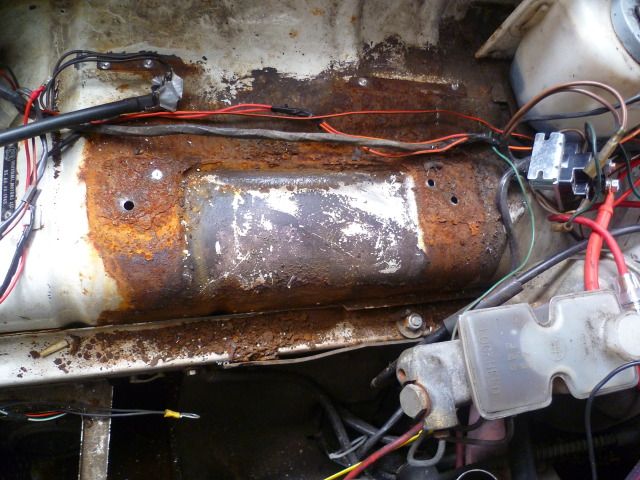
I learned to weld on some old sheet. Took the battery tray off, was met with lots of rust but no holes other than those left by my clumsy spot weld drilling.
Cleaned it up and put my new welding skills to the test by plugging up the holes...my new gas bottle had leaked completely empty.
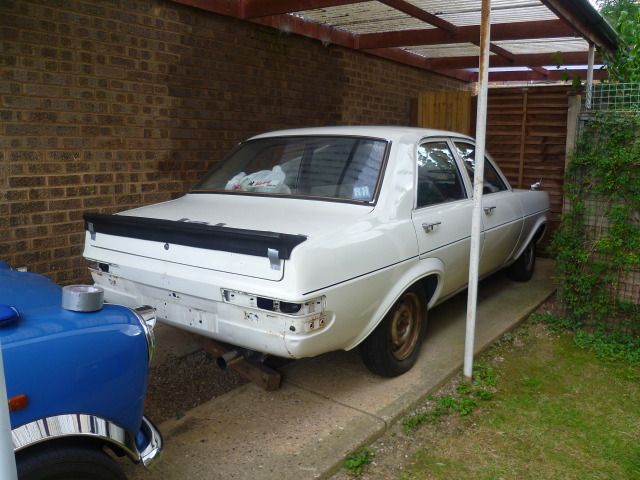
My dad's friend is lending me an ancient old compressor so if it holds up to it I'll try my own spray painting on small areas, primarliy interior, boot and engine bay. I'm trying to save up enough money to get the exterior resprayed. Car's completely stripped.
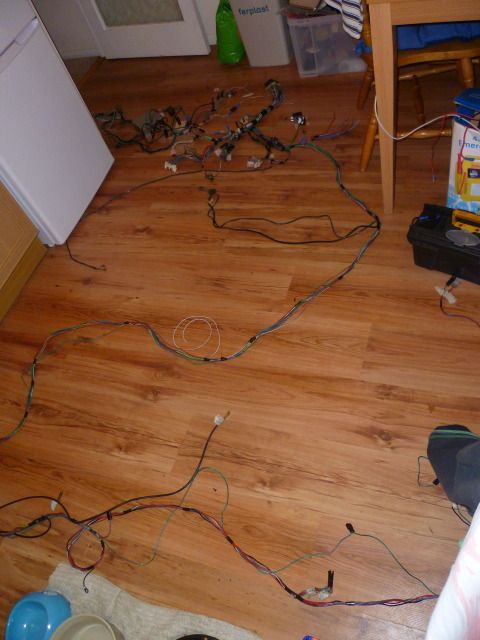
Currently working on the wiring. I've got an alarm to add in and a few little extras for the interior and an electric fan. I've spent a fortune on wiring and accessories without realising but the finished product will be a modernised loom with relays for the important bits that will look like it was there from the factory. The whole loom will be stripped and untaped, cleaned, modified and retaped. I already did the engine bay looms but typically need to redo as I've forgotten bits.
Slowly getting there, and a fair bit more needs to be spent, a lot more hours need to be put in, but I can't wait for it to be done. Front suspension may still need to be modified slightly, need to make and weld on ARB brackets anyway. Plan is to get some coilovers made to make it height adjustable, I have an Escort RS2000 spoiler for the rear that surprisngly fits brilliantly (no pics yet) and I'll be getting a front spoiler like this one
The exterior features still aren't 100% but the front can just come on and off and the I'll have 2 boots, one with the spoiler and one original.
So that briefly lists the updated plans for the car.
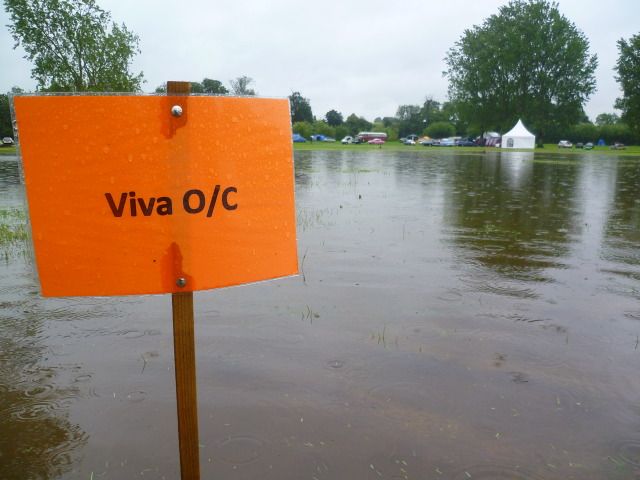
I also went to Billing last weekend...
...got wet and quickly came back again
#169
Posted 03 February 2013 - 03:30 PM
Oli, you've not updated this in aaages! Hows it going now? I'm in love with it!
#170
Posted 20 February 2013 - 10:27 PM
The story so far in pictures:
Decided not to go for the RS2000 spoiler
Sorting out the loom in the kitchen, many additions and modifications taking place
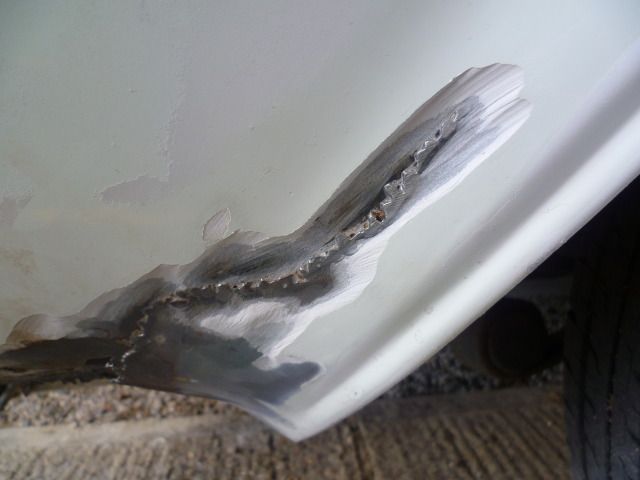
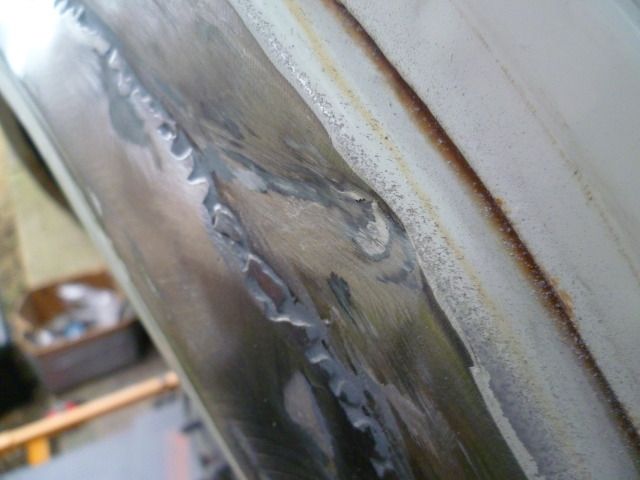
First bit of welding and finishing
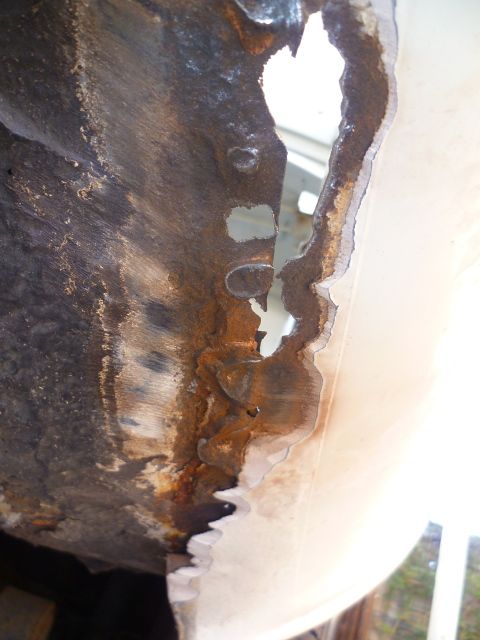
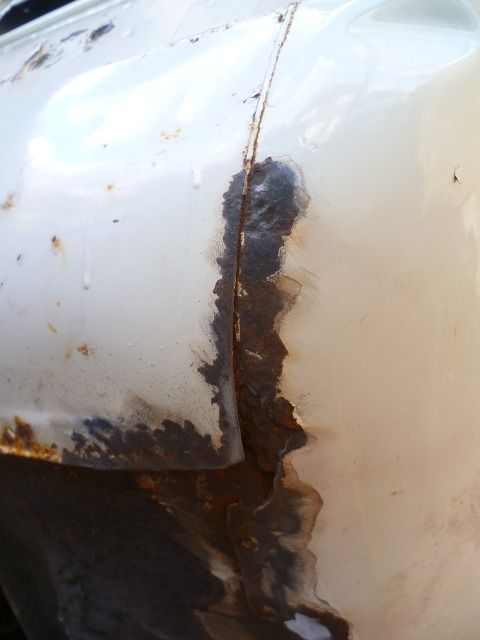
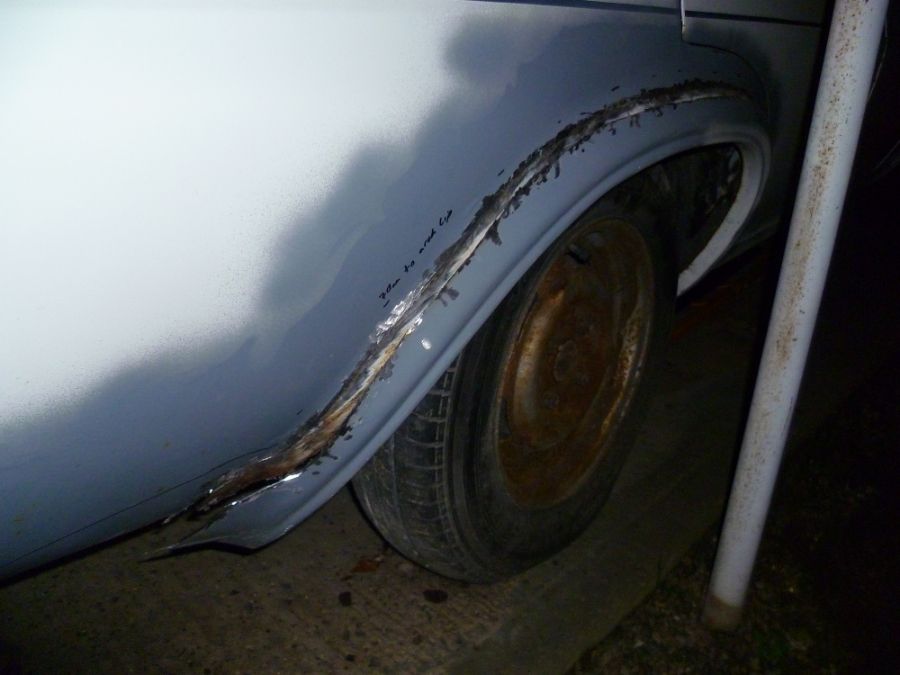
Spare wheel well/inner arch/rear quarter
Rear quarter disappearing
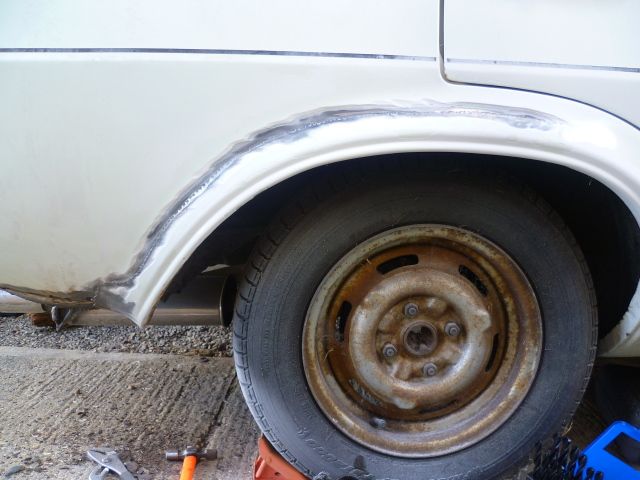
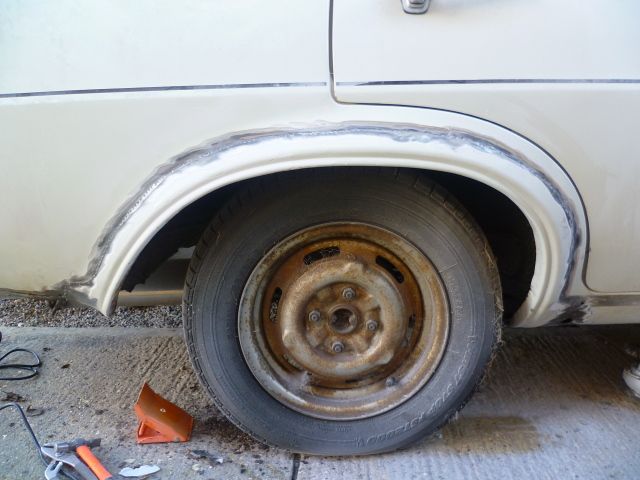
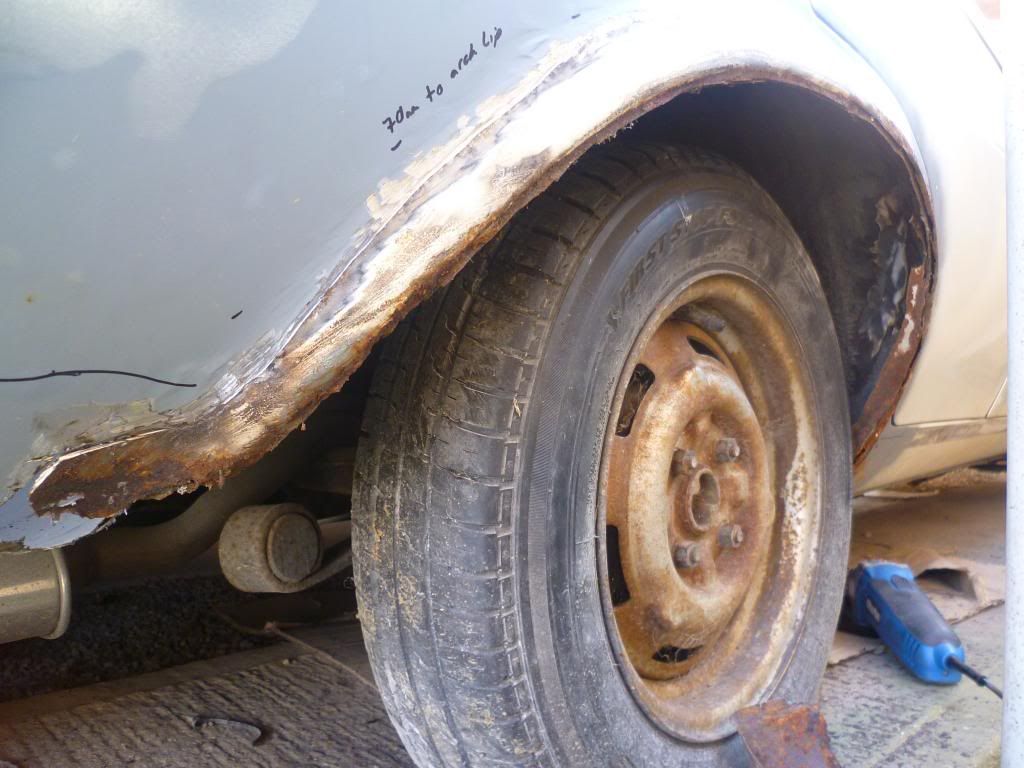
Filler and arch replacement
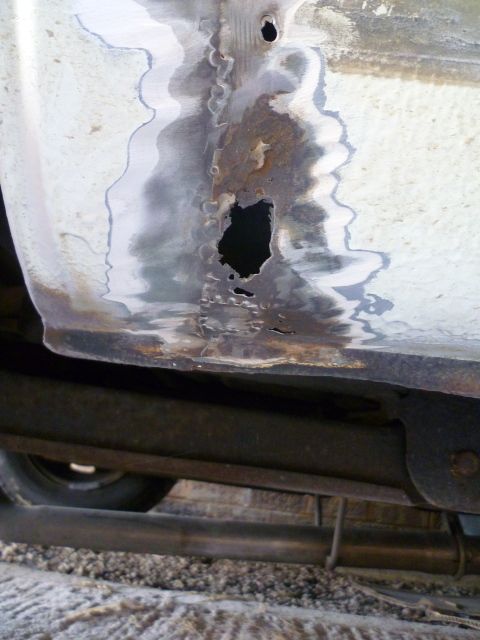
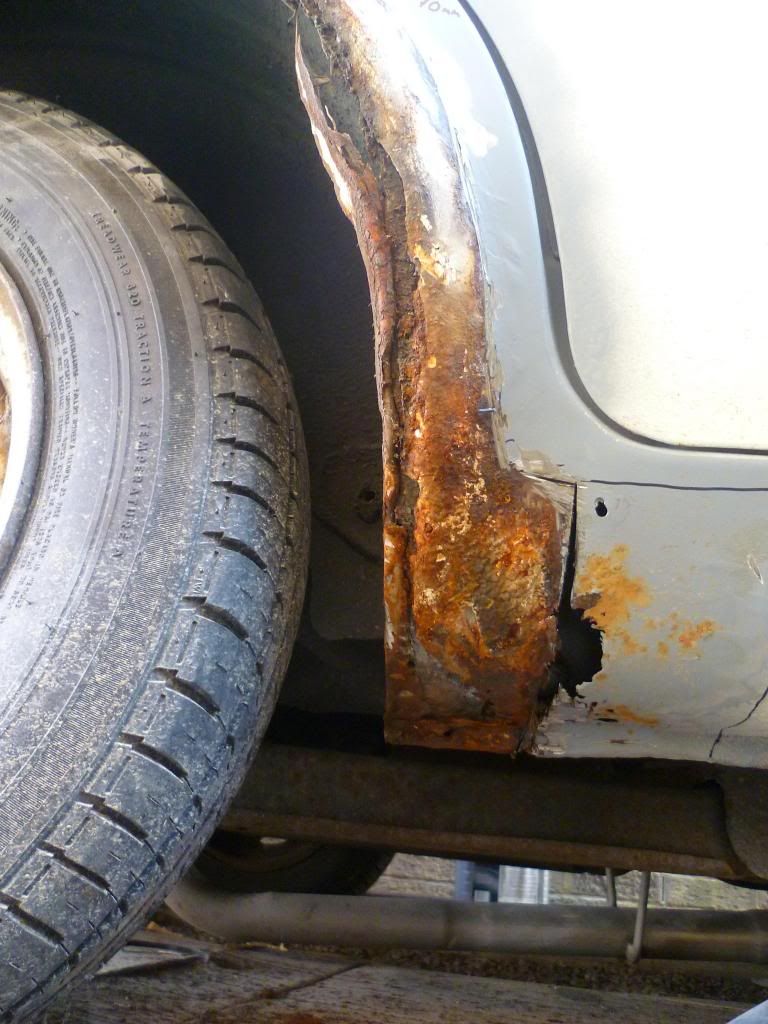
Drivers sill
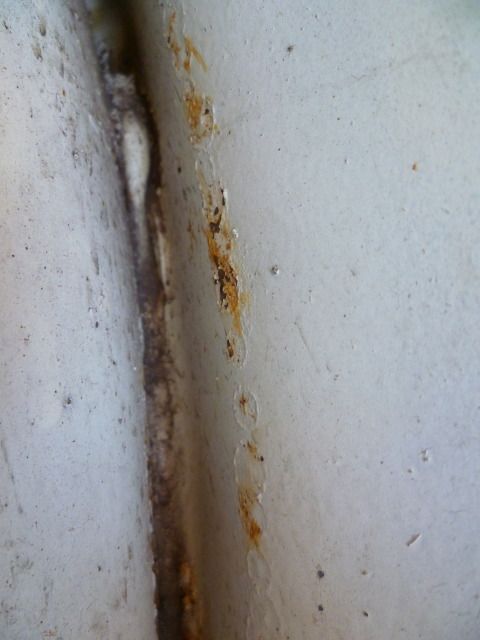
Crap penetration of that replacement arch
Found a dent on the arch under the filler
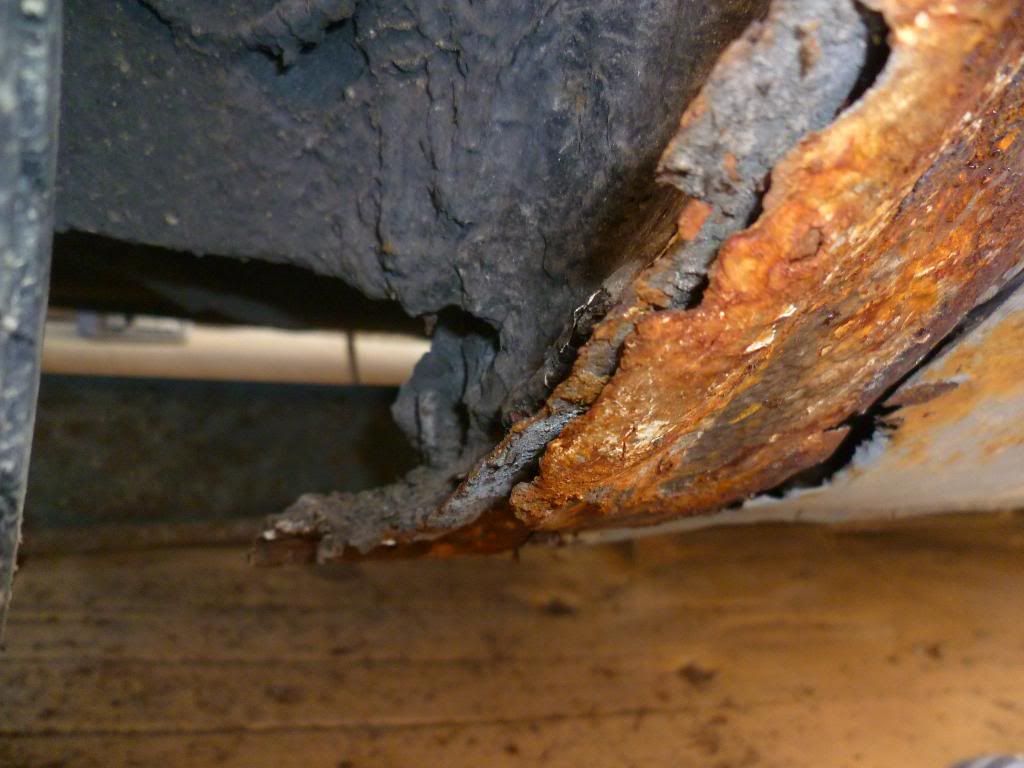
Grinding away the welds to get the replacement arch off
Arch off, plenty left underneath to weld the new one on to
And that's where I'm at now. Hoping to make a little progress with a few weeks off work.
3 user(s) are reading this topic
0 members, 3 guests, 0 anonymous users