Micramini - My First Conversion
#31

Posted 10 July 2010 - 04:14 PM
gear linkage is fully done
clutch is done
alternator bracket is done
fan is done
water pump pulley is nearly done
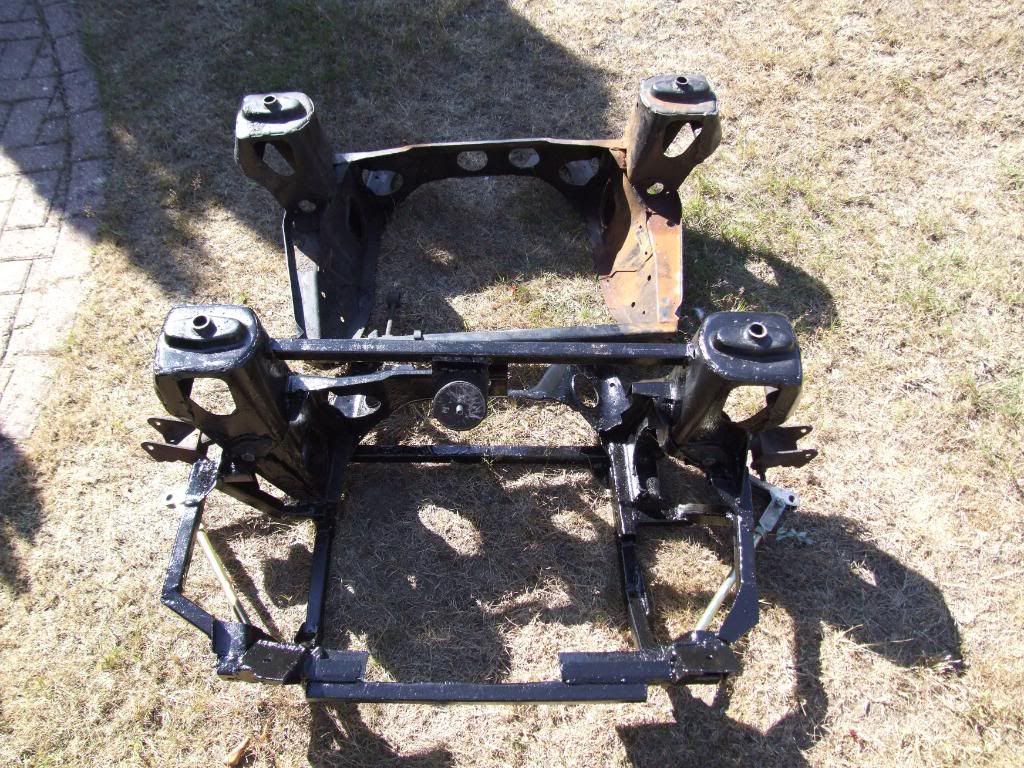
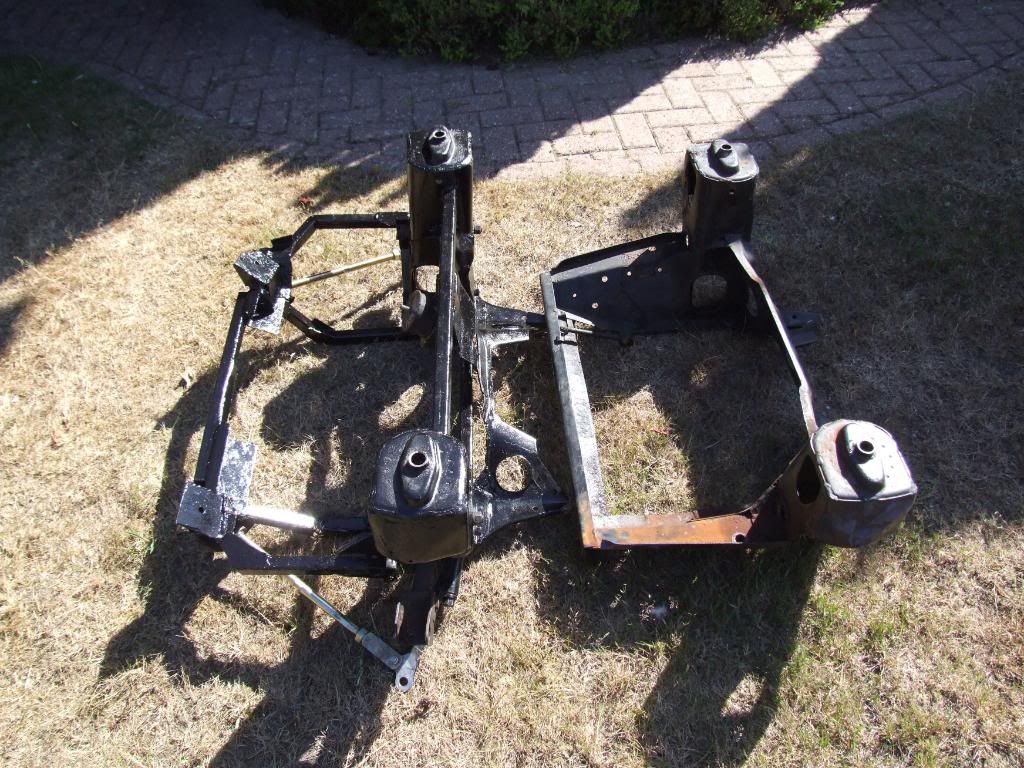
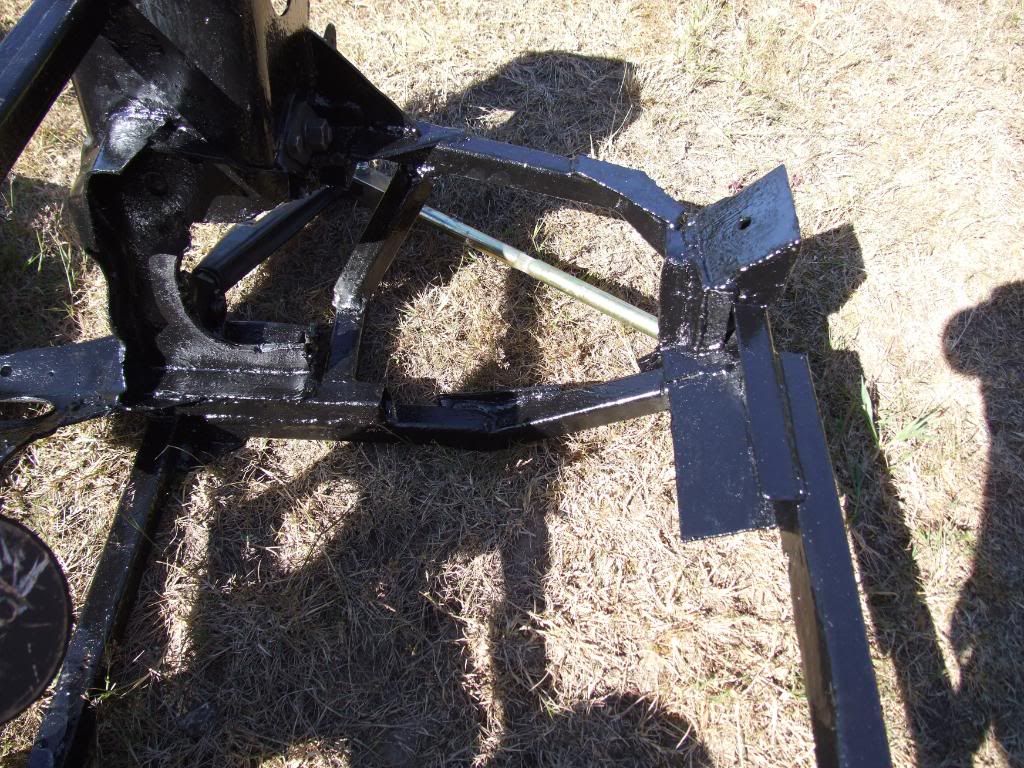
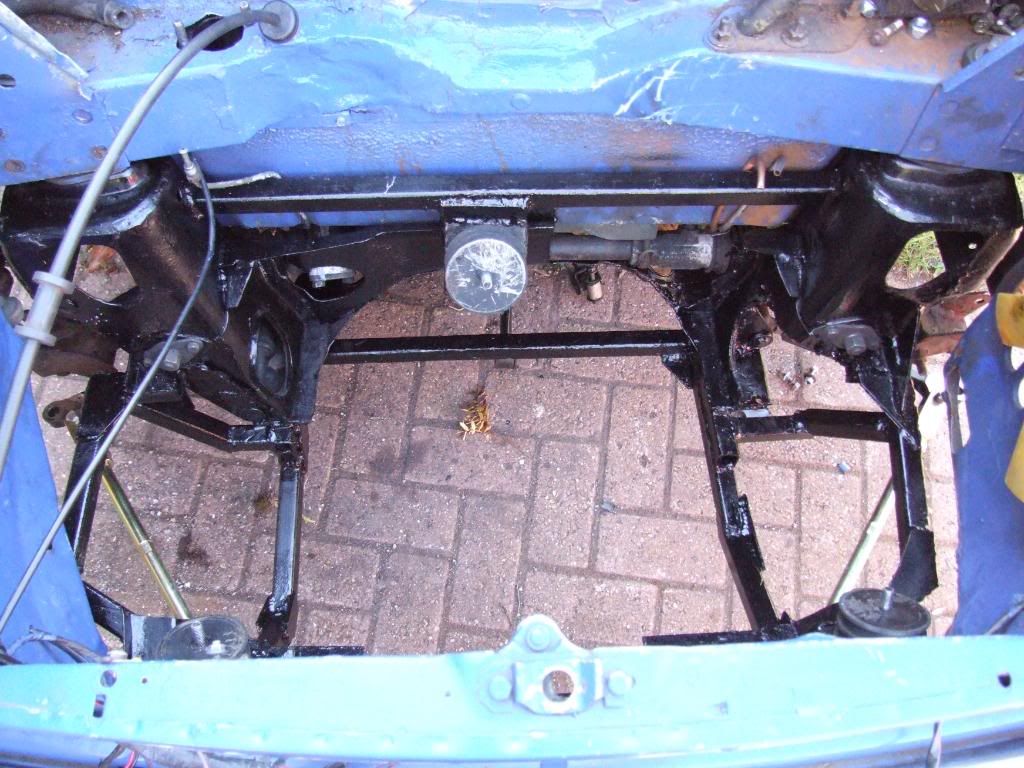
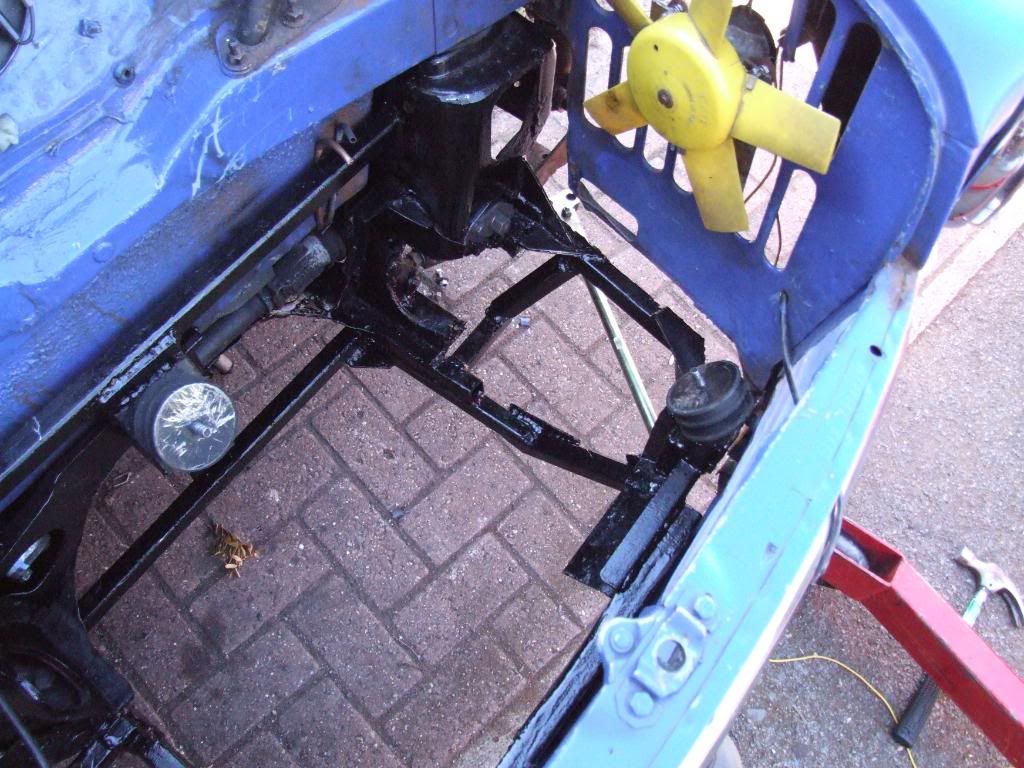
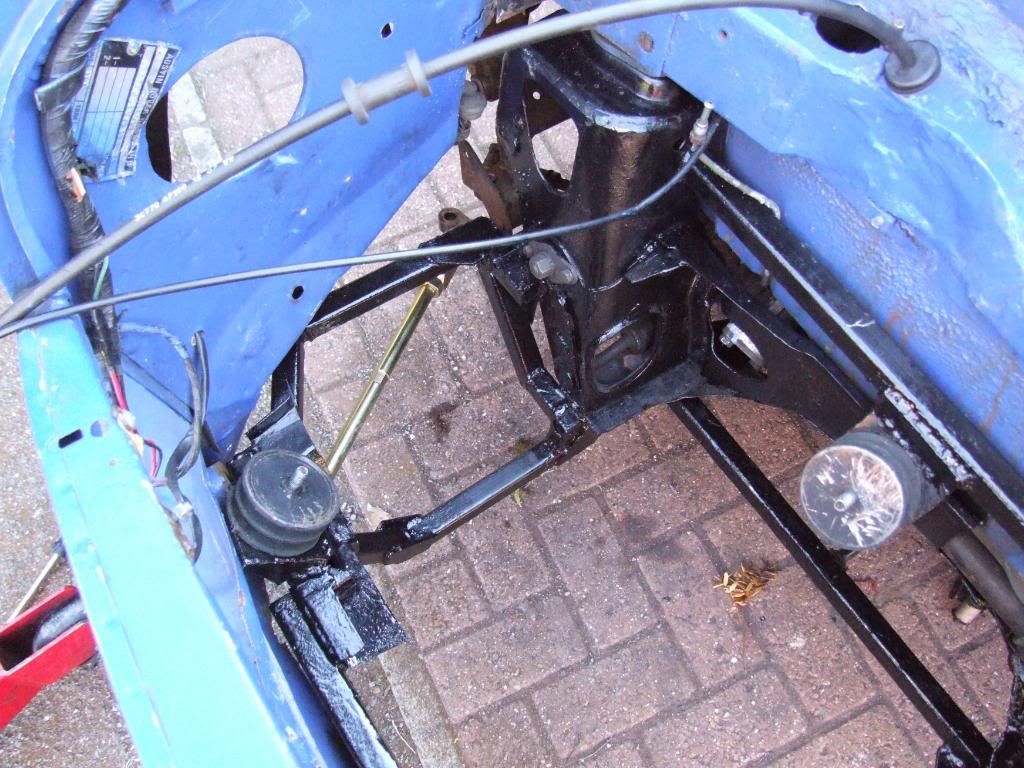
engine and subby are back out the car to re do some of the *melon* welds and add a few more strengthening plates of steel to both the subframe and the mounts.
hope to have these done over the week (pictures will be coming soon) and the engine back in next weekend.
Hopefully have it done in 2 weekends time.....
#32

Posted 11 July 2010 - 12:53 PM
#33

Posted 11 July 2010 - 03:47 PM
#34

Posted 11 July 2010 - 04:22 PM
If you do crack on with the mig minimise the length of any extension cables, and uncoil them; allow lots of breaks for the welder to cool as well. Some of it looks ok: where you've been welding along the "ridge" between plates, because it's harder for the heat to dissipate and you've got a vee for the fillet to fill.
#35

Posted 11 July 2010 - 04:27 PM
just need to make sure like you say that i prep the weld as much as i can and leave ridges.
cheers
#36

Posted 15 July 2010 - 01:21 AM
http://www.r-techwel...40V_Mig_Welders
If so it looks like it’s up to the job. The mig welding forum is a great resource; there are tips and explanations on the homepage not just the forum so well worth watching some of the videos and reading the explanations.
Well done for accepting the advice given over your project, many just ignore constructive criticism and put themselves and others in danger. The welds themselves look ‘cold’ so a bit of practice, more power and moving slower should give you better results. Also make sure all joints fit well and square before you weld. Many think the weld will fill in the gaps or hold it anyway; nice fitting even joints make it easier and stronger.
Like the engine choice, will be a cool little motor when done
#37

Posted 15 July 2010 - 06:18 AM
thanks for the advice, i think where i have had some poorer welds it is wehre i have used an extension reel with the welder and thus reducing its max output perhaps? I am sure i can do this project but as previously mentioned this is my frst time doing this sort of thing and with no instruction at all it is important that i do listen to any advice i get on the forum. If i hadn't expected constructive feedback I wouldn't have uploaded my pictures on here!
thanks again
ian
edit, and yes that is the welder i am using
Edited by drummerian, 15 July 2010 - 06:20 AM.
#38

Posted 16 July 2010 - 01:30 PM
If you use an extension cable on a reel, make sure it is fully unwound. Leaving some on the reel can cause it to heat up when running high current through it. Your machine is inverter based so has “Infinite control of welding voltage/amperage”. You may want to have a play to find which suits best.
For interest, there was a discussion about R Tech welders on the mig welding forum.
http://www.mig-weldi...;highlight=tech
They seem to be well thought of, may be of interest to read.
#39

Posted 16 July 2010 - 05:33 PM
the next couple of weeks will be franticly busy trying to finish it all up but it will get there
#40

Posted 18 July 2010 - 06:22 PM
hey guys,
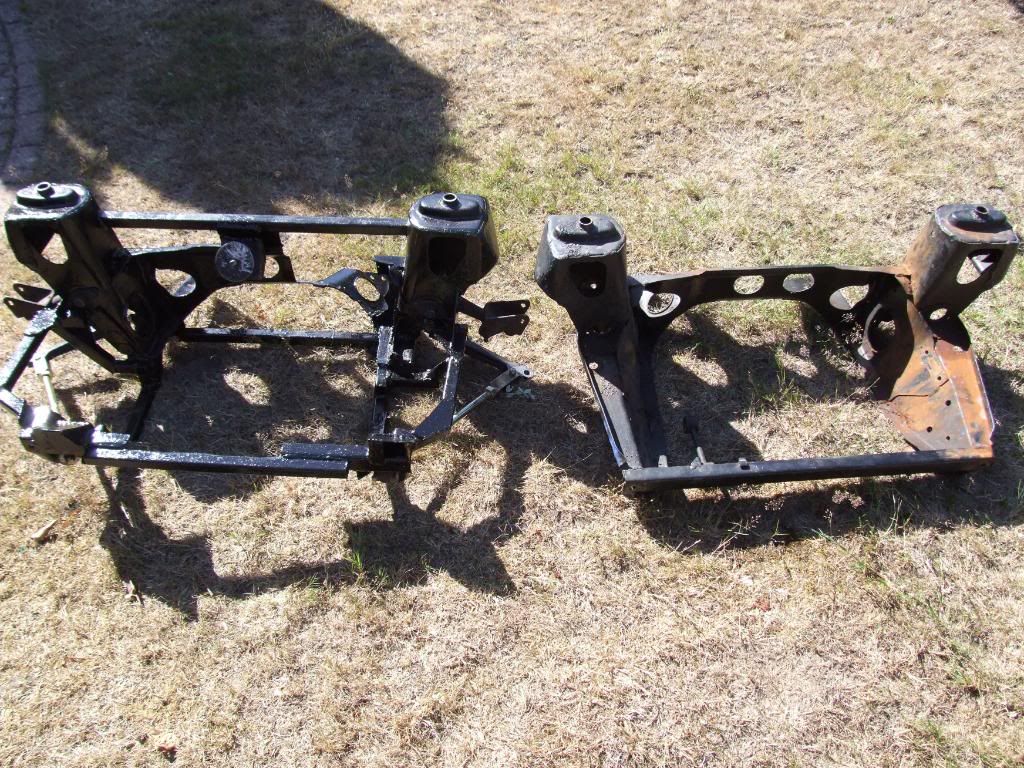
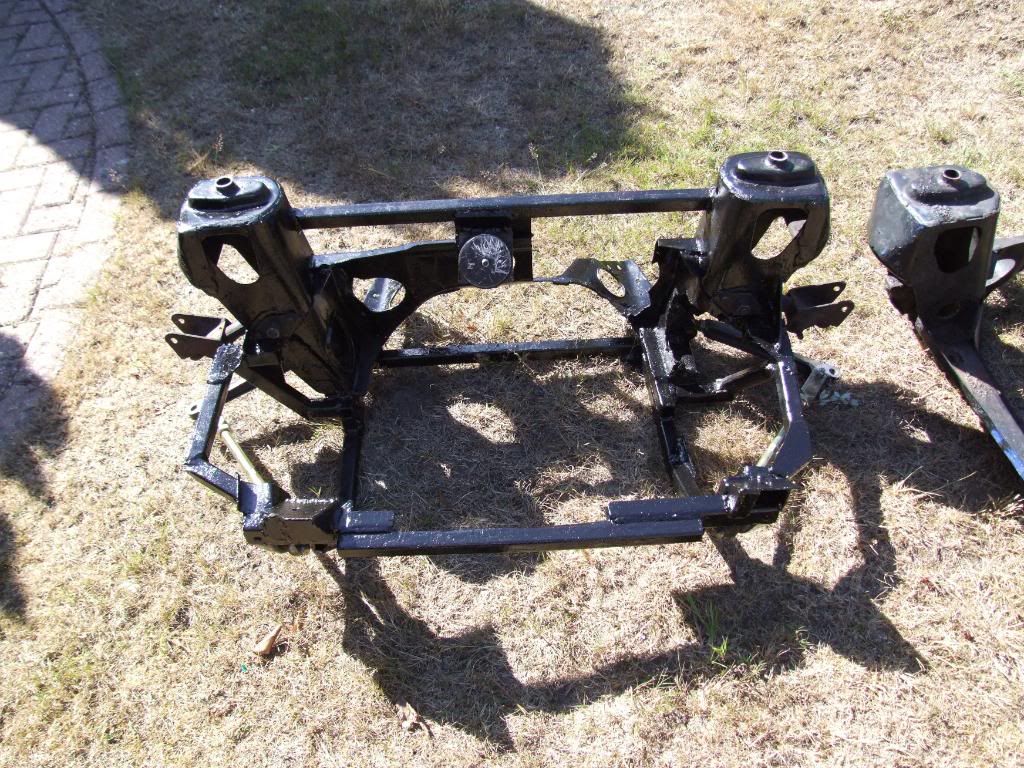
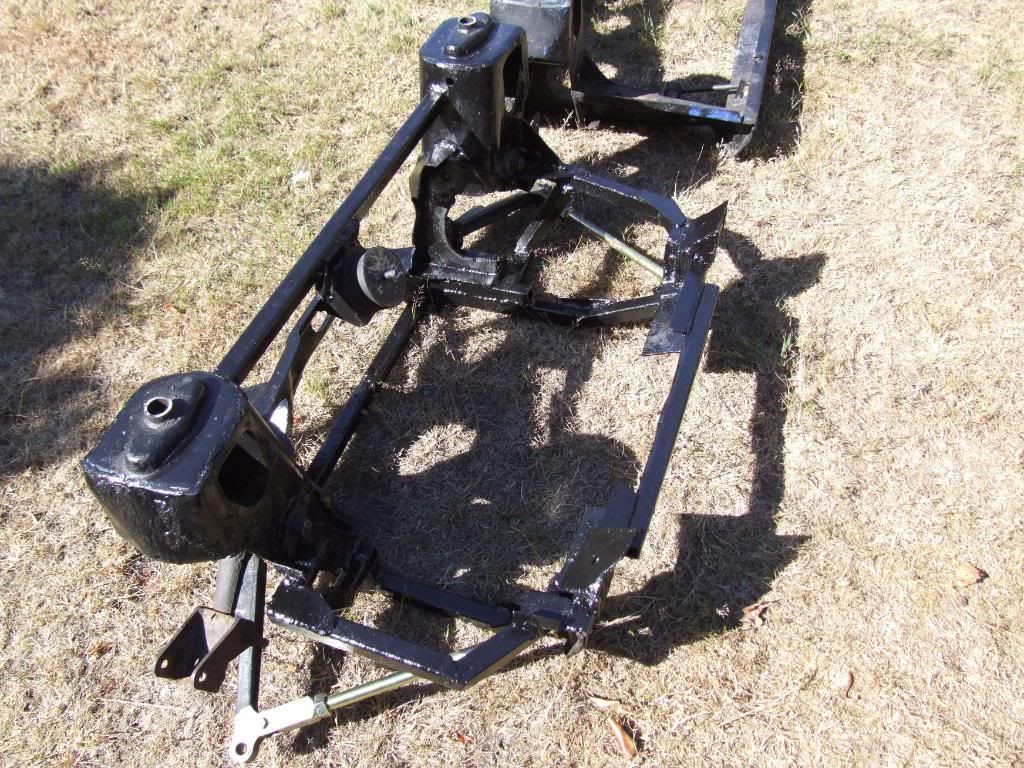
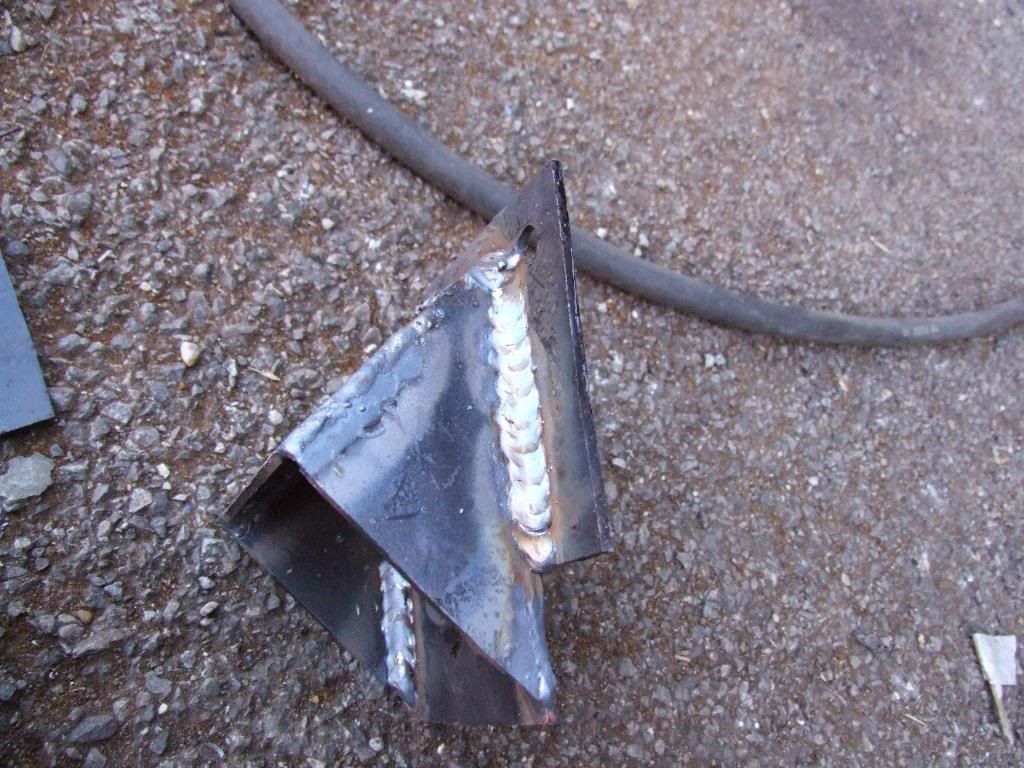
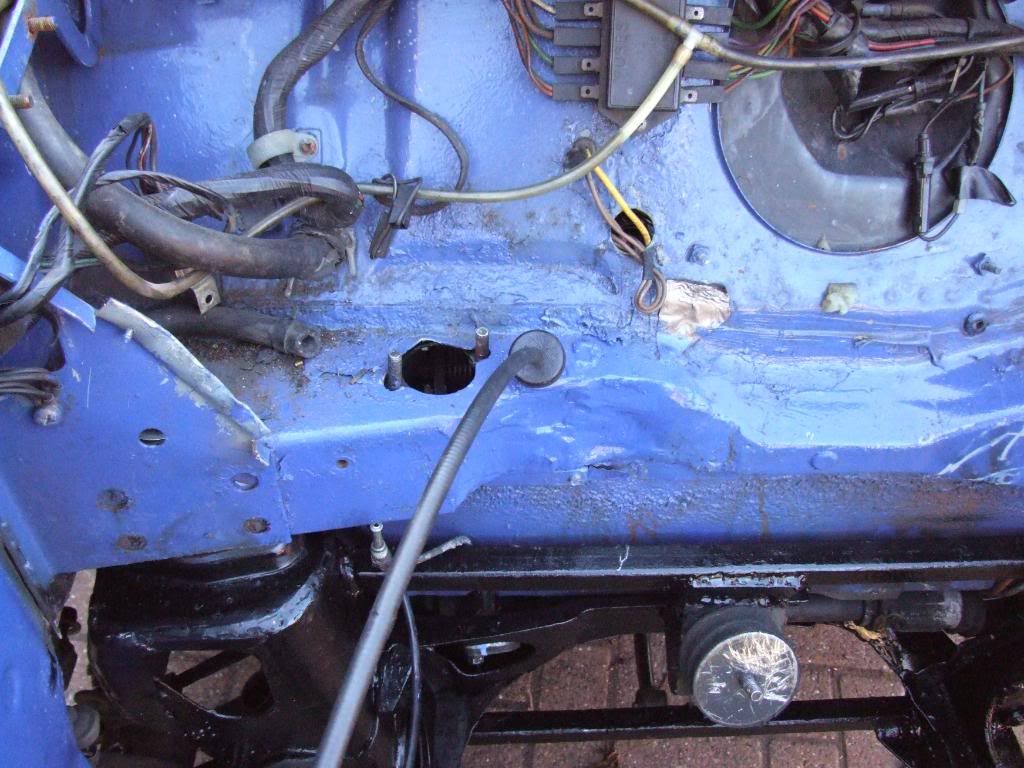
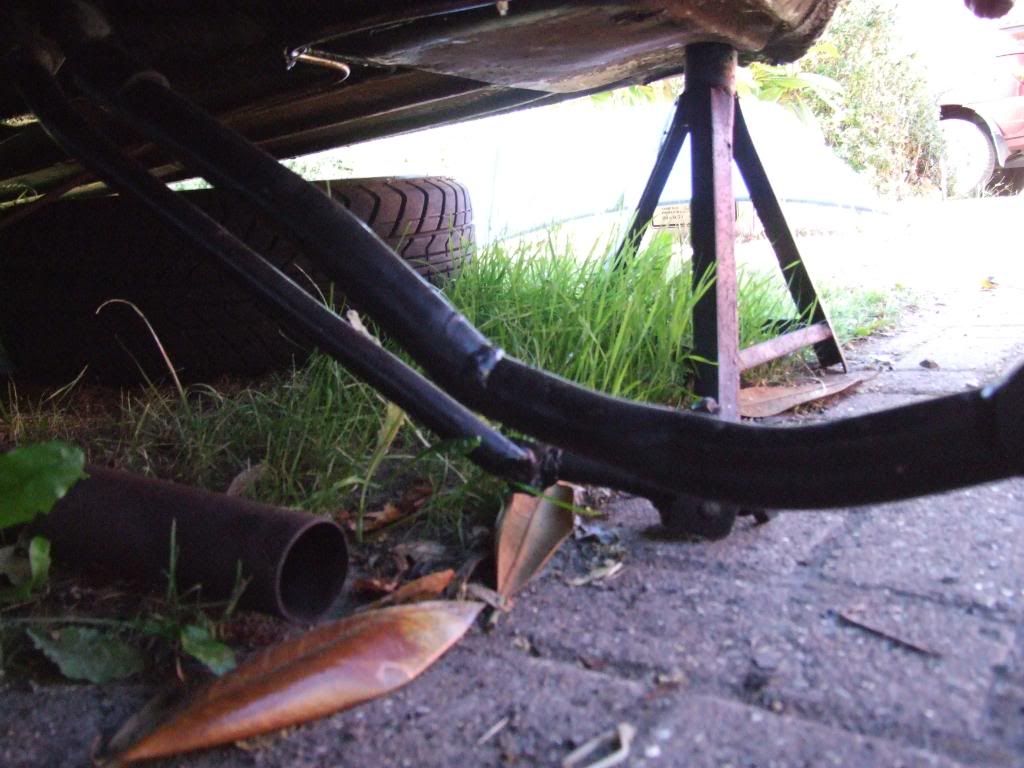
so i have managed to finish the subframe and mounts modifications making the welds much stronger and adding more plates to spread the load where necessarry. I am now very confident with the welds and can clearly see that they have penertrated through to the other side of the metal.
Feels like im getting closer to the finish now. More pictures will be put up in the week of the radiator position and the alternator and water pump brackets.
Here are some pictures:

#41

Posted 19 July 2010 - 06:29 PM
picture update!
hey guys,
so i have managed to finish the subframe and mounts modifications making the welds much stronger and adding more plates to spread the load where necessarry. I am now very confident with the welds and can clearly see that they have penertrated through to the other side of the metal.
Feels like im getting closer to the finish now. More pictures will be put up in the week of the radiator position and the alternator and water pump brackets.
Here are some pictures:
You've cracked it; nice one fella
#42

Posted 19 July 2010 - 09:38 PM
Todays progress, i have found a belt that fits my water pump, just need the one for the alternator now
Should have some hubs/wheels on the car by tomorow, am working wednesday but will hopefully get the engine back in on thursday
Weekends jobs will be plumbing all the rest of the bits in and doing the exhaust and radiator....then hopefully by next weekend we should have all the niggles done with....and it will be all goood
Wish me luck!
#43

Posted 20 July 2010 - 12:22 AM
Subframe looks really good, must be really satisfying to haveit at this stage, is there a cheeky bit missing on your drivers side inner wing though?
#44

Posted 20 July 2010 - 06:13 AM
Really impressed with the progress mate. Not just on the build, but like windwalker says, with your abilities.
Subframe looks really good, must be really satisfying to haveit at this stage, is there a cheeky bit missing on your drivers side inner wing though?
bent out the way currently to try and get the fan belts on, will bend back in to place
yeah it rally is a learning experience for me....before i got into minis i didn't really know anything about cars but now i feel alot more confident wilth my abilities....after all it is a learnign experience and the betsway to learn is from our mistakes.
thanks
#45

Posted 20 July 2010 - 08:09 PM
found that a 40" belt is wayyy to short for my alternator (must have been drunk when i did that measurement) will be ordering a 43" one tomorow on the way home from work!
Doris is now back down on four wheels.....brakes will be coming shortly
Other than that hopefully progress is still on to get the engine back in by the weekend, then next week just beast the rest of it!
2 user(s) are reading this topic
0 members, 1 guests, 0 anonymous users
-
Bing (1)


