Meet Valerie!
#106

Posted 16 February 2011 - 10:48 AM
#107

Posted 16 February 2011 - 05:43 PM
#108

Posted 16 February 2011 - 07:11 PM
Missed abit lewis
#109

Posted 16 February 2011 - 07:57 PM
#110

Posted 16 February 2011 - 08:18 PM
#111

Posted 16 February 2011 - 08:43 PM
Wouldnt it be easier to get a van and clubman front the van instead minimissions?
Yeah i can see that i would be easier its not just the clubby front or the van sides because they are nice with the glass still there. Its just that an estate is a fraction of the price of a van these days. But yes in an ideal world a van would be better and easier lol
#112

Posted 17 February 2011 - 07:17 AM
ill definitley be keeping the colour vermillion orange, it wont half stand out when its finished!
#113

Posted 17 February 2011 - 06:28 PM
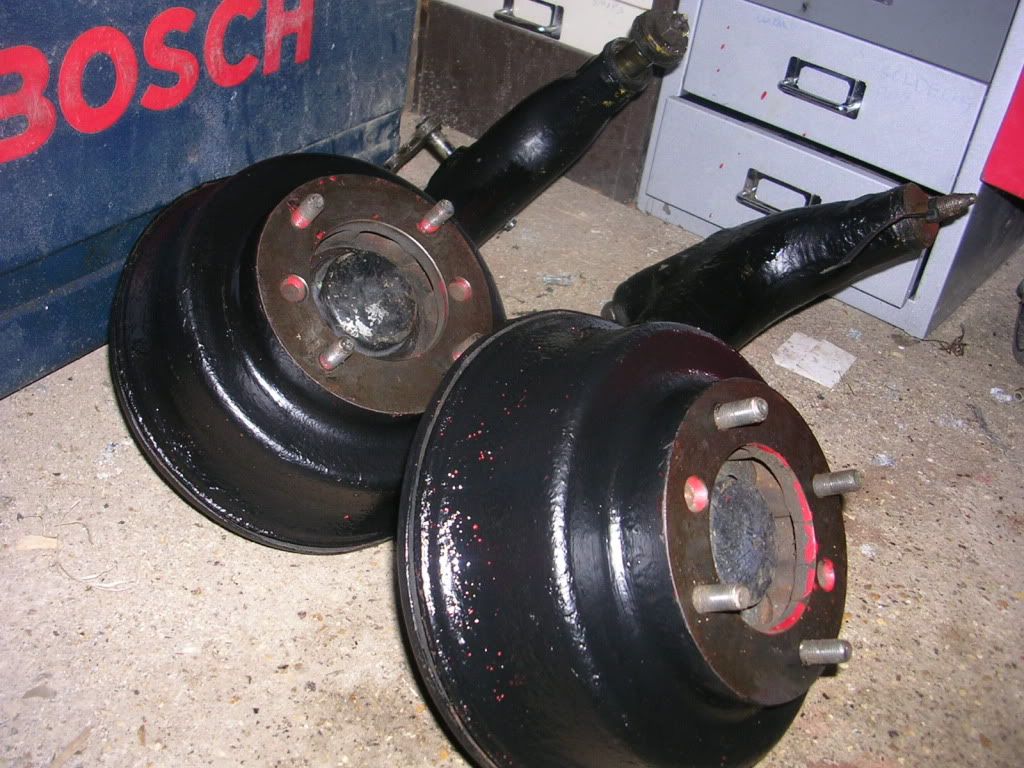
Love it cant wait to see it done, i will be watching thisyeah there are a few bits i need to touch up on the radius arms lol but that was just the 1st coat
i think its easier to do the clubman estate with van sides, than it would be to put a clubman front on a van! n also its only a clubby estate, like you say cost a fraction of a genuine van, using a proper van to put a clubby front on would be a shame (plus i get the advantage of wind up windows!)

ill definitley be keeping the colour vermillion orange, it wont half stand out when its finished!
#114

Posted 17 February 2011 - 09:15 PM
also contacted spax about my coil overs, turns out the collar thats on the top of the spring is missing, so they gave me a part number and the number for a supplier who can order the parts i need to get them complete and ready to fit!
ALSO tonight, i have made a start on making my own sills up... i had some sheet steel from work (came from the remains of an old gas analyser that tells you whats happening inside a cremator!) heres a few pics and a brief description...
this is what the side looked like from the gas analyser (the lines are from where i measured the sills on the car, and where i need to cut/bend)

now i have a piece of steel ready to make into a sill shape..
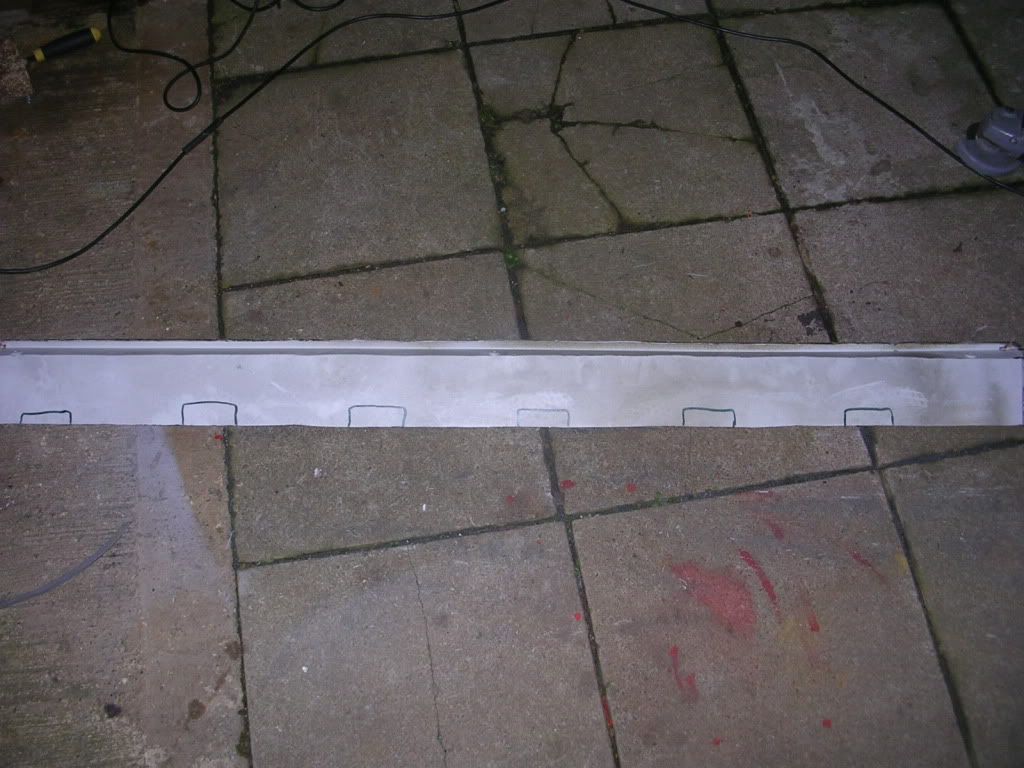
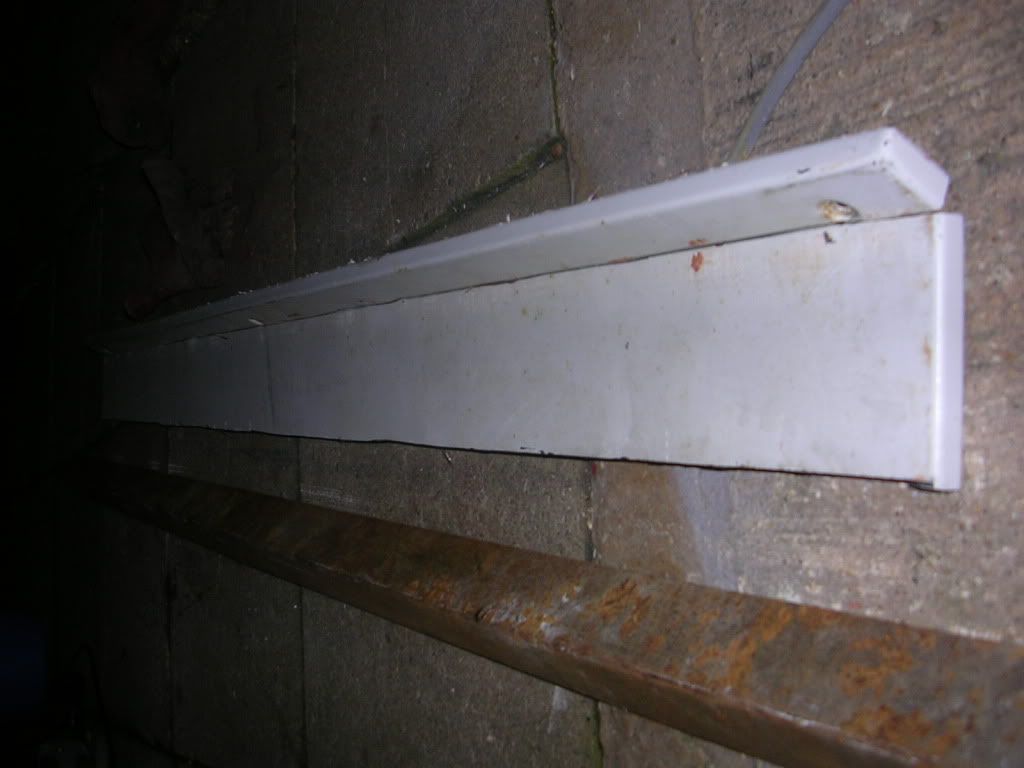
after "scoring" a line along the steel, i use a piece of angle iron as a dolly and start to bend the sheet into more of a sill shape
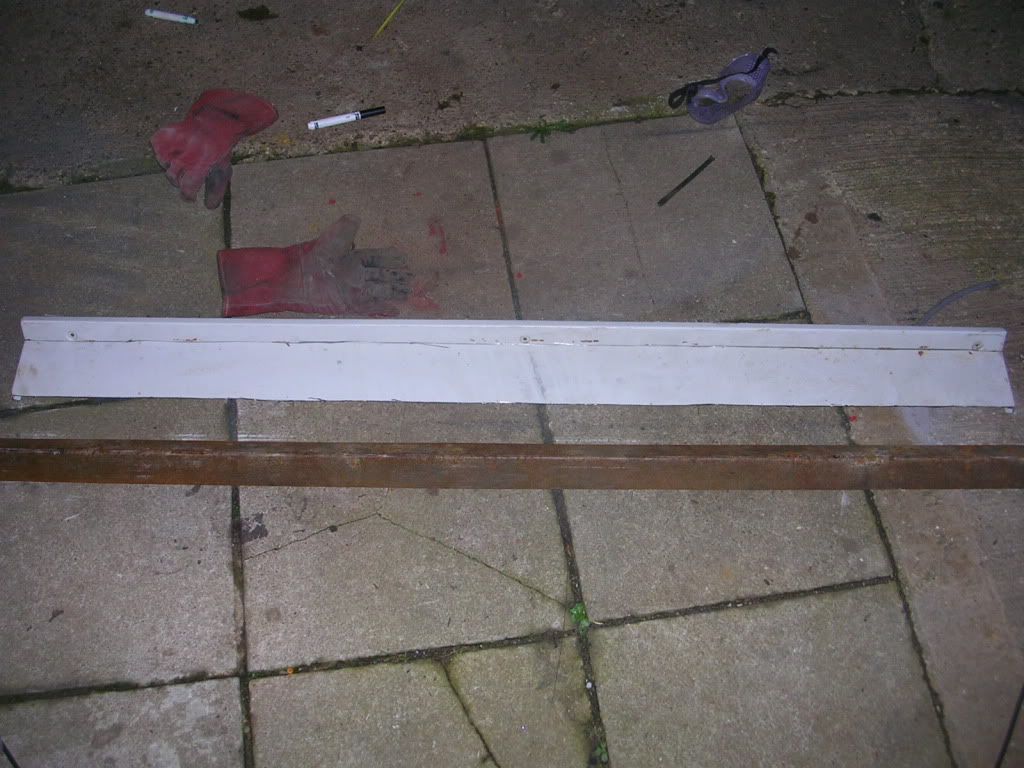

as you can see im starting to get something that resembles the bends on a sill
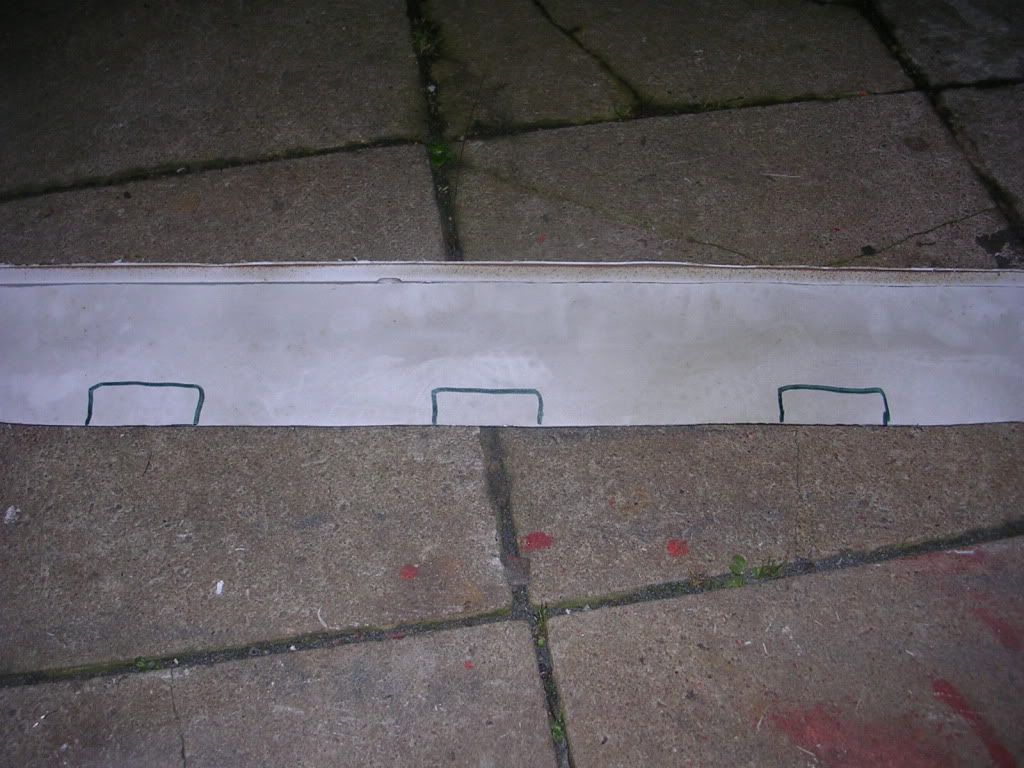
i have yet to make the vents in the sill, but these are just rough markings of where they need to be, they will be abit longer than shown in felt tip, but that was just a rough area where they need to be made...
Edited by olds_kool_lews, 17 February 2011 - 09:18 PM.
#115

Posted 17 February 2011 - 09:30 PM
#116

Posted 17 February 2011 - 09:50 PM
#117

Posted 17 February 2011 - 09:51 PM
#118

Posted 18 February 2011 - 08:02 PM
heres how i did it...
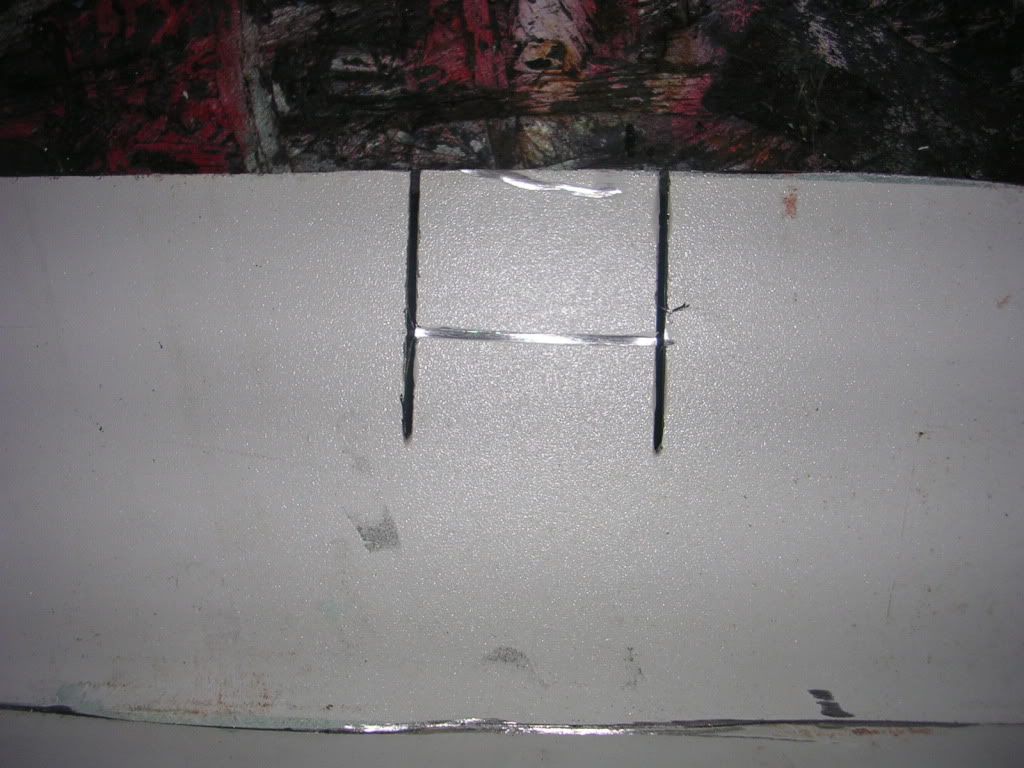
i started by marking out the basic shape of the drainage vent using felt tip
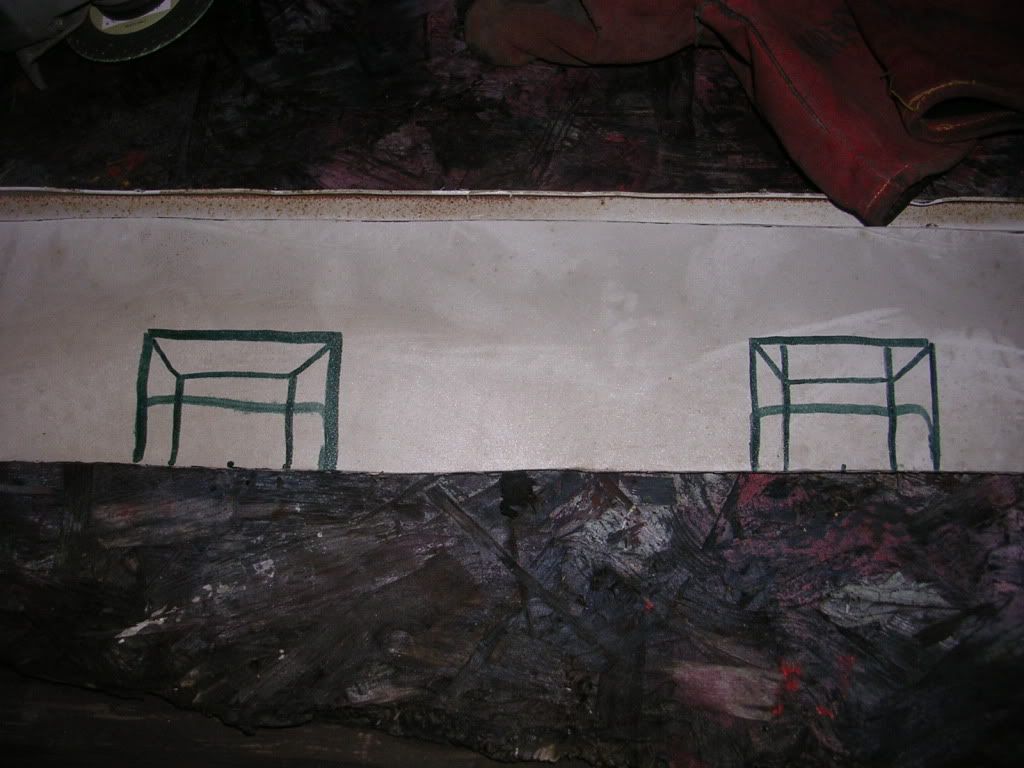
i then slit the steel up until the furthest most line, and "scored" the steel with a thin cutting disc to aid acurate bending
as you can see, once i had bent the "scores" it gave me the basic raised section of the sill vent
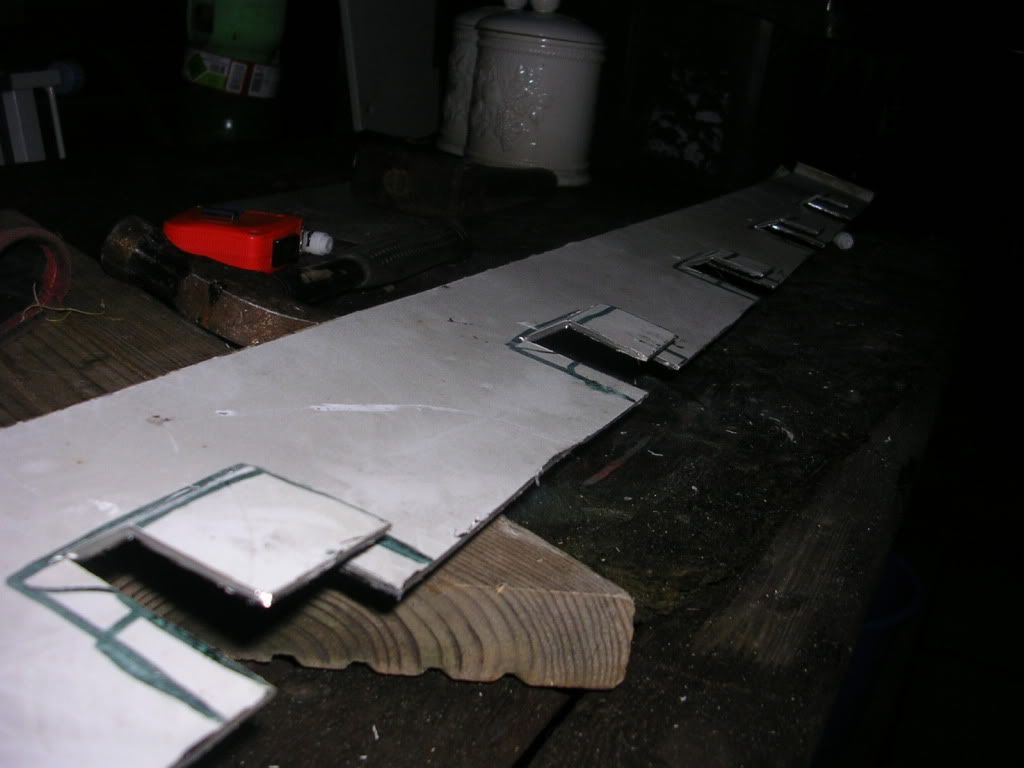
i then cut out and fabricated the infill sections that go on each side of the raised vent section to make an original looking sill
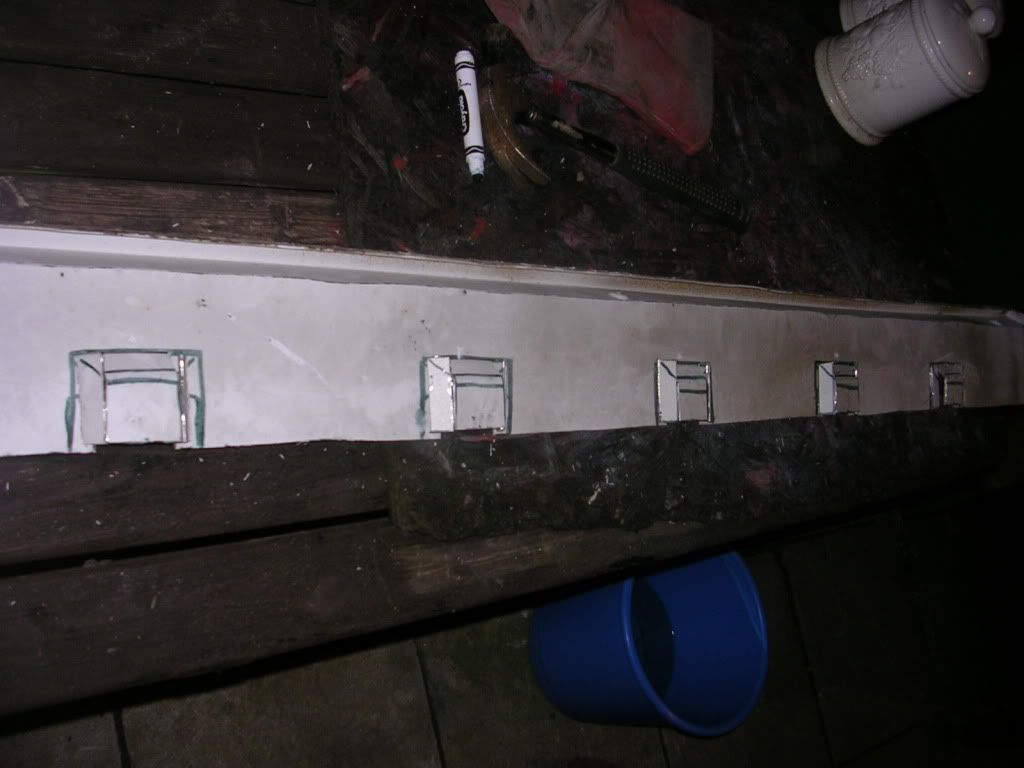

i then seam welded all the way around each of the sill vent holes

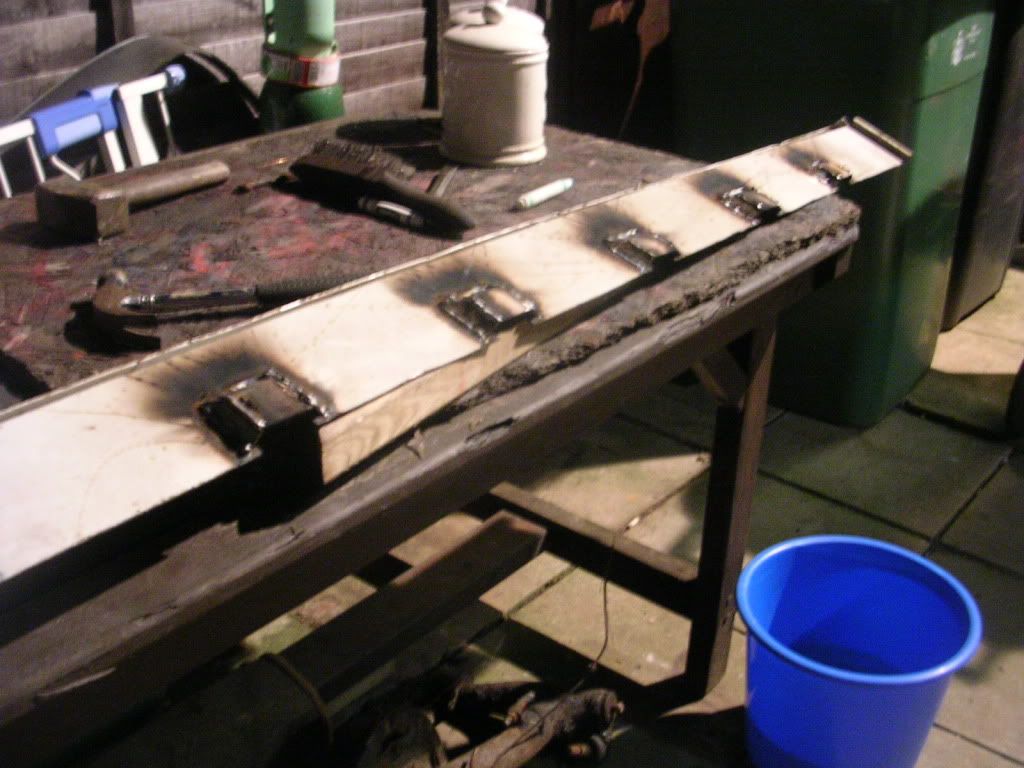
after grinding back the welds, and re-welding any thinned areas, im left with this..
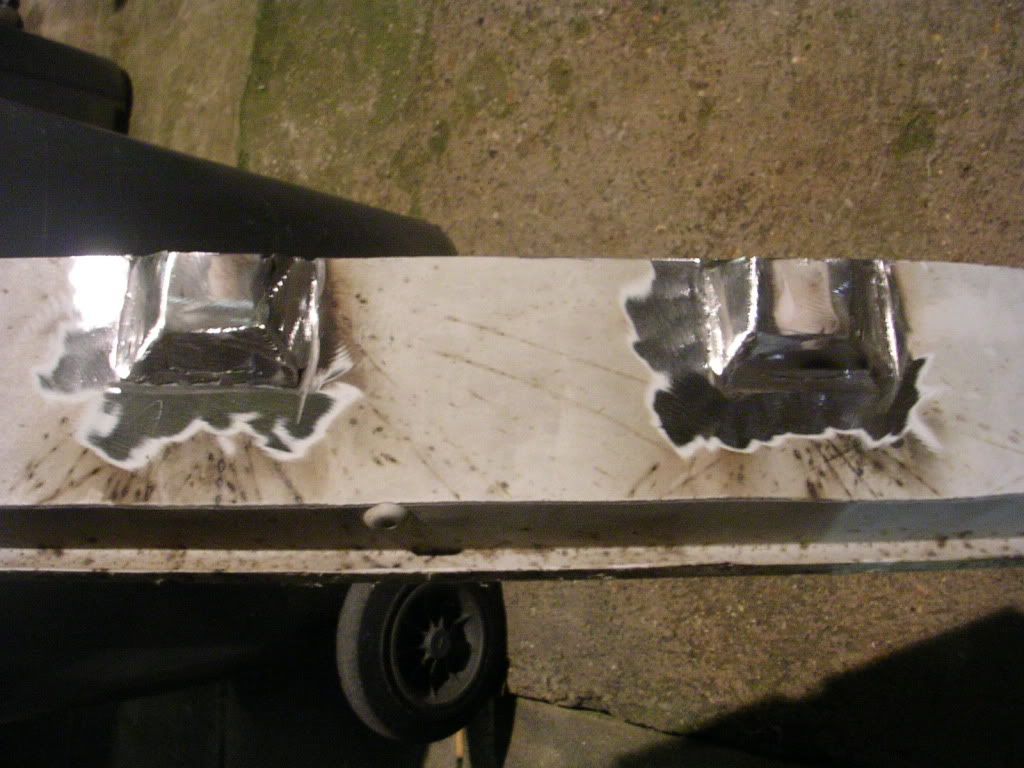
i then gave the new home made sill a quick coat of paint to stop any rust forming
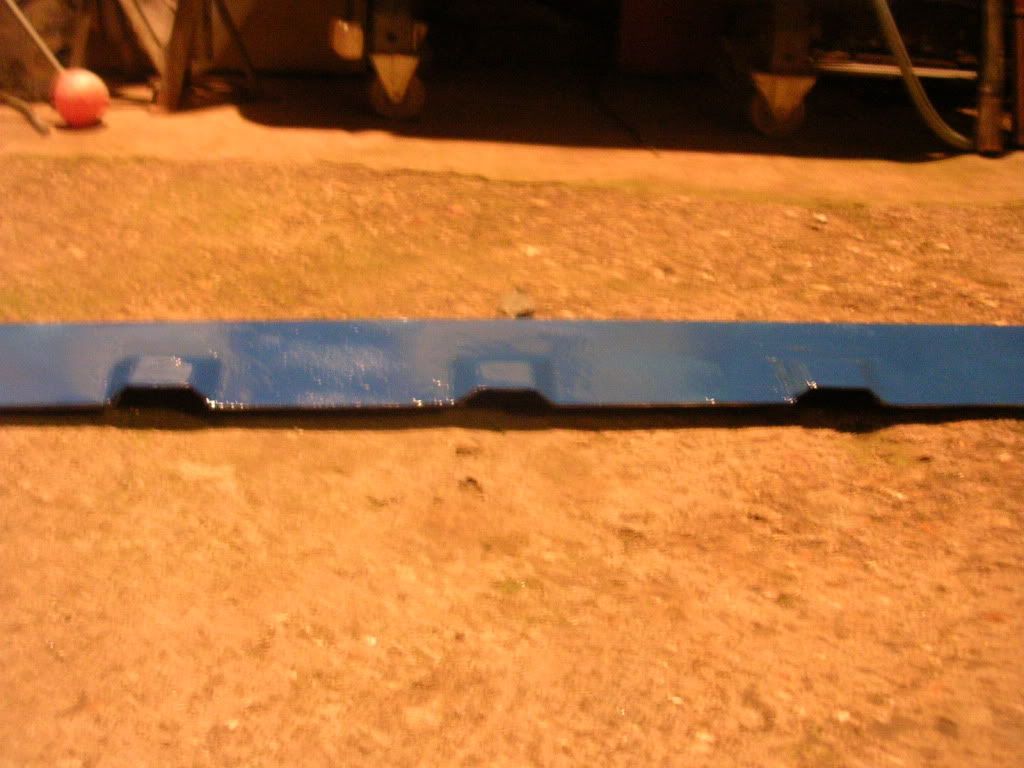
so thats one sill virtually finished, just needs trimming up and fitting on valerie! hope you enjoyed this update!
#119

Posted 18 February 2011 - 08:12 PM
#120

Posted 18 February 2011 - 08:17 PM
1 user(s) are reading this topic
0 members, 1 guests, 0 anonymous users


