So today Haggis passed the magical 500 mile mark since the new engine went in...I took him to Nairn for his suspension set up at Bitz Garage...he will be there all week....But Dave says he will guarantee a big grin on my face on the journey home..So as i said, the 500 mile mark has been reached which means I can rev it to the max...Took him to 6500 in first and second gears.. lots of tyre smoke..and general lack of grip..should be better once Dave works his majic on the suspension..Third gear is superb now...the MG cam gives loads of torque so even from low (ish) revs, he pulls very well and when the needle says 6000 its time to slow down...Christ its quick!! not as wild a delivery due to the milder cam but once its on song.....brilliant!! Anyway Mrs Minimad was waiting for me in Nairn for my lift home, I got the full lecture regarding going sideways on the industrial estate......just as well she never saw the rest of the trip through then!!!


Wide Ratio Gearbox And 1380 Engine Build
Started by
AndyMiniMad.
, Jun 12 2010 10:58 PM
419 replies to this topic
#391

AndyMiniMad.
-
- Members
-

- 3,295 posts
Up Into Fourth
- Location: Under The Bonnet.
Posted 21 May 2012 - 01:48 PM
#392
AndyMiniMad.
-
- Members
-
- 3,295 posts
Up Into Fourth
- Location: Under The Bonnet.
Posted 11 June 2012 - 08:36 AM
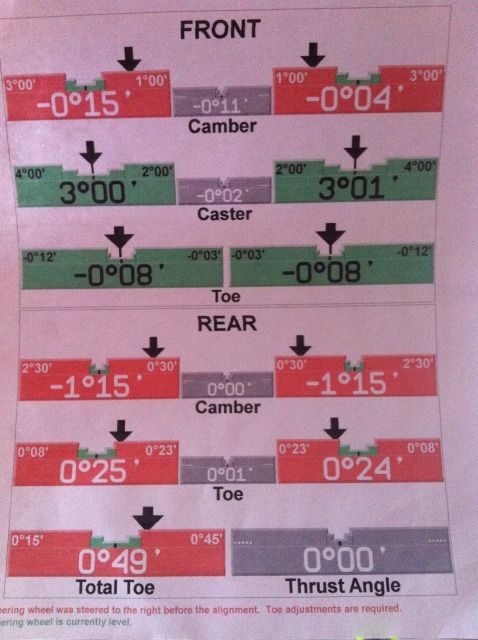
Results of the Geometry set up at Bizt Garage in Nairn...
#393
AndyMiniMad.
-
- Members
-
- 3,295 posts
Up Into Fourth
- Location: Under The Bonnet.
Posted 01 August 2012 - 09:49 PM
Not posted anything on this thread for a while because not much has been happening really...I had a run over the Lecht a month back and burst the braided oil feed pipe!! that was messy..but the pressure never dropped below 40psi despite half the engine oil splurting all over the engine bay..bloody awfull job to clean up!! but all sorted now with a new pipe..
And I fitted a set of Hallogen headlights that have been lying around the cave for six months..I wired them through 2 relays for lights and High beam..using the existing loom connections as switch wires to the relay coils..main feed taken from the battery feed through a 30amp in line fuse.
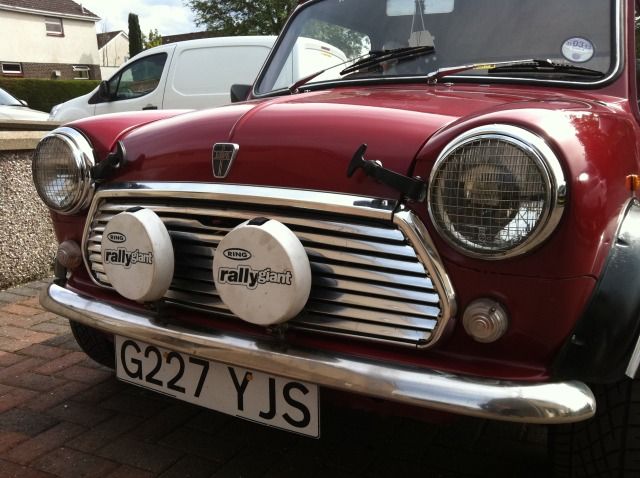
Cant make my mind up about the grills though...what do you think? should I keep them or bin them?

And I fitted a set of Hallogen headlights that have been lying around the cave for six months..I wired them through 2 relays for lights and High beam..using the existing loom connections as switch wires to the relay coils..main feed taken from the battery feed through a 30amp in line fuse.
Cant make my mind up about the grills though...what do you think? should I keep them or bin them?
#394
Old Bob
-

- Noobies
-
- 825 posts
TMF Menber Passed On R.I,P
- Location: South Hams
Posted 01 August 2012 - 10:08 PM
I like the headlight grills!
Bob
Bob
#395
AndyMiniMad.
-
- Members
-
- 3,295 posts
Up Into Fourth
- Location: Under The Bonnet.
Posted 18 September 2012 - 04:56 PM
Some bits arrived today from John at Guessworks..thanks for the fast delivery John, excellent service as usuall..
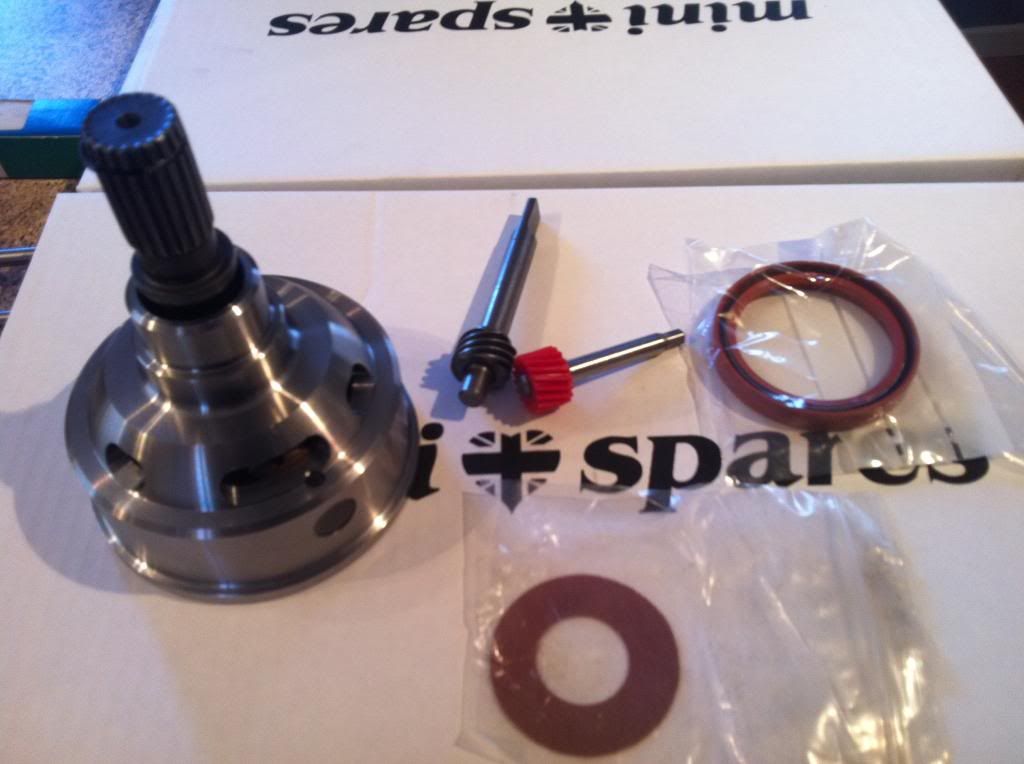
Im changing the final drive to 3.76 next month after the Final club run of the year. So thought it would be wise to slip in a cross pin diff at the same time!!
Im changing the final drive to 3.76 next month after the Final club run of the year. So thought it would be wise to slip in a cross pin diff at the same time!!
#396
AndyMiniMad.
-
- Members
-
- 3,295 posts
Up Into Fourth
- Location: Under The Bonnet.
Posted 20 September 2012 - 08:51 PM
Small update!!
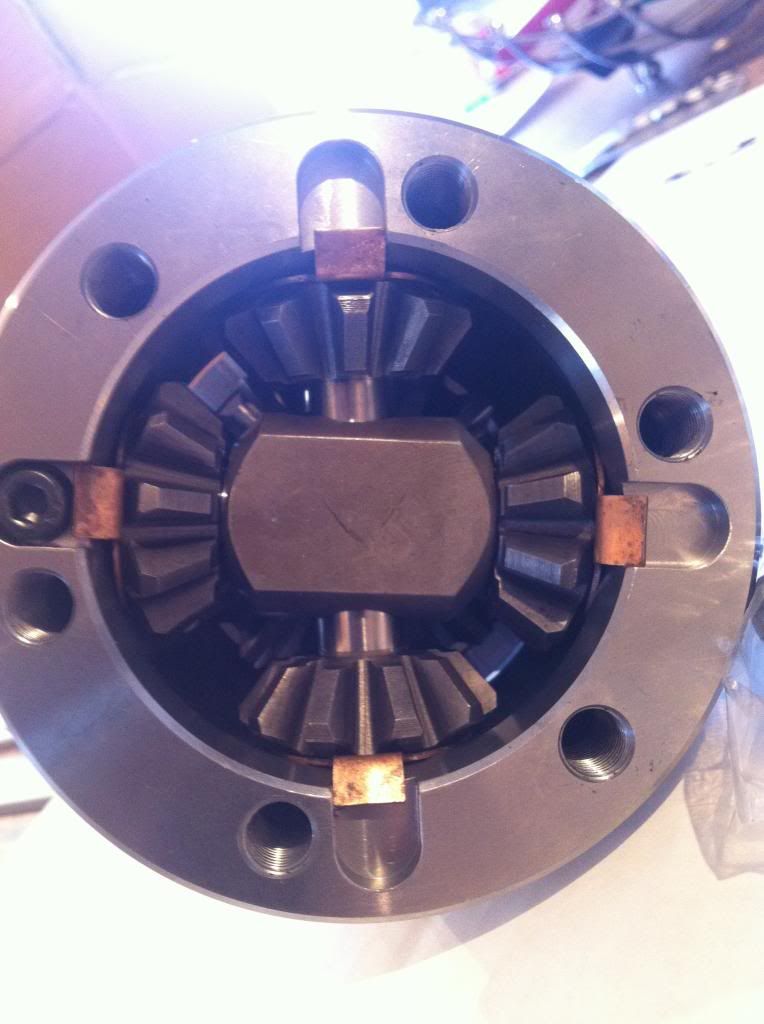
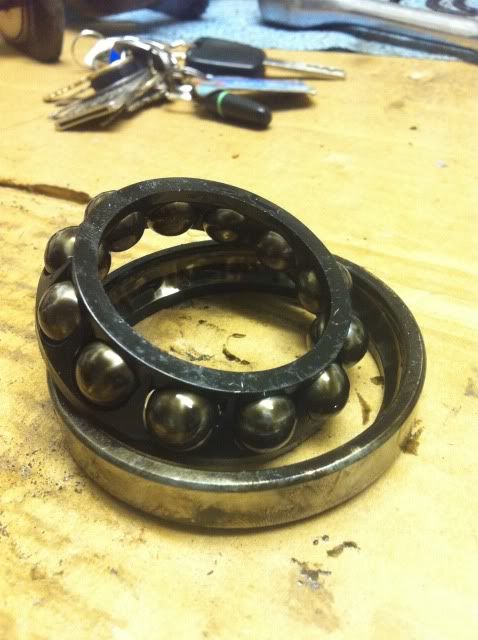
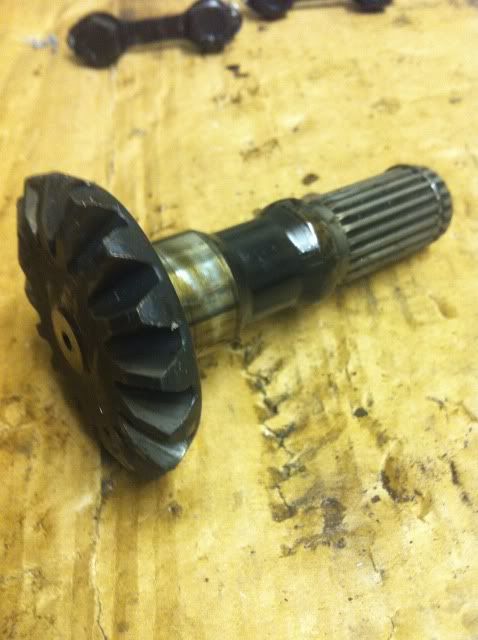
I have built up the final drive on my new diff..First I needed to strip an old diff in order to get the output shaft out. The diff bearings come apart easy enough, and then I used the pullers to get the inner race off..
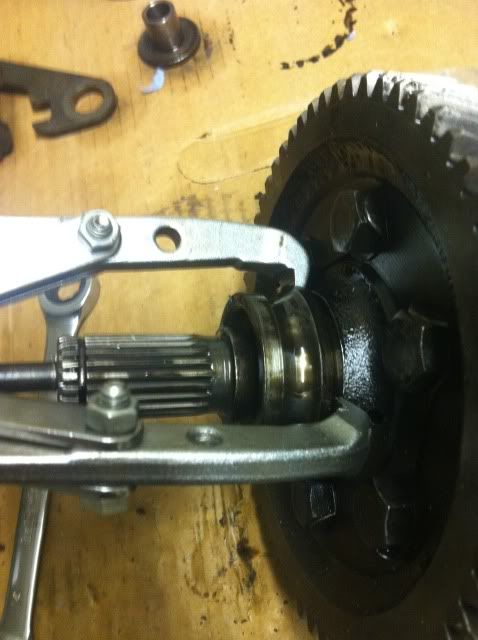
next was to undo the six crown wheel bolts. then a smalll tap with a rubber mallet and its apart..
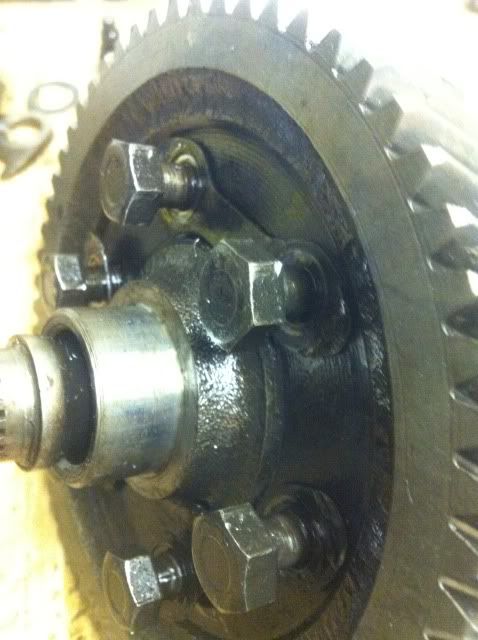
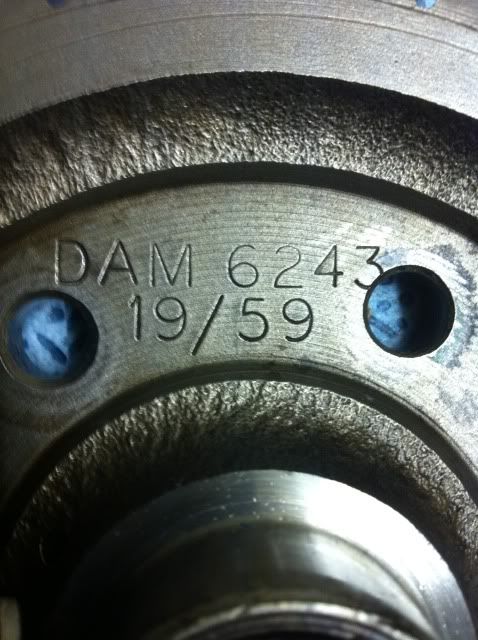
This is the bit I was after..
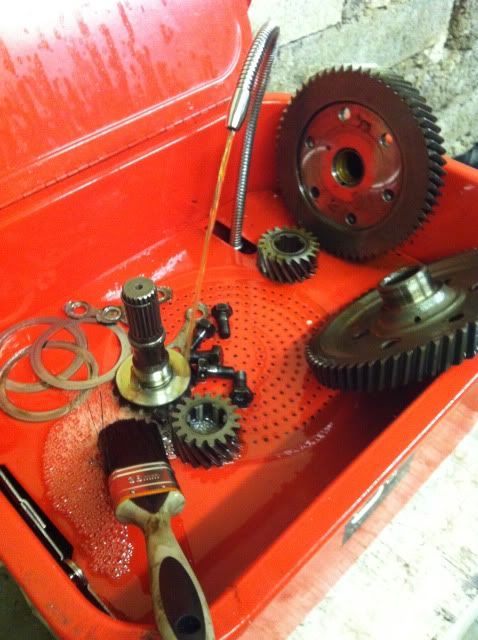
So all the bits go in the parts washer for a good clean.
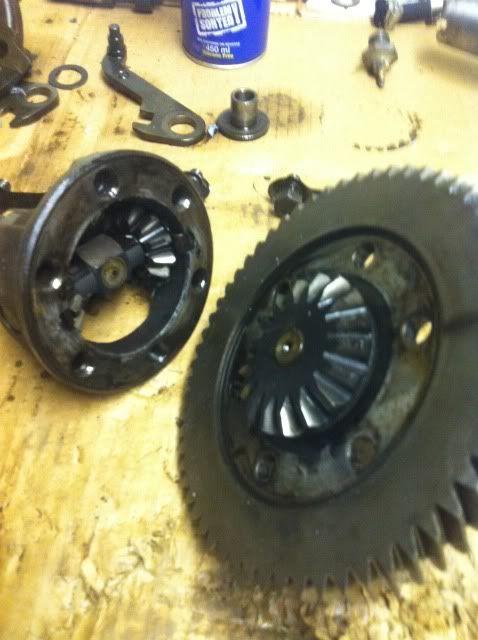
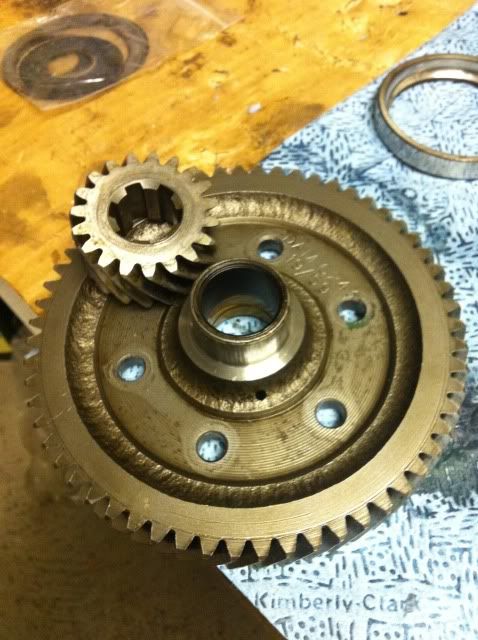
And here is the new crown wheel waiting to go on..
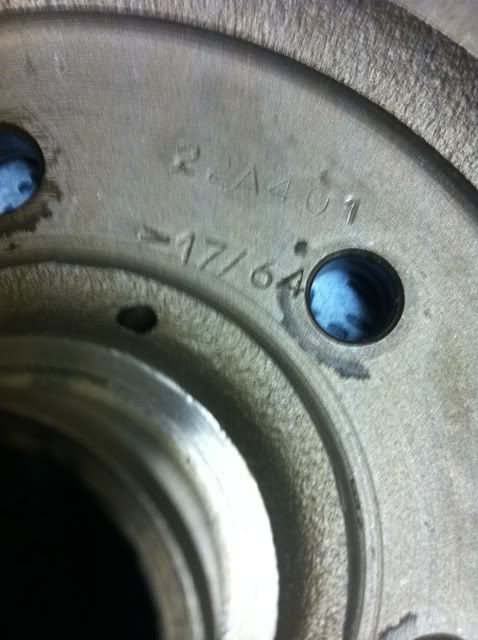
64 divided by 17 = a final drive ratio of 3.76
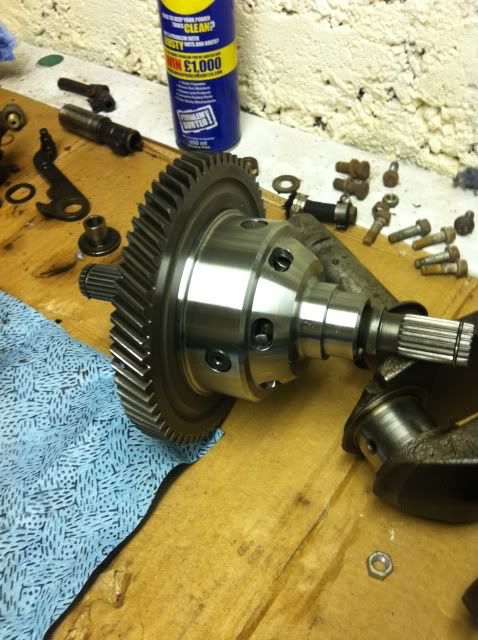
New fiber washer on the ouput shaft, has been soaked in oil for a while.

And then all bolted to the cross pin diff...Job done!!
And if anyone fancys a 3.1 final drive...PM me!!
I have built up the final drive on my new diff..First I needed to strip an old diff in order to get the output shaft out. The diff bearings come apart easy enough, and then I used the pullers to get the inner race off..
next was to undo the six crown wheel bolts. then a smalll tap with a rubber mallet and its apart..
This is the bit I was after..
So all the bits go in the parts washer for a good clean.
And here is the new crown wheel waiting to go on..
64 divided by 17 = a final drive ratio of 3.76
New fiber washer on the ouput shaft, has been soaked in oil for a while.
And then all bolted to the cross pin diff...Job done!!
And if anyone fancys a 3.1 final drive...PM me!!
#397
AndyMiniMad.
-
- Members
-
- 3,295 posts
Up Into Fourth
- Location: Under The Bonnet.
Posted 16 February 2013 - 03:32 PM
Haggis is looking a wee bit nervous, I think he knows whats about to happen, and how fast he's going to go this year!!
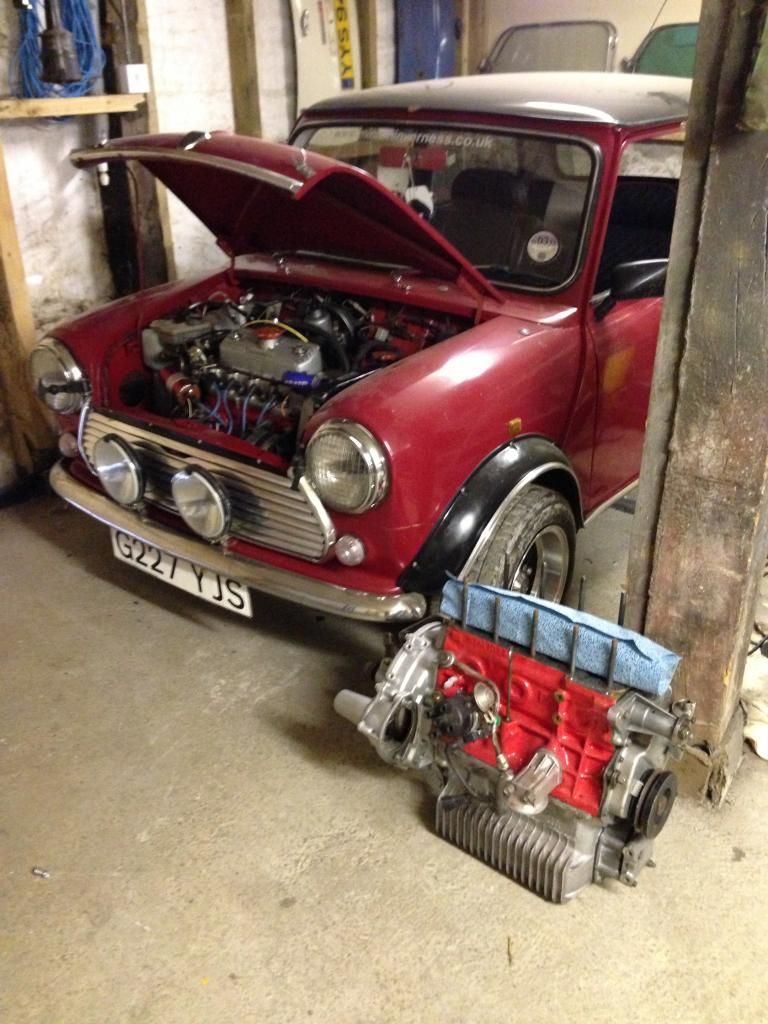
Its ok boy!! it wont hurt...Open wide!!!
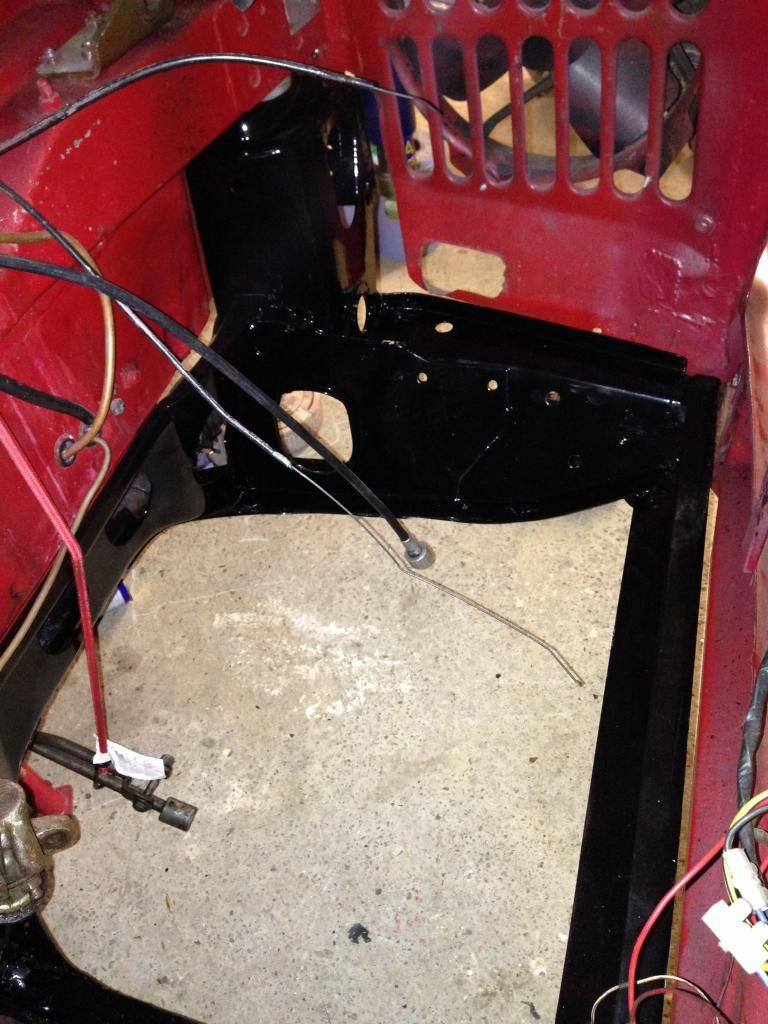
All out!! Was easy..all the bolts had been copper greased when they were fitted, so they flew out!!
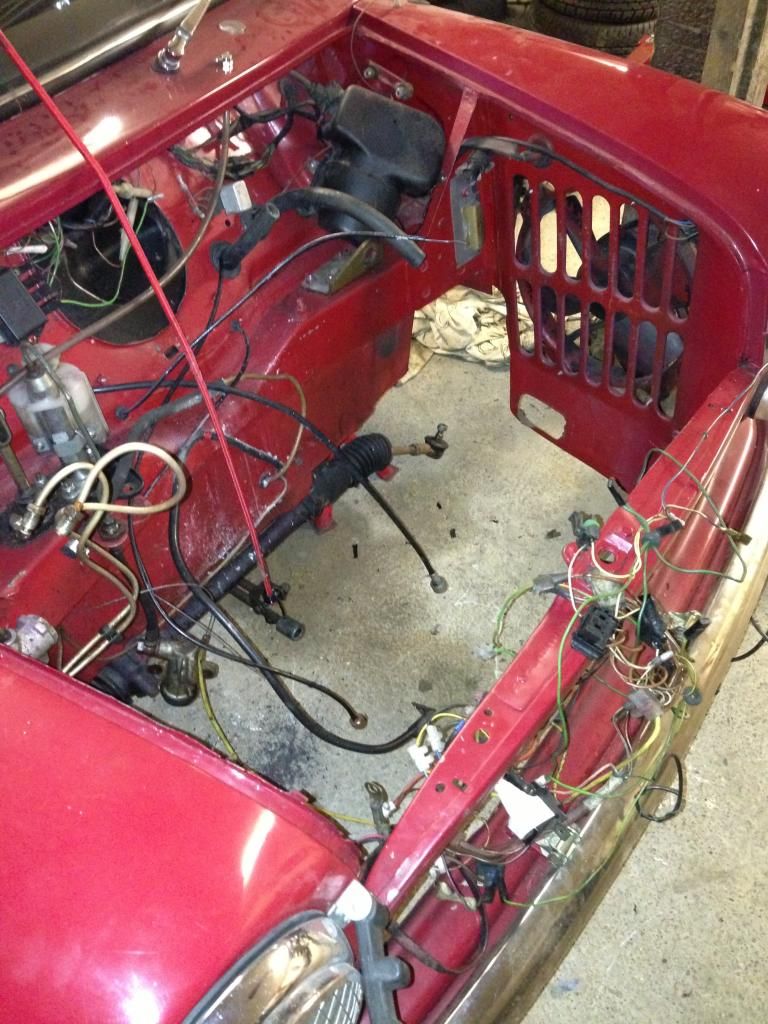
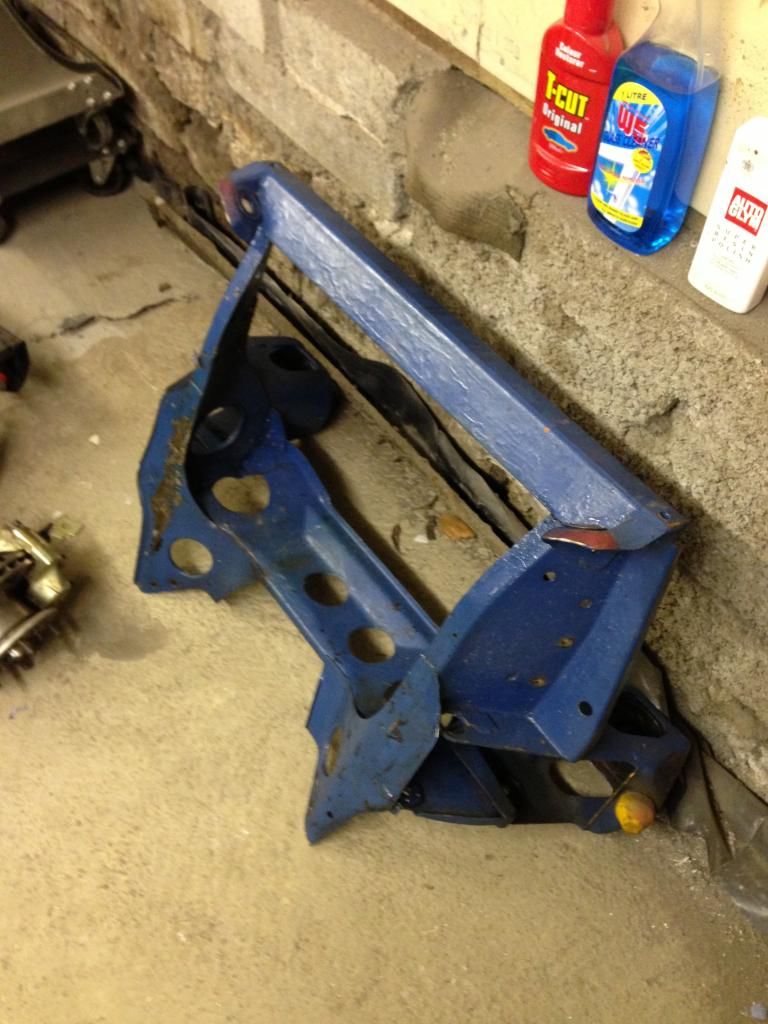
The subby was pretty clean...not bad after a year or so in the car, oil leakage and brake fluid leak didnt help, But here it is ready to go the the shot blasters!!
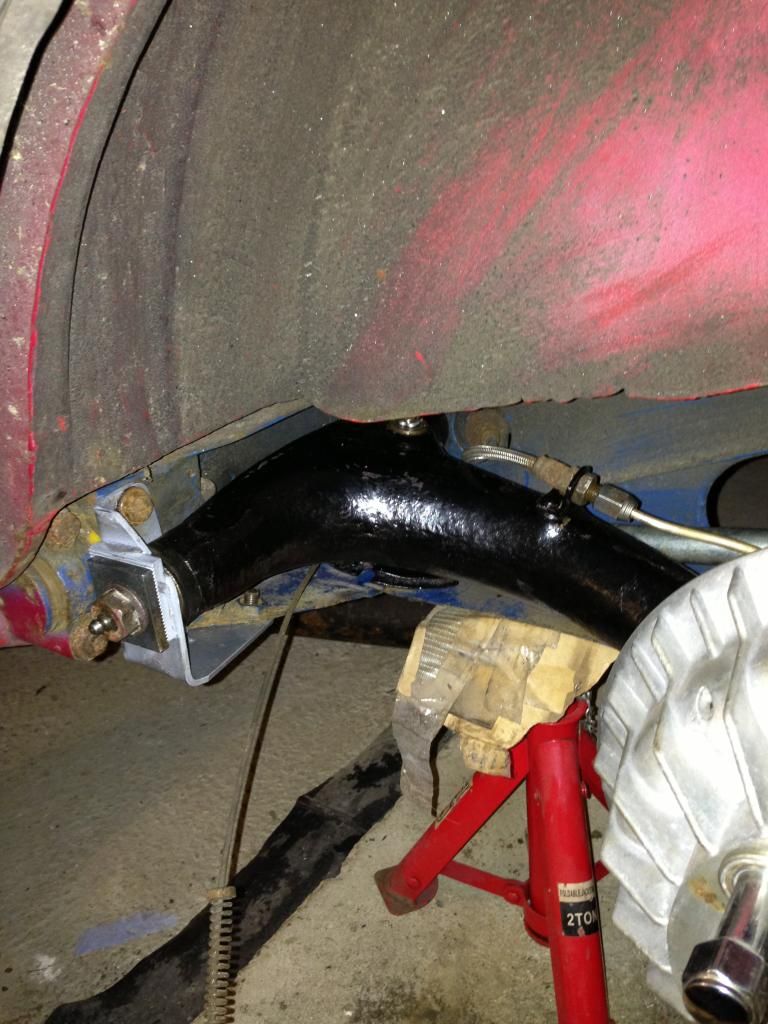
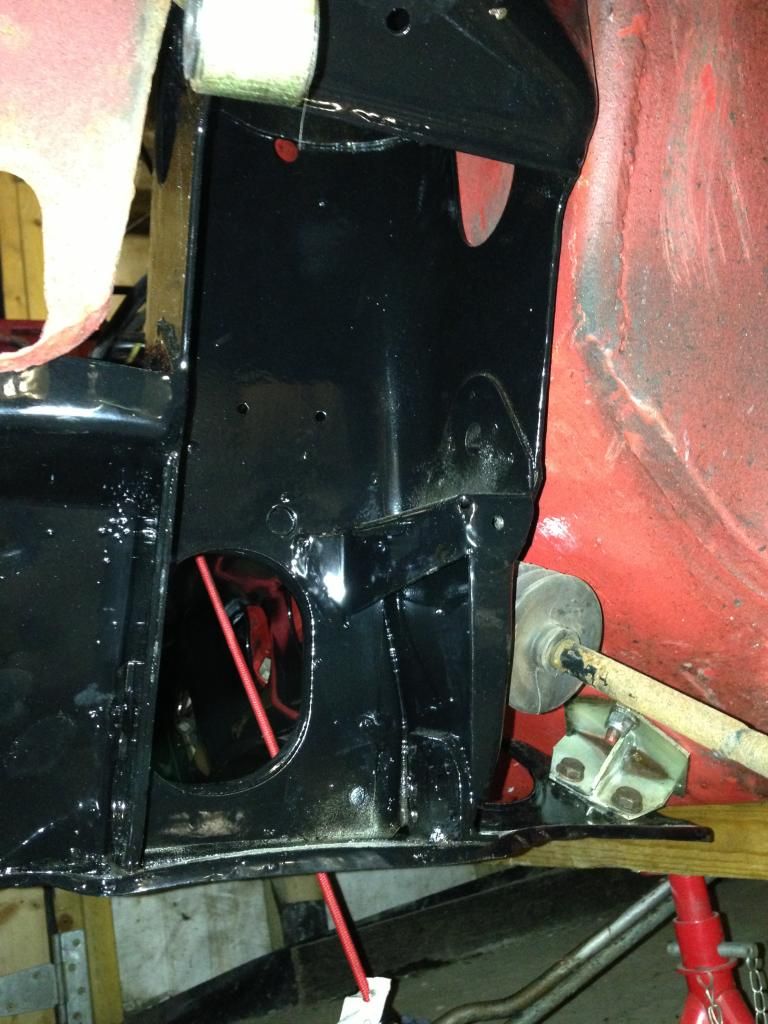
Tonight I took the rear wheels and radius arms off haggis, its still pretty clean under here..
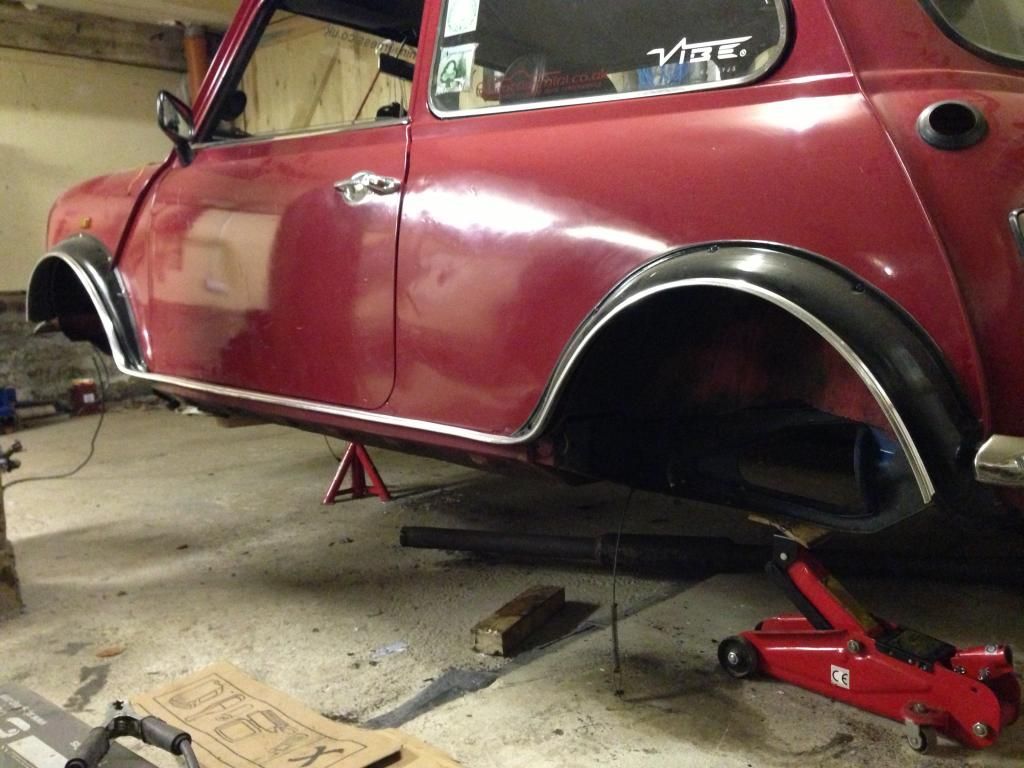
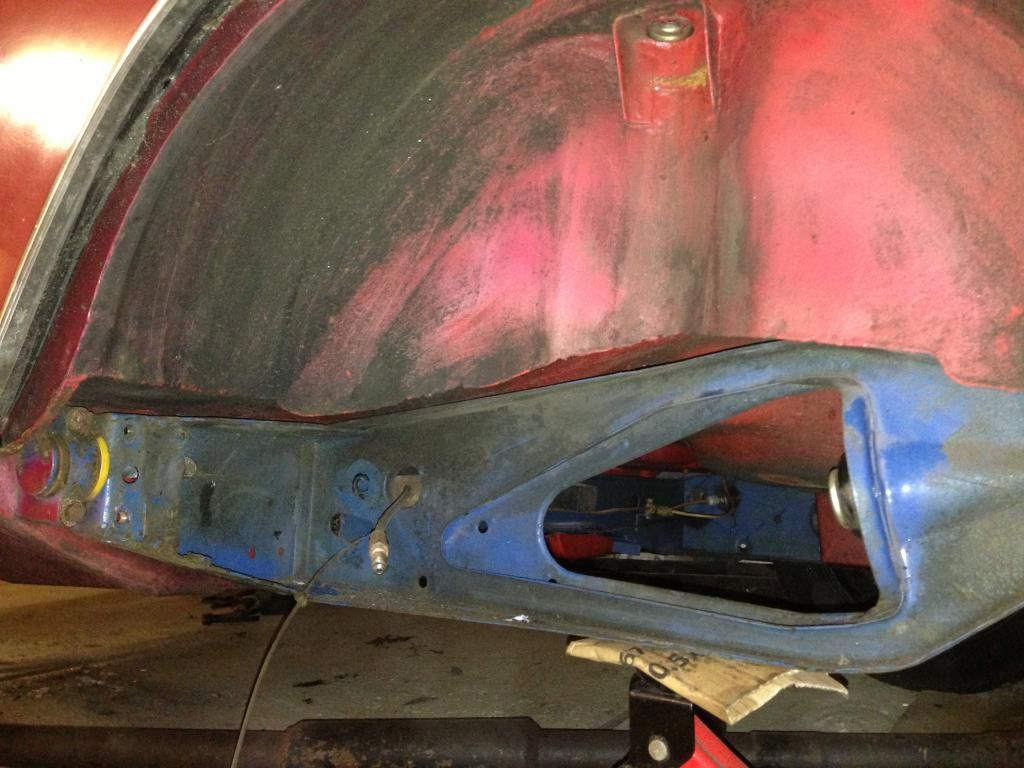
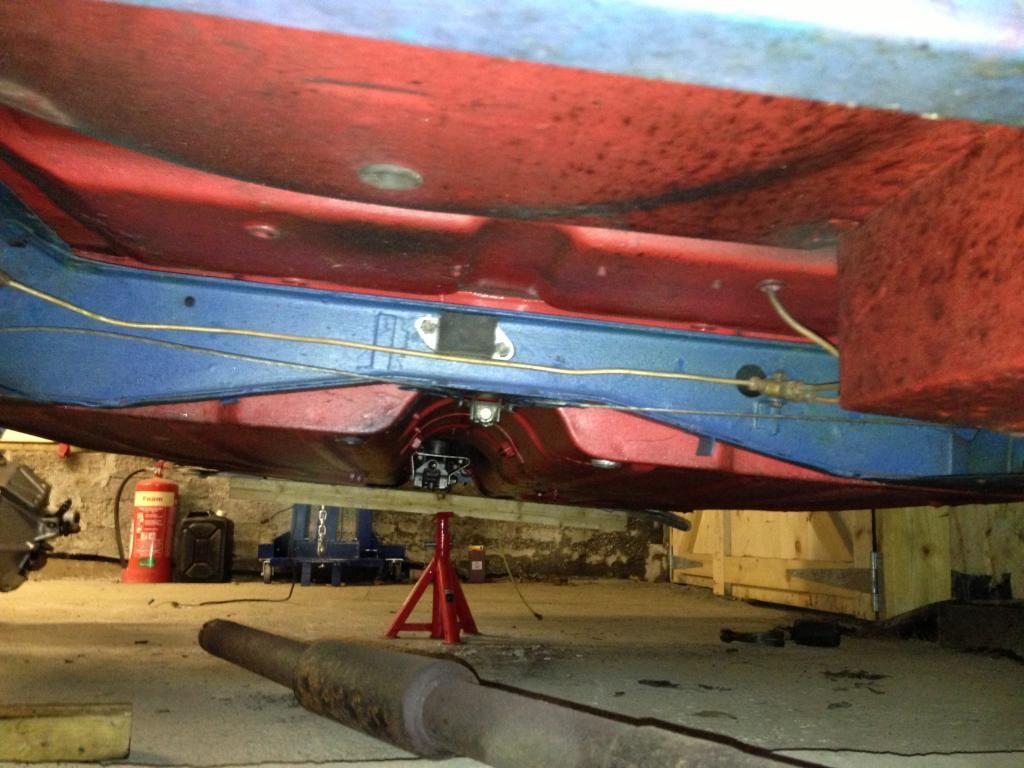
Not going to remove the rear subframe, just give everything a good claean and bolt stuff back on..
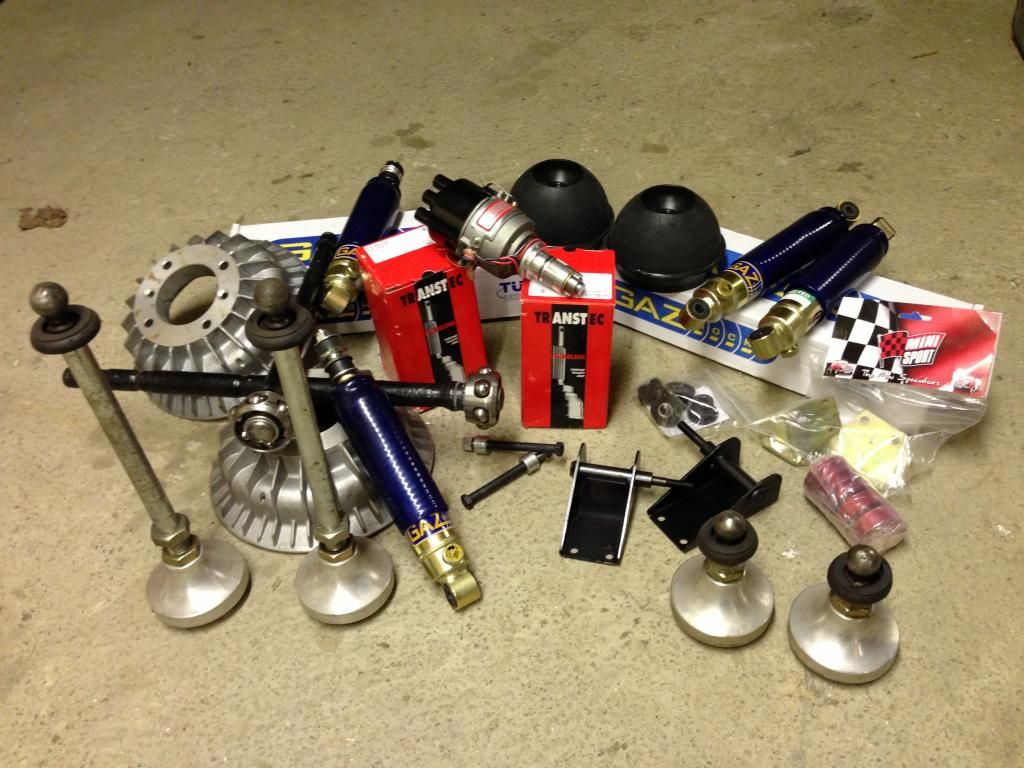
These are the shiny bits that arrived this week...Hope to be back on the road by next weekend!!
Its ok boy!! it wont hurt...Open wide!!!
All out!! Was easy..all the bolts had been copper greased when they were fitted, so they flew out!!
The subby was pretty clean...not bad after a year or so in the car, oil leakage and brake fluid leak didnt help, But here it is ready to go the the shot blasters!!
Tonight I took the rear wheels and radius arms off haggis, its still pretty clean under here..
Not going to remove the rear subframe, just give everything a good claean and bolt stuff back on..
These are the shiny bits that arrived this week...Hope to be back on the road by next weekend!!
#398
xrocketengineer
-

- Members
-
- 1,637 posts
Rocket Man
- Location: Florida, USA
Posted 16 February 2013 - 03:52 PM
Great posts and pictures as always, Andy!
#399
Mini 360
-

- Members
-
- 4,933 posts
Up Into Fourth
- Location: Aberdeenshire
- Local Club: Independent
Posted 16 February 2013 - 04:02 PM
You just reminded me I have a set of Miniinfs I need to refurb.....
#400
AndyMiniMad.
-
- Members
-
- 3,295 posts
Up Into Fourth
- Location: Under The Bonnet.
Posted 16 February 2013 - 10:04 PM
Thankyou..I love coming to your bit of the world ..Who knew ther were 2 Inverness's...yours is a bit warmer then ours though!! which part of the sunshine state are you in?Great posts and pictures as always, Andy!
#401
xrocketengineer
-
- Members
-
- 1,637 posts
Rocket Man
- Location: Florida, USA
Posted 17 February 2013 - 12:10 AM
Thankyou..I love coming to your bit of the world ..Who knew ther were 2 Inverness's...yours is a bit warmer then ours though!! which part of the sunshine state are you in?
Great posts and pictures as always, Andy!
I am located on the eastern side in Merritt Island by the Space Center. Never been to either of the Inverness's.....
#402
AndrewMini
-
- Noobies
-
- 154 posts
Mini Mad
- Location: Launceston, Cornwall
Posted 17 February 2013 - 02:21 PM
nice build, all those parts on the engine look expensive! wish i had the money to build an engine like that
#403
leeuk
-

- Members
-
- 681 posts
Super Mini Mad
- Location: Wednesbury
Posted 18 February 2013 - 02:00 PM
Fantastic build thread mate, Took me a while to read throu it from the start but it was worth it, some great info and very interesting, top job 
#404
AndyMiniMad.
-
- Members
-
- 3,295 posts
Up Into Fourth
- Location: Under The Bonnet.
Posted 05 March 2013 - 09:39 AM
Thanks Guys...
Got a bit more done last week. Front hubs all painted and regreased the bearings.
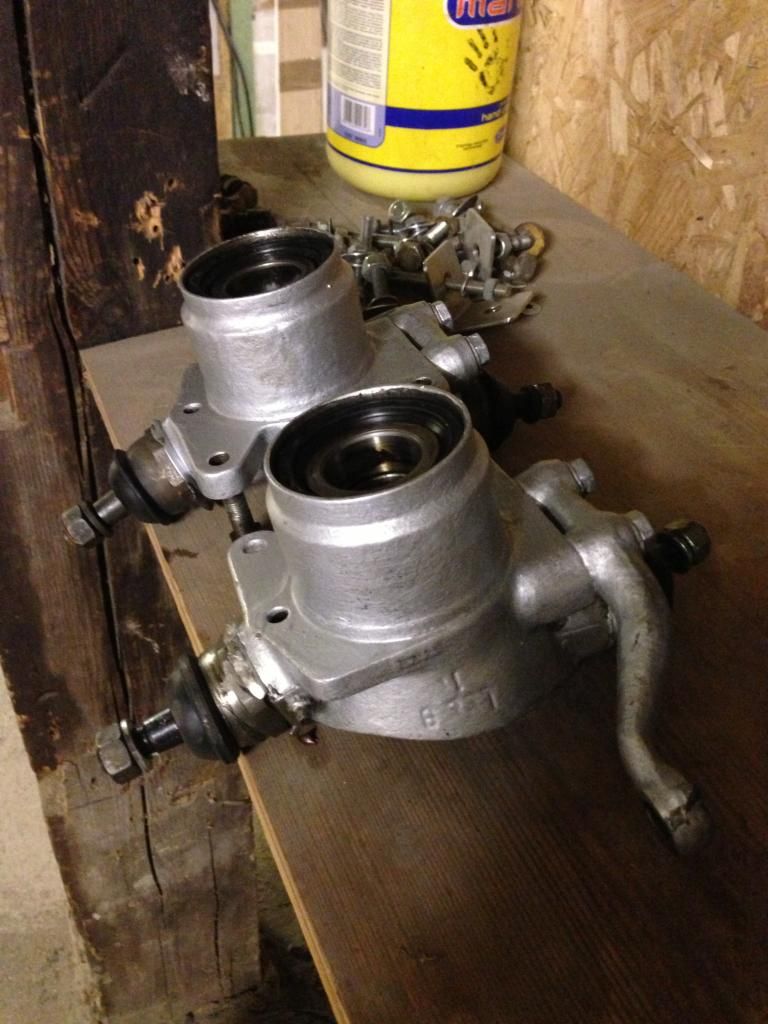
Rear radius arms fitted..
The front subfram came back from Powder coating so got that fitted with solid mounts.
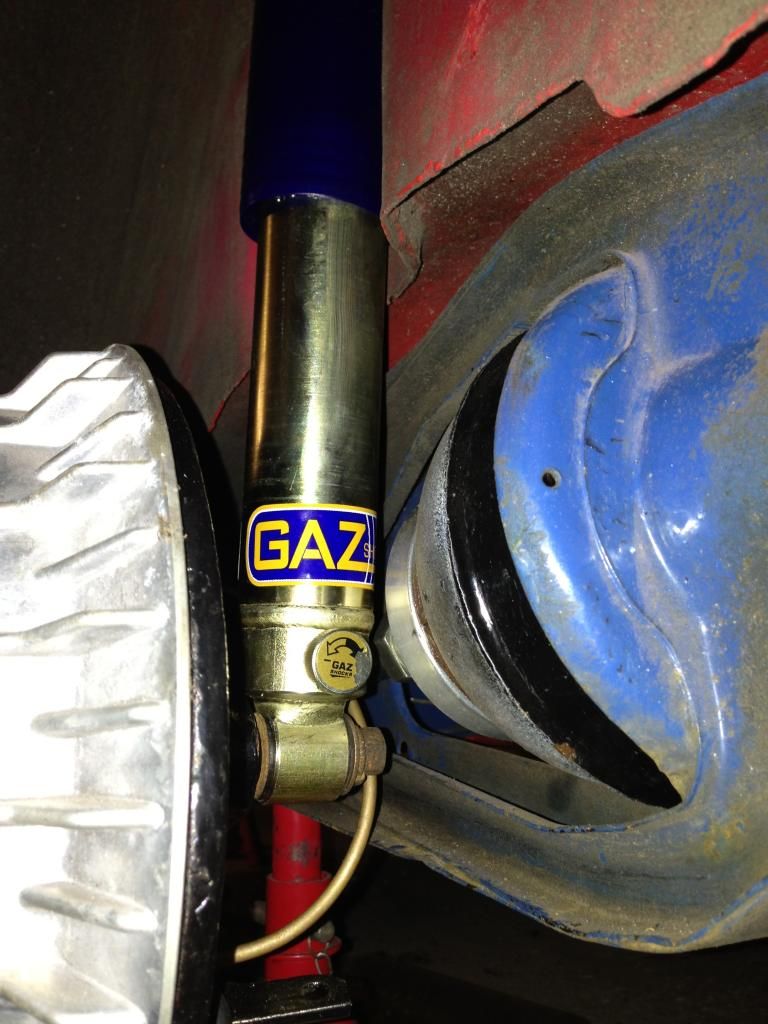
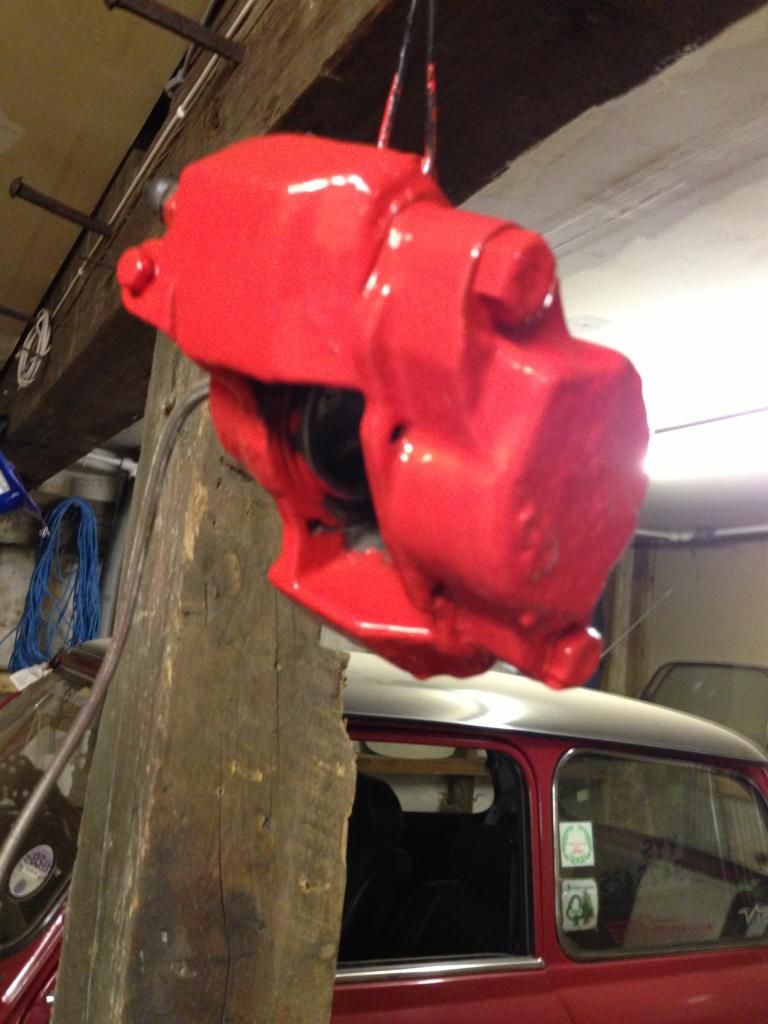
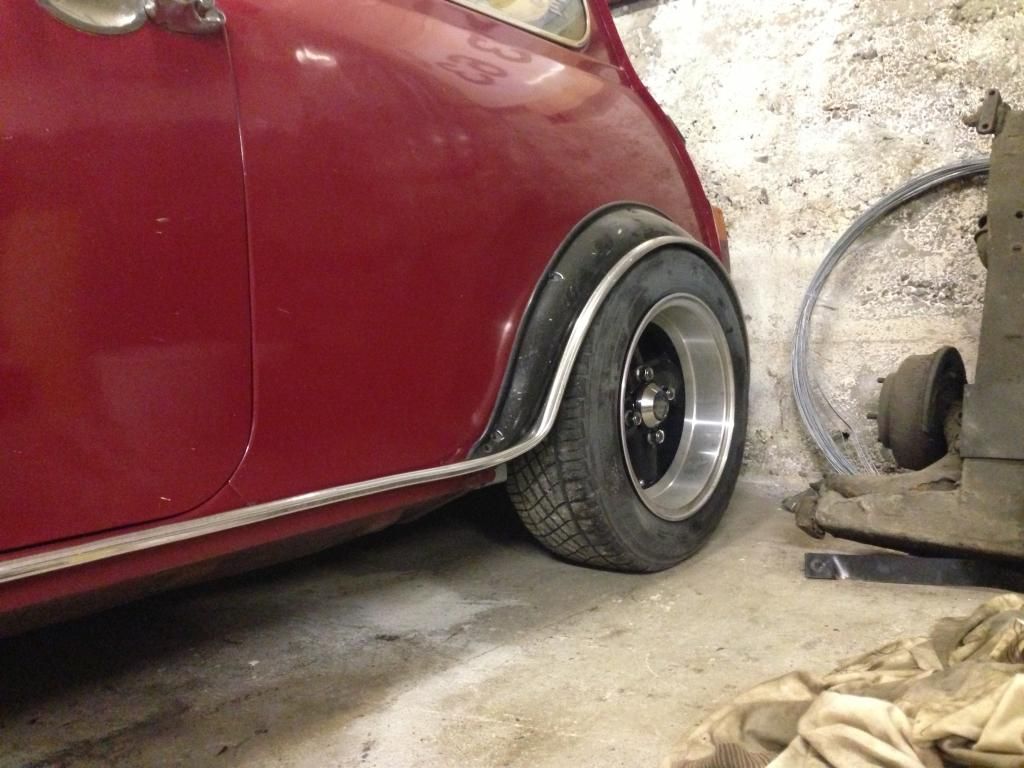
Calipers were blue and now they are red!!
I think Im going to have to raise the ride height a smidge though!! lol.
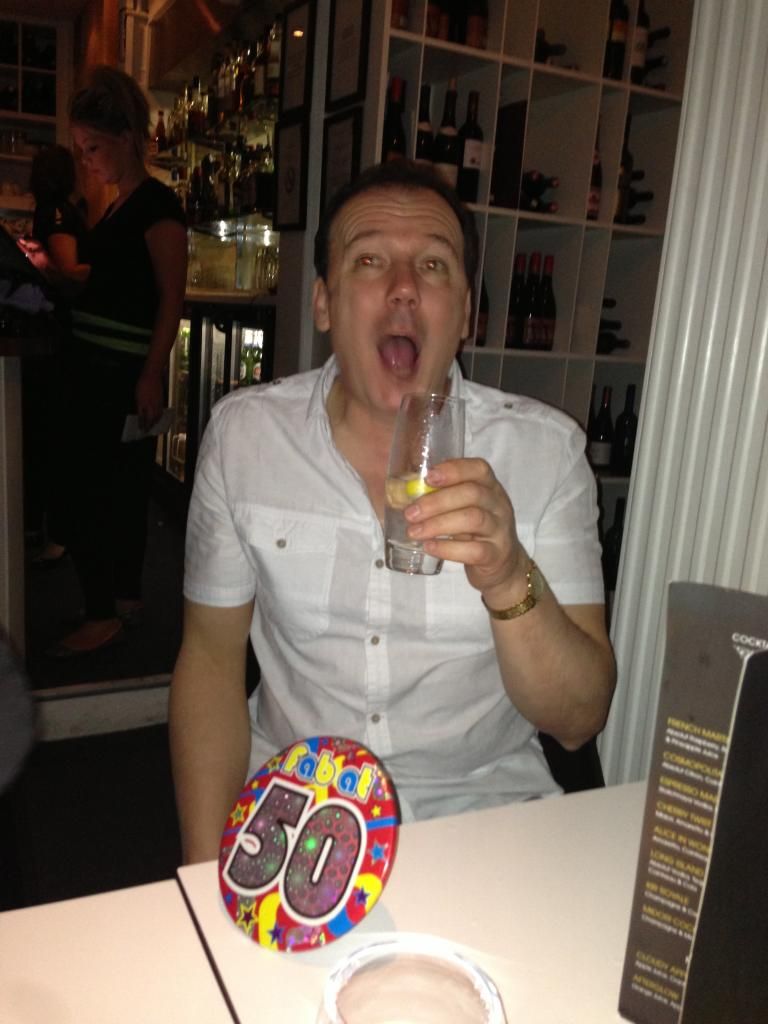
And the reason I did bugger all on the car this weekend!!
Got a bit more done last week. Front hubs all painted and regreased the bearings.
Rear radius arms fitted..
The front subfram came back from Powder coating so got that fitted with solid mounts.
Calipers were blue and now they are red!!
I think Im going to have to raise the ride height a smidge though!! lol.
And the reason I did bugger all on the car this weekend!!
#405
AndyMiniMad.
-
- Members
-
- 3,295 posts
Up Into Fourth
- Location: Under The Bonnet.
Posted 05 March 2013 - 07:06 PM
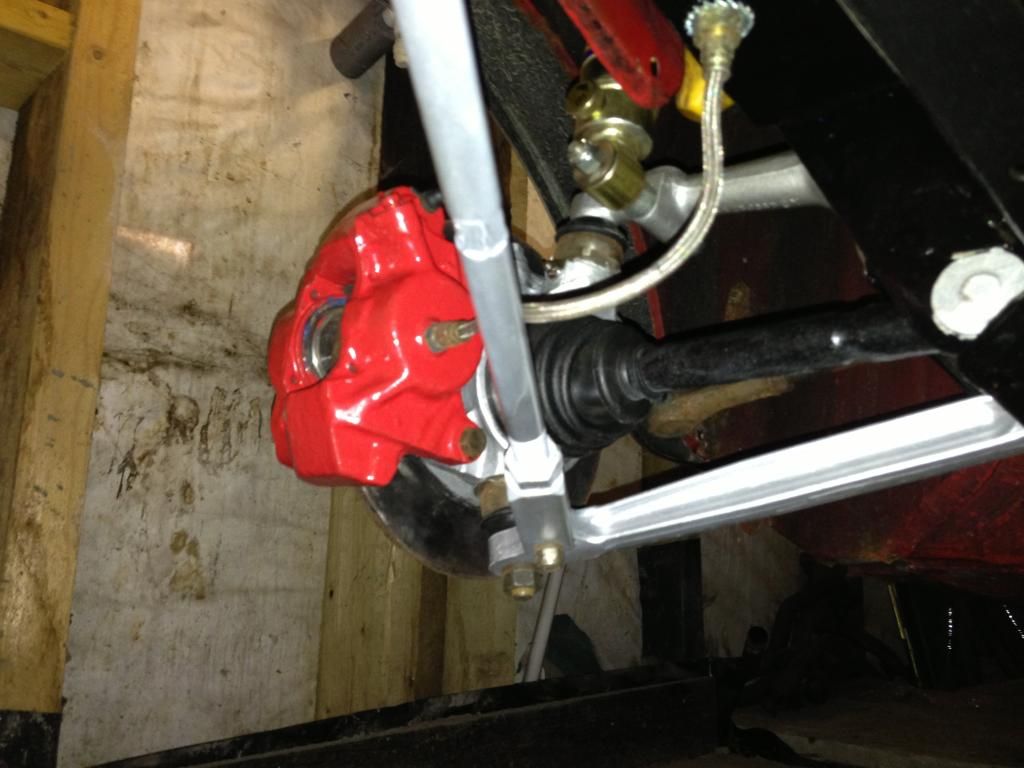
Todays progress...
Calipers on!!
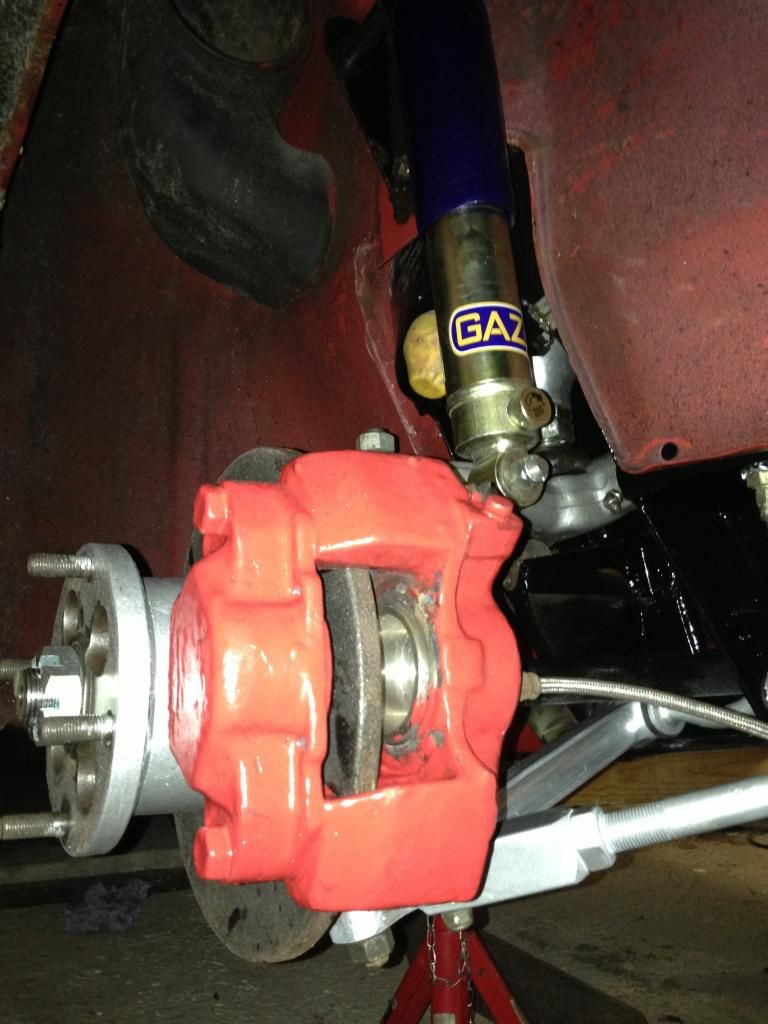
So that all the runing gear sorted and the front subby all completed with either brand new parts or refurbished bits.
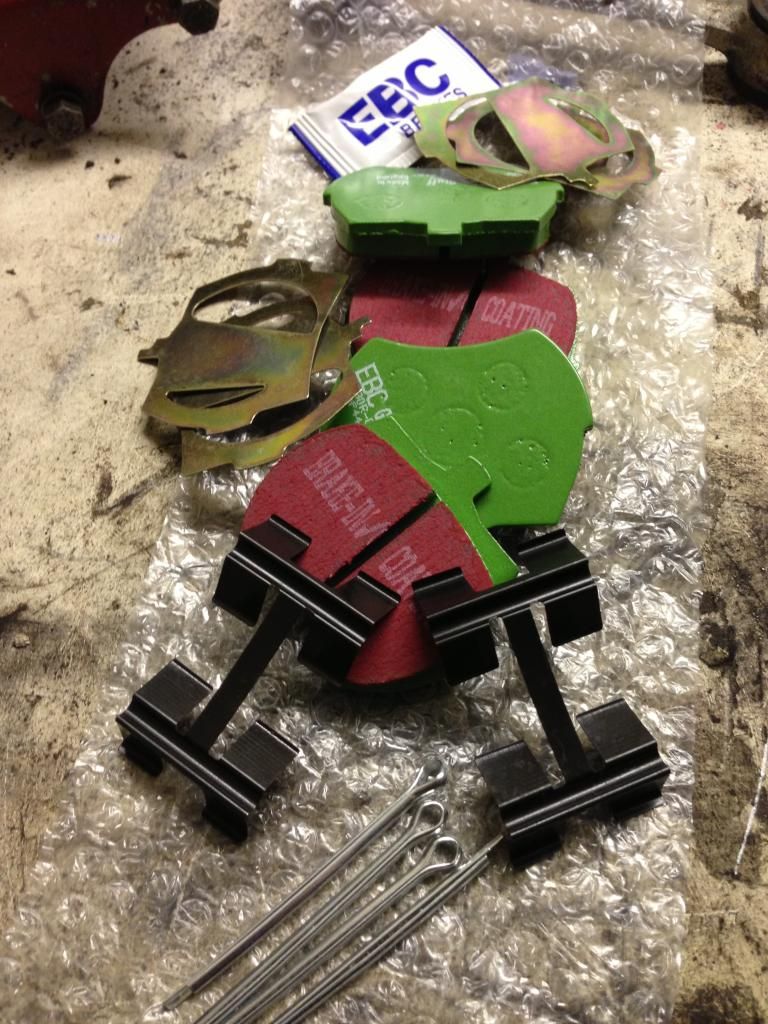
I then fitted some stuff made from Green..
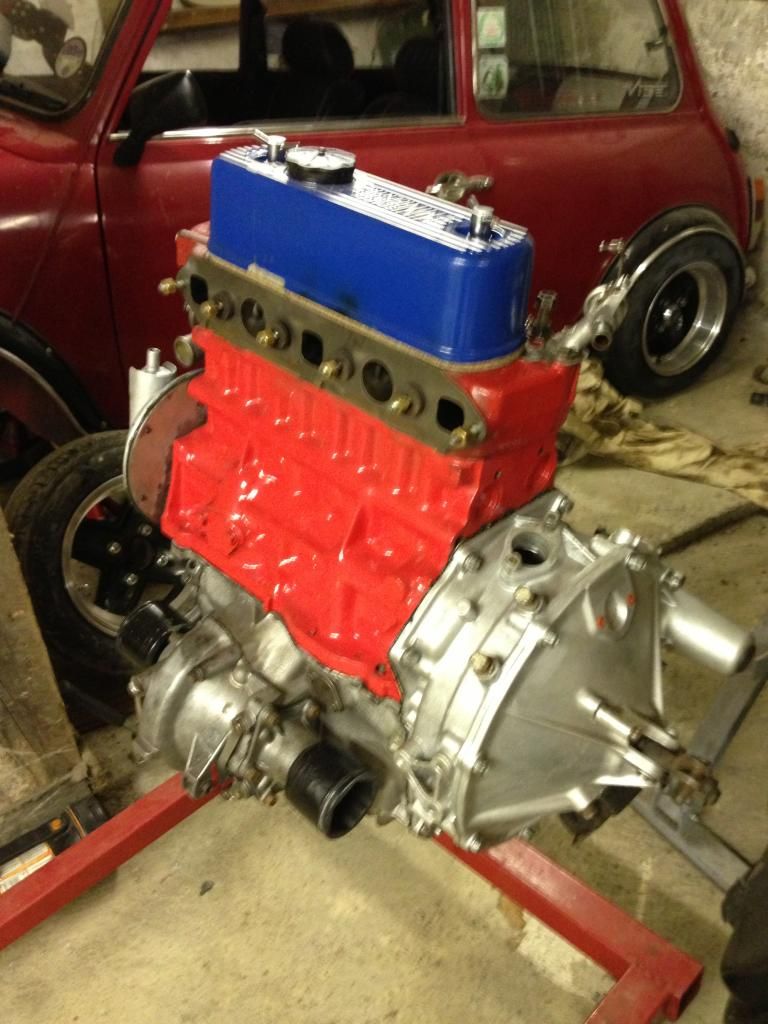
And decided it would be best to get the cylinder head fitted onto the engine...so first was to give it a quick wipe!!
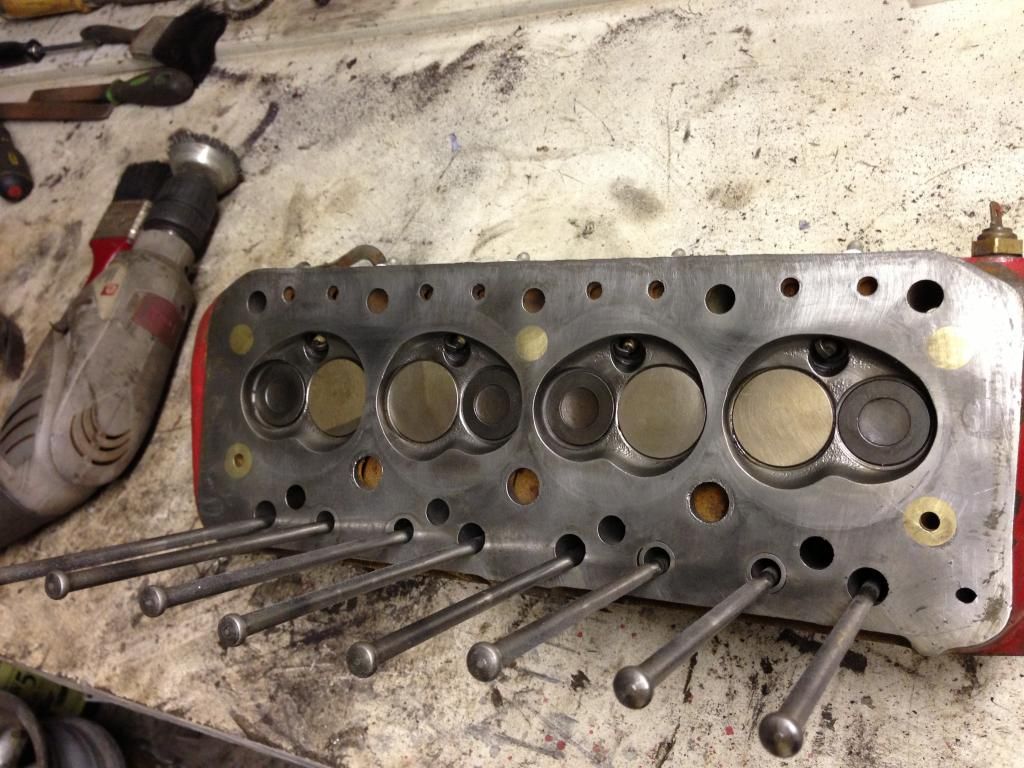
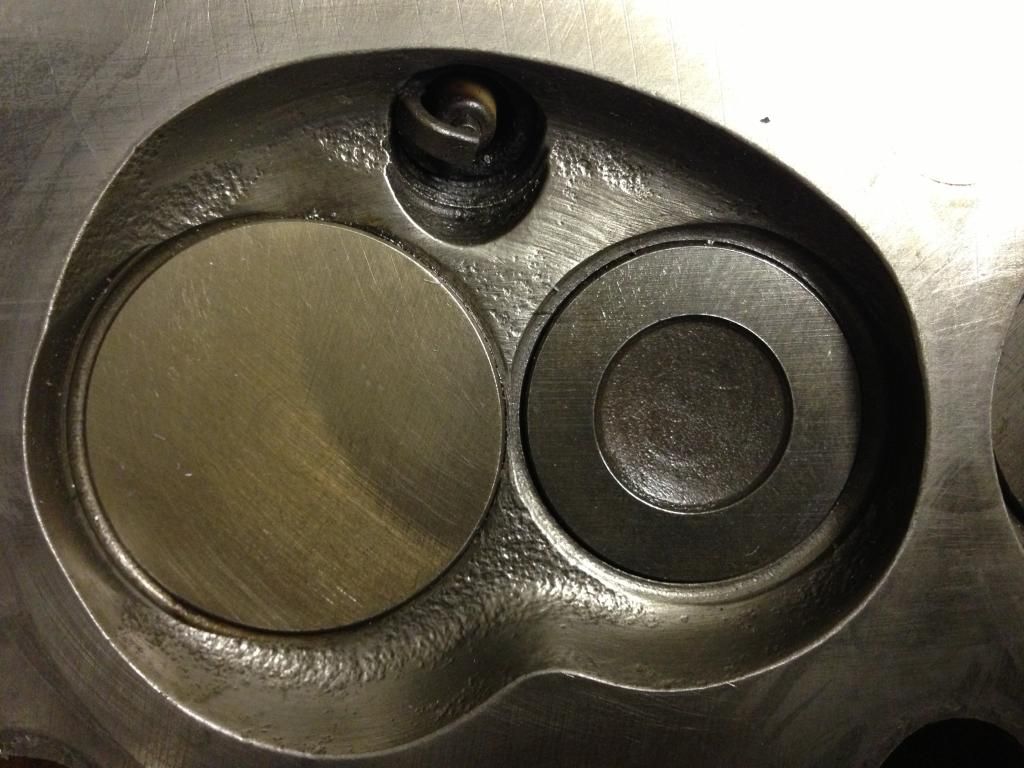
Checked all the valves wrer seated correctly and nothing was damaged..
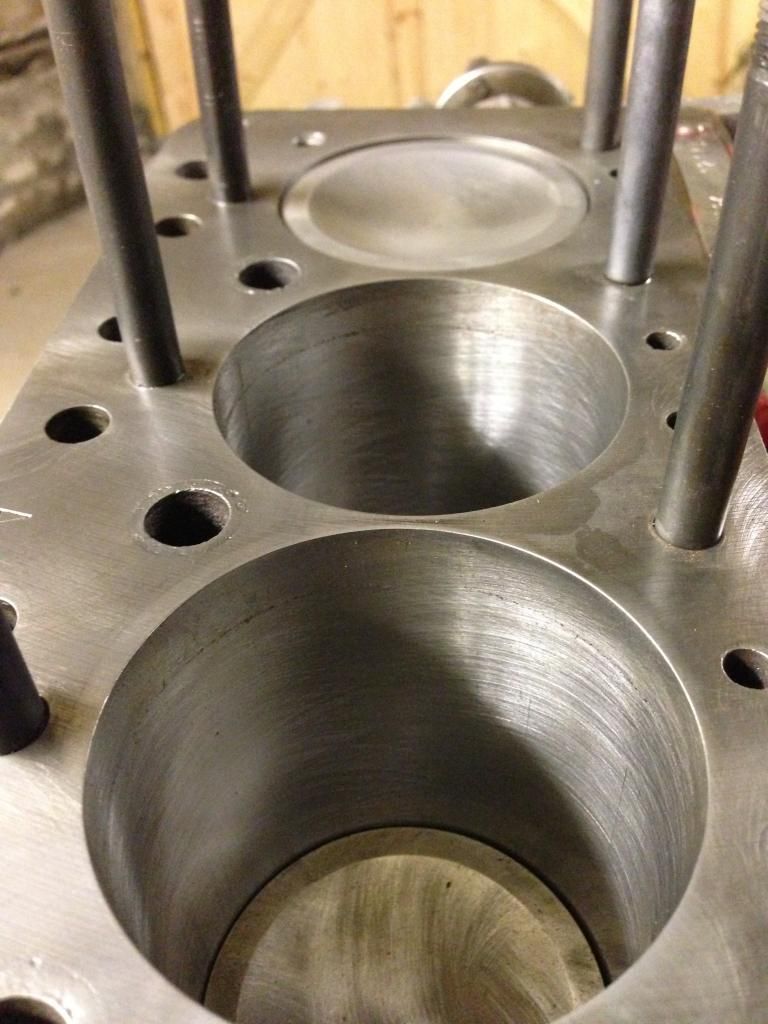
A final clean of the bores and it was on with the new bk450 and the head..
But then disaster struck in a big way..
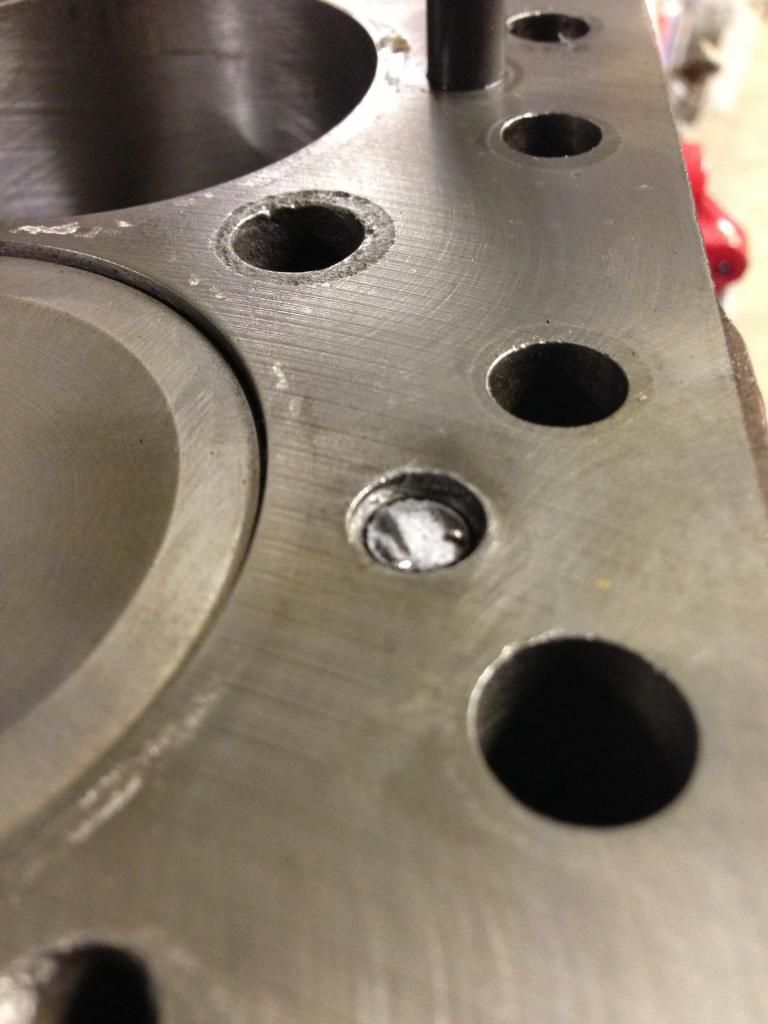
I snapped this stud clean off as I was torquing everything down to 68nm, Oh feck!! So once I had stopped swearing and belting stuff with a hammer...I drilled the stud to a depth of 3mm..screwed in a selt tapper and welded it on.
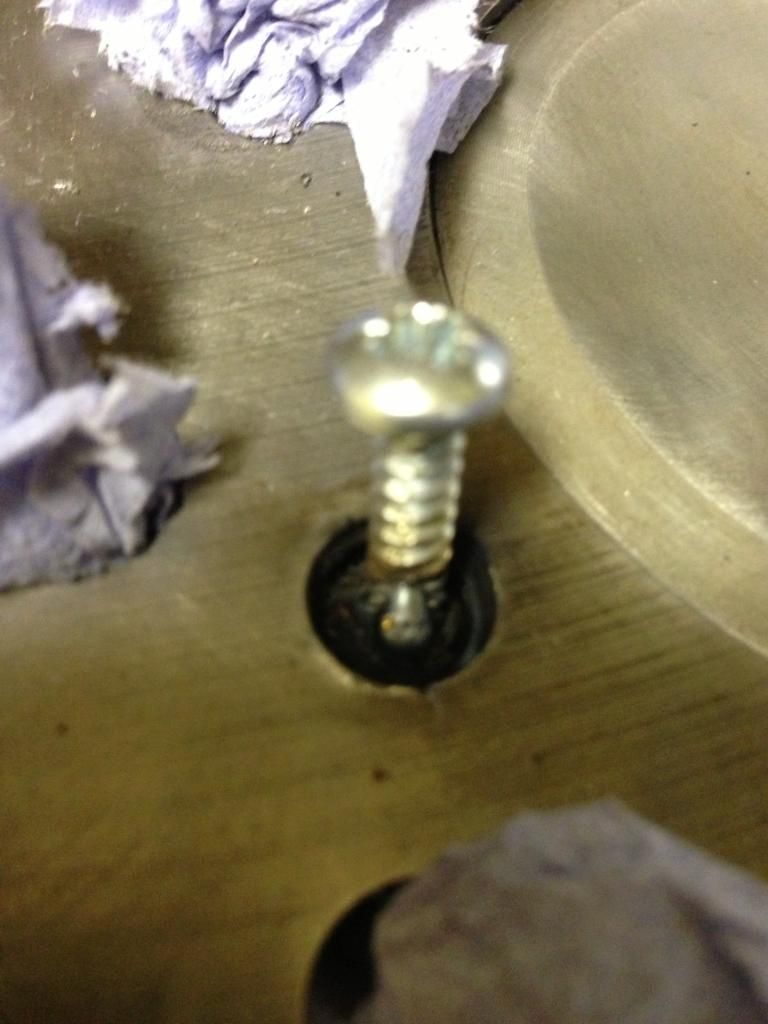
Slowly I unscrewed it..the weld was holding!!
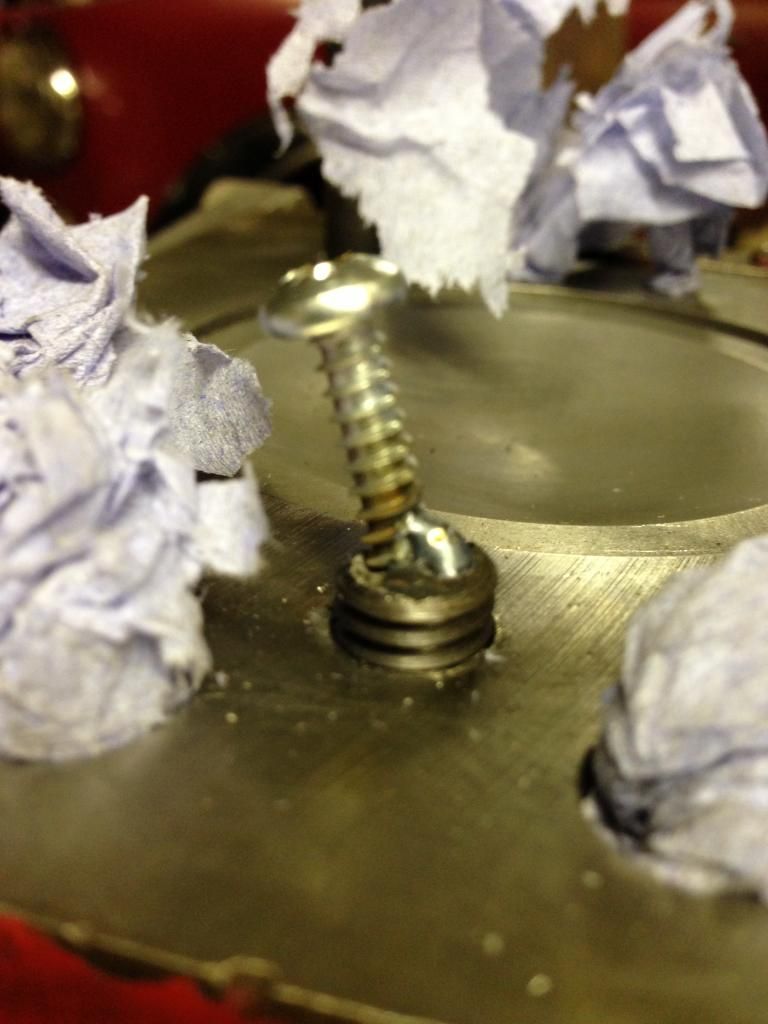
At last it was out!! what a horrible job!!
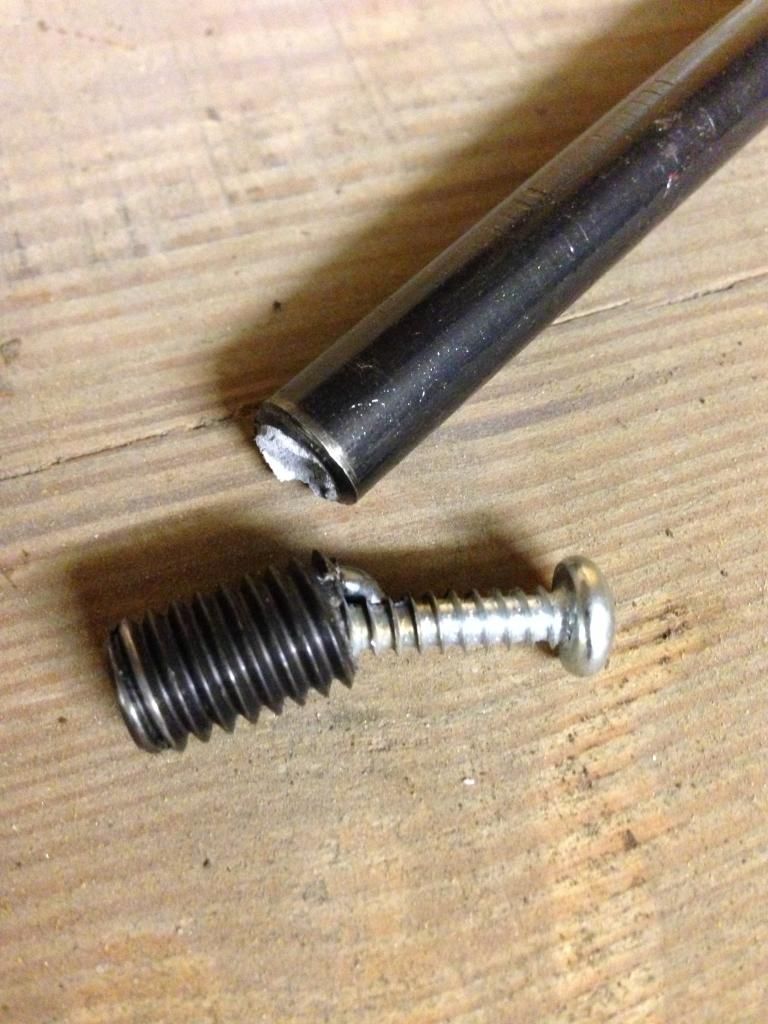
So after that episode I quickly fitted a new stud and got the head fitted..
Calipers on!!
So that all the runing gear sorted and the front subby all completed with either brand new parts or refurbished bits.
I then fitted some stuff made from Green..
And decided it would be best to get the cylinder head fitted onto the engine...so first was to give it a quick wipe!!
Checked all the valves wrer seated correctly and nothing was damaged..
A final clean of the bores and it was on with the new bk450 and the head..
But then disaster struck in a big way..
I snapped this stud clean off as I was torquing everything down to 68nm, Oh feck!! So once I had stopped swearing and belting stuff with a hammer...I drilled the stud to a depth of 3mm..screwed in a selt tapper and welded it on.
Slowly I unscrewed it..the weld was holding!!
At last it was out!! what a horrible job!!
So after that episode I quickly fitted a new stud and got the head fitted..


1 user(s) are reading this topic
0 members, 1 guests, 0 anonymous users


