Jump to content


Photo
- - - - -

Wide Ratio Gearbox And 1380 Engine Build


  • Please log in to reply
419 replies to this topic

#316 miniman92

miniman92

    One Carb Or Two?

  • Members
  • PipPipPipPipPipPipPip
  • 761 posts
  • Location: Winsford
  • Local Club: Crewes Missiles

Posted 26 November 2011 - 04:33 PM

That's a very competitive price as it is to be fair..... Do they not charge for hot washing the block? I'm trying to find a machine shop near to me in Crewe for my 998 +80 build.

#317 AndyMiniMad.

AndyMiniMad.

    Up Into Fourth

  • Members
  • PipPipPipPipPipPipPipPipPip
  • 3,295 posts
  • Location: Under The Bonnet.

Posted 26 November 2011 - 11:52 PM

I did most of the block cleaning my self to be honest..The gearbox case was chemicaly cleaned by them..and ill bung a couple of pics of the quality of the clean next week when I get it back.

#318 Mini 360

Mini 360

    Up Into Fourth

  • Members
  • PipPipPipPipPipPipPipPipPip
  • 4,933 posts
  • Location: Aberdeenshire
  • Local Club: Independent

Posted 26 November 2011 - 11:55 PM

May have to take my block up to them, at that price!

#319 AndyMiniMad.

AndyMiniMad.

    Up Into Fourth

  • Members
  • PipPipPipPipPipPipPipPipPip
  • 3,295 posts
  • Location: Under The Bonnet.

Posted 27 November 2011 - 12:09 AM

May have to take my block up to them, at that price!


Im starting to think I should charge commission... :D

But if you do come through to the capitol..give me a call mate...I'll pay for lunch!!

Edited by AndyMiniMad., 27 November 2011 - 12:16 AM.


#320 miniman92

miniman92

    One Carb Or Two?

  • Members
  • PipPipPipPipPipPipPip
  • 761 posts
  • Location: Winsford
  • Local Club: Crewes Missiles

Posted 27 November 2011 - 11:22 AM

I did most of the block cleaning my self to be honest..The gearbox case was chemicaly cleaned by them..and ill bung a couple of pics of the quality of the clean next week when I get it back.


How did you go about doing this Andy? Did you wash it all through with paraffin or something?

#321 AndyMiniMad.

AndyMiniMad.

    Up Into Fourth

  • Members
  • PipPipPipPipPipPipPipPipPip
  • 3,295 posts
  • Location: Under The Bonnet.

Posted 27 November 2011 - 03:44 PM

Loads of gunk and a very stiff brush...it takes ages to get all the grime off..then I etch primed the block. the internals all come clean pretty easily and once you take the core plugs out you can jam some old pipe cleaners soaked in gunk through the oil ways...

#322 AndyMiniMad.

AndyMiniMad.

    Up Into Fourth

  • Members
  • PipPipPipPipPipPipPipPipPip
  • 3,295 posts
  • Location: Under The Bonnet.

Posted 28 November 2011 - 09:42 PM

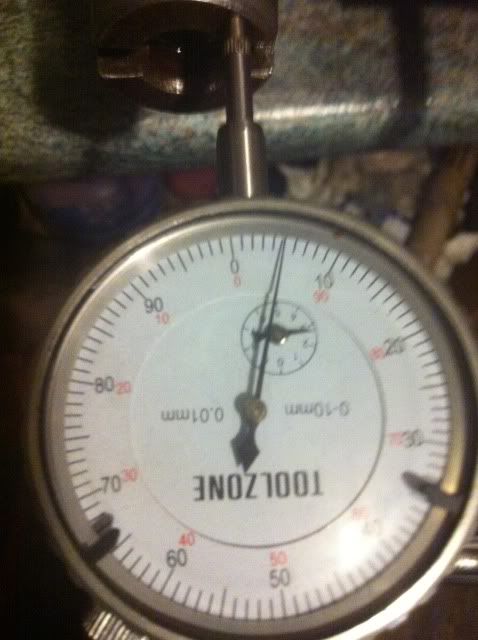
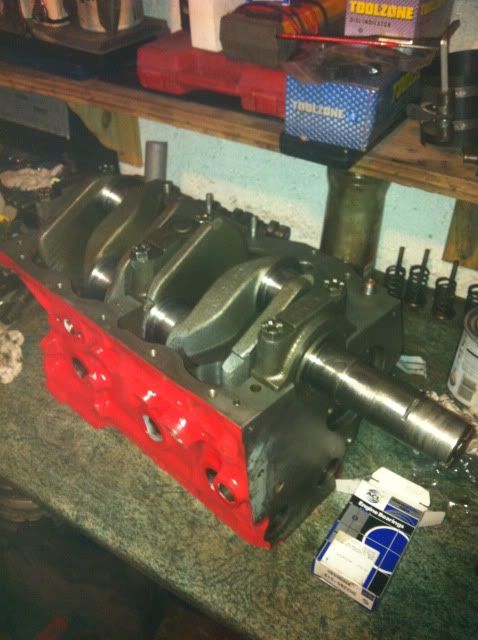
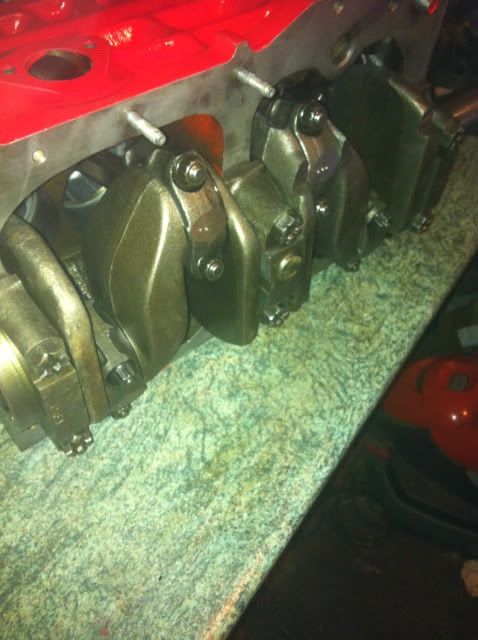
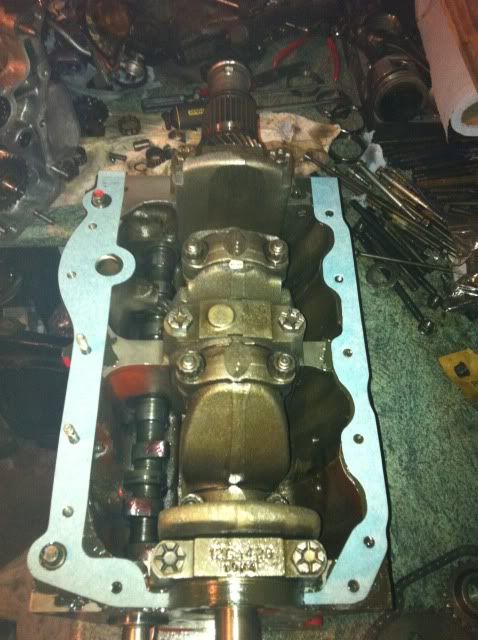
Ive started the engine build and its coming along quite well. the crank and pistons are all fitted and it turns nice and smooth..end float on the crank is only 0.00197" and thats a bit tight. but the thrusts were brand new and 0.002"- 0.004" is recomended...Its not that far off so im going to leave it. If the crank was tight to turn then I would have been more concerned, but I can turn it easily with two fingers...

Posted Image

0.05mm...or 0.00197" in old money.

Posted Image

All in and torqued down.

Posted Image

Pistons all fitted..

Edited by AndyMiniMad., 28 November 2011 - 09:43 PM.


#323 AndyMiniMad.

AndyMiniMad.

    Up Into Fourth

  • Members
  • PipPipPipPipPipPipPipPipPip
  • 3,295 posts
  • Location: Under The Bonnet.

Posted 29 November 2011 - 04:46 PM

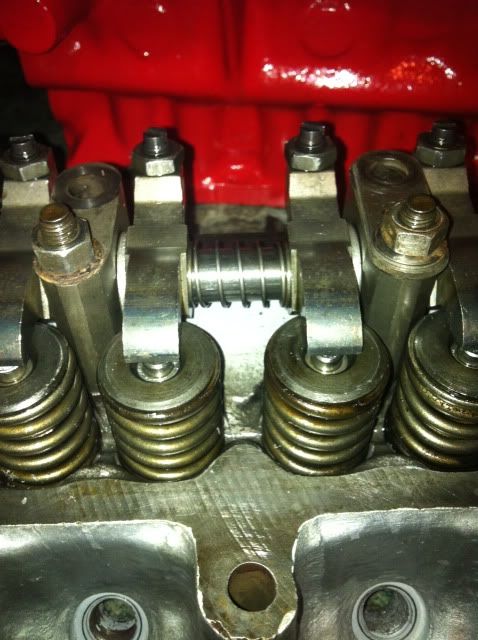
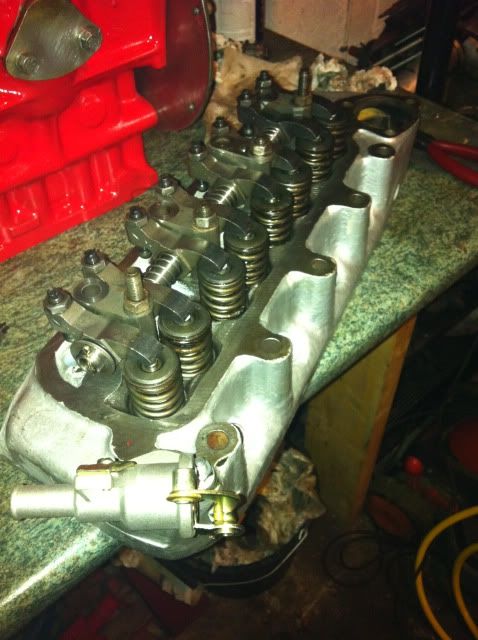
Head all built up...I took the rockers apart and fitted a couple of washers to centralise them over the valves..

Posted Image

Posted Image

New heater take off valve fitted.

#324 AndyMiniMad.

AndyMiniMad.

    Up Into Fourth

  • Members
  • PipPipPipPipPipPipPipPipPip
  • 3,295 posts
  • Location: Under The Bonnet.

Posted 01 December 2011 - 04:51 PM

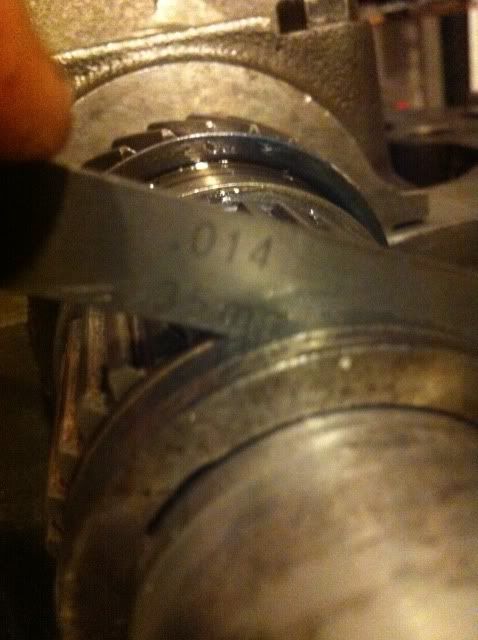
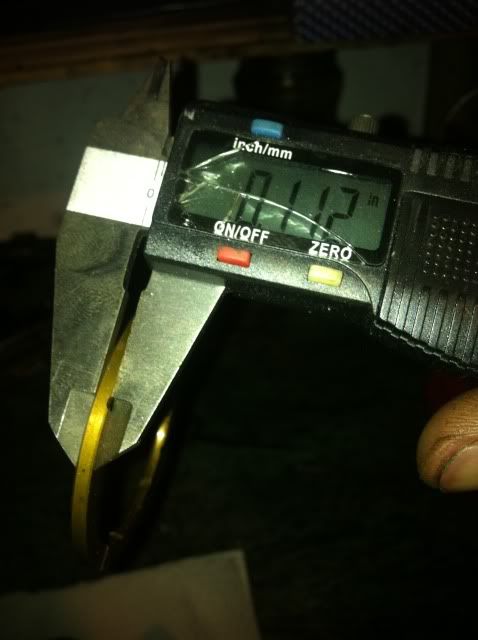
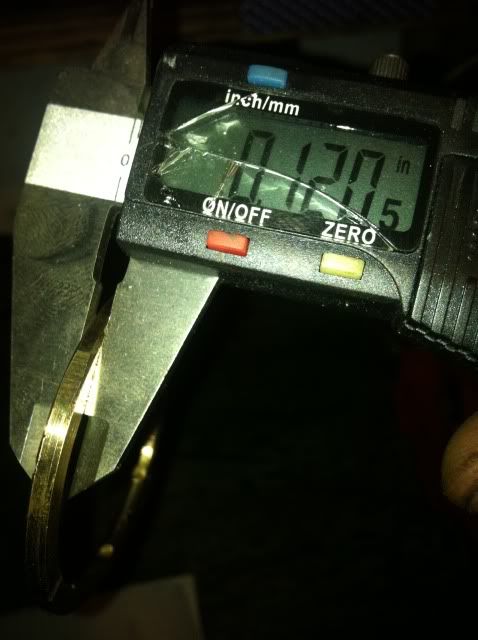
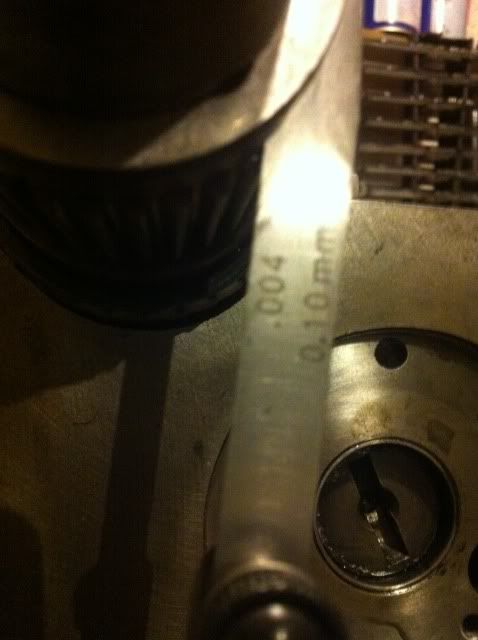
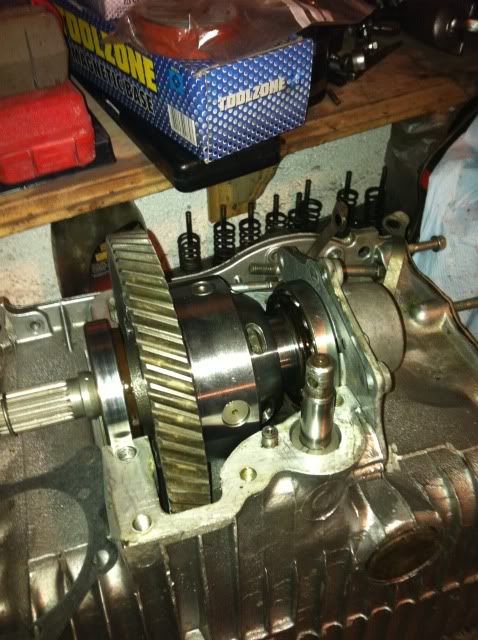
Primary drive gear fitted and checked for end float...It was way off so I got a new thicker thrust washer and did it again..

Posted Image

old one!!

Posted Image

New one!!

Posted Image

New end float...

Posted Image

Perfect...

#325 AndyMiniMad.

AndyMiniMad.

    Up Into Fourth

  • Members
  • PipPipPipPipPipPipPipPipPip
  • 3,295 posts
  • Location: Under The Bonnet.

Posted 04 December 2011 - 09:17 PM

Really you should use 2 feeler gauges to measure this, one either side of the crank. The actual clearance will be a thou or so tighter measuring with only one gauge, due to the primary gears clearance on the crank.

Yep. your quite right! Two sets of feelers one on each side will be required for a totally accurate reading. I actually used my DTI to measure the gap.... Sorry if I misled anyone..

Edited by AndyMiniMad., 04 December 2011 - 09:20 PM.


#326 joshspragg

joshspragg

    One Carb Or Two?

  • Members
  • PipPipPipPipPipPipPip
  • 984 posts
  • Location: my home
  • Local Club: M4 minis

Posted 04 December 2011 - 09:45 PM

Another day at work!! Mondays Eh, Never mind only 4 more days till the weekend.. Oh if any ones interested this is where the gearbox came from.
Posted Image
It didnt look to bad when i bought it, paid £250 eight years ago.
Started to strip it down thinking it was gonna be a quick restoration. OHHHH BOY was i wrong.
Posted Image
Oh time for tea.
Back with more later......

studio 2 ftw

#327 AndyMiniMad.

AndyMiniMad.

    Up Into Fourth

  • Members
  • PipPipPipPipPipPipPipPipPip
  • 3,295 posts
  • Location: Under The Bonnet.

Posted 11 December 2011 - 05:34 PM

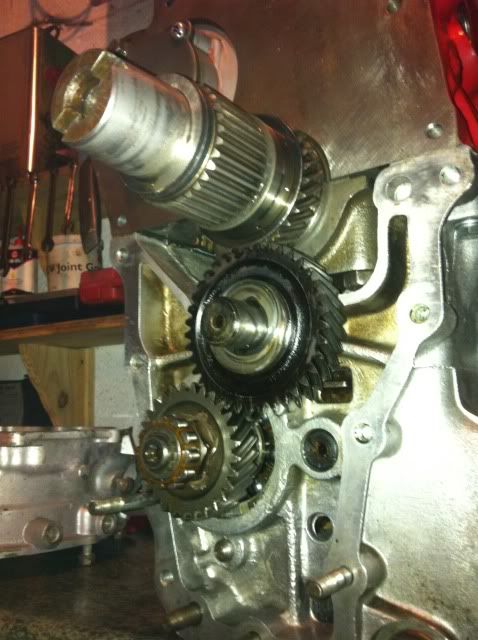
Ive rebuilt the gearbox again!! new baulk rings and bearings...and its now a standard ratio box with a 3.44 FD...and this nice shiny cross pin diff from Guessworks...

Posted Image

Ive redone the the diff preload which is a pain in the arse to get right...but Iv got it to within a thou of perfect...gap plus gasket was 0.01" Im hoping that the hylomar will make up the difference..
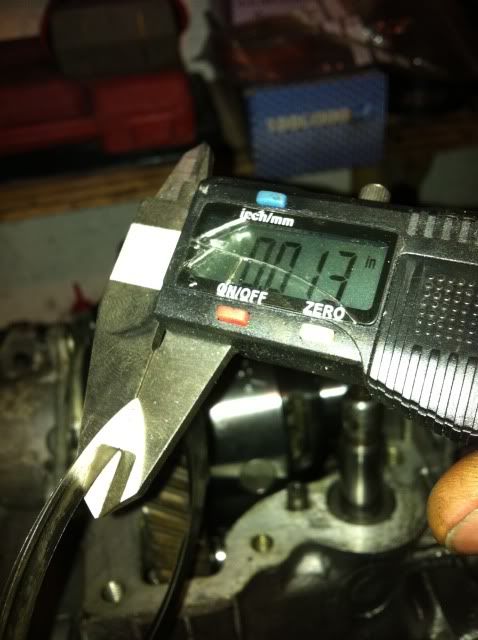
Posted Image

The preload should be 4 thou according to the Minispares web site...??

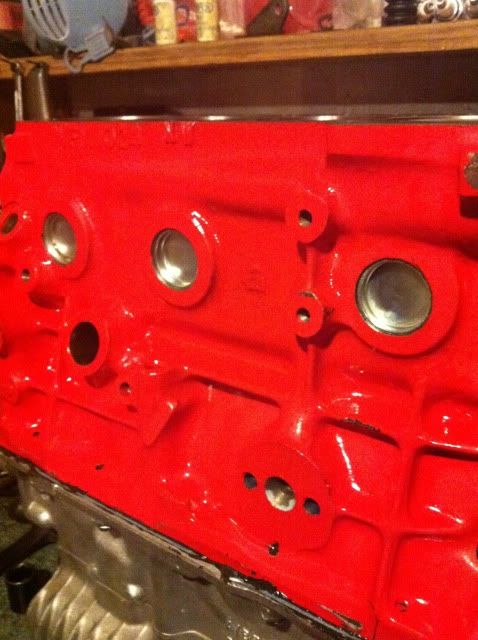
Oh! and I got Haggis's block back from having a fresh hone...so I gave it a quick coat of red...
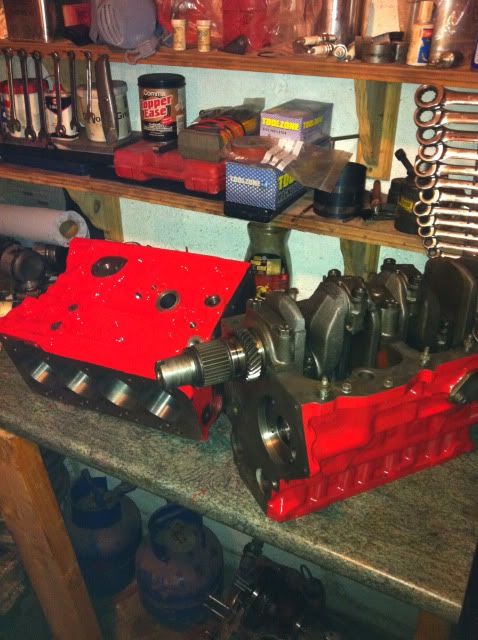
Posted Image

This gearbox is next for a rebuild and will go under the other 1380 engine...Its all getting a bit confuseing trying to build two engines and three gearboxes at the same time!!
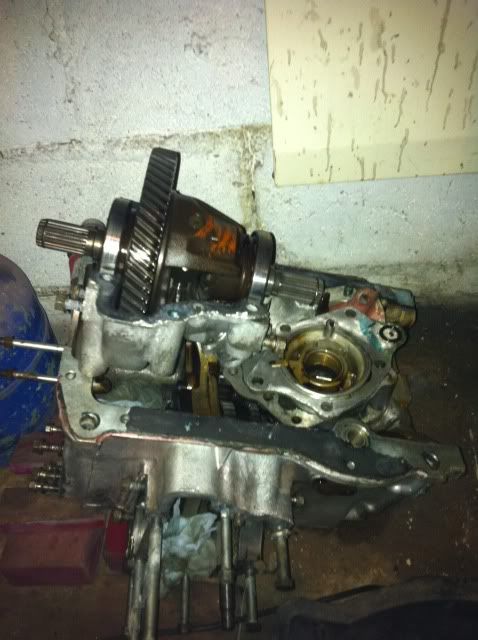
Posted Image

Edited by AndyMiniMad., 11 December 2011 - 05:48 PM.


#328 AndyMiniMad.

AndyMiniMad.

    Up Into Fourth

  • Members
  • PipPipPipPipPipPipPipPipPip
  • 3,295 posts
  • Location: Under The Bonnet.

Posted 17 December 2011 - 12:17 PM

So thats the first box complete and fitted to its engine..

Posted Image

New core plugs fitted..

Posted Image

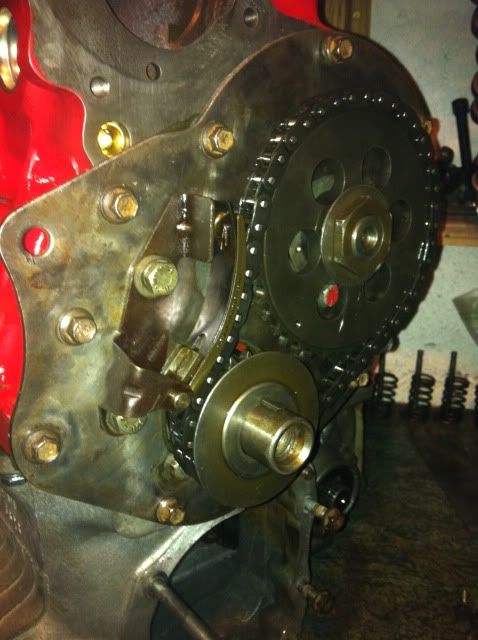
Timing gear fitted...

Posted Image

I did time the cam in with my DTI..although it was not really nessessary..
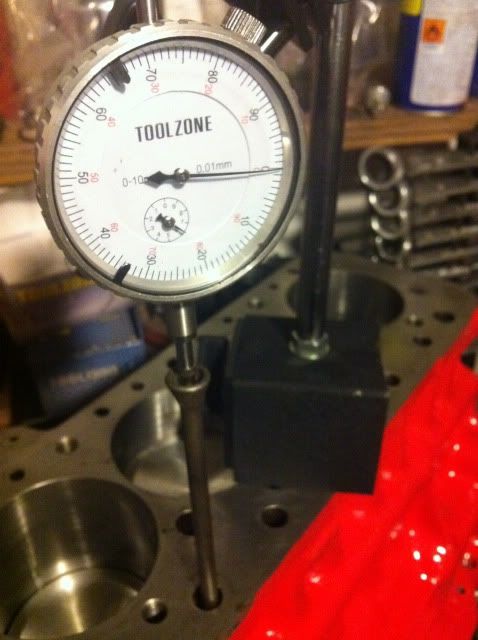
Posted Image

If your interested on how its done then here is a link to my Cam timing Thread..

http://www.theminifo...l=&fromsearch=1

Edited by AndyMiniMad., 17 December 2011 - 12:19 PM.


#329 AndyMiniMad.

AndyMiniMad.

    Up Into Fourth

  • Members
  • PipPipPipPipPipPipPipPipPip
  • 3,295 posts
  • Location: Under The Bonnet.

Posted 18 December 2011 - 12:12 PM

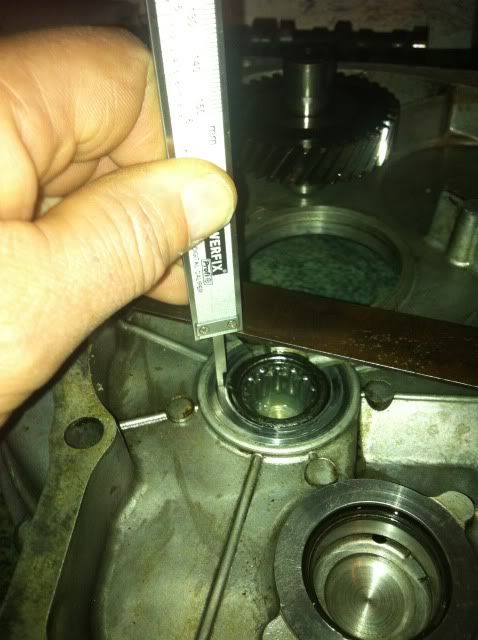
Ive been out in the cold freezing garage doing a bit more. Shiming the idler gear....Yuck! anyway its sorted now and I reckon I got it bang on..so no more rattly gears at the trafic lights...I hope..


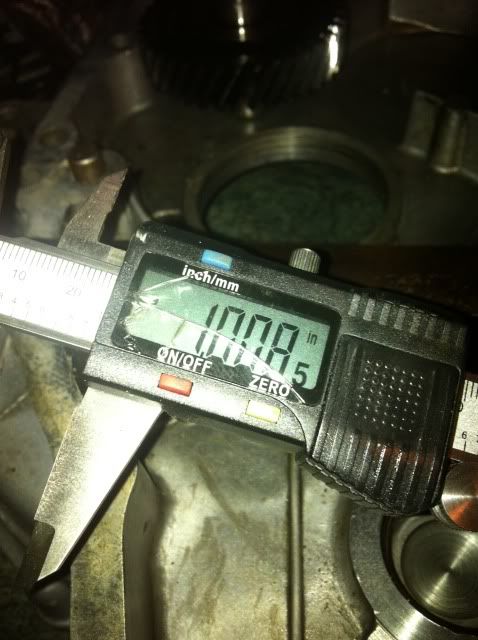
Posted Image

The depth turns out to be 1.008"

Posted Image

Next I measured the thickness of the gasket..
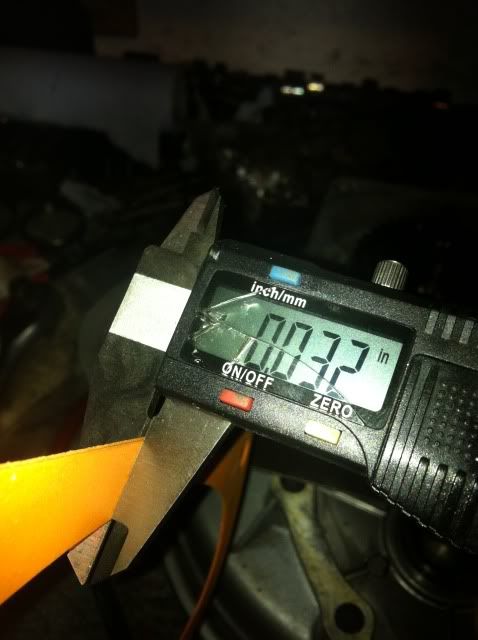
Posted Image

Its 0.032" which when fitted will sqwoosh down to 0.03"

The thickness of the steel rule is 0.08"
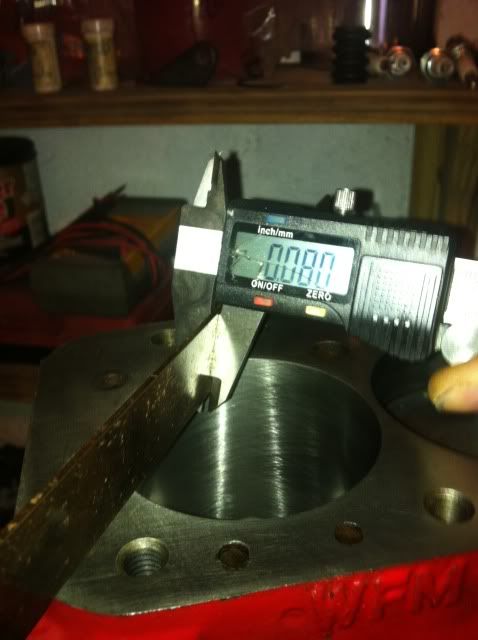
Posted Image

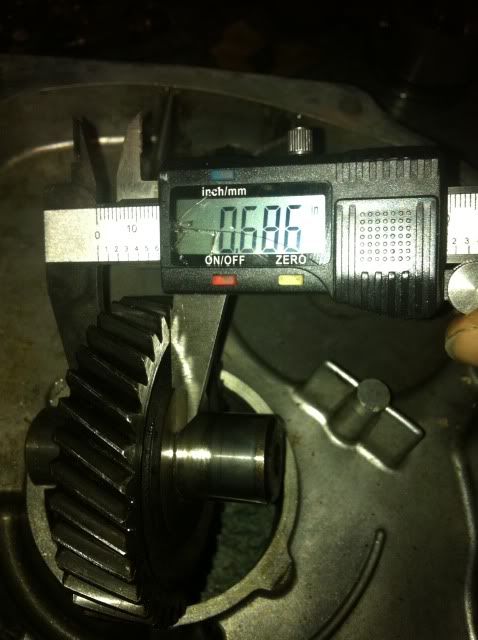
And the idler gear itself is 0.686"

Posted Image

So now we can calculate the shim thickness required by adding the depth of the housing to the thickness of the gasket

1.008 + 0.030 = 1.038"

Next we subtract the thicknes of the idler gear 0.686" and the thickness of the steel rule 0.08" from 1.038"

1.038" - 0.686" - 0.08" = 0.272"

So this is the thickness of the shims required to fill the rest of the gap..But we need and end float of 0.004" so Im looking for a couple of shims at 0.268"
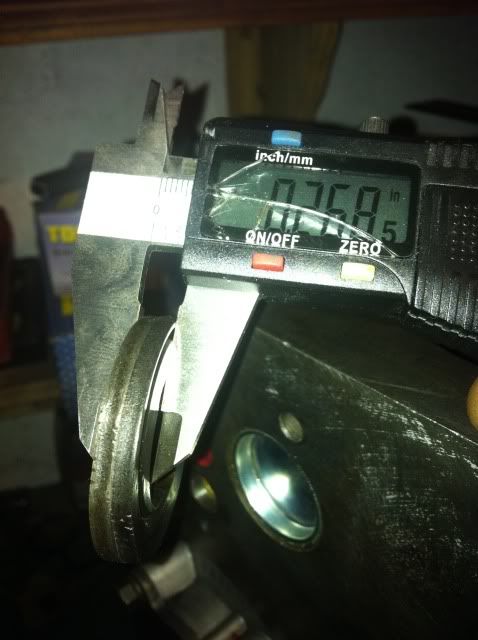
Posted Image

Found a couple that are perfect...it doesnt matter if one is slightly thicker than the other so long as the total thickness adds up to whats required..

So thats me ready to put it all together..

#330 AndyMiniMad.

AndyMiniMad.

    Up Into Fourth

  • Members
  • PipPipPipPipPipPipPipPipPip
  • 3,295 posts
  • Location: Under The Bonnet.

Posted 21 December 2011 - 05:32 PM

All fitted together...

Posted Image

Transfer housing fitted and new clutch..
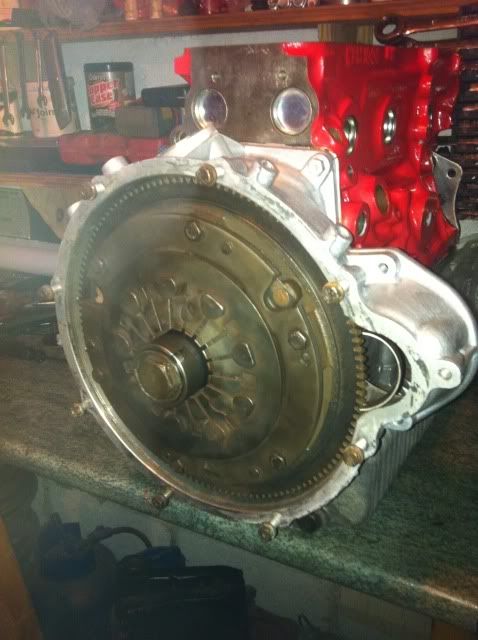
Posted Image

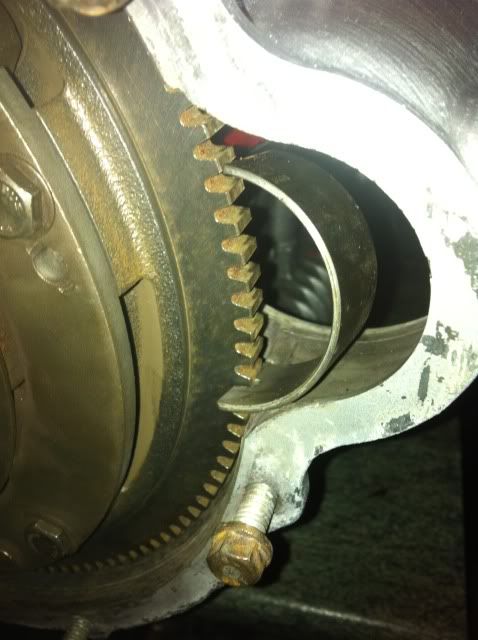
This is how I lock the flywheel..

Posted Image

Head on and thats it almost ready to refit..Just need to figure out the speedo drive...Guessworks web site will be getting another hit.
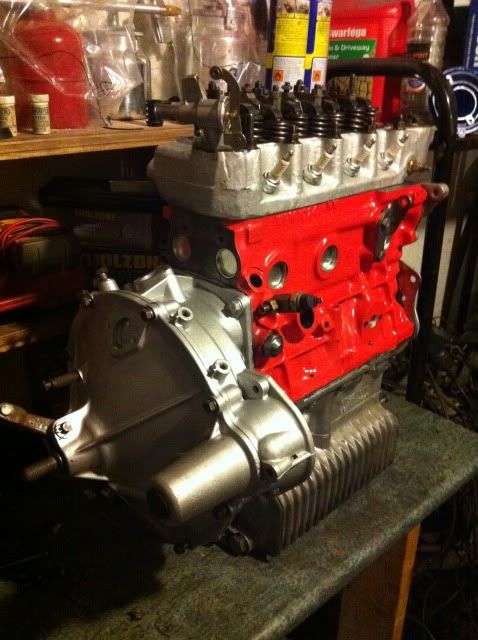
Posted Image


2 user(s) are reading this topic

0 members, 2 guests, 0 anonymous users