My Freestyle Buggy
#31

Posted 15 December 2010 - 04:55 AM
#32

Posted 17 December 2010 - 06:31 AM
Attached Files
#33

Posted 06 January 2011 - 08:17 PM
All my time lately has been spent on my daugther whos now 4 months old! How time flies!!!
Hopefully once the spring months kick in I can get back out there and get busy again! Its just far too cold at the mo to stand around in a cold damp garage!
Unfortunatly the kits are no longer being made, as the current owner of the business has completly lost interest!
David, the Mosq looks real smart! Bet she went well!!!
#34

Posted 06 January 2011 - 11:35 PM
#35

Posted 07 January 2011 - 06:41 AM
Was actually planning on keeping hold of the buggy until she's old enough to drive! The insurance on these things is really low due to being just a bunch of scaffolding! And most owners opt to fix them themselves should anything happen! None of that delicate bodywork to repair!
Im planning on getting the buggy pretty much complete this summer ready for the dreaded SVA the next year! But then these things always seem to take longer than expected!
#36

Posted 13 March 2011 - 09:27 PM
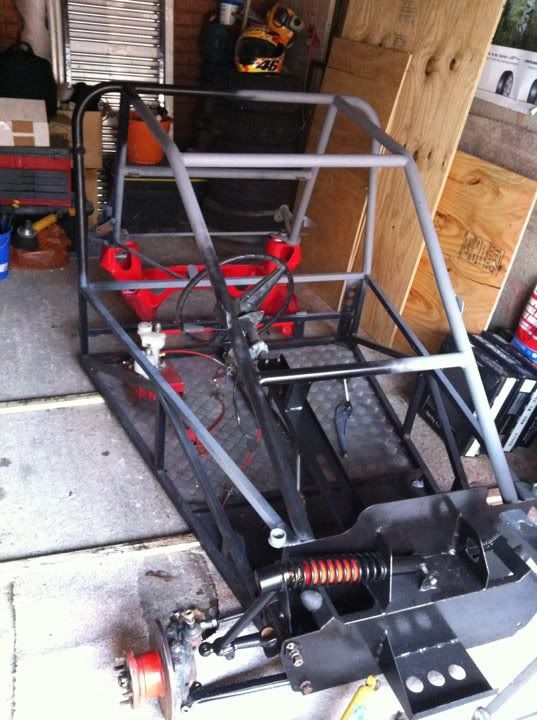
New track rod ends, I bought the longer versions, but need some new pins for the top and lower arms!
Their next up on the shopping list!!!
Also need to clean up the other side of the suspension components and paint as I have the offside!!!
#37

Posted 13 March 2011 - 11:04 PM
#38

Posted 14 March 2011 - 05:39 AM
Its been real slow as of late due to the cold winter, being dad, and also doing my bathroom!!!
Hopefully now spring is on its way I can get out there a bit more and get cracking on!!
#39

Posted 18 March 2011 - 06:43 PM
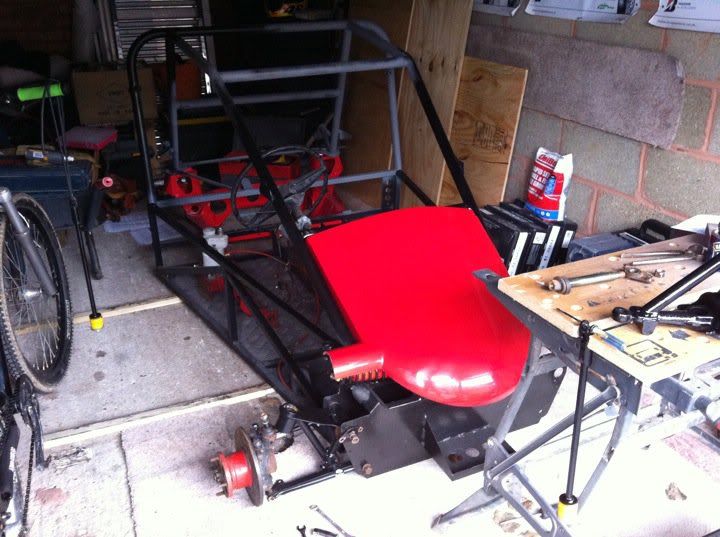
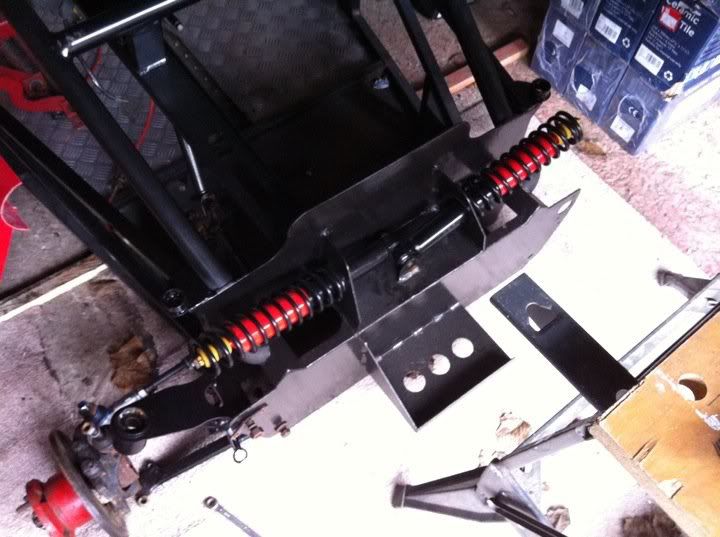
I managed to get the other shock absorbed finished (painted), painted the NS top arm, and both tie rods.... so hopefully this weekend I'l manage to get my arse down Halfrauds and get some washers in order to fit the front shock absorbers!
I had a quick play earlier, but wasn't totally sure on the spacing of them> I can see the NS one goes more towards the front, but they still seem to be sat a bit pissed on the bolt through the middle.....
Could someone explain how I should do it in a bit more detail?
I also need the rubber sealing rings before i can finally fit the top arms and bolt the suspension all back together!
I couldnt help myself, and placed the nose come in place just to get a bit more of an idea on how it will look once done! Bit of a motivation boost never hurts!!!
Anyways, a quick routine post pic to keep things interesting!!!
Ignore the questions.... I copied this from my local buggy club
#40

Posted 19 March 2011 - 06:22 PM
First thing this morning I done a few hours on the bathroom! I pulled out the vanity unit and toilet and put down some 12mm ply ready to be tiled!!!
Anyways, on to the interesting part!
Seeing as I was grubby anyways, I decided to go out and do a bit to the buggy. Was only planning on an hour or so, but I got into it and time flew by!
I gave up on the front suspension as i'm not sure about a couple of things...
Firstly, how do I go about positioning the front shock absorbers on the bracket in the middle?
I guess I have to pack the gap with washers, but the manual says something about packing them so their as close to the middle of the bracket as possible?
The shocks just seem as if they don't sit right on the bolt if I do this?
Another thing I wasn't sure about was the tie bars joining the lower arms?
Am I missing a trick here or have I just got the wrong things?
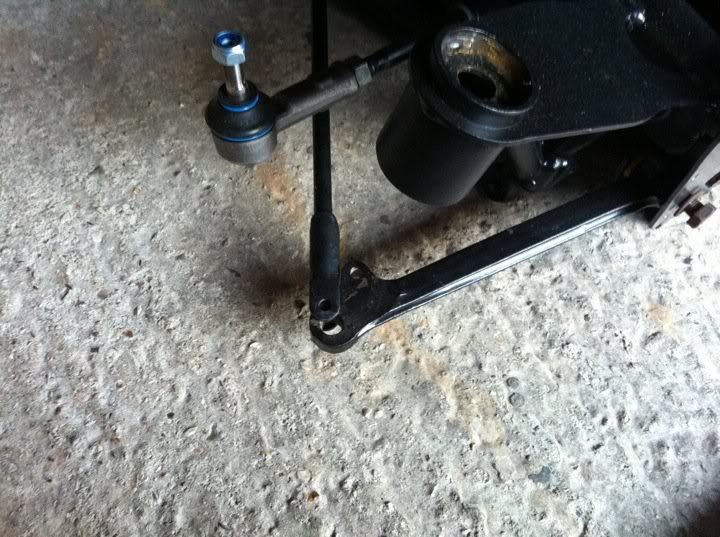
If anyone could give me some advice that would be great!!!
Onto the next part!
Seeing as I was getting a but dragged down in stripping, painting, stripping, painting etc I decided I was going to just throw the parts I have together and replace them when I have the money and means to do so!
I figured I may as well have the parts together on the buggy instead of laid on the floor in my garage!
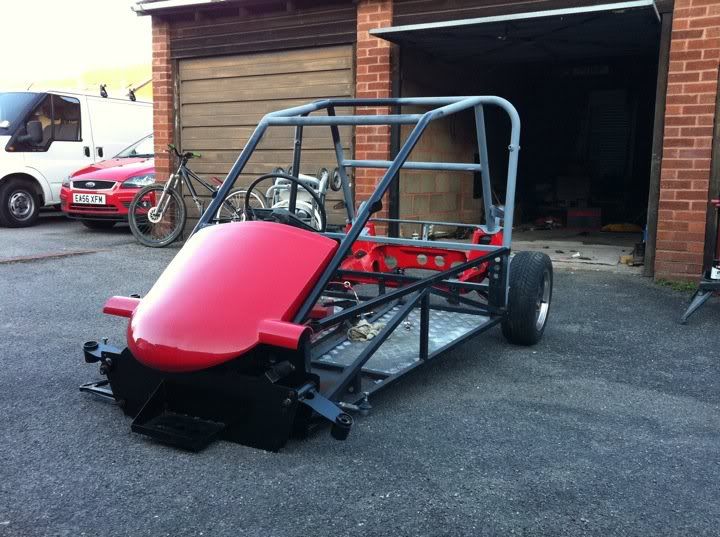
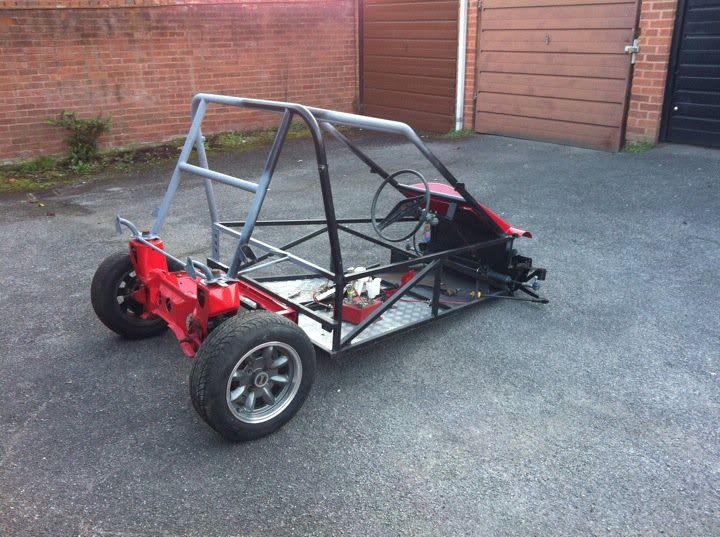
So first thing first..... the build manual is RUBBISH!!!!! I'm pretty rubbish when it comes to suspension and mechanical parts, i'm more of a bodywork guy! I struggled, but got there in the end!
After a lot of messing I finally had the rear suspension together, and the wheels on!
I had to wind the track rod ends in right the way, does this sound right?
Heres some pics to keep it interesting
#41

Posted 23 March 2011 - 03:29 PM
#42

Posted 28 March 2011 - 05:34 PM
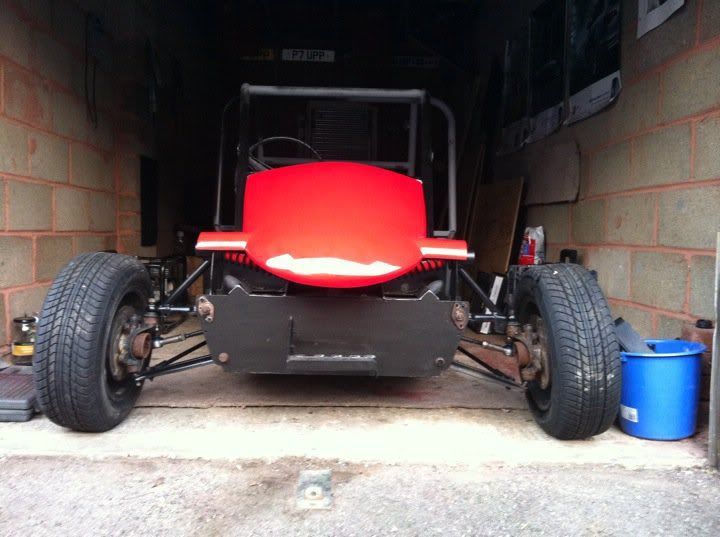
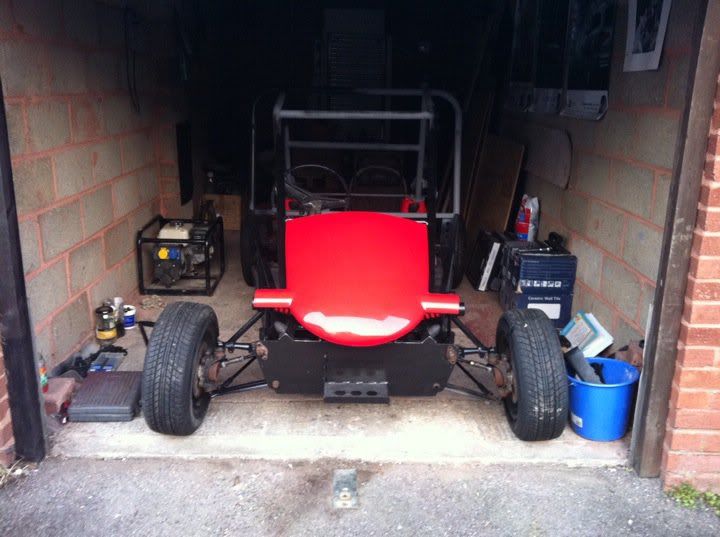
As I started to pack up I decided I wasnt going to let the buggy get the better of me and made the decision to get it up on 4 wheels for the first time since I bought the buggy!
None of the bolts are torqued up etc, but it was a big morale boost as my aim was to get the lil bastad up on all 4 wheels this year...... dont tell anyone its only temporary!!!
I've made the decision to go for adjustable tie arms and lower arms as im worried about the suspension set up not being bang, which I need seeing as I'l probably use the buggy as bbit of a track weapon for a while before the SVA!
Heres a couple of pics whilst I decide where to go from here!
#43

Posted 28 March 2011 - 05:48 PM
#44

Posted 31 March 2011 - 07:42 PM
Anyone able to tell me why my hand brake cable is so long? Is it the wrong cable, or am I missing something?
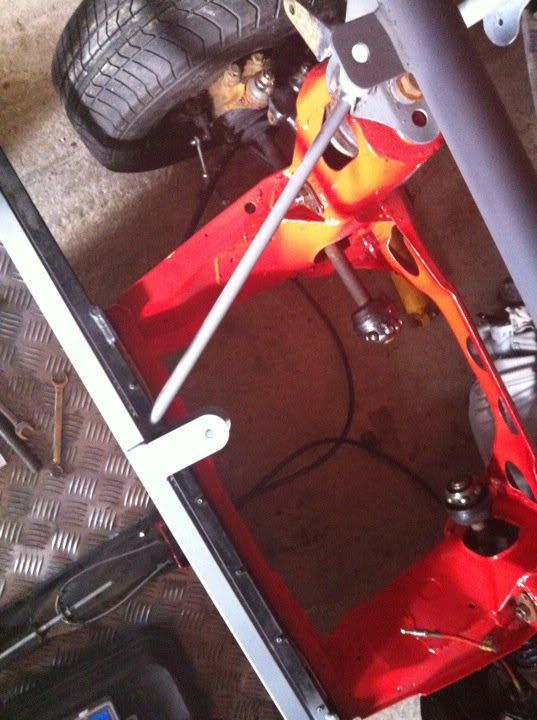
Also are the brackets on the right way?
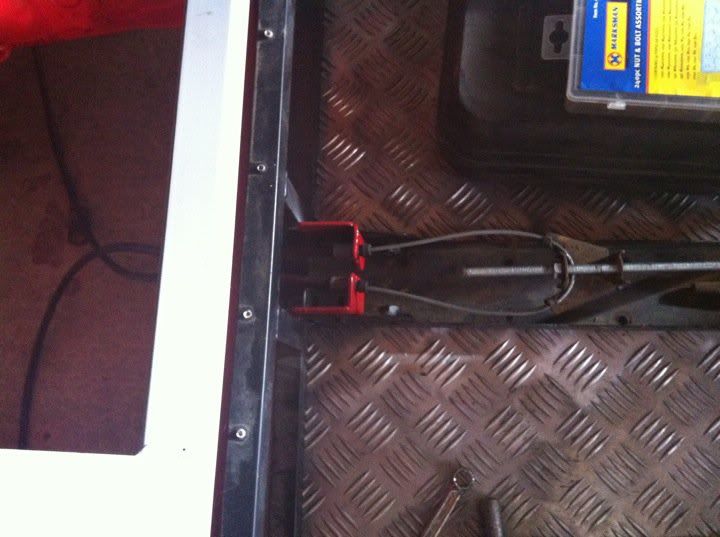
And I also removed the rear drum, as the brake was sticking meaning I could push the buggy in and out the garage!
First time he's been out in the sun on 4 wheels for a year!!!
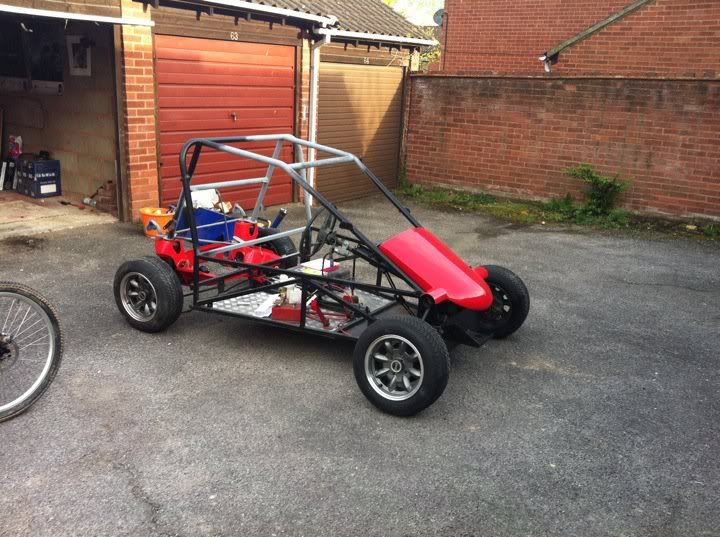
#45

Posted 18 April 2011 - 07:41 PM
Well seeing as its my birthday today, I decided to do a half day at work and finish at 12.
I went home and started doing some work on the buggy!
Although I have someone coming to view the buggy monday im not going to let it stop me working on it, so today I fitted the engine!!!
After a couple of hours fitting an engine on my own with no lifting gear I ended up with this!!!

So seeing as I managed to some how fit the engine, I decided I ought to roll the old boy out and have a clear up of the garage...
I decided I want as many buggy parts out the way as possible, so heres something you dont see very often.....

Yes, your eyes aren't decieving you....THE BIG ARSE LIVES ON!!!!! lol
What a FUGLY POS it is!!! lol
I took a few more pics for you guys so you can see it a bit better...


And this is how I left him before I went up the pub!

Next up, fuel tank goes in!!!
1 user(s) are reading this topic
0 members, 1 guests, 0 anonymous users


