Jump to content


Photo
- - - - -

My Freestyle Buggy


  • Please log in to reply
49 replies to this topic

#1 rsroadkilla

rsroadkilla

    Speeding Along Now

  • Members
  • PipPipPipPipPip
  • 365 posts
  • Local Club: Japshowcarz

Posted 29 May 2010 - 11:59 AM

Thought I would post my project in ehre incase anyone was interested!

Ive always had projects since I was 16 and bought my first moped! I recently sold my Lotus Elise as the girlfriend is currently pregnant with our first little un', so I needed something which was A. cheap, B. still fun to drive and C. rear wheel drive!

When I was at a Mini show a few years back with my pickup, I once saw a buggy which I really liked. After a bit of investigating, I found the supplier but was unfortunatly a bit out of my price range at the time.

After I had sold my Elise, I looked through cheap MK1 MR2's, MK1 MX5's, R5 GT Turbos and plenty of other cars! None of them really took my fancy, so the money continued burning a hole in my pocket!

One afternoon I was browsing through my pictures on photobucket, and come across an old picture I had posted on a forum over 5 years ago!

It was of a Freestyle buggy which re-lit the fire!

A bit of digging around on google, and I stumbled across the Freestlye OC which then led me to a part built cheap as chips buggy!

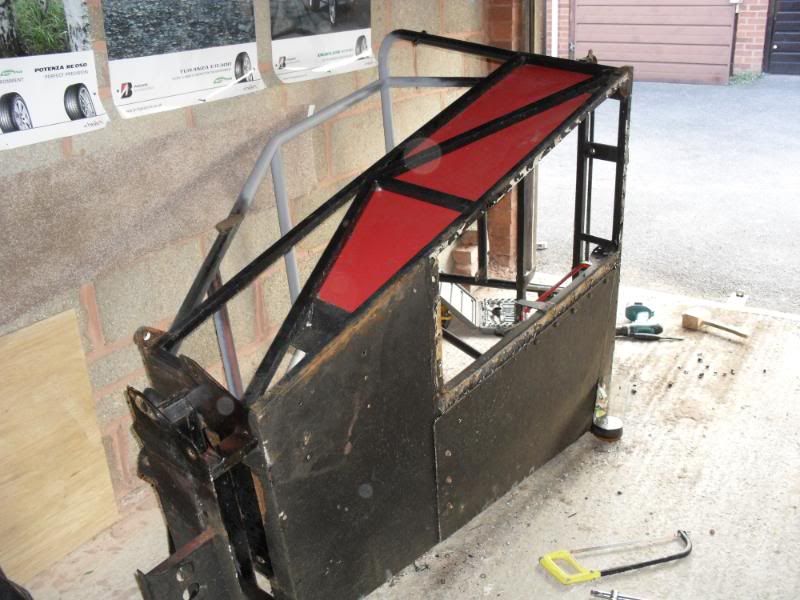
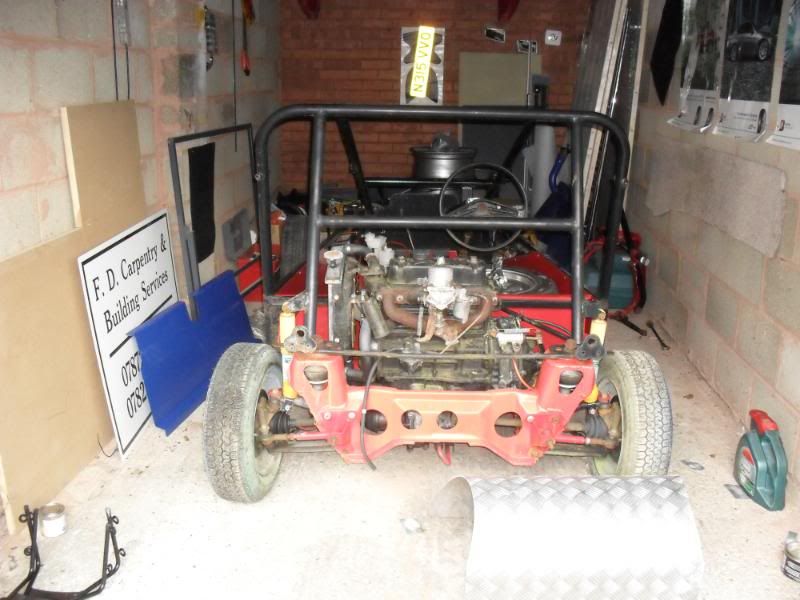
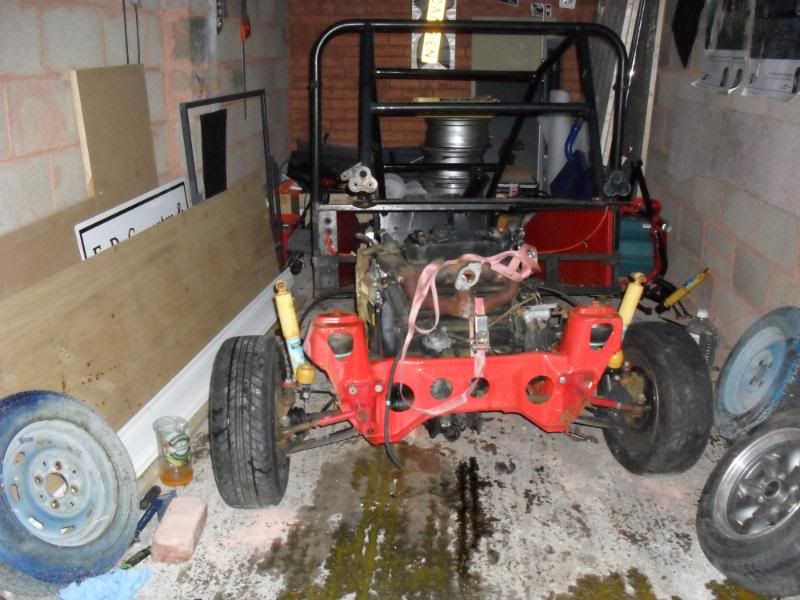
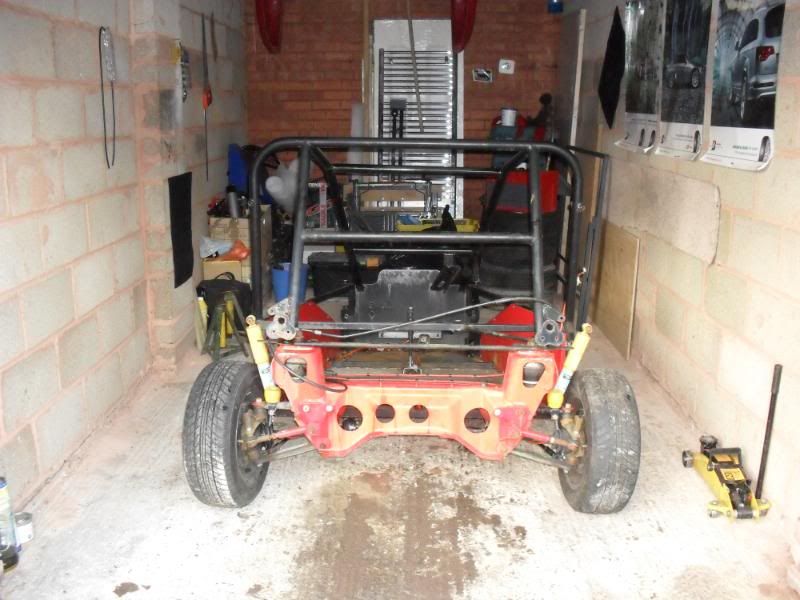
Here he is the day I picked him up!

Posted Image

Posted Image

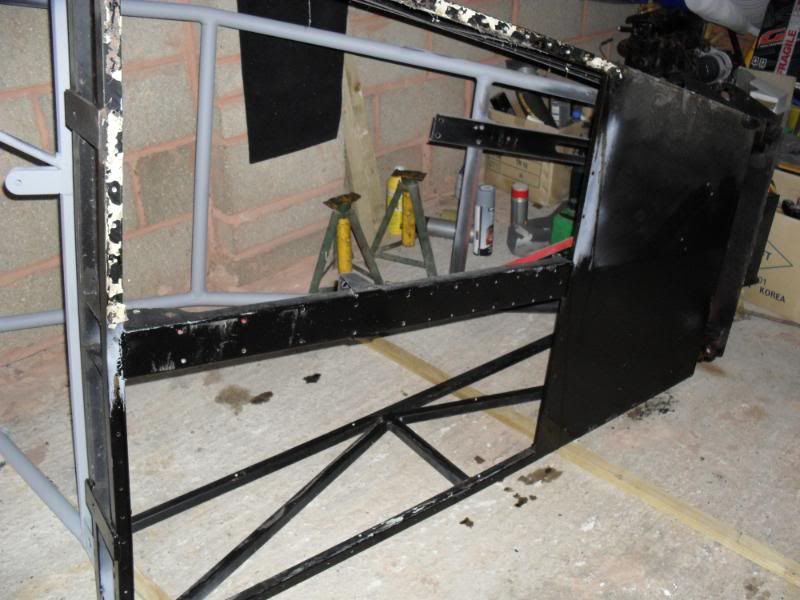
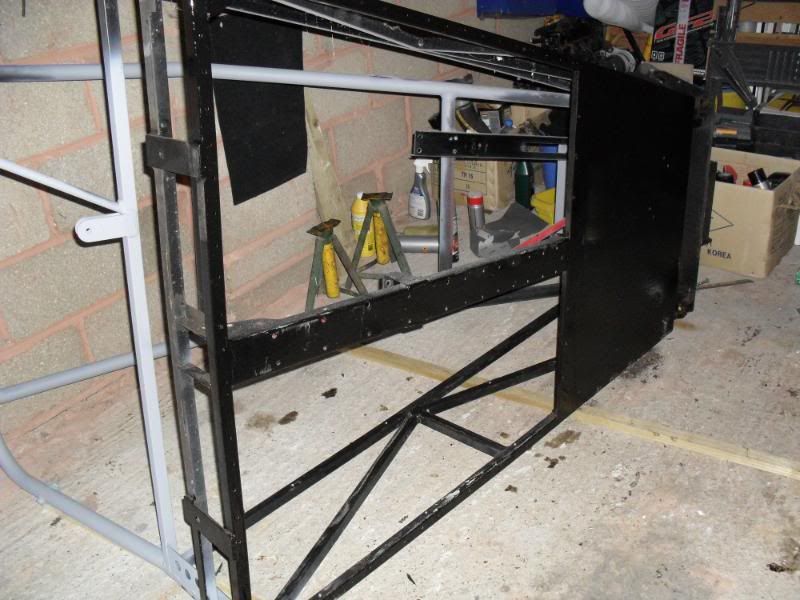
Just like to say this project is a long term build, which im doing al myself in my garage which has no electric or heating!

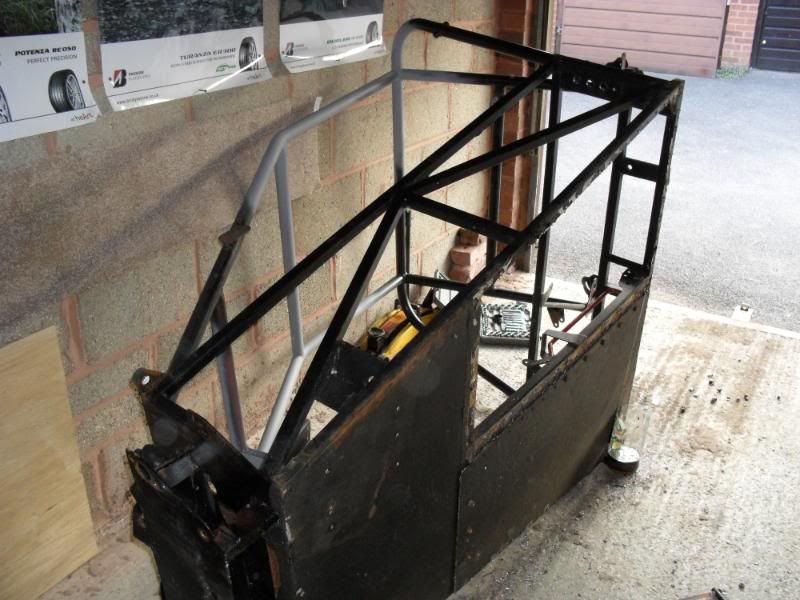
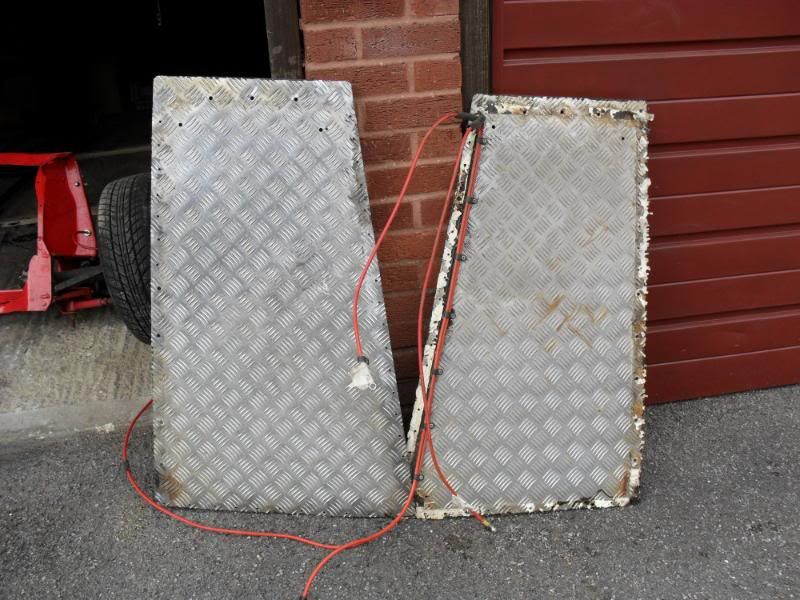
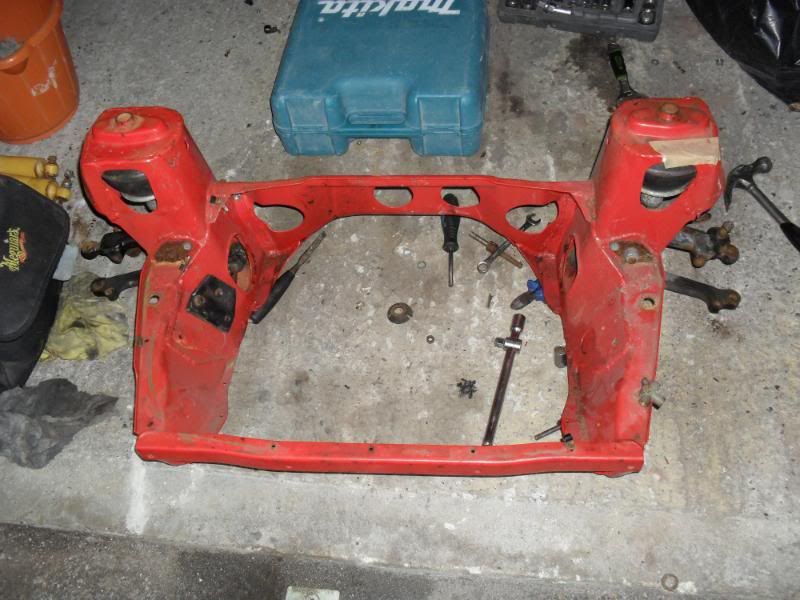
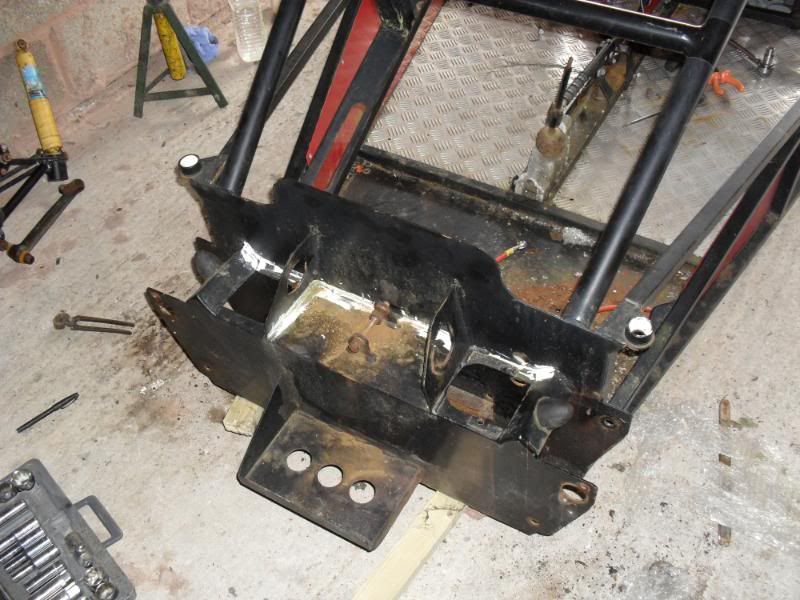
So first thing first was to strip the front...

Posted Image
Posted Image

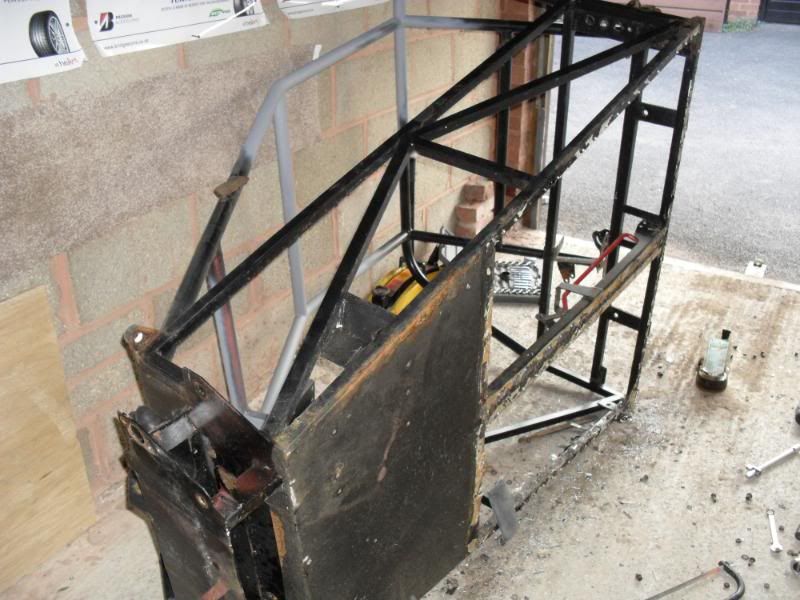
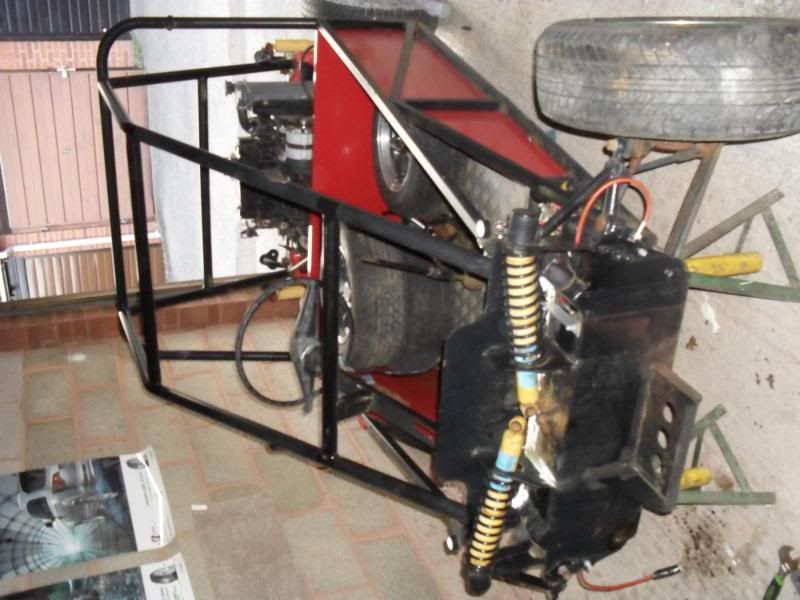
Next task was to pull the subframe and engine away from the chassis...

Posted Image

Posted Image

Posted Image

Posted Image

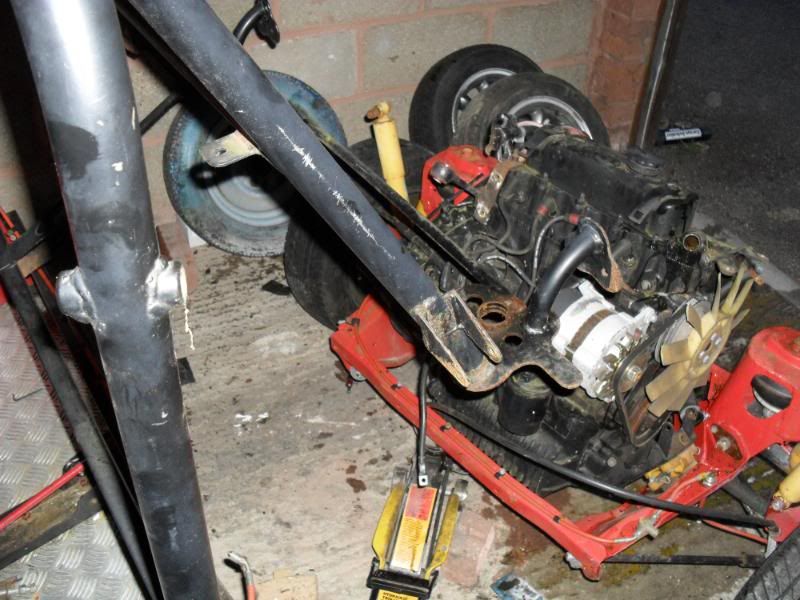
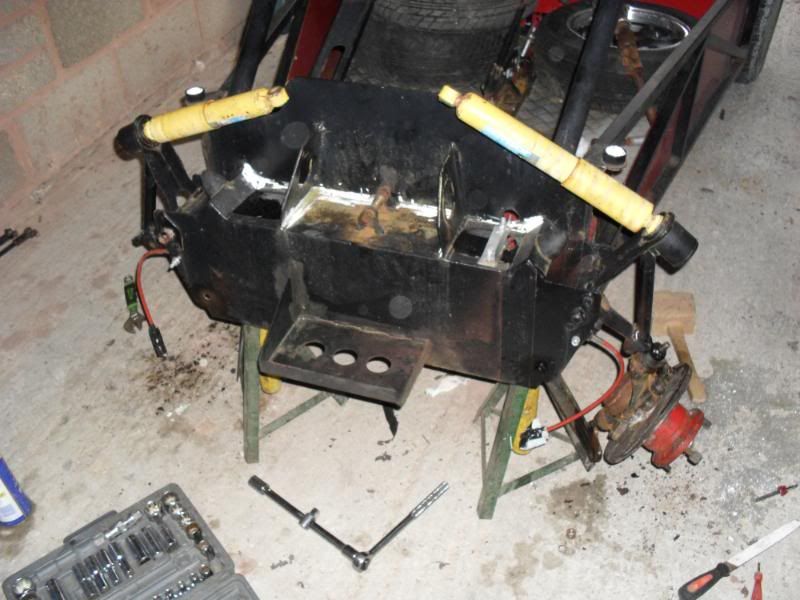
So once I had done that, I removed the engine from the subby, and connected the subframe back up to the chassis...

Posted Image

Posted Image

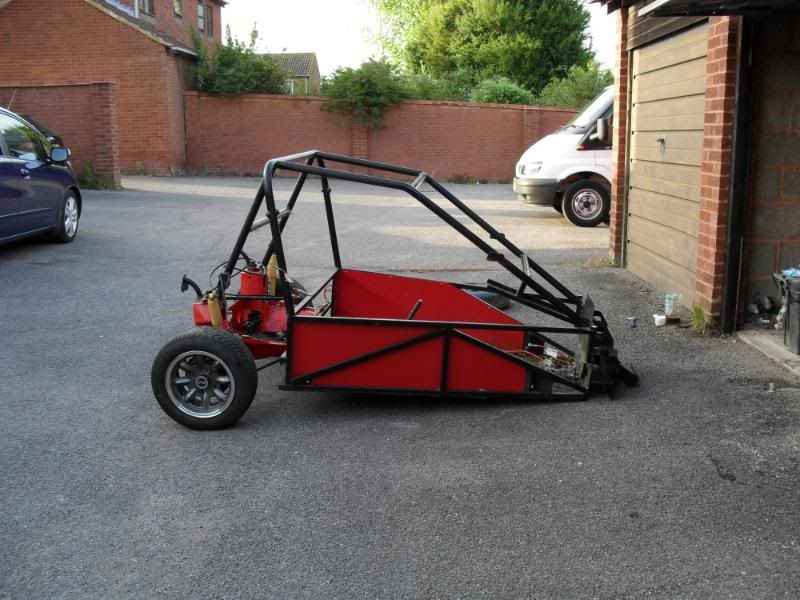
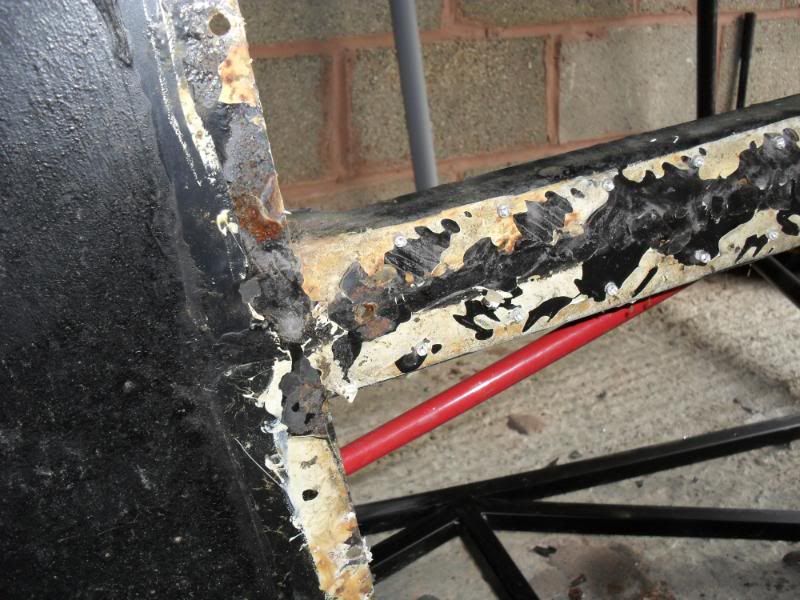
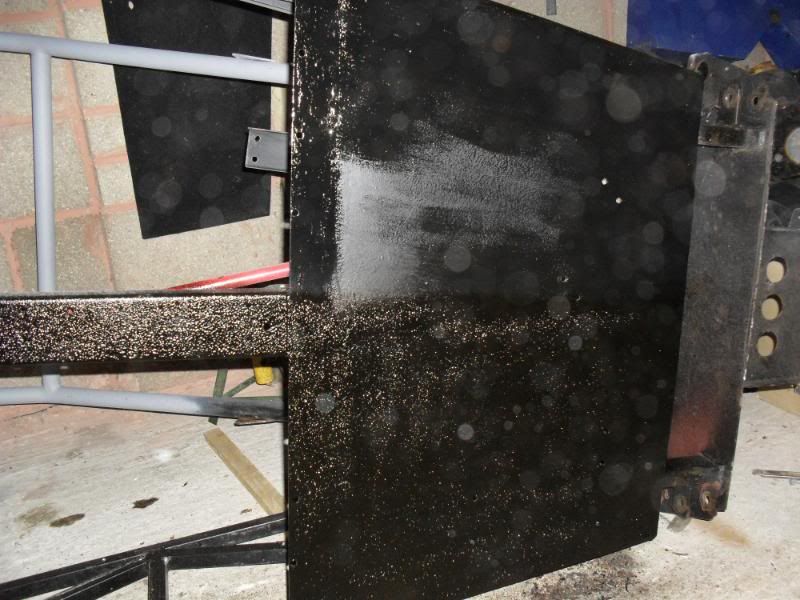
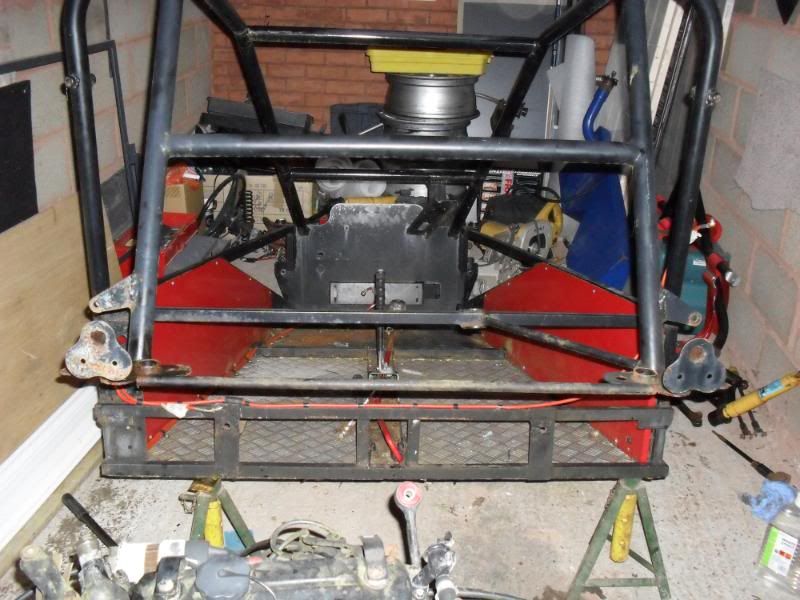
At the moment, the buggy is as the bottom picture, and im currently removing all the flaking paint and giving the chassis a good clean up which will eventually end up being resprayed black!

Will keep the post updated as I go :wub:

#2 mini-geek

mini-geek

    One Carb Or Two?

  • Members
  • PipPipPipPipPipPipPip
  • 1,169 posts
  • Location: Ormskirk

Posted 29 May 2010 - 12:39 PM

ah I have been dreaming of knocking one of these up for years, Can't wait to see it progress!

#3 arris

arris

    Stage One Kit Fitted

  • Noobies
  • PipPipPip
  • 80 posts
  • Local Club: Will be when its on the road

Posted 29 May 2010 - 02:28 PM

Love these buggies, i Eagerly await more progress, whats the plans for it?

#4 rsroadkilla

rsroadkilla

    Speeding Along Now

  • Members
  • PipPipPipPipPip
  • 365 posts
  • Local Club: Japshowcarz

Posted 29 May 2010 - 03:13 PM

Cheers chaps :wub:

Well the plan at the mo is to strip it back completly, refurbish everything including making it look nice and shiny and eventually fit a 1275 engine.

It come with a 998, but I dont want to have to worry about changing the engine too soon once its road legal!

The main priority is to get it built so it can pass the SVA at the moment, and then who knows... maybe a superchrager or go the turbo route again :P

#5 Scallywag630

Scallywag630

    Up Into Fourth

  • Banned
  • PipPipPipPipPipPipPipPipPip
  • 2,850 posts

Posted 29 May 2010 - 04:19 PM

Reminds me of sandrails....great fun and boy do they go!

#6 Body stylist

Body stylist

    One Carb Or Two?

  • Traders
  • PipPipPipPipPipPipPip
  • 1,072 posts

Posted 29 May 2010 - 05:19 PM

look really nice these :wub:

#7 rsroadkilla

rsroadkilla

    Speeding Along Now

  • Members
  • PipPipPipPipPip
  • 365 posts
  • Local Club: Japshowcarz

Posted 03 June 2010 - 05:58 PM

Bit of an overdue update as I havent updated it for a while!

So last night I decided to get cracking, and get the chassis to the point I wanted it at.

First things first, I pulled the chassis away from the subframe so I could work on it a bit easier.

After putting the subby out of the way, I went about turning the chassis onto its side.

Next up was to start drilling out the hundreds of pop rivets holding the floor panels on!

Once that was done, I got a flat head screwdriver and prized the floor away from the chassis...

Posted Image

Next up was the side panel...

Posted Image

And then the other floor panel...

Posted Image

Now this is where I have to make a decision...

I thought the front section of the floor was also removable, which would of been ideal as the plan was to throw this part away and replace it with a nice shiny aluminium piece. Mainly due to the fact its quite rusty...

Posted Image

Alas its welded in place, so has to stay due to the fact I dont want to do no welding!

I also have this all over the buggy...

Posted Image

A mixture of silicone, and flakey paint!

Now do I go the painstakinly long and tedious route of coating the whole chassis in Nitromores and stripping the paint, or do I cheat and fork out the money to have it shot blasted?

I think I want to have it shot blasted as it will also remove the rust on the front floor... and also save me one hell of a boring job!

But the other part of me says I took on this project as a long term thing, and maybe I should stick with it and strip it myself!

Does anyone have an idea on how much it would cost to have blasted?

Until I make that decision, thats all for now! :D

#8 wolfie

wolfie

    One Carb Or Two?

  • Members
  • PipPipPipPipPipPipPip
  • 1,149 posts

Posted 03 June 2010 - 06:37 PM

shotblast it

its really the only way of making it rot free

#9 rsroadkilla

rsroadkilla

    Speeding Along Now

  • Members
  • PipPipPipPipPip
  • 365 posts
  • Local Club: Japshowcarz

Posted 07 June 2010 - 04:20 PM

Ive been quoted £200 to have it shot blasted... not sure if I should pay it as it seems rather high for what is essentially a couple of hours work in a garage with a compressor!

#10 Stocky_s

Stocky_s

    Stage One Kit Fitted

  • Noobies
  • PipPipPip
  • 54 posts
  • Local Club: BMC

Posted 20 July 2010 - 11:24 AM

Ive been quoted £200 to have it shot blasted... not sure if I should pay it as it seems rather high for what is essentially a couple of hours work in a garage with a compressor!


You might be able to hire a compressor and do it yourself, at least that way you get to do the job yourself and quickly too, might work out cheaper, im sure you could pick up the sandblast gun and the sand, put a large plasic/cardboard box behind each bit it and reuse the sand :). hope this helps.

Stocky

#11 Stocky_s

Stocky_s

    Stage One Kit Fitted

  • Noobies
  • PipPipPip
  • 54 posts
  • Local Club: BMC

Posted 20 July 2010 - 11:25 AM

Ive been quoted £200 to have it shot blasted... not sure if I should pay it as it seems rather high for what is essentially a couple of hours work in a garage with a compressor!


You might be able to hire a compressor and do it yourself, at least that way you get to do the job yourself and quickly too, might work out cheaper, im sure you could pick up the sandblast gun and the sand, put a large plasic/cardboard box behind each bit it and reuse the sand :xxx:. hope this helps.

Stocky


just found this mate http://www.iosss.com....asp?prod=14638 might just need to rent the compressor at that pice :)

or you might be able to pick up a cheapish petrol compressor from an auction/market. or ebay i know we've got one over the farm without the electric pump it used to have but it has got the compressor i think, i'll have a look for you if we have you can have it really cheap and just add a little petrol engine with a belt instead :xxx:

Edited by Stocky_s, 20 July 2010 - 11:30 AM.


#12 rsroadkilla

rsroadkilla

    Speeding Along Now

  • Members
  • PipPipPipPipPip
  • 365 posts
  • Local Club: Japshowcarz

Posted 01 August 2010 - 05:09 PM

Thought I had better take some pics tonight as my thread is looking a lil' bland!

After spending last night armed with a wire wheel, I had half the underside rust free and painted in black hammerite...

Posted Image

This evening mainly consisted of turning the chassis onto its other side (the side it is in the pics), and giving the garage yet another good sweep!

I also wire wheeled the remaining half of the underside, hammerited and waxoiled the side which was dry from painting yesterday!

Just a few random pics for ya to look at! Nothing to exciting!!! :D

Posted Image

Posted Image

Tomorrow im hoping to waxoil the remaning underside, then Im going to start thinking about stripping the rear subby ready for painting that!

#13 rsroadkilla

rsroadkilla

    Speeding Along Now

  • Members
  • PipPipPipPipPip
  • 365 posts
  • Local Club: Japshowcarz

Posted 01 August 2010 - 05:10 PM

Done a bit more last night :wub:

I finished the waxoil on the underside of the car, and was quite pleased with how its turned out! The waxoil I sprayed on the other night has actually thickened really well, and has turned out a lot better than I expected it to!

Last night I started to clean up the aluminium chequer plate flooring. I attacked the edges with a wire brush as they were covered in old flakey paint and silicone from where I pulled them off the chassis.

I also started to give the part you see a good rub down with some compound, but am going to wait until I drag my lazy arse to get some autosol!

Heres a before and after pic...

Posted Image

After that, I decided to start stripping the rear sub frame.

Forgot how much I hate rusty Mini bolts!!! >:D

Anyways, heres where I got to after plenty of bashing and swearing!

Posted Image

Next decision is to decide what colour to paint the subby! Thinking of red hammerite again...?

#14 mk3cortina

mk3cortina

    Super Mini Mad

  • Members
  • PipPipPipPipPipPip
  • 677 posts

Posted 01 August 2010 - 05:20 PM

are these road legal?

#15 rsroadkilla

rsroadkilla

    Speeding Along Now

  • Members
  • PipPipPipPipPip
  • 365 posts
  • Local Club: Japshowcarz

Posted 01 August 2010 - 05:22 PM

It will be once I get it SVA'd :D


1 user(s) are reading this topic

0 members, 1 guests, 0 anonymous users