
audio install. (it may give people some ideas)
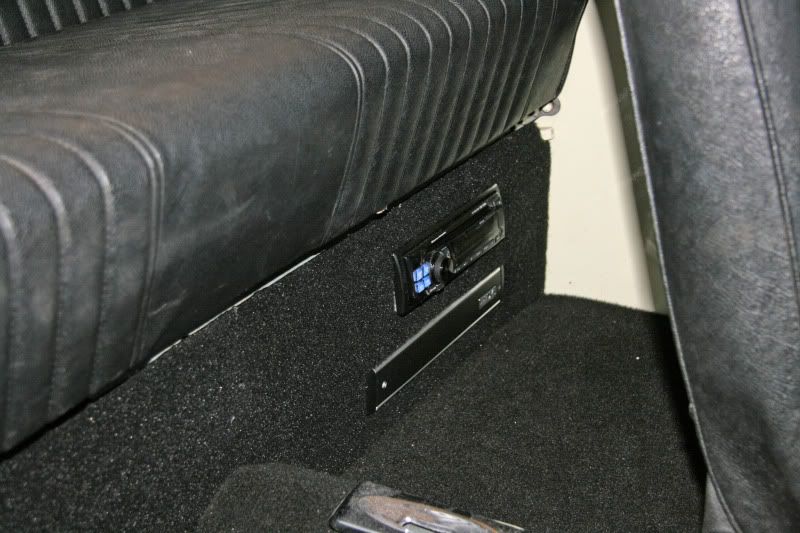
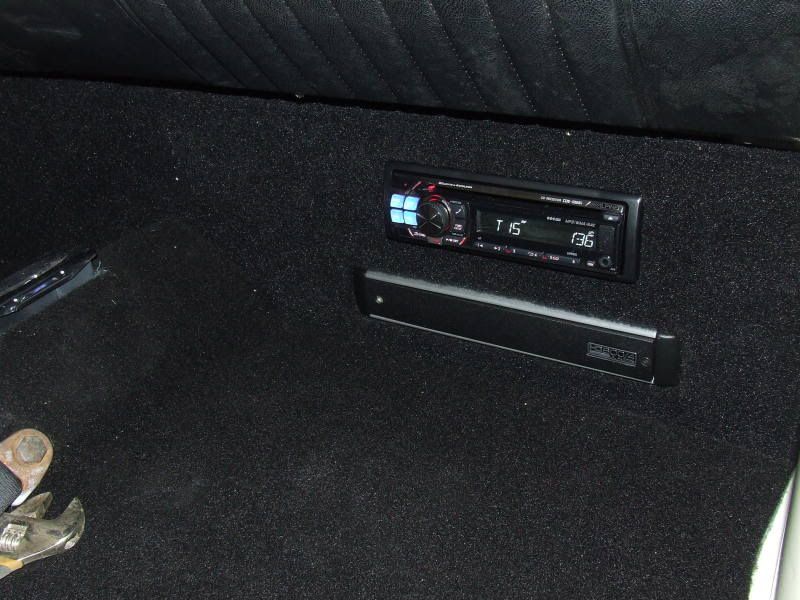
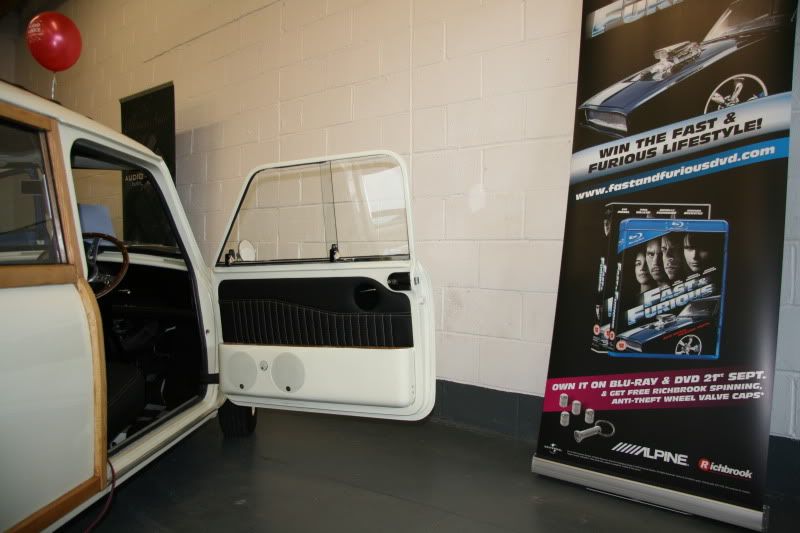
The car was given to Audio Advice in Hillington (great company). Iain and I then discussed the options of what I wanted from the install, I told Iain that I would like the wee car to have a sound system that was quite loud without distorting the quality BUT most of all I want it all fitted discreetly keeping the overall appearance that the car has no stereo.
Well the car far exceeded my expectations, it sounds absolutely amazing and
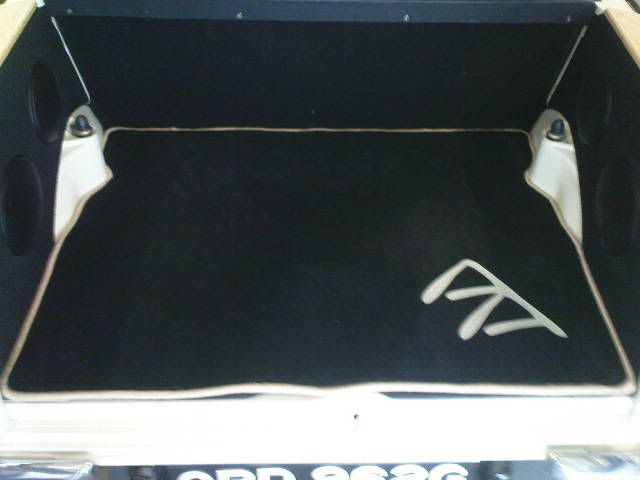
the best bit is most of it can't be seen (if you are just walking past), just waiting on the tailor-made boot mat to be finished.
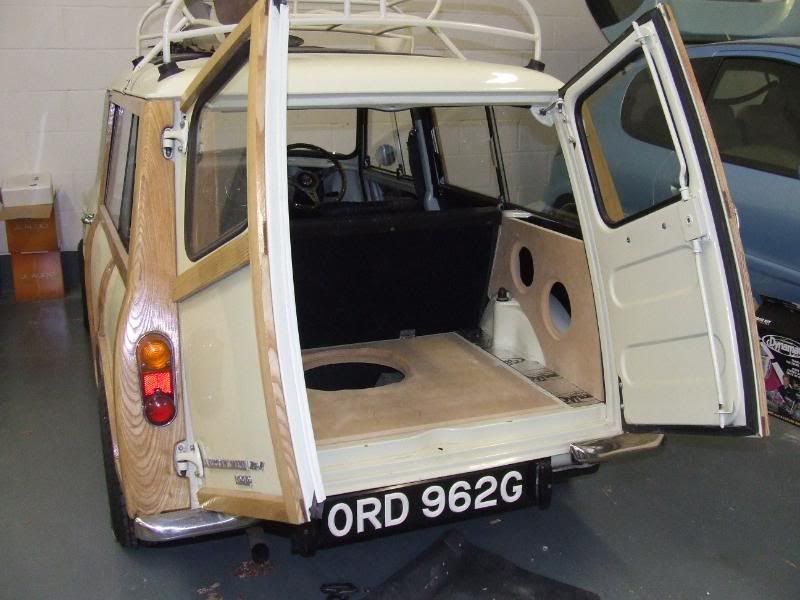
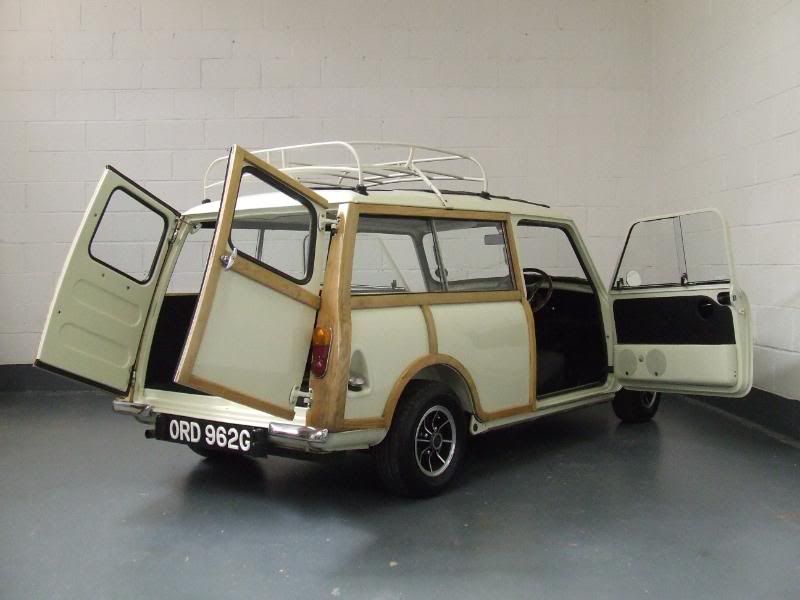
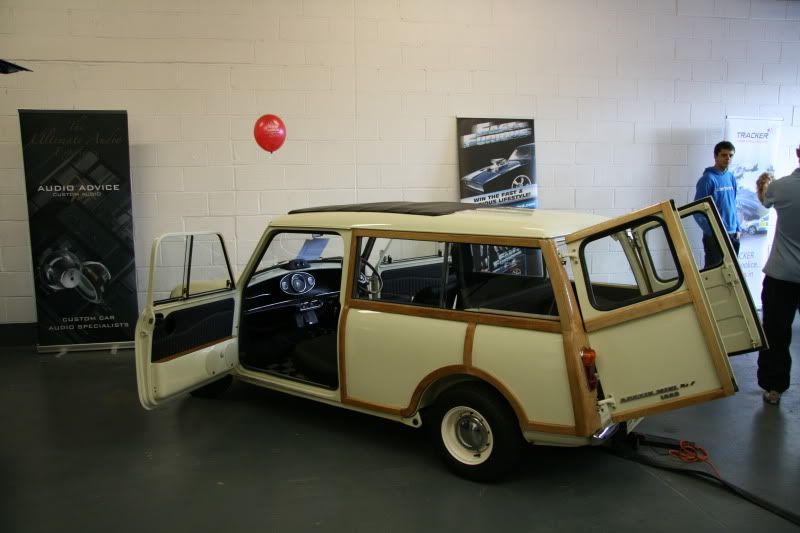
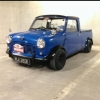
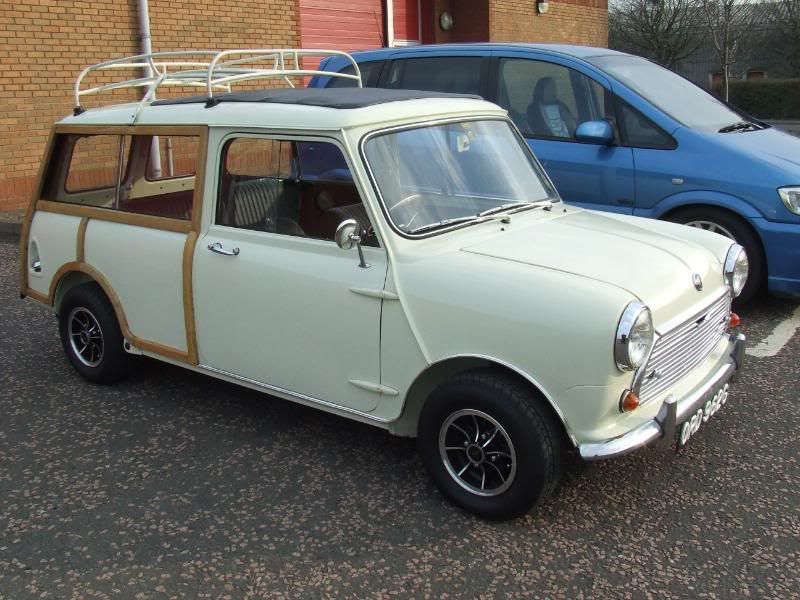
The car before Iain and Stuart get stuck in
Pic1
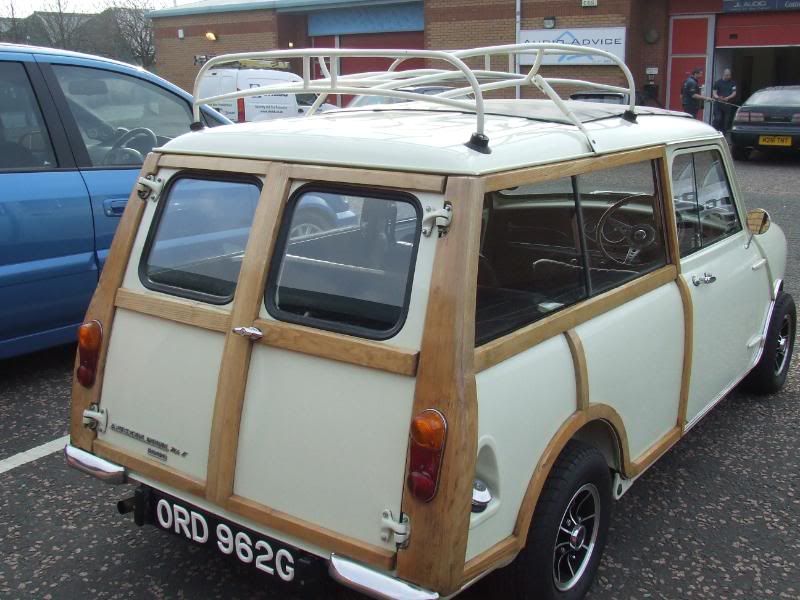
Pic2
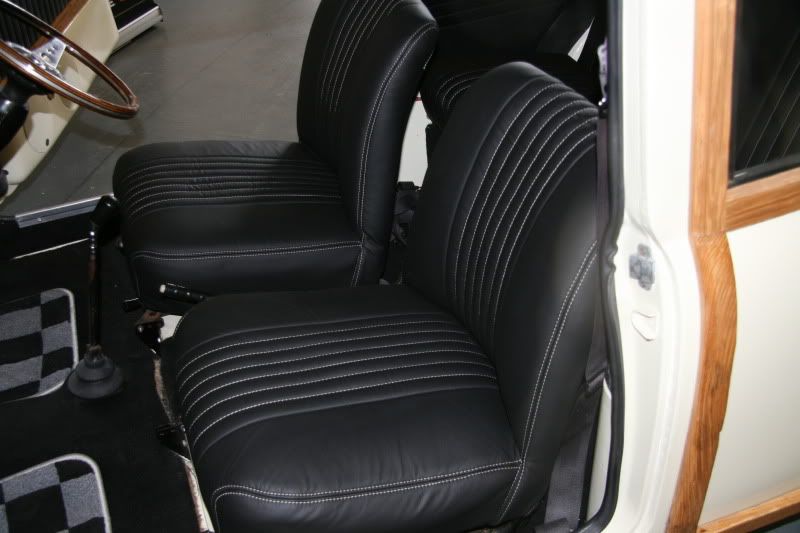
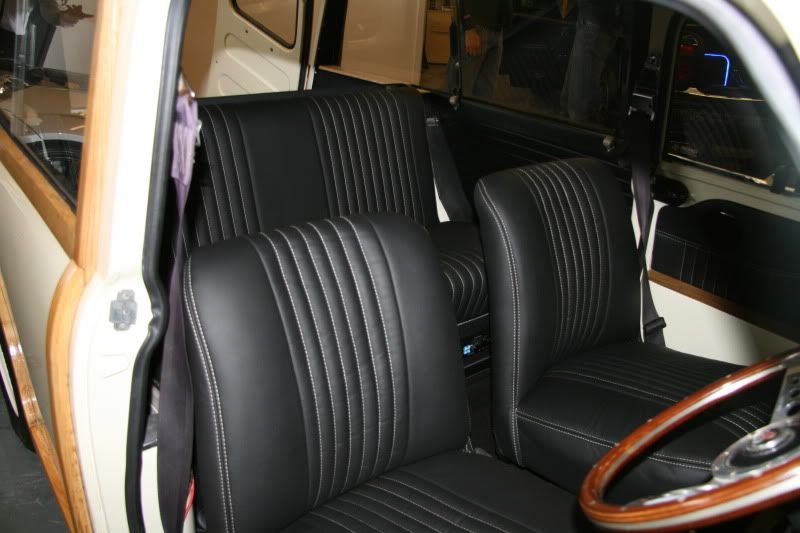
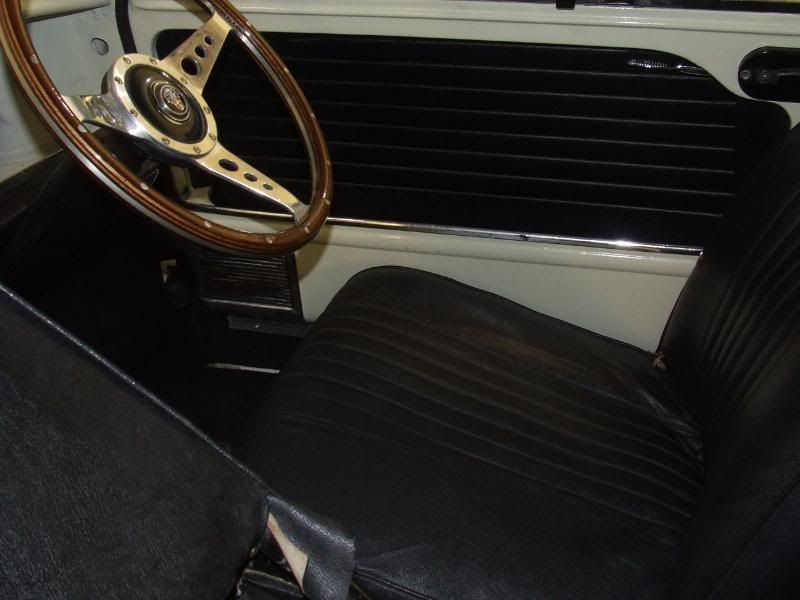
2 of the Interior
Pic3
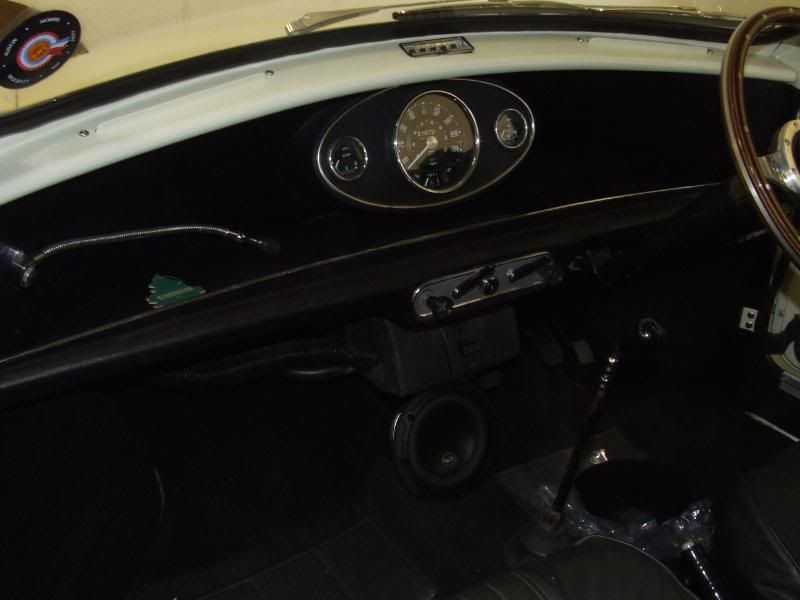
Pic4
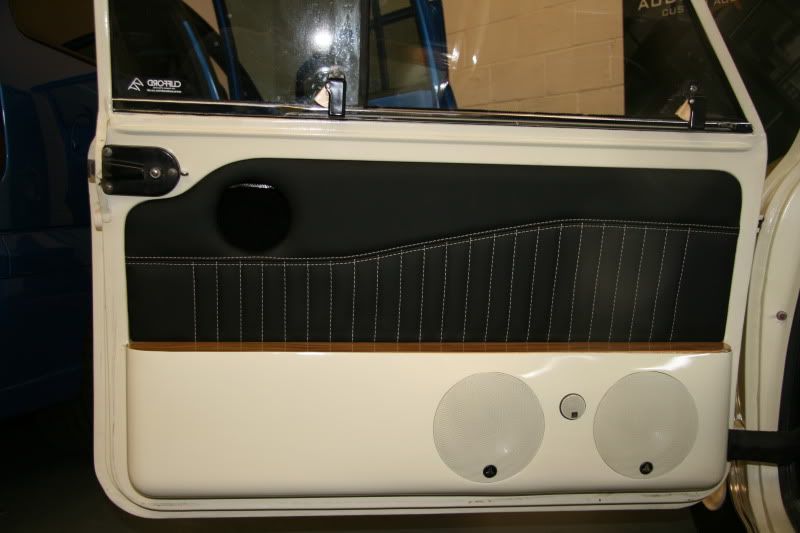
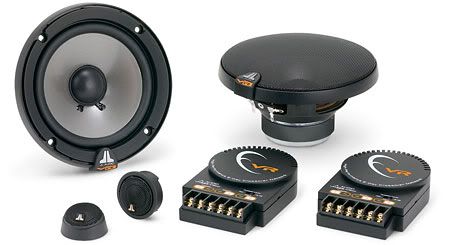
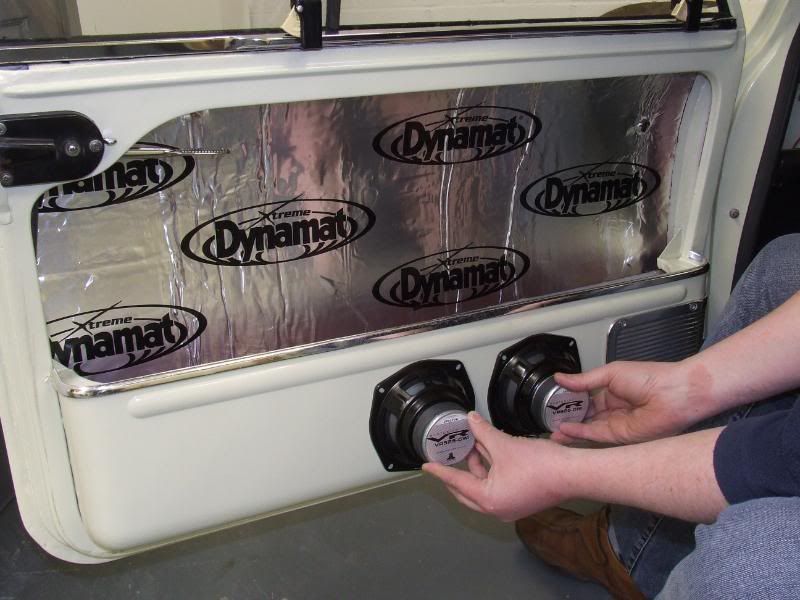
The doors were first, each door was going to house.
JL Audio VR components (2 sets) with 2 mids and 1 tweet in each door.
Pic1
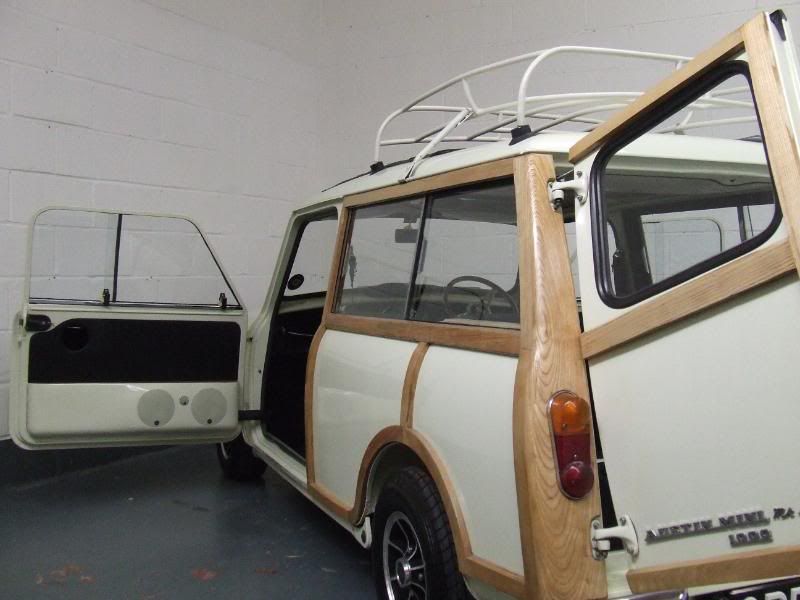
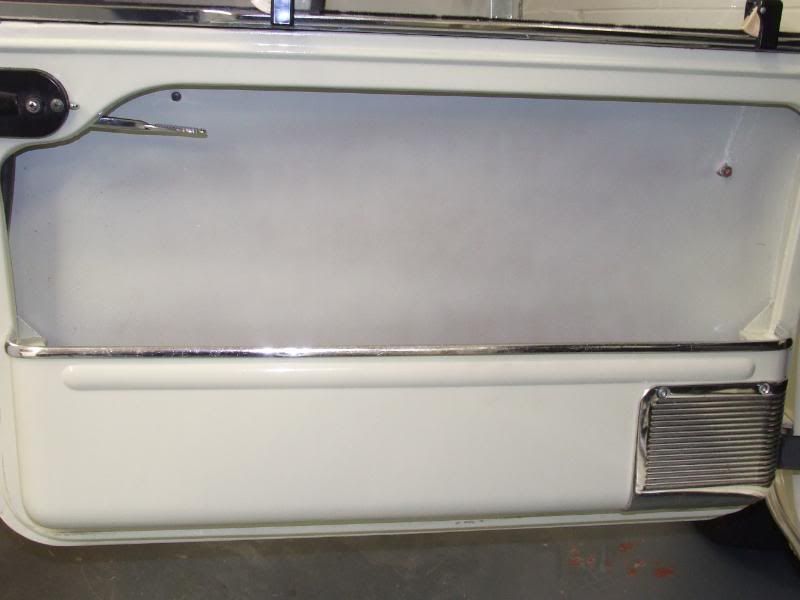
Original door before.
Pic1
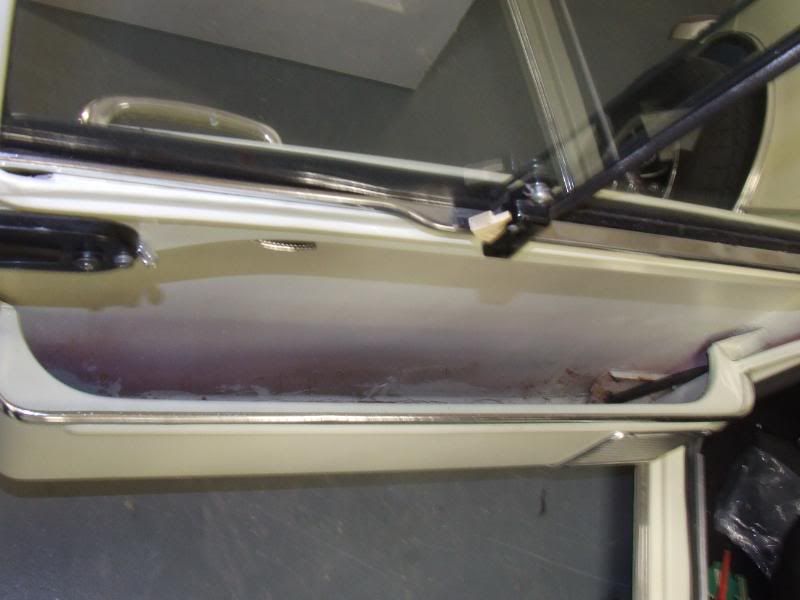
What can we do to this ???
Pic2
Dynamat in place, how will this look?
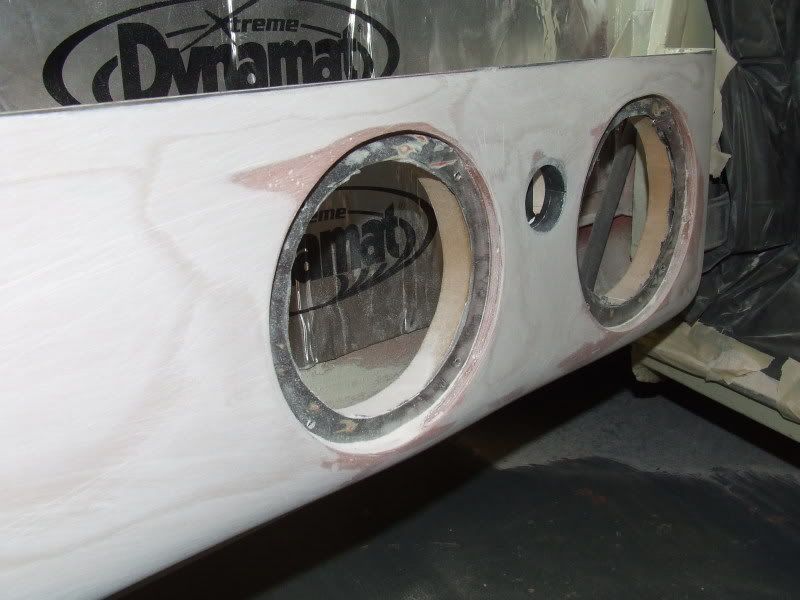
Pic3
Holes cut and ready for speakers.
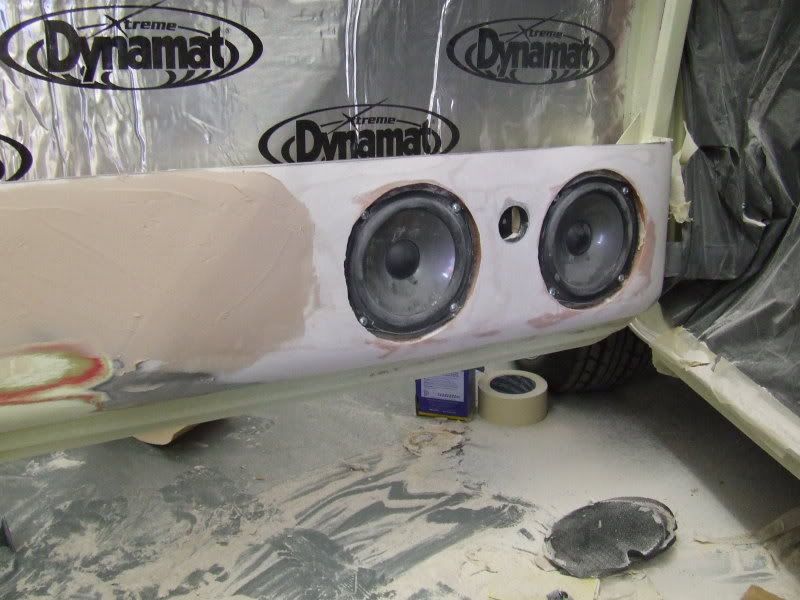
Pic4
nearly ready for paint.
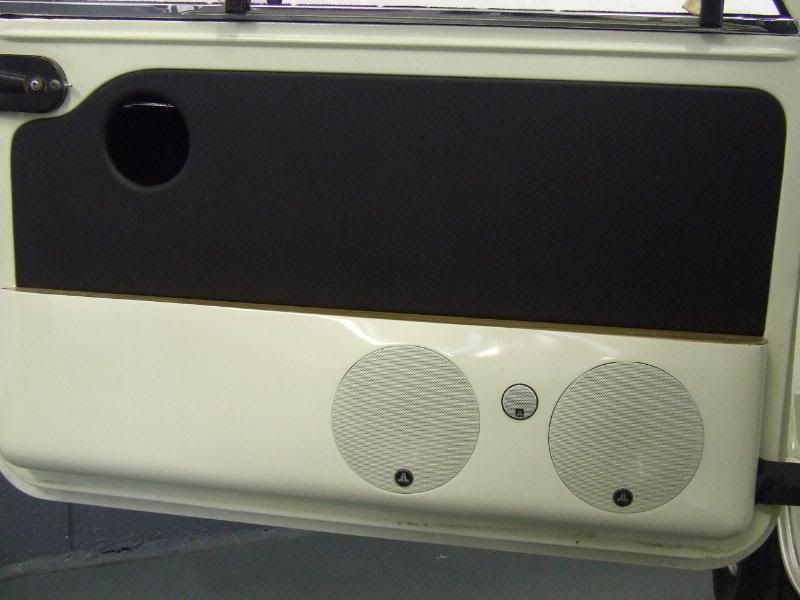
Pic5
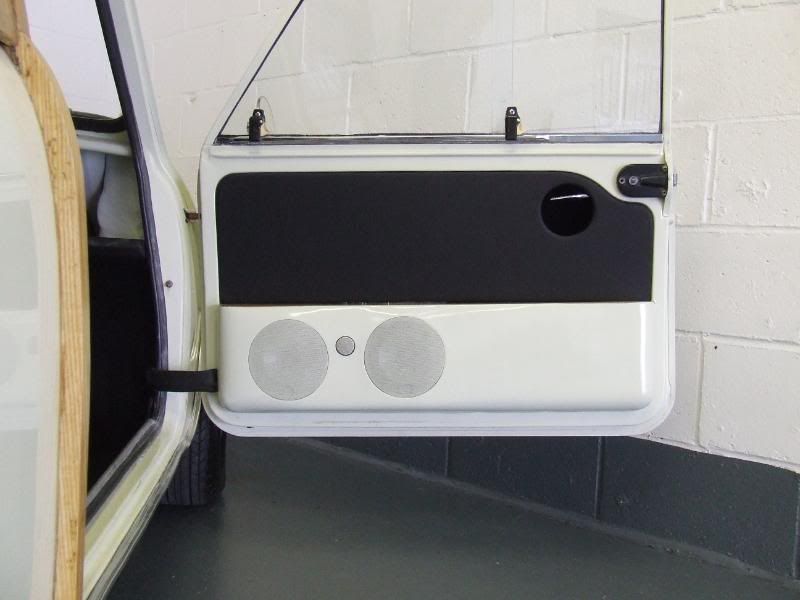
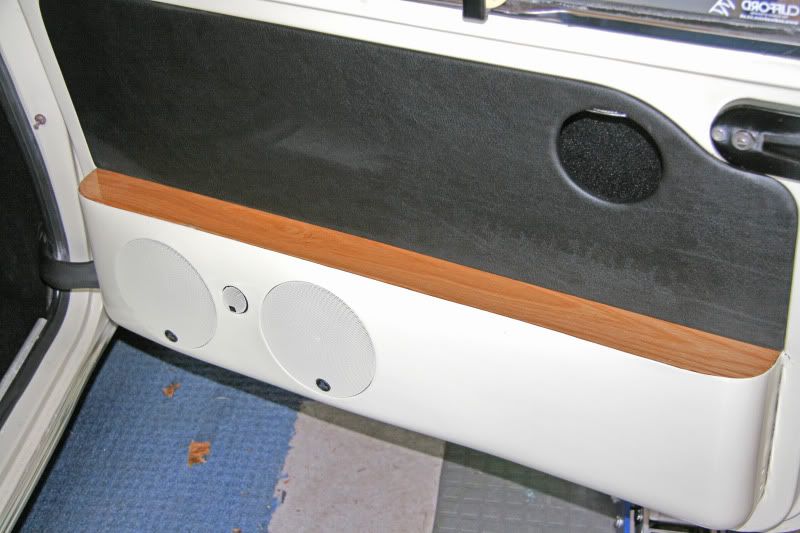
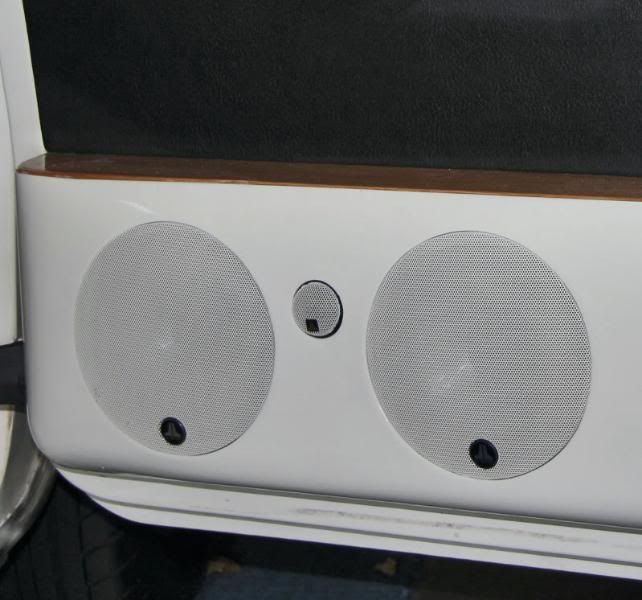
Finished door
Pic6
Pic7
Pic8
The wood just adds to the finished door
Pic9
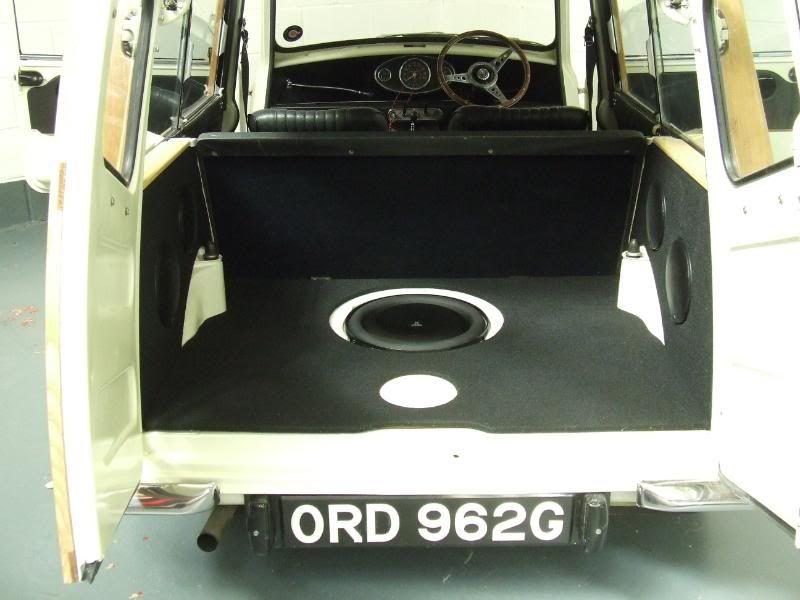
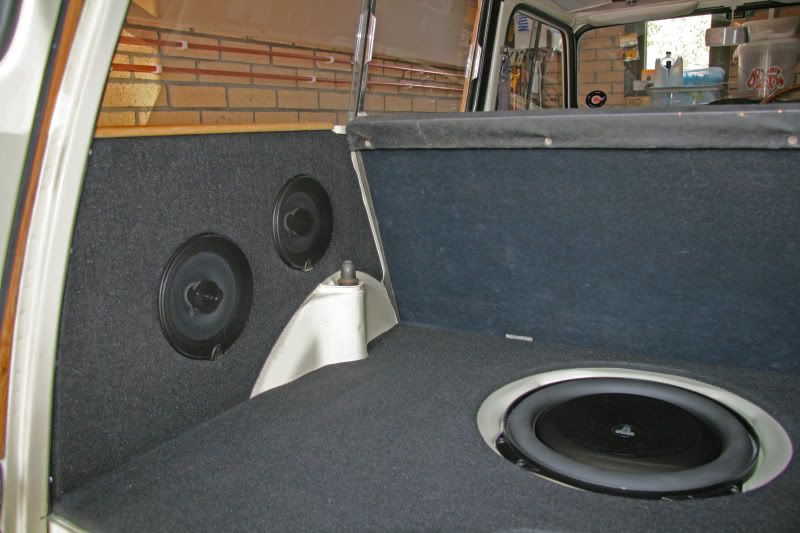
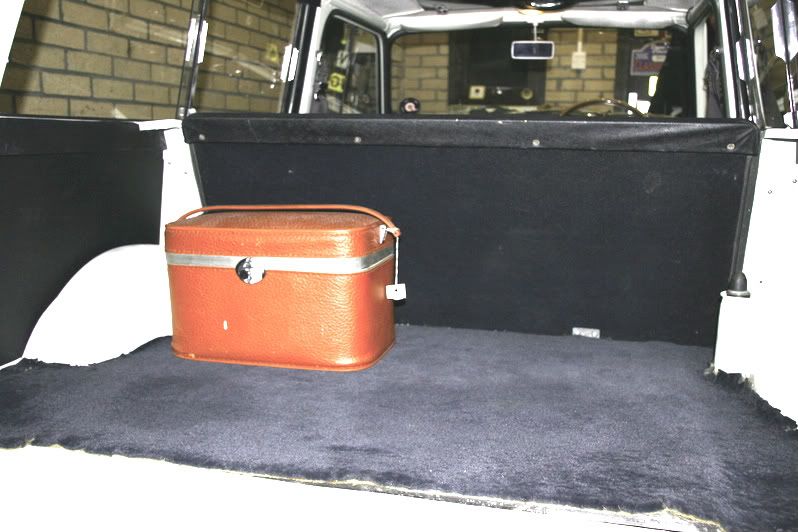
Next up the boot/rear, this was to house JL Audio TR co-axials (in rear panels in boot)
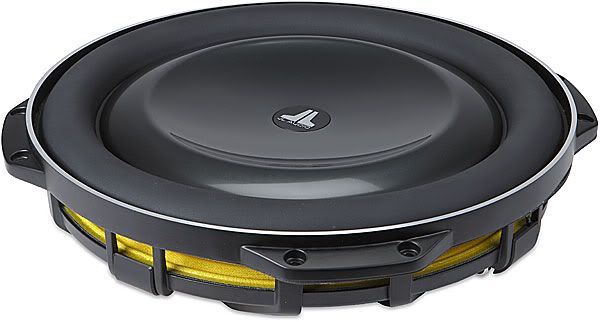
And the JL Audio TW5 sub in spare wheel well
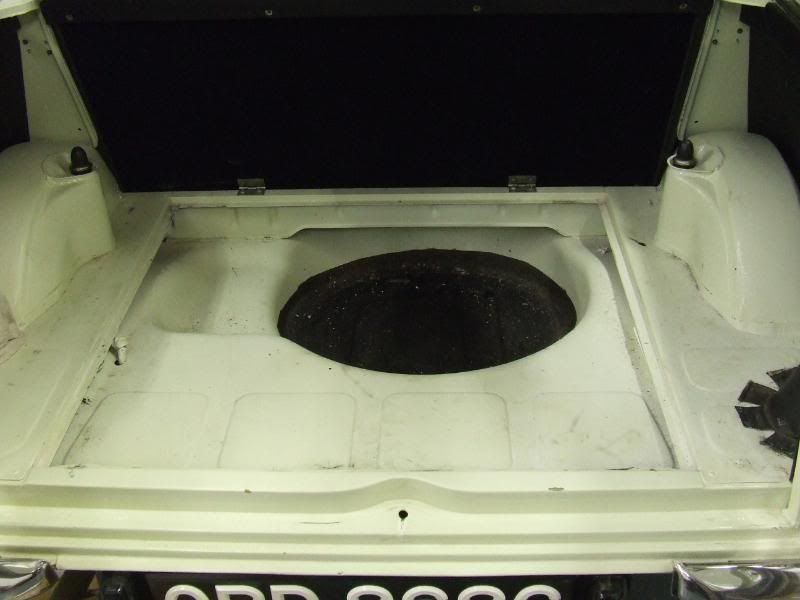
Before
Pic1
The TW5 (TW5-3 13.5" subwoofer handles up to 600 watts RMS with a 2.5-inch mounting depth that makes it ideal for tight spaces.)
Pic2
standard empty boot floor
Pic3
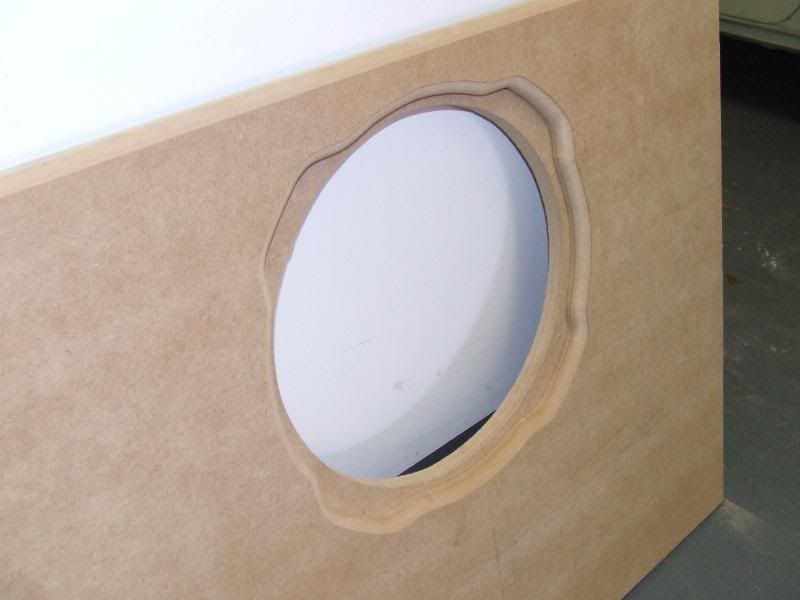
Insert / lid for sub box in floor
Pic4
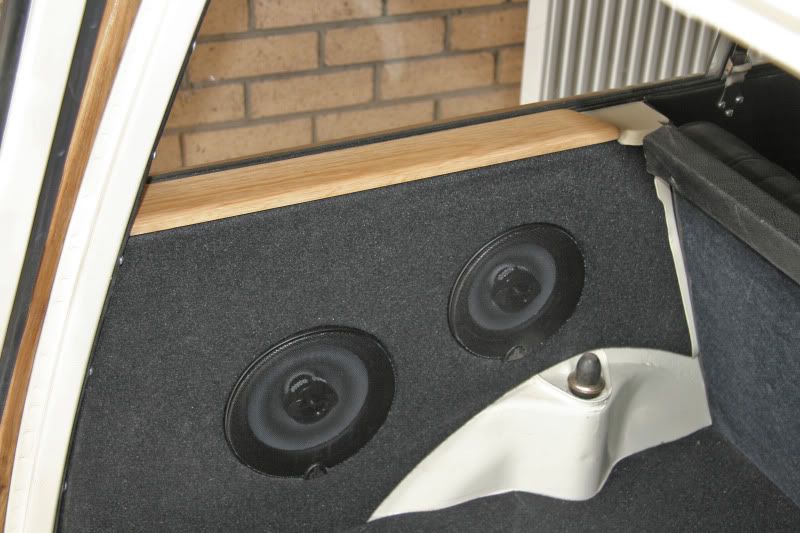
Floor and rear side panel in situ
Pic5
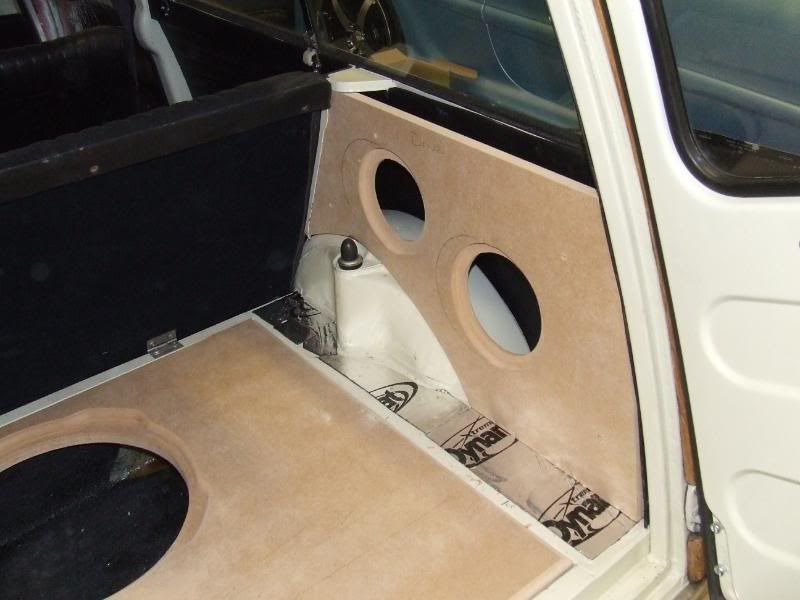
View from rear before final tweaks before trimming.
Pic6