
Hill Climb Car - Converting Into - Tarmac Rally Car
#106

Posted 25 March 2012 - 03:06 PM
and i must say the engine is looking good
#107

Posted 25 March 2012 - 05:47 PM
did you manage to sort out your hardy spicer probllem?
and i must say the engine is looking good
Hey danny1
Yer it looks like I will need to get a 24 spline output shaft. It looks like mini speed sell them, so that's cool.
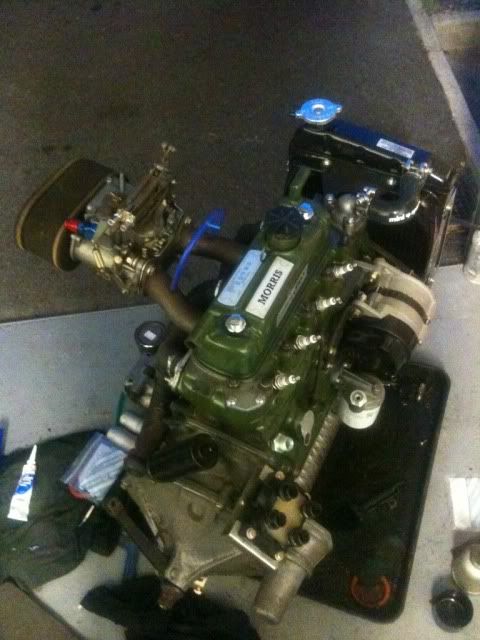
Yes I'm quite happy with how the engine has turned out, a dam site better then when I took it out.
#108

Posted 25 March 2012 - 06:55 PM
#109

Posted 02 April 2012 - 12:30 PM
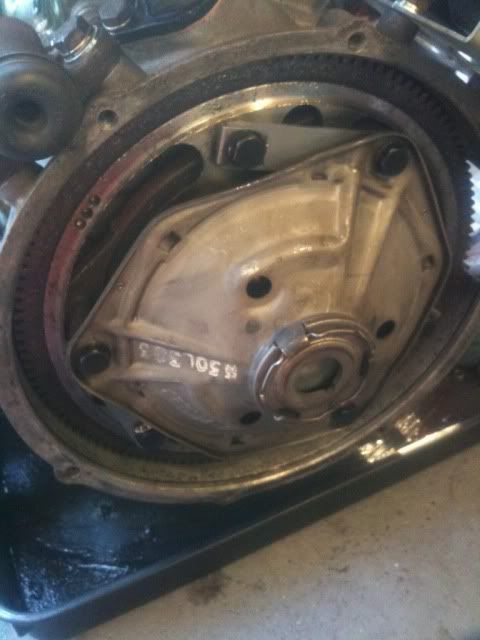
No I did not get the engine back in, I thought it would be wise to have a look at the clutch while the engine was out, and I'm glad I did. The first thing was the bad oily grim which greeted me when I took the cover off, so of course a new clutch oil seal is needed. I then bent back the 2nd lock tab, locked the engine ready to unbolt the flywheel bolt......well I think I could of un-tightened it with 1/4 drive racthet! It must of only been at least finger tight!!! Once I removed the flywheel with the tool, I realised I would have to do some work on the tapered end of the crank and the flywheel as there was some scoring! Any way I have ordered some parts from minispares, do once I have these bits I can then put the clutch assy back.
Also look what turned up
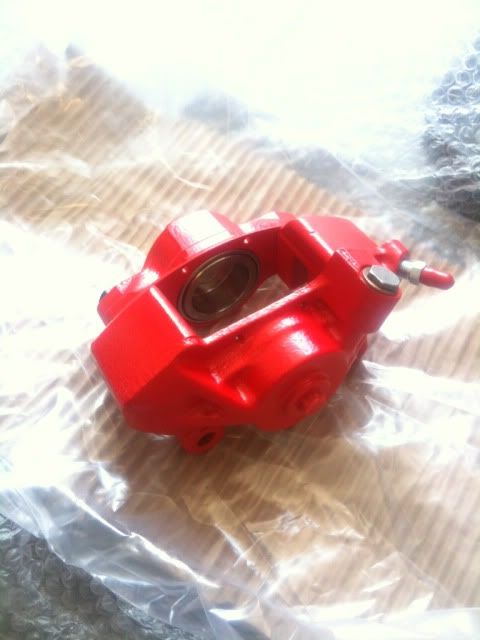
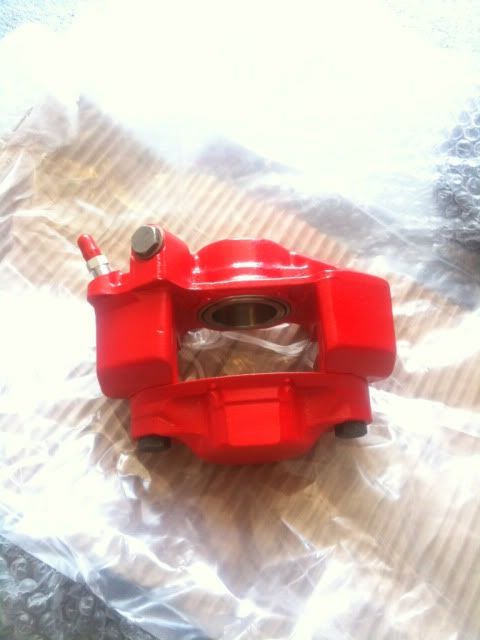
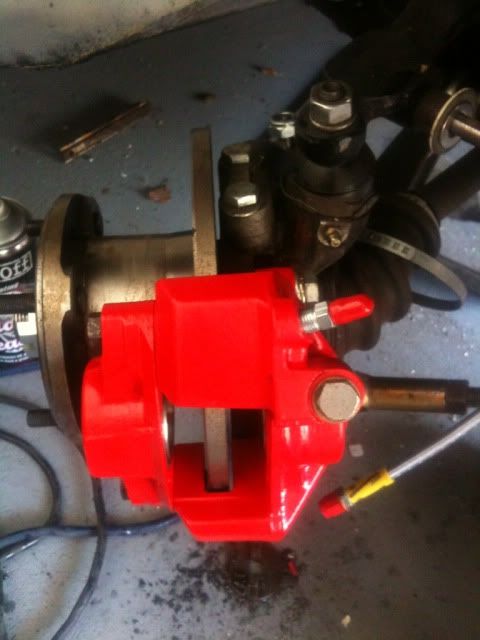
My refurbished calipers from biggred, they have done a fantastic job on them, I'm well pleased.
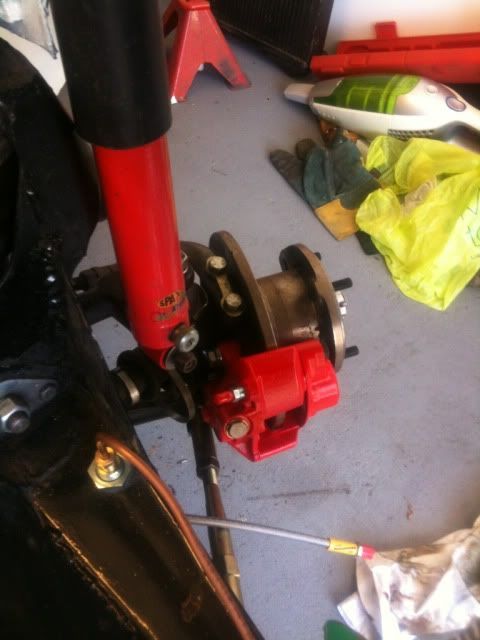
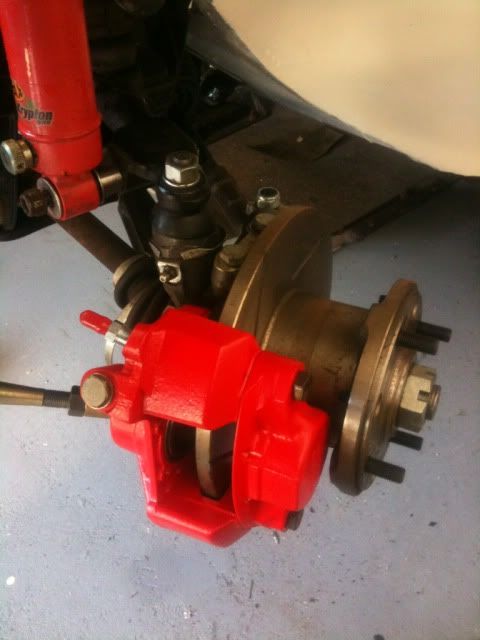
But its not all good news, I went to fit the driver side caliper and noticed that both of the threads in the hub for the caliper bolts are completely shot! So it now looks like I will have to replace the hub, unless you guys have any ideas?
Cheers
Kevin
#110

Posted 02 April 2012 - 07:23 PM
#111

Posted 04 April 2012 - 09:11 AM
Does anyone know what the thread size is for the caliper bolts?
Cheers
Kevin
#112

Posted 07 April 2012 - 08:38 AM
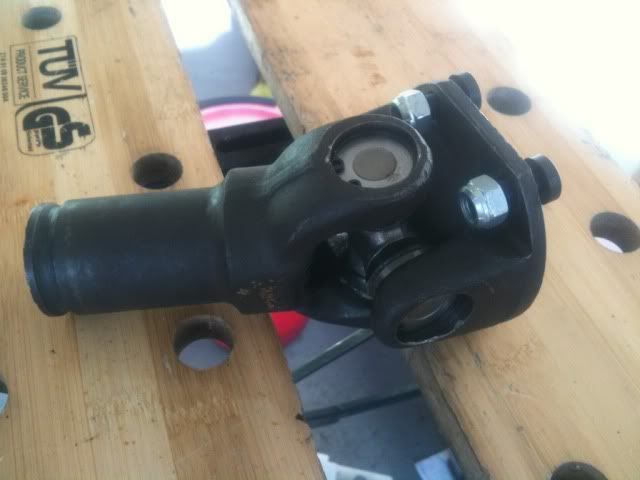
Carried out some more work on the mini yesterday. I started overhauling the hardy spicer's fitting new needle bearings and updated bolts. It was a struggle to remove the old ones, but hey I got there in the end.
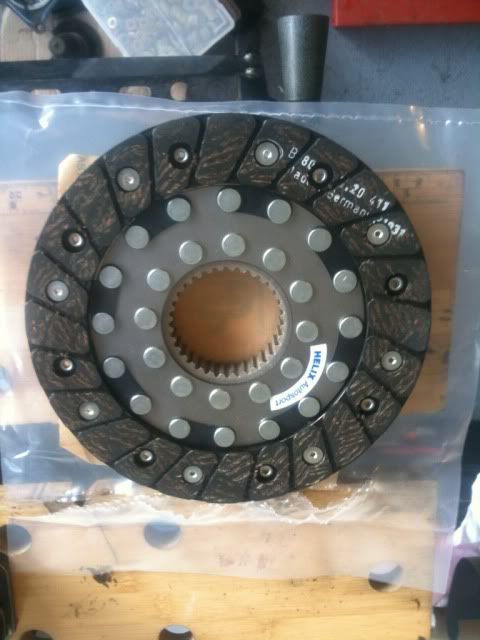
All my clutch parts turned up from mini spares, clutch plate, updated bolts, straps, lock tabs, oil etc so I could get all of the clutch assy back together
My coolant hoses also turned up along with some other bits and bobs, so the engine is now ready to be refitted.
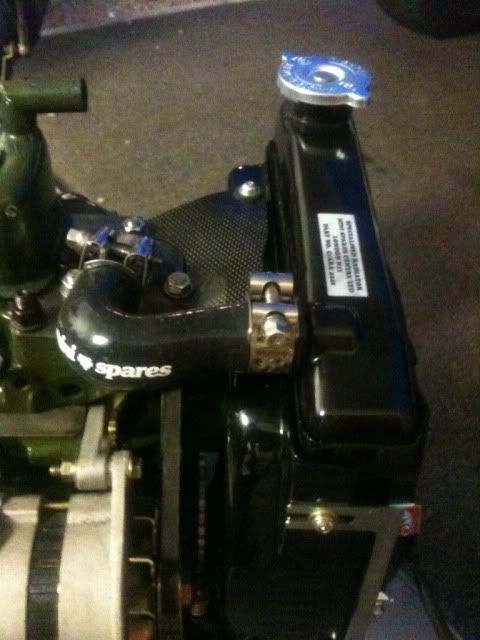
More updates coming over the Easter hol's
Cheers
Kevin
#113

Posted 08 April 2012 - 07:27 AM
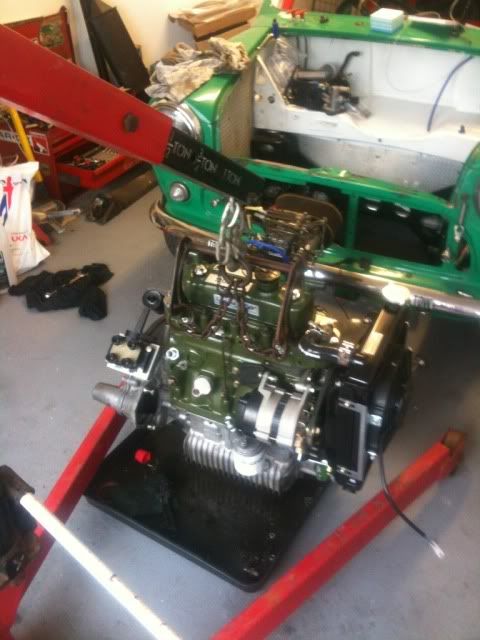
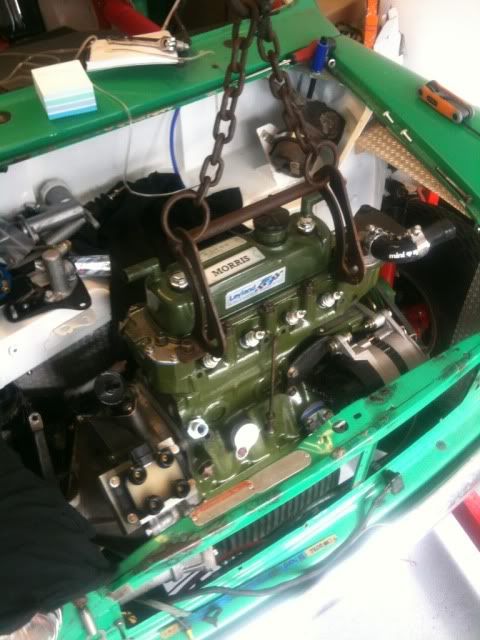
Cheers for looking
Kevin
#114

Posted 27 April 2012 - 06:59 AM
I fixed the threads on the r/h hub, as it looks the thread bolts were used! So I bought a helicoil kit and it worked a treat!
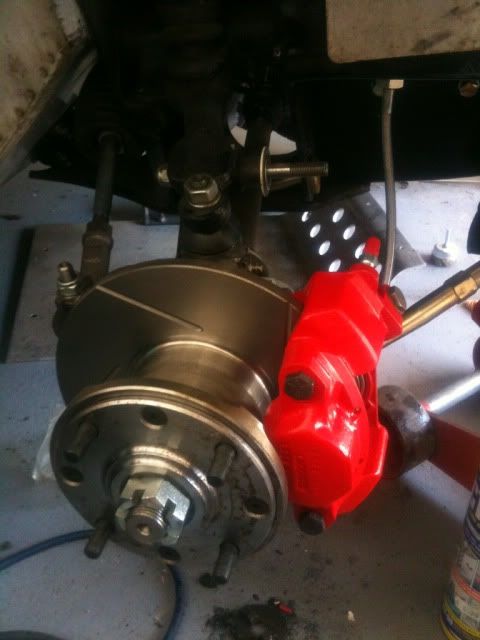
I ended up changing the solid engine mounts to two piece poly mounts, so I have now finally fitted the engine;) so I have started bolting every thing on.
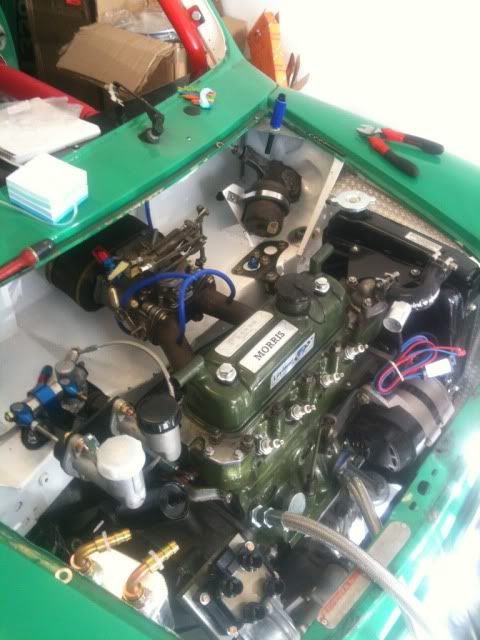
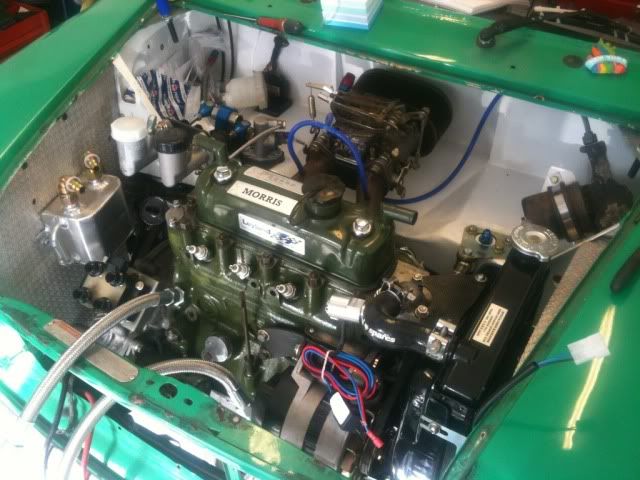
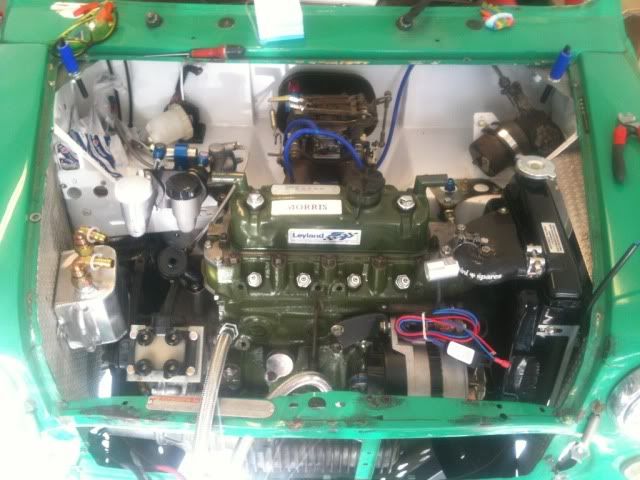
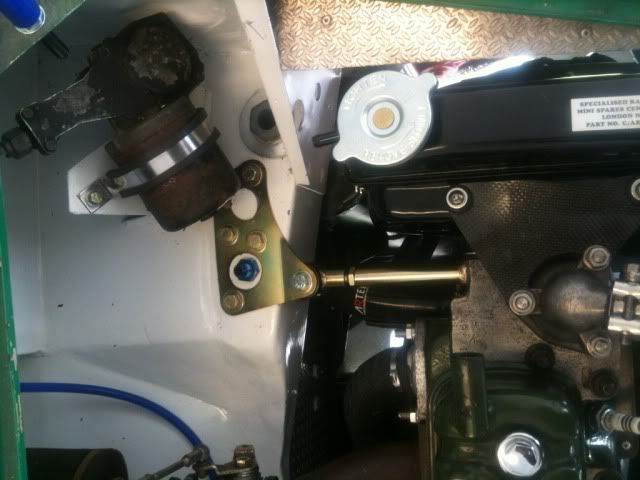
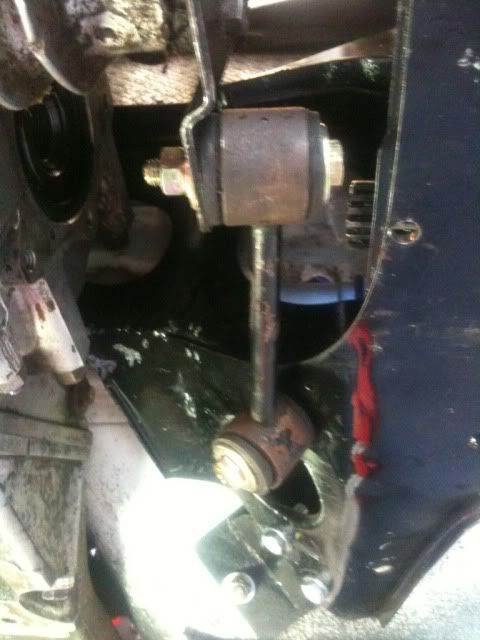
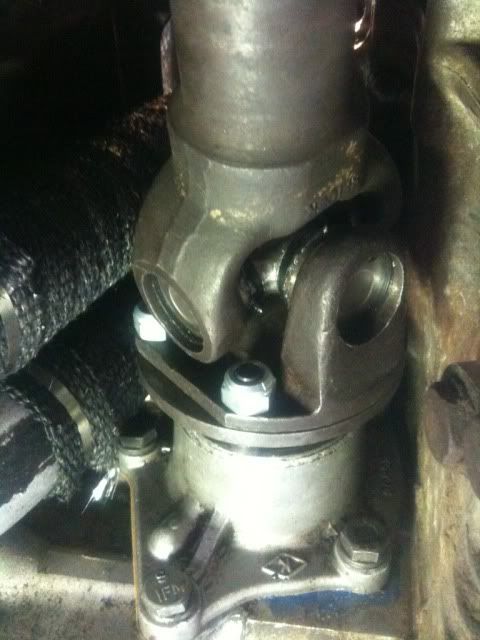
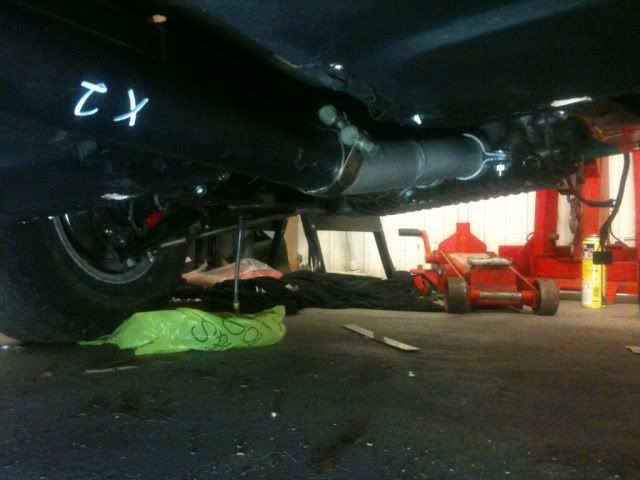
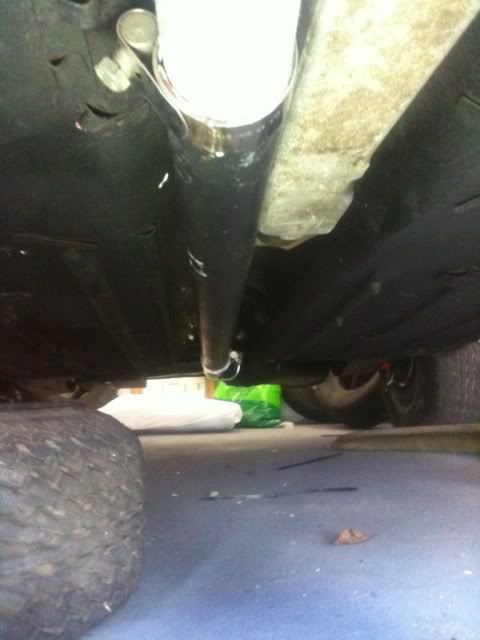
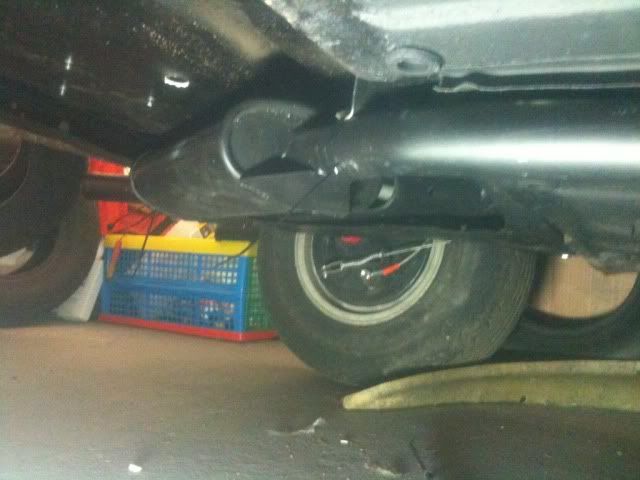
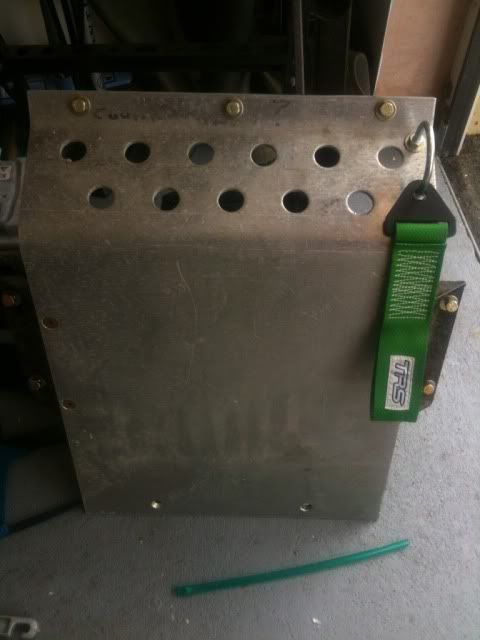
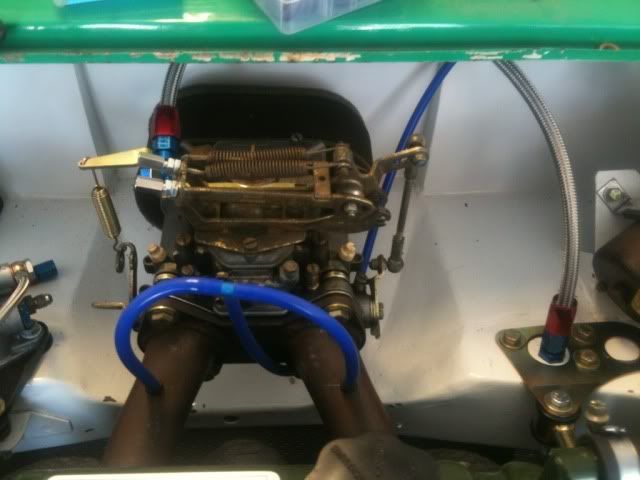
I'm going to have to move the oil catch tank a bit further back now, as I have fitted the oil cooler to that inner wing. Also does any one know where I can buy nylon T piece but with one of the ends a different size so like 16mm 19mm 19mm
So things are now moving along nicely now, starting to see light at the end of the tunnel.
Cheers
Kevin
#115

Posted 27 April 2012 - 10:10 AM
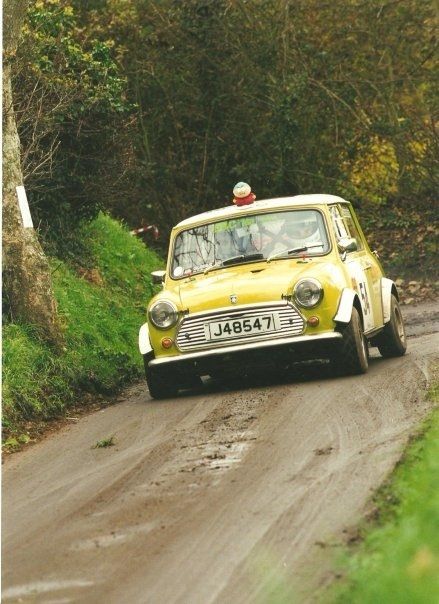
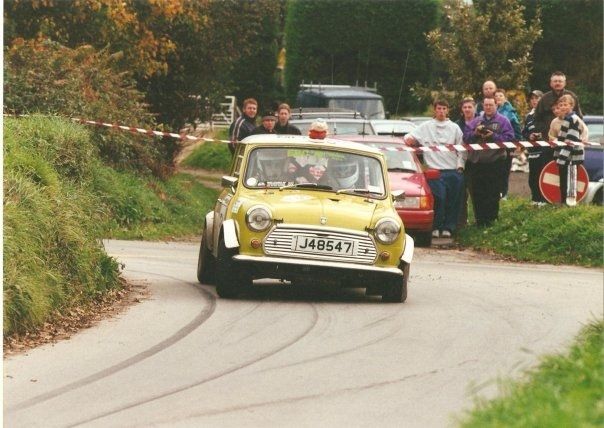
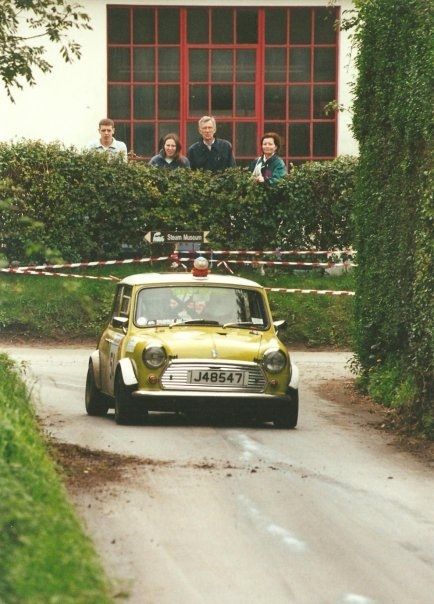
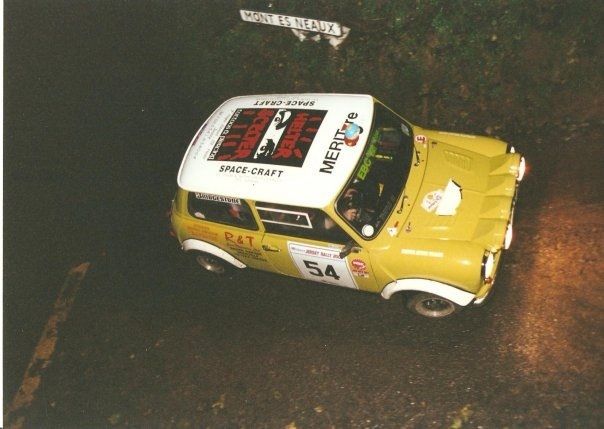
Ended up stuck in a granite wall
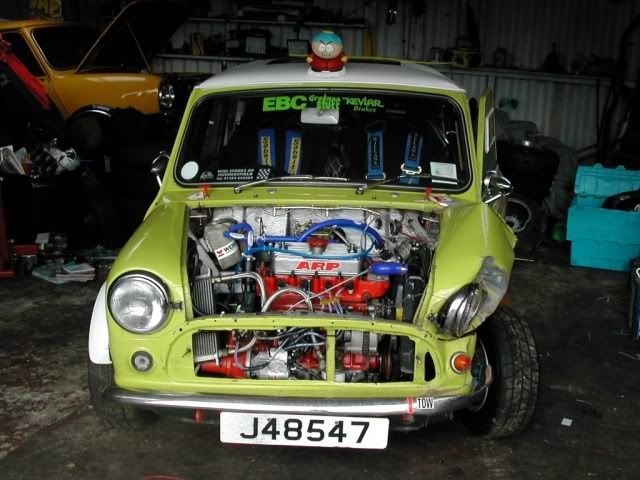
This mini is still alive though ended up fitted with a full race z-car set up.
#116

Posted 27 April 2012 - 03:28 PM
#117

Posted 27 April 2012 - 05:48 PM
I managed to locate the oil cooler and i re-fitted the oil catch tank.
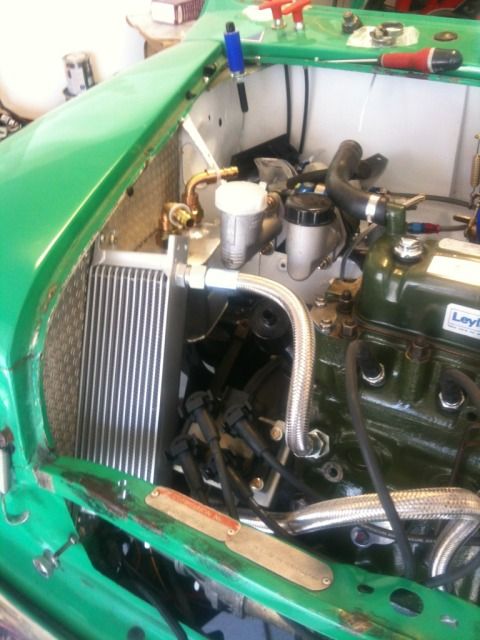
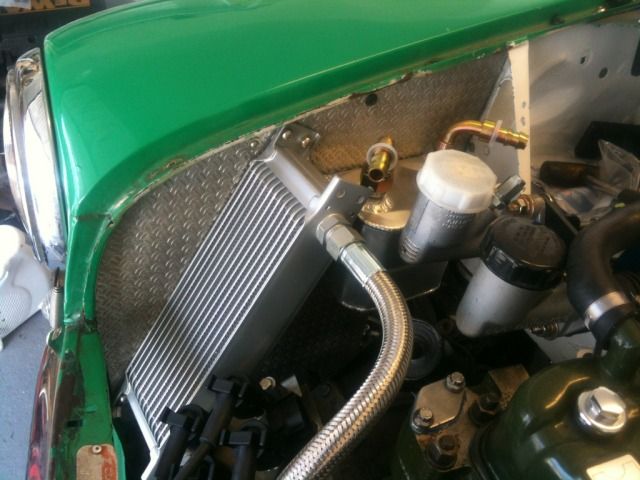
Any way enjoy the pics
Thanks
Kevin
#118

Posted 27 April 2012 - 05:56 PM
#119

Posted 27 April 2012 - 08:15 PM
did you have to use adaptors on the oil cooler pipes or where they made for a mini?
Hey bard-the-bear
The oil cooler pipes are made for the mini, the only adapters screw into the engine block and oil filter housing and the other side just screw directly onto the oil cooler.
Cheers
Kevin
#120

Posted 27 April 2012 - 08:37 PM
did you have to use adaptors on the oil cooler pipes or where they made for a mini?
Hey bard-the-bear
The oil cooler pipes are made for the mini, the only adapters screw into the engine block and oil filter housing and the other side just screw directly onto the oil cooler.
Cheers
Kevin
ahh cheers pal, glad i saw this as i don't have to buy any oil cooler brackets... just need to steel your idea
1 user(s) are reading this topic
0 members, 1 guests, 0 anonymous users


