
Hill Climb Car - Converting Into - Tarmac Rally Car
#91

Posted 20 February 2012 - 03:36 PM
Yes the wheels are well nice.
The carbon fibre rear bulkhead is from minisport, I just fitted it due to my rear bulkhead looked like someone had used it for target practice! So it was just for the eye, I left the old metal bulkhead in for strength and I will be placing fibreglass over the entire metal bulkhead from inside the boot as I need to ensure that it is totaly sealed, in case I crash. You would have to contact minisport to see if they recommend if it is a replacement panel or just to cover it.
Cheers
Kevin
#92

Posted 01 March 2012 - 09:47 PM
Well I managed to get the engine from my old garage to my garage at home:)
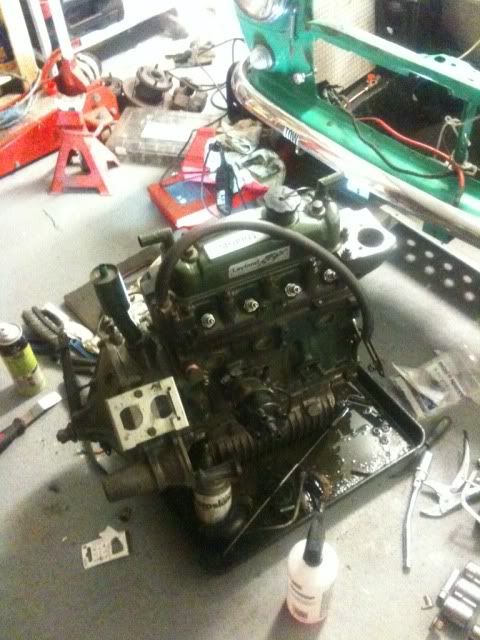
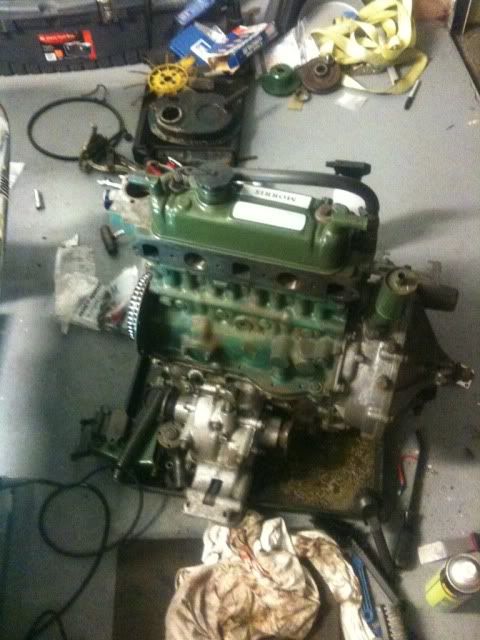
So I have started to strip it down, I have sent the timing cover and rad coweling to powder coat and have started to prep the engine for painting. Going to paint it bmc green.
Carried out a compression test on the motor 180 - 170 - 130 - 180 so I have an issue to resolve. I have taken the head off to replace the head gasket, head bolts I will remove the valves clean them up and lap them in. I have also got stainless steel mainfold studs and thermostat studs:)
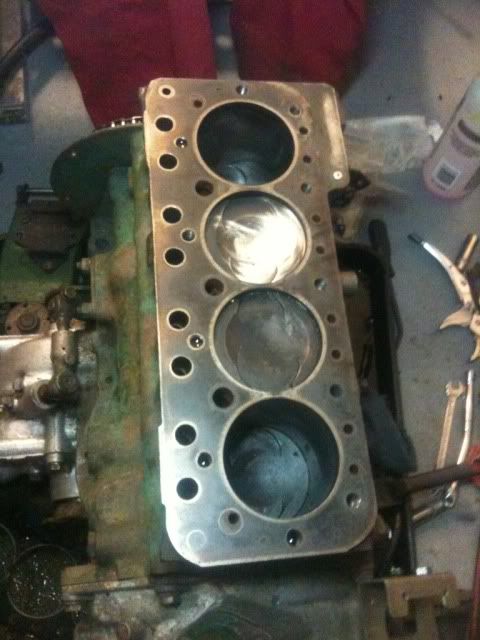
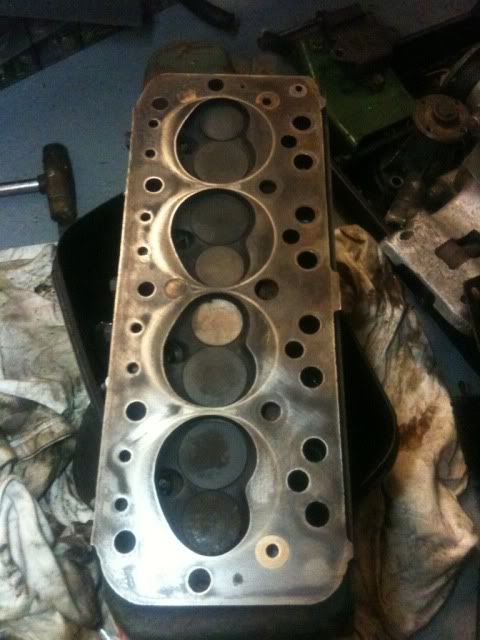
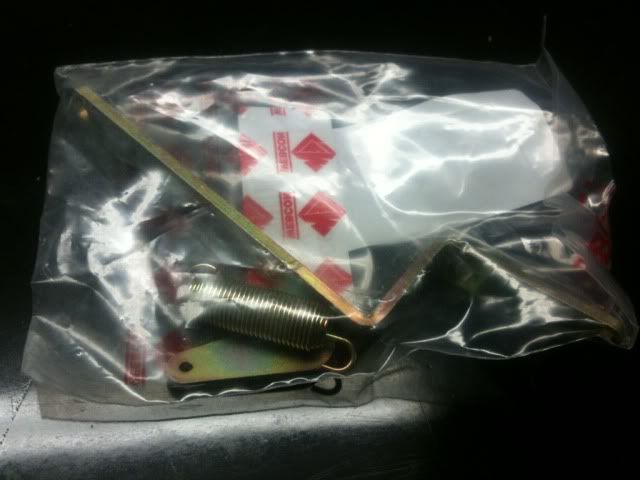
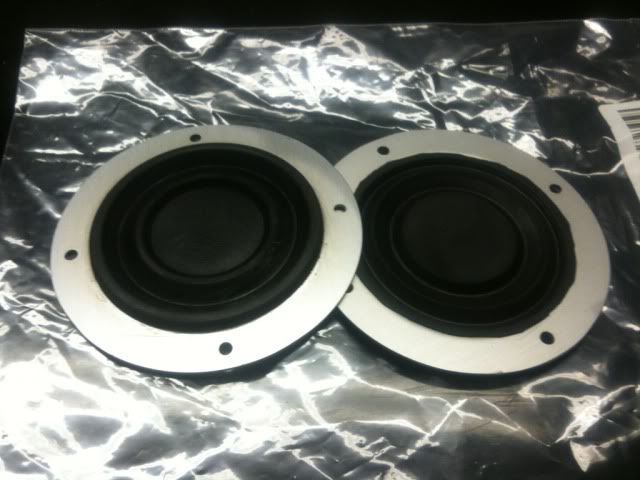
Also a few new bits turned up
Weber spring return
Bulkhead grommets for wiring
Cheers
Kevin
#93

Posted 02 March 2012 - 09:44 PM
My orders from mini spares and rally design:) so I've got a busy weekend.
I also picked up my timing cover and cowling from jersey powder coating
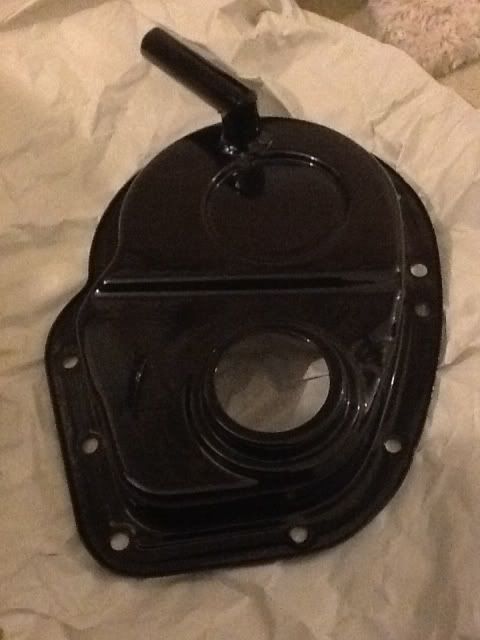
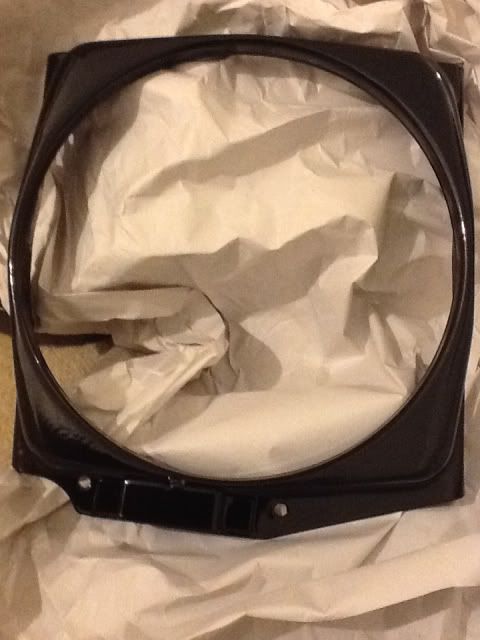
These two items came out fantastic.
Oh and my nice new oil catch tank
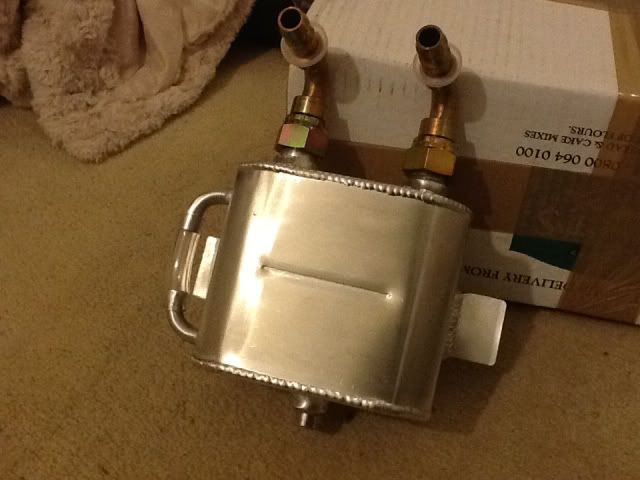
More updates this weekend, should have the engine painted and start to rebuild it.
Cheers
Kevin
#94

Posted 02 March 2012 - 09:45 PM
#95

Posted 03 March 2012 - 05:05 PM
Cheers mini starGreat stuff once again, wheres the catch tank going to be fitted? On the weber bulkhead shelf?
As of yet I'm not too sure where I'm going to fit the catch tank, might fit it on the inner wing either the engine bay side or under the wing and run the hoses through the inner wing.
#96

Posted 04 March 2012 - 06:09 PM
Well I did some more work on the rally car, most was done on the engine. And while I was waiting for paint to dry I pottered about.
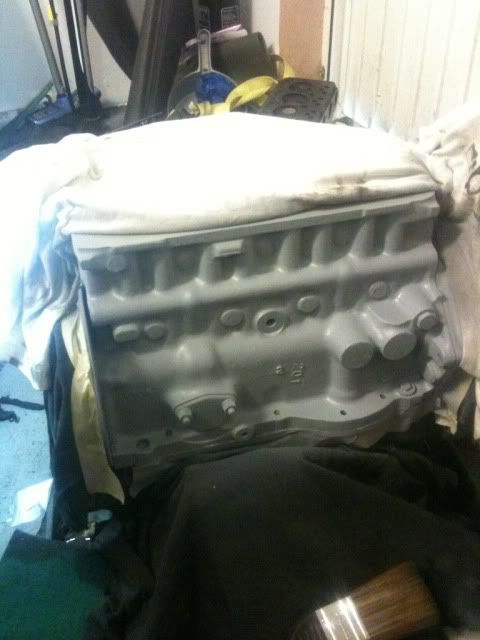
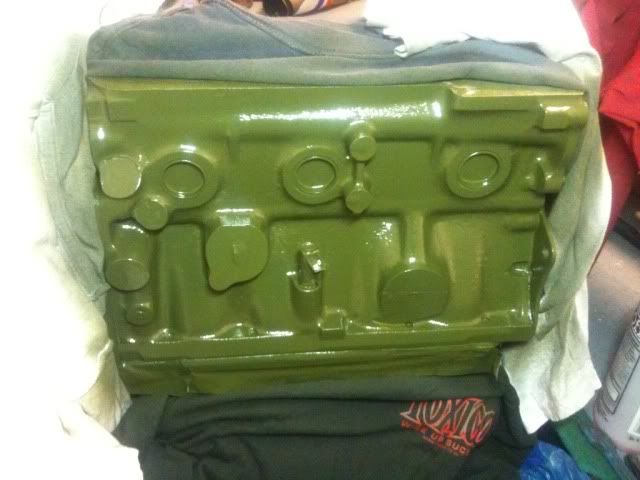
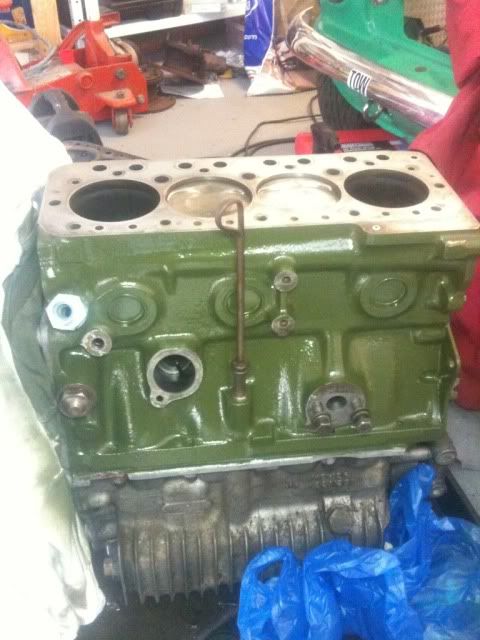
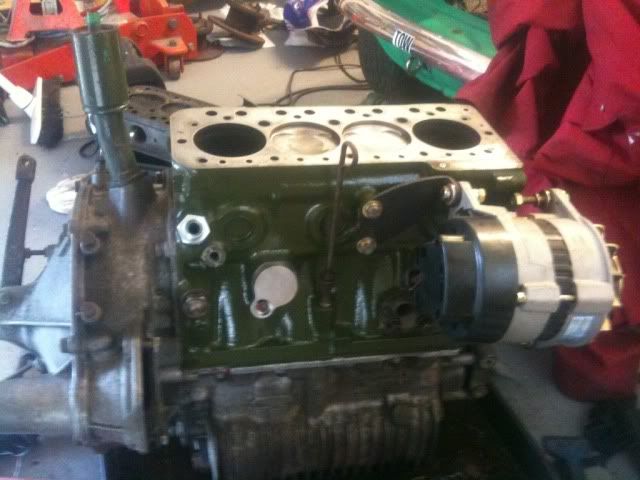
I used etch primer and then three coats of paint, turned out quite well.
I built up my rad and fan assembly
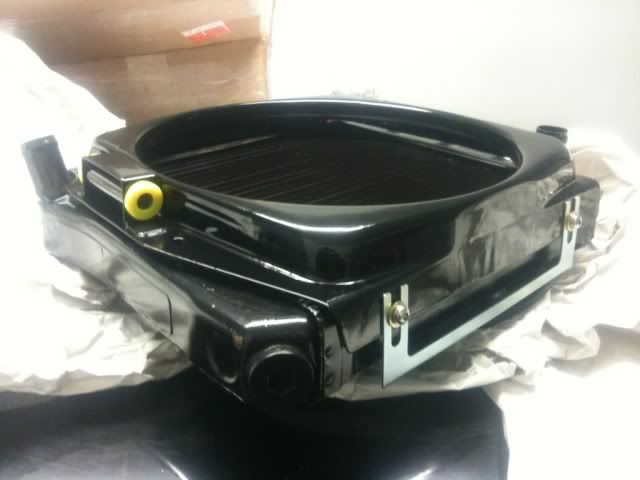
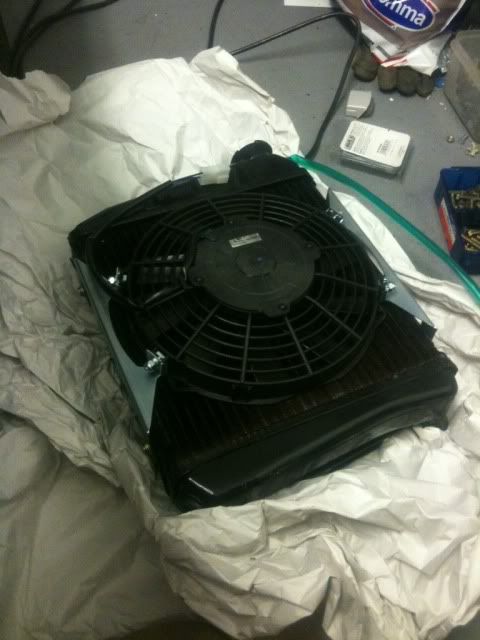
And this is where I'm going to fit the oil catch tank.
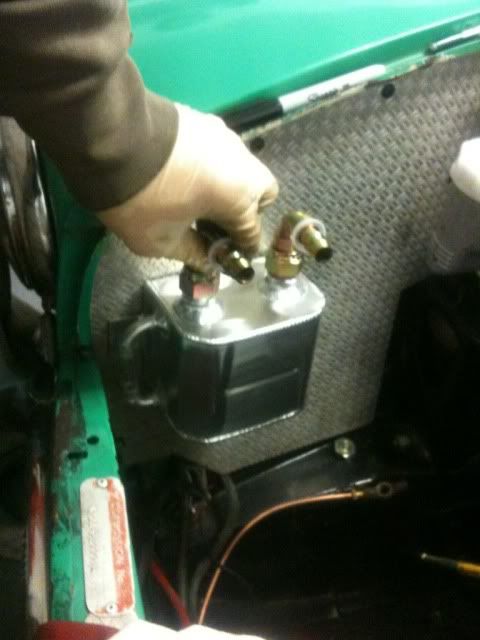
Next will be the strip down of the head and then prep and paint the head, one that is done I can then start bolting the head back onto the block.
This will mean another order with minispares
Cheers Kevin
#97

Posted 10 March 2012 - 11:23 AM
Here's another update.
Ordered some more items from minispares, mainly oil seals and gaskets etc so I can rebuild the engine. My calipers have been received by biggred for a full overhaul.
Before I stripped down the engine I thought it would be wise to do a compression test on the engine 180-170-125-180, so I have an issue! Once I took the head off I could not see any problem with the piston or the bores, so today I thought I would remove the valves from the corresponding problem area and this is what I found!
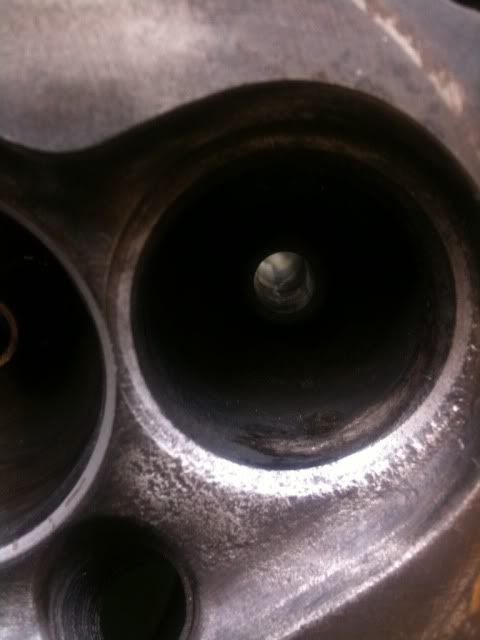
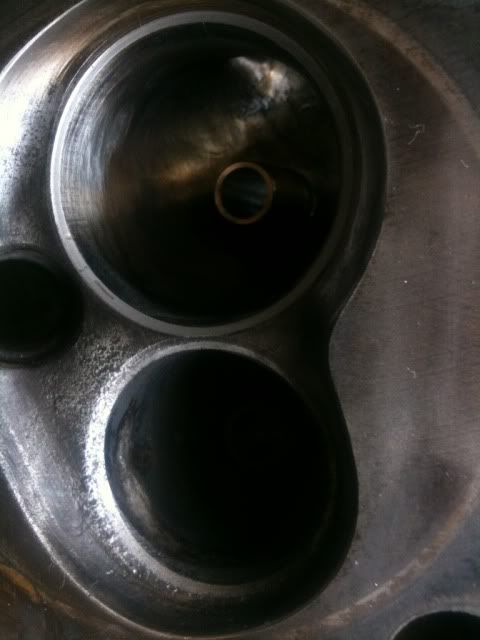
Part of the head and exhaust valve seat are pitted!!! Any ideas what would of caused this and is it fixable and how would it be fixed. Well at least I don't have to change the piston rings
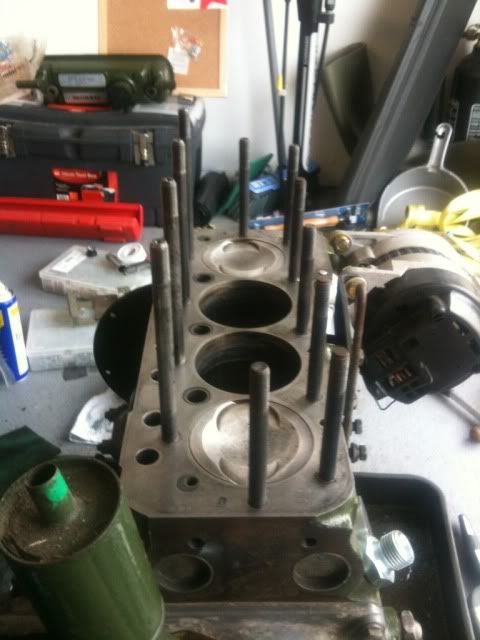
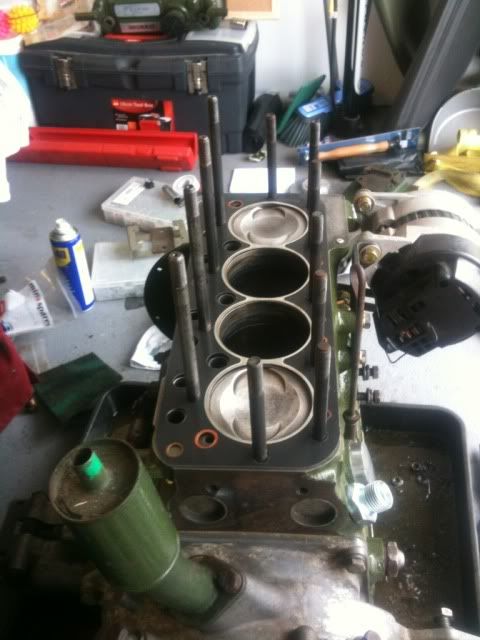
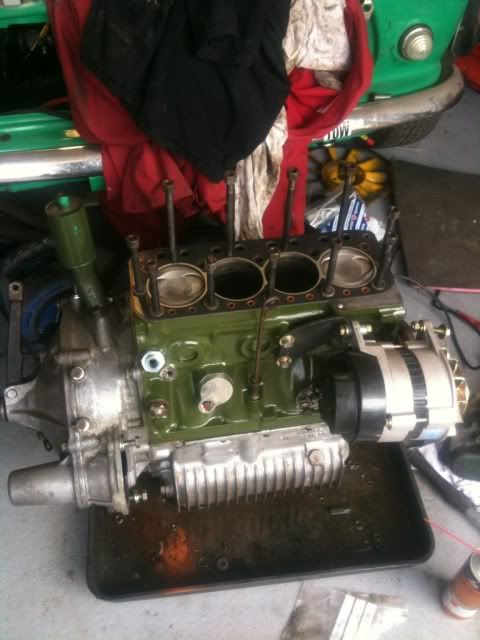
So I have started putting head bolts back into the block and I noticed that one of the bolts has a much shorter thread on it compared to the others (so 3-4 threads shorter) any reason why this would be??
Cheers
Kevin
#98

Posted 10 March 2012 - 02:37 PM
#99

Posted 13 March 2012 - 11:24 PM
Hi danny1re lap the valves back in and see if that gets rid of the pitting or youll have to have the valve seat re cut
Yer it looks like I will have to send the head away to have the valve seat re-cut, I've decided to use Rob Walkers Engineering firm to carry out this work. So I will pack up the head and send it away in the next few days, still lots of work to be getting on with.
My package from minispares turned up, so I fitted a new comp water pump with new bolts along with a steady bar kit which fits onto the water pump.
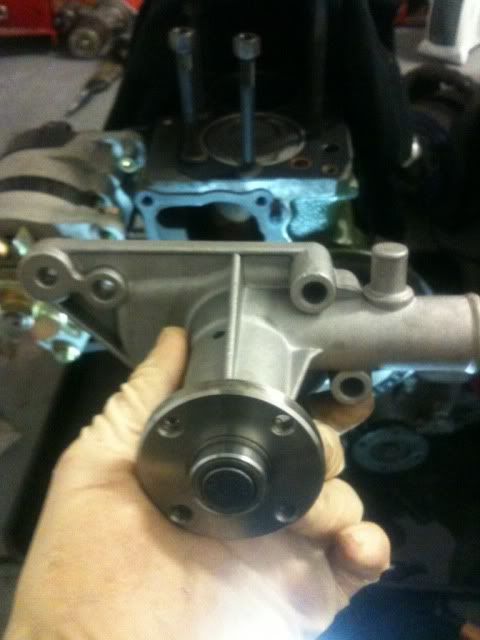
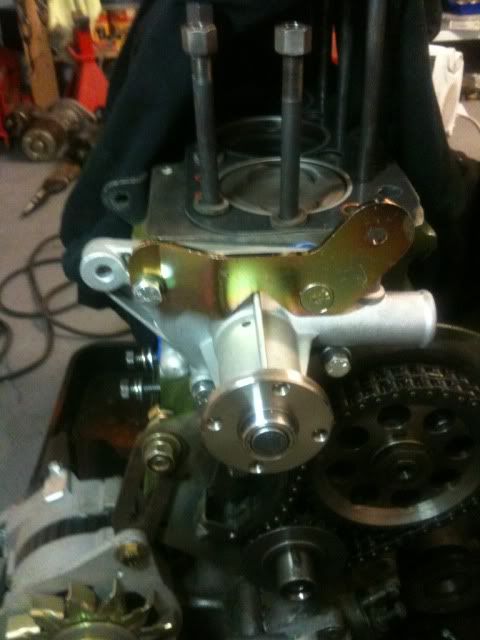
Fitted the timing cover oil seal (what a pain in the arse) I think the powder coating on the timing cover did not help, after a lot of swearing trying to get the dam seal in place I sanded the area around where the seal fits, that couple of mm made it possible to fit the seal.
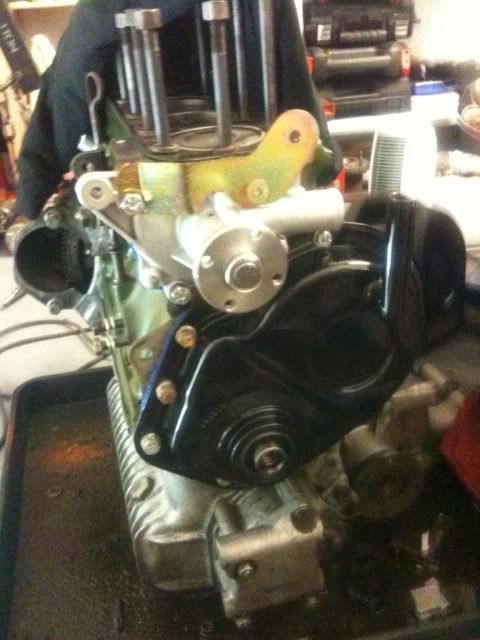
I also test fitted the support for the sensor bracket on the timing cover and fitted the alternator, as well as fitting solid engine mounts.
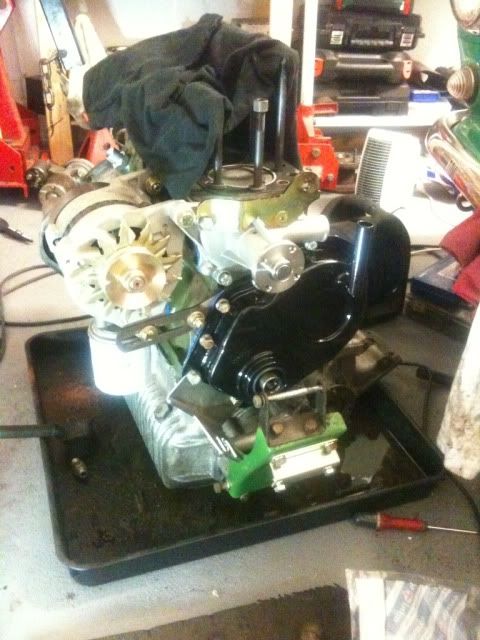
I thought that since I had the kad bias set up I could do with a bit more clearance, so i fitted a different breather.
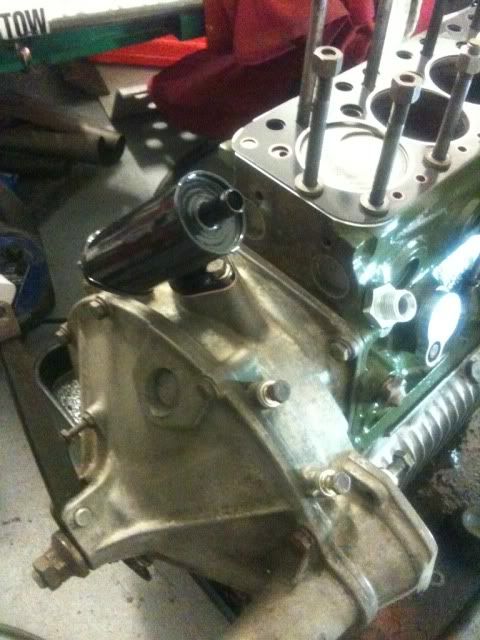
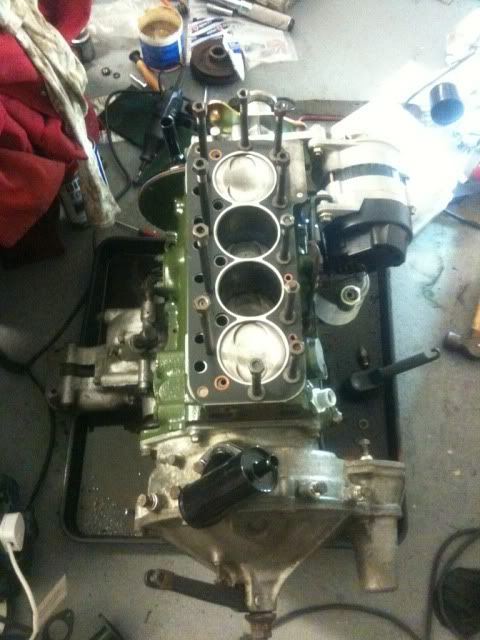
Picked up my inlet manifold which I had asked my mate Adam to fit the barbed fittings for the Megajolt.
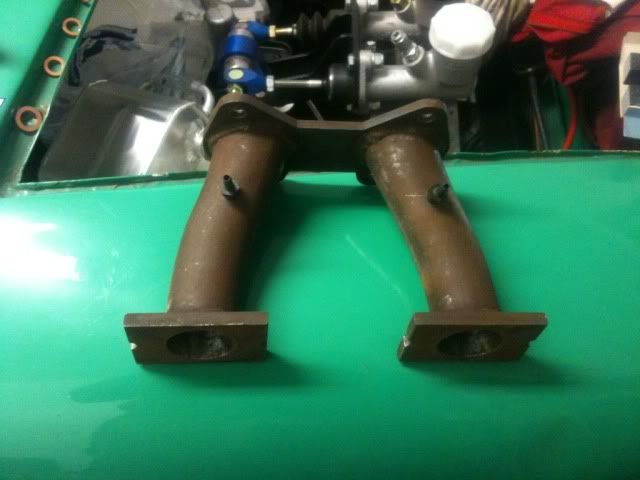
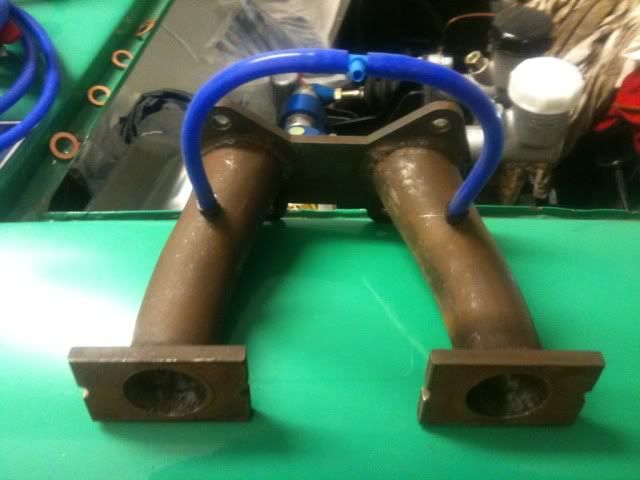
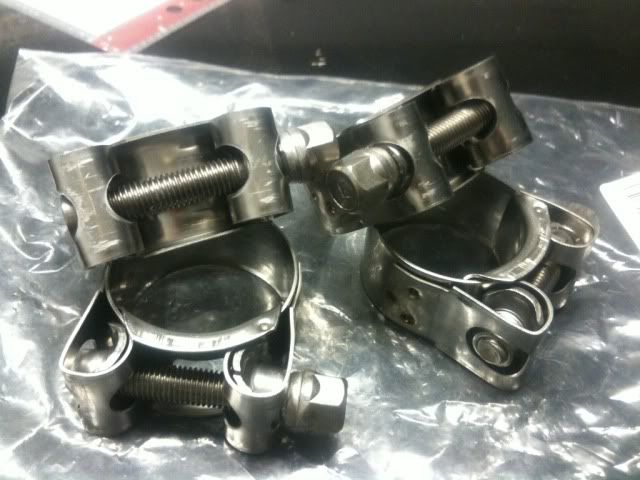
Adam is a star when it comes to even thing to do with metal, I have had theses stainless steel clamps kicking around for years, they came off an Aston Martin exhaust system, I kept them as I could not see them go to waist, of course these clamps were far too big for a mini exhaust system, so I got Adam to alter them so they would fit :)
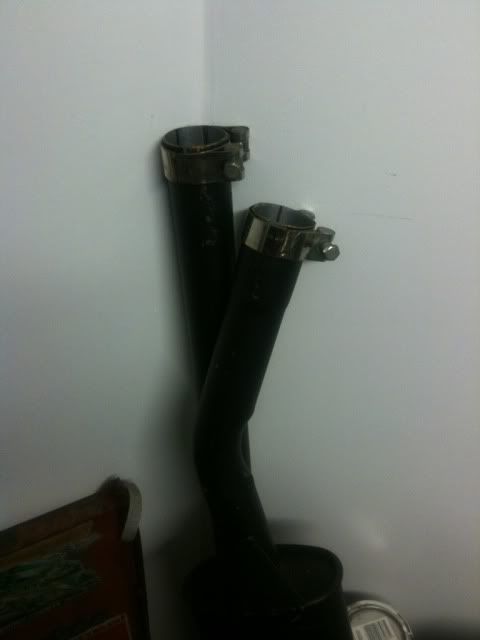
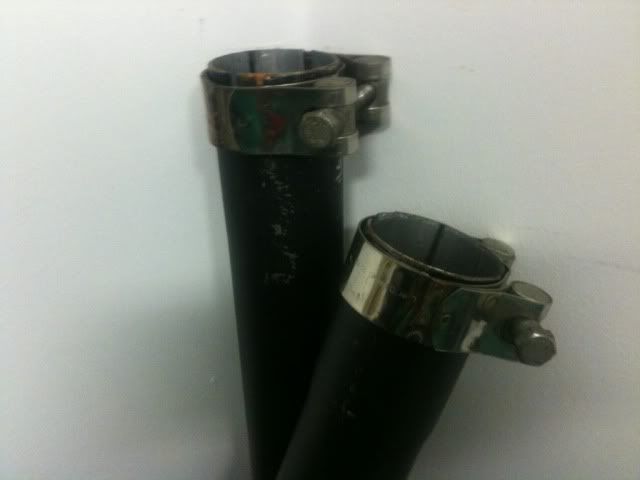
I should be fitting the engine (minus the head) back into the car this weekend, so expect some more updates very soon.
Cheers
Kevin
#100

Posted 14 March 2012 - 12:06 AM
#101

Posted 14 March 2012 - 10:11 PM
Looks good, again. It really is good to see a top quality build. Fairly rare on here now..
Cheers ministar
I'm glad you are enjoying my "top quality build" ;)
Cheers
Kevin
#102

Posted 16 March 2012 - 11:32 PM
or the mixture being too lean
to be honest 98% of the time relapping the valve seats with coarse and fine paste will fix the pitting
#103

Posted 24 March 2012 - 10:59 PM
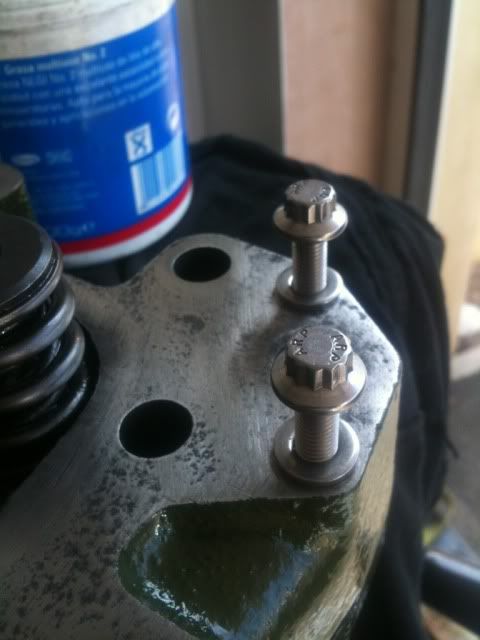
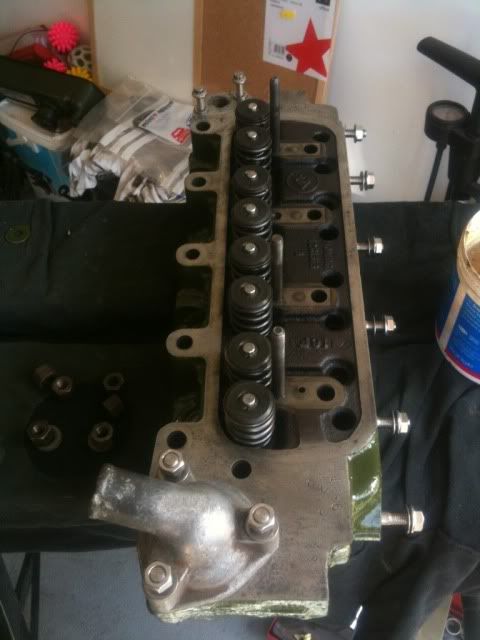
I decided just to go for it on that valve seat and I lapped the hell out of it, so I will just have to wait and see what the compression test says when I bolt it all back together. I also cleaned up the head ready for painting today, and here it is.
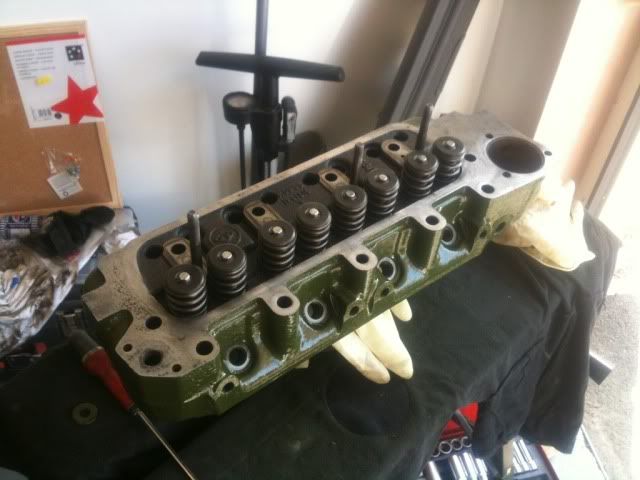
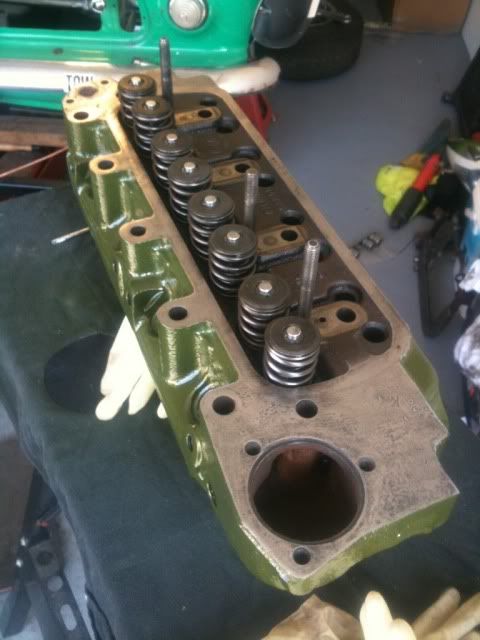
Once the paint had dried, I then fitted all my stainless steel goodies ;)
Mainifold studs & nuts
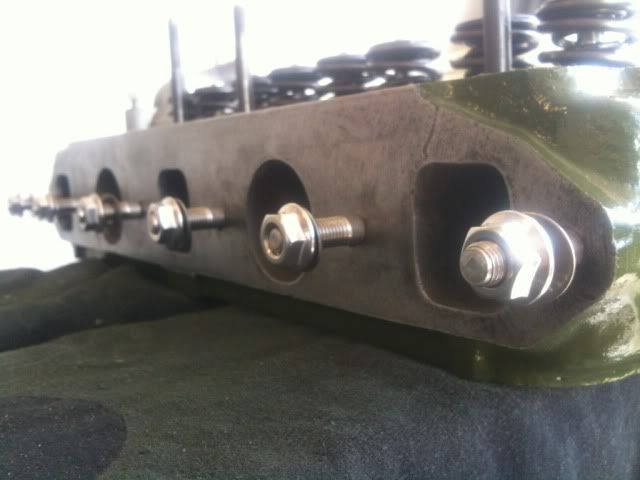
Thermostat studs & nuts
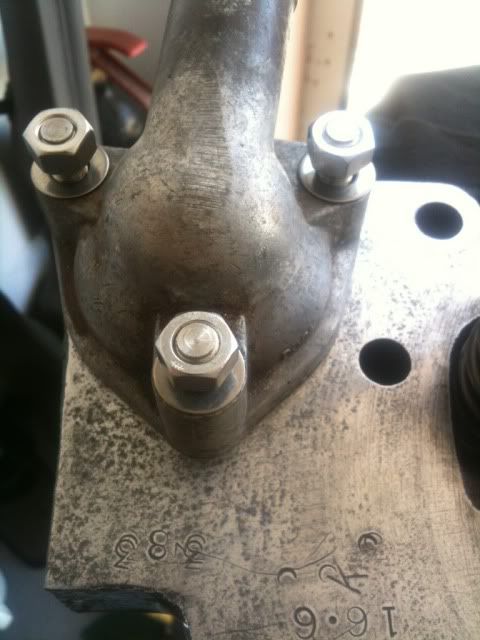
Water outlet bolts
But, not all good news today, I needed to replace one of the hardy spicer output shafts as it is missing a chunk! Once I had figured how to remove the darn thing (by removing the diff side cover and then the circlip) I then replaced the oil seal and inserted the new output shaft into the diff cover (all well so far) I then tried to slot the shaft back into the diff! And this is where I hit a snag! See if u can spot the difference (old one l/h new one r/h)
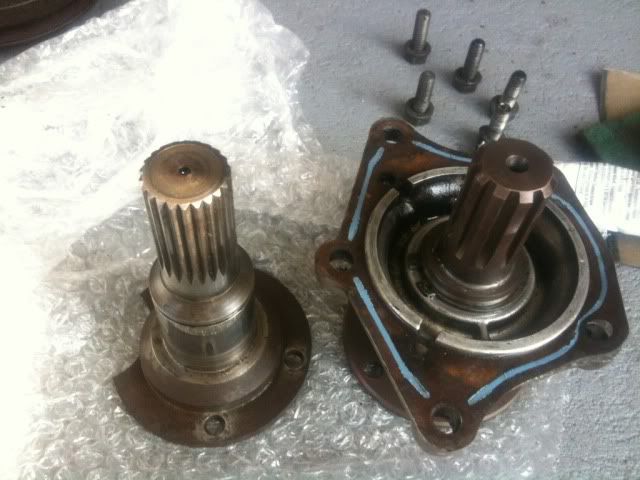
If you didnt notice the splines of the new output shaft are completely different to the old one.
Old one
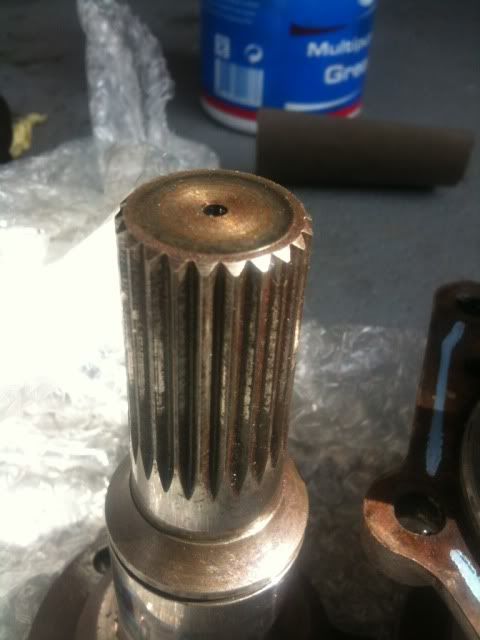
New one
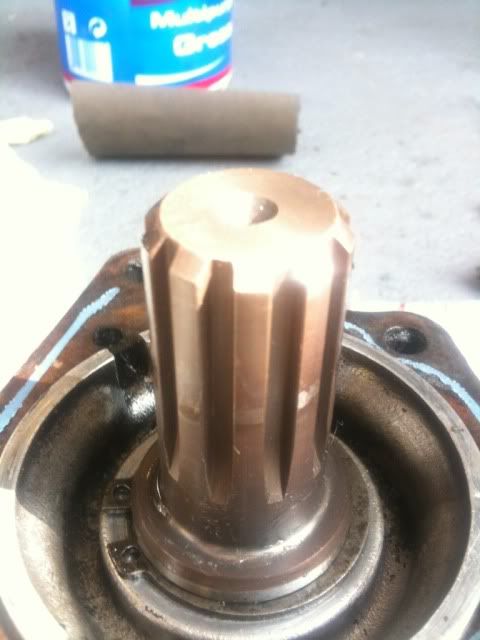
Any ideas of where I can get a replacement from? The one I tried to fit was from mini spares, I'm sure that there was only one option when I ordered it.
Help, help help
Cheers
Kevin
#104

Posted 25 March 2012 - 10:43 AM
#105

Posted 25 March 2012 - 01:29 PM
Did some more work today, bolted the head on, inlet manifold, carb, exhaust manifold, rocker cover it's all looking good.
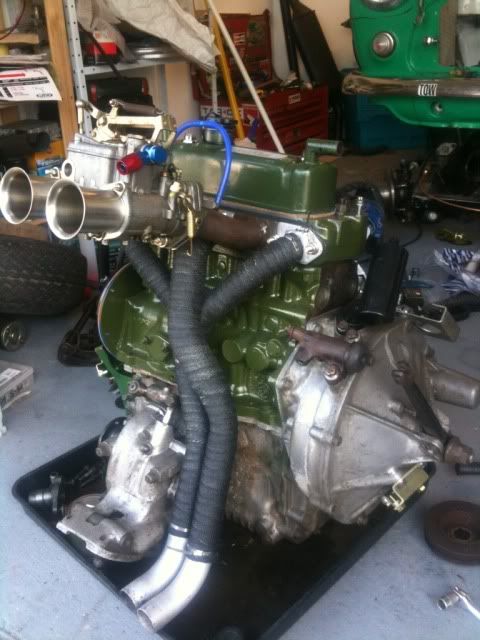
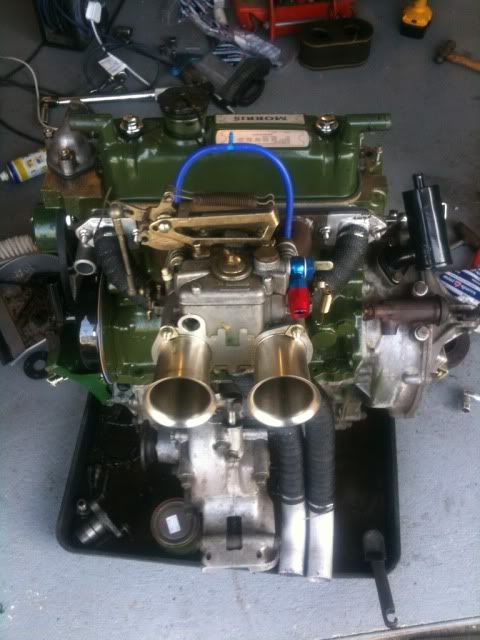
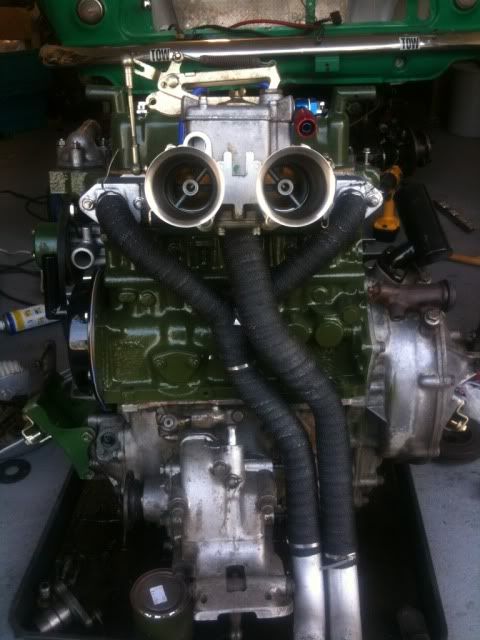
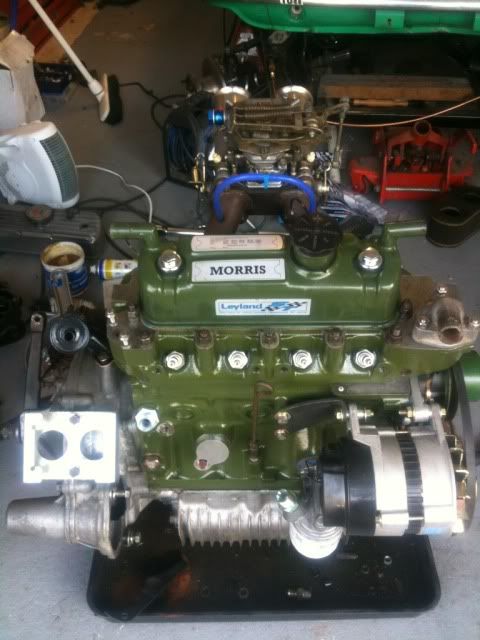
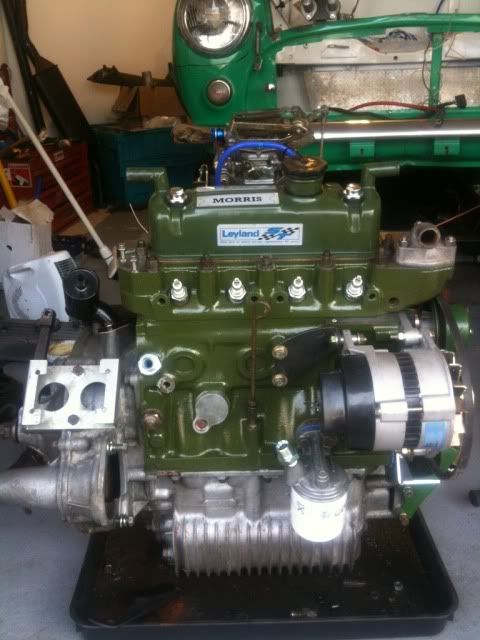
Fingers crossed I may even fit the engine today:)
Cheers
Kevin
1 user(s) are reading this topic
0 members, 1 guests, 0 anonymous users


