Started My Pro-mo Build
#76

Posted 28 December 2011 - 02:20 PM
#77

Posted 29 December 2011 - 04:20 PM
Electrical gremlin has been sorted. It was something so stupid as well and obviously something that I had done to cause it.
Holes have been drilled and the seats offered up. Tight fit but they go, just.
Waiting for my carbon interior panels and bumpers to arrive and I need to re-address the headlining which isnt holding in place as well as I'd hoped
New years resolution will be to get this finished and roadworthy for summer. It's dragged on too long now so I'm even prepared to take some unpaid leave to get it done. Watch this space
#78

Posted 28 January 2012 - 08:45 PM
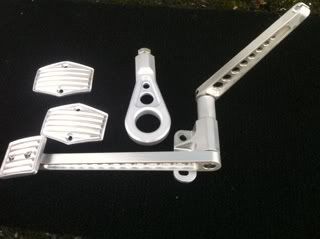
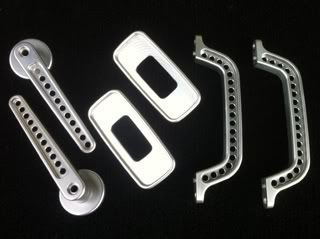
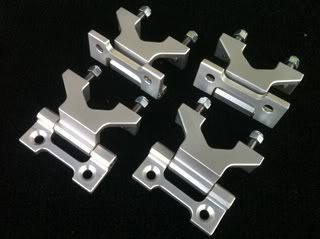
turned out to be a very expensive afternoon but the DSN Classics stuff is as you'd expect from the price, top quality. ordered Thursday afternoon and arrived Friday morning - well impressed. shame the same cant be said for my door cards and bumpers which i've been told should be next week. 2 months waiting for them so they had better be good.
nice to have time off work but the cast means i cant really do much on the mini so thats a bit frustrating
#79

Posted 31 January 2012 - 08:21 PM
#80

Posted 09 February 2012 - 08:27 AM
Sorted out my headlining, re-covered my parcel shelf, made up a cover panel for where the rocker switches go. Fitted the internal door locks and a rear view mirror.
My long awaited bumpers and door cards finally arrived. Bumpers are fine, just need a little rubbing down in places to clear the seams.
Door cards are not the best I'm afraid. Quite a few little craters over the surface. The fit is perfect just a shame the quality isn't especially for the price. But having waited 2 months there's no way I'm sending them back.
So I got on and fitted the driver door card and handles etc. still looks pretty good though
#81

Posted 09 February 2012 - 08:29 AM
Despite the cold and having to hop around what little space there is in the garage I managed to get a few things done.
Sorted out my headlining, re-covered my parcel shelf, made up a cover panel for where the rocker switches go. Fitted the internal door locks and a rear view mirror.
My long awaited bumpers and door cards finally arrived. Bumpers are fine, just need a little rubbing down in places to clear the seams.
Door cards are not the best I'm afraid. Quite a few little craters over the surface. The fit is perfect just a shame the quality isn't especially for the price. But having waited 2 months there's no way I'm sending them back.
So I got on and fitted the driver door card and handles etc. still looks pretty good though
pics or it didn't happen!
#82

Posted 19 February 2012 - 08:36 PM


havent had chance to take a photo of the front door card in place. will wait until the passenger side is done. the rears will be interesting to fit - i have to negotiate the roll cage which i overlooked when i bought them. i hope with a bit of flexing i can get them past.
with the bumpers i just need to make some brackets to fit the front one then get the pair sprayed.
#83

Posted 18 March 2012 - 08:27 PM
 close up.jpg 66.61K
30 downloads
  door.jpg 63.35K
42 downloads
door.jpg 63.35K
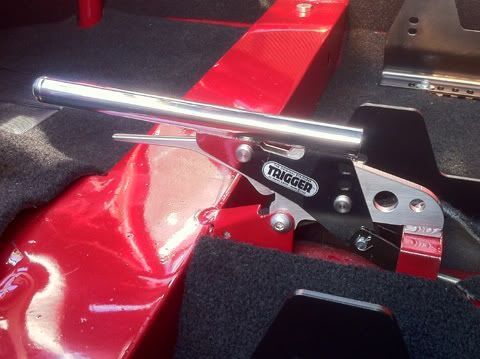
42 downloadsliked the look of this so thought I'd replace my old handbrake. the quality is really good and I fitted it straight away. works as good as it looks too
 handbrake.jpg 1.49MB
48 downloads
#84

Posted 23 March 2012 - 08:46 PM

#85

Posted 23 March 2012 - 08:55 PM
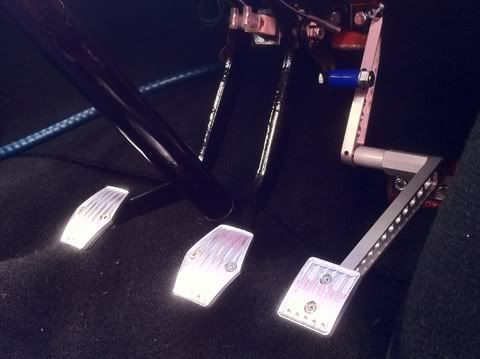
Fitted handbrake, fitted pedal covers and throttle assembly. Made up a throttle stop - was going to fit it through the floor but the pedal only travels about 2 inches so took a bracket off the pedal box. Bit more discreet up there. Fitted the passenger front door card and furniture and the rear cards - had to take the windows out to slide these in place as the rollcage was in the way.


#86

Posted 24 March 2012 - 10:37 PM
Al
#87

Posted 30 March 2012 - 09:35 AM
#88

Posted 31 March 2012 - 08:33 AM
Fit me perfect and feel pretty comfortable while I sit there pretending I'm actually driving my mini!
#89

Posted 08 April 2012 - 01:13 PM
#90

Posted 11 May 2012 - 07:57 PM
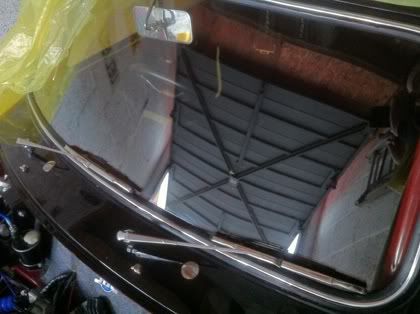
first up was the windscreen. not easy on your own but the glass went in fairly easily. hardest part is always the chrome fillet strip made no easier by those 'special' tools. hard work, lots of going back on yourself, marks the windscreen rubber and mine broke literally as i got to the last inch.
then after putting it off for as long as possible (think i started about a year ago) i decided to tackle the wiring up of the clocks. i spent a day or so going over what i had already done and studying various wiring diagrams for both the R1 and the Mini. time well spent as i got everything connected up right first time.
the only thing that isnt registering is the neutral light and the car is definitely out of gear as i can push it back and forth with ease. something else to check there.
but still clocks look awesome - the R6 one is the same shape with same connections, just filling the void till i can find the R1 version
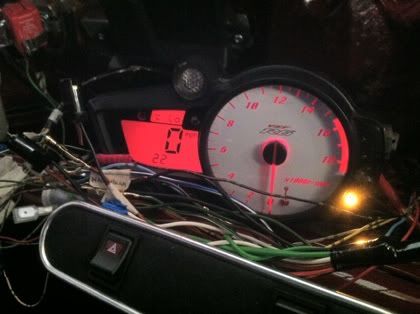
wiring is a mess i know but i plan to tidy it all up with a couple of block connectors and some spiral wrap. it will all be hidden behind the dash but it will annoy if i knowingly leave it in a mess.
im now drawing up a wiring diagram so i can trace where everything goes.
1 user(s) are reading this topic
0 members, 1 guests, 0 anonymous users


