and i cant edit my posts for some reason but risky i would say that my advice would be to get the heritage panels, these have taken alot of hours to fit myself but im teaching myself alot of new skills at the same time so im not that bothered, it also doesnt help that my front panel has been replaced at one time with a none genuine one, this is making fitting the wings more difficult. So if you are prepared to do alot of work and save money go for none gen. but if your budget can be stretched go for genuine.


Ken -The 1275 High Compression Engine Micra Mini (Running Project)
Started by
lawrence
, Sep 19 2009 12:30 PM
761 replies to this topic
#107
: post #107")
Risky
-

- Members
-

- 213 posts
Mini Mad
- Location: Zegge (The Netherlands)
Posted 05 November 2011 - 05:12 PM
Hmm thanks for your reply, many people say the heritage panels are the way to go so I think I'll use them as well. Too bad they are quite pricey
Edited by Risky, 05 November 2011 - 05:13 PM.
#108
lawrence
-
- Members
-
- 1,341 posts
One Carb Or Two?
Posted 05 November 2011 - 06:03 PM
Thats ok risky, well it just depends on how much time and money you have. Either way when you do it youself you can say to people ive done that and you can see what youv achieved!
So then, onwards to todays update
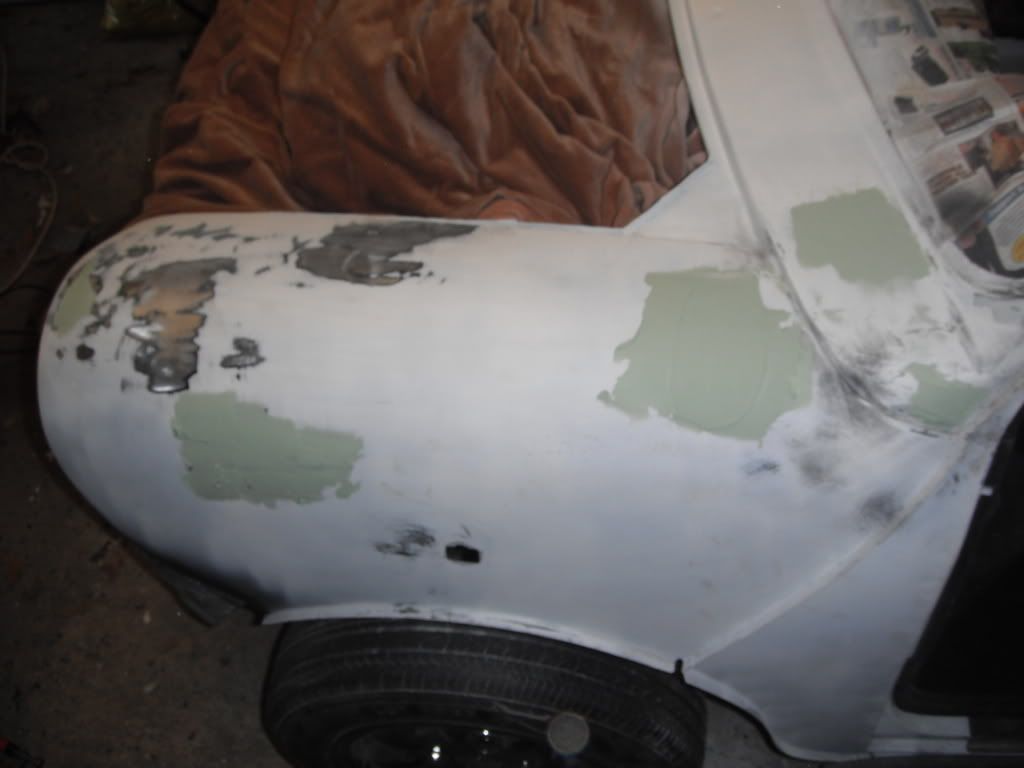
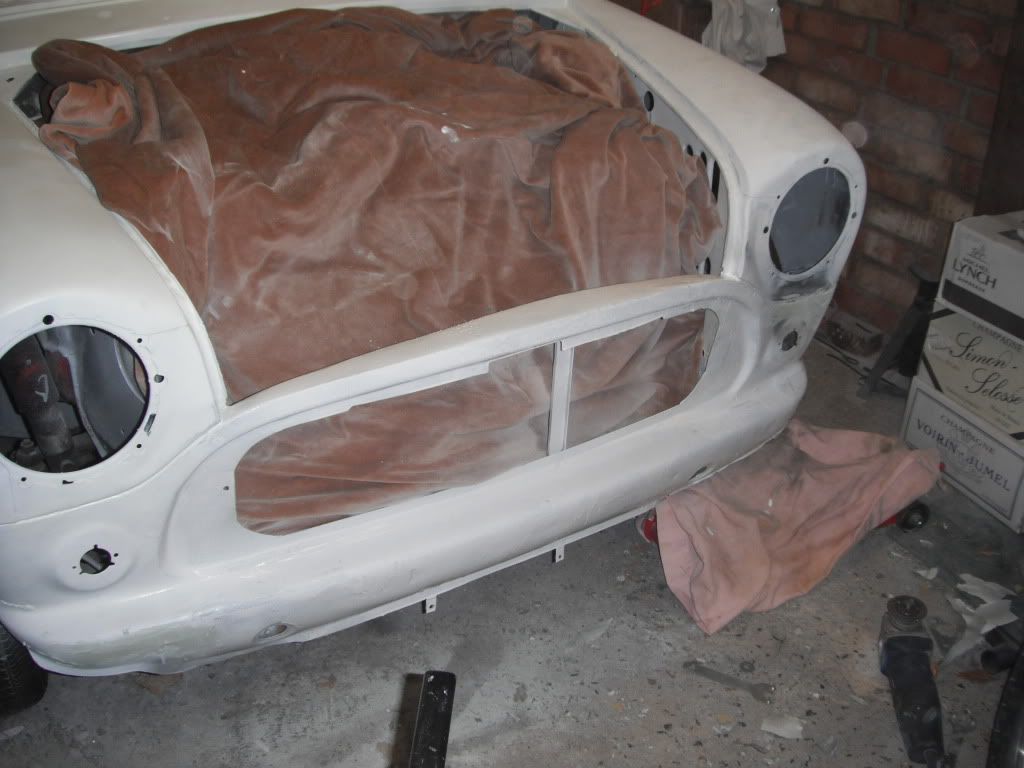
finished off my blanking off of holes on the front panel
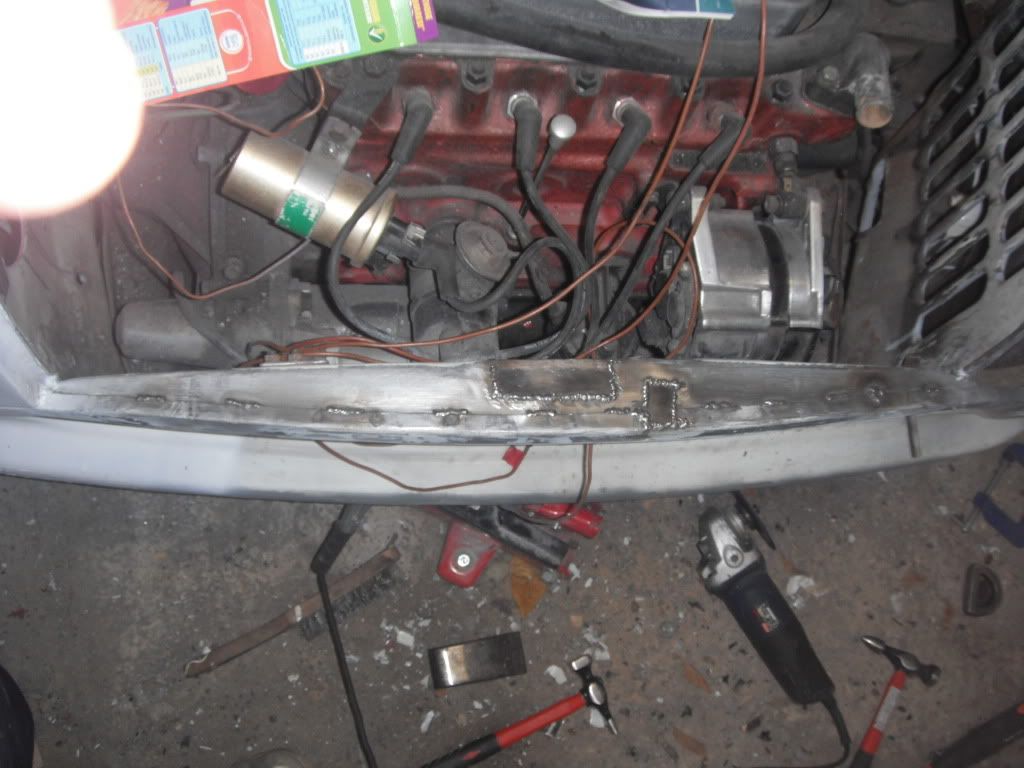
ground it down
filled, just needs to be sanded and finished off to be lovely and smooooth!
rubbed down the other side of the a panel ready for fitting
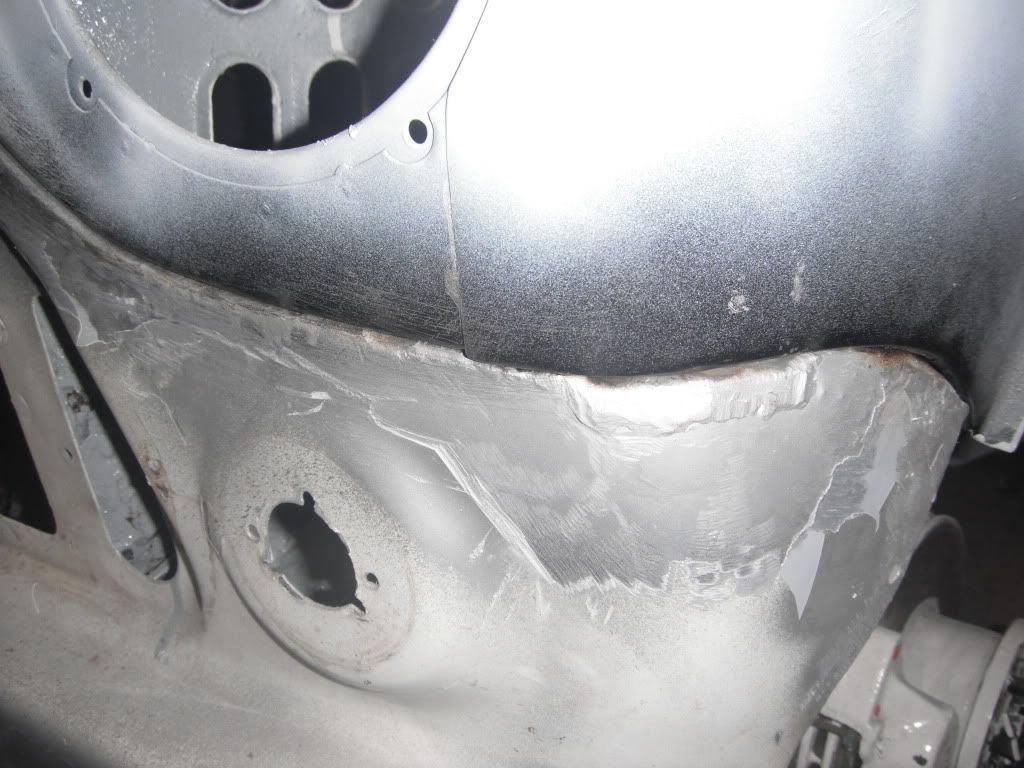
small patch made to rectify my old mistake on the flitch
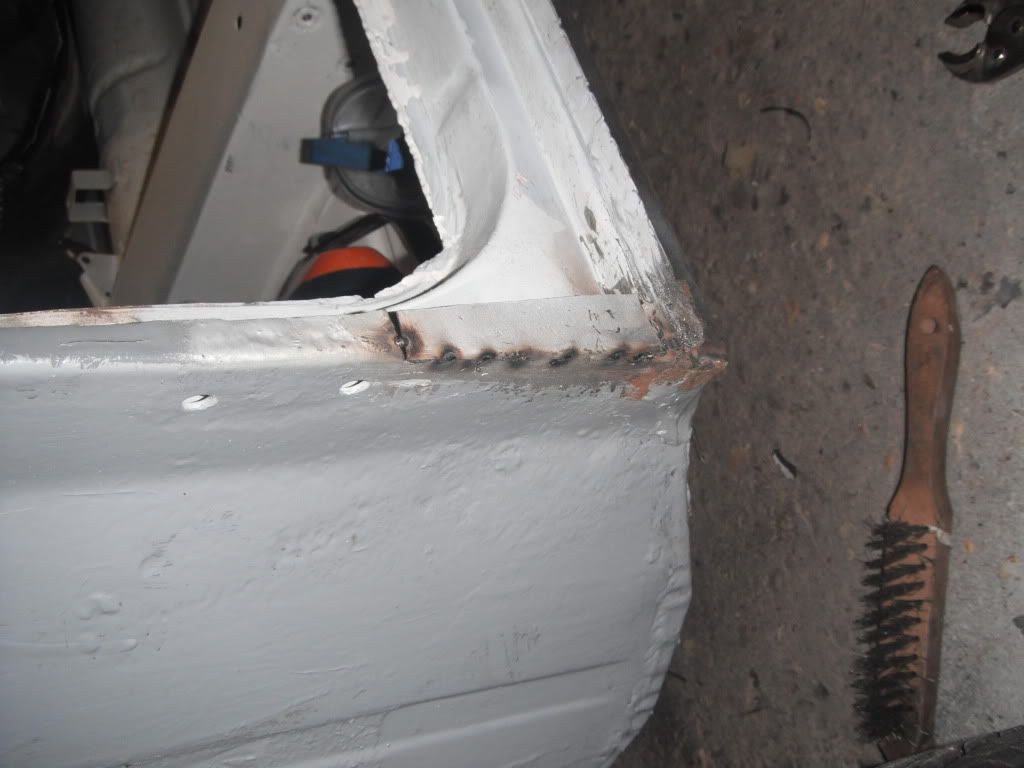
a panel tacked on and all gaps finalised and lloking as good as i can get them
a panel fully welded on, i havent ground the little patch from earlier down as i couldnt really be bothered!
all welded and zinc primed ready for the wing to go on (its being plug welded as i have no spot welder )
)
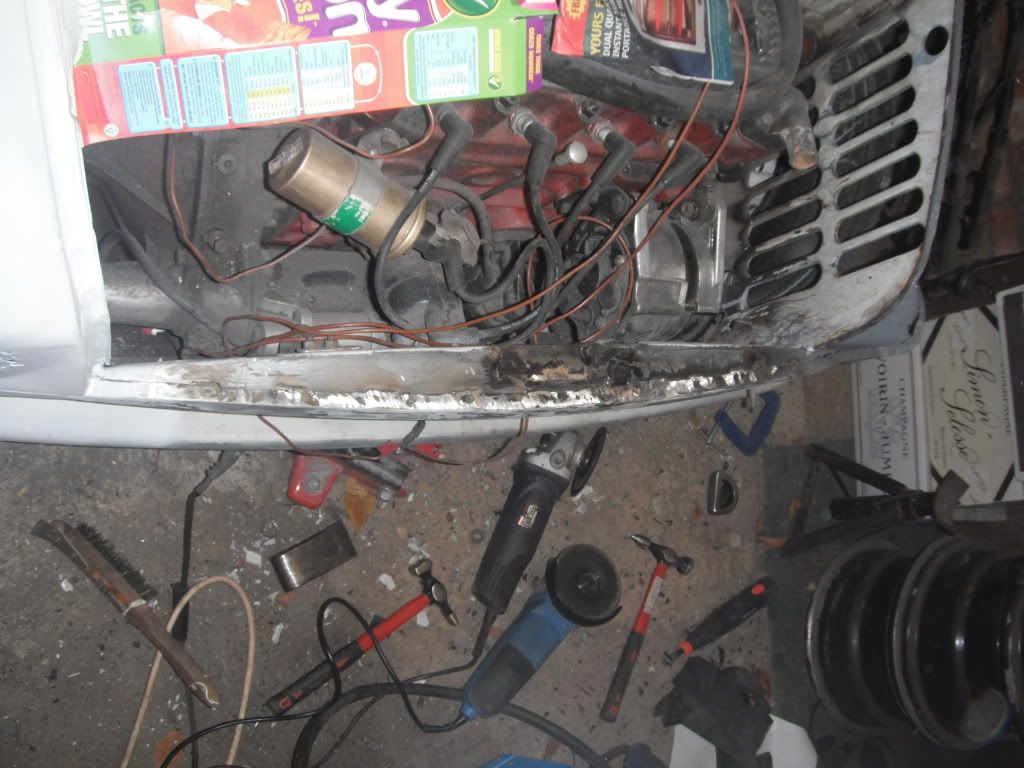
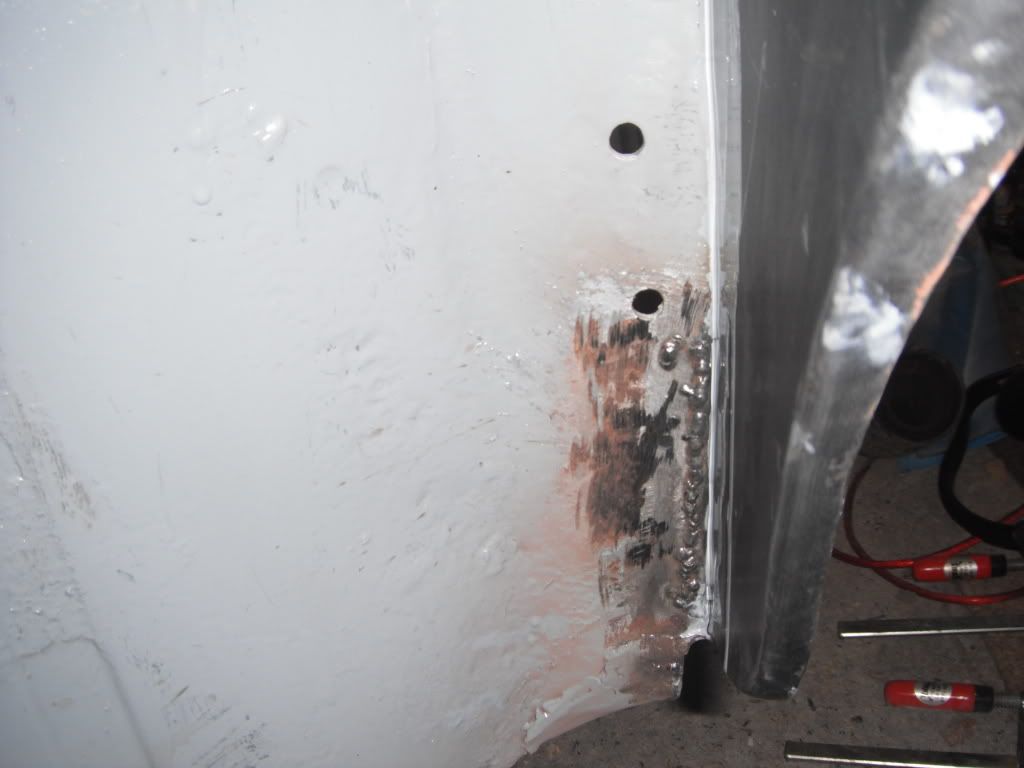
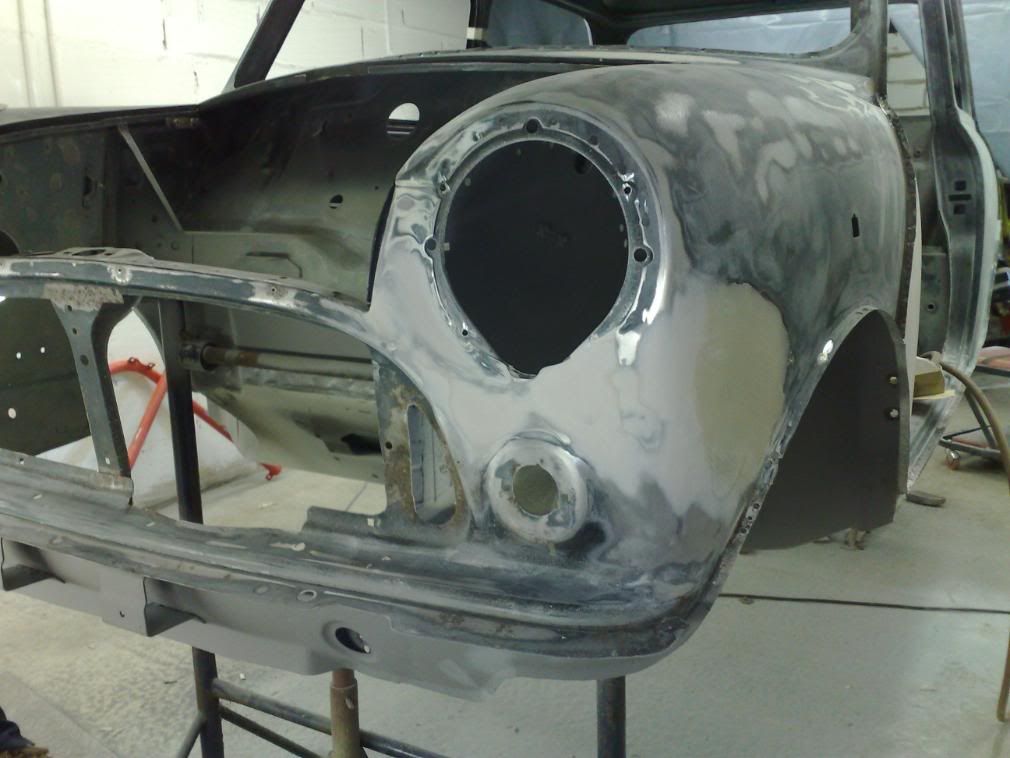
wing fully welded on (i was proper rusty on my plug welding!)
seam welded front panel to wing join to try and make it a little more rust proof!
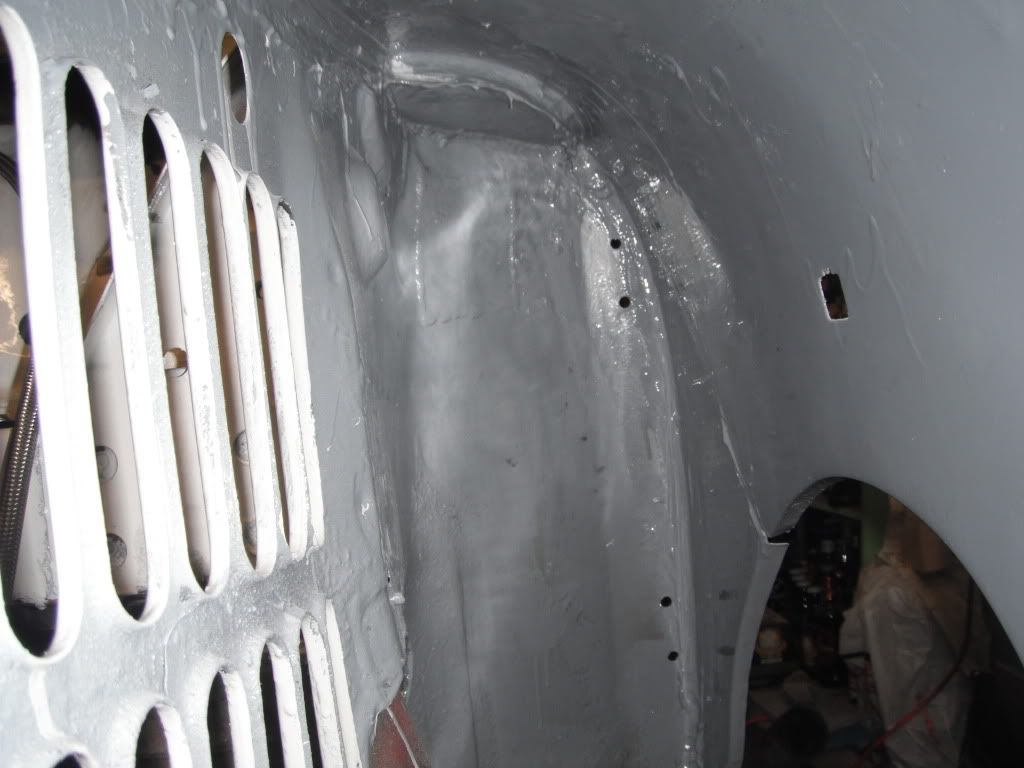
ground down, cleaned up and seam sealed inner wing joint
and also the scuttle gap
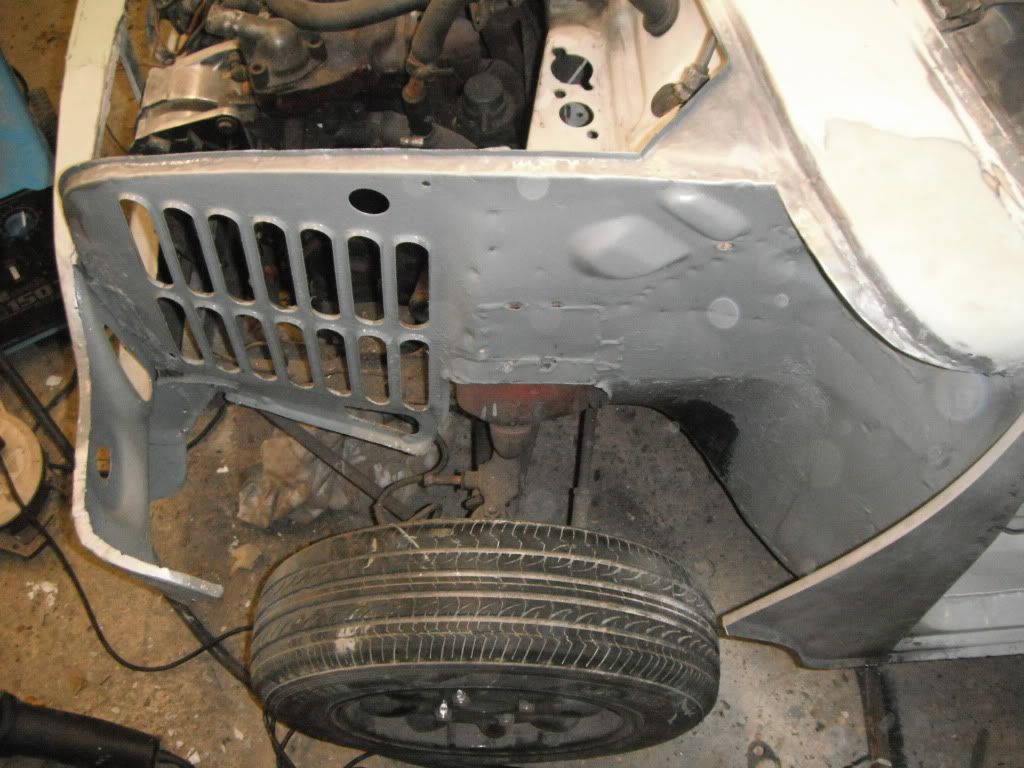
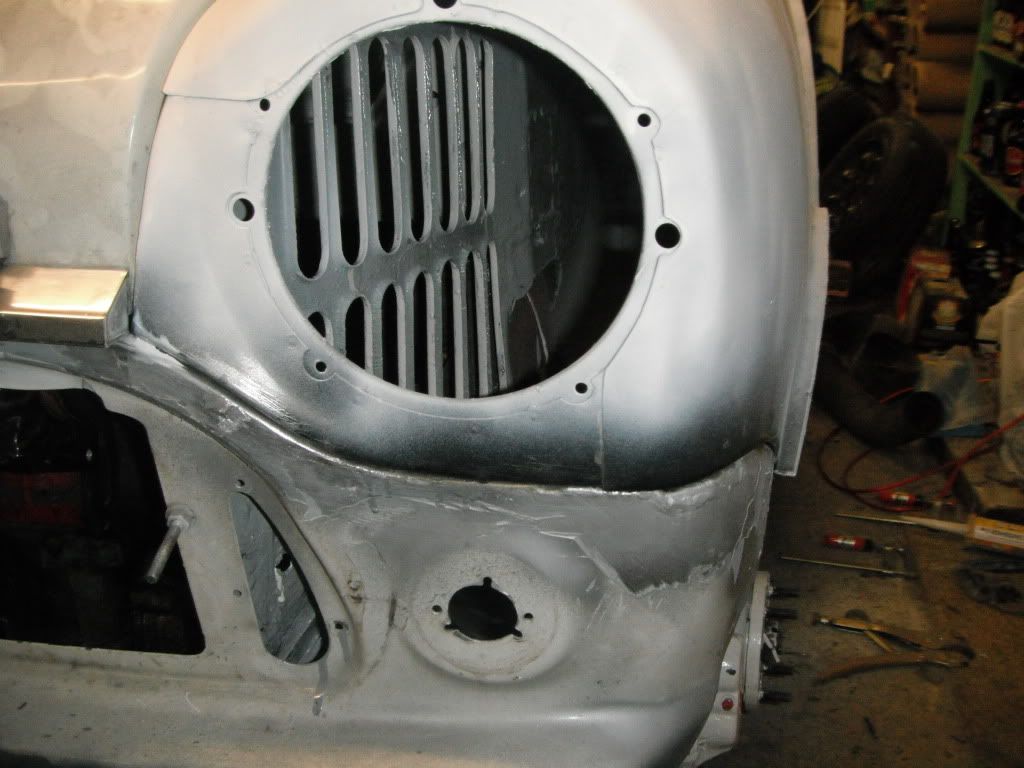
hi build primed the wing, scuttle gaps not as nice as the other side but its still nice for pattern panels!
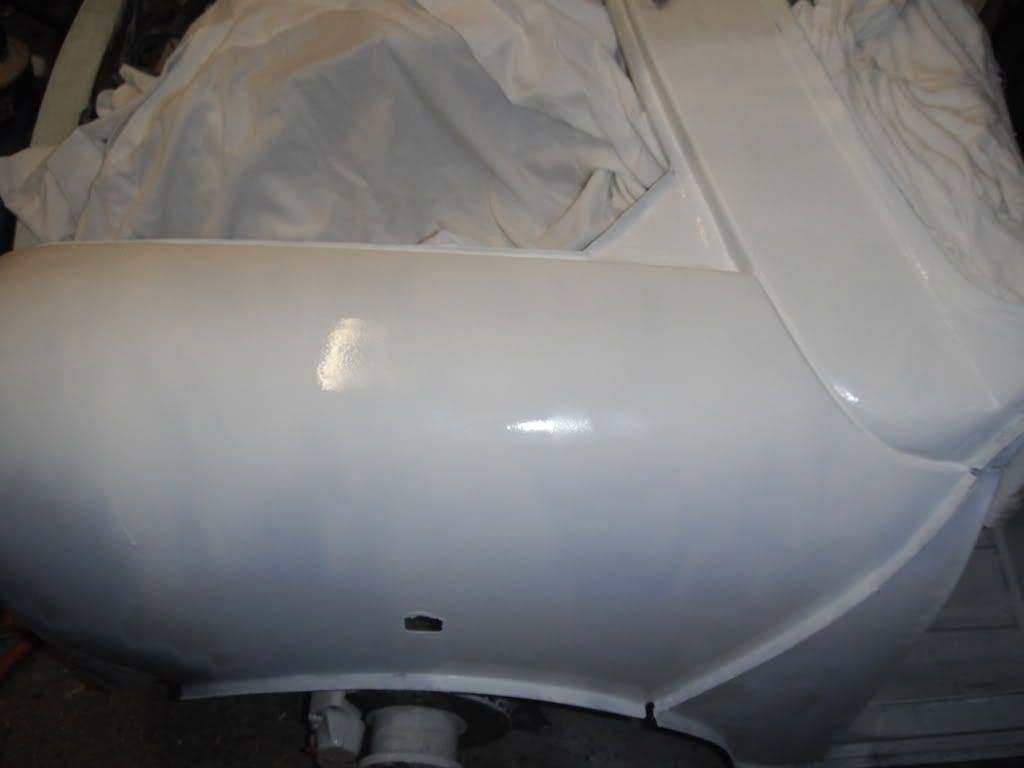
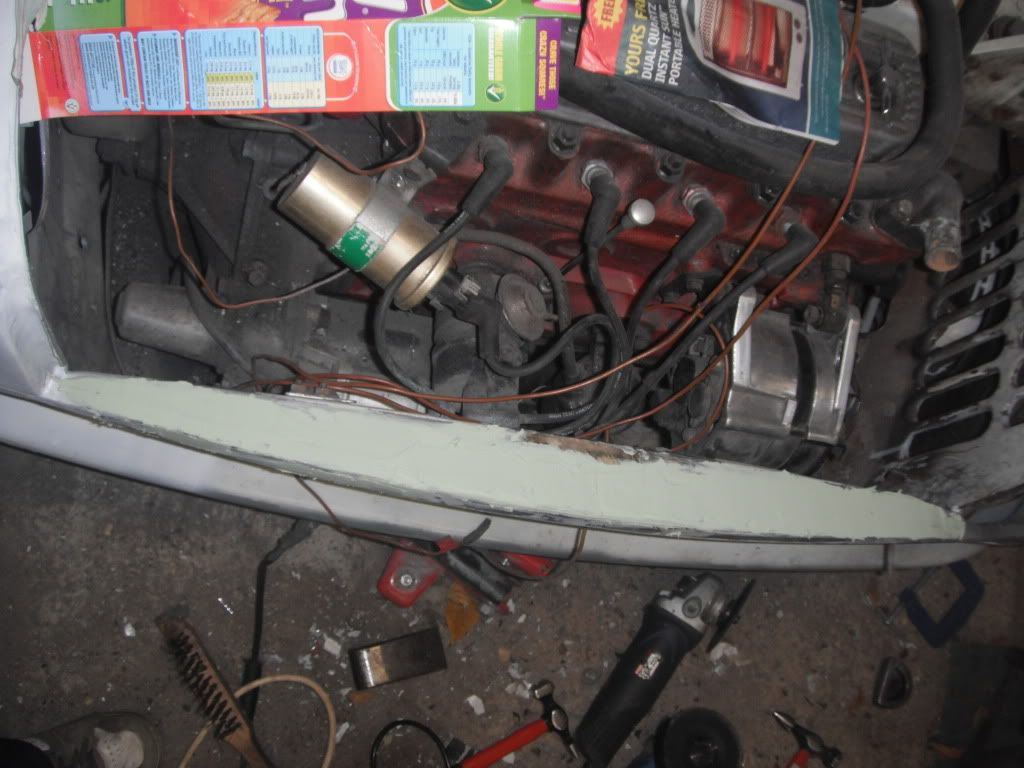
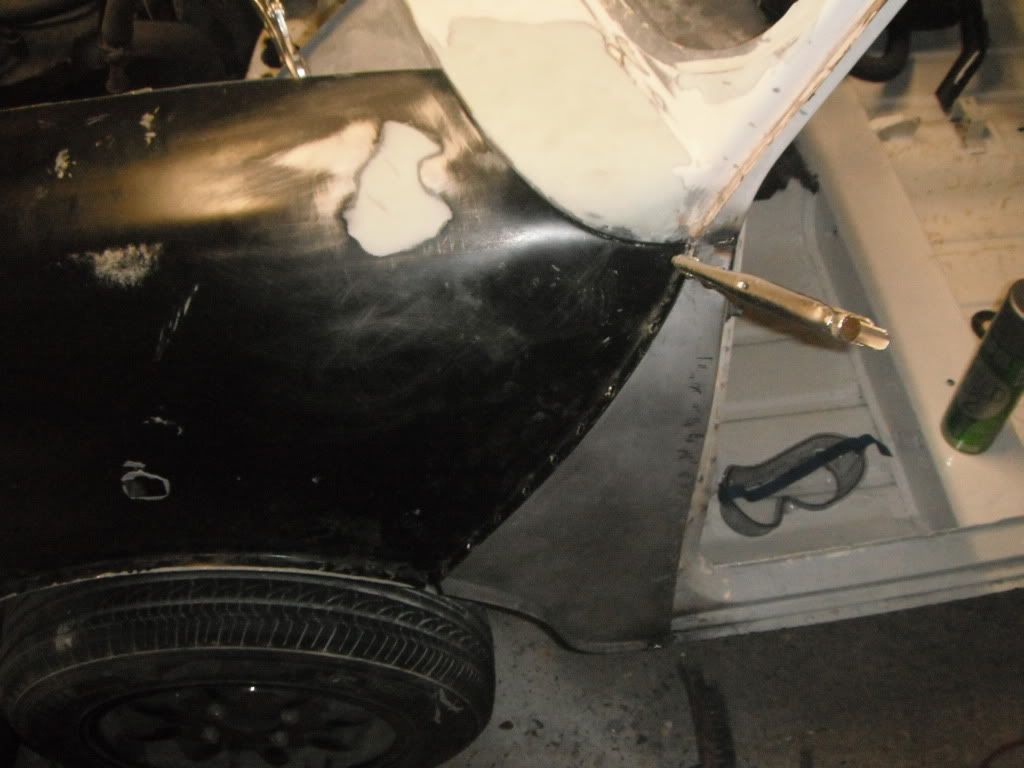
overall shot. its looking so much better now

then i gave the inner wing a bit of a rub down and paint to make it look all nice like the wing
hope you like todays update then! Not sure when the next one will be but
plans are;
>seam seal inside of wing and paint the last bits of it
>seam seal and fill and prime the front panel to wing joint
front will then be ready for respray so ill:
>finish painting the boot floor and undersealing it
>make a start on my boot install as i cant afford the panels i need untill next pay day (2 ish weeks)
thats all i can think of now. comments are always nice
Lawrence
So then, onwards to todays update
finished off my blanking off of holes on the front panel
ground it down
filled, just needs to be sanded and finished off to be lovely and smooooth!
rubbed down the other side of the a panel ready for fitting
small patch made to rectify my old mistake on the flitch
a panel tacked on and all gaps finalised and lloking as good as i can get them
a panel fully welded on, i havent ground the little patch from earlier down as i couldnt really be bothered!
all welded and zinc primed ready for the wing to go on (its being plug welded as i have no spot welder
)wing fully welded on (i was proper rusty on my plug welding!)
seam welded front panel to wing join to try and make it a little more rust proof!
ground down, cleaned up and seam sealed inner wing joint
and also the scuttle gap
hi build primed the wing, scuttle gaps not as nice as the other side but its still nice for pattern panels!
overall shot. its looking so much better now
then i gave the inner wing a bit of a rub down and paint to make it look all nice like the wing
hope you like todays update then! Not sure when the next one will be but
plans are;
>seam seal inside of wing and paint the last bits of it
>seam seal and fill and prime the front panel to wing joint
front will then be ready for respray so ill:
>finish painting the boot floor and undersealing it
>make a start on my boot install as i cant afford the panels i need untill next pay day (2 ish weeks)
thats all i can think of now. comments are always nice
Lawrence
#109
minimuk
-

- Members
-
- 1,946 posts
Camshaft & Stage Two Head
- Location: Midlands
Posted 05 November 2011 - 06:29 PM
like your progress, keep it going, wings look fine to me, but have you checked it with the bonnet on yet?
#110
lawrence
-
- Members
-
- 1,341 posts
One Carb Or Two?
Posted 05 November 2011 - 06:52 PM
Hey minimuk, thanks for the comment. cant say i have but my bonnet is fiberglass so i can always adjut it easily. Its held in place with pins and straps, thats why ive smoothed off the slam panel where the old catch was.
Lawrence
Lawrence
#111
minimuk
-
- Members
-
- 1,946 posts
Camshaft & Stage Two Head
- Location: Midlands
Posted 05 November 2011 - 06:57 PM
Got it, turning proffessional!!
#112
lawrence
-
- Members
-
- 1,341 posts
One Carb Or Two?
Posted 06 November 2011 - 08:17 PM
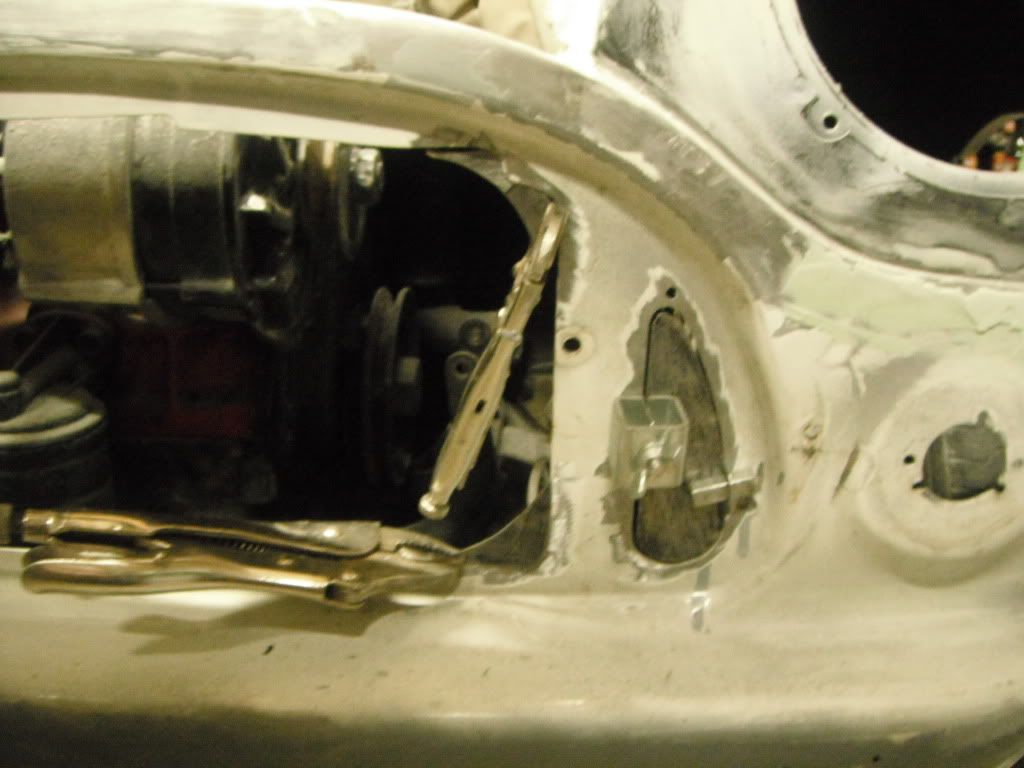
so then, a little more work for today
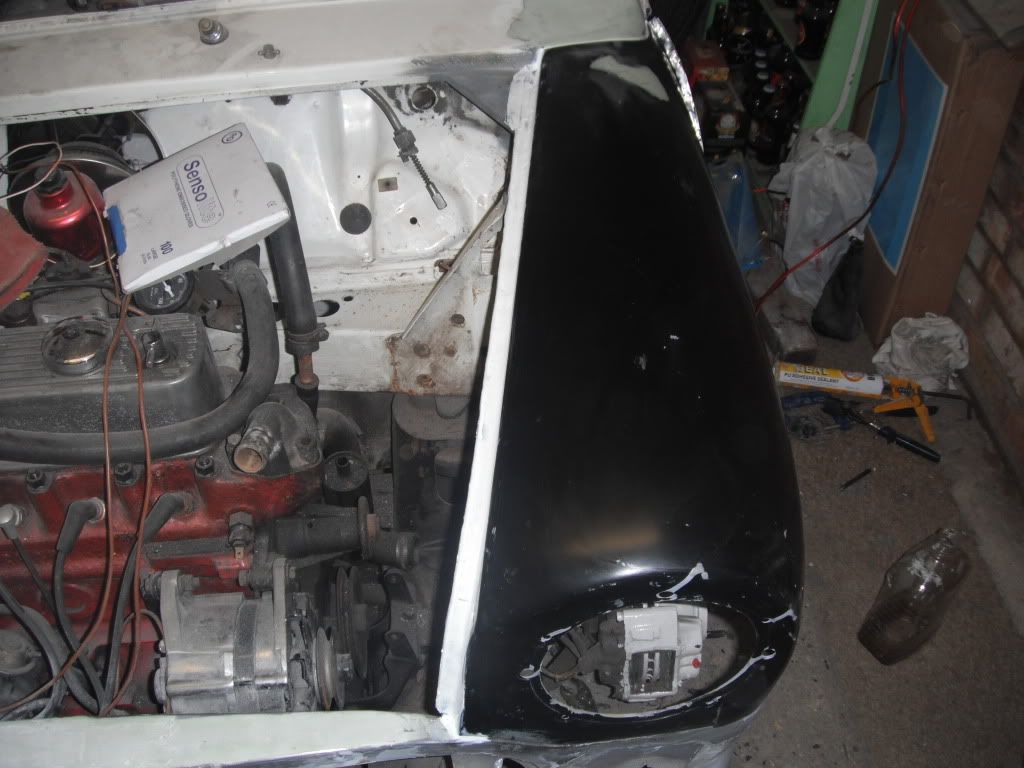
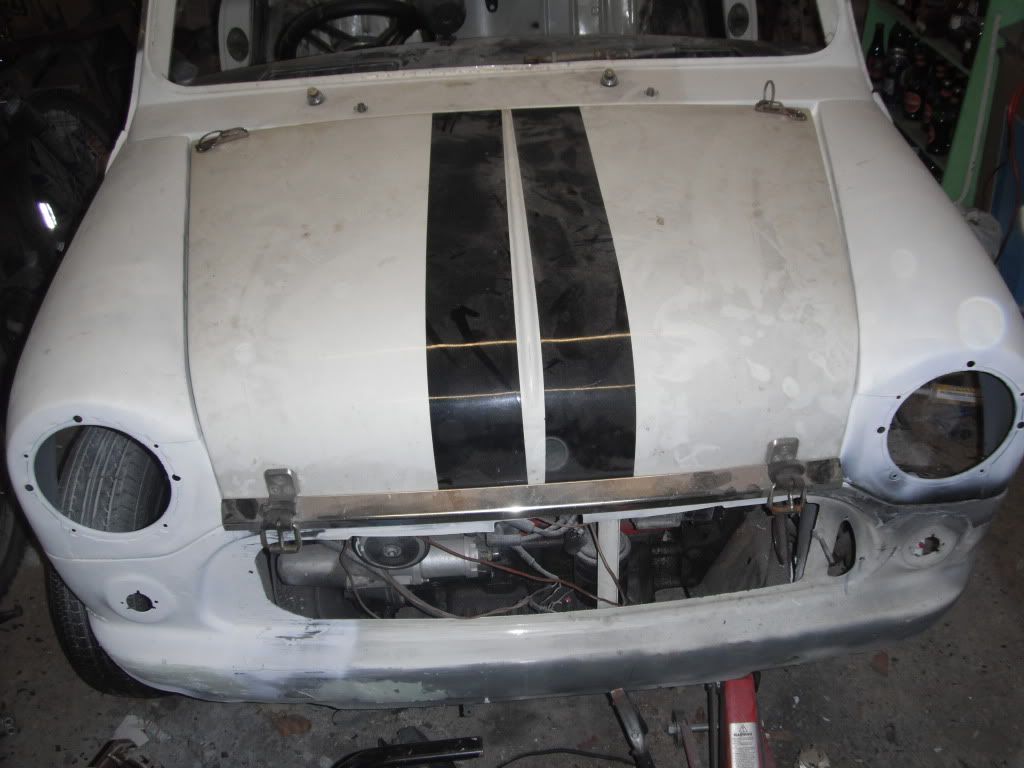
fitted the bonnect back on, gaps a bit wide at the top and rather tight at the bottom, will pop the grill back on soon to see what they are like tho
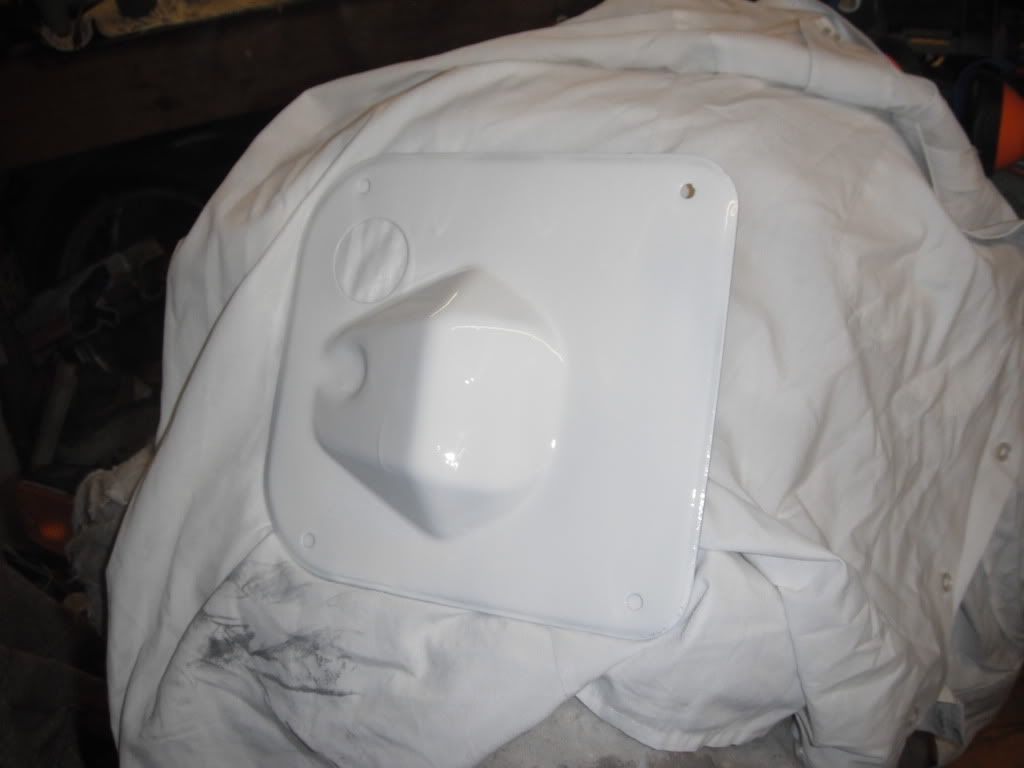
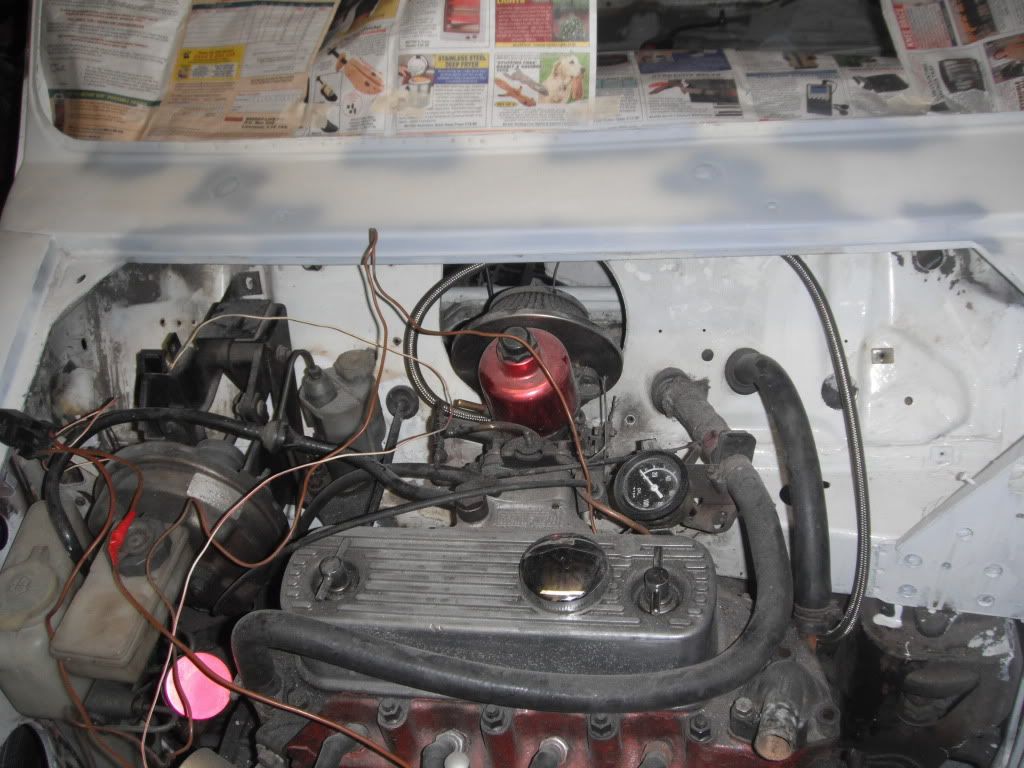
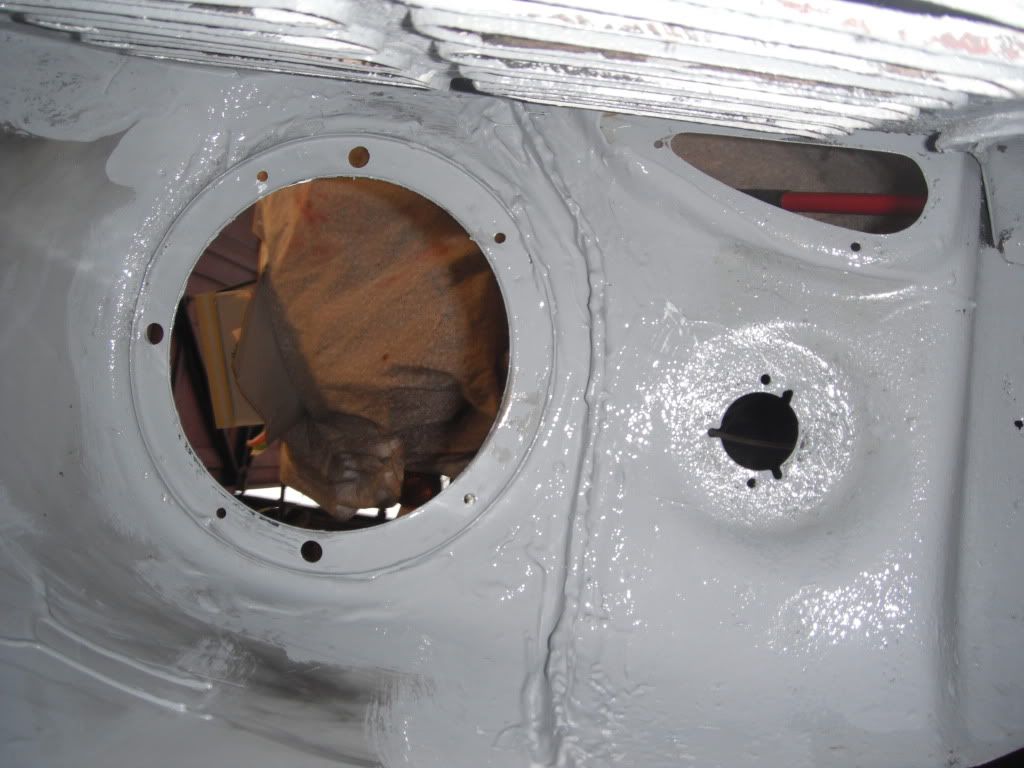
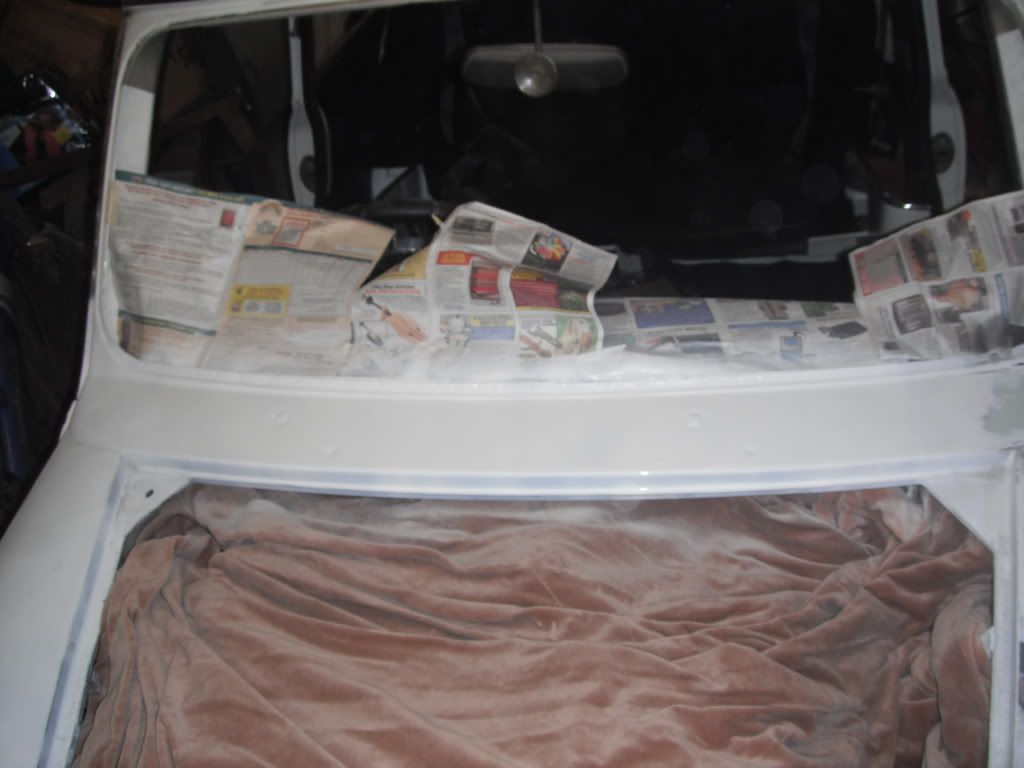
painted the plate on the bulkhead behind the carb
welded a few nuts on the inner flitch, anyone guess what they are for?
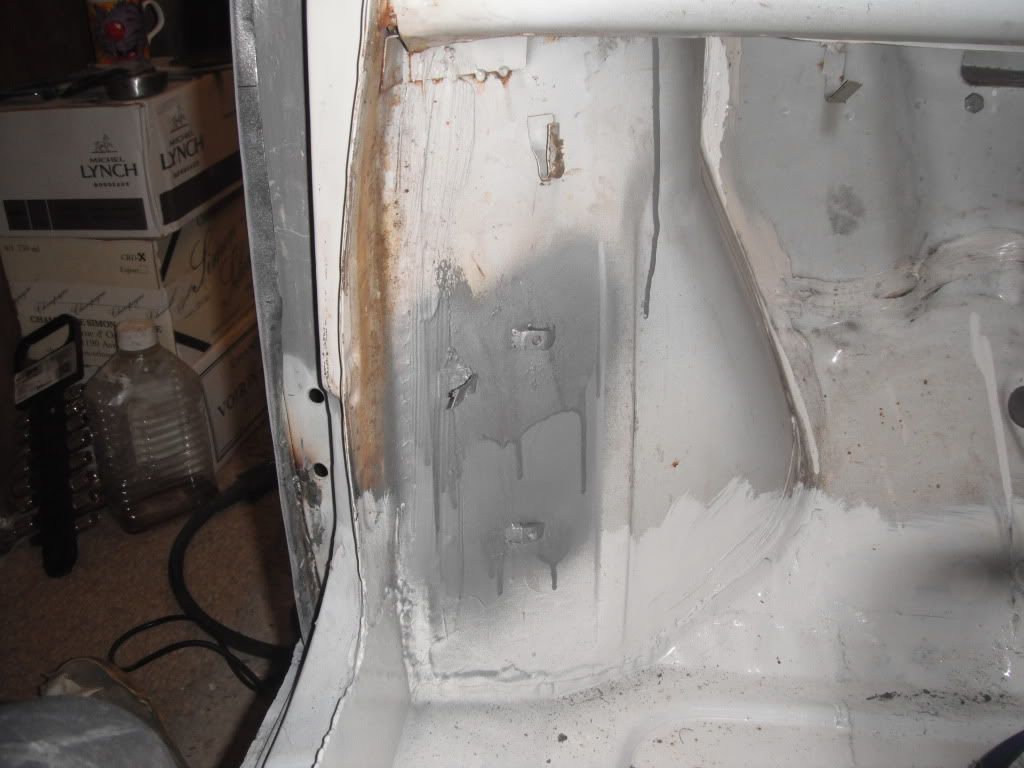
thats right, for the all important fire extinguisher
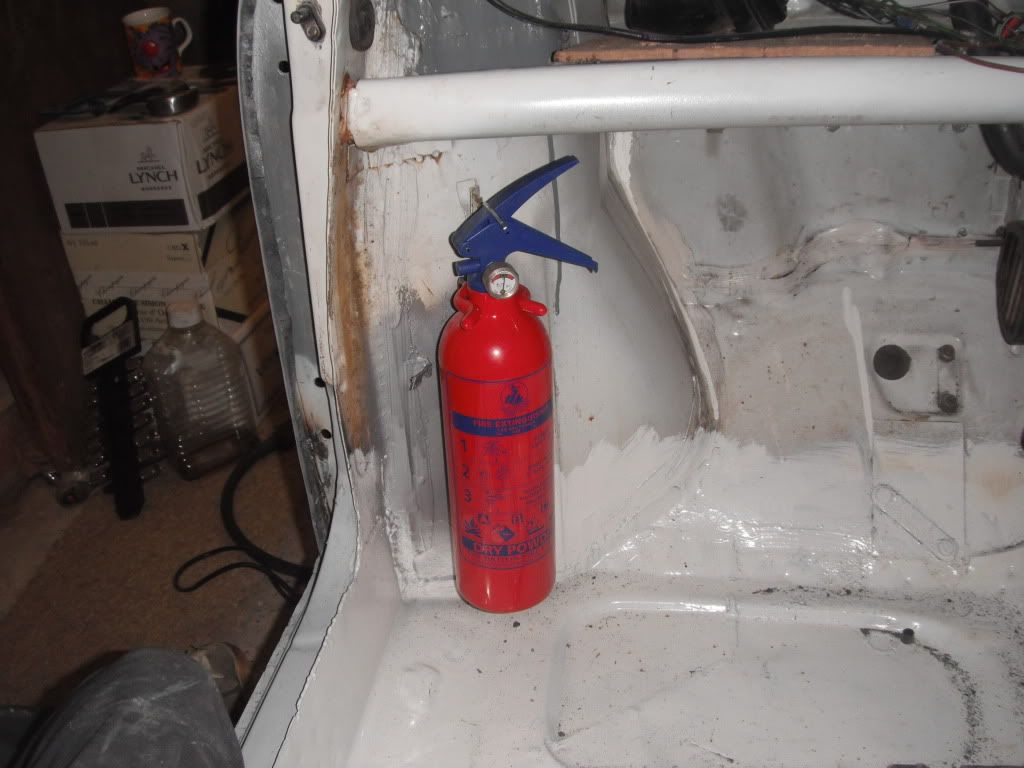
rubbed down the rest of the scuttle end etched a few patches. braided fuel hose is also visible in this pic
then finnaly seam sealed the wing off
just these bits left to do now
more work tommorow in the morning
hope you like this update. feel free to comment
Lawrence
fitted the bonnect back on, gaps a bit wide at the top and rather tight at the bottom, will pop the grill back on soon to see what they are like tho
painted the plate on the bulkhead behind the carb
welded a few nuts on the inner flitch, anyone guess what they are for?
thats right, for the all important fire extinguisher
rubbed down the rest of the scuttle end etched a few patches. braided fuel hose is also visible in this pic
then finnaly seam sealed the wing off
just these bits left to do now
more work tommorow in the morning
hope you like this update. feel free to comment
Lawrence
#113
lawrence
-
- Members
-
- 1,341 posts
One Carb Or Two?
Posted 07 November 2011 - 08:55 PM
tiny update from this morning
slopped some lovely rustoloum on the wing. its looking nice and shiny and protected now
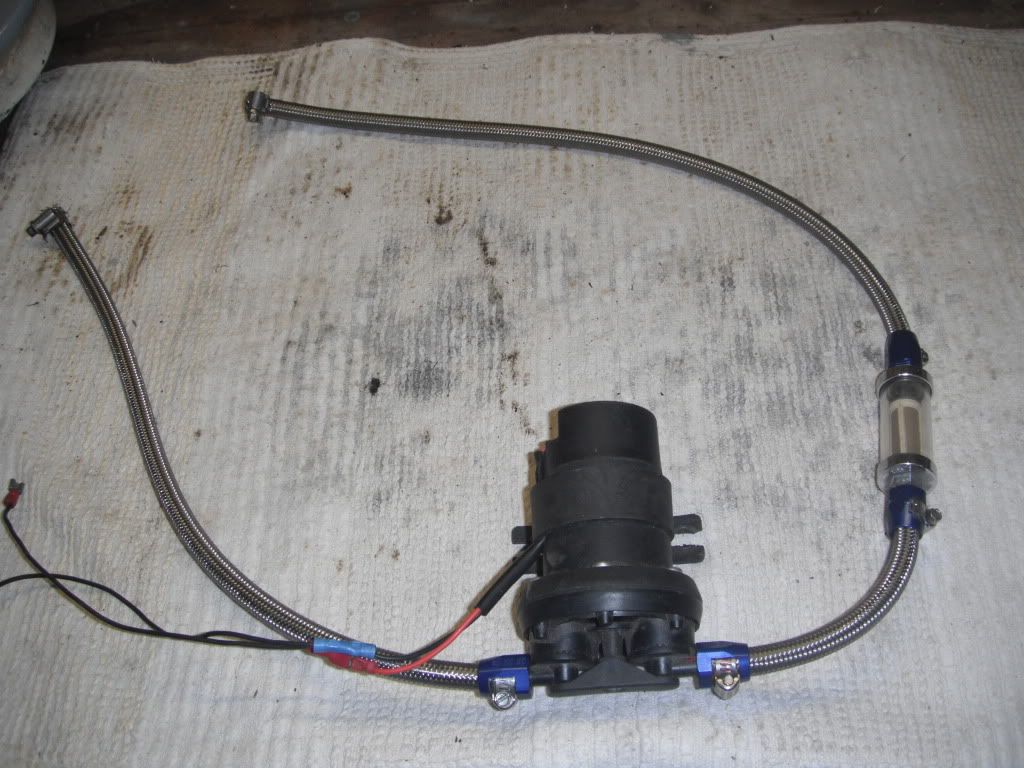
built up my fuel pump and filter with nice braided pipes and alloy clips. its going to be on view in the boot so has to look pretty
need to find some door cards that match these now tho!
hope you like todays mini update!
next steps
> finish off the front and make a start to the boot install (found lots of mdf in the back of the garage during tidying it today!)
slopped some lovely rustoloum on the wing. its looking nice and shiny and protected now
built up my fuel pump and filter with nice braided pipes and alloy clips. its going to be on view in the boot so has to look pretty
need to find some door cards that match these now tho!
hope you like todays mini update!
next steps
> finish off the front and make a start to the boot install (found lots of mdf in the back of the garage during tidying it today!)
#114
lawrence
-
- Members
-
- 1,341 posts
One Carb Or Two?
Posted 16 November 2011 - 08:57 PM
so then guys, ive not done much mini work in a while as ive not had time with work and the like but i got out there today and did a bit
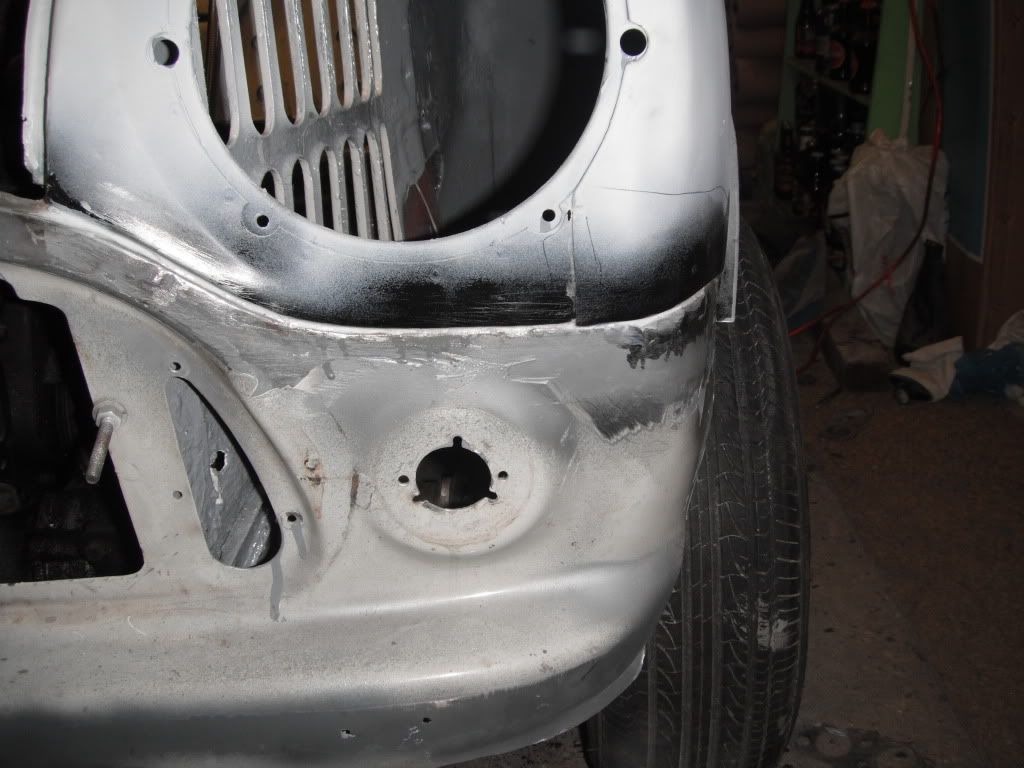
cleaned up the front panel wing seam and seam sealed it, just needs a little filler, some more sealent and a schoosh of primer and the front will be done!
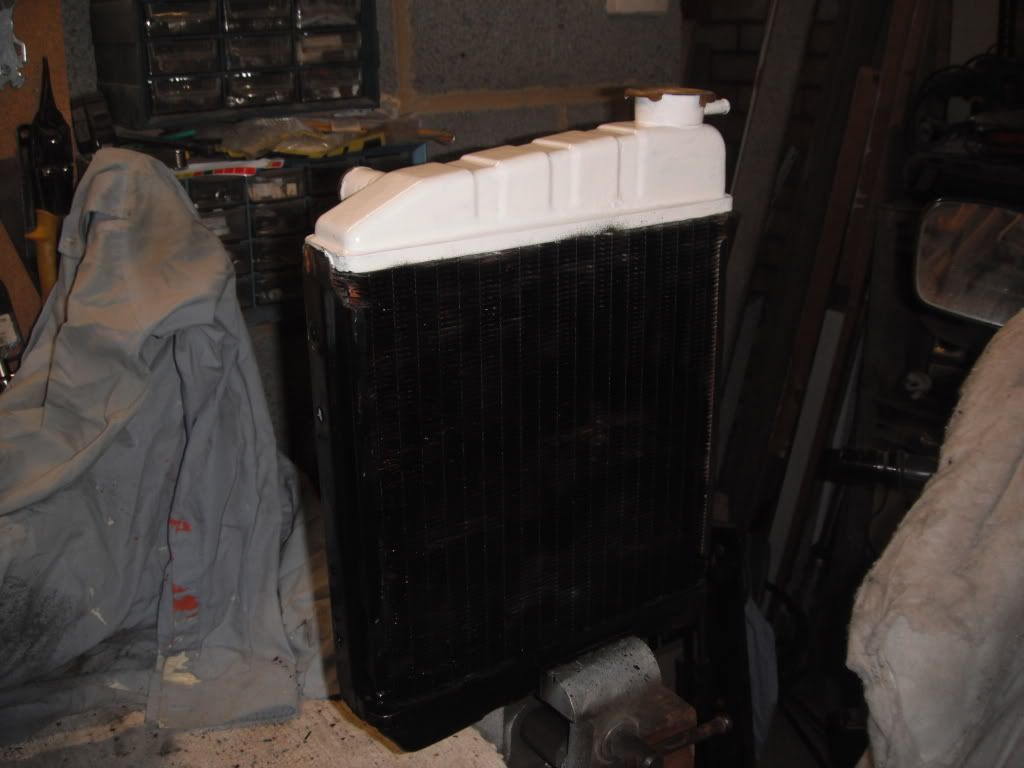
cleaned up the radiator i took of a hile ago and gave it a paint
done a bit more filling and prep work of the scuttle panel and wing as i wasnt happy with a few dents and want to try and cut down on the respray costs later
also primered the scuttle panel where i had etched it the other week
started to rub down the bodywork to key it for the respray
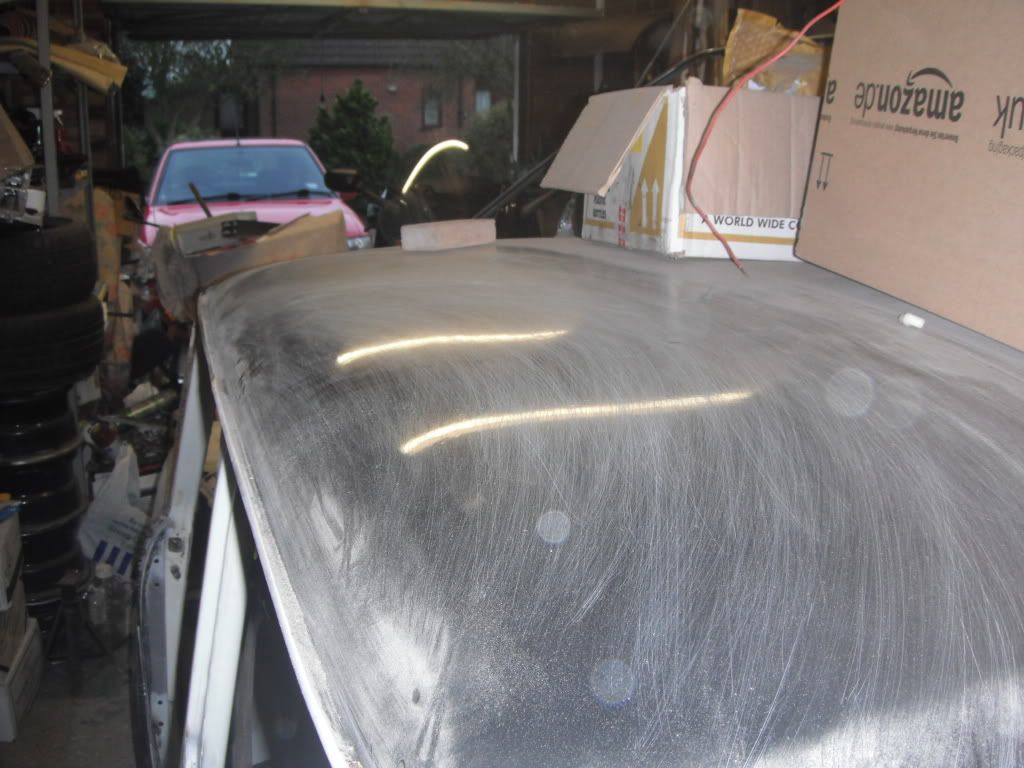
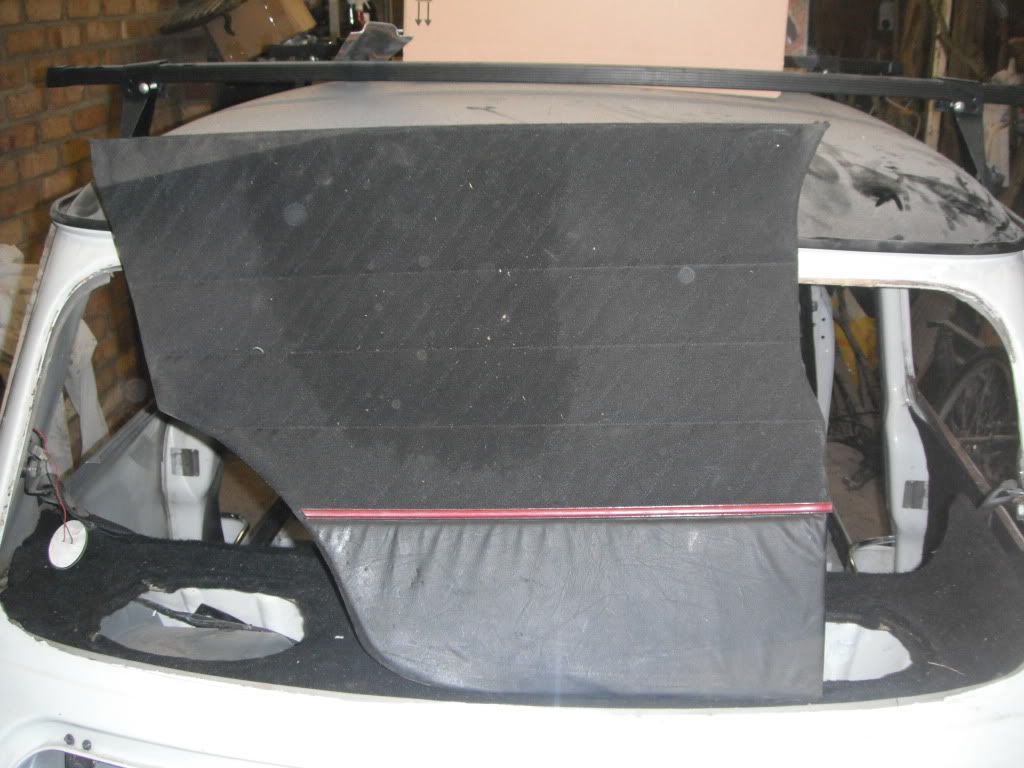
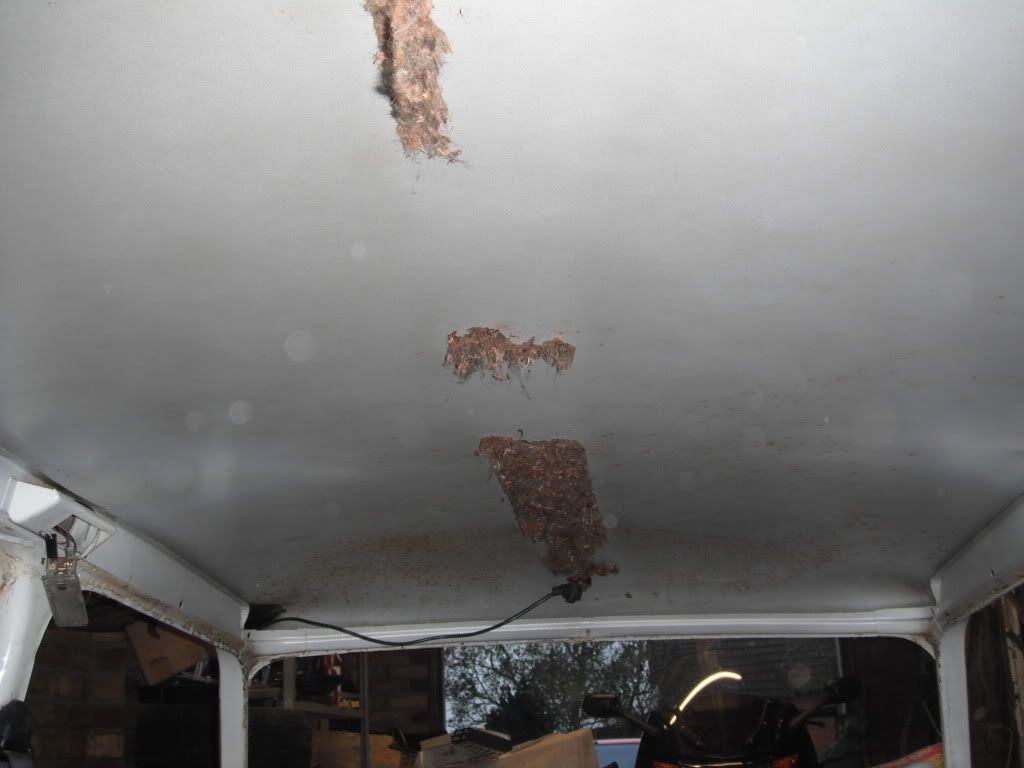
and removed the headlining to help with the prep for the respray
hope you like this
more this weekend in theory
Lawrence
cleaned up the front panel wing seam and seam sealed it, just needs a little filler, some more sealent and a schoosh of primer and the front will be done!
cleaned up the radiator i took of a hile ago and gave it a paint
done a bit more filling and prep work of the scuttle panel and wing as i wasnt happy with a few dents and want to try and cut down on the respray costs later
also primered the scuttle panel where i had etched it the other week
started to rub down the bodywork to key it for the respray
and removed the headlining to help with the prep for the respray
hope you like this
more this weekend in theory
Lawrence
#115
darky32
-
- TMF+ Member
-
- 272 posts
Mini Mad
- Location: Bournemouth
- Local Club: Not yet !!
Posted 17 November 2011 - 10:28 AM
You have made great progress with this Lawrence you must be pleased, keep going the end of the road is not far away 
Mark
Mark
#116
lawrence
-
- Members
-
- 1,341 posts
One Carb Or Two?
Posted 20 November 2011 - 01:53 PM
Thankyou darky32, i cannot wait till the end. The front end is pretty much done i just have a few probelms with the side 1/4 panels
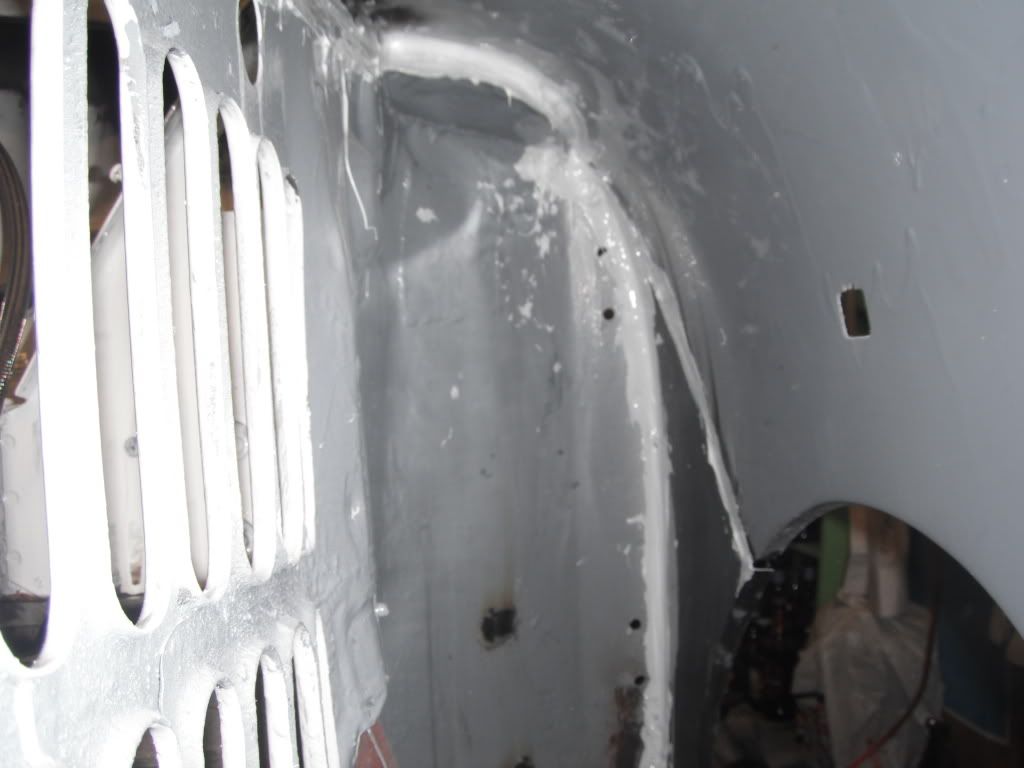
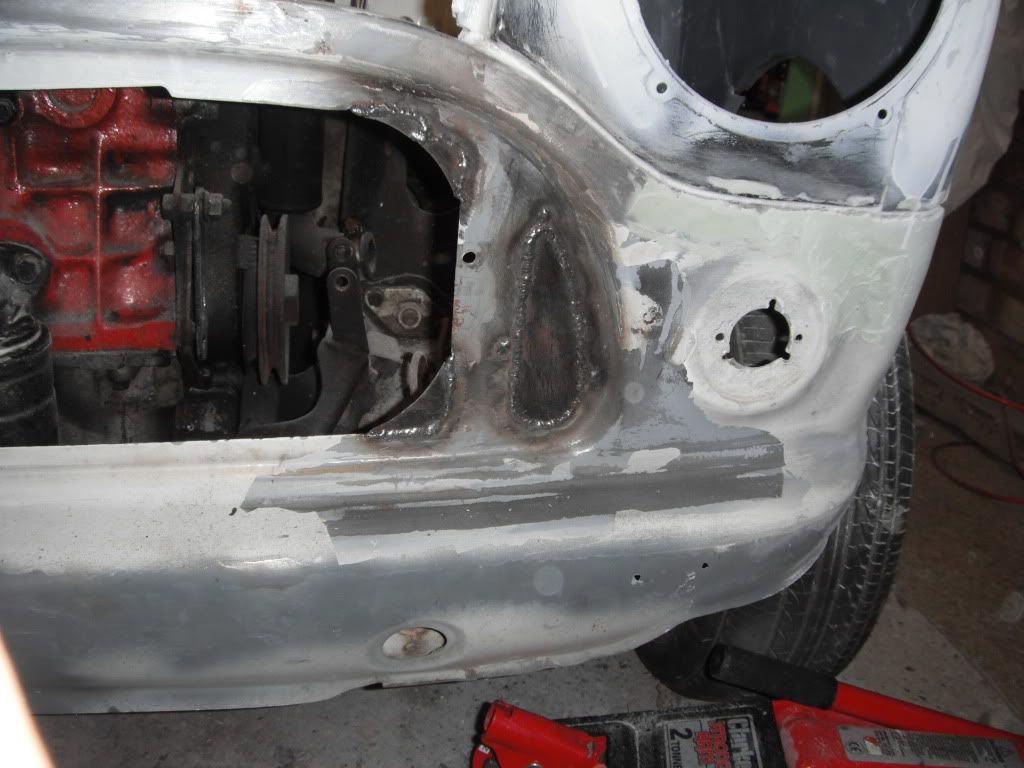
so then, a little update, doesnt look like much in the photos but its so much better in real life
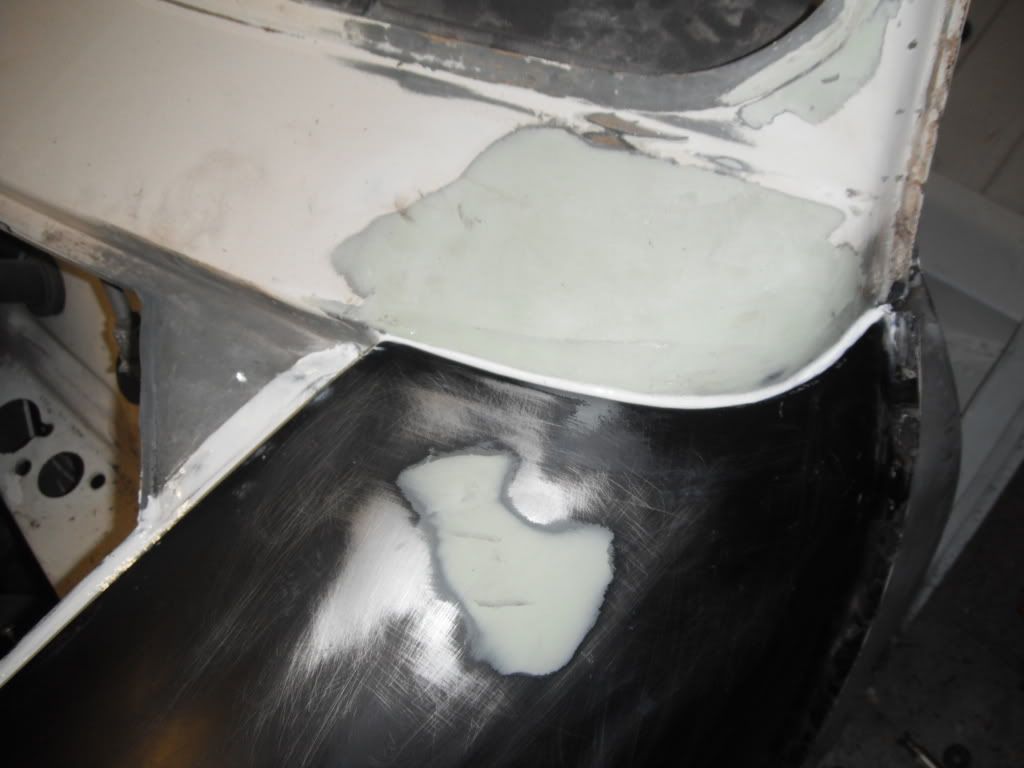
scuttle to wing join is now as perfect as i can make it and the little storage dings are sorted
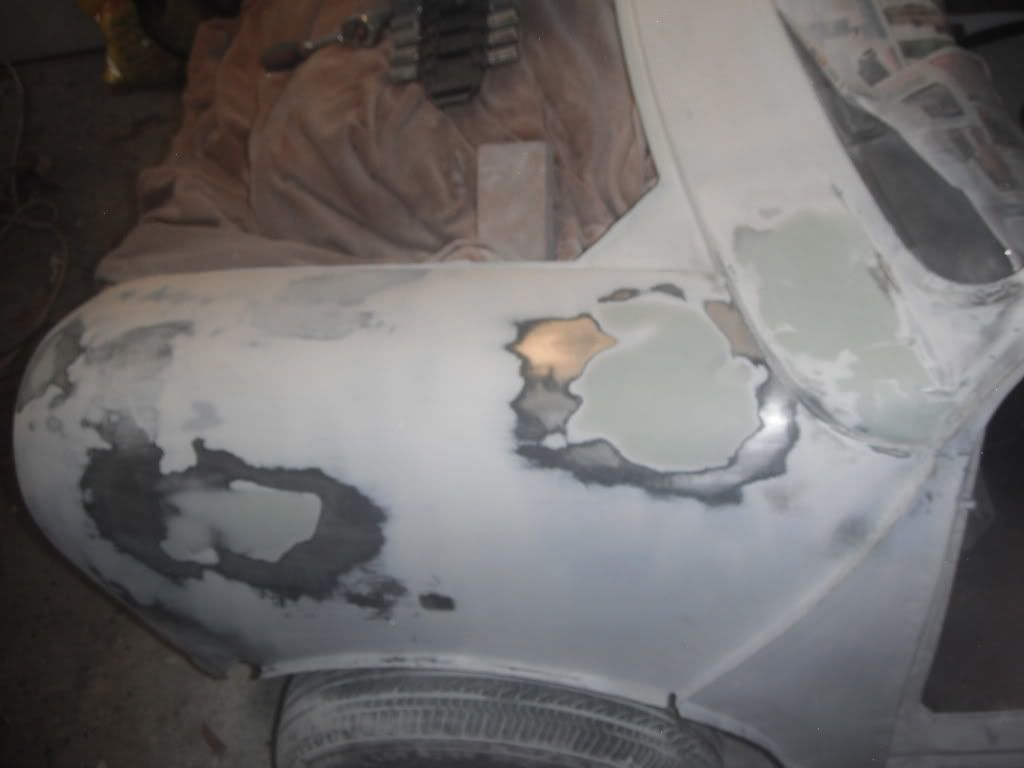
and ive made a start on the wing to front panel join, there quite alot of filler but it is all solid underneath so it dosnt bother me so much and i want it to look nice

not sure what im gunna be doing while the filler is drying, Possibley install my wiring loom
so hope you like this little update, its not alot but is something. more later
Lawrence
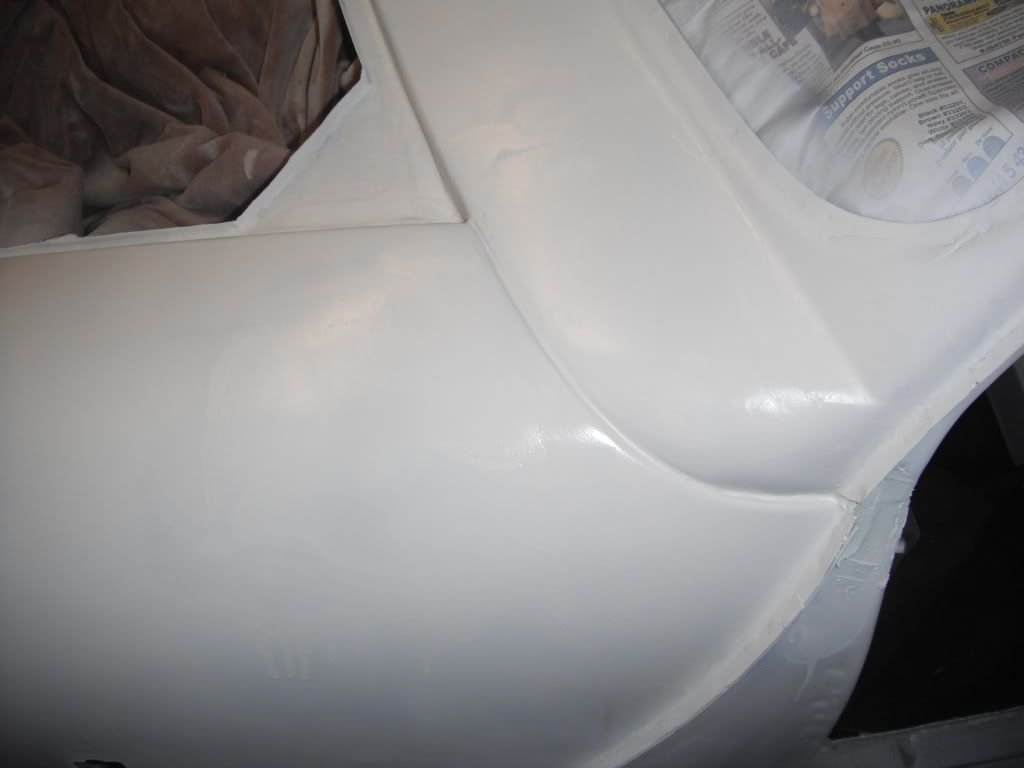
so then, a little update, doesnt look like much in the photos but its so much better in real life
scuttle to wing join is now as perfect as i can make it and the little storage dings are sorted
and ive made a start on the wing to front panel join, there quite alot of filler but it is all solid underneath so it dosnt bother me so much and i want it to look nice
not sure what im gunna be doing while the filler is drying, Possibley install my wiring loom
so hope you like this little update, its not alot but is something. more later
Lawrence
#117
lawrence
-
- Members
-
- 1,341 posts
One Carb Or Two?
Posted 20 November 2011 - 09:27 PM
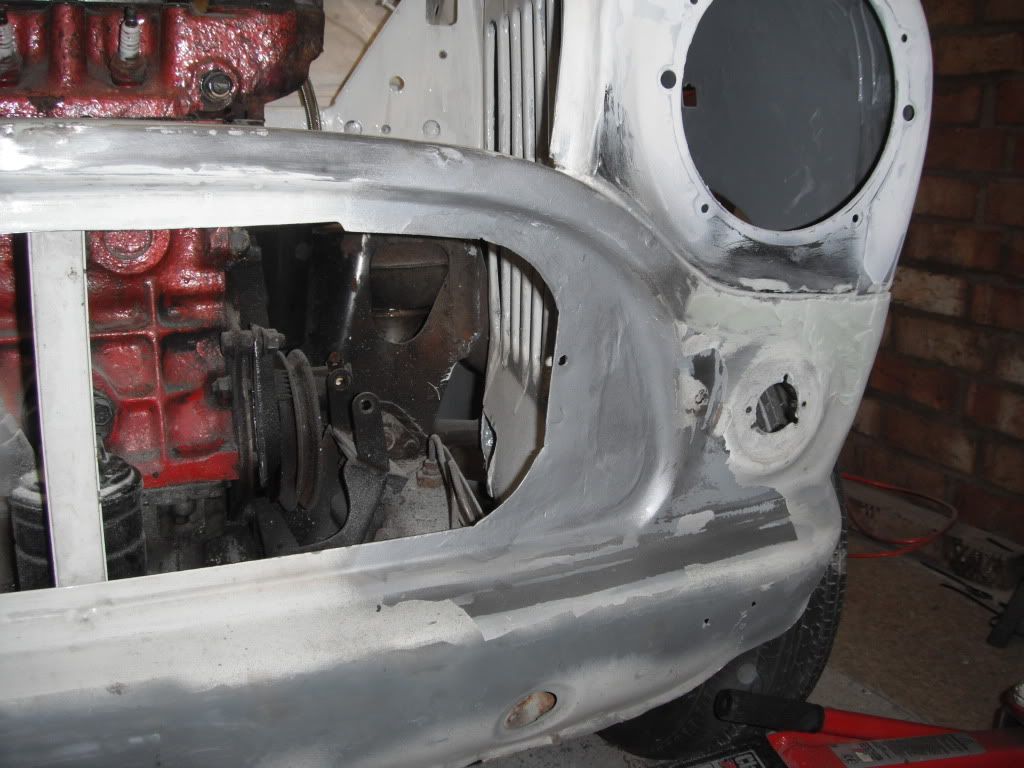
little more work from this afternoon
primed the wing yet again
finished off the rounding of the front panel on the drivers side
and made all the patches i need to make the front panel symetrical, will weld them when i get more gas
thats all for today
Lawrence
primed the wing yet again
finished off the rounding of the front panel on the drivers side
and made all the patches i need to make the front panel symetrical, will weld them when i get more gas
thats all for today
Lawrence
#118
lawrence
-
- Members
-
- 1,341 posts
One Carb Or Two?
Posted 01 December 2011 - 07:14 PM
so then guys, its been a while with no updates because ive been haveing a think about the paint job for her,
the trouble i have is if i get a proffessional respray shes going to be off the road for at least 6 more months as i cannot offord it now or in the forseeable future.
so i have therefore decided to respray her satin black for the time being to get her back on the road. Im going for the race/custom kind of look right now anyways. I think when i can afford the respray ill go for the sophisticated posh look
so then, ive done some more work today
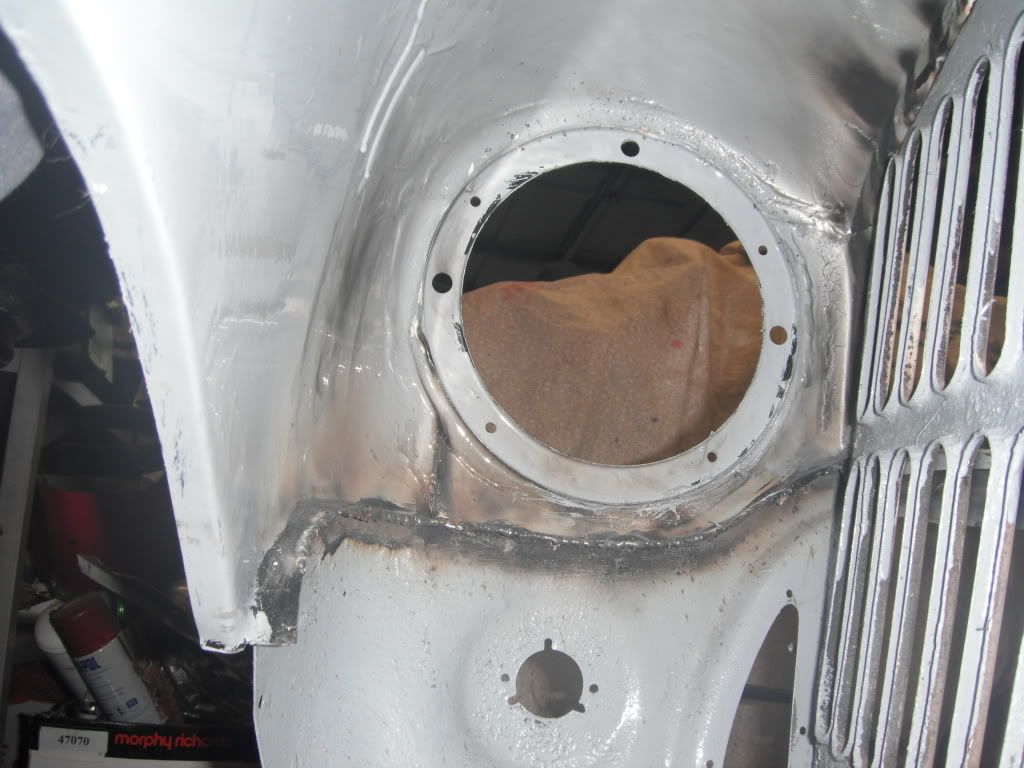
welded in my panels i had made last time
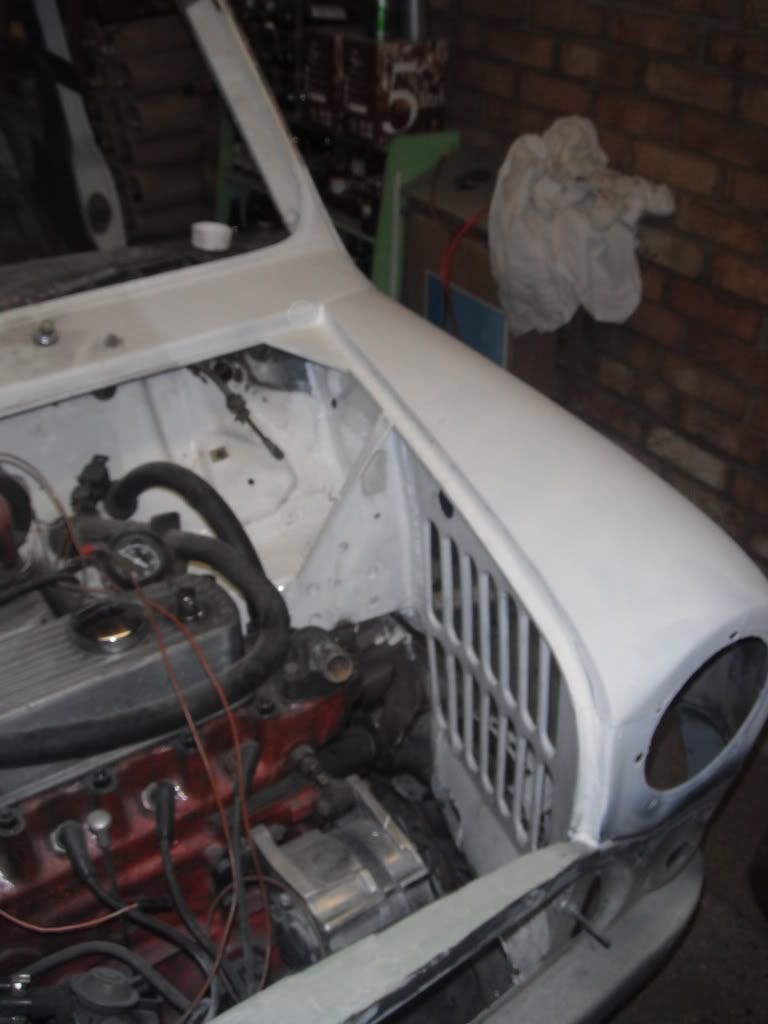
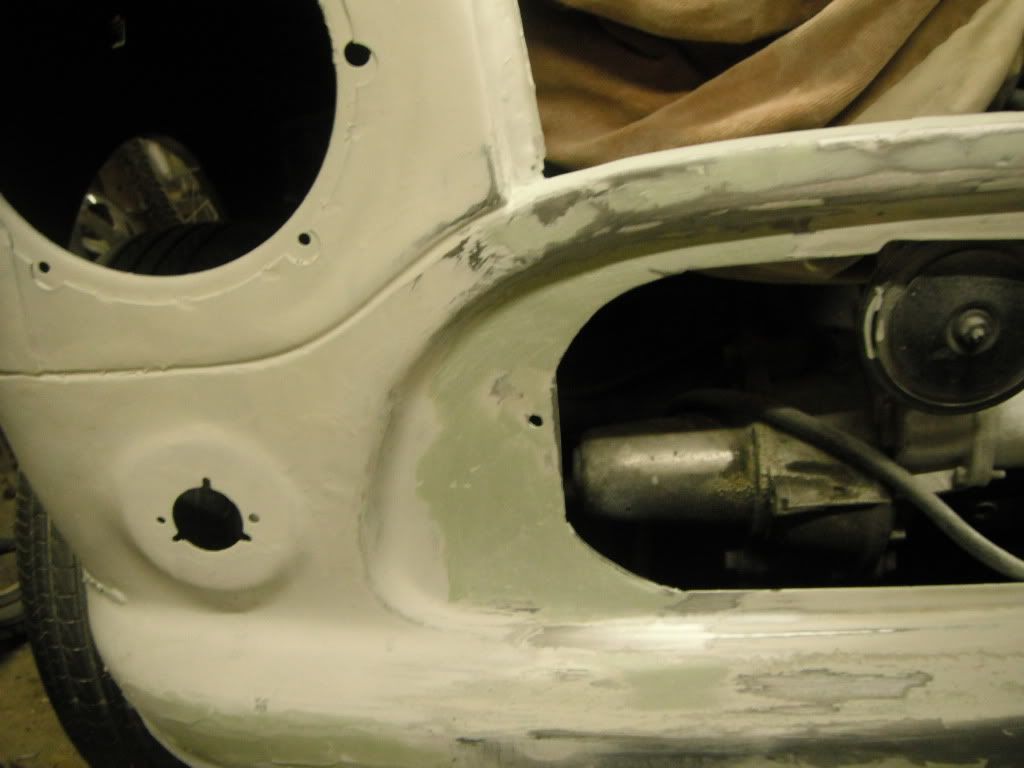
ground down and primed, the front panel is looking pretty symetrical right now
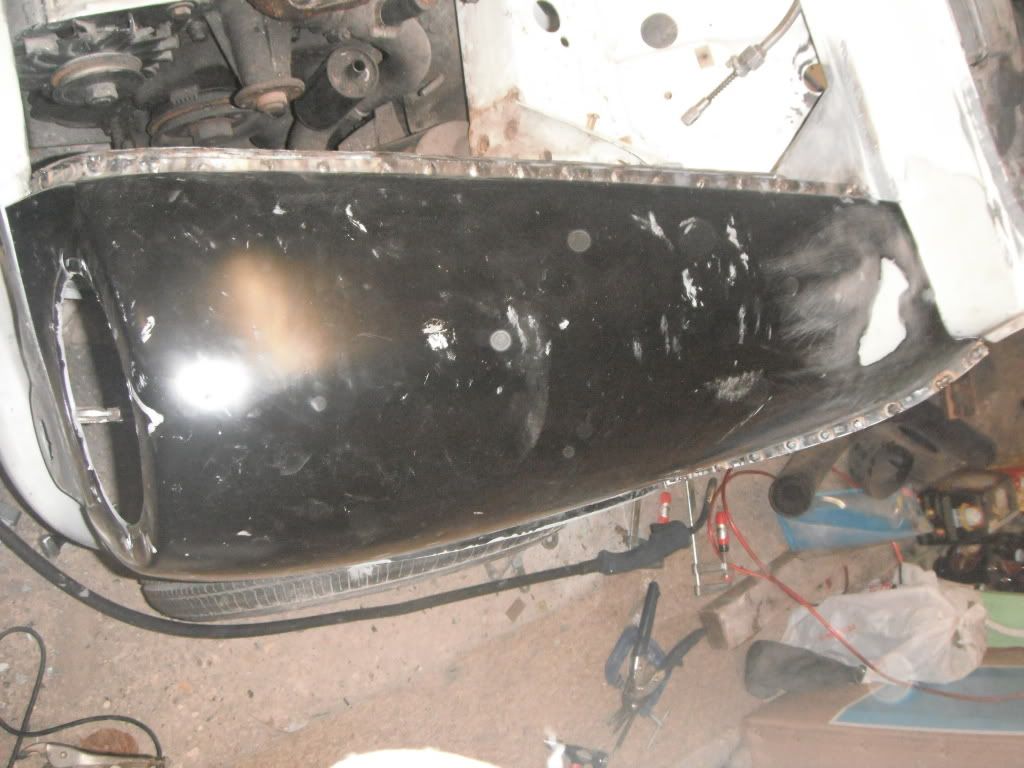
and ive rubbed down the rest of the front panel ready for primer
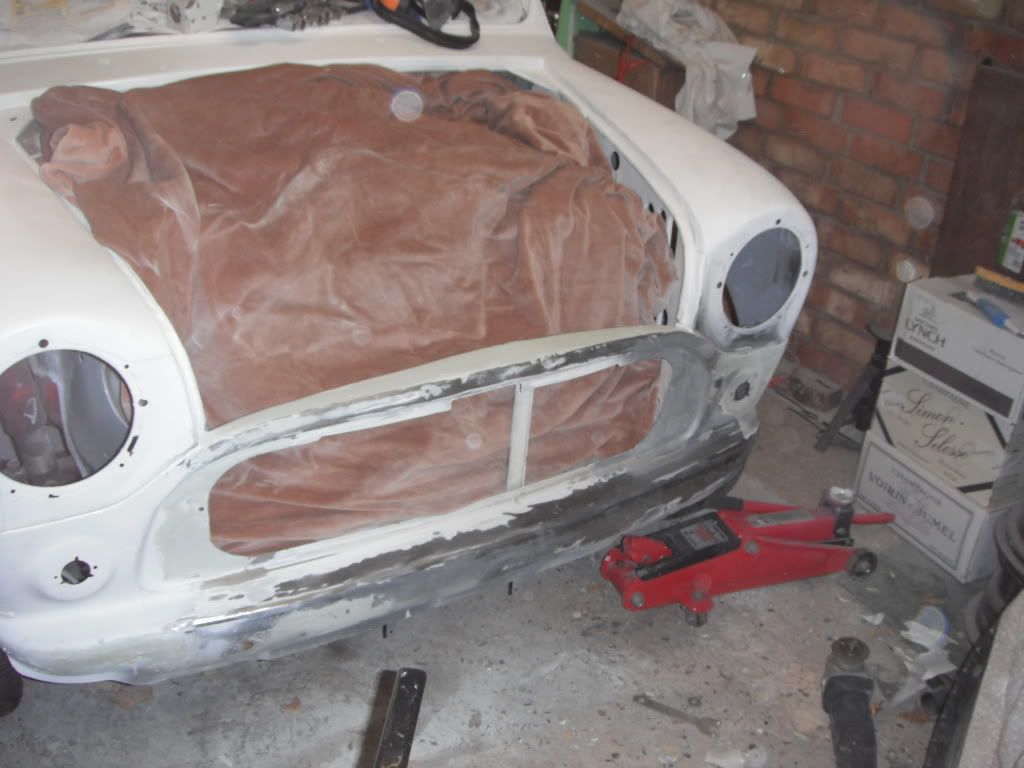
primed it up
ive got a bit more welding to do below the bonnet catch on the front panel which i forgot about and then im making my grill
decided that im going to fill the seams as im having troulble getting them looking tidy, plus i saw a proper good job done of this recently so its made me want to do it too
what im going to do (picture from google, its not done yet)
hope you like this update
Lawrence
the trouble i have is if i get a proffessional respray shes going to be off the road for at least 6 more months as i cannot offord it now or in the forseeable future
.so i have therefore decided to respray her satin black for the time being to get her back on the road. Im going for the race/custom kind of look right now anyways. I think when i can afford the respray ill go for the sophisticated posh look
so then, ive done some more work today
welded in my panels i had made last time
ground down and primed, the front panel is looking pretty symetrical right now
and ive rubbed down the rest of the front panel ready for primer
primed it up
ive got a bit more welding to do below the bonnet catch on the front panel which i forgot about and then im making my grill
decided that im going to fill the seams as im having troulble getting them looking tidy, plus i saw a proper good job done of this recently so its made me want to do it too
what im going to do (picture from google, its not done yet)
hope you like this update
Lawrence
Edited by lawrence, 01 December 2011 - 07:15 PM.
#119
Bash Master
-

- TMF+ Member
-
- 150 posts
Mini Mad
- Location: Blackpool, Lancashire
Posted 01 December 2011 - 07:55 PM
If you are thinking of smoothing over the seems on the wing i would suggest fully welding between them on the outside, otherwise the filler will eventually crack.
Your project is coming along nicely
Your project is coming along nicely
#120
lawrence
-
- Members
-
- 1,341 posts
One Carb Or Two?
Posted 02 December 2011 - 10:33 AM
Thanks bash master, well i hope they wont as ive seam welded them along on the inside instead of spot welding , i thought about the possiblilty of them cracking but as ive seam sealed along them anyways it shouldnt go much damage if they do crack. Plus hopefully ill be able to afford a proper respray sometime in the next few years so ill do it all properly then , more updates today people, hopefully getting the front ready for my respray
Lawrence
, more updates today people, hopefully getting the front ready for my resprayLawrence


1 user(s) are reading this topic
0 members, 1 guests, 0 anonymous users


