Jump to content


Photo
- - - - -

Ken -The 1275 High Compression Engine Micra Mini (Running Project)


  • Please log in to reply
756 replies to this topic

#91 lawrence

lawrence

    One Carb Or Two?

  • Members
  • PipPipPipPipPipPipPip
  • 1,337 posts

Posted 23 October 2011 - 08:30 PM

so then i did a bit of work today before work
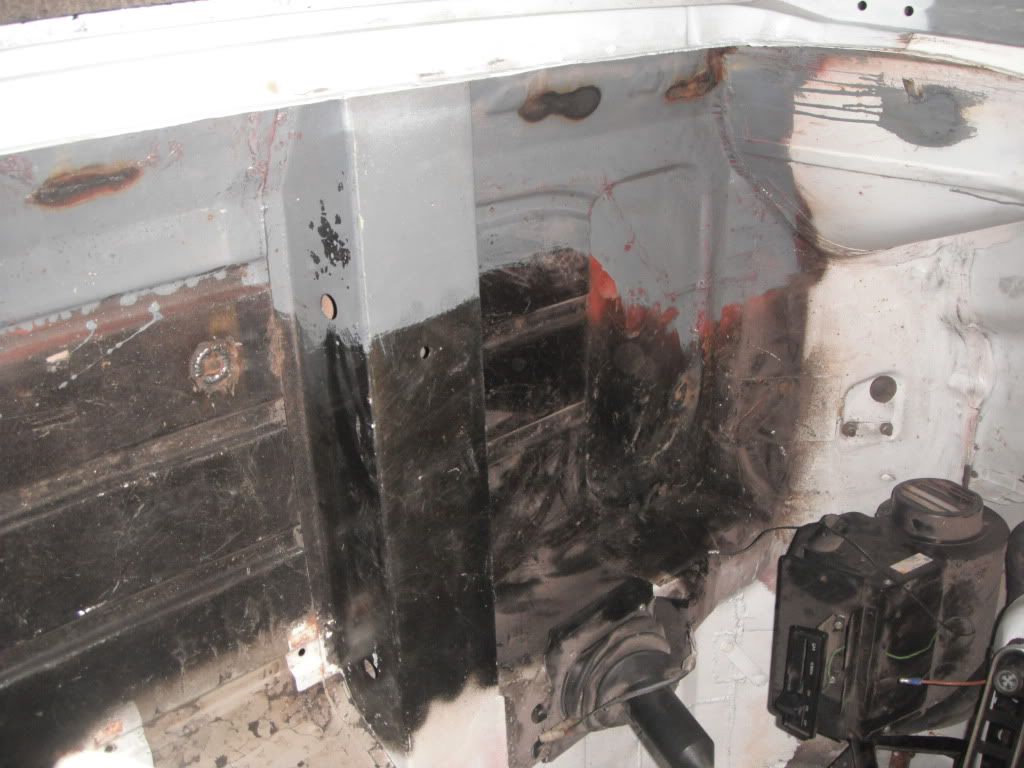
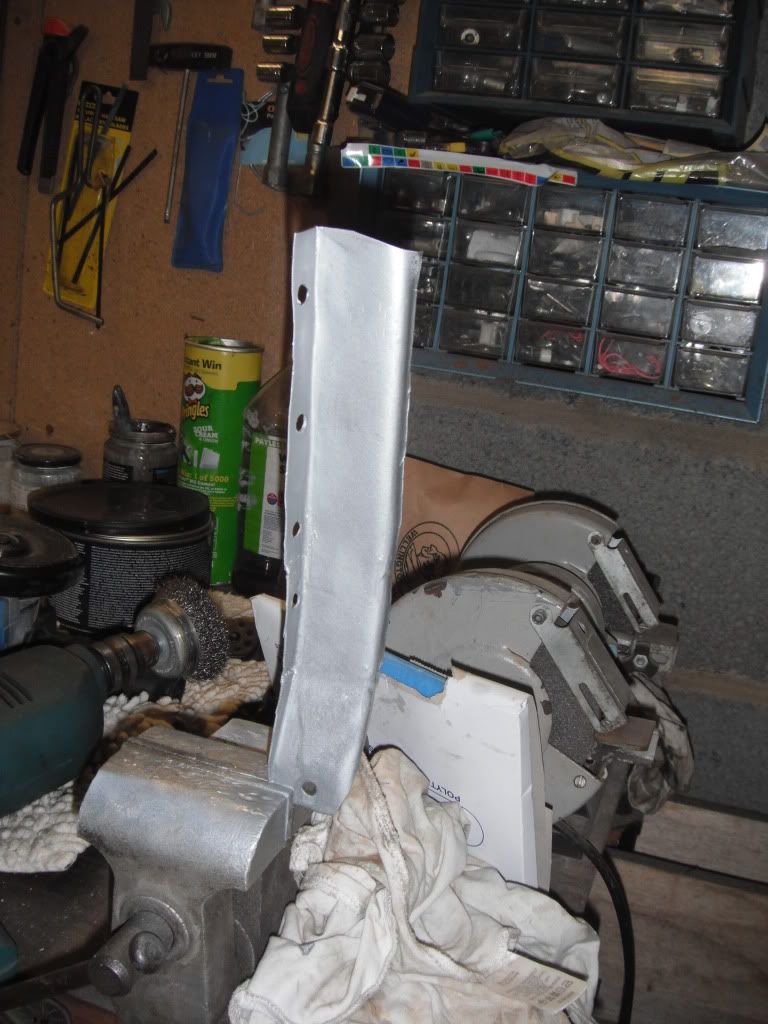
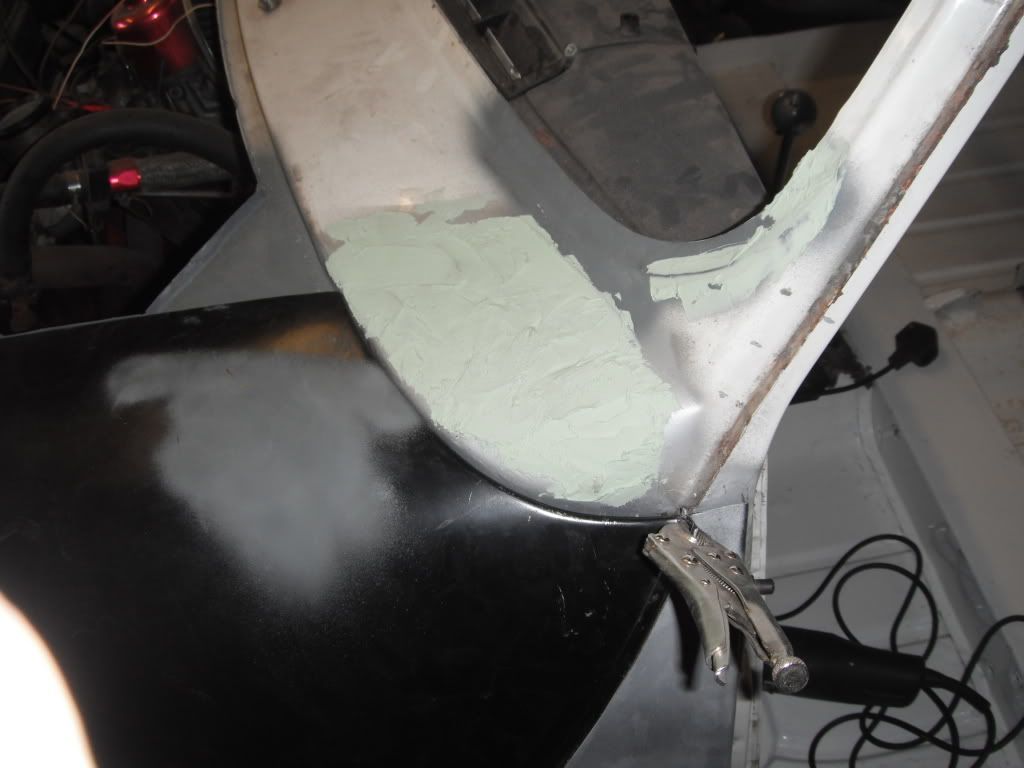
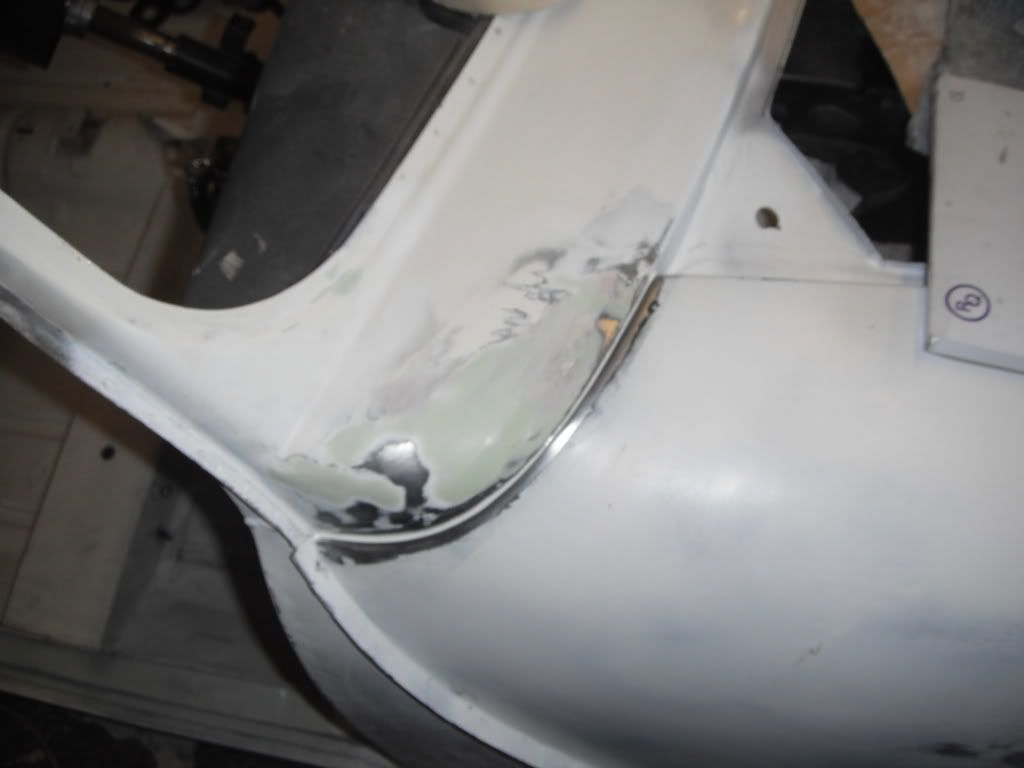
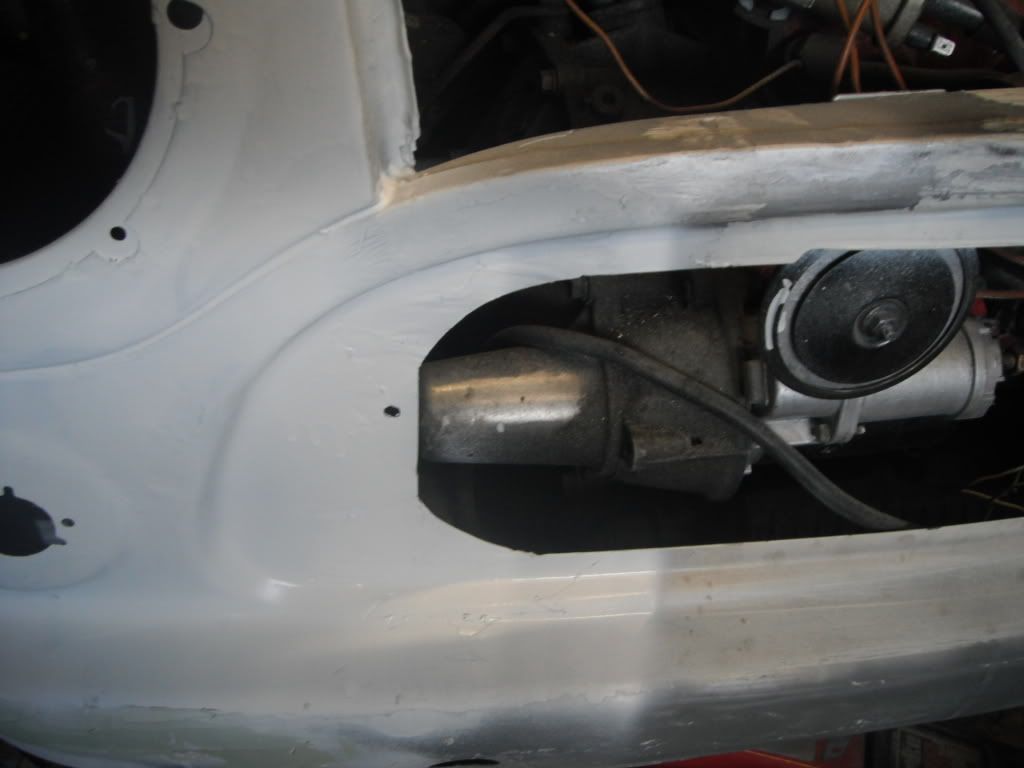
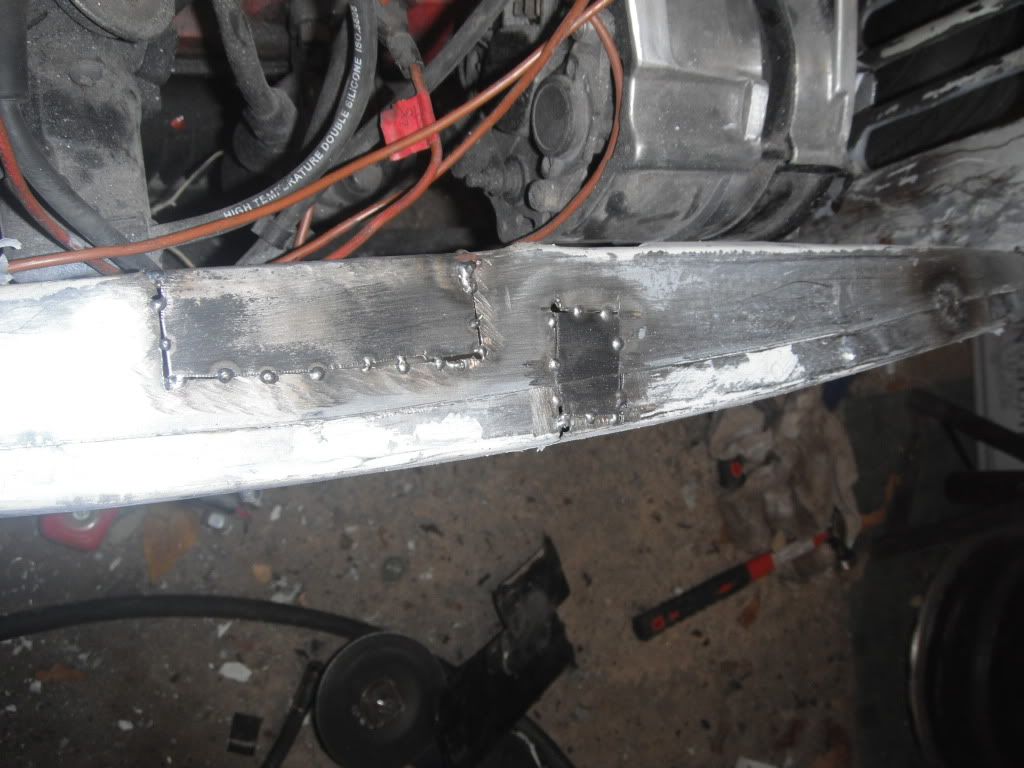
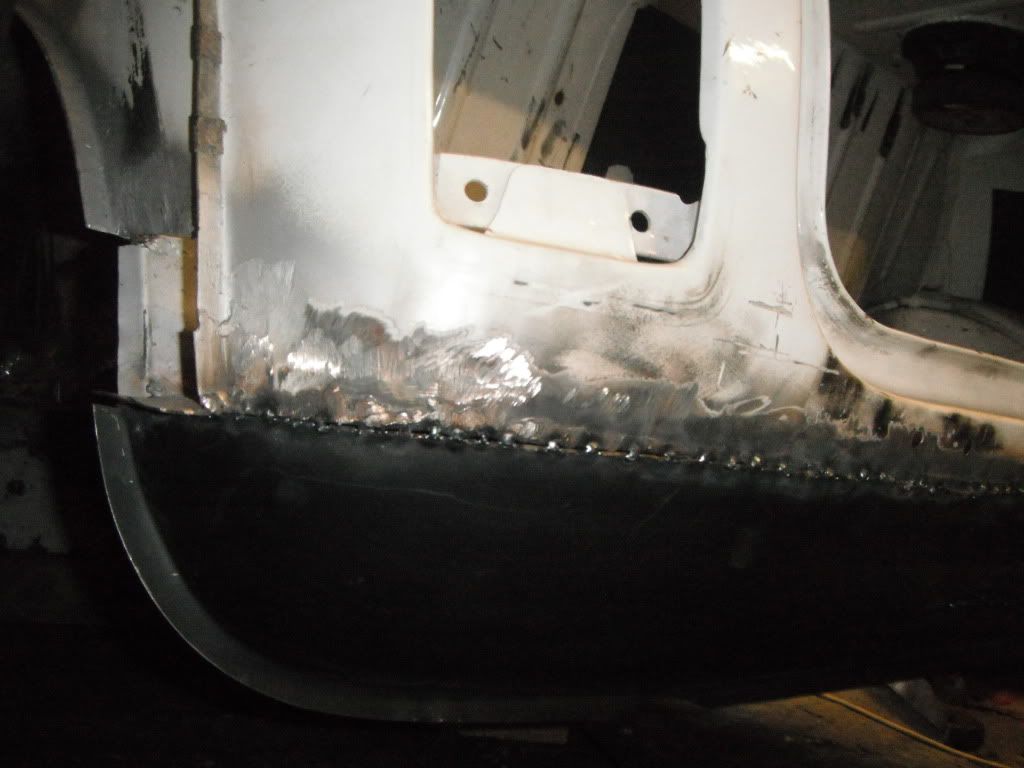
welded on the strenghtener panel
Posted Image
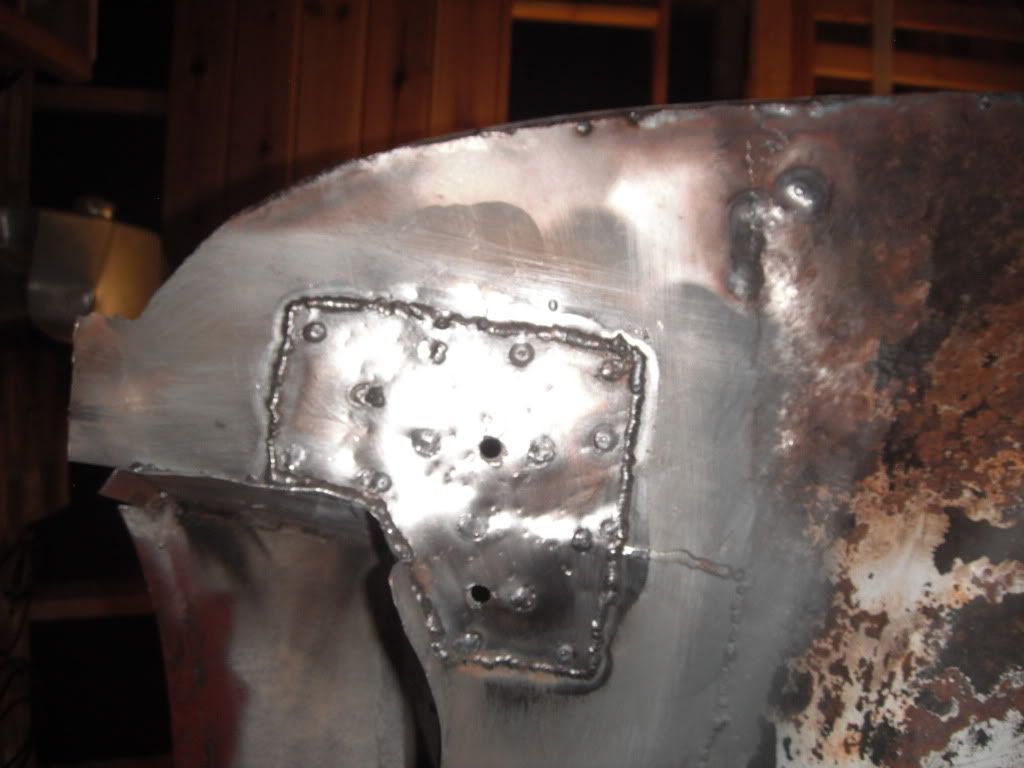
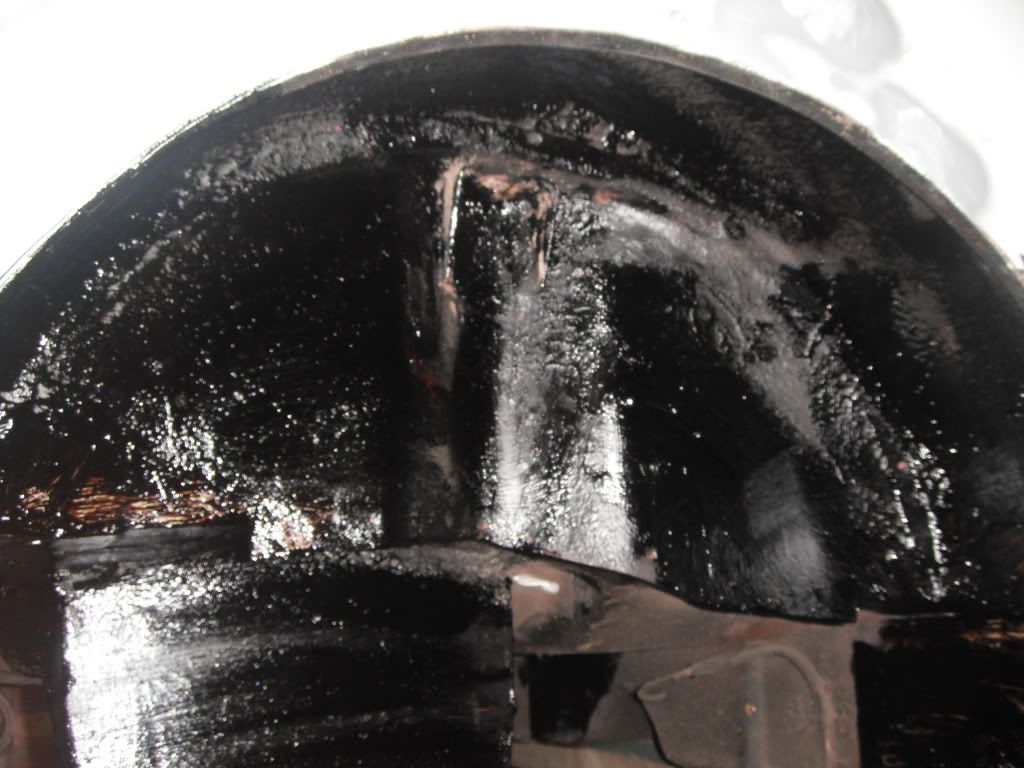
lots of penetration inside
Posted Image
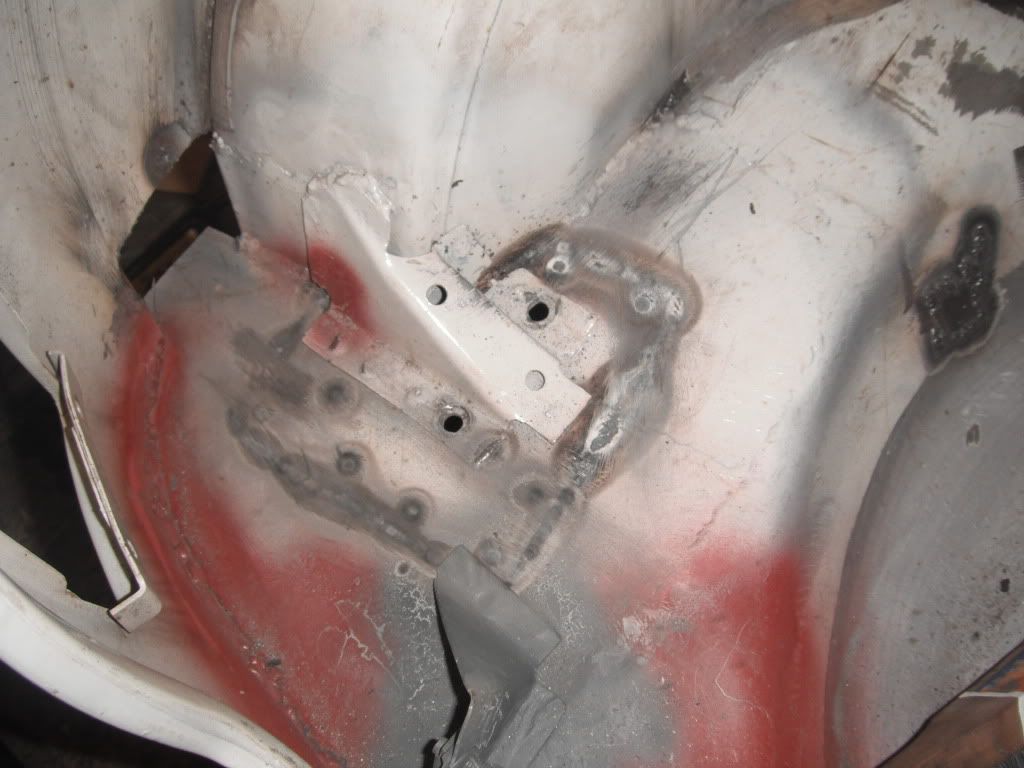
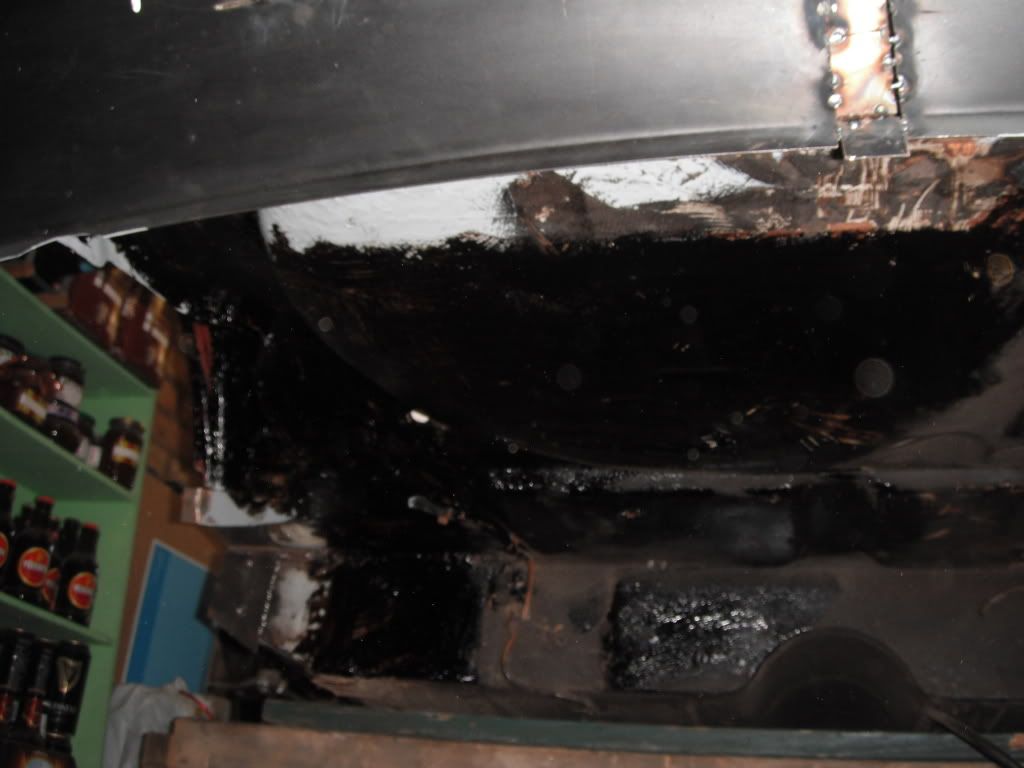
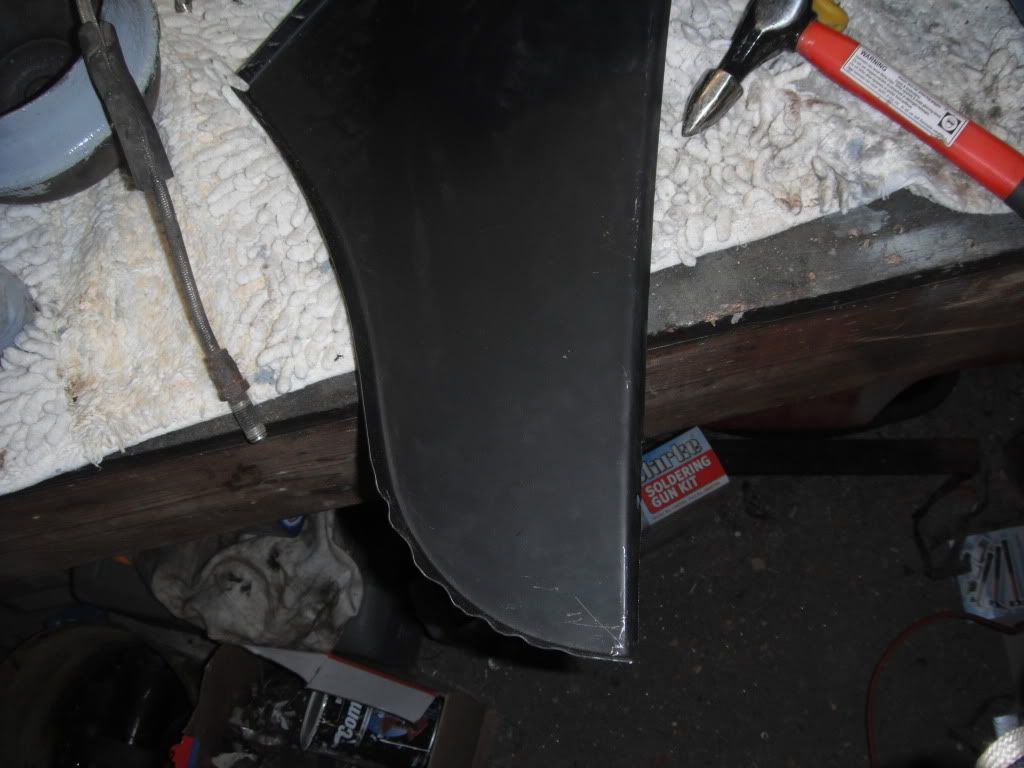
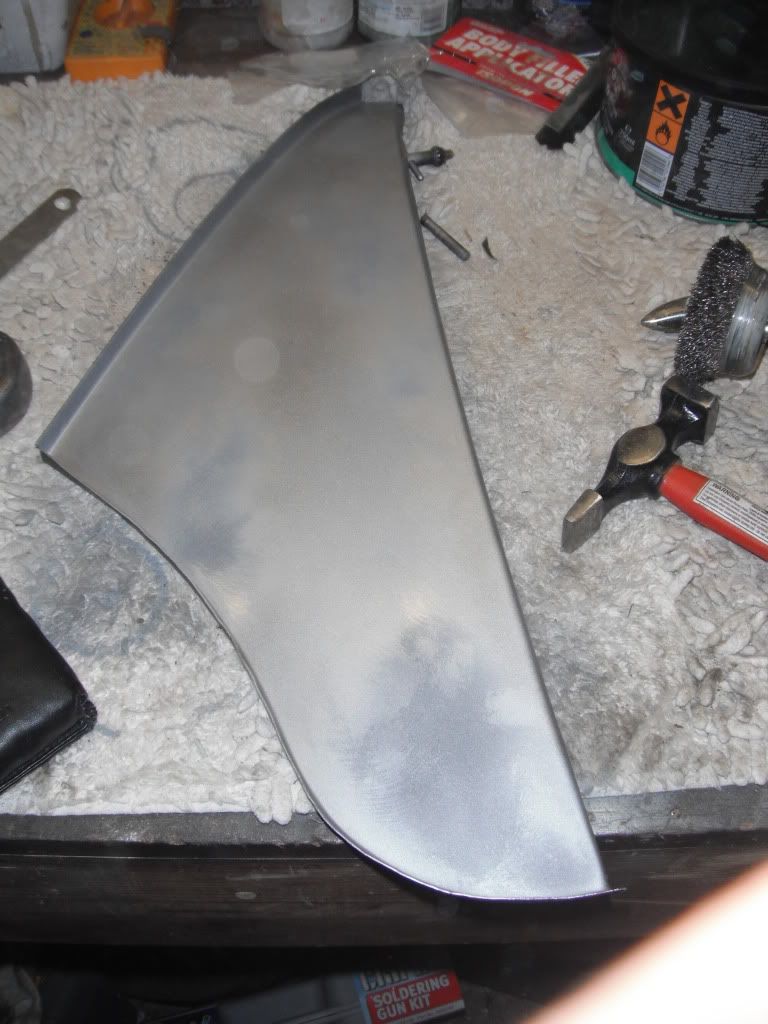
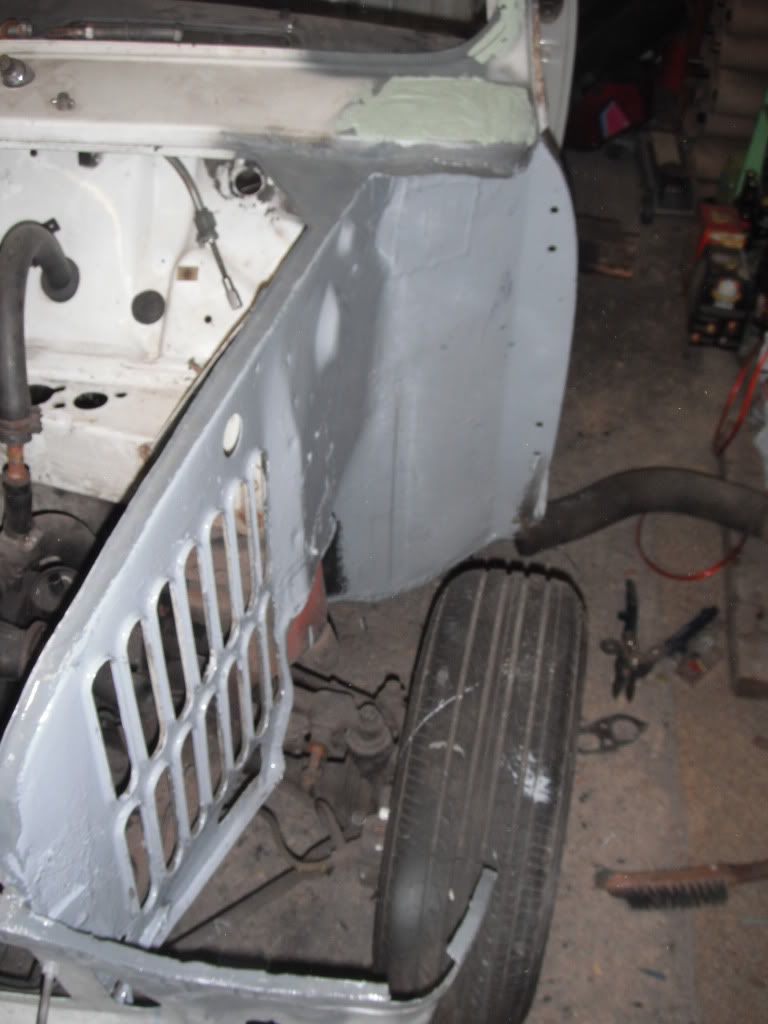
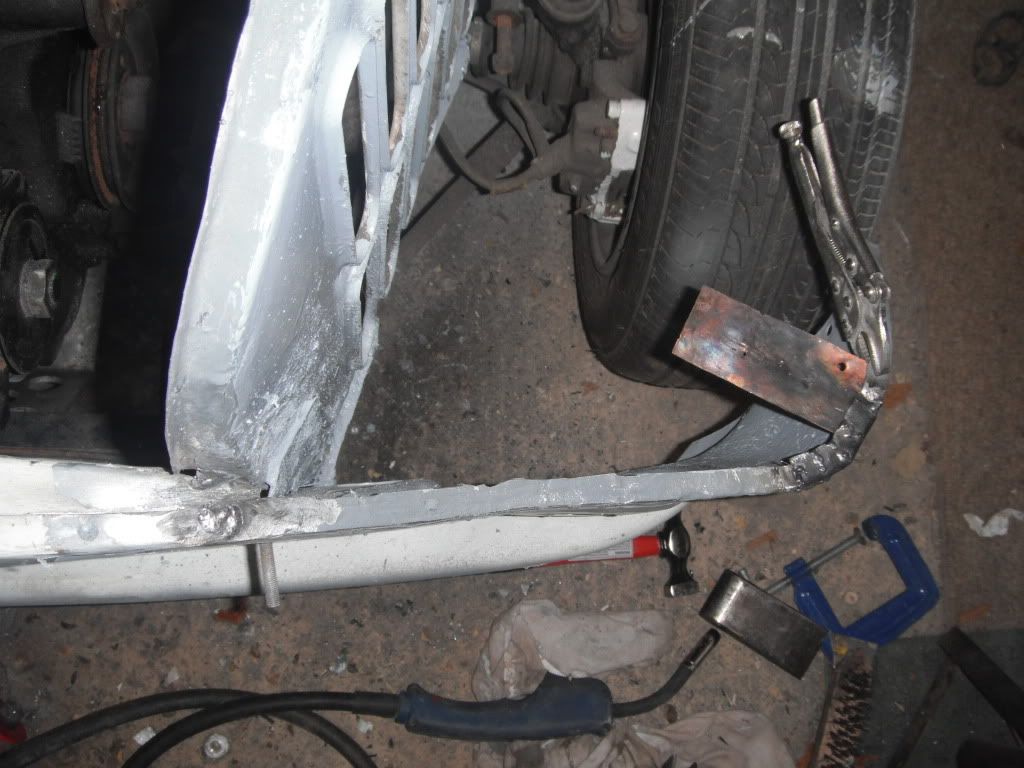
tacked on the other half of the valance
Posted Image
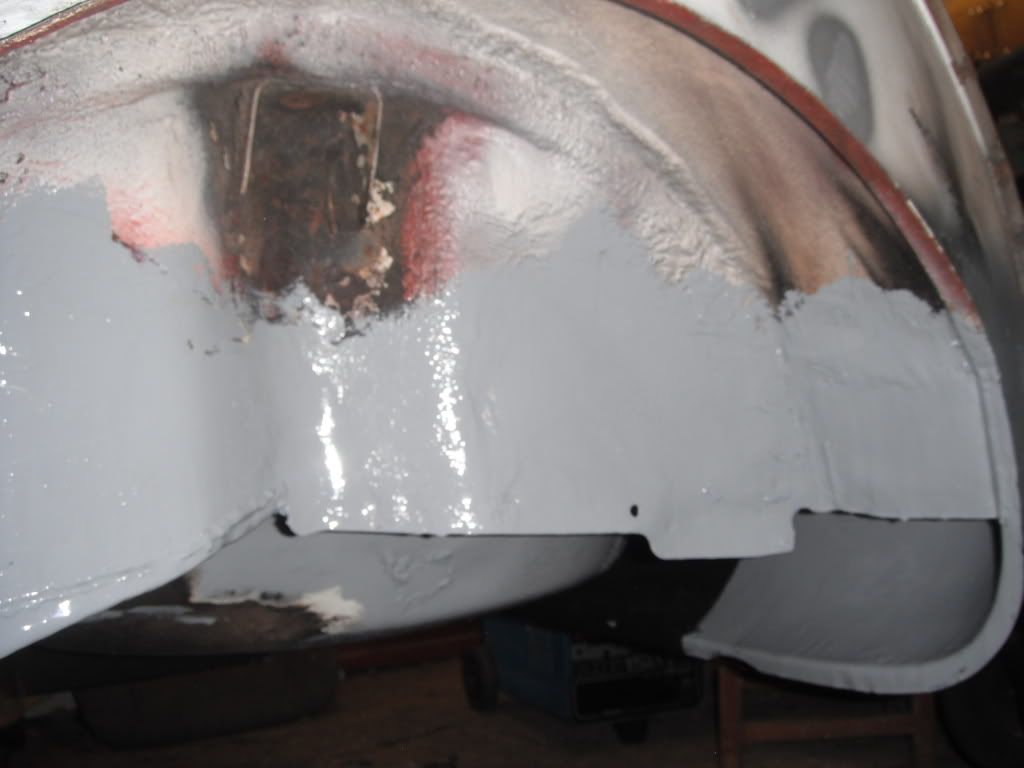
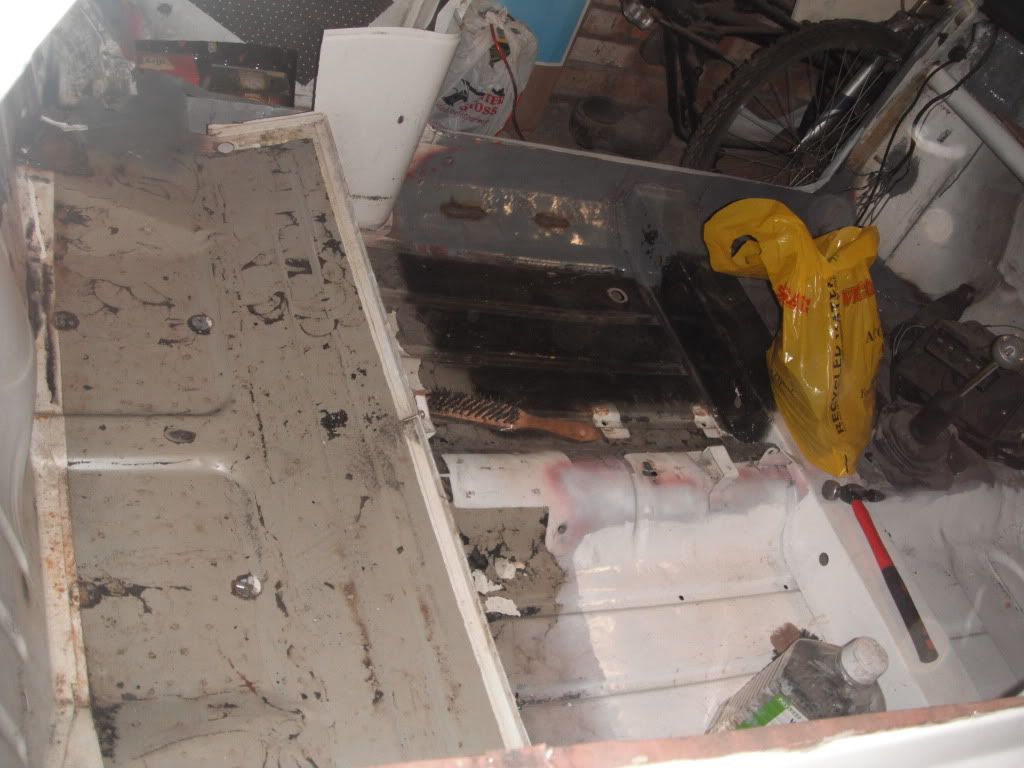
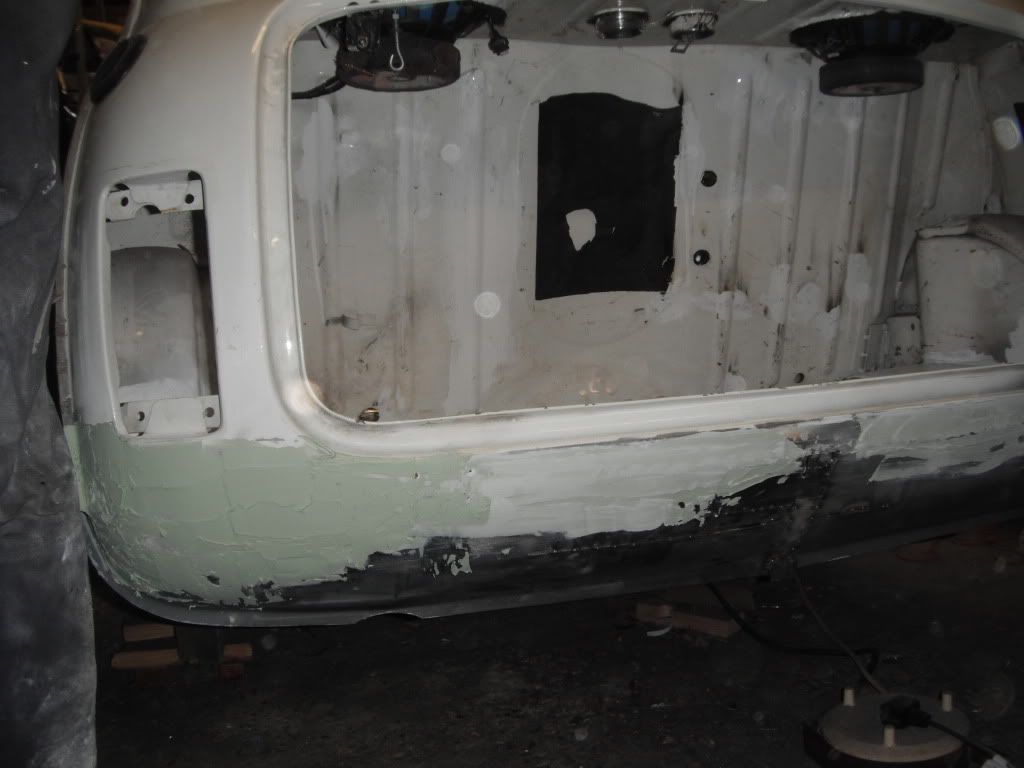
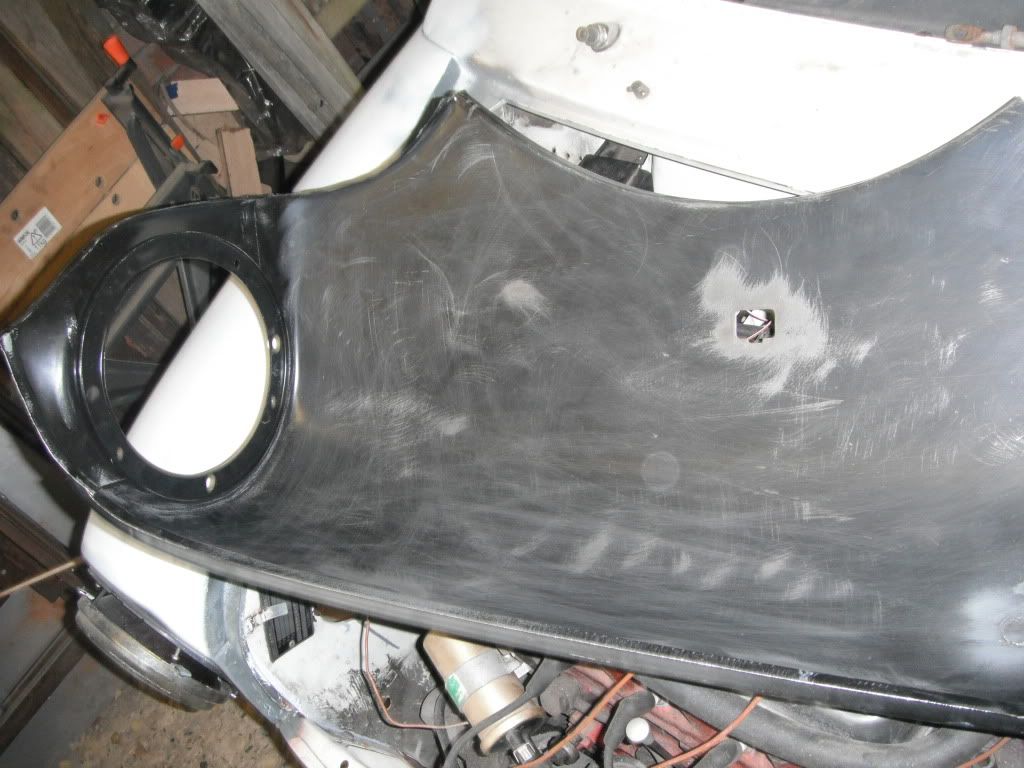
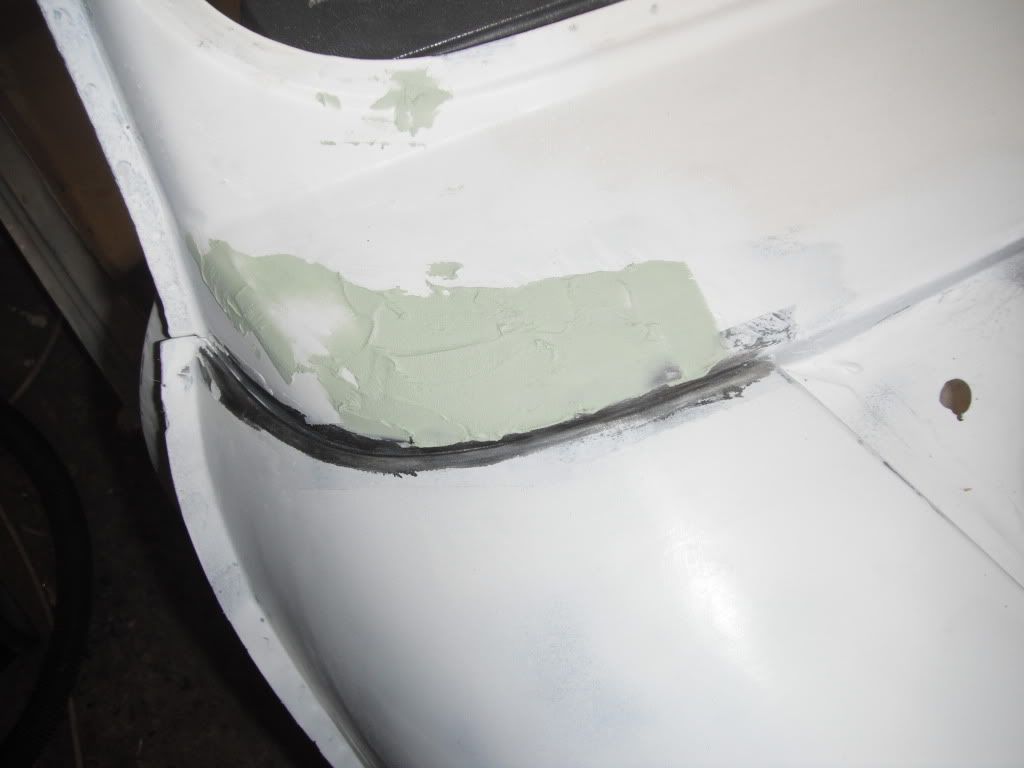
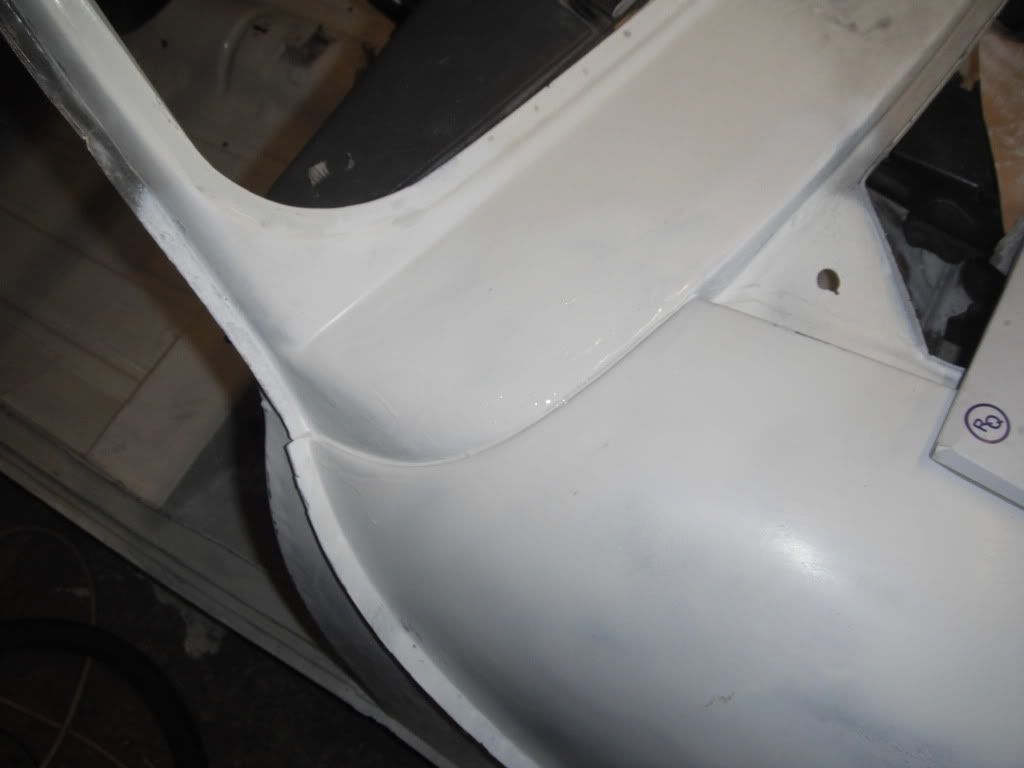
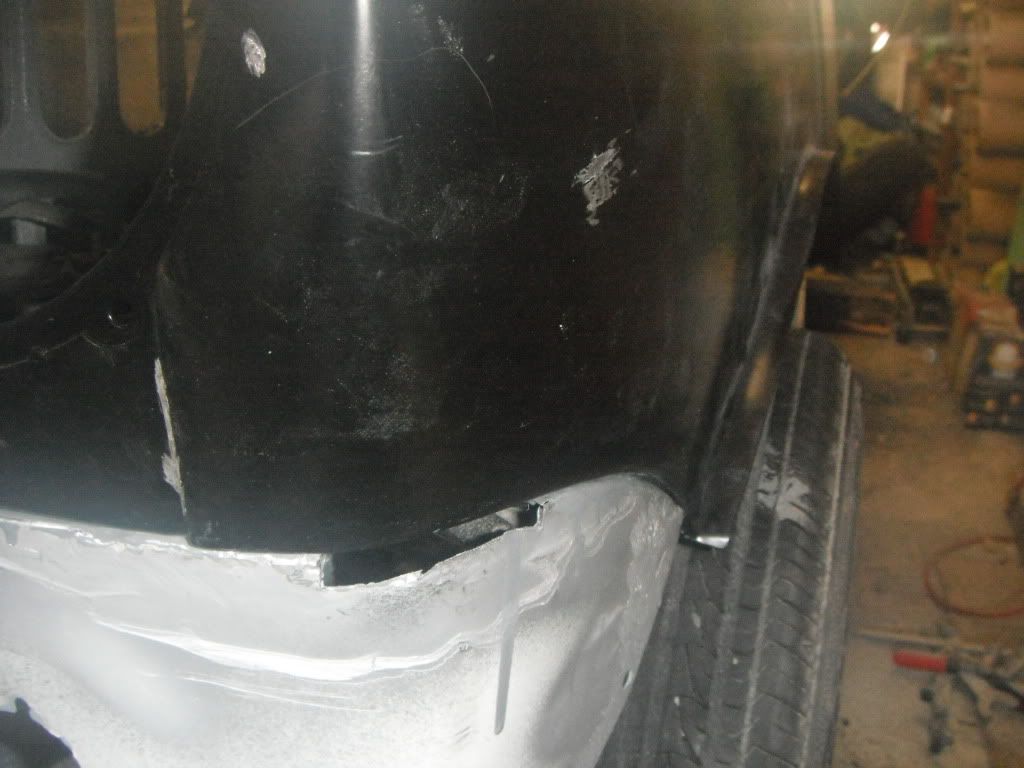
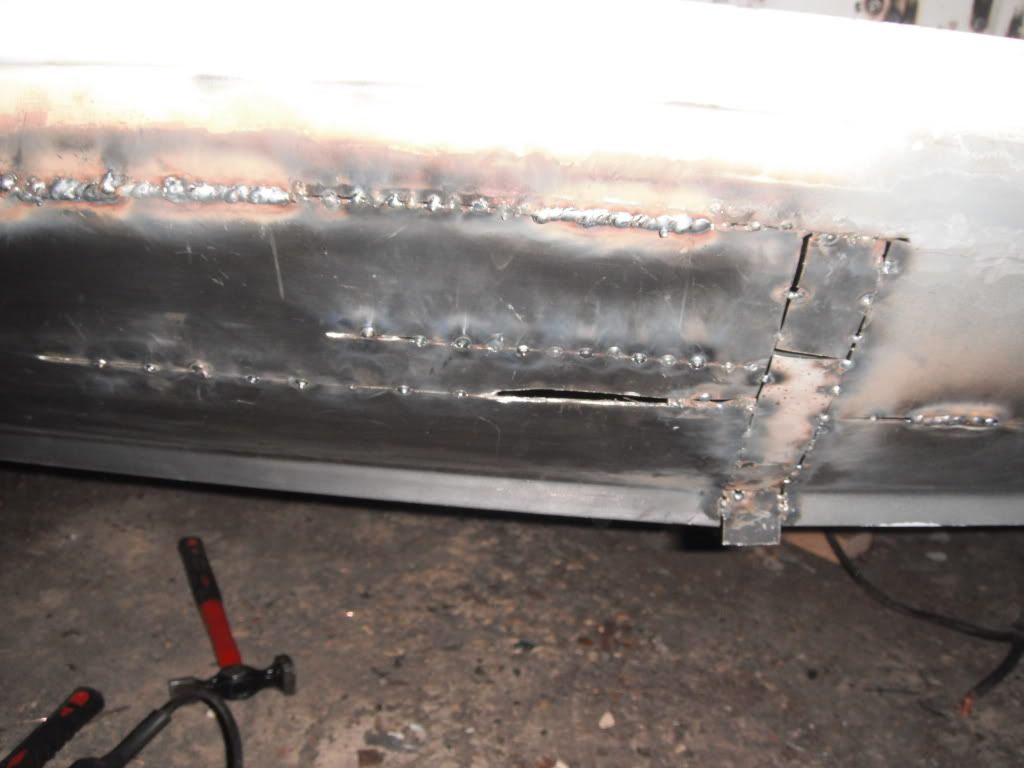
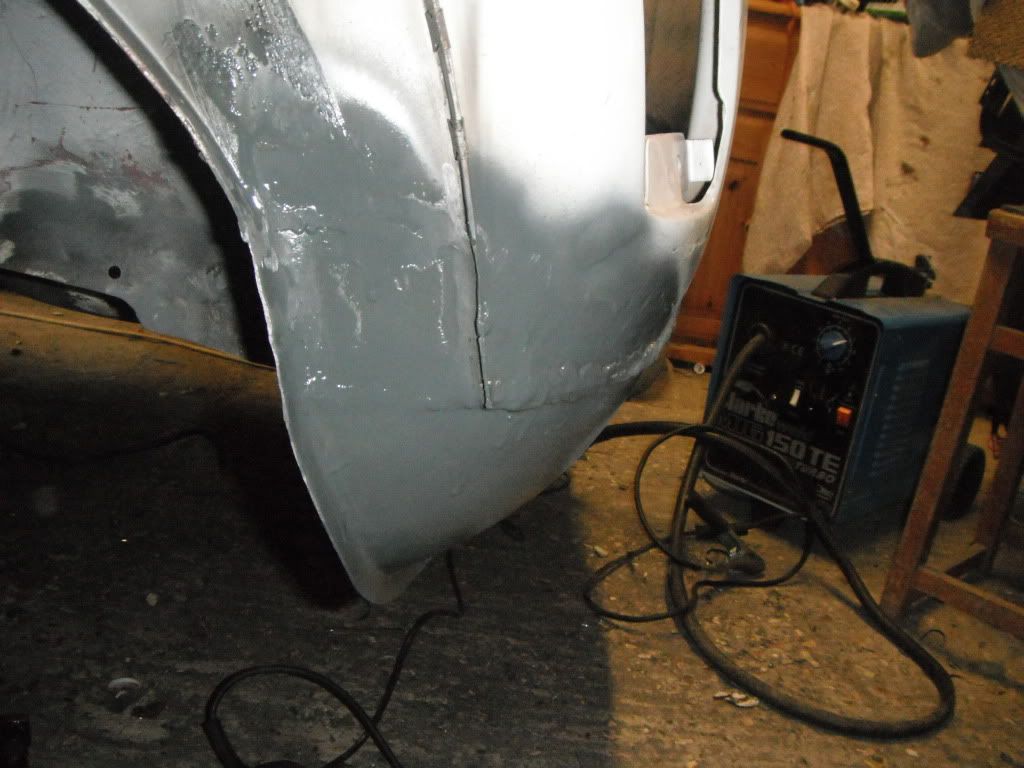
there was an awfull fit in the middle so i had to section it a few time to try and cut down on the filler that will be used, still will be quite alot tho :(
Posted Image
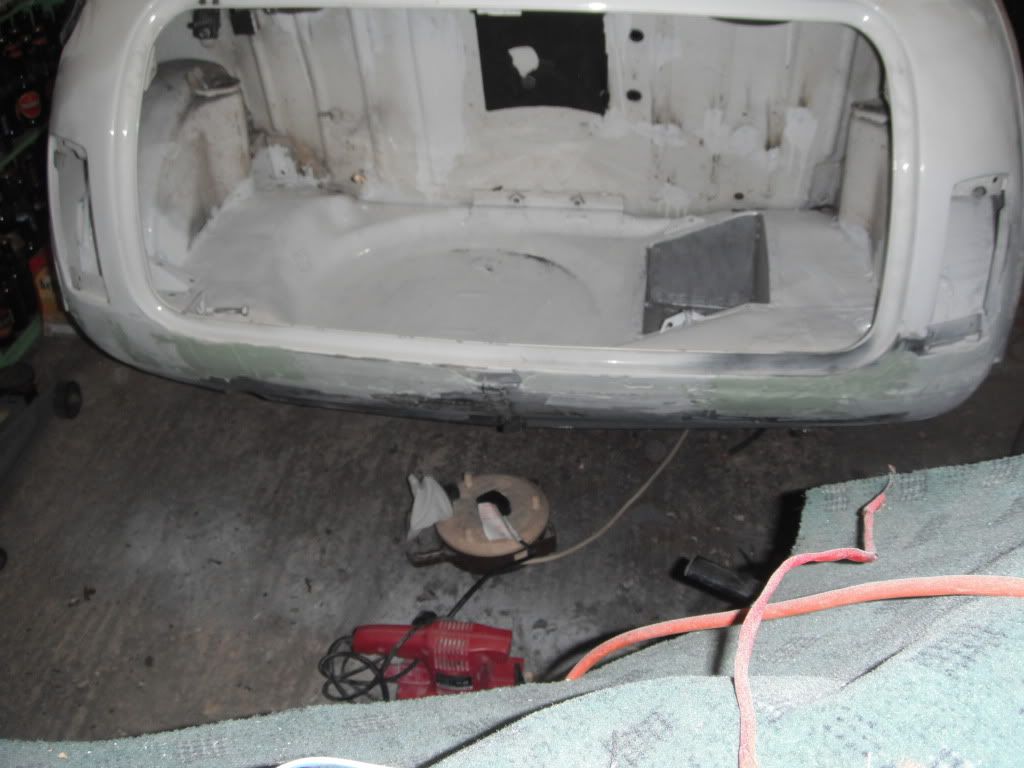
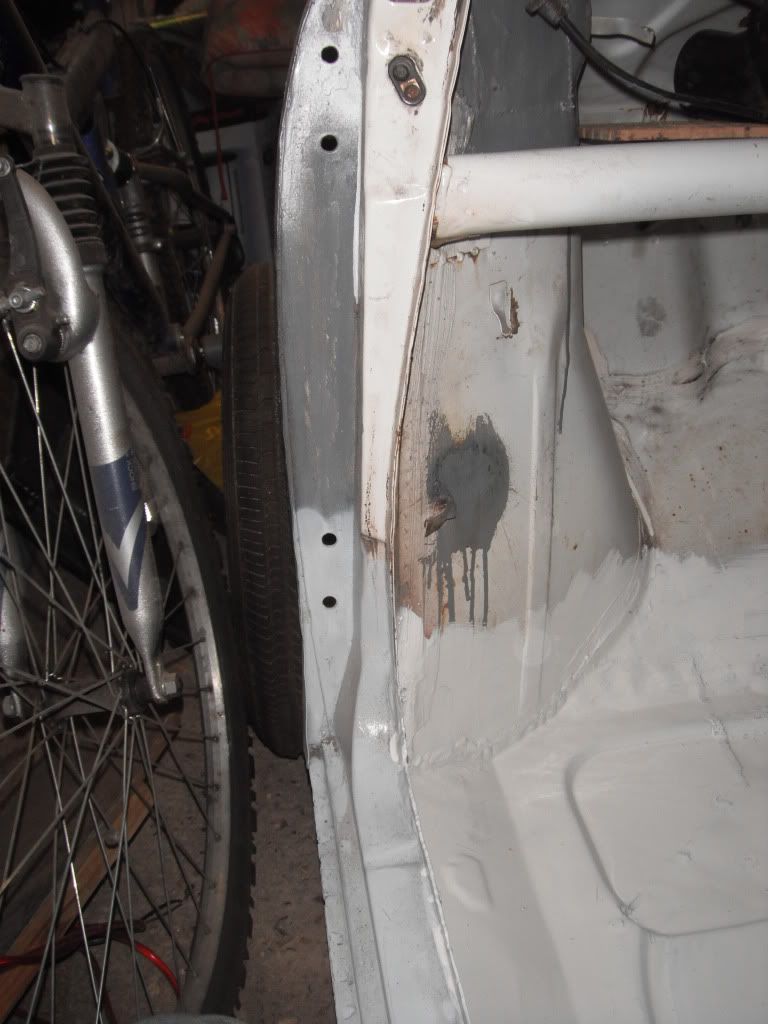
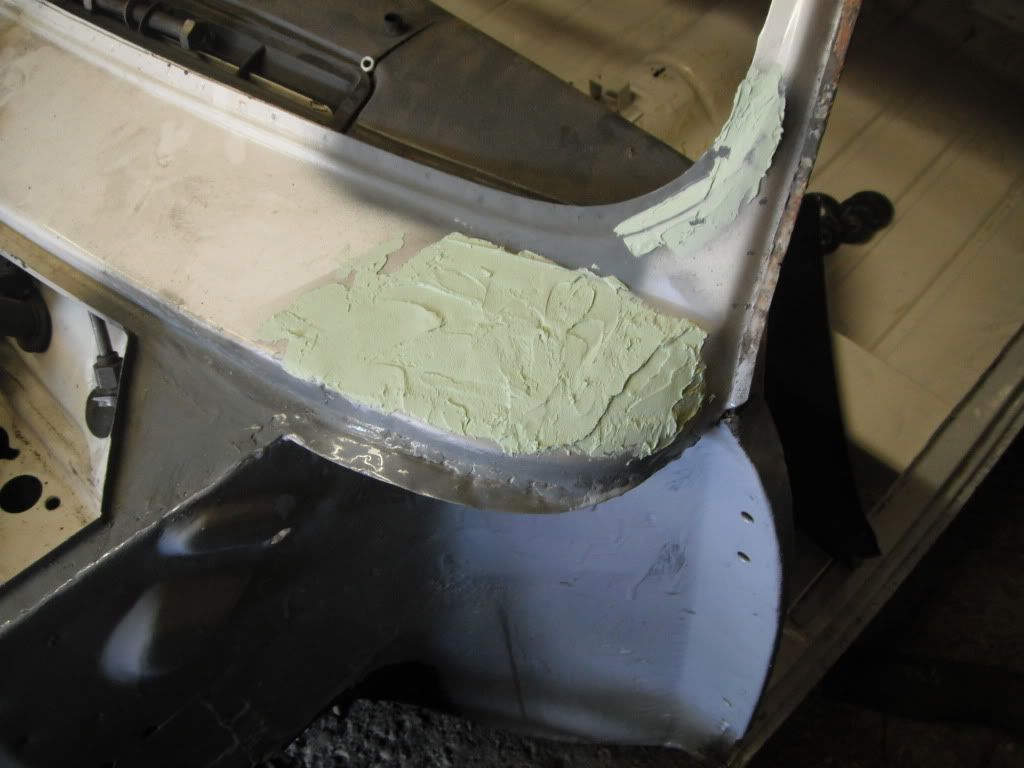
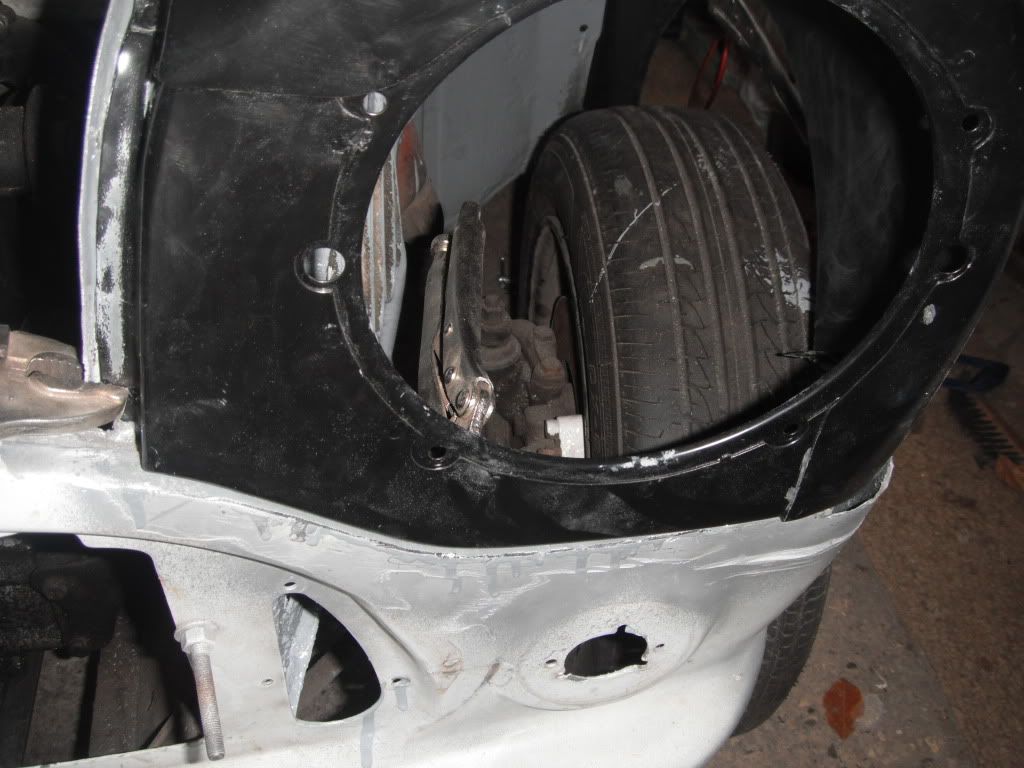
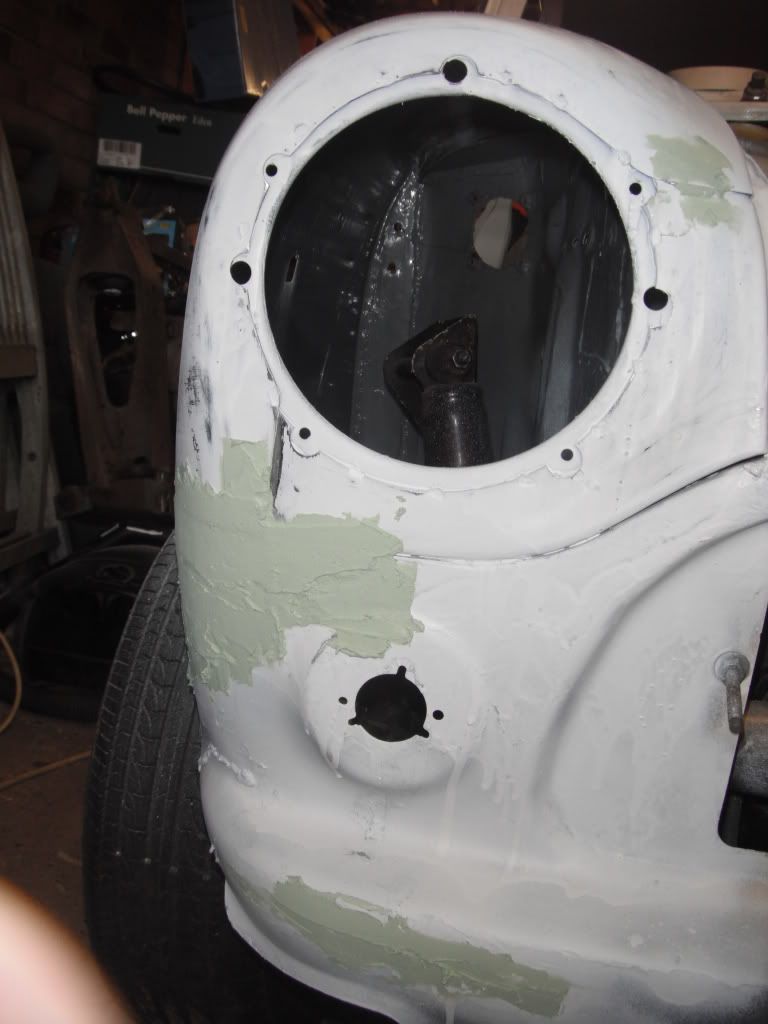
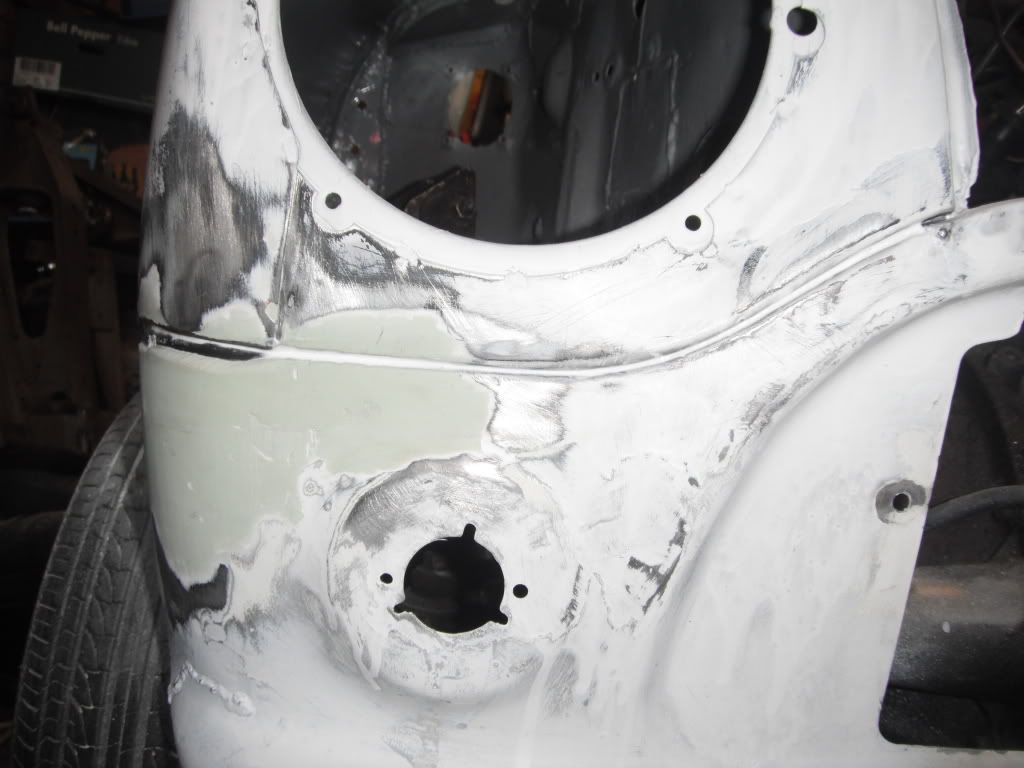
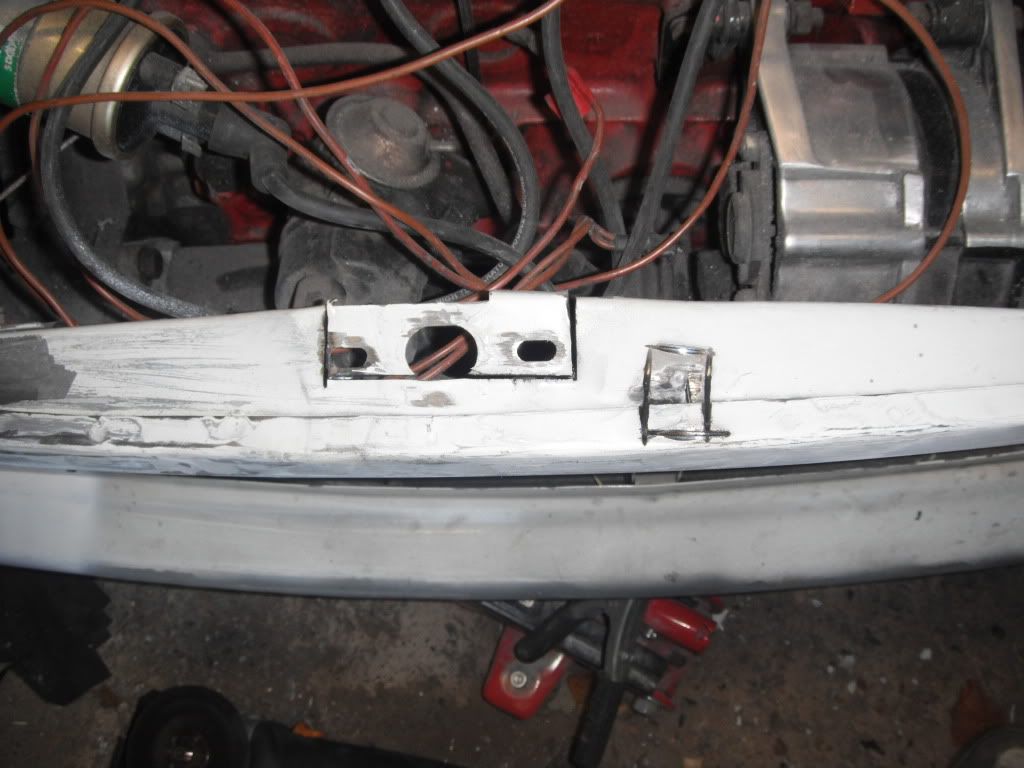
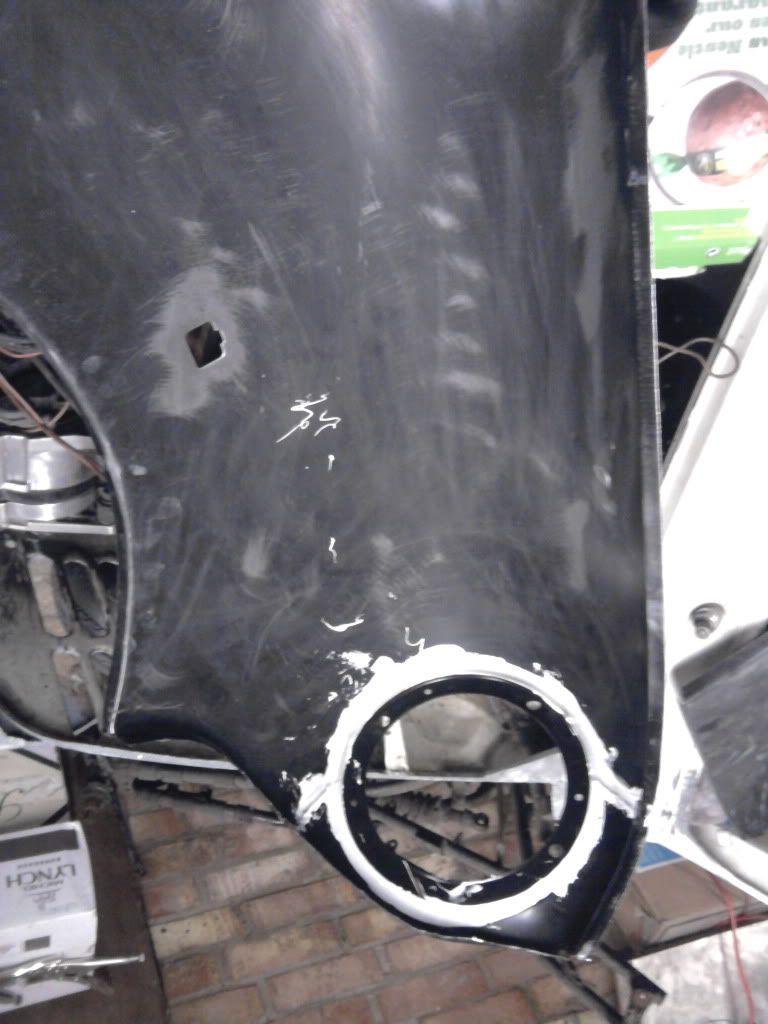
decided to fill this hole
Posted Image
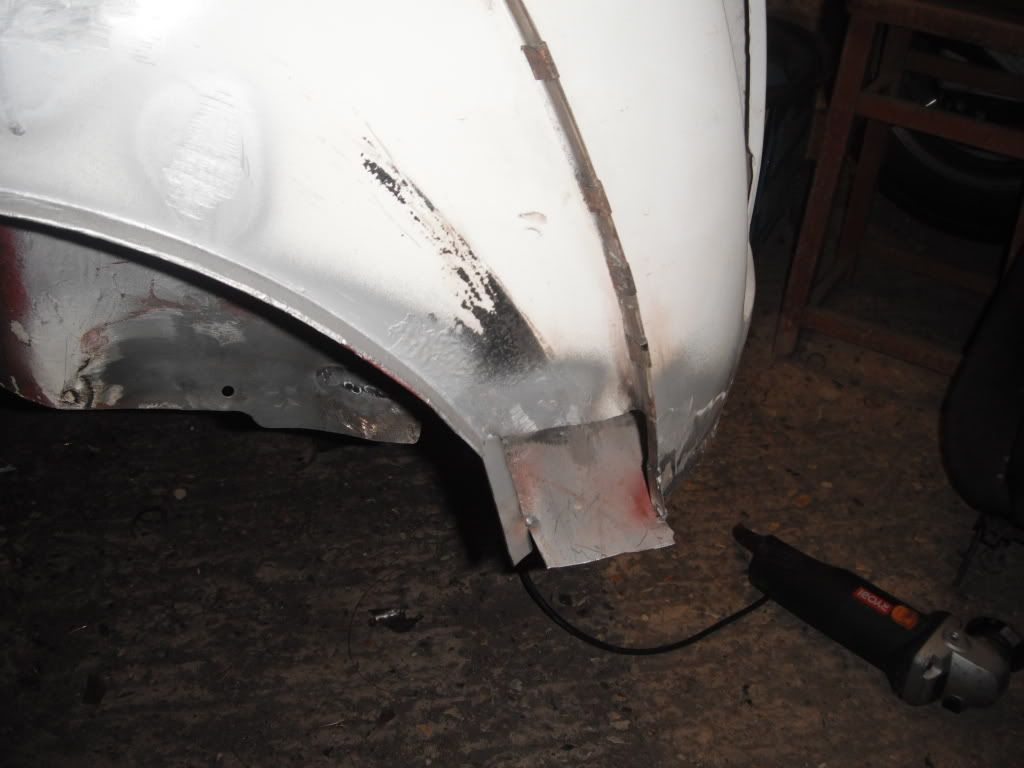
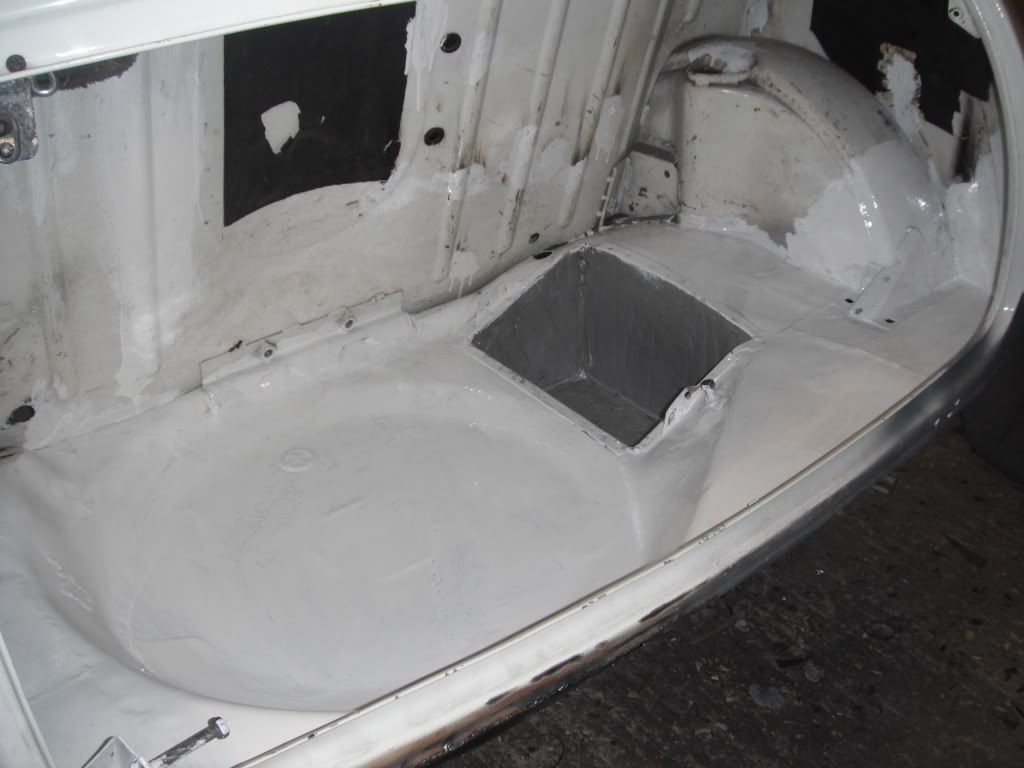
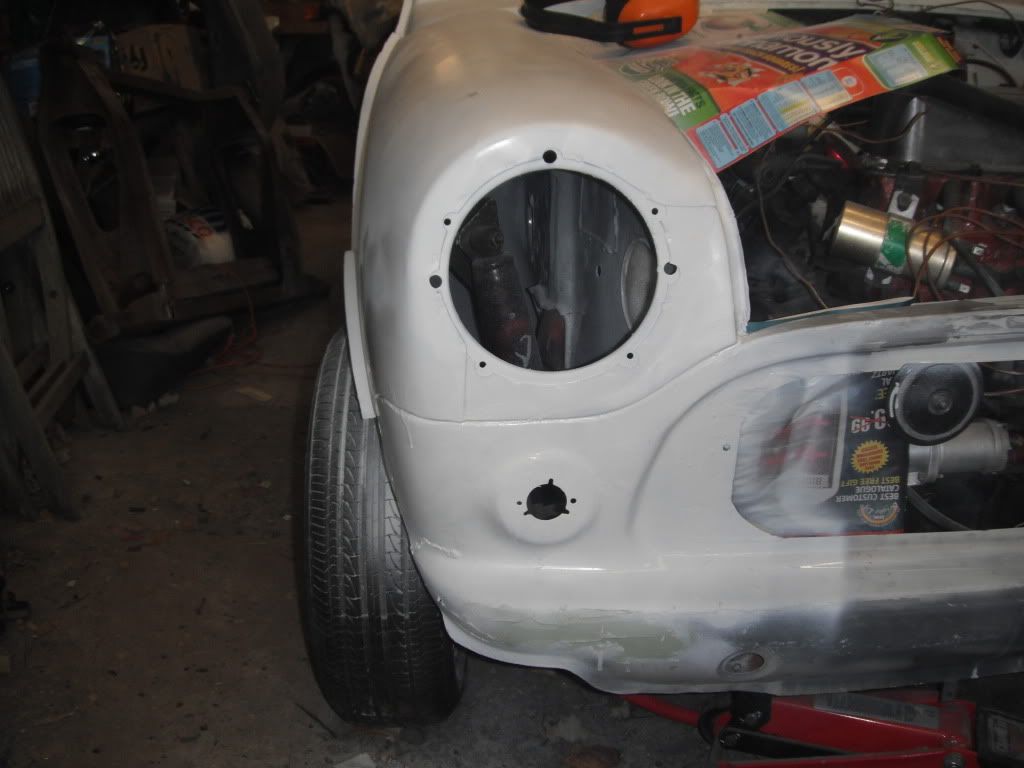
panel made and welded in
Posted Image
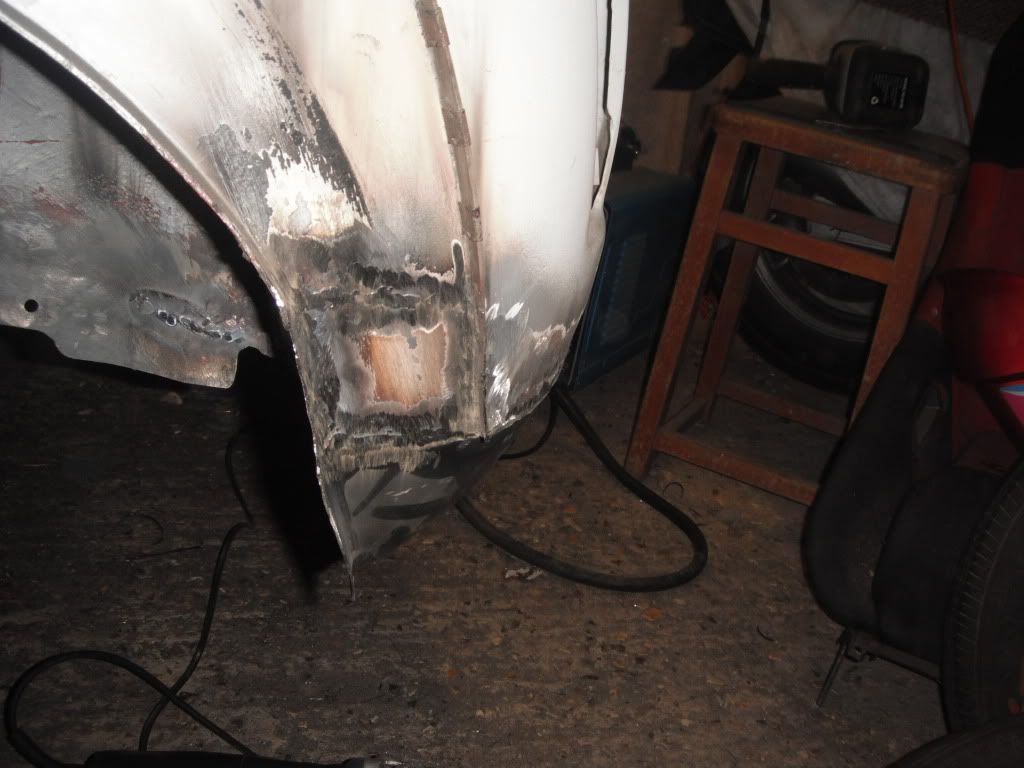
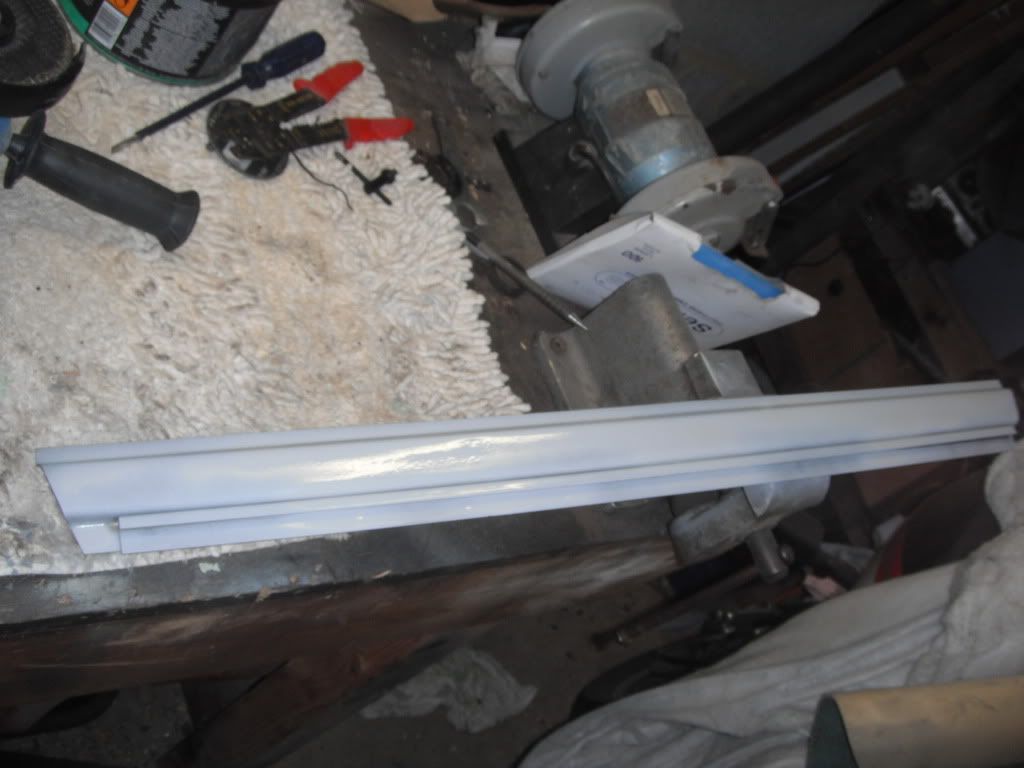
ground down and primed that section of the valance
Posted Image
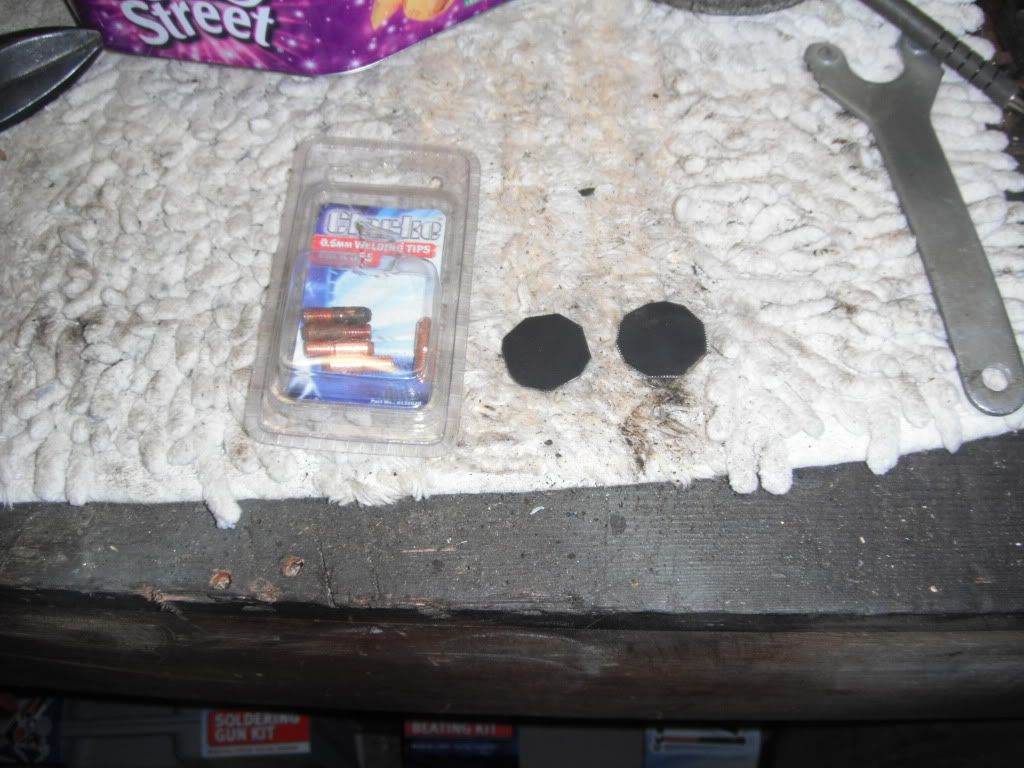
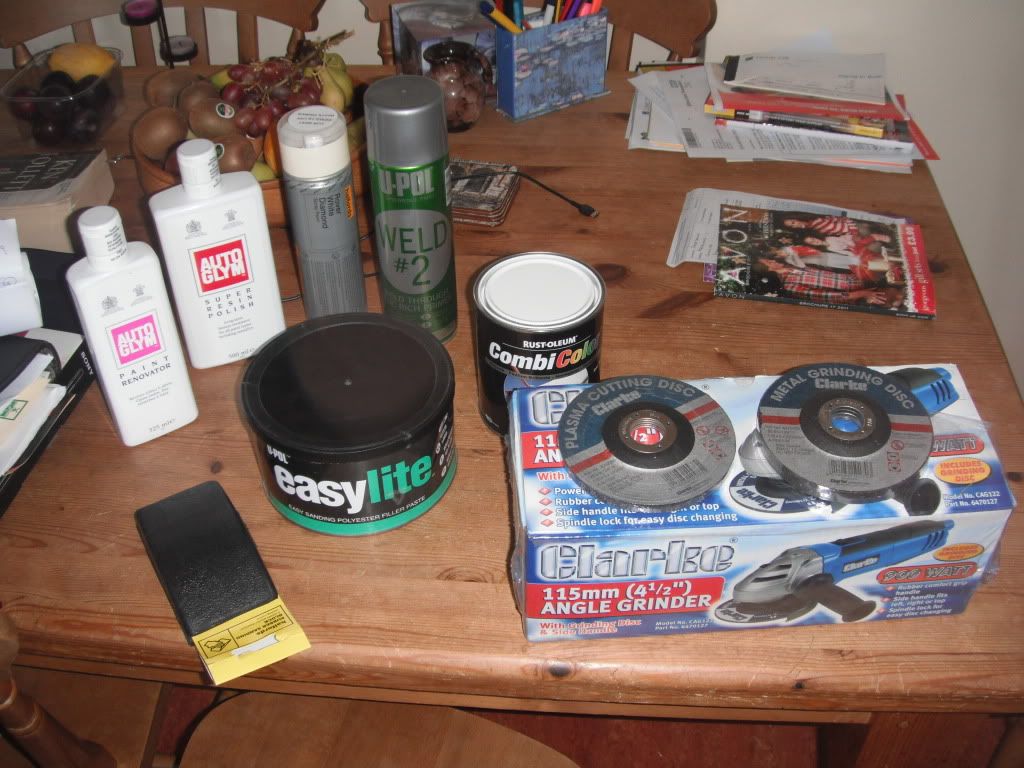
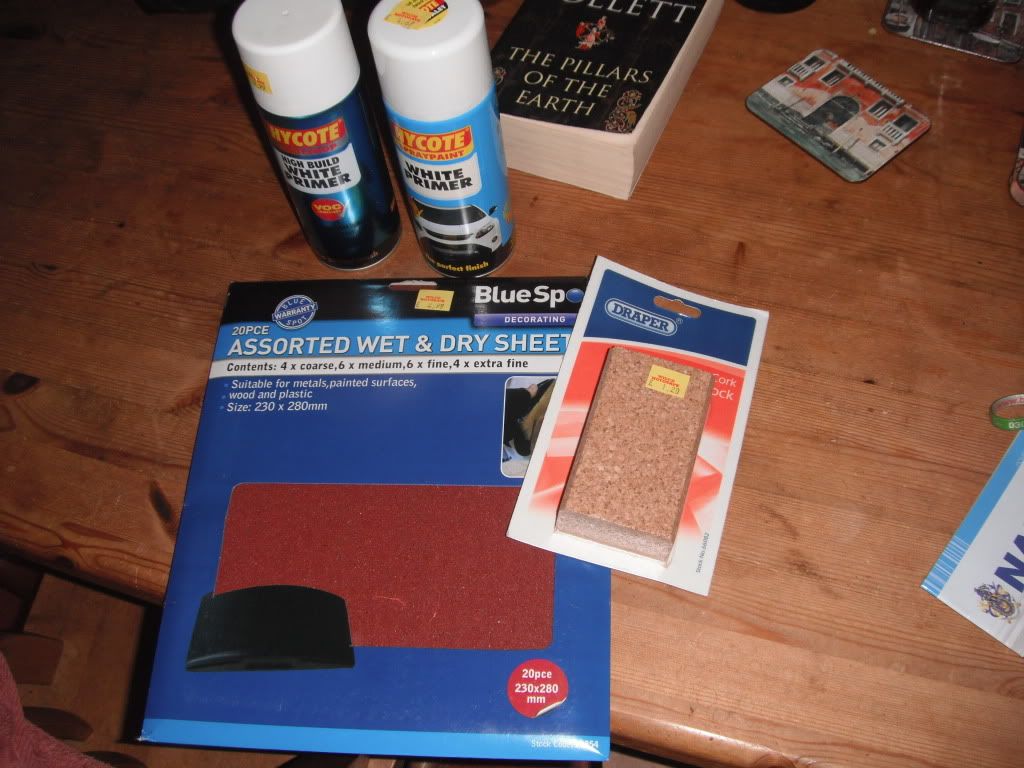
thats all for today as lots of things happend after this, first i discoverved i have ran out of cutting and grinding disks, then my grinder bearing broke when i fitted my wire wheel, then my welding helmet didnt auto tint so now have a headache and to top it all the wire on the welder was getting stuck at the tip and i have no idea where the spares are! :( 
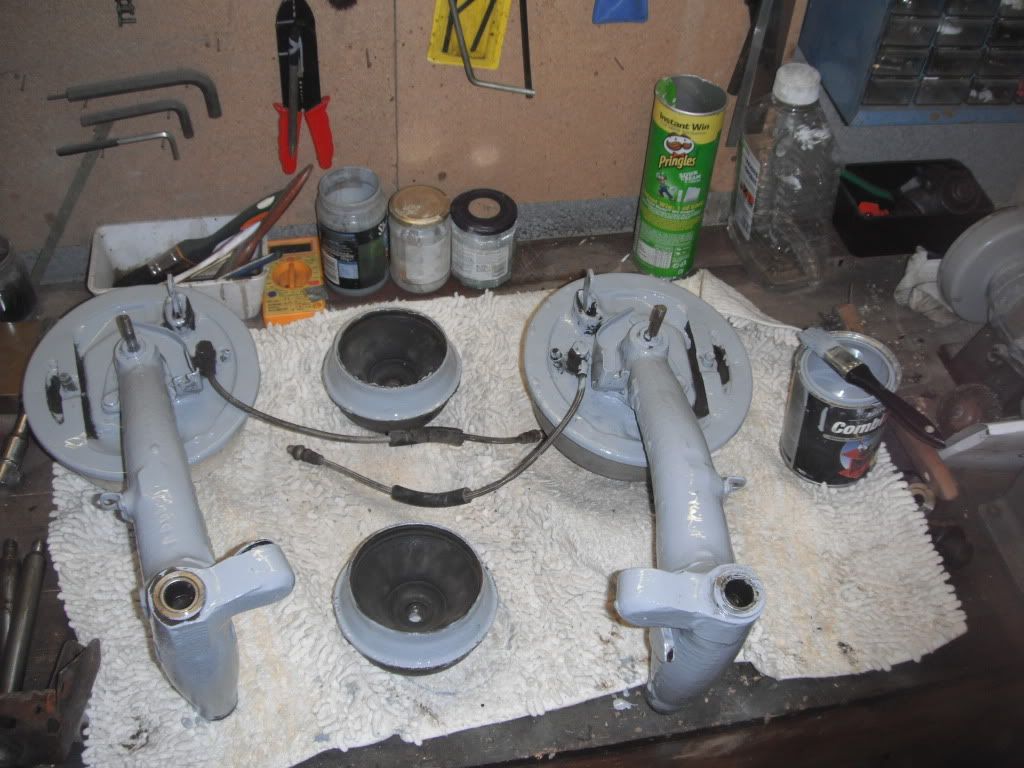
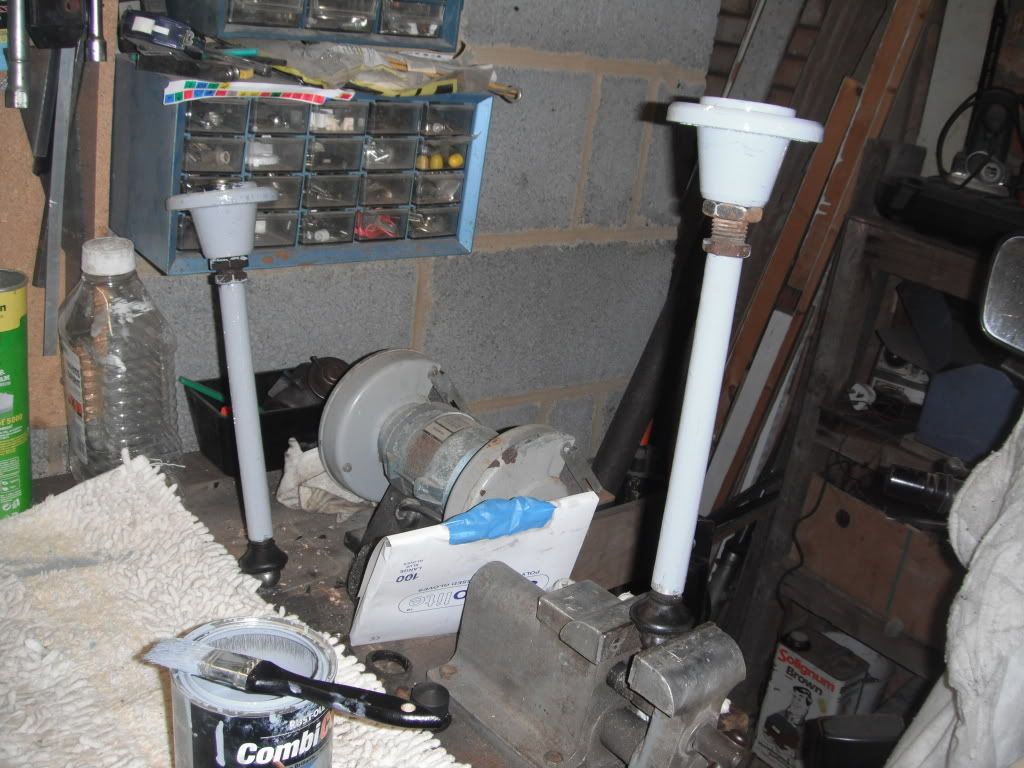
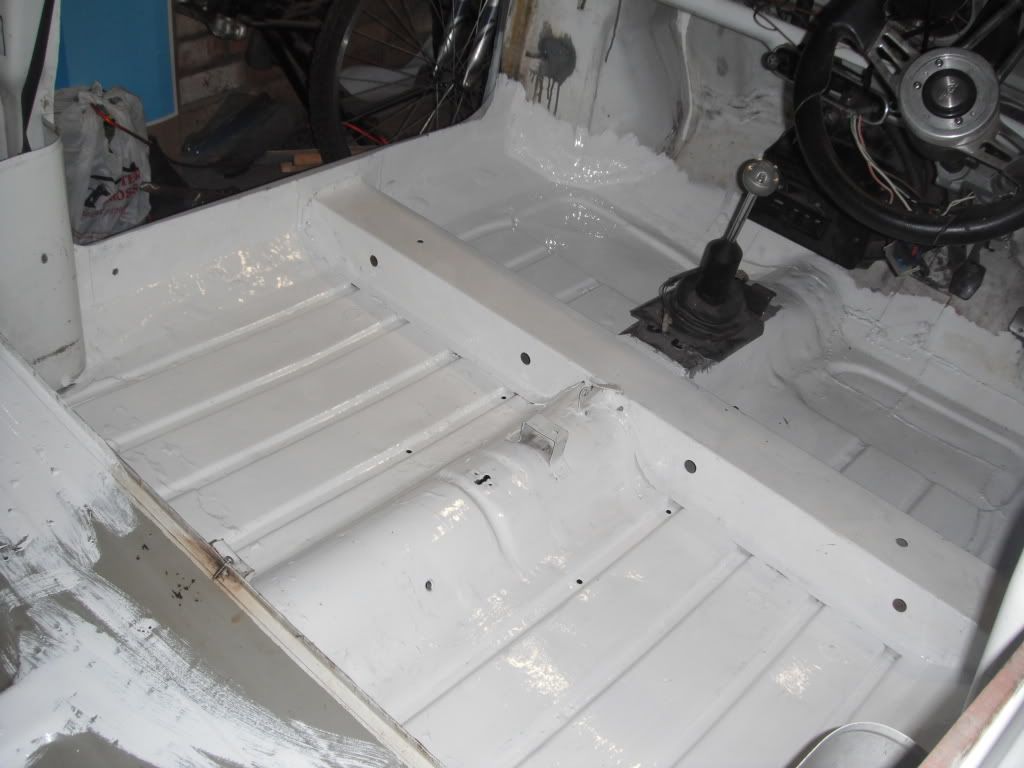
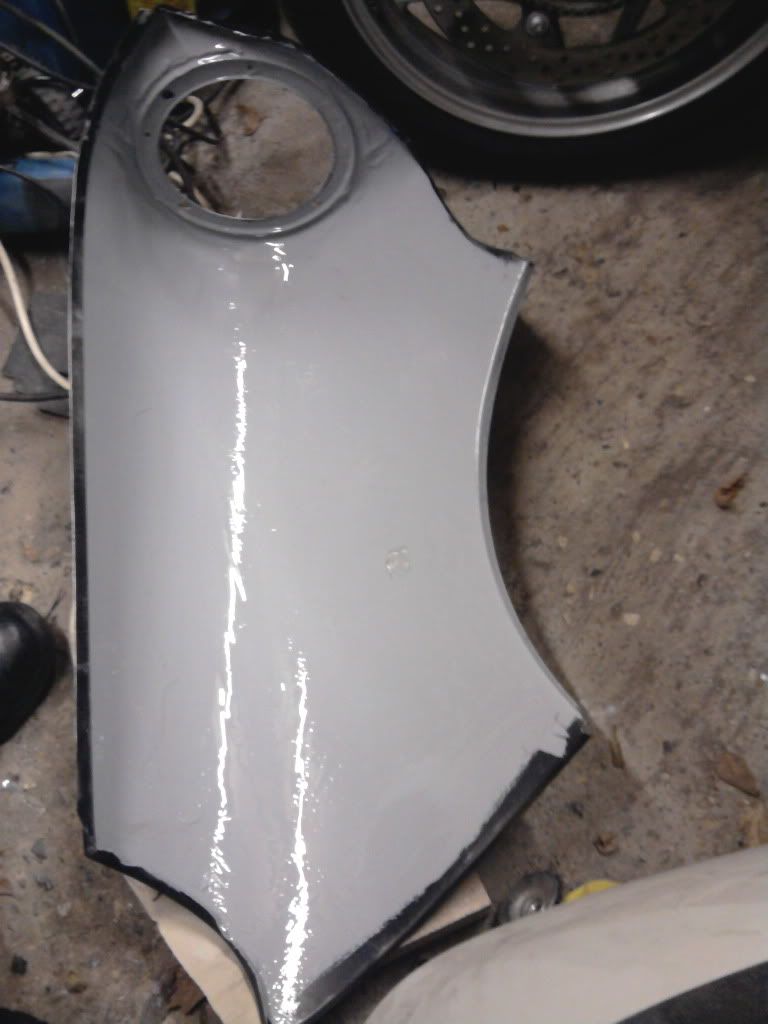
so i just did some painting as the cant go wrong

so possibly no more updates till friday (pay day) unless i find my welding tips
hope you like todays though
Lawrence

#92 lawrence

lawrence

    One Carb Or Two?

  • Members
  • PipPipPipPipPipPipPip
  • 1,337 posts

Posted 24 October 2011 - 12:43 PM

small update from this morning, couldnt find the welding tips, so now new welding, did a bit of painting instead
gave the radiius arms and cones another coat of rustoloum grey
Posted Image
pained the hi lows too
Posted Image
decided this boot was a mess
Posted Image
so vacummed it all out, gave it a wire brush and slopped some paint on. much nicer all one colour
Posted Image
slopped some more grey on the passenges side arch
Posted Image
and slopped some underseal on the driverside arch
Posted Image
and a bit on the boot floor
Posted Image
does anyone know if i can paint over underseal so i can have white arches?
going shopping on friday so the welding will continue then, car will also be turned round soon and work on the passengers wing will start! :)
hope you like
Lawrence

Edited by lawrence, 24 October 2011 - 12:47 PM.


#93 minimuk

minimuk

    Camshaft & Stage Two Head

  • Members
  • PipPipPipPipPipPipPipPip
  • 1,946 posts
  • Location: Midlands

Posted 24 October 2011 - 06:29 PM

is your underseal a bit like stone-chip???If so no problem, if it is staying a sticky mass,...take it all off again and start again, 2 layers primer at least, seam seal all joints, prime again, the stone chip spray a few cans,.... then I would use and good metal gloss colour(slow drying one!!) close to your cars body final colour, get it from the paint shop where you get your spray paint from if you do it yourself, but buy the brushable one,.......It will be hard work to put it on but well worth it in the end,..... keep building up a few layers especially pay attention in the corners,...any corners where panels join up, and under the subframes.

Hope this helps

I see you have a few cannies of guinness, have a few of those when you are at it,.... much easyer!!

Edited by minimuk, 24 October 2011 - 06:30 PM.


#94 lawrence

lawrence

    One Carb Or Two?

  • Members
  • PipPipPipPipPipPipPip
  • 1,337 posts

Posted 24 October 2011 - 07:21 PM

The Underseal is just the hamerite one with added waxoyl or the tetrosol and i dont think i can overpaint it but never mind :)

The boot floor wasnt in too bad condition but this was my proccess anyways

1>scrape away the underseal that was going hard and give the rest a going over with a wire brush to check
2>wire wheel on a grinder for the rusty spots
3>hammerite krust on the light rusty bits
4>cut out the proper rusty bits
5>layer or rustoloum over the area
6>then a coat of underseal

should get a few more years out of the boot doing this, it a budget restoration afterall! :)
and regards to the guinness its my dads and he counts it all :) ive got my corona to keep my going!

Lawrence

#95 minimuk

minimuk

    Camshaft & Stage Two Head

  • Members
  • PipPipPipPipPipPipPipPip
  • 1,946 posts
  • Location: Midlands

Posted 24 October 2011 - 07:27 PM

cold corona would be my choise too,.... I suppose with the climate down there in SA the car should be fine for a few more years.

#96 lawrence

lawrence

    One Carb Or Two?

  • Members
  • PipPipPipPipPipPipPip
  • 1,337 posts

Posted 24 October 2011 - 08:23 PM

its a nice beer :) ive no idea what its like in south africa, i live in Norfolk in the uk :) but hopefully itll be fine either way!

#97 pickuptruck1994

pickuptruck1994

    Speeding Along Now

  • Members
  • PipPipPipPipPip
  • 366 posts
  • Location: somerset
  • Local Club: Weston Mini Muckers

Posted 24 October 2011 - 09:14 PM

looking very nice i like ur repairs u have doen in ur boot as i basicaly got the same areas to do :) i was just seeing what paints are u using and what thinkness of metal did u use for ur boot repairs
cheers
jordan

#98 lawrence

lawrence

    One Carb Or Two?

  • Members
  • PipPipPipPipPipPipPip
  • 1,337 posts

Posted 25 October 2011 - 10:07 AM

Hey there Jordan,
the paints that i have been using are:
>upol zinc primer
>upol red oxide primer
>Rustoloum combi colour grey and white (its a bit like hammerite but covers really well)
>then hammerite underseal or tetrosol underseal for under the boot floor
and the steel repairs for the boot
>floor itself 1.5mm steel
>strengthener panels 1.5mm
>the sides of the boot and the area i repaired round the light are using 1.2mm steel left over from the various panels ive bought.

If you are doing a budget restoration like me i made alot of panels i needed, and its only cost me a tenner for a massive sheet of steel which i still have half left. I also got a panel beating kit from machine mart (£35 ish) which in hindsight i would have got a few months ago as it make panel work alot easier. I recon ive saved myself about £50 making panels, possible more and its nice to say i made that too.

hope that helps your question
there may be a small update later today too but it will be a very small one as i feel rubbish right now :(
Lawrence

#99 lawrence

lawrence

    One Carb Or Two?

  • Members
  • PipPipPipPipPipPipPip
  • 1,337 posts

Posted 25 October 2011 - 09:26 PM

did i tiny bit of mini stuff before work today
found my welding tips finnally which had saved me a few quid, and also made a few metal disks for the drain holes in the footwell and floors
Posted Image
floor before
Posted Image
floor with the holes filled (you can just about see them)
Posted Image
floor after, it look s nice in all one lovely white colour! :)
Posted Image

im going to the city tommorow to get a new grinder and some more rustoloum as ive ran out already :(
so no updates for tommorow or the day after as im working alot. next update probably friday evening
hope you like
Lawrence

#100 lawrence

lawrence

    One Carb Or Two?

  • Members
  • PipPipPipPipPipPipPip
  • 1,337 posts

Posted 27 October 2011 - 07:52 PM

tiny update from the other day
refitted the boot lid and the gaps are looking good still :)
Posted Image
went shopping for what will hopefully be my last load of disposables
Posted Image
started the filling of her back end
Posted Image
how i left her
Posted Image
thats all for now. more filling next week as its my quieter week at work
Lawrence

#101 lawrence

lawrence

    One Carb Or Two?

  • Members
  • PipPipPipPipPipPipPip
  • 1,337 posts

Posted 02 November 2011 - 09:59 PM

So then people! I suppose its time for another update. Been doing loads of hours at work (saving for the respray!) but still got some stuff done
bought some more paint prep stuff
Posted Image
primed a few panels ready for fitting
Posted Image
Posted Image
almost finished off the back end
Posted Image
my dad bike got taken away so i used the extra space to make a start on the front end :)
got a probelm i need to fix here, can you spot it?
Posted Image
shocking pressing on the a panel
Posted Image
bit of hammer and dollie work later and a prime, much better panel
Posted Image
prepped the inside of the passengers side wing ready for welding
Posted Image
cleaned up the inner wing and gave a coat of rustoloum
Posted Image
filled the rust hole on the scuttle haha
Posted Image
after alot of fettling i got the panels fitting quite nicely (took absolutley ages!)
Posted Image
Posted Image
filler work on the drivers side front panel and wing joint
Posted Image
scuttle on drivers side needed some filling
Posted Image
rubbed down and seam sealed
Posted Image
and finally primed. Rather happy with this gap :) dont think its bad for a at all for none heritage panels!
Posted Image
next steps are
>finish drivers side front panel seam
>finish filling and fit the passengers side wing
>finish filling and priming the whole front end and rub it down ready for the respray!!
hope you like this update. feel free to comment
Lawrence

#102 minimuk

minimuk

    Camshaft & Stage Two Head

  • Members
  • PipPipPipPipPipPipPipPip
  • 1,946 posts
  • Location: Midlands

Posted 03 November 2011 - 09:04 AM

you must be glad,...boot-lid fits.......good progress!!

#103 Risky

Risky

    Mini Mad

  • Members
  • PipPipPipPip
  • 213 posts
  • Location: Zegge (The Netherlands)

Posted 04 November 2011 - 10:49 AM

Nice fit you got there with non-genuine panels. My front end needs replacing too in about a year or so I think, and I still don't know if I'm going to use heritage panels or the cheaper ones...

#104 lawrence

lawrence

    One Carb Or Two?

  • Members
  • PipPipPipPipPipPipPip
  • 1,337 posts

Posted 04 November 2011 - 10:13 PM

so then, did a bit more work on the front end today
seam sealed the front panel
Posted Image
front panel seam is now finished and primed, its not perfect but the best i can get it
Posted Image
done a bit of work modifying the front panel (smoothing and rounding edges off)
Posted Image
cut out the old latch hole as it isnt used
Posted Image
patches made and tacked in, ill finish it off tommorow
Posted Image
last bit of panel work needed but the passengers side front panel seam
Posted Image
little bit of welding on the inner wing joint to front panel joint and the panel for the gap welded in
Posted Image

next jobs are:
>paint inside of passengers side wing and seam seal round headlight ring ready to weld it on tommorow
>drill holes in wing ready for plug welding to inner wing and a panel
>weld a small panel on the passengers side flitch
>weld the a panel and wing on
think thats all ill be able to do as ive not much time tommorow :(

hope you like this update
Lawrence

#105 lawrence

lawrence

    One Carb Or Two?

  • Members
  • PipPipPipPipPipPipPip
  • 1,337 posts

Posted 04 November 2011 - 10:38 PM

little mini update. just popped to the garage to seam seal and paint the wing so its dry for tommorow. it should make doing the rest of the sealing and painting alot easier compared with last time when i had to fit inside the arch! :(
sealed
Posted Image
shiny rustoloum
Posted Image
more tommorow
Lawrence


1 user(s) are reading this topic

0 members, 1 guests, 0 anonymous users