Time for todays update.
Some negatives today but some positives.
So then - positive.
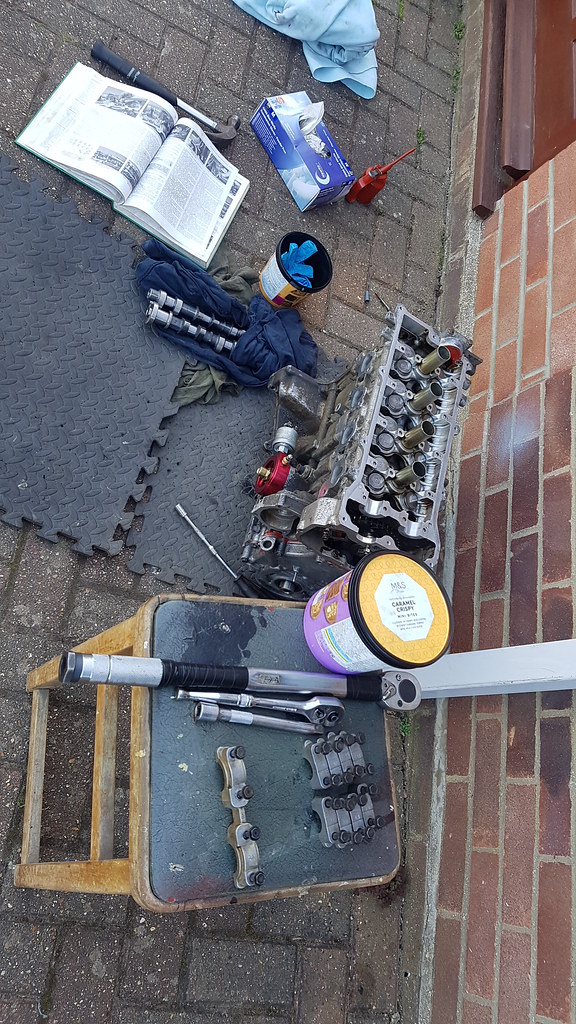
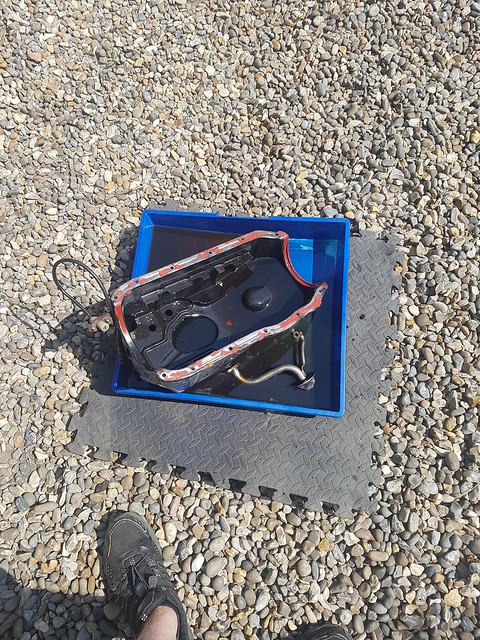
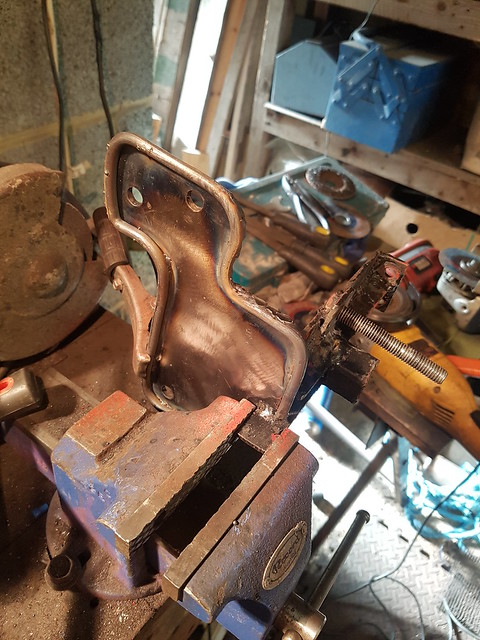
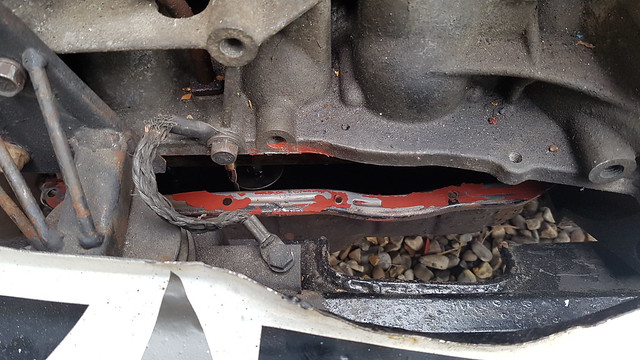
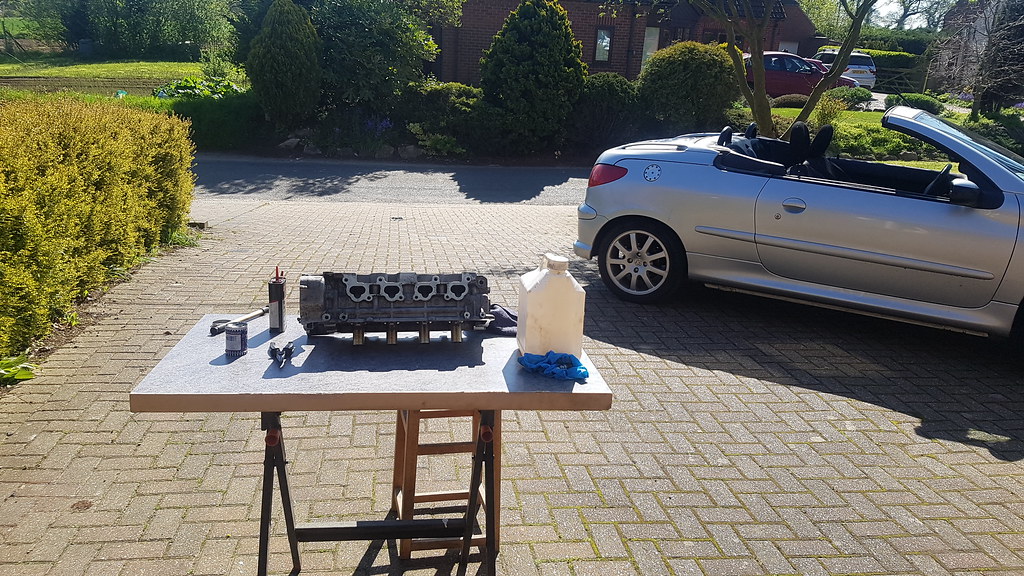
Sump pan off.
 20180619_160622 by Lawrence Balls, on Flickr
going to be fun to clean and seal – negative.
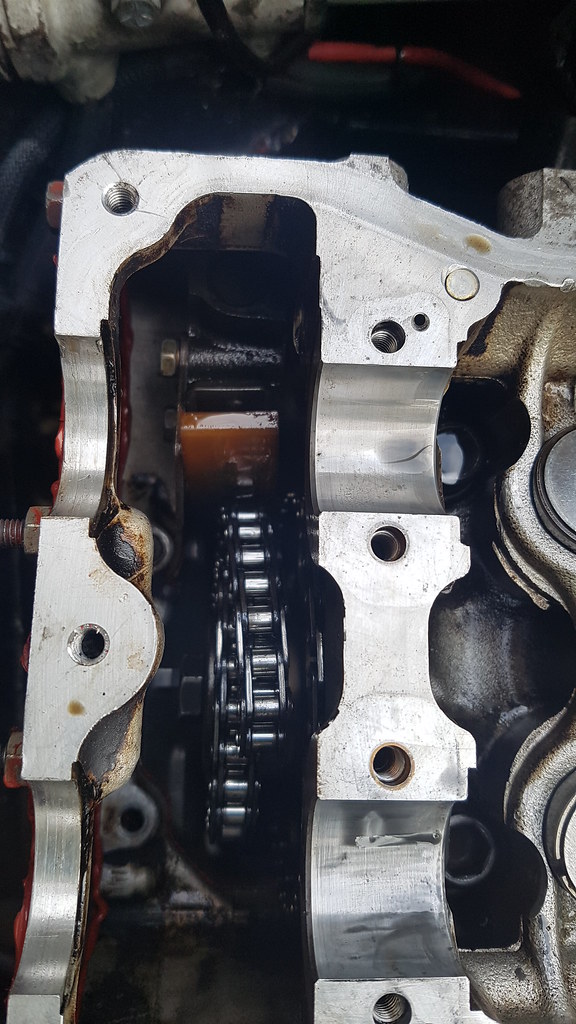
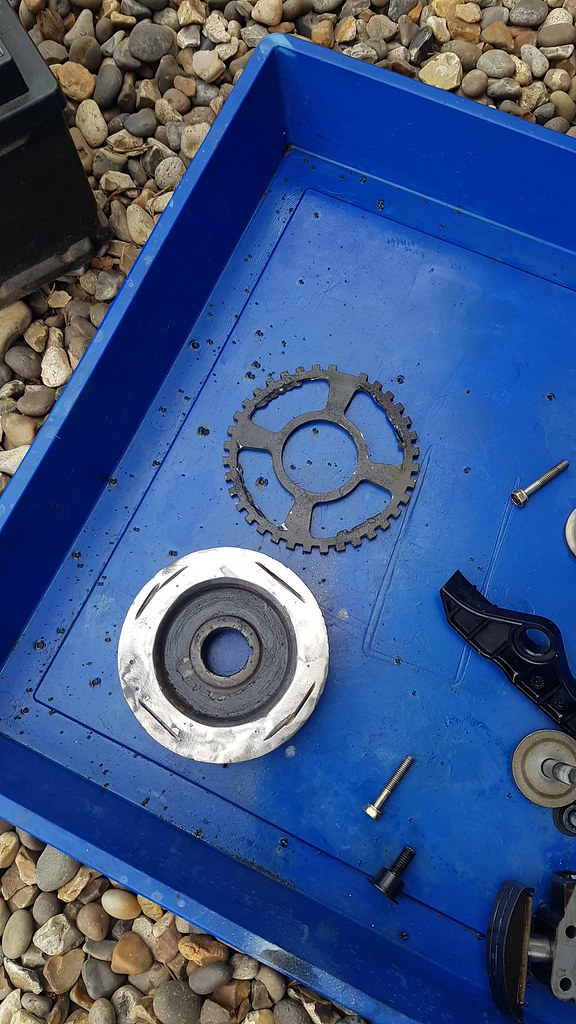
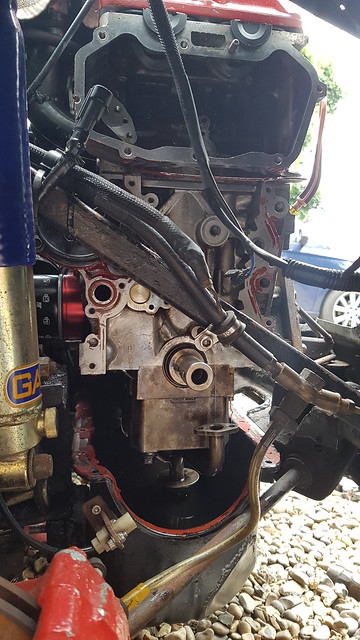
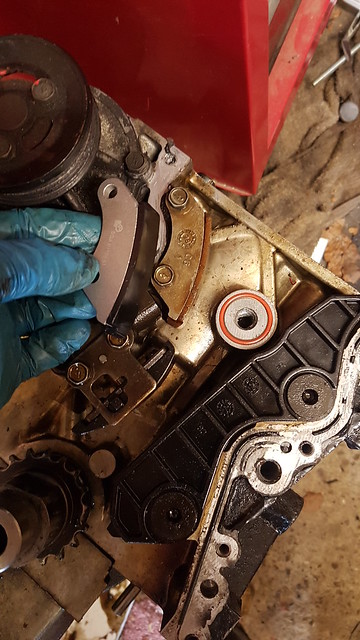
All timing bits removed
 20180619_160630 by Lawrence Balls, on Flickr
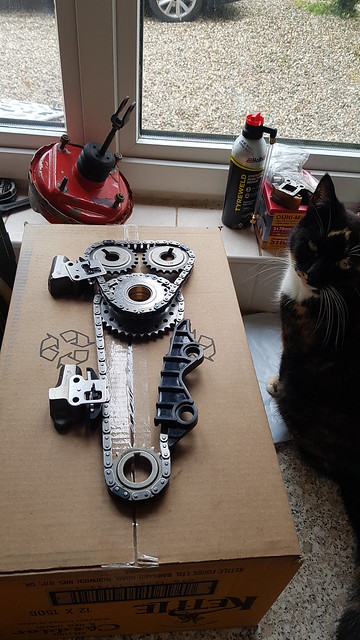
new chain setup
 20180619_161904 by Lawrence Balls, on Flickr
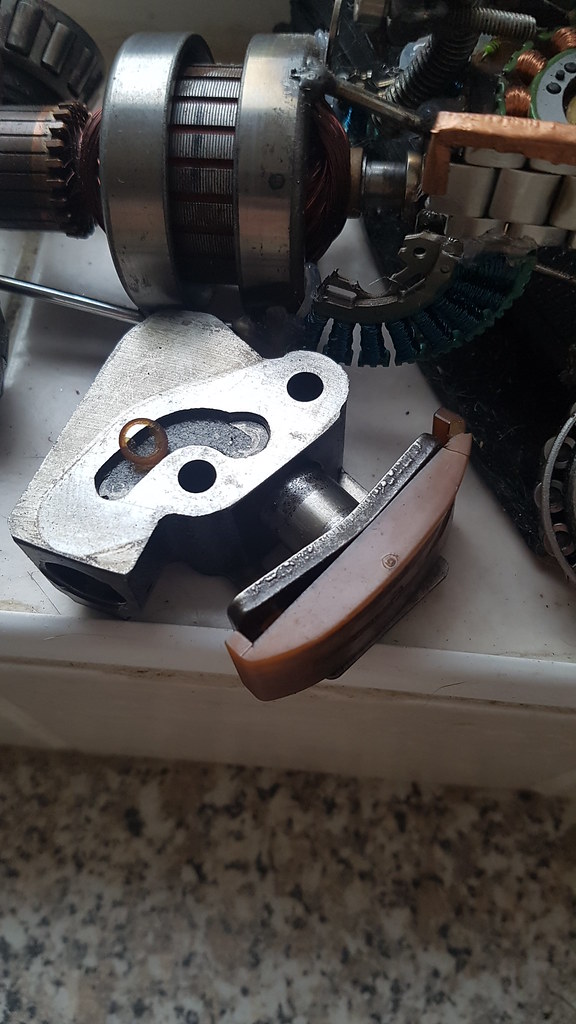
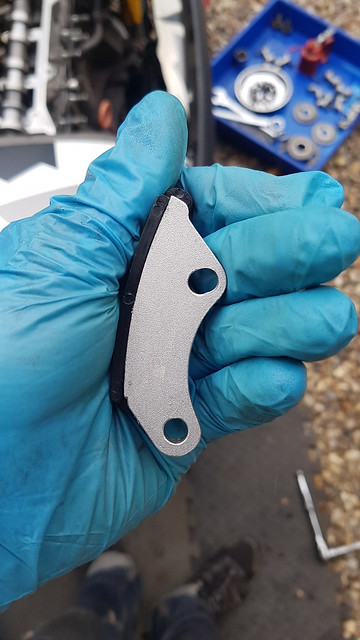
Hmm- an extra part that I didn’t take off. Is that a normal part – yes – that’s my spare engine with the original fitted
Your kidding me, how the flipping heck did I manage to not fit an entire part to the chain tensioning and not even notice!!!!!!!
 20180619_174437 by Lawrence Balls, on Flickr
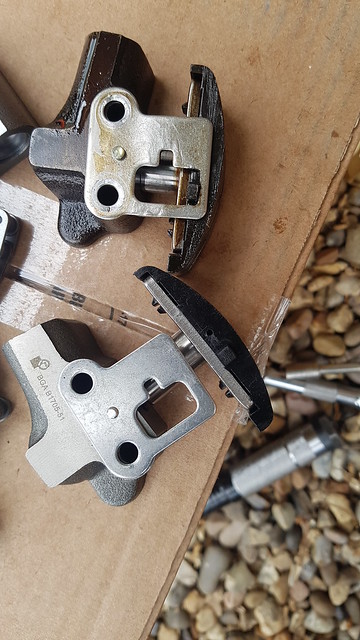
Well folks that’s part of the problem there, my lower tensioner (that’s modified – more on that later) was at its full distance and the lower chain was slightly loose – I really cannot work out how the hell I managed to do that.
So onward to the hi compression mods you have to do – these mods are only needed if you skim the head or block like I have (Ive skimmed the head 2ish mm I think it was)
The excess slack is in the lower chain because its now having to travel 4mm less. Meaning the tensioner needs to travel that 4mm to take the slack up.
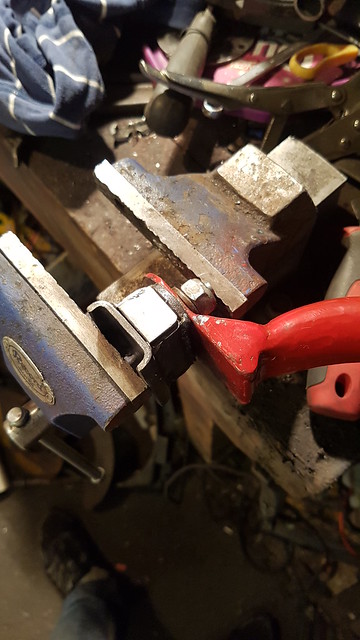
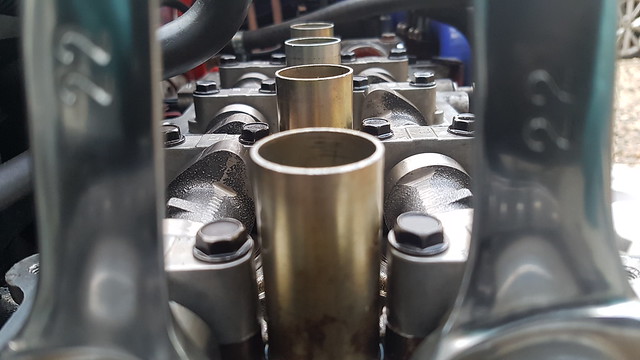
Opened up the runner hole so when fitting takes some slack up
 20180619_175311 by Lawrence Balls, on Flickr
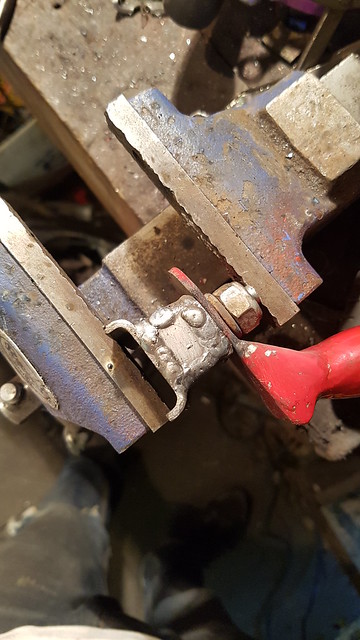
Opening up the travel on the tensioner – before
 20180619_175841 by Lawrence Balls, on Flickr
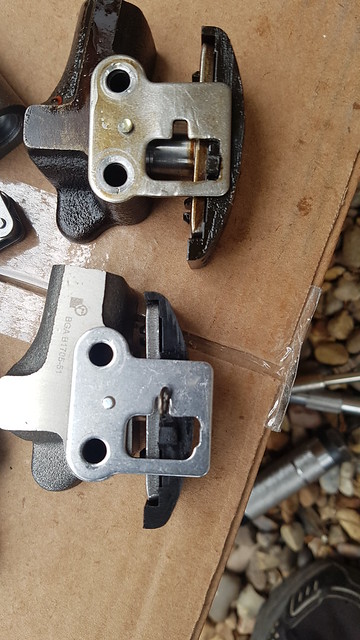
After
 20180619_180621 by Lawrence Balls, on Flickr
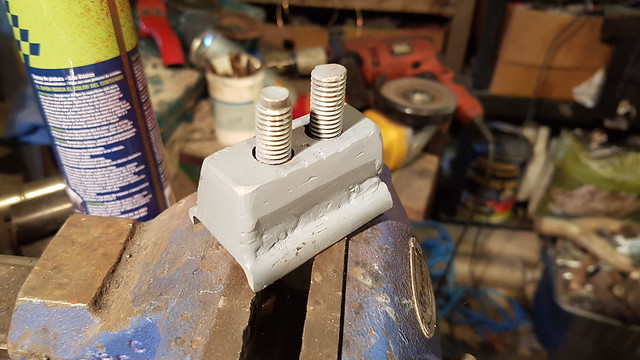
Ive now gained 1mm from the top runner and approx 3 from the lower tensioner - that’s now offset the excess slack from skimming the head. Ive actually now got about 8mm of travel on that lower tensioner, more than enough for any engine wear but safe enough to run the engine.
In addition to those two things there is one last thing you can do to remove slack from the lower chain – the upper chain pulley mounts on a stud in the head and runs on a brass bush – if you open up where the stud mounts and where the bolt goes through you can then move the whole upper chain pulley up – that removes more slack from the lower chain but does transfer it to the upper chain where more issues can occur – fitting a new chain kit means you don’t have to do this.
The last thing on the micra engines when you skim the head/block is retime the cams. When the head/block is skimmed, it retards the cams which you have to remedy.
So as fitted on the dot to dot method the engine should run even with a skim but it wont be at its best.
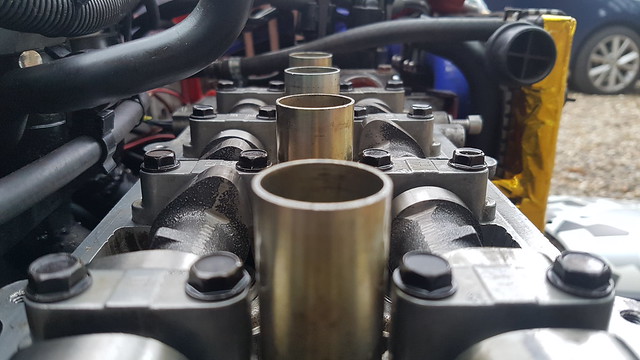 20180619_185249 by Lawrence Balls, on Flickr
As you can see the inlet cam is a few degrees retarded – this can be easily rectified
Top tip from Frank over at MSC – advancing the inlet cam a few degrees give low down power at the 1k – 4k power range. – for now im setting mine at standard
Take one dowel and file a flat
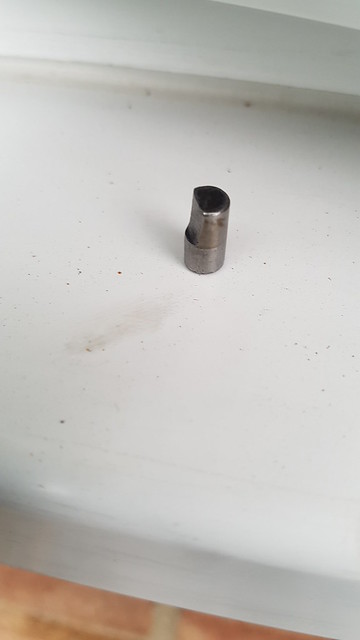 20180619_185300 by Lawrence Balls, on Flickr
fitted
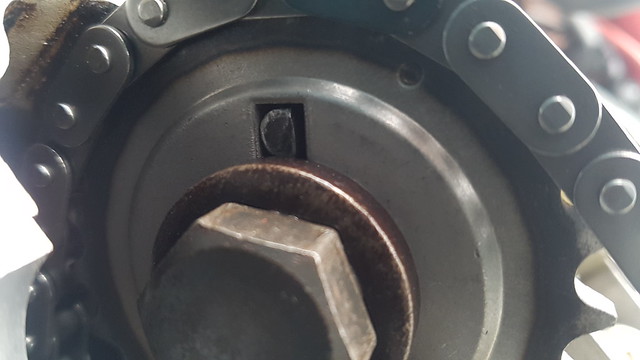 20180619_190620 by Lawrence Balls, on Flickr
as you can see there is now space on the right of the dowel to advance the cam a few degrees
and before and after
20180619_185249 by Lawrence Balls, on Flickr
 20180619_201647 by Lawrence Balls, on Flickr
Spanners are there because ive got slack that needs to be taken up by the hydraulic tensioner. The engine runs clockwise so as long as the slack is all by the tensioner and when you tension the cams like I have with spanners then your timing will be just about right
Little disclaimer – this cam timing is not accurate to the last degree it is very much a ballpark but can defo be used to re time a worn engine or a skimmed one.
That’s all for now people. Need to put it all together Thursday now.
Lawrence


 20180505_095204 by Lawrence Balls, on Flickr
 20180505_082758 by Lawrence Balls, on Flickr
 20180505_094158 by Lawrence Balls, on Flickr
 20180505_114852 by Lawrence Balls, on Flickr
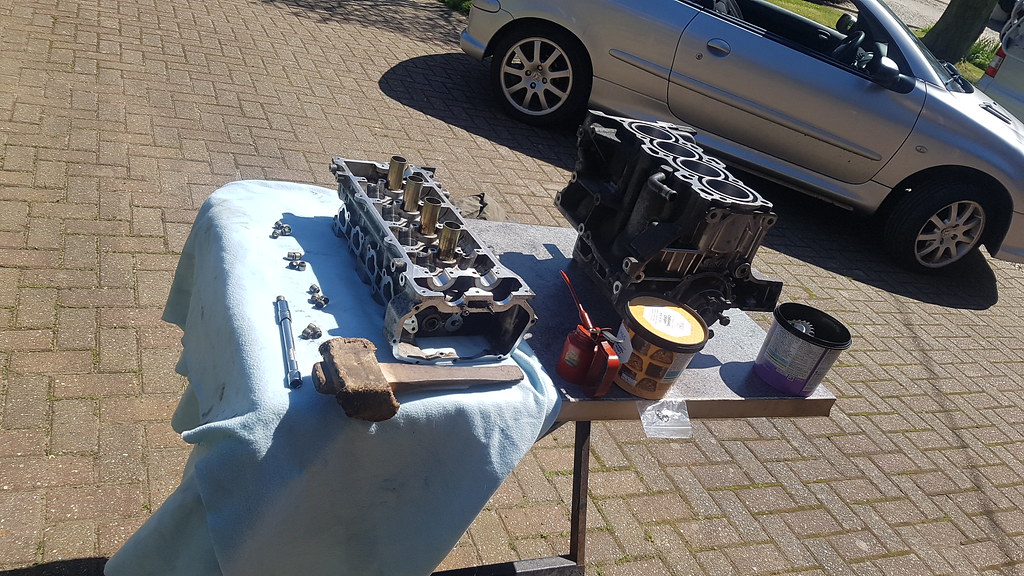 20180505_122757 by Lawrence Balls, on Flickr
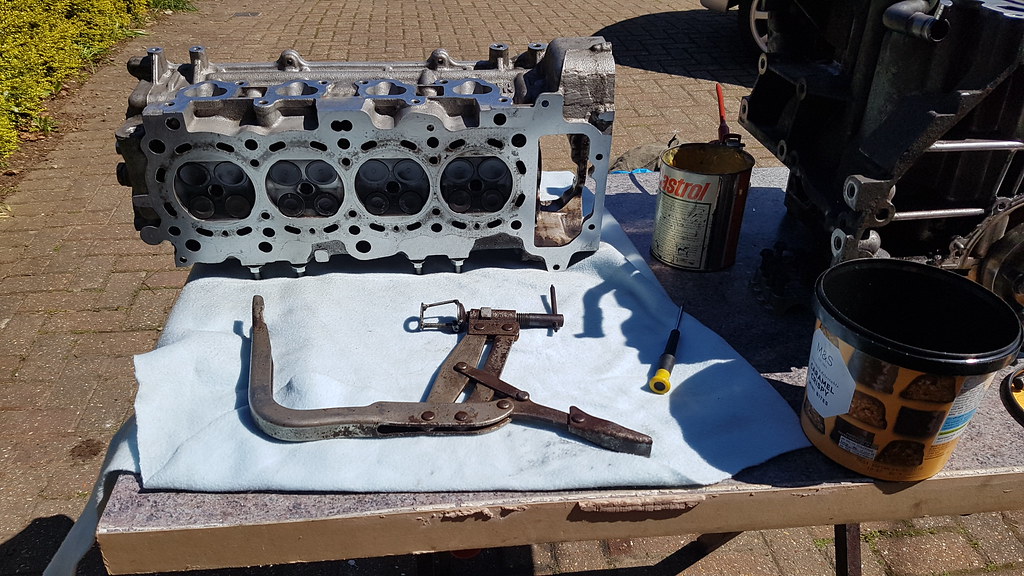 20180505_133817 by Lawrence Balls, on Flickr
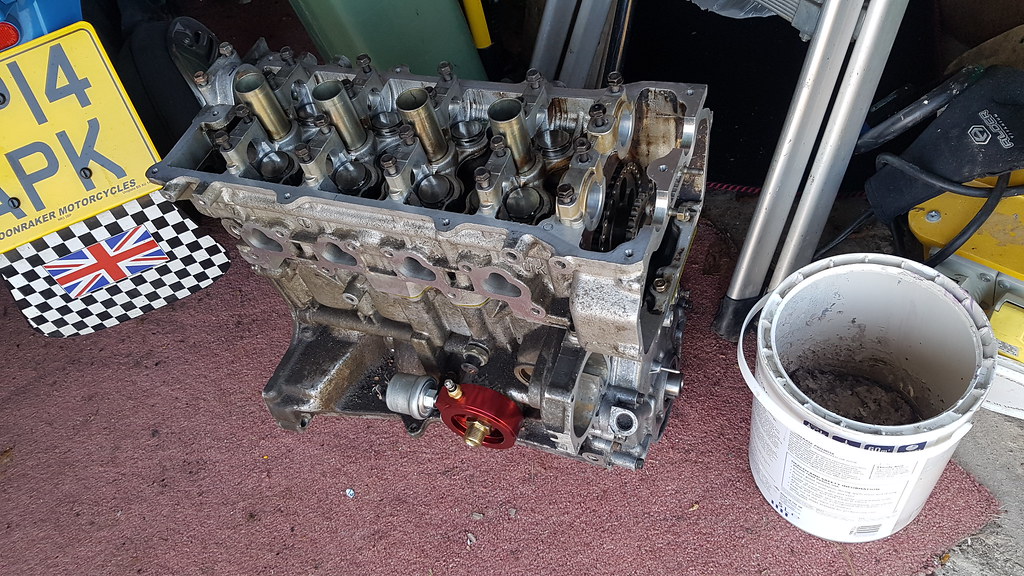 20180505_150600 by Lawrence Balls, on Flickr