Ken -The 1275 High Compression Engine Micra Mini (Running Project)
#616

Posted 18 August 2017 - 10:08 PM
#617

Posted 20 August 2017 - 02:20 AM
#618

Posted 20 August 2017 - 09:27 AM
3M who you will know make a lot of body prep products always recommend applying filler to bare metal. If you apply it to a painted surface you're adding another variable into the equation i.e. you're assuming the paint has full adhesion to the metal.I'm 90% sure you should etch prime bare metal before filler, too late now I guess, I've got a flip front knocking around if you're in Hampshire?
#619

Posted 20 August 2017 - 04:03 PM
#620

Posted 20 August 2017 - 06:30 PM
Cheers for the comments guys, I've always followed the directions on what the filler says which is apply directly to bare metal. Only times I don't are when I'm adding a little more to smooth off the imperfections but the majority goes on bare.
So bits done today, not alot tho.
first off, little road trip to the bubble car museum near Boston
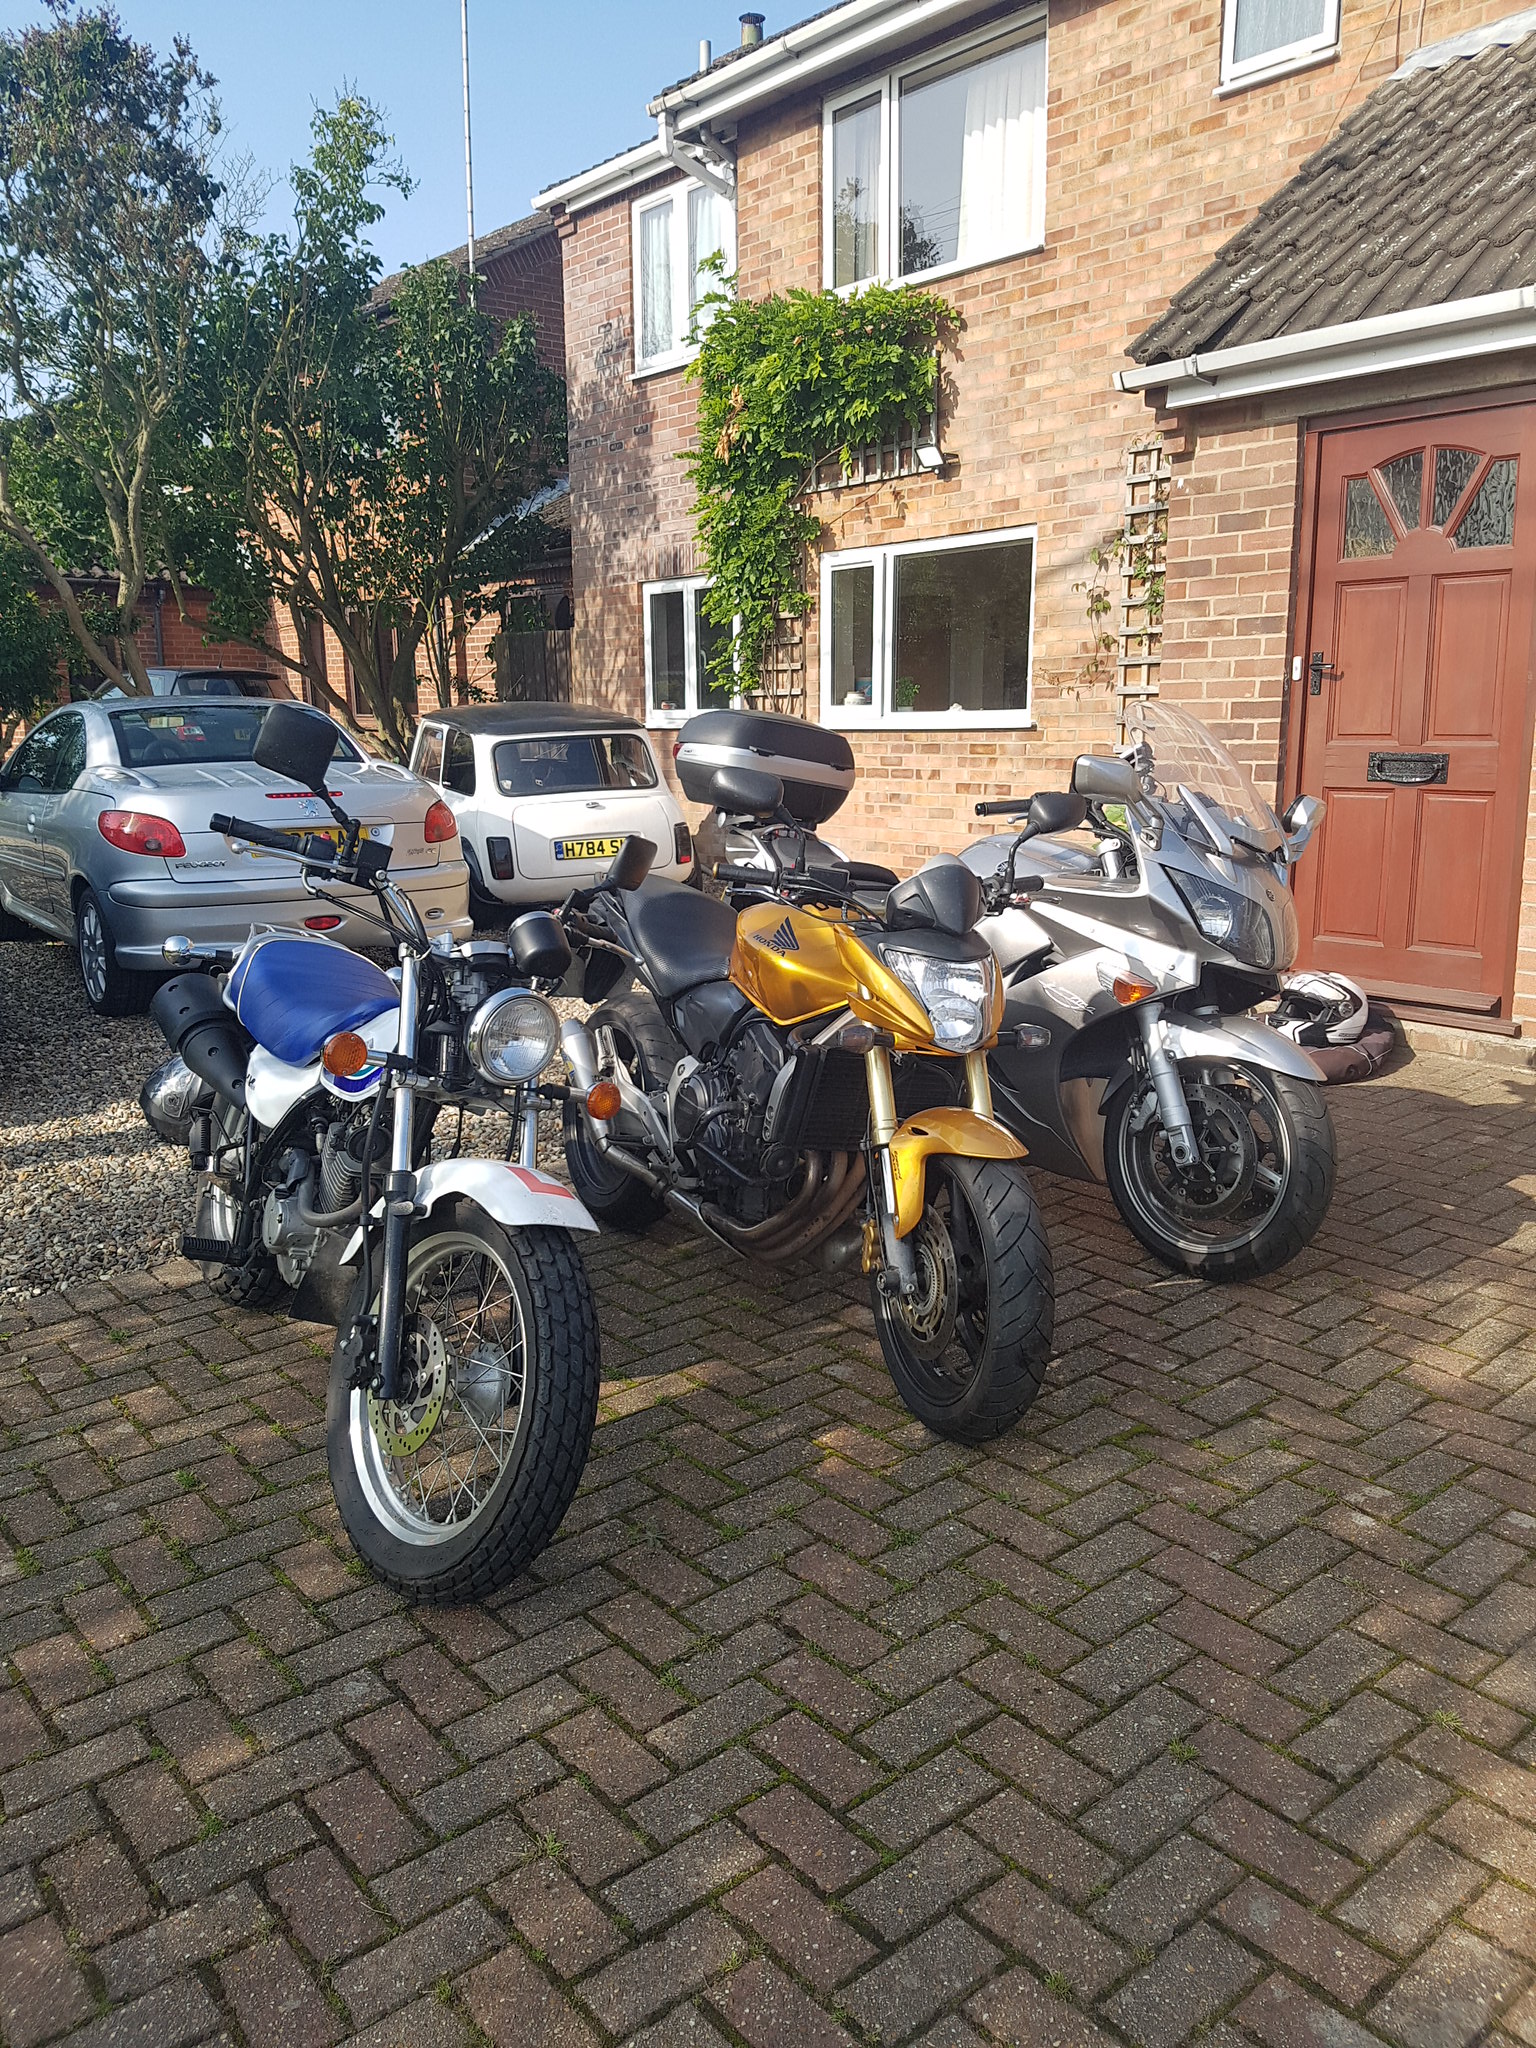 20170820_090943 by Lawrence Balls, on Flickr
saw a few of these
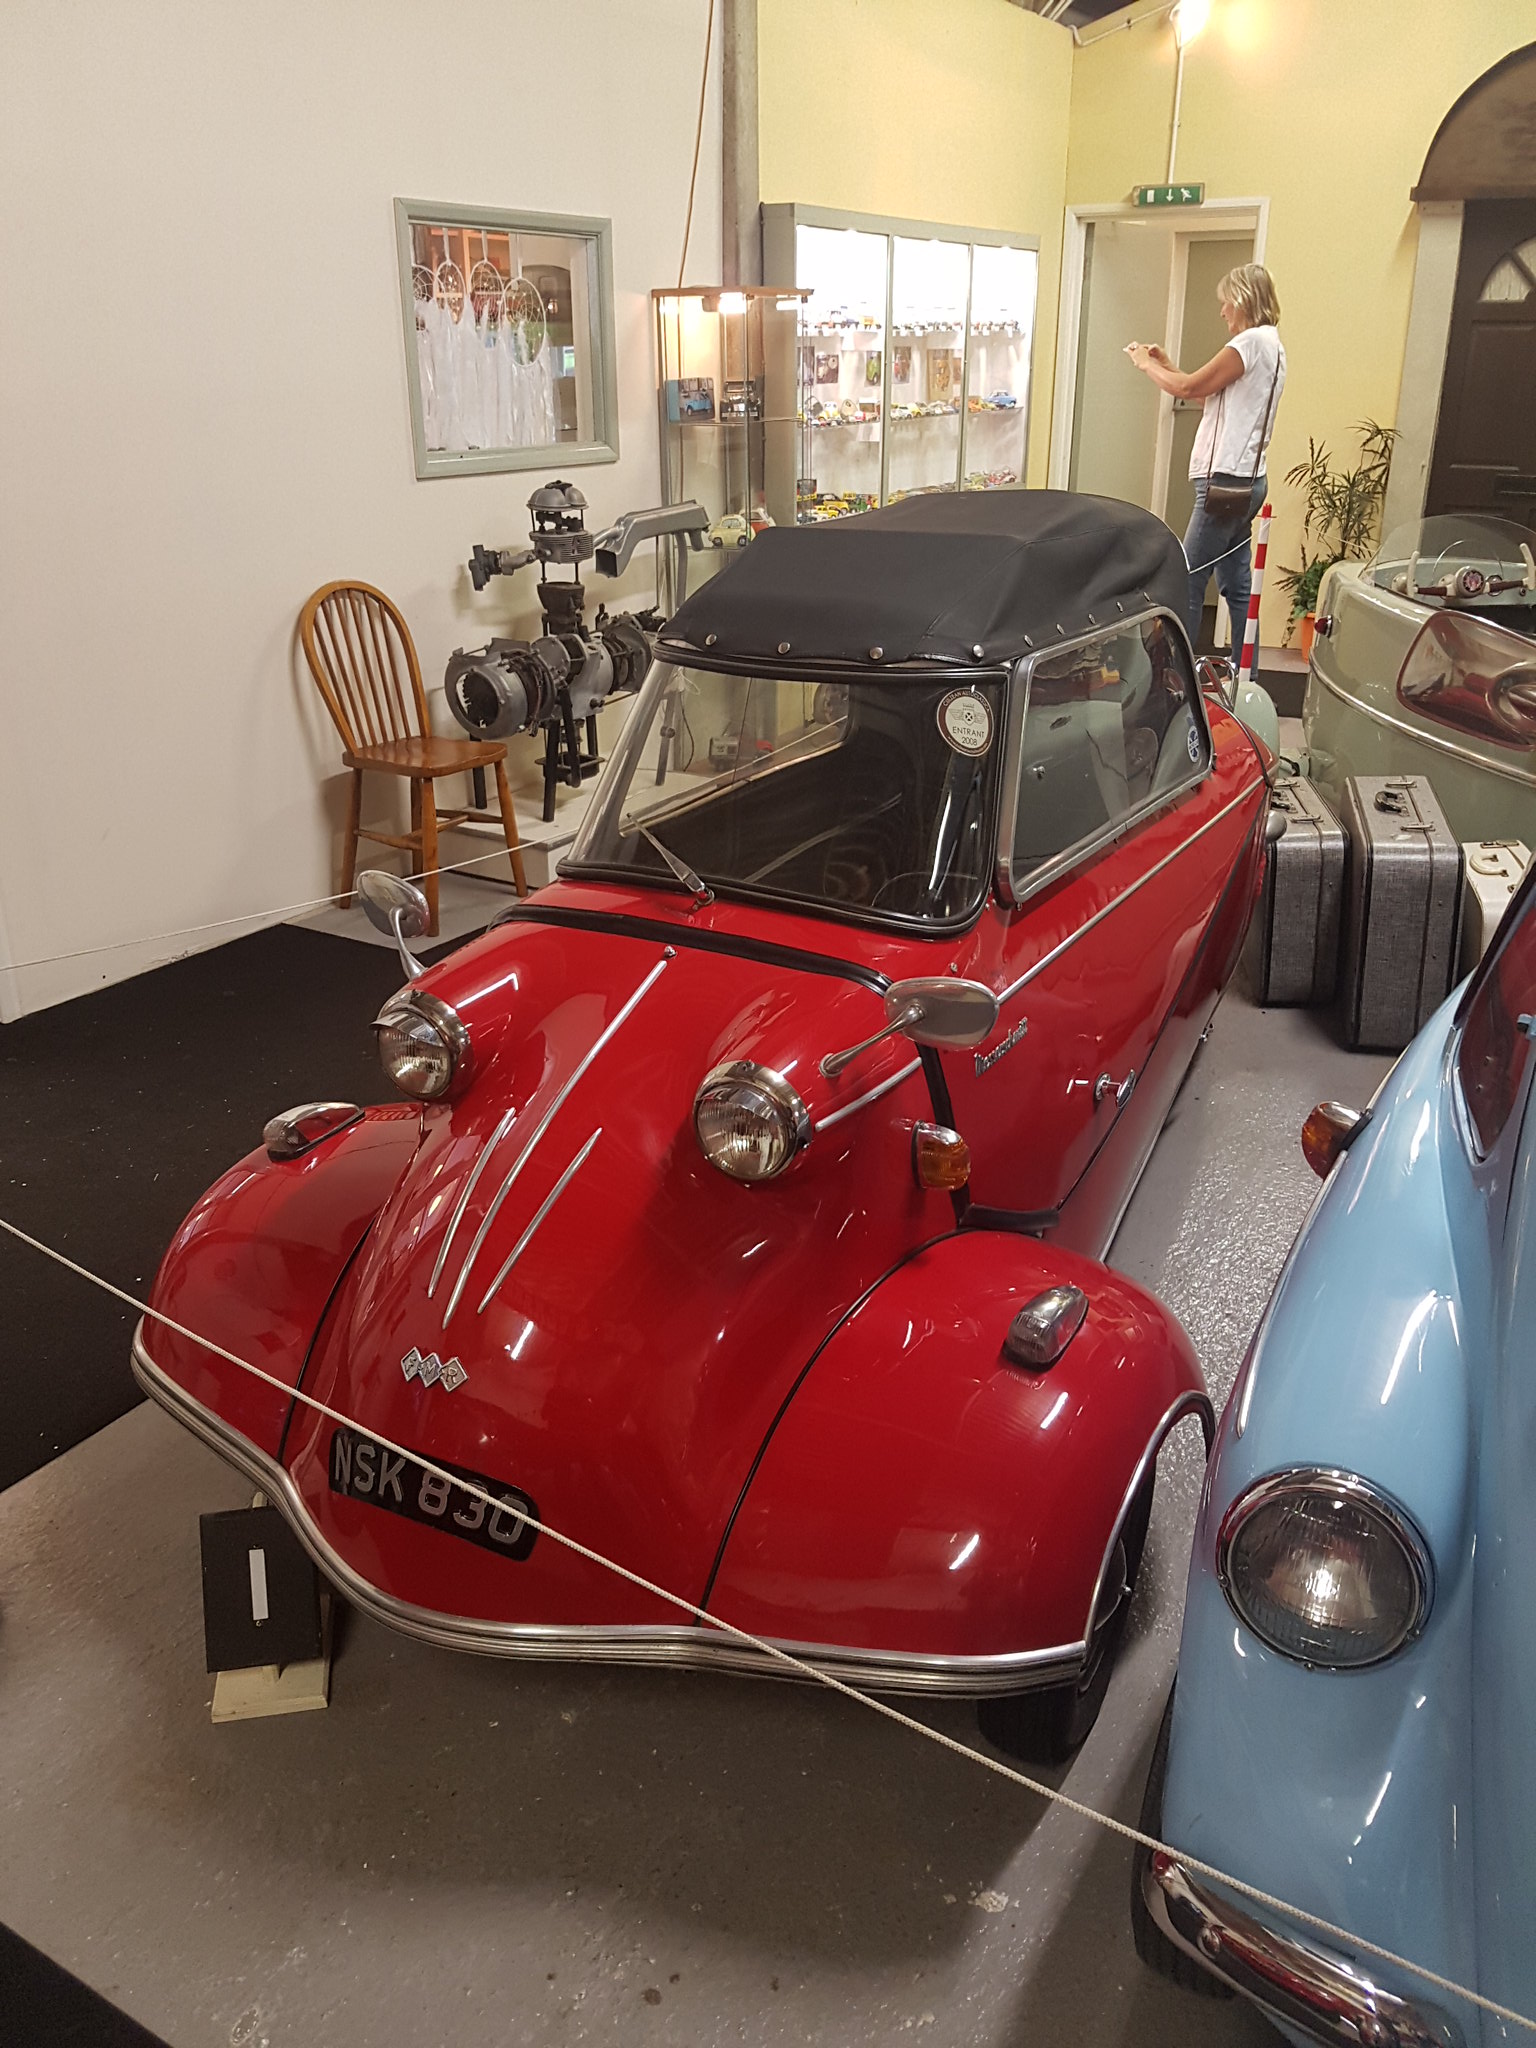 20170820_114745 by Lawrence Balls, on Flickr
I do like them, not practical tho!
back to mini.
made my decision and got the hole saw out
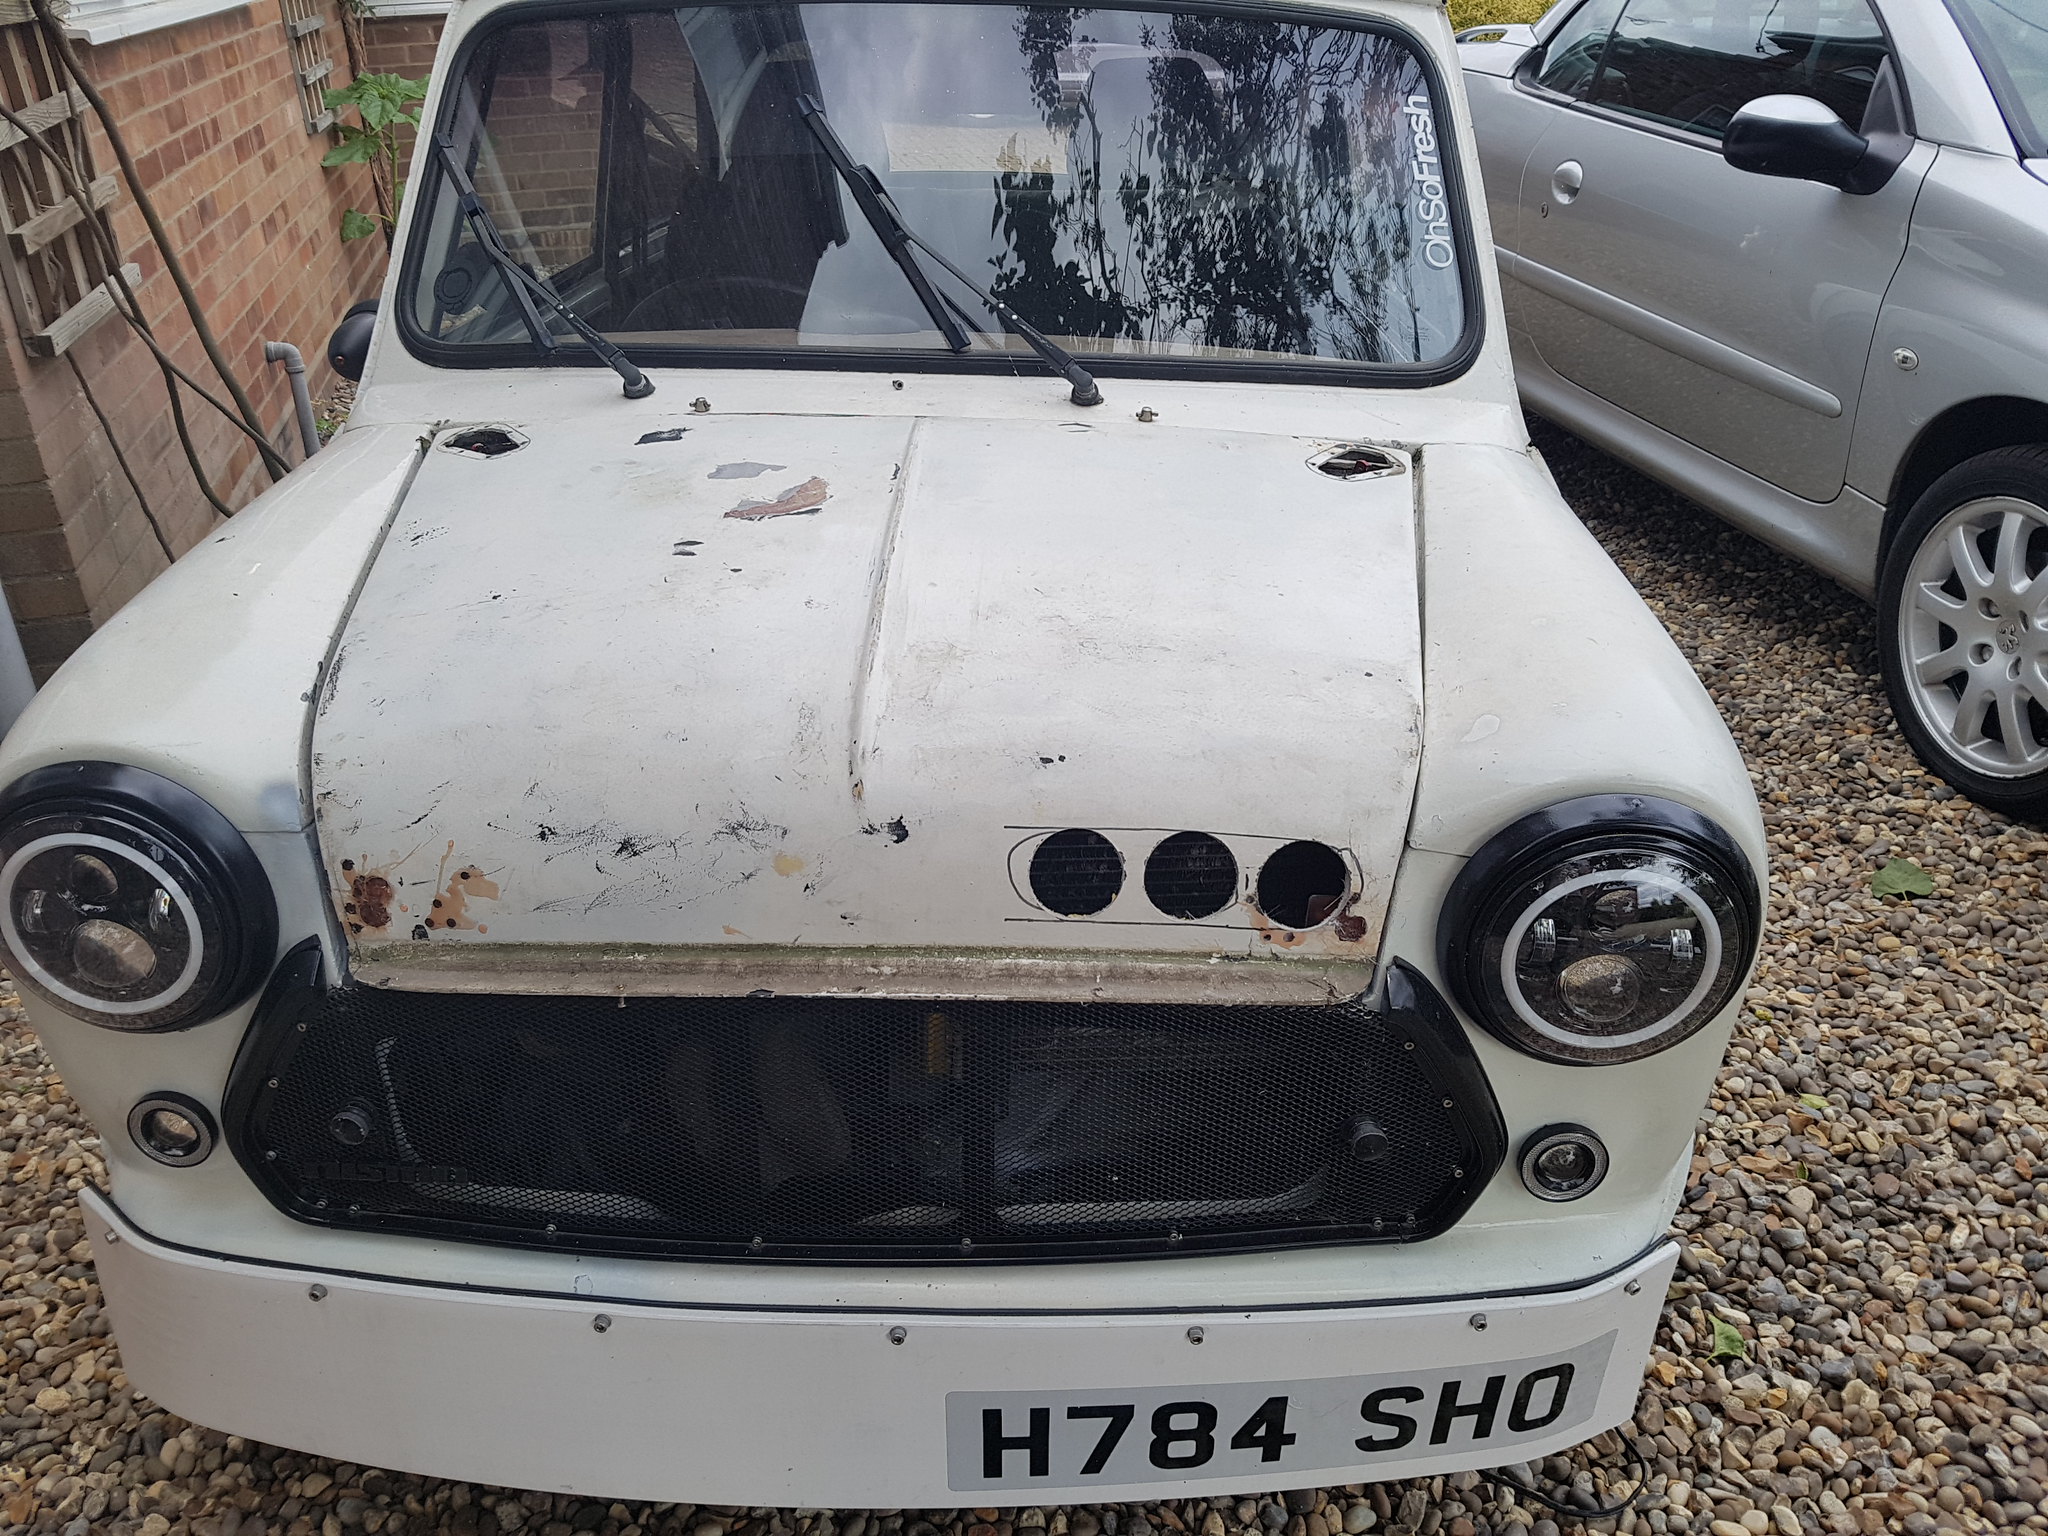 20170820_164719 by Lawrence Balls, on Flickr
cleaned up the edges and a bit of filler from the fibreglassing the other day
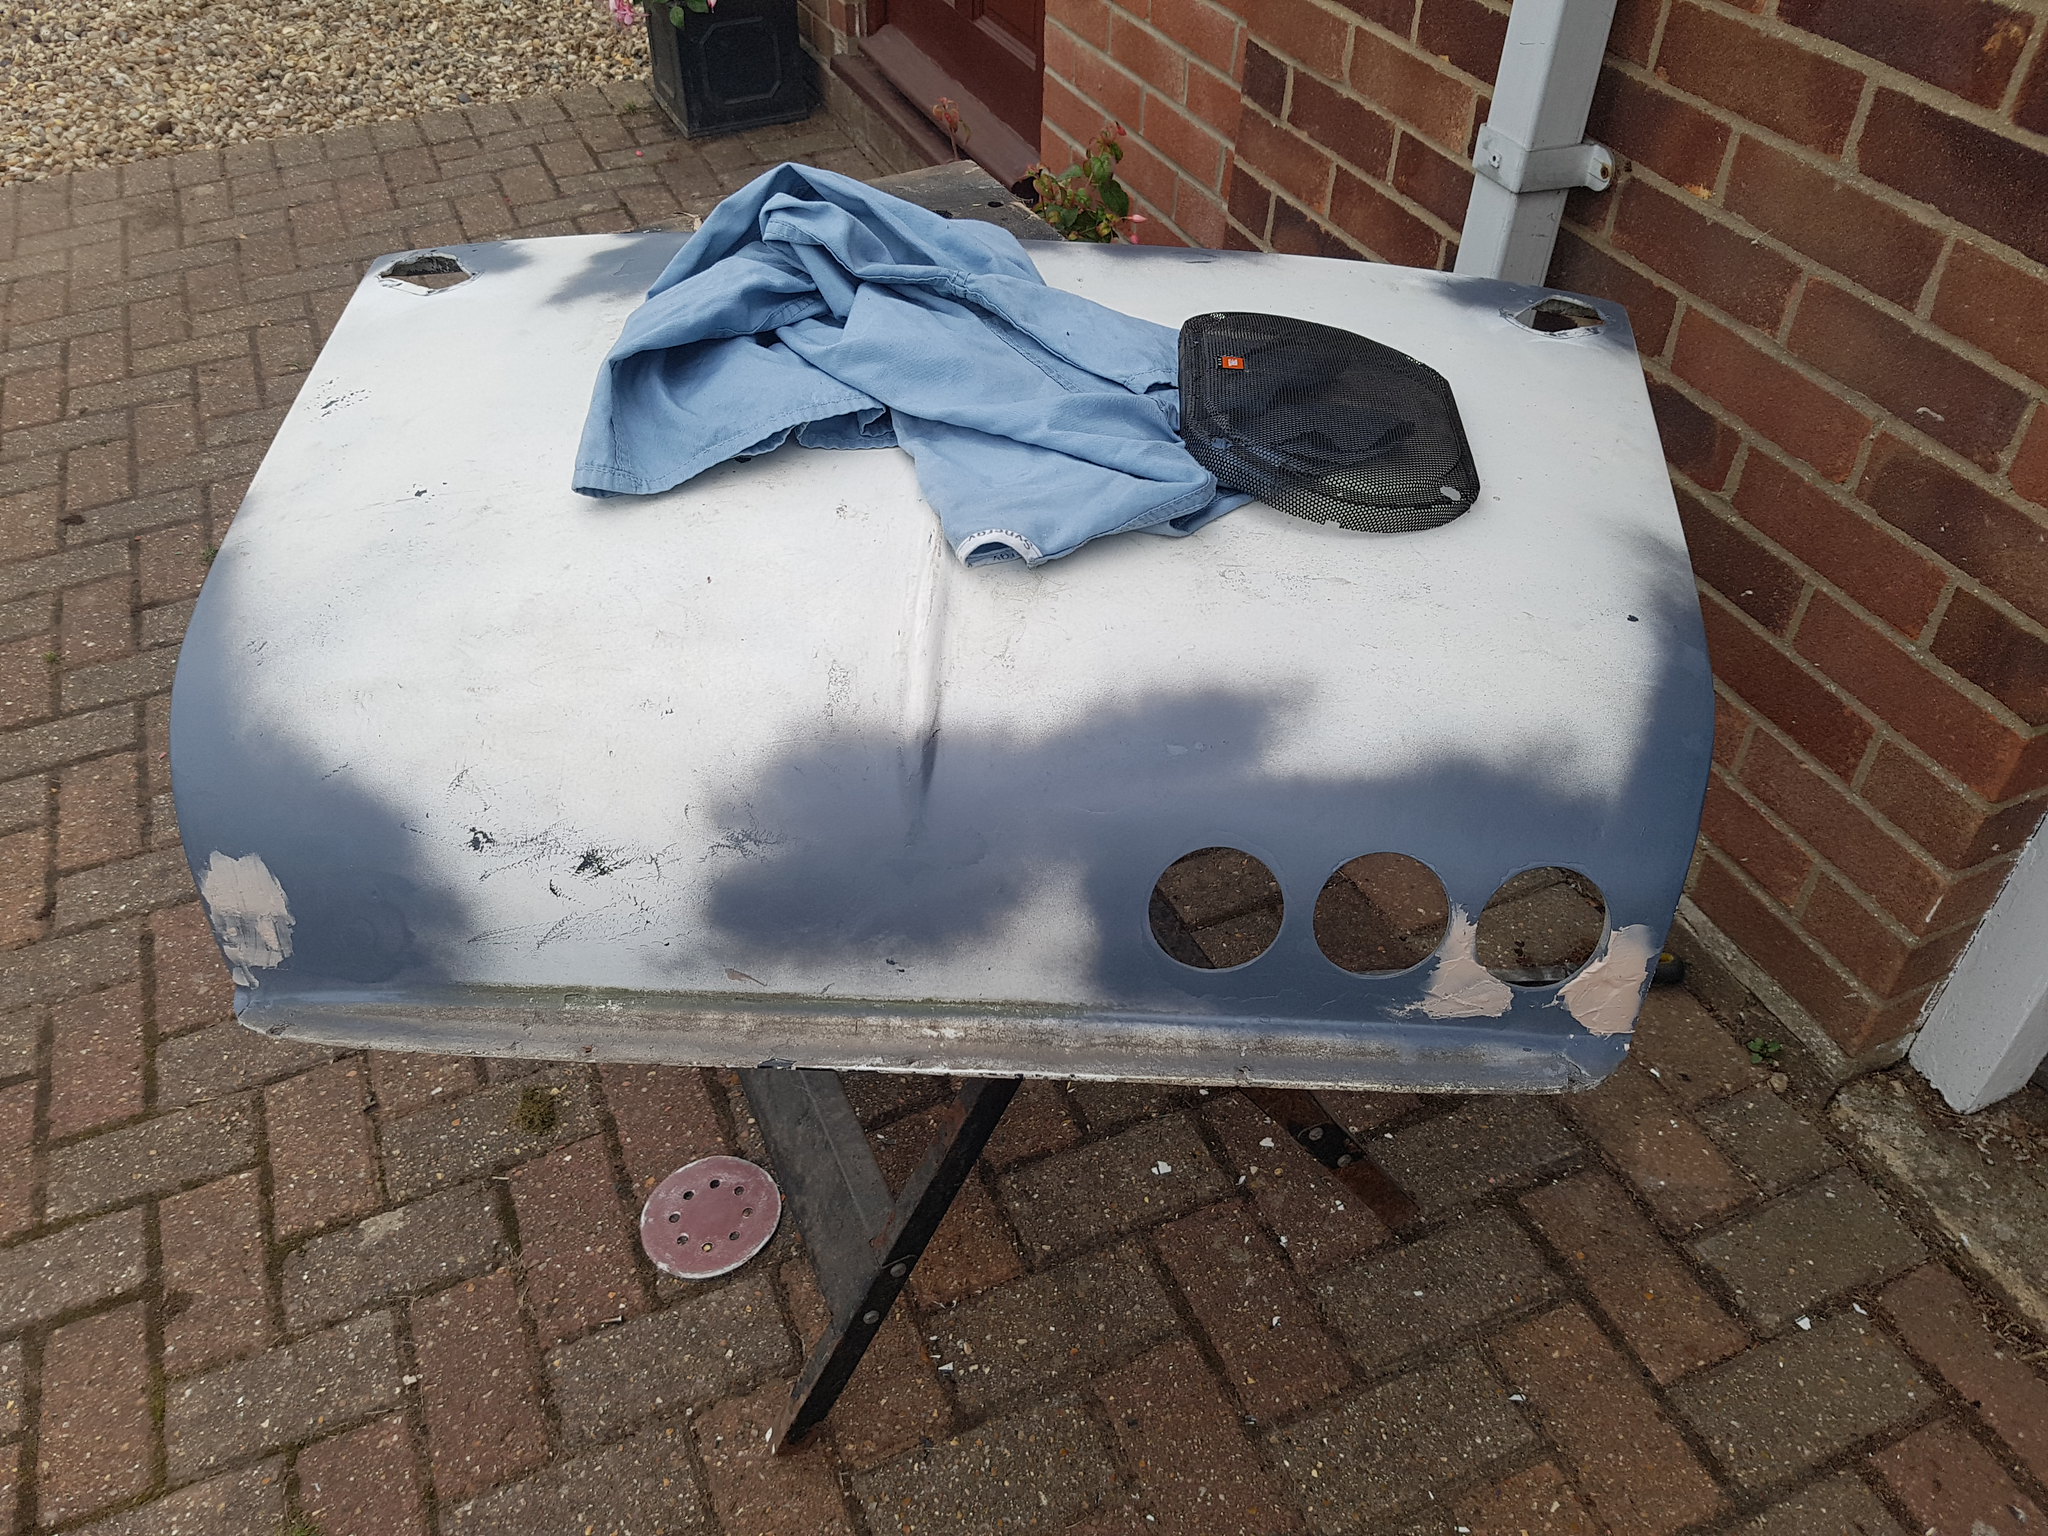 20170820_171316 by Lawrence Balls, on Flickr
Interestingly it was once a carbon skinned bonnet.
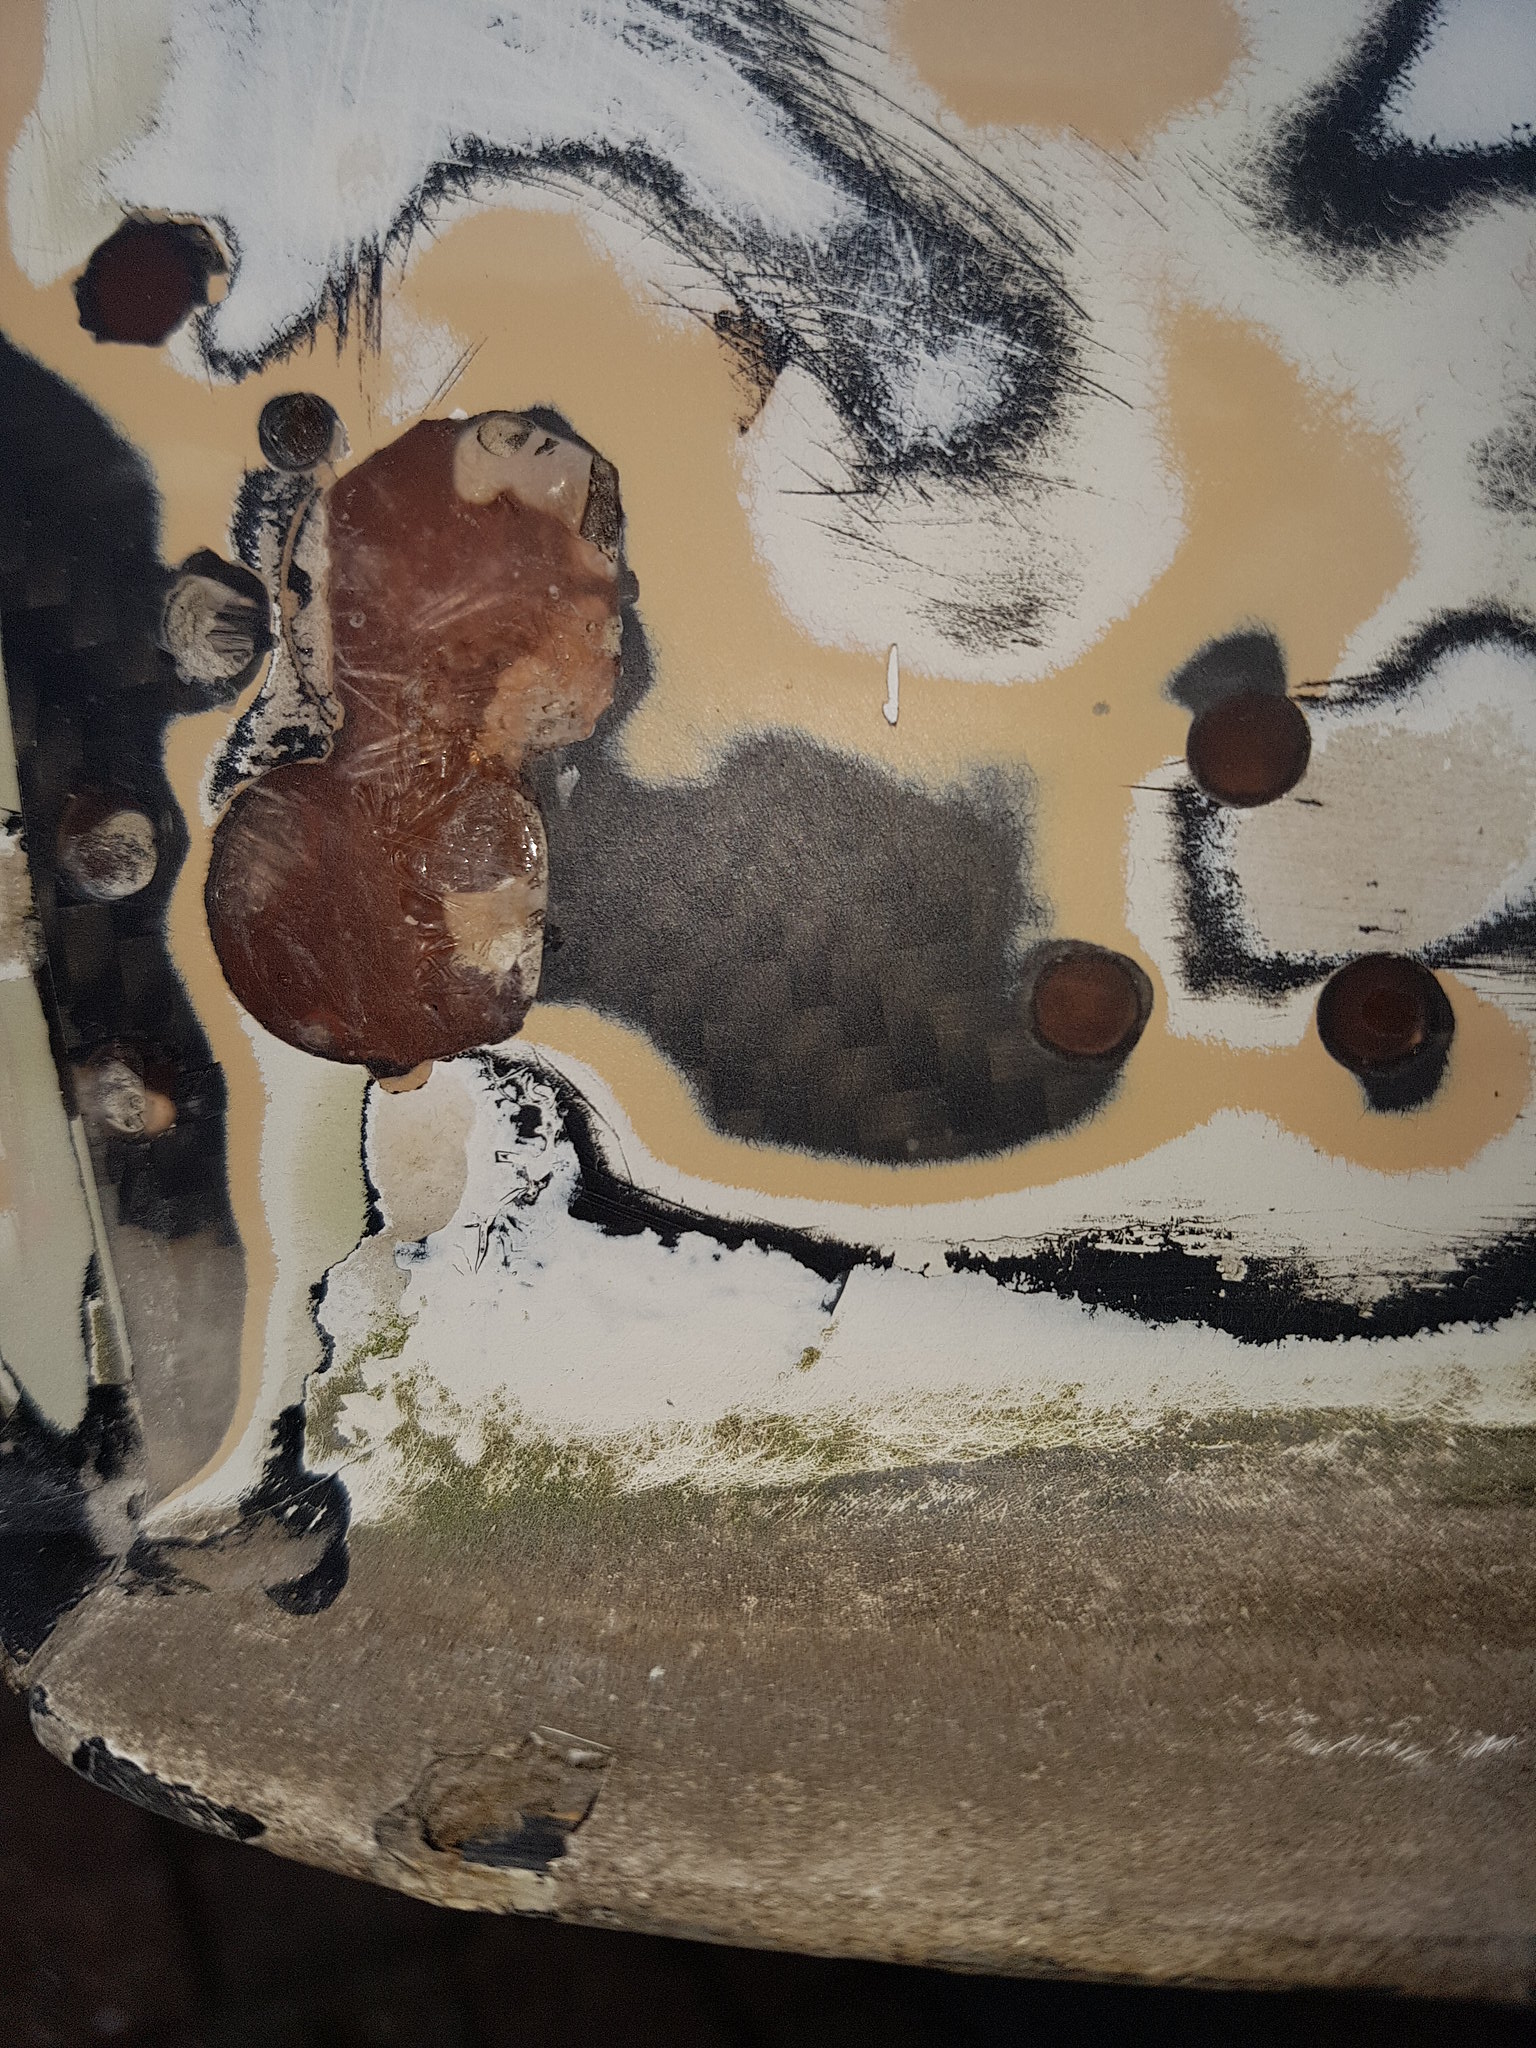 20170820_170311 by Lawrence Balls, on Flickr
going to try and find the reciept for it haha
mesh for behind the holes
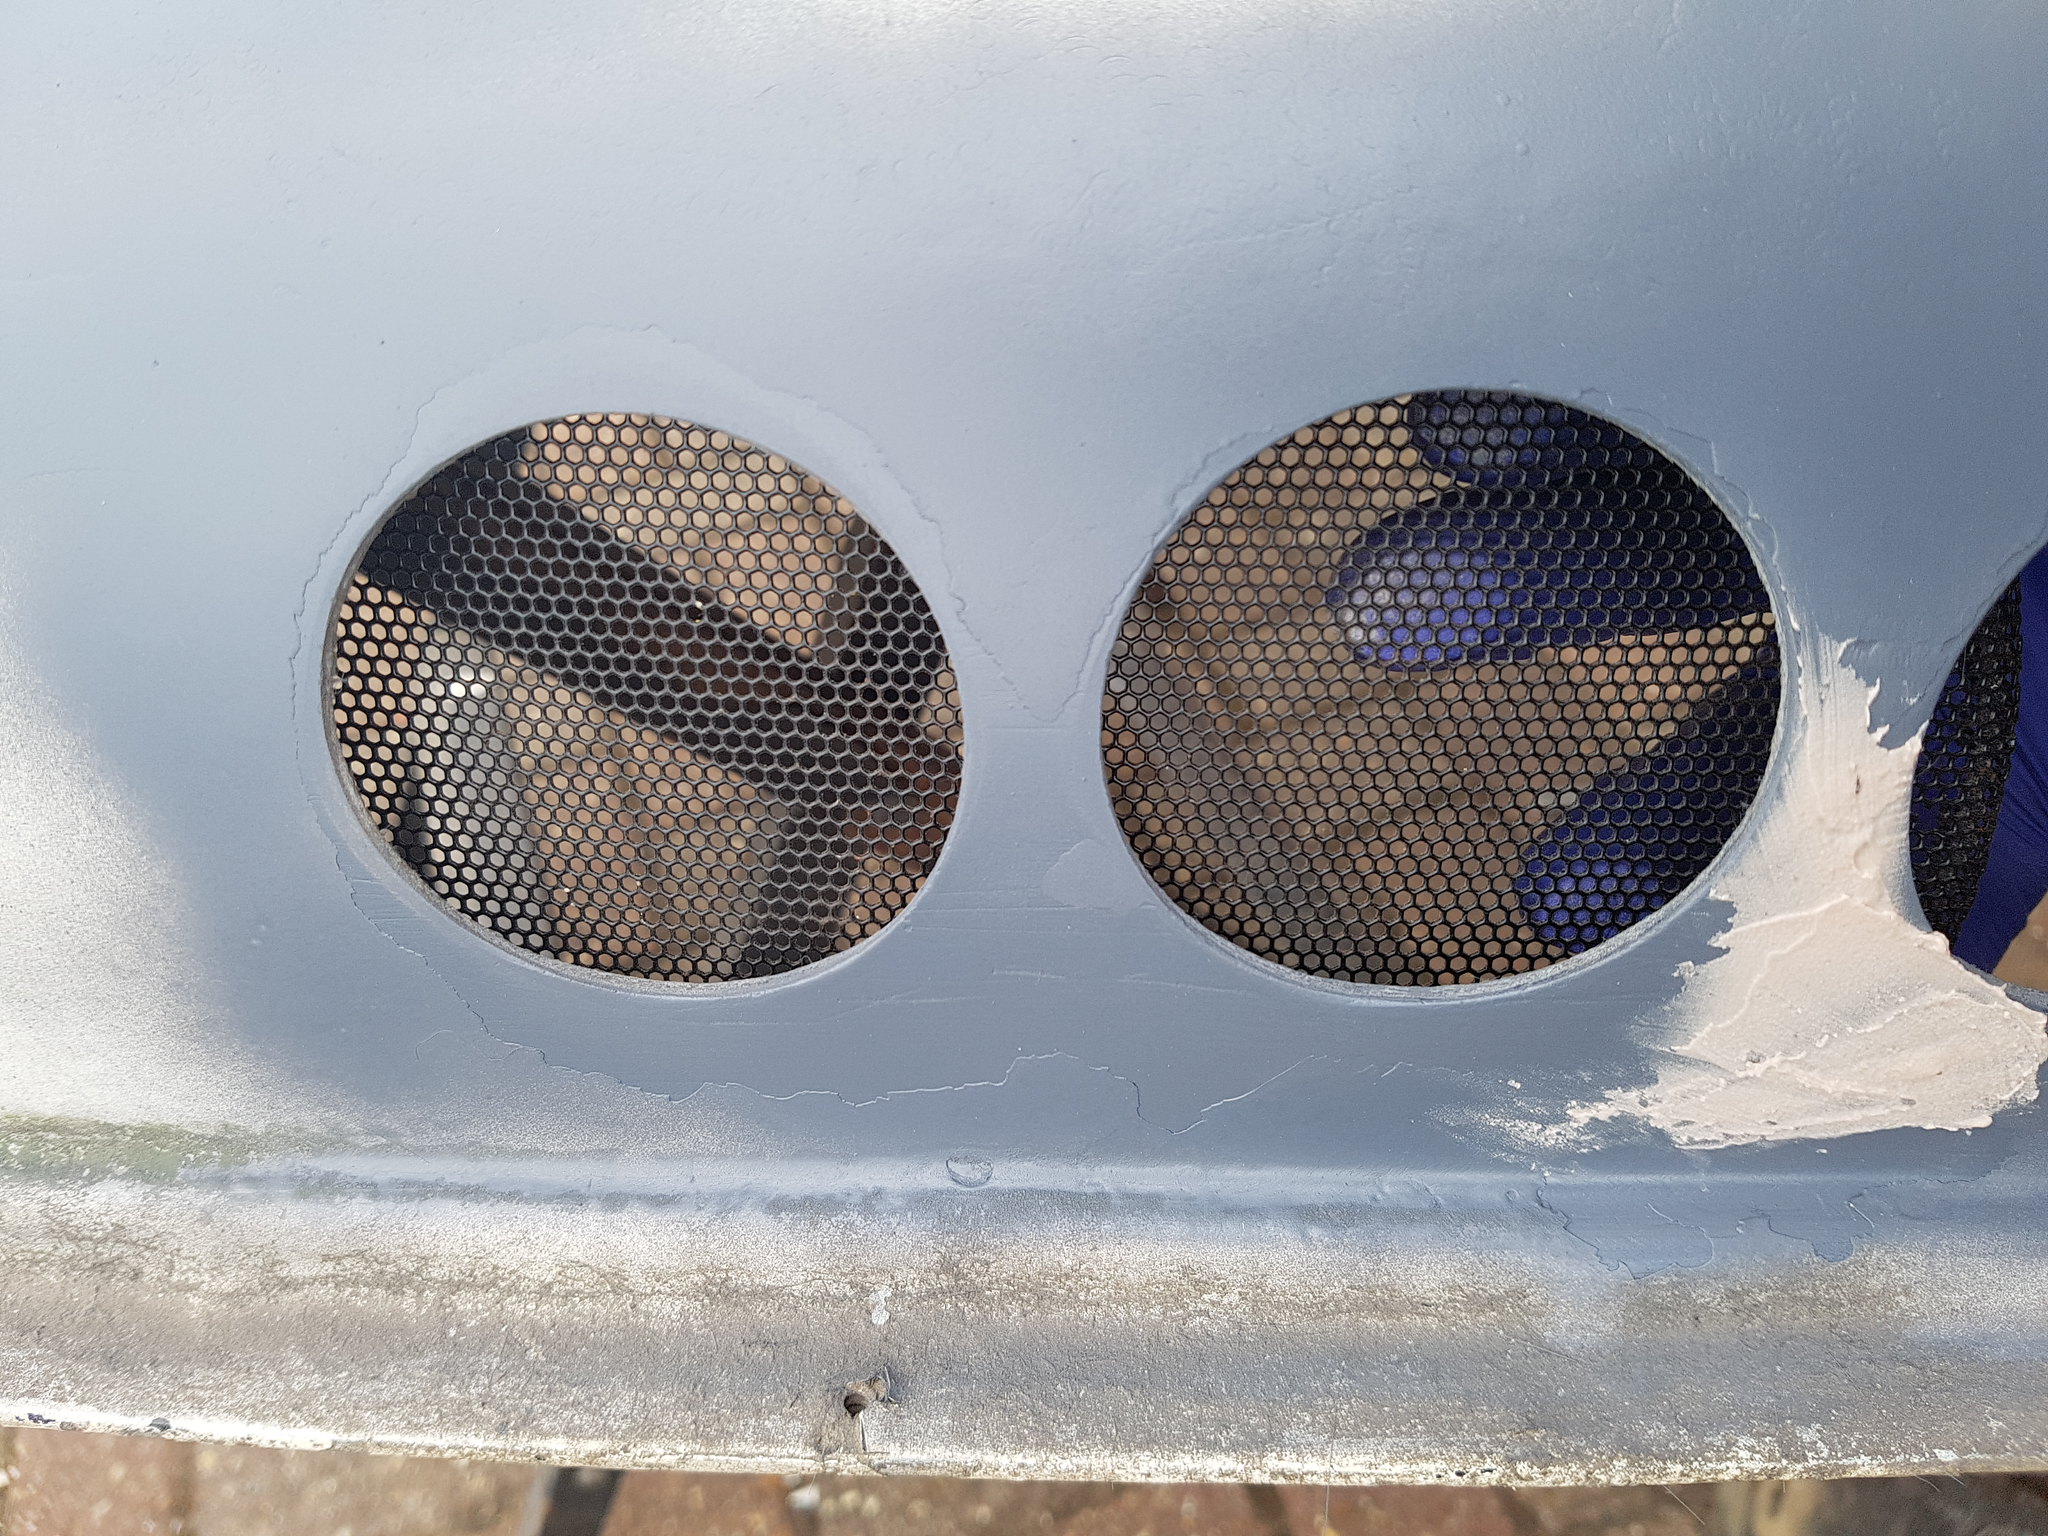 20170820_171330 by Lawrence Balls, on Flickr
and tidied up the back bench and had a think about the exhaust
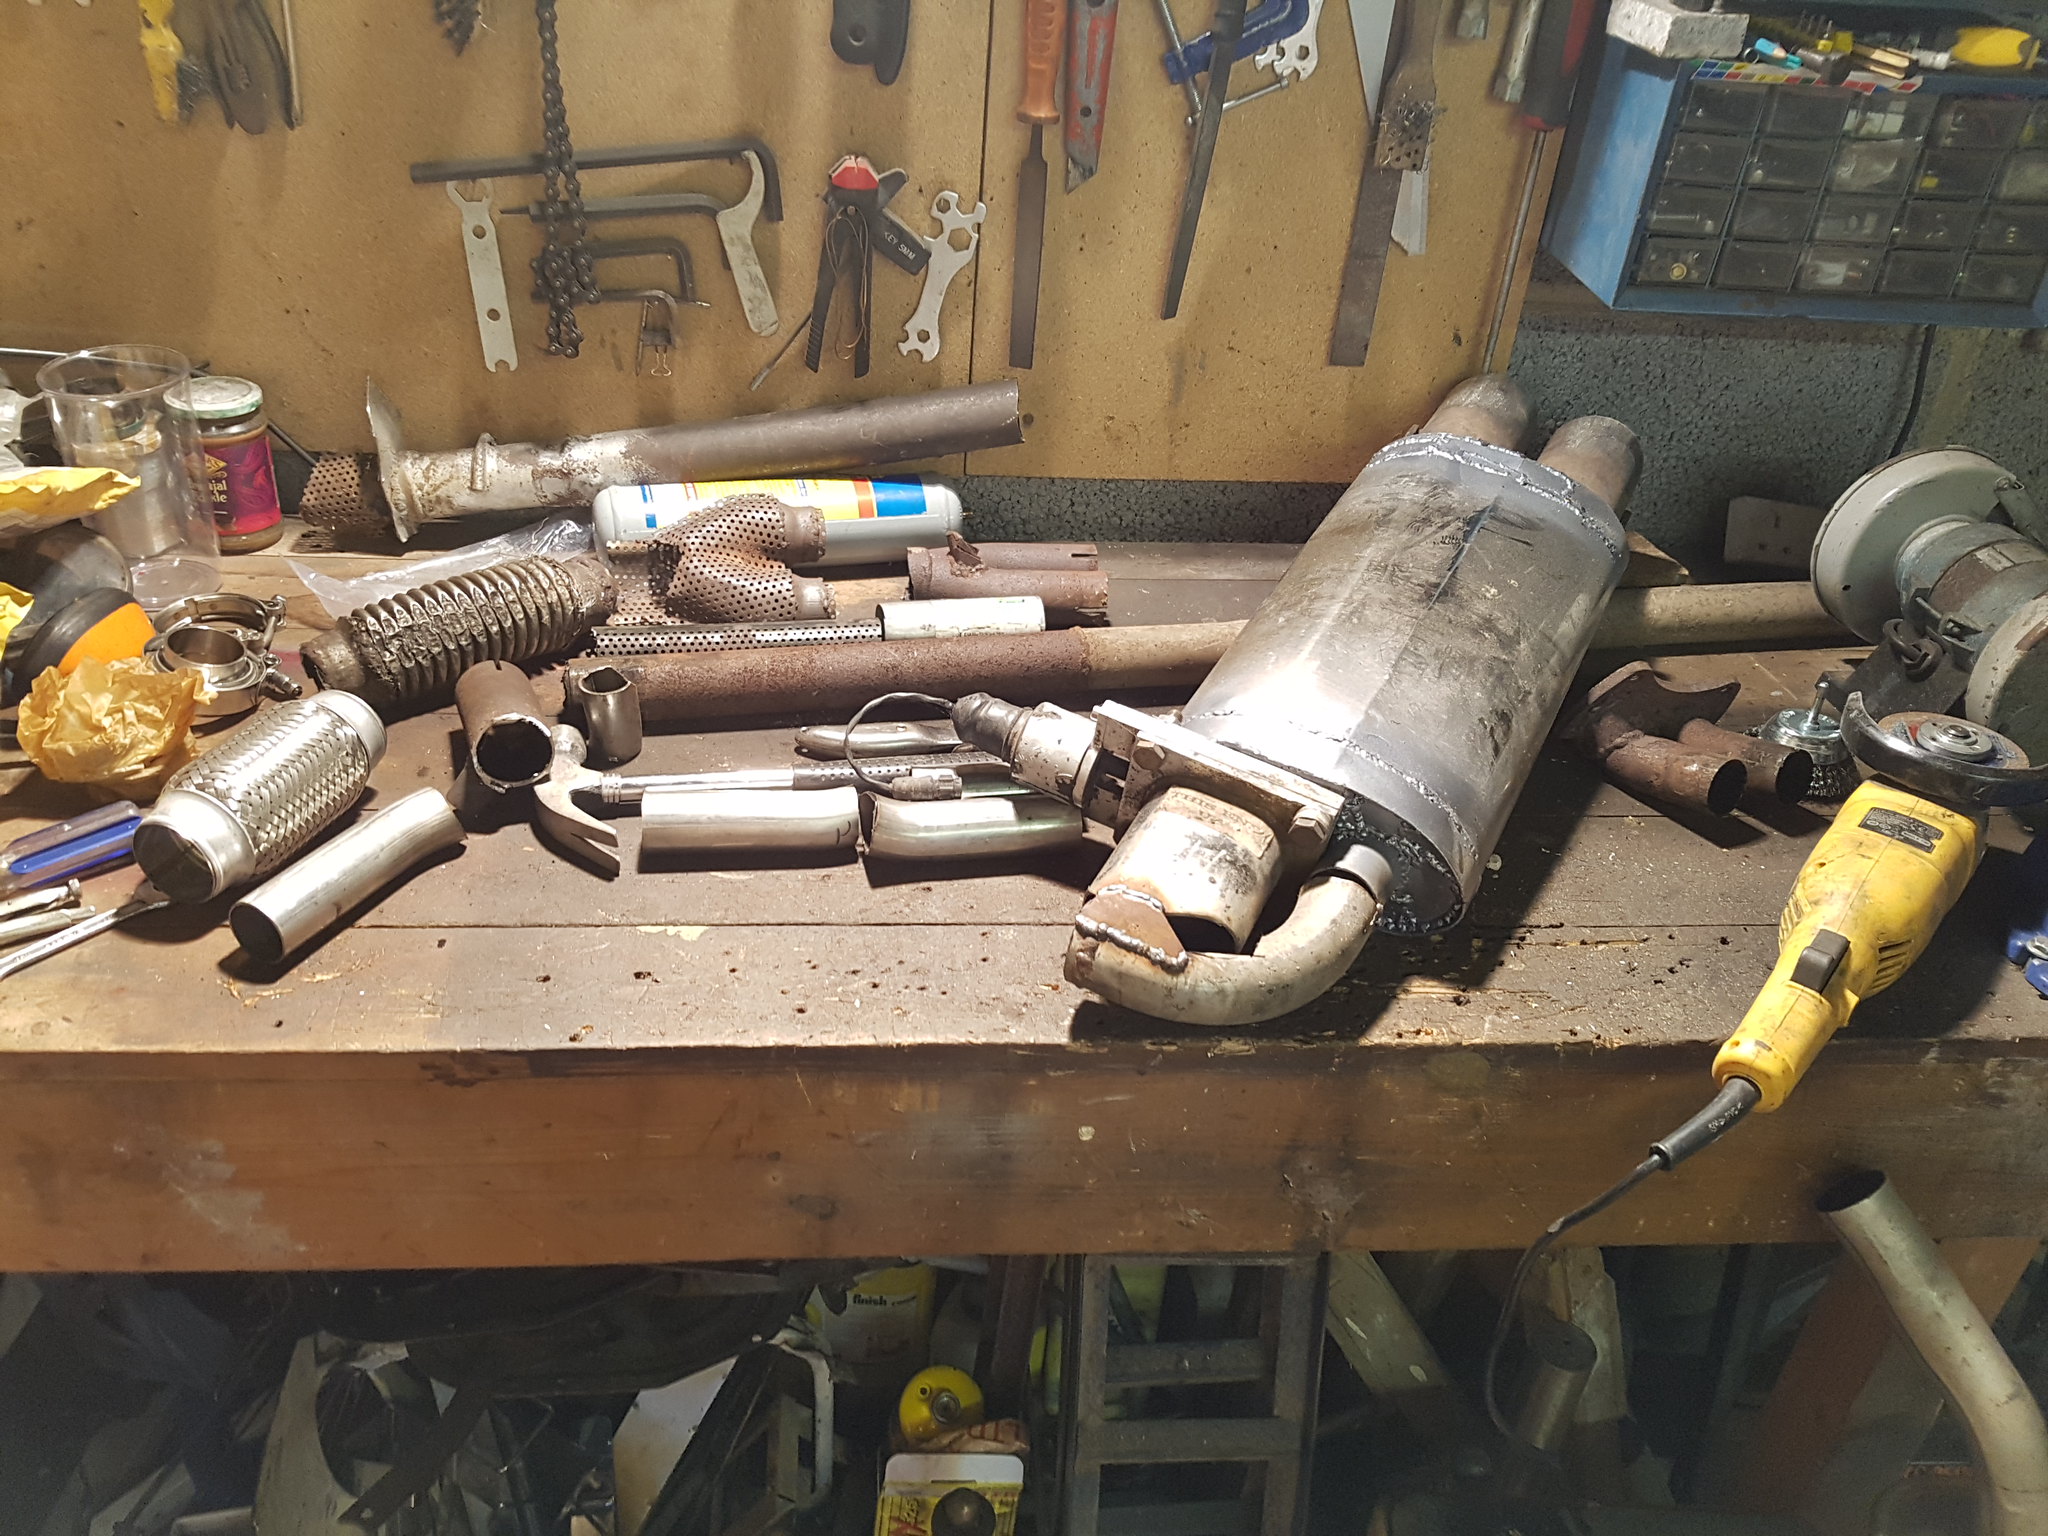 20170820_174346 by Lawrence Balls, on Flickr
bonnet placed on
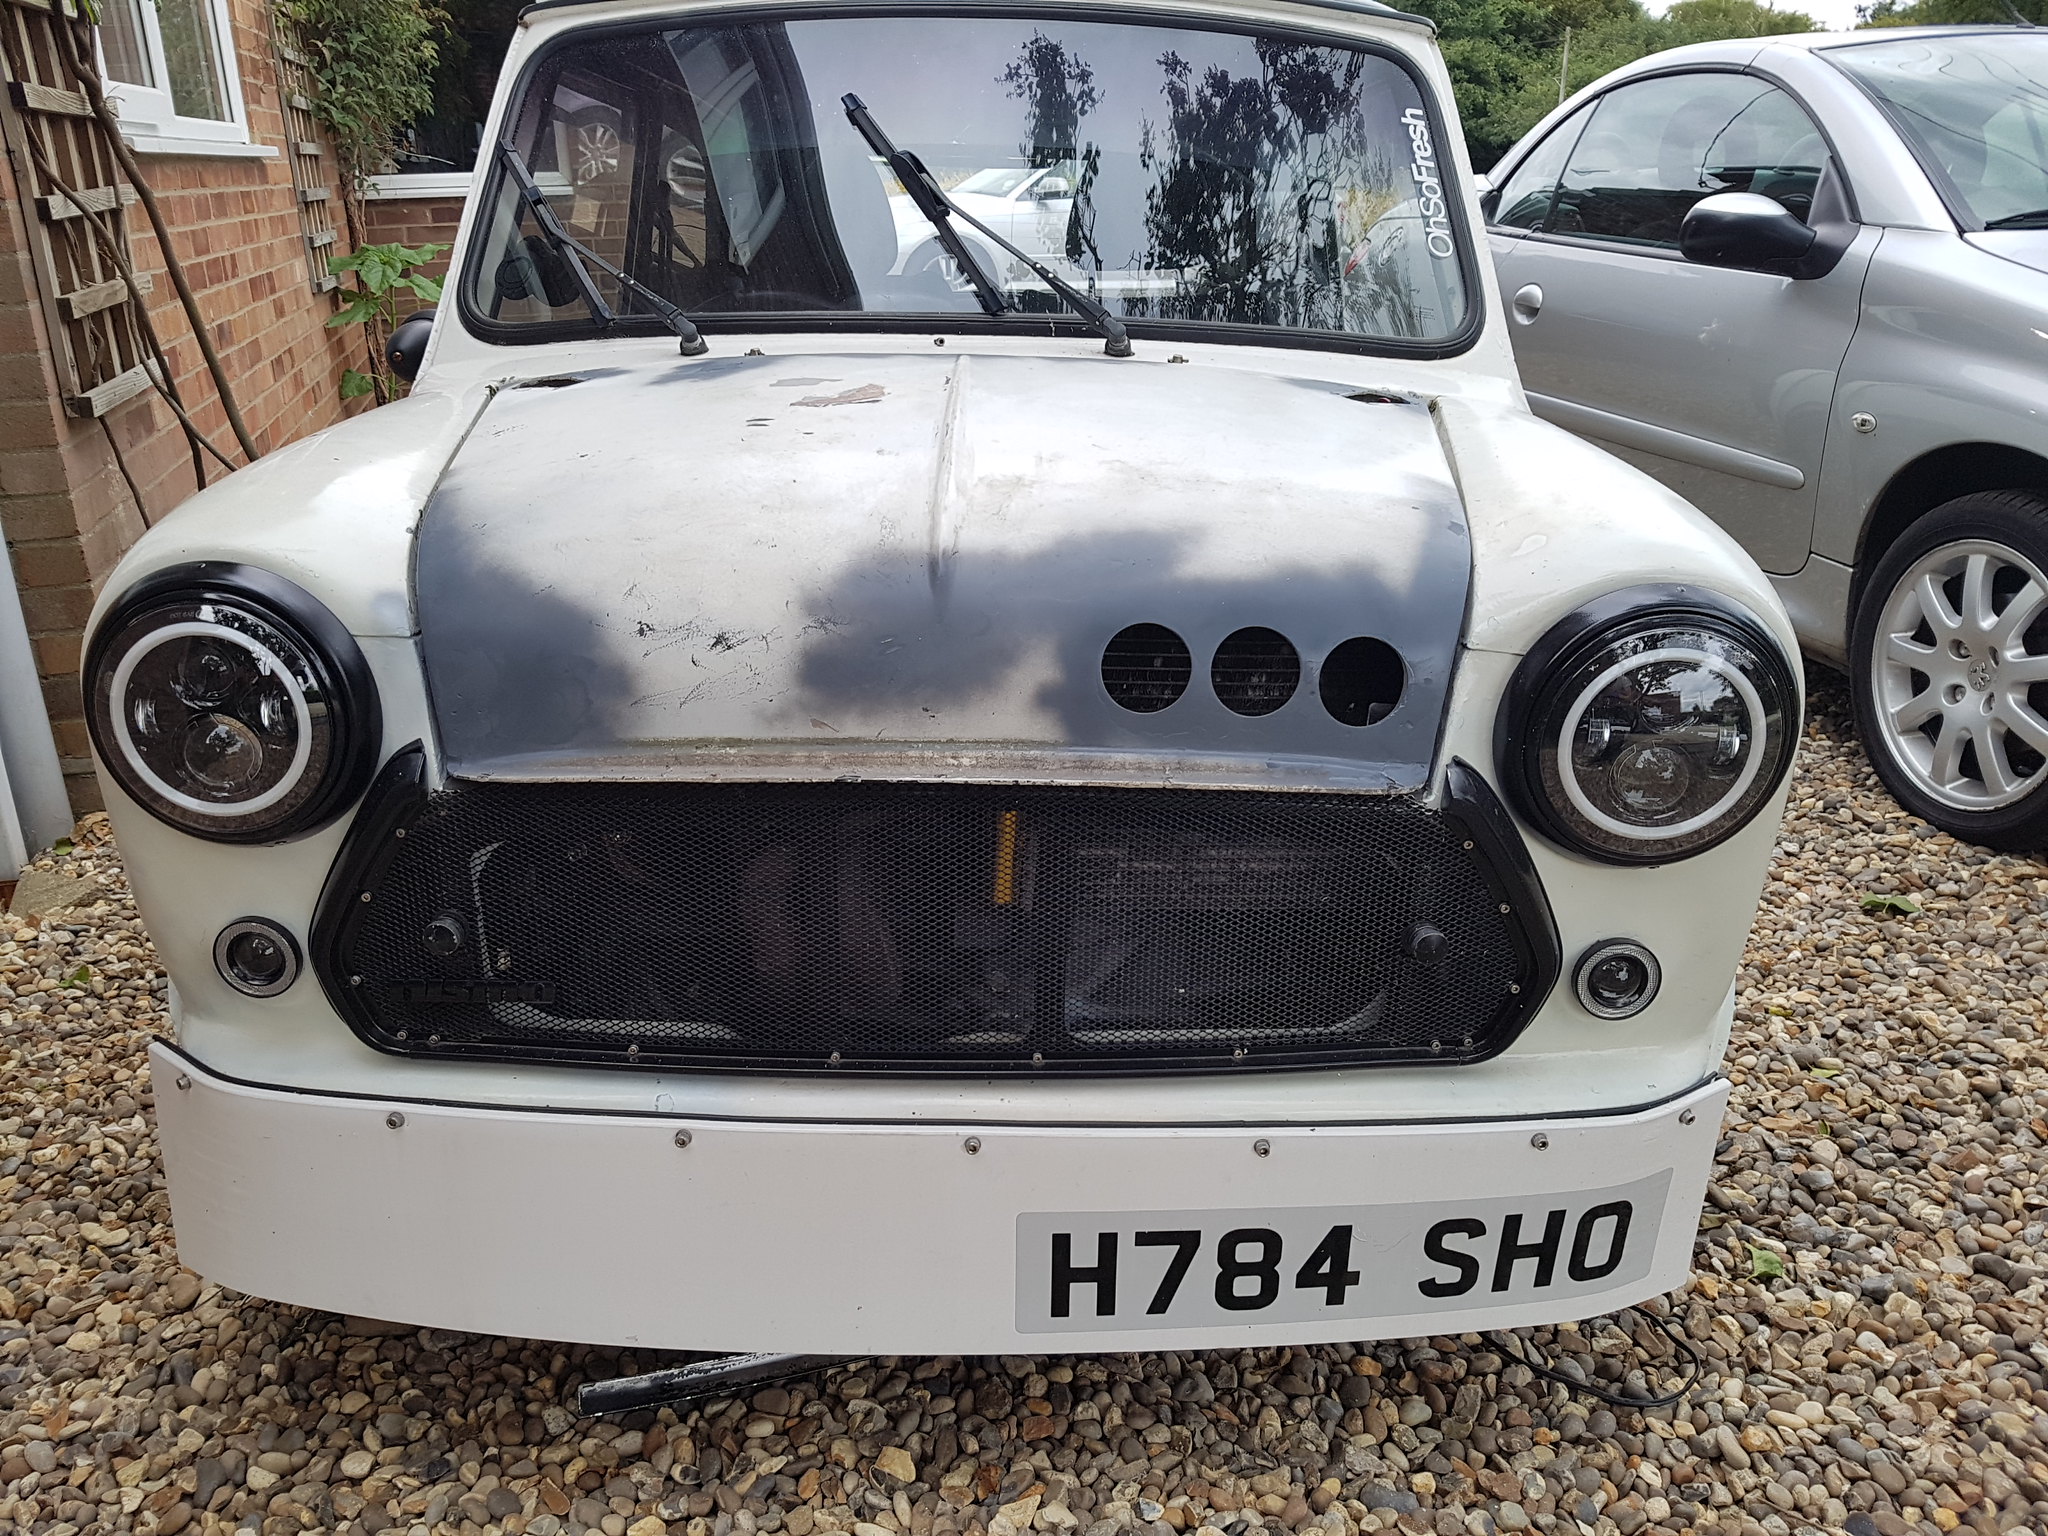 20170820_175121 by Lawrence Balls, on Flickr
I like the holes :)
Lawrence
#621

Posted 21 August 2017 - 01:26 PM
#622

Posted 22 August 2017 - 01:09 PM
Update from this morning
Few bits and pieces really.
Refited my gear linkage with the nice bearings and its amazing, truly amazing. Its almost as smooth as my parents new ish skoda its that good. The only play left is in the gearbox and theres nothing I can do about that.
Also tidyed up the wiring in the front wings and p clipped it all tidy
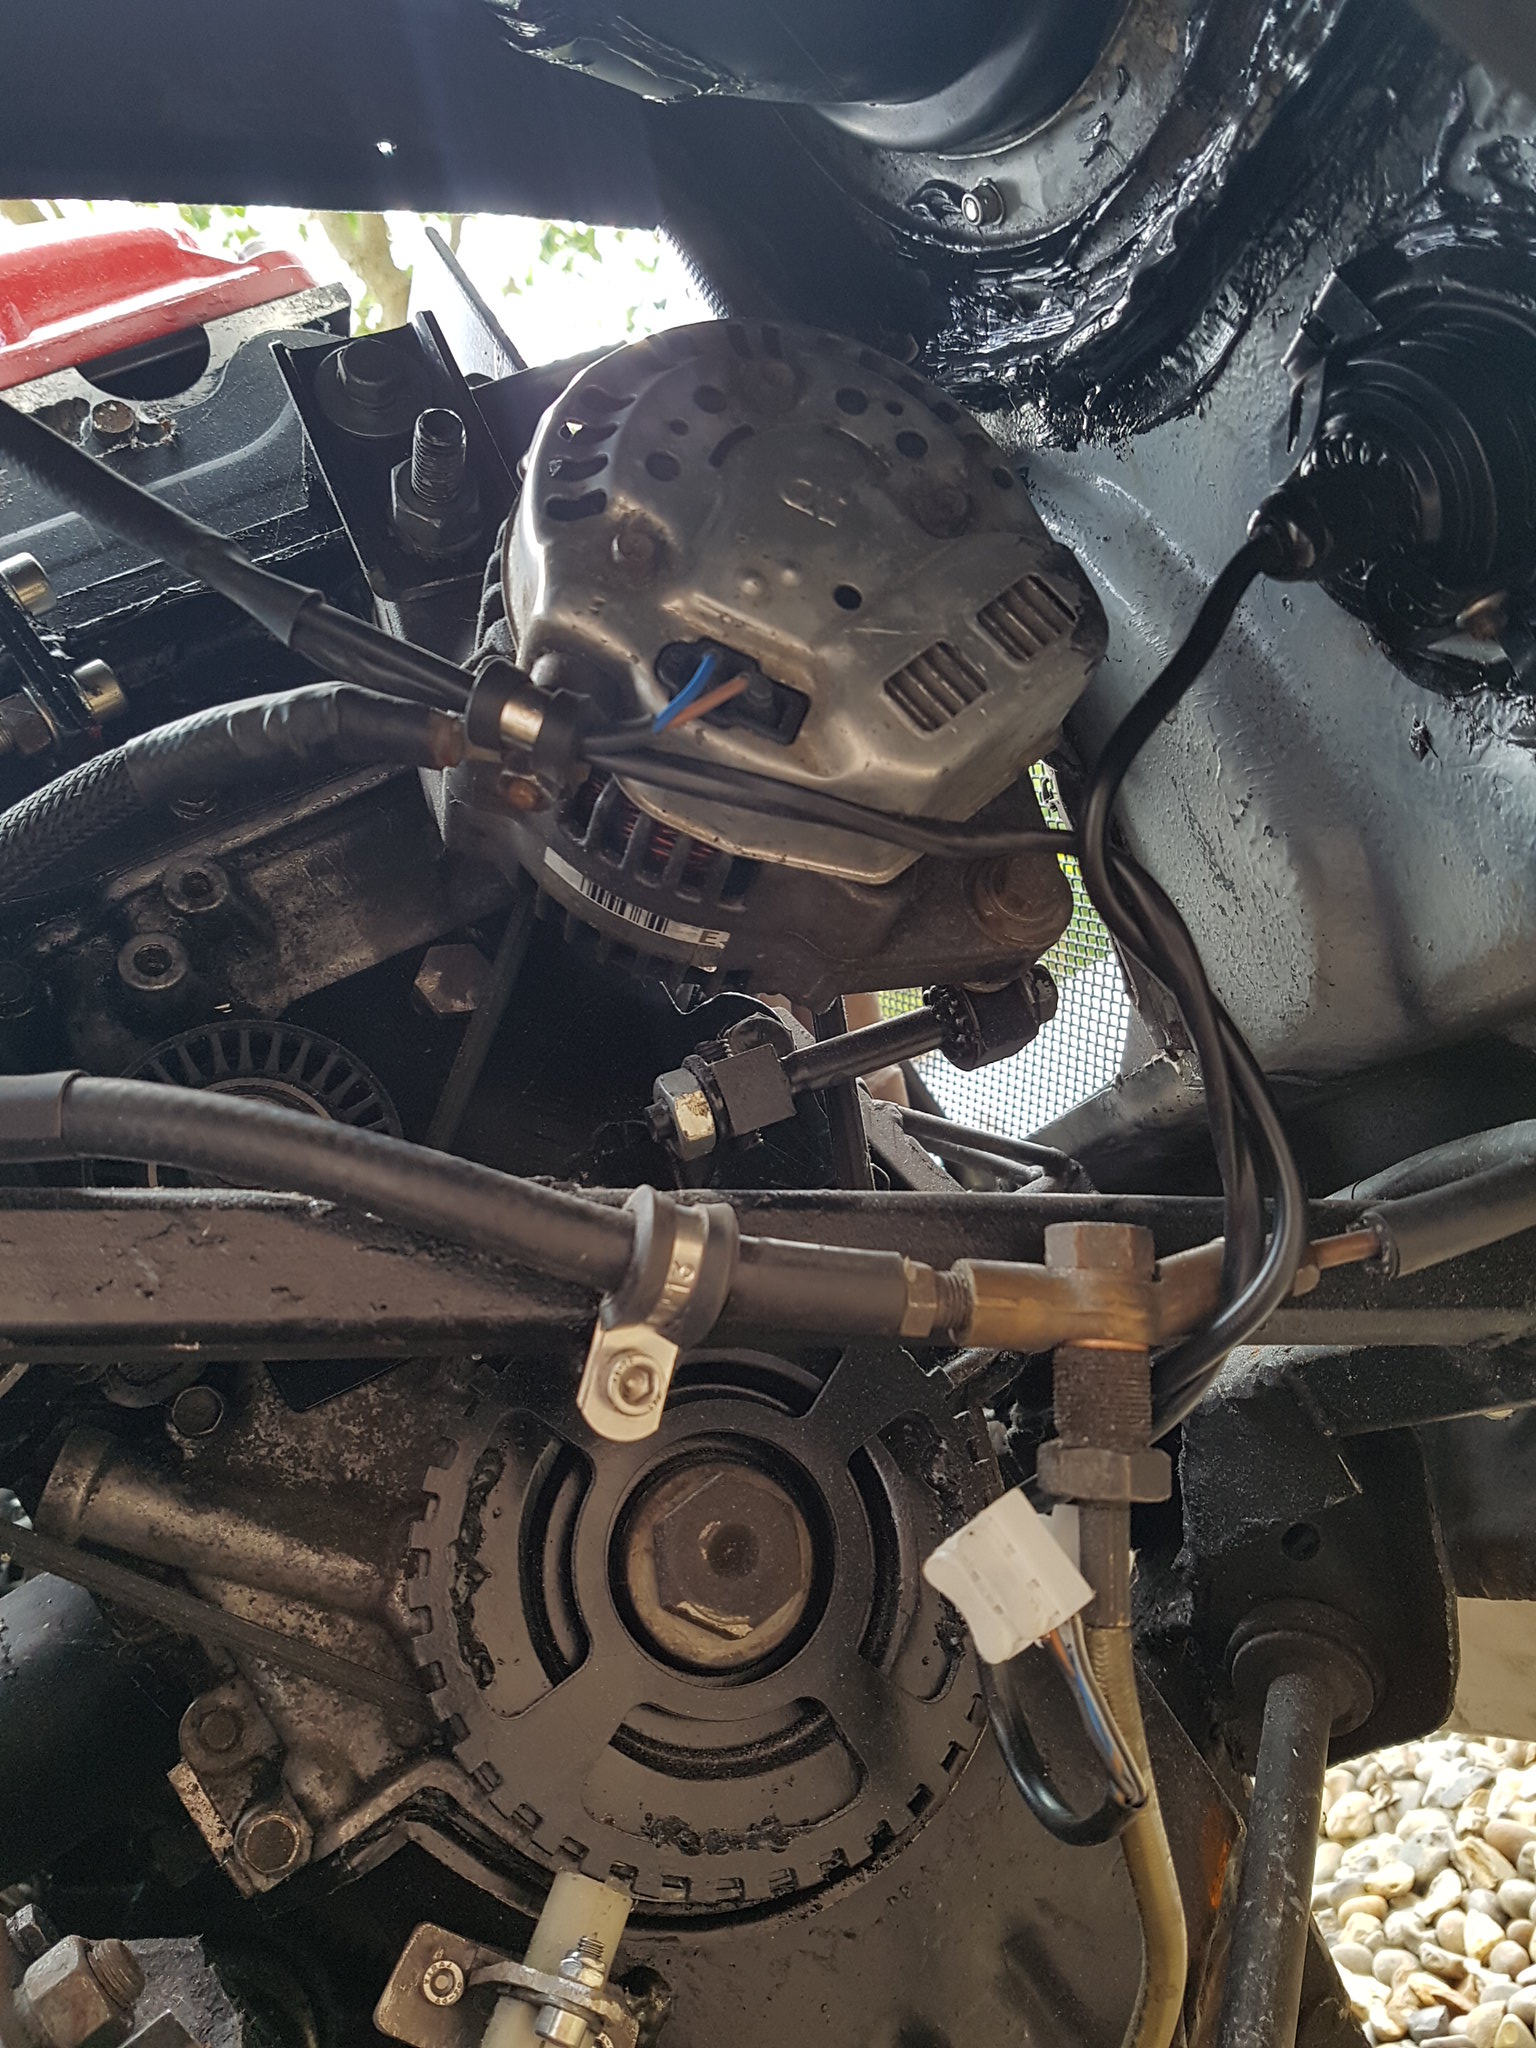 20170822_113332 by Lawrence Balls, on Flickr
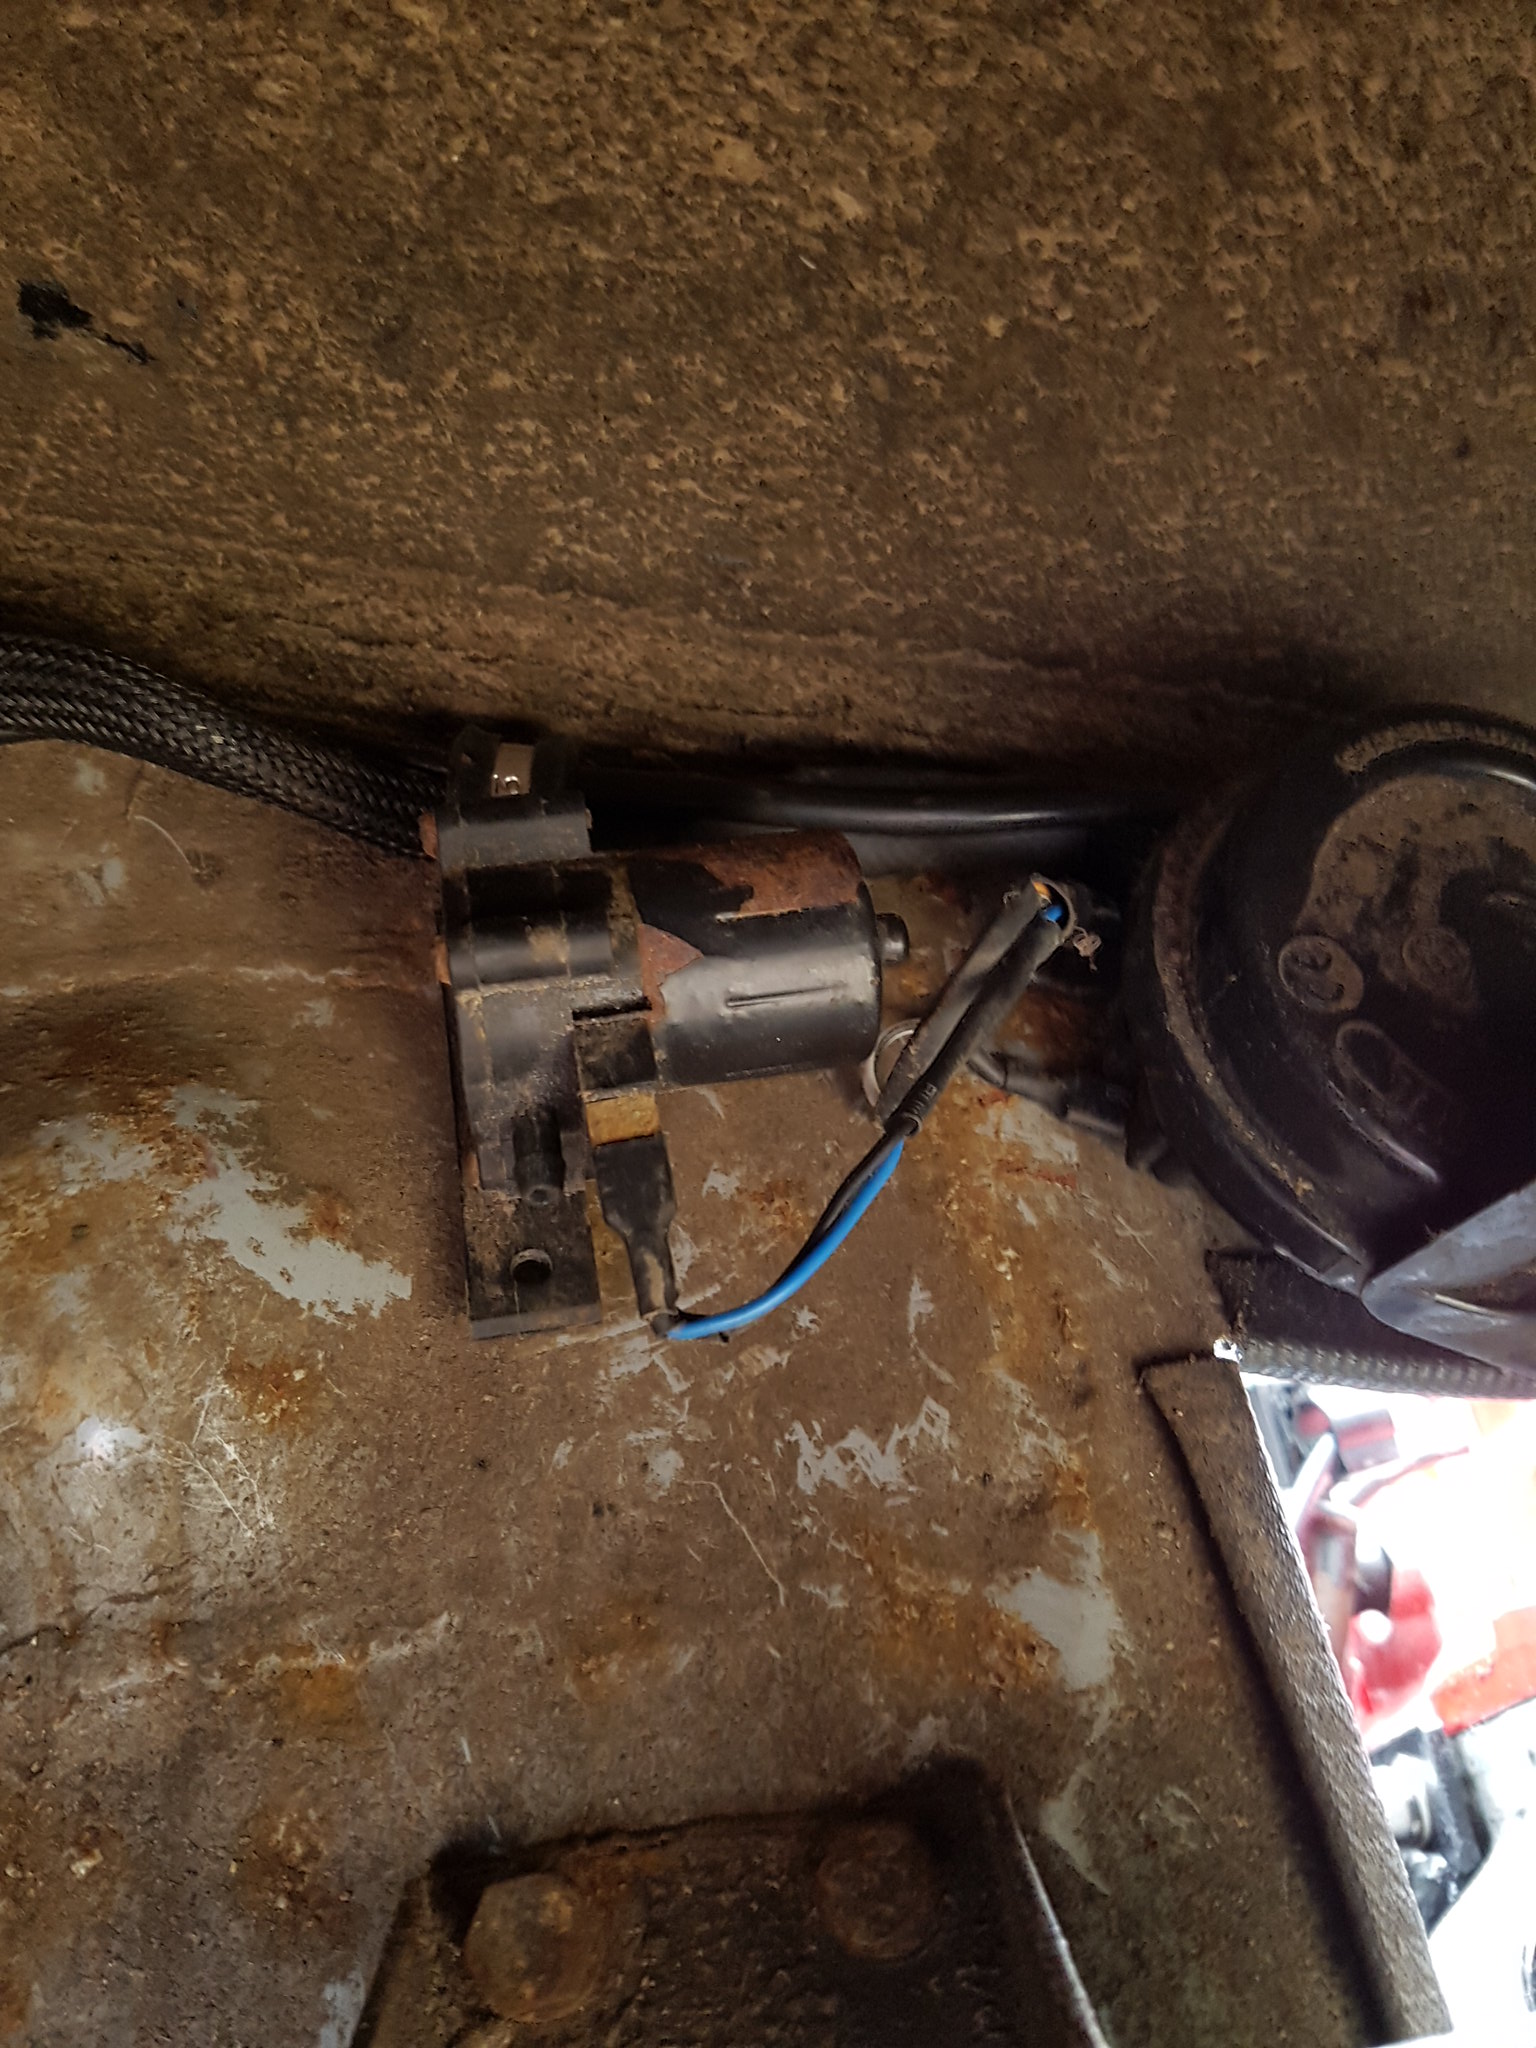 20170822_113342 by Lawrence Balls, on Flickr
compared to how it once was its defo an improvement!!
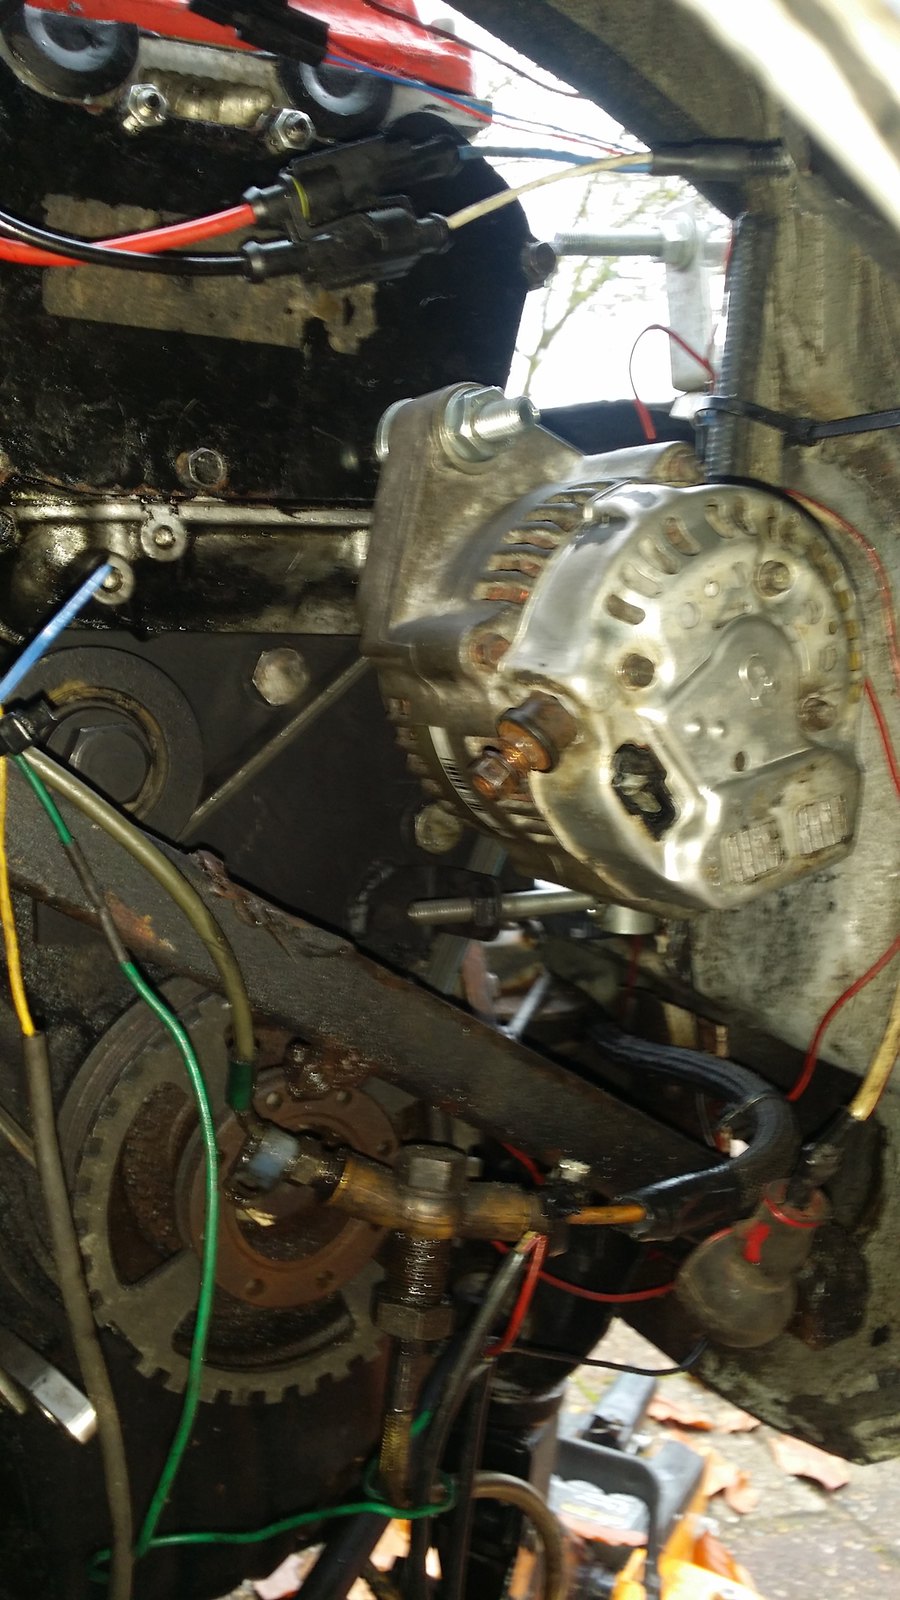 20151110_131236 by Lawrence Balls, on Flickr
and I agree with whoever posted before, that brake plumbing was horrible!!
So onto the exhaust.
I had a think and kept rolling around infont of the car with bits of metal until I thought what the hell am I doing, ive got a spare engine ffs. So put it on the bench
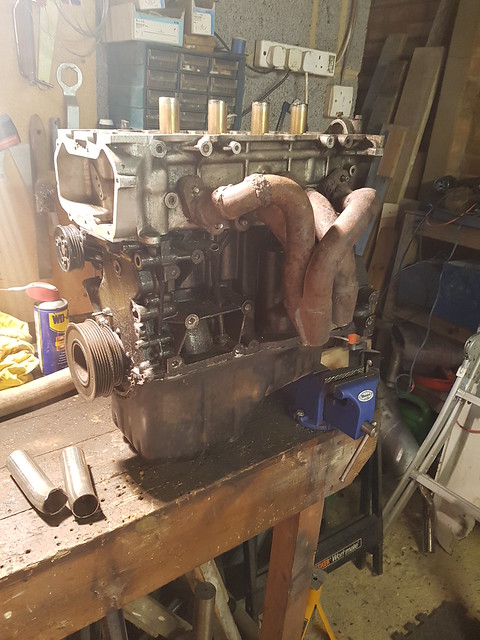 20170822_115747 by Lawrence Balls, on Flickr
that’s easier!
Cut up the exhaust. Hmm it shouldn’t be like this!
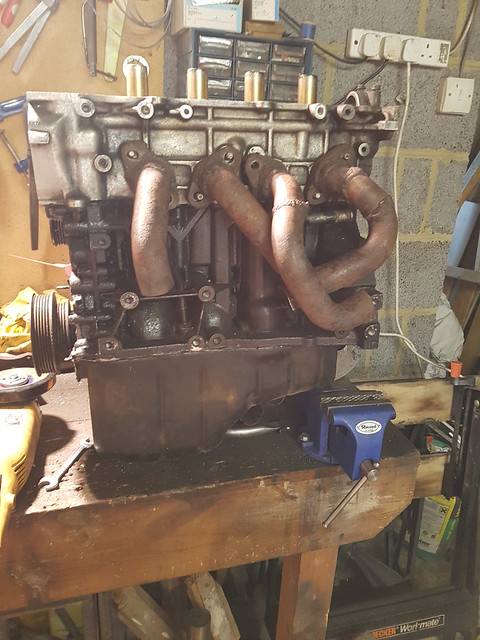 20170822_122106 by Lawrence Balls, on Flickr
So I cut the linking bits off because I want to get the exhaust closer to the block.
Plan is to do this, weld one pipe straight down and have the other blend to it. Then I will have space to fit the 2 new downpipes which will go together under the car towards the y piece.
Youll have to use your imagination
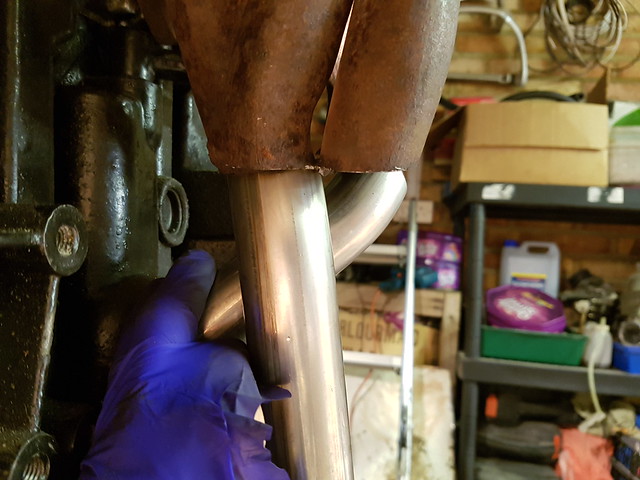 20170822_124046 by Lawrence Balls, on Flickr
anyhow itll mean I can have the slip joint at the front of the block where there is more space and create clearance around the engine and frame area which was tight before.
Ive ordered a 180 bend which ill cut in half and extend to tweak the angles to what I need them at.
Least ive made my mind up about the exhaust now.
Updates next week when parts arrive
Lawrence
#623

Posted 23 August 2017 - 08:43 AM
#624

Posted 24 August 2017 - 02:26 PM
Nope not a 41 a 421
So I was at uni all day yesterday but as normal half mini today half uni in the afternoon.
Had a few deliverys,
New connectors for the tbs
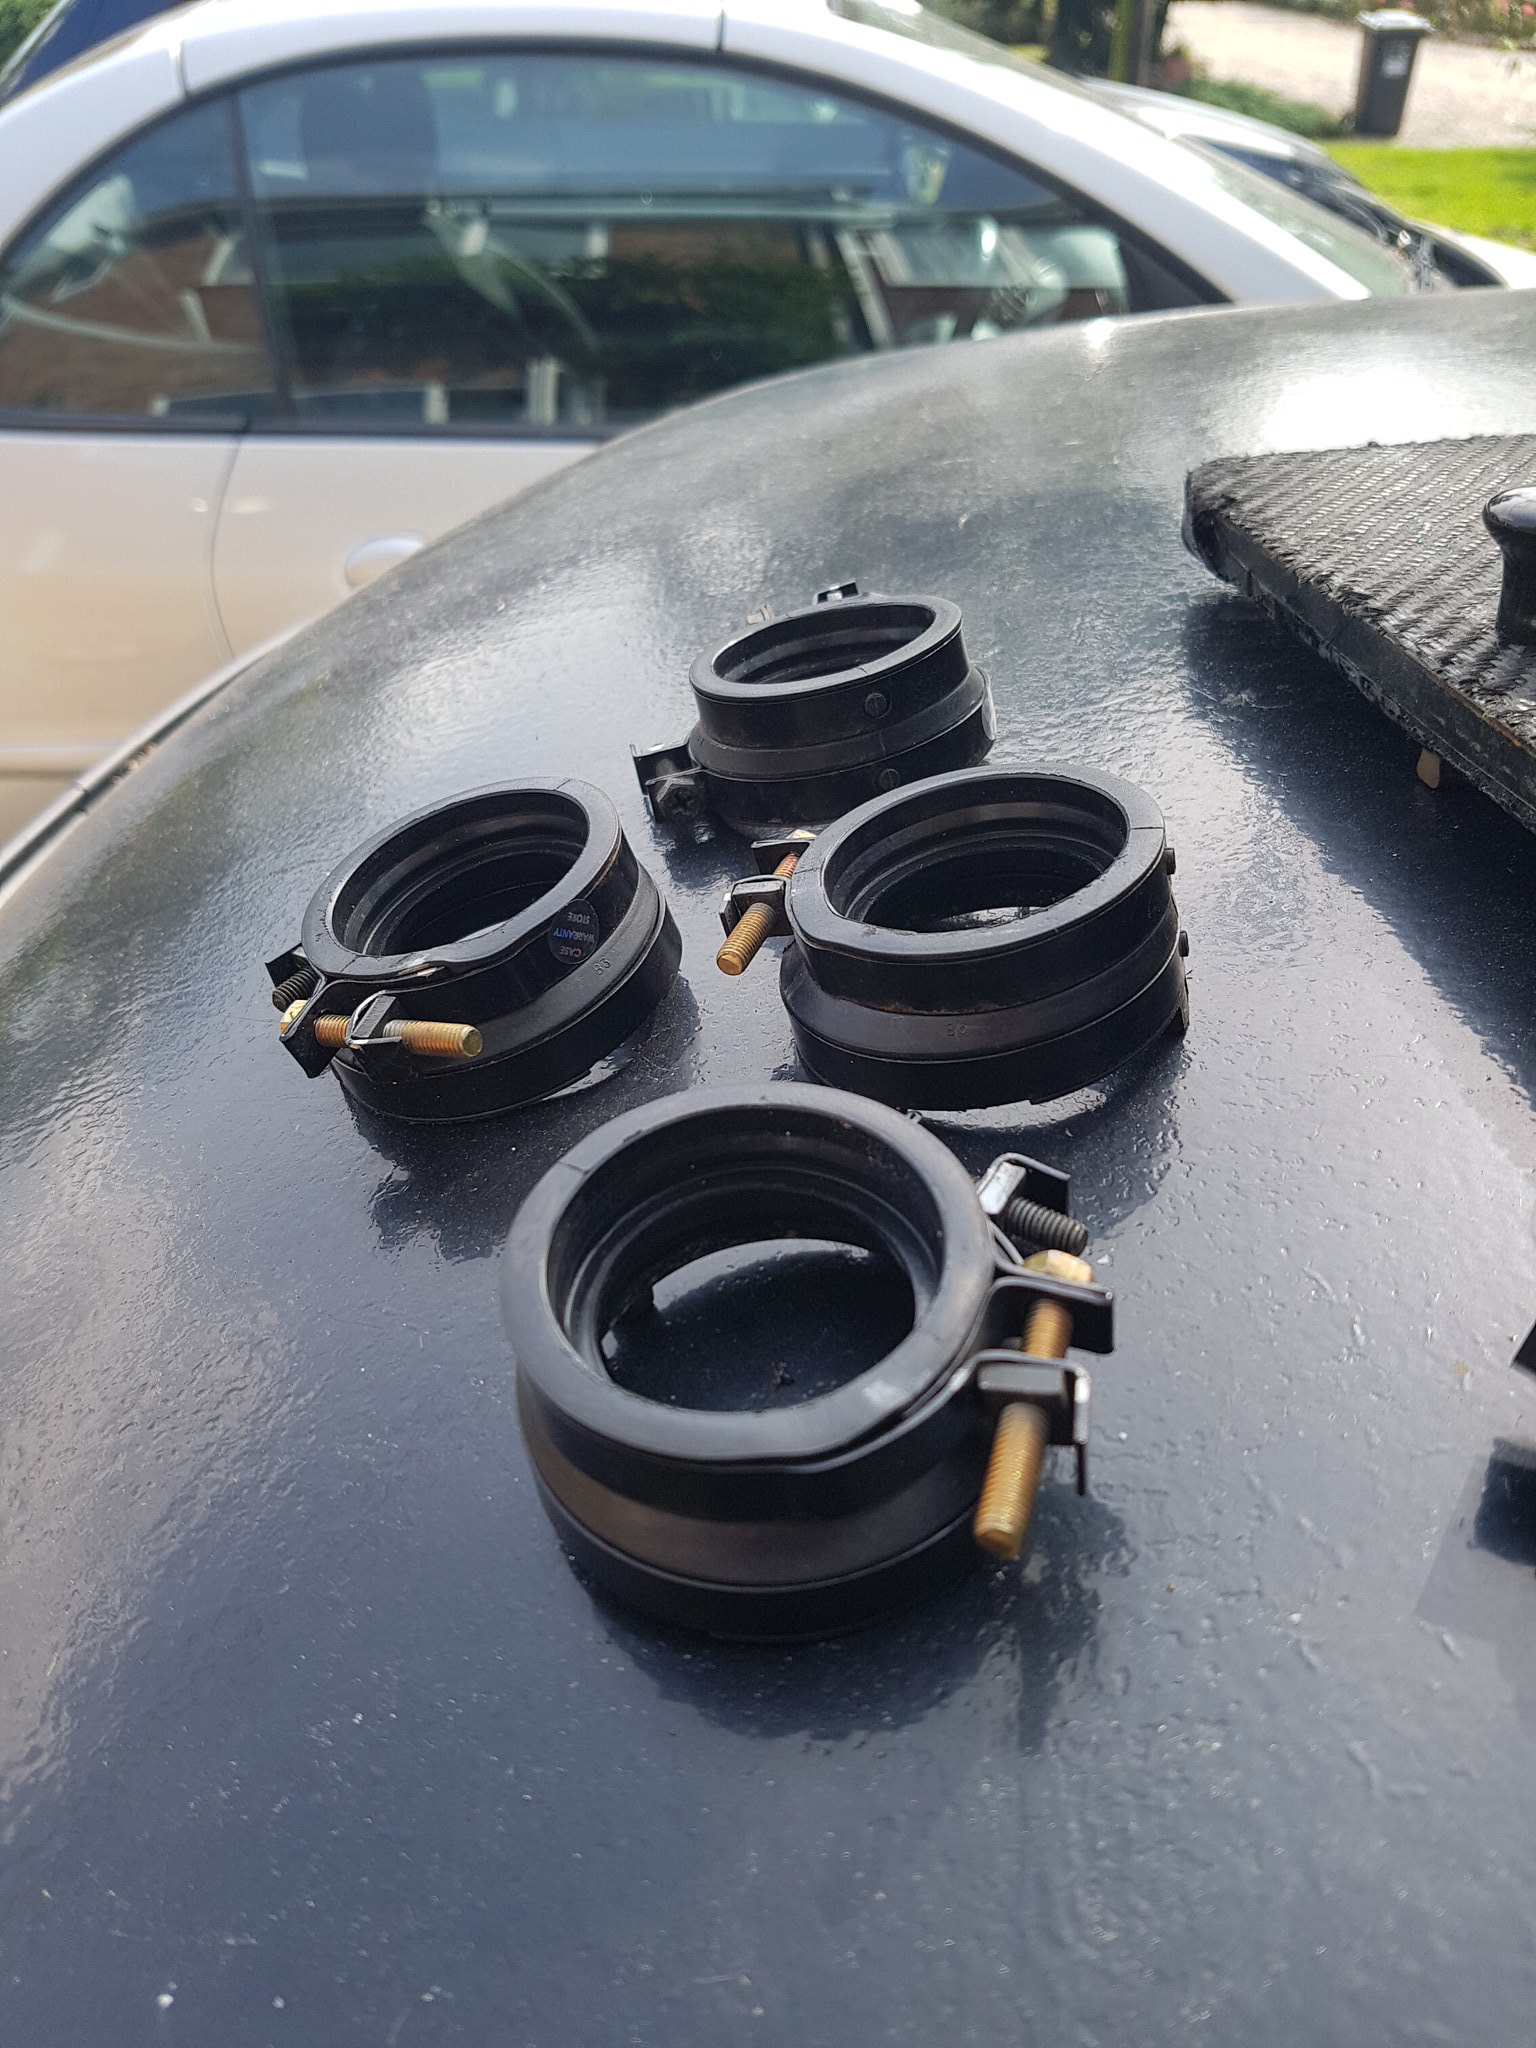 20170824_110538 by Lawrence Balls, on Flickr
and got my bit of 180deg steel bend too.
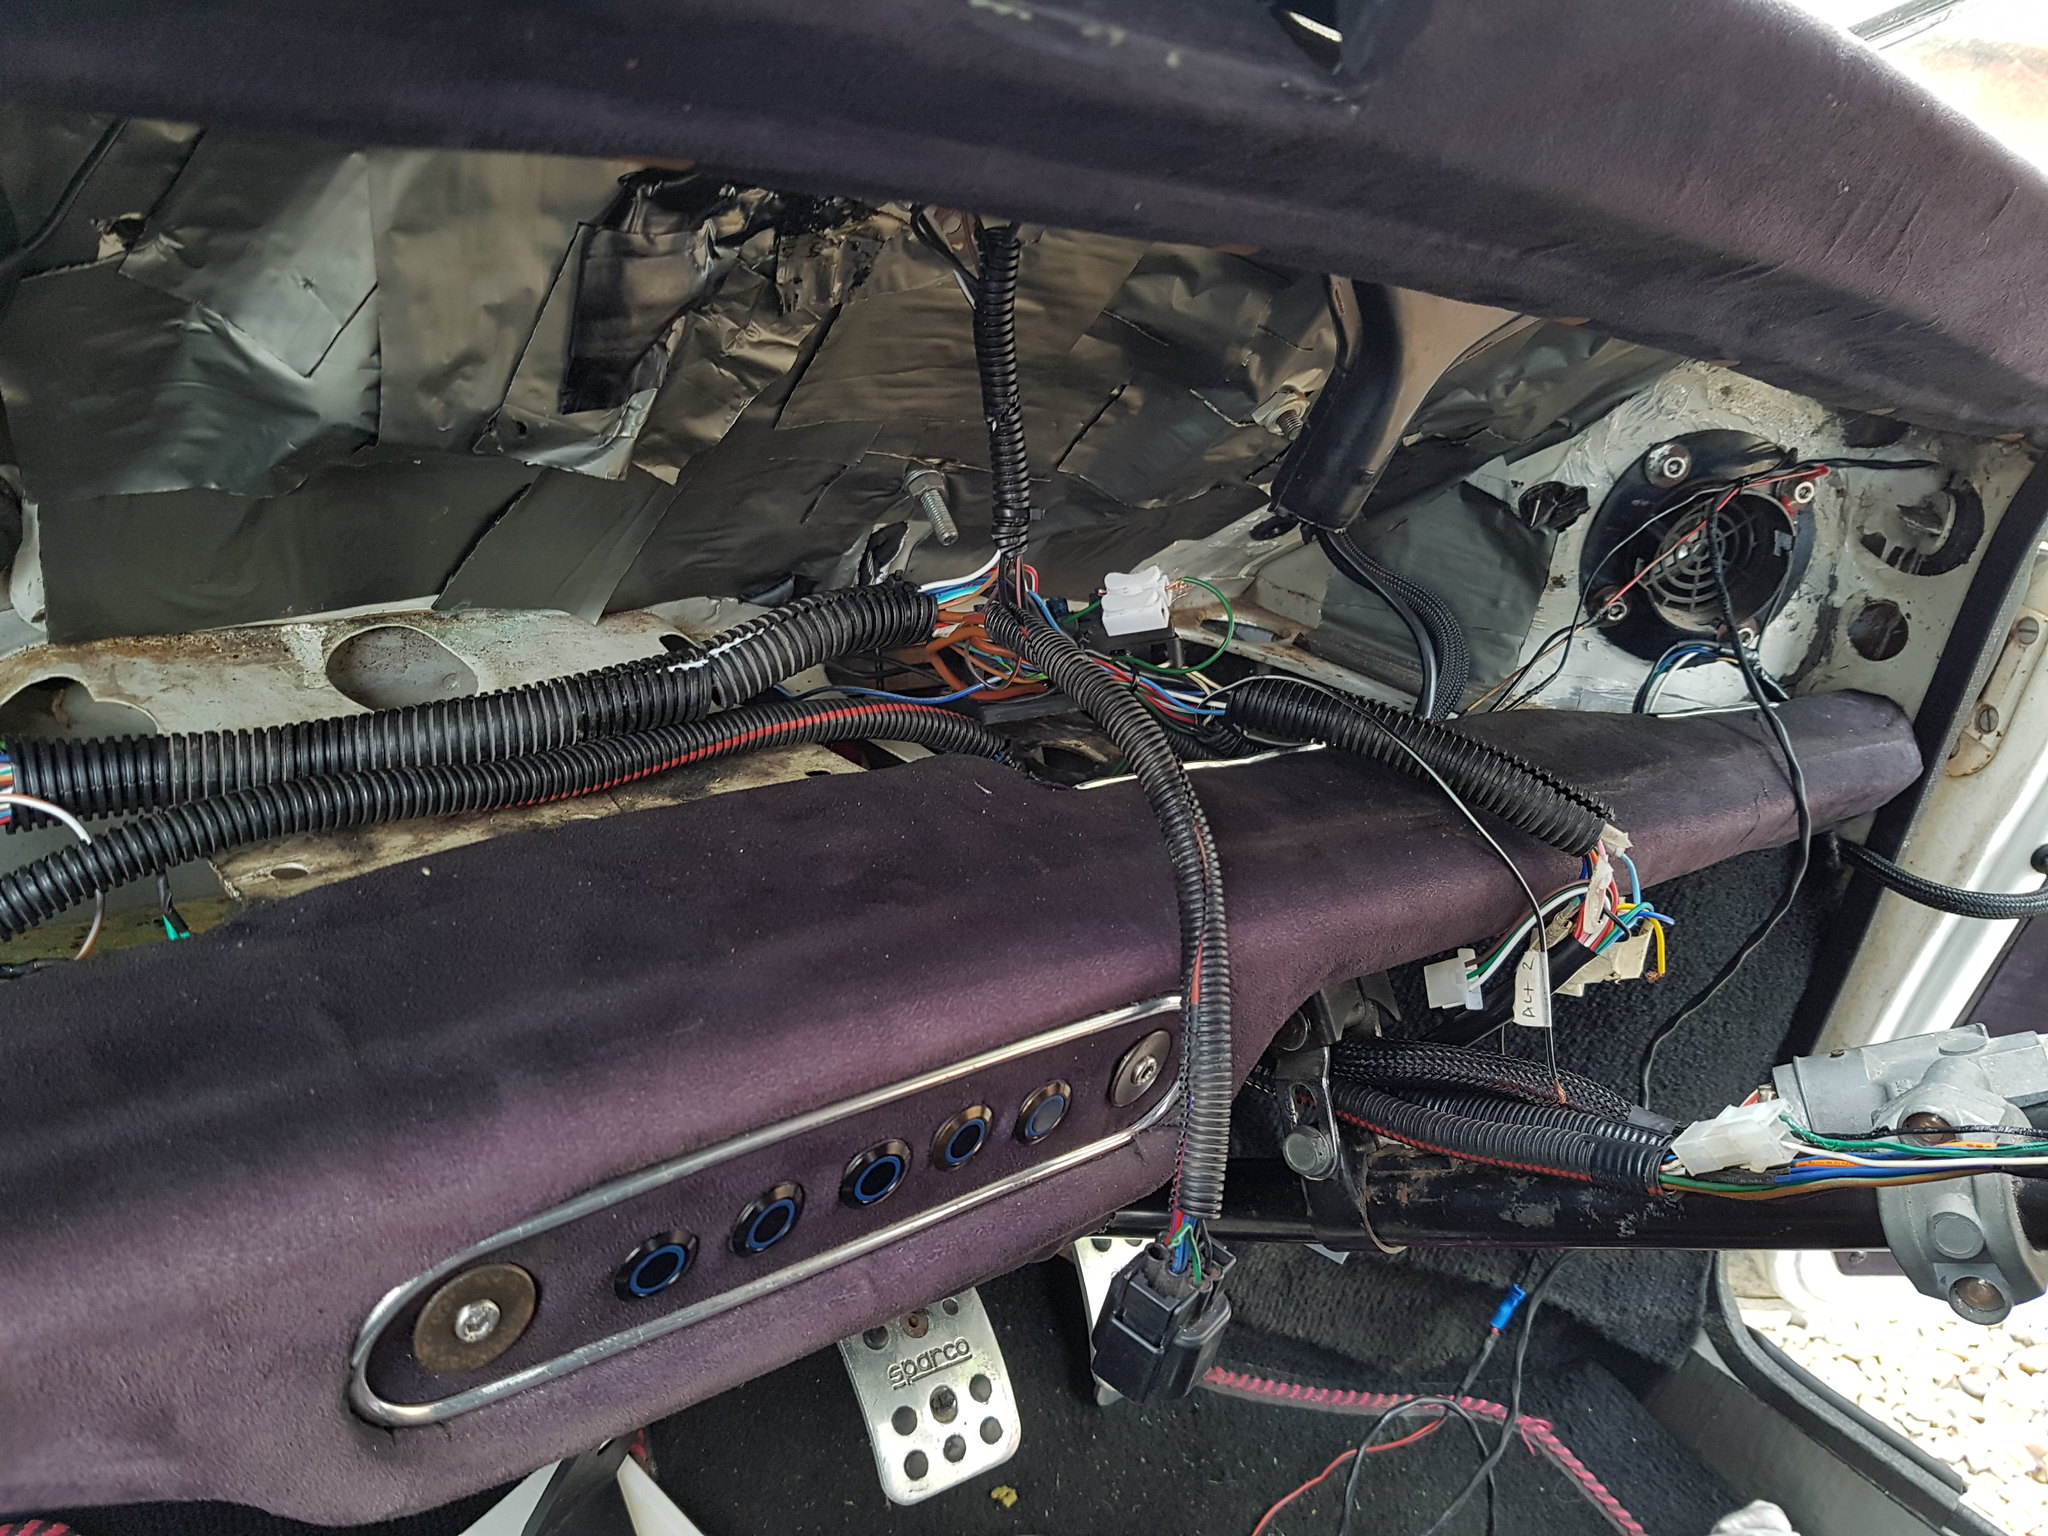
Sorted out the wiring on the front end, had to take the dash out but it needs to come out for megasquirt anyhow
 20170824_124415 by Lawrence Balls, on Flickr
much less rats nesty!
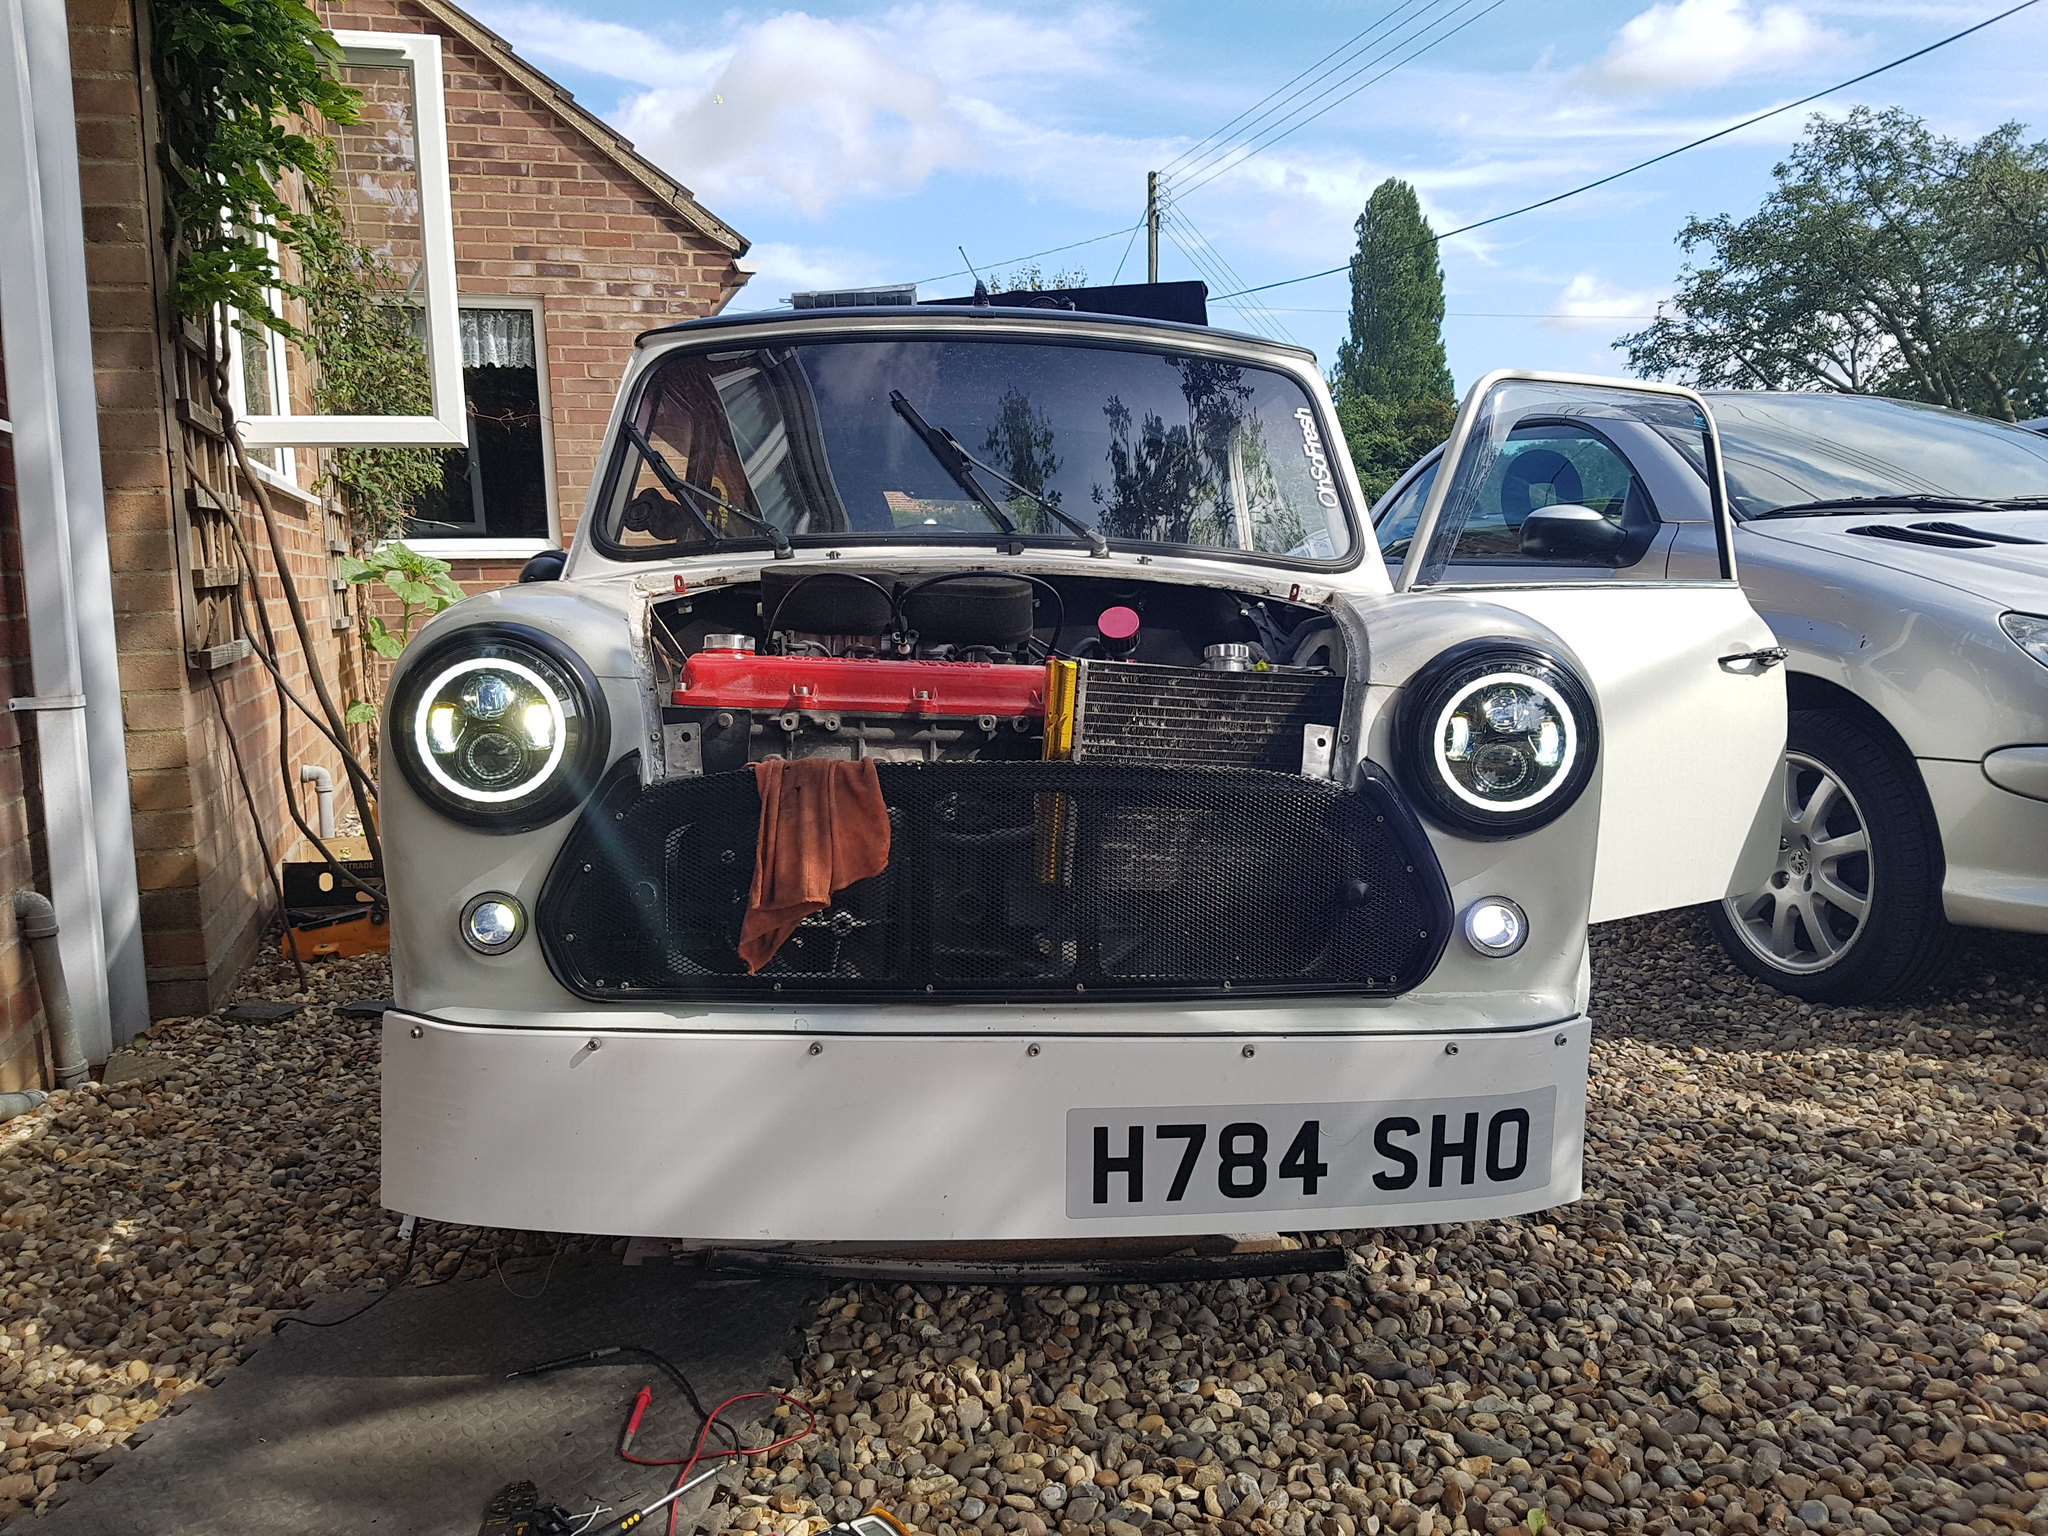
So indicators, dip, main, fog, drl and side lights now all work J and all the switches and relays etc too!
 20170824_104842 by Lawrence Balls, on Flickr
I still need to fit a resistor to the indicator circuit as the led headlights annoying haven’t got one fitted and the ones I bought are useless.
Onto the exhaust
 20170824_135839 by Lawrence Balls, on Flickr
 20170824_135842 by Lawrence Balls, on Flickr
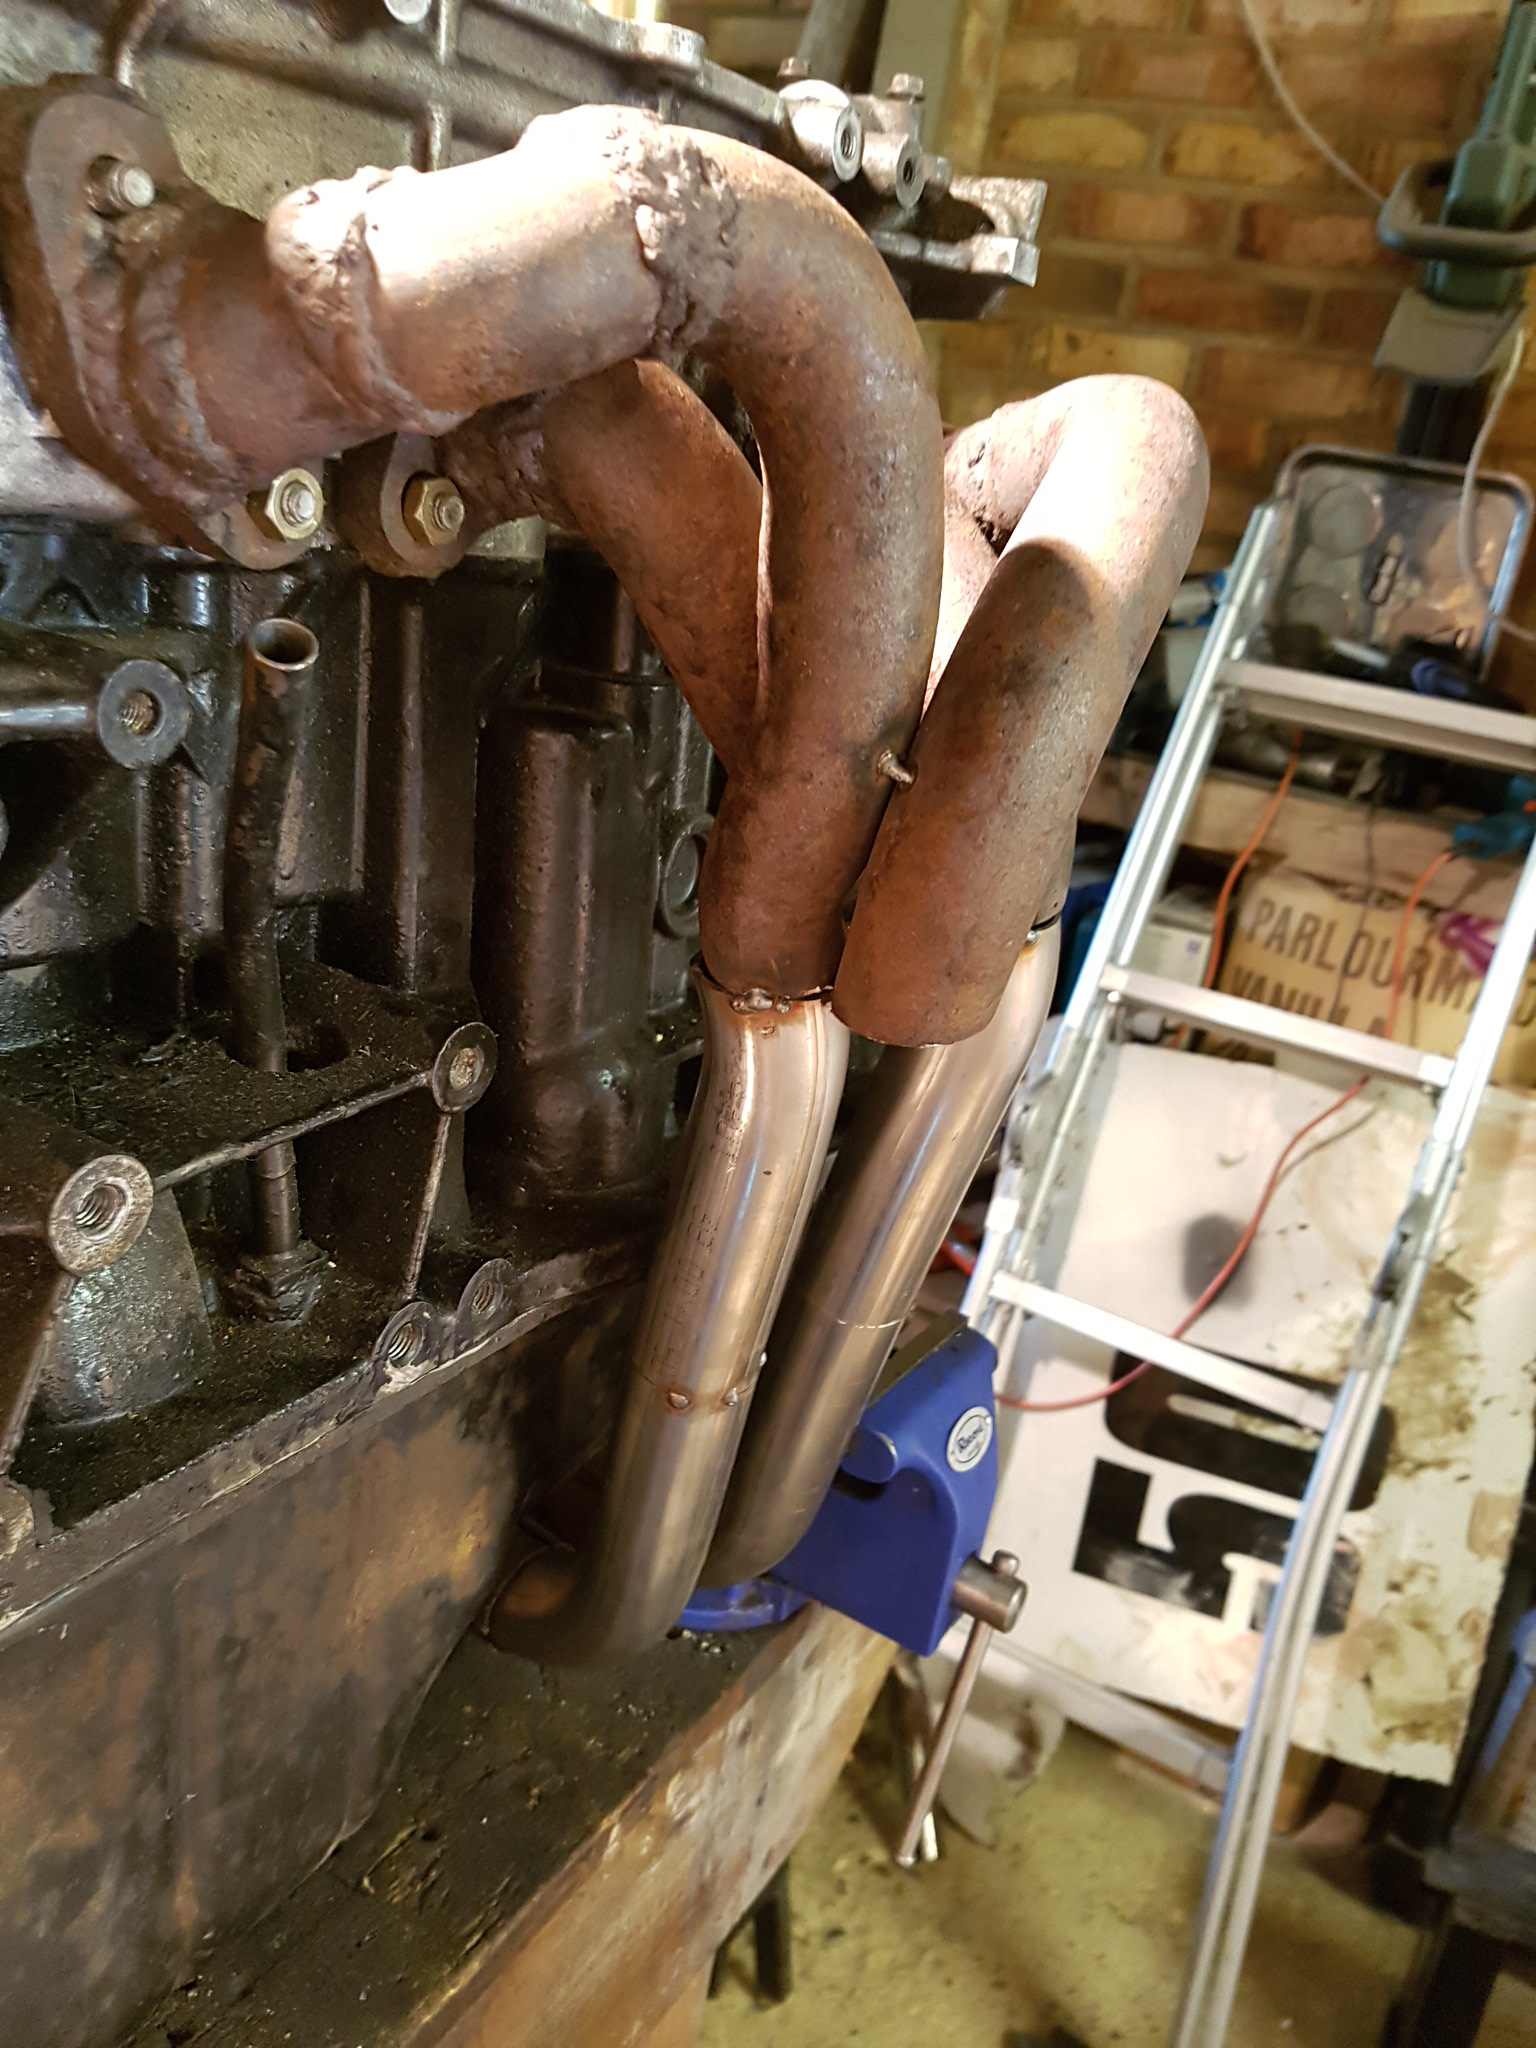
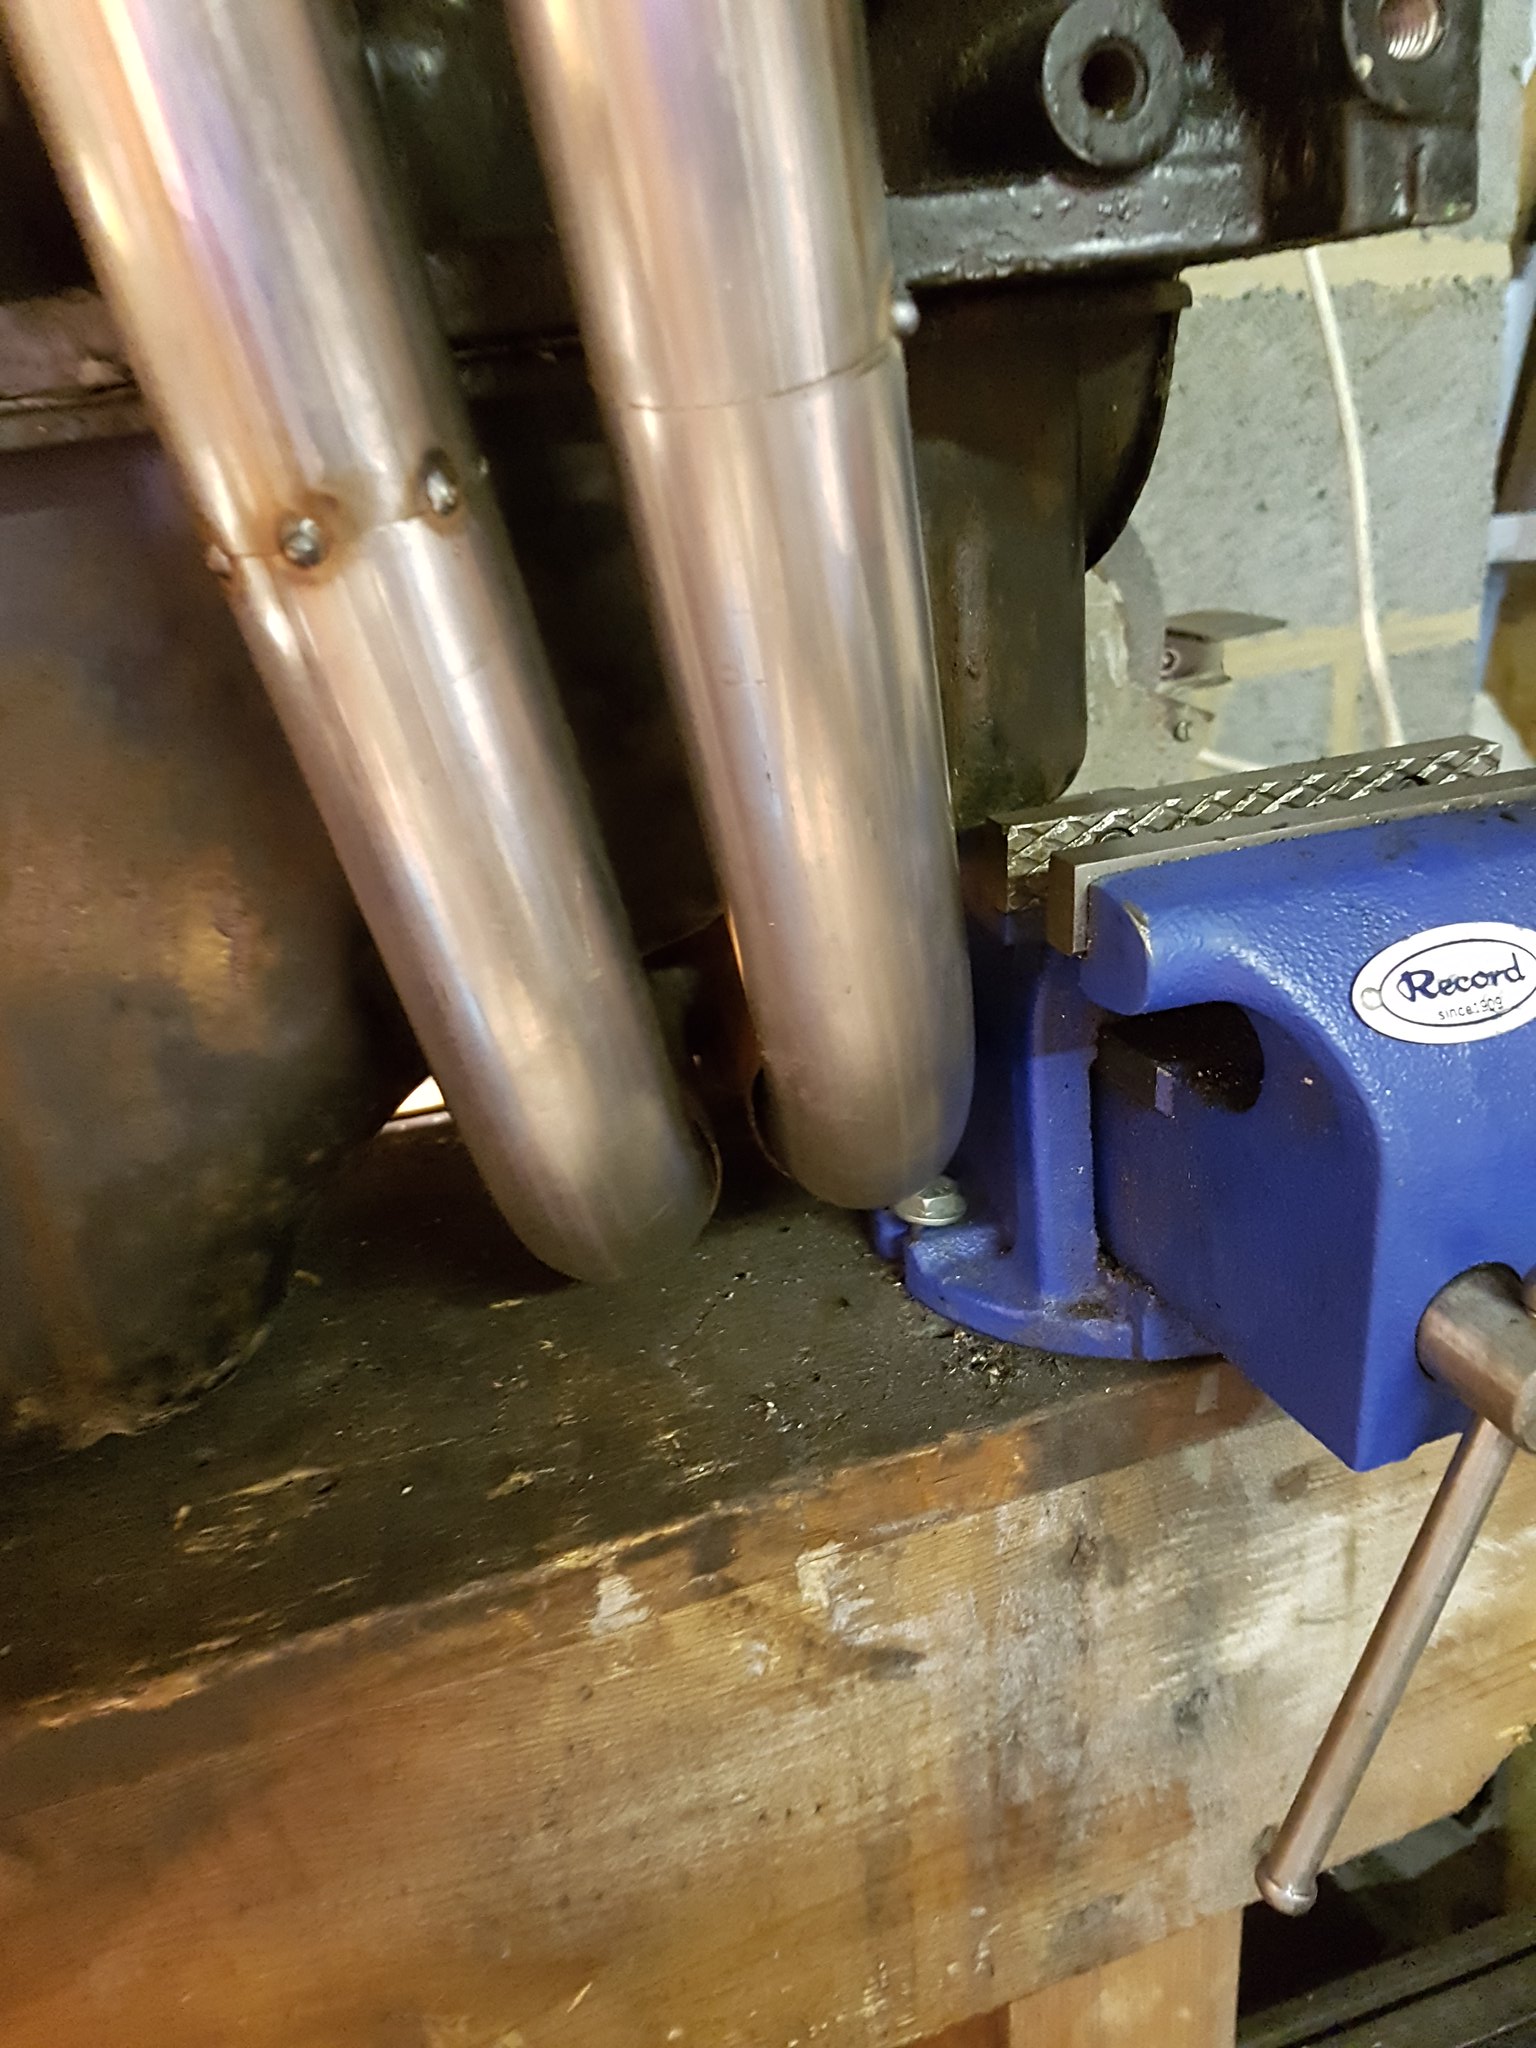
lopped the 180 bend in half and extended the pipes up. Tacked it all together and its works nicely. Exhaust is in two pieces to aid putting it together on the car.
Ive trial fitted it to mini and the clearance is good. It’s a cm or so from the block and a cm ish from the frame so right where I want it.
Update next week, will be the exhaust and a bit of wiring when the waterproof connectors arrive.
Lawrence
#625

Posted 30 August 2017 - 08:38 AM
Little update from last week
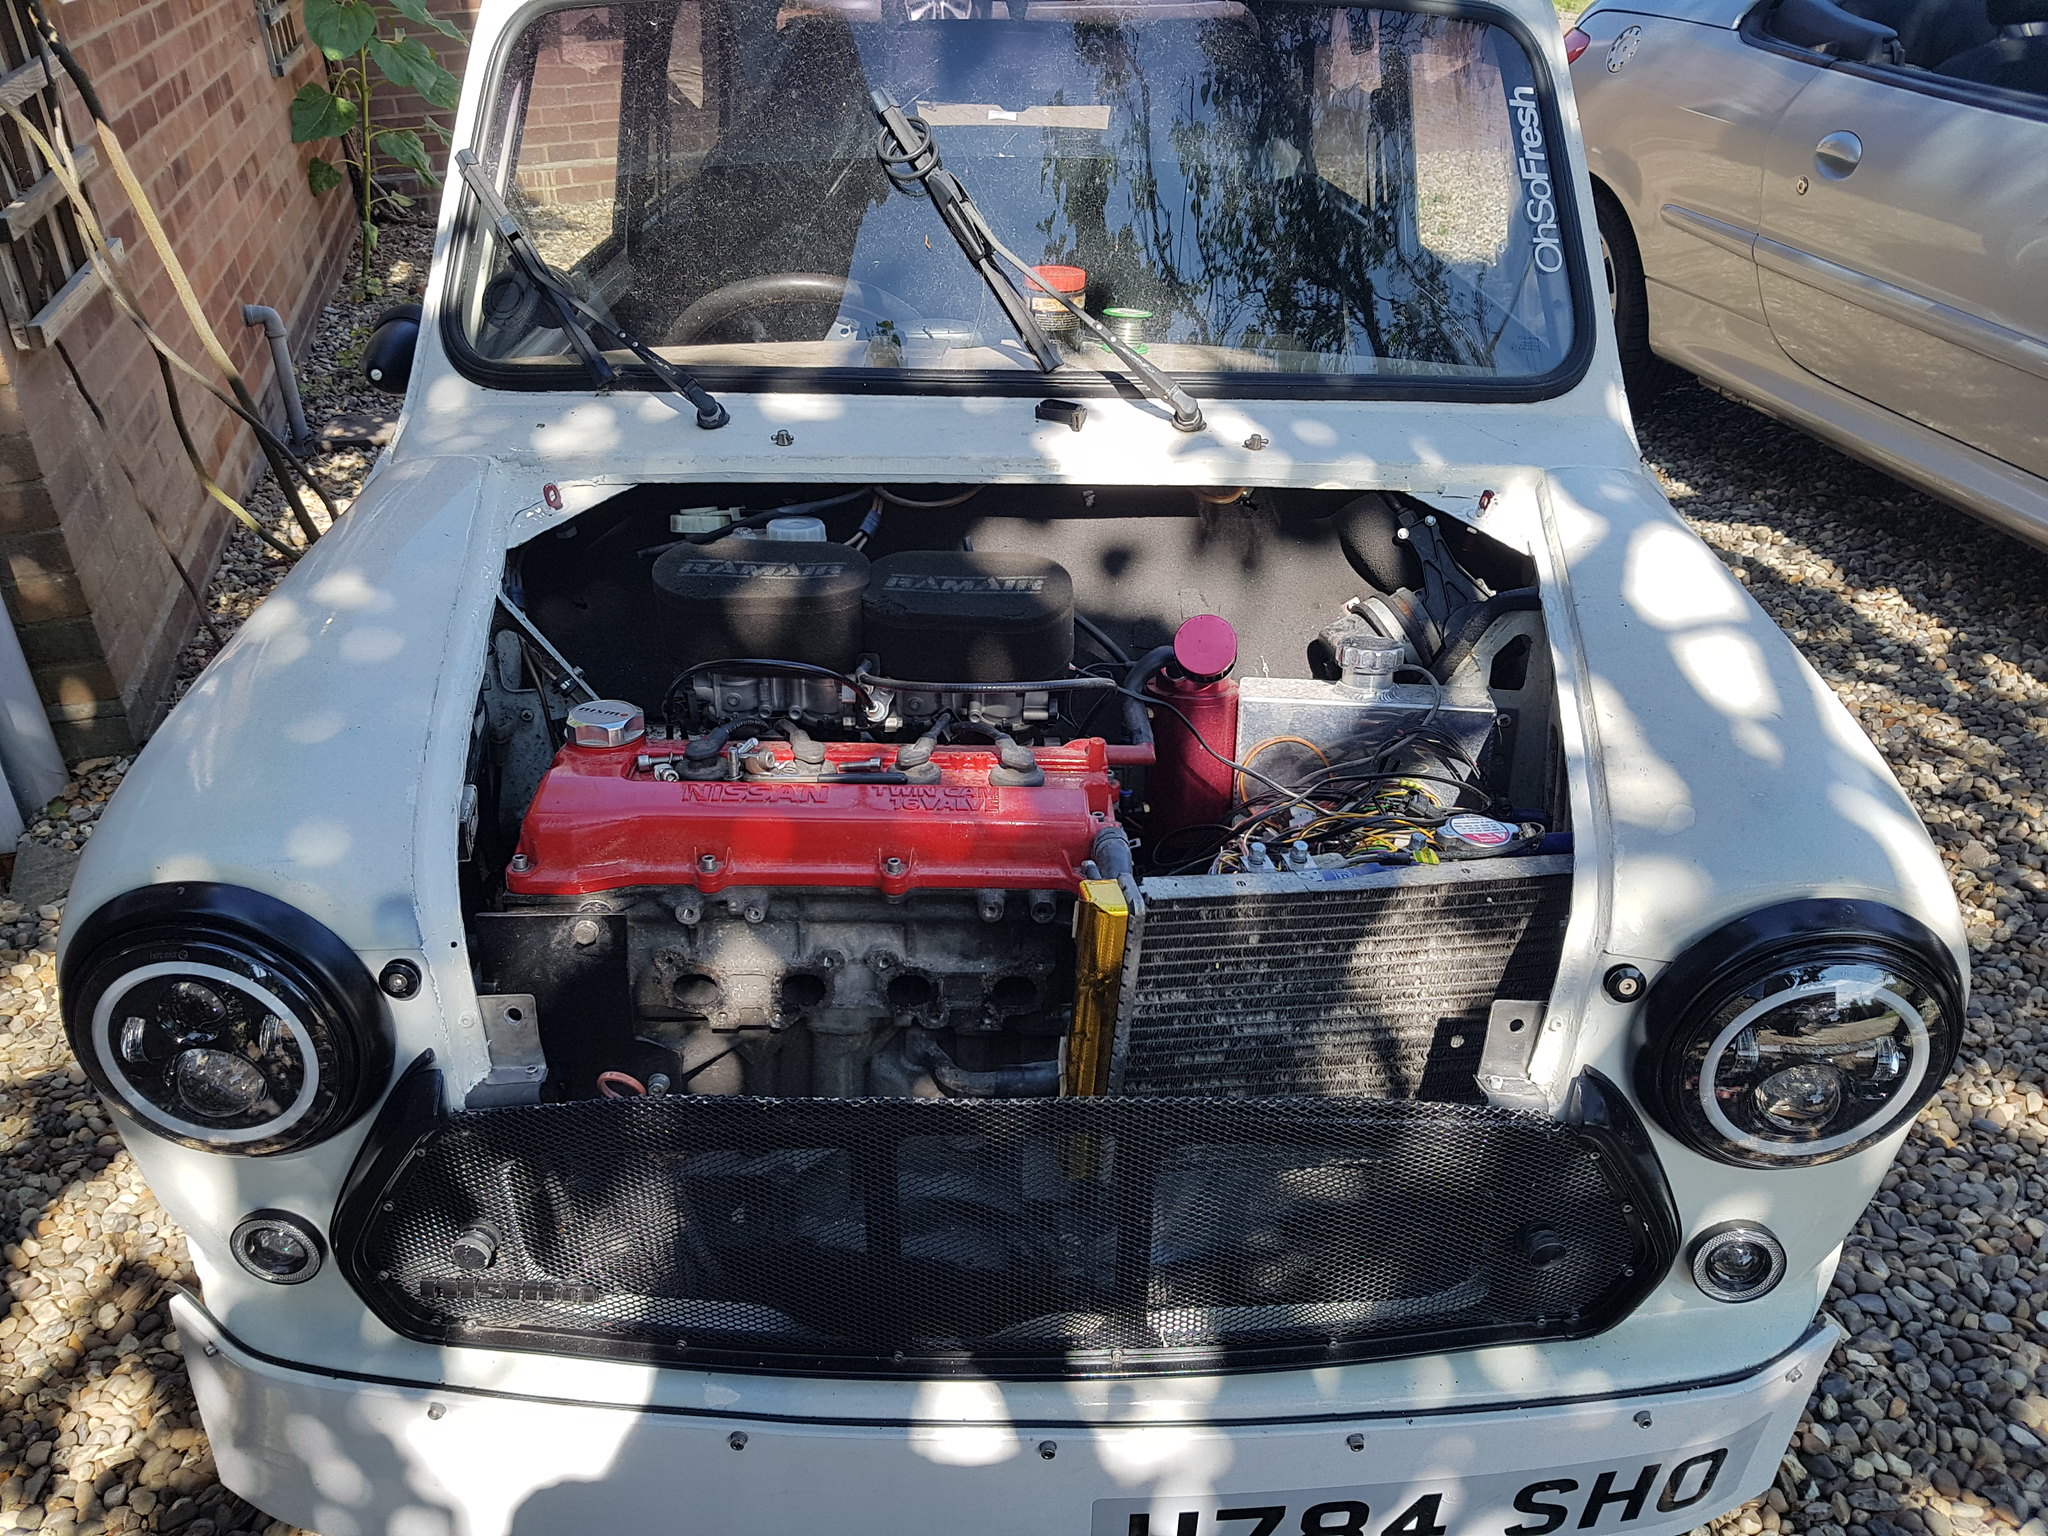
Fitted new bonnet ties
 20170827_123150 by Lawrence Balls, on Flickr
rear aerocatches are lockable and the front locking clips I had just were awful to line up, at least this way its easier to get the bonnet on and off without damaging the paint and also a theft deterrent too.
 20170827_133338 by Lawrence Balls, on Flickr
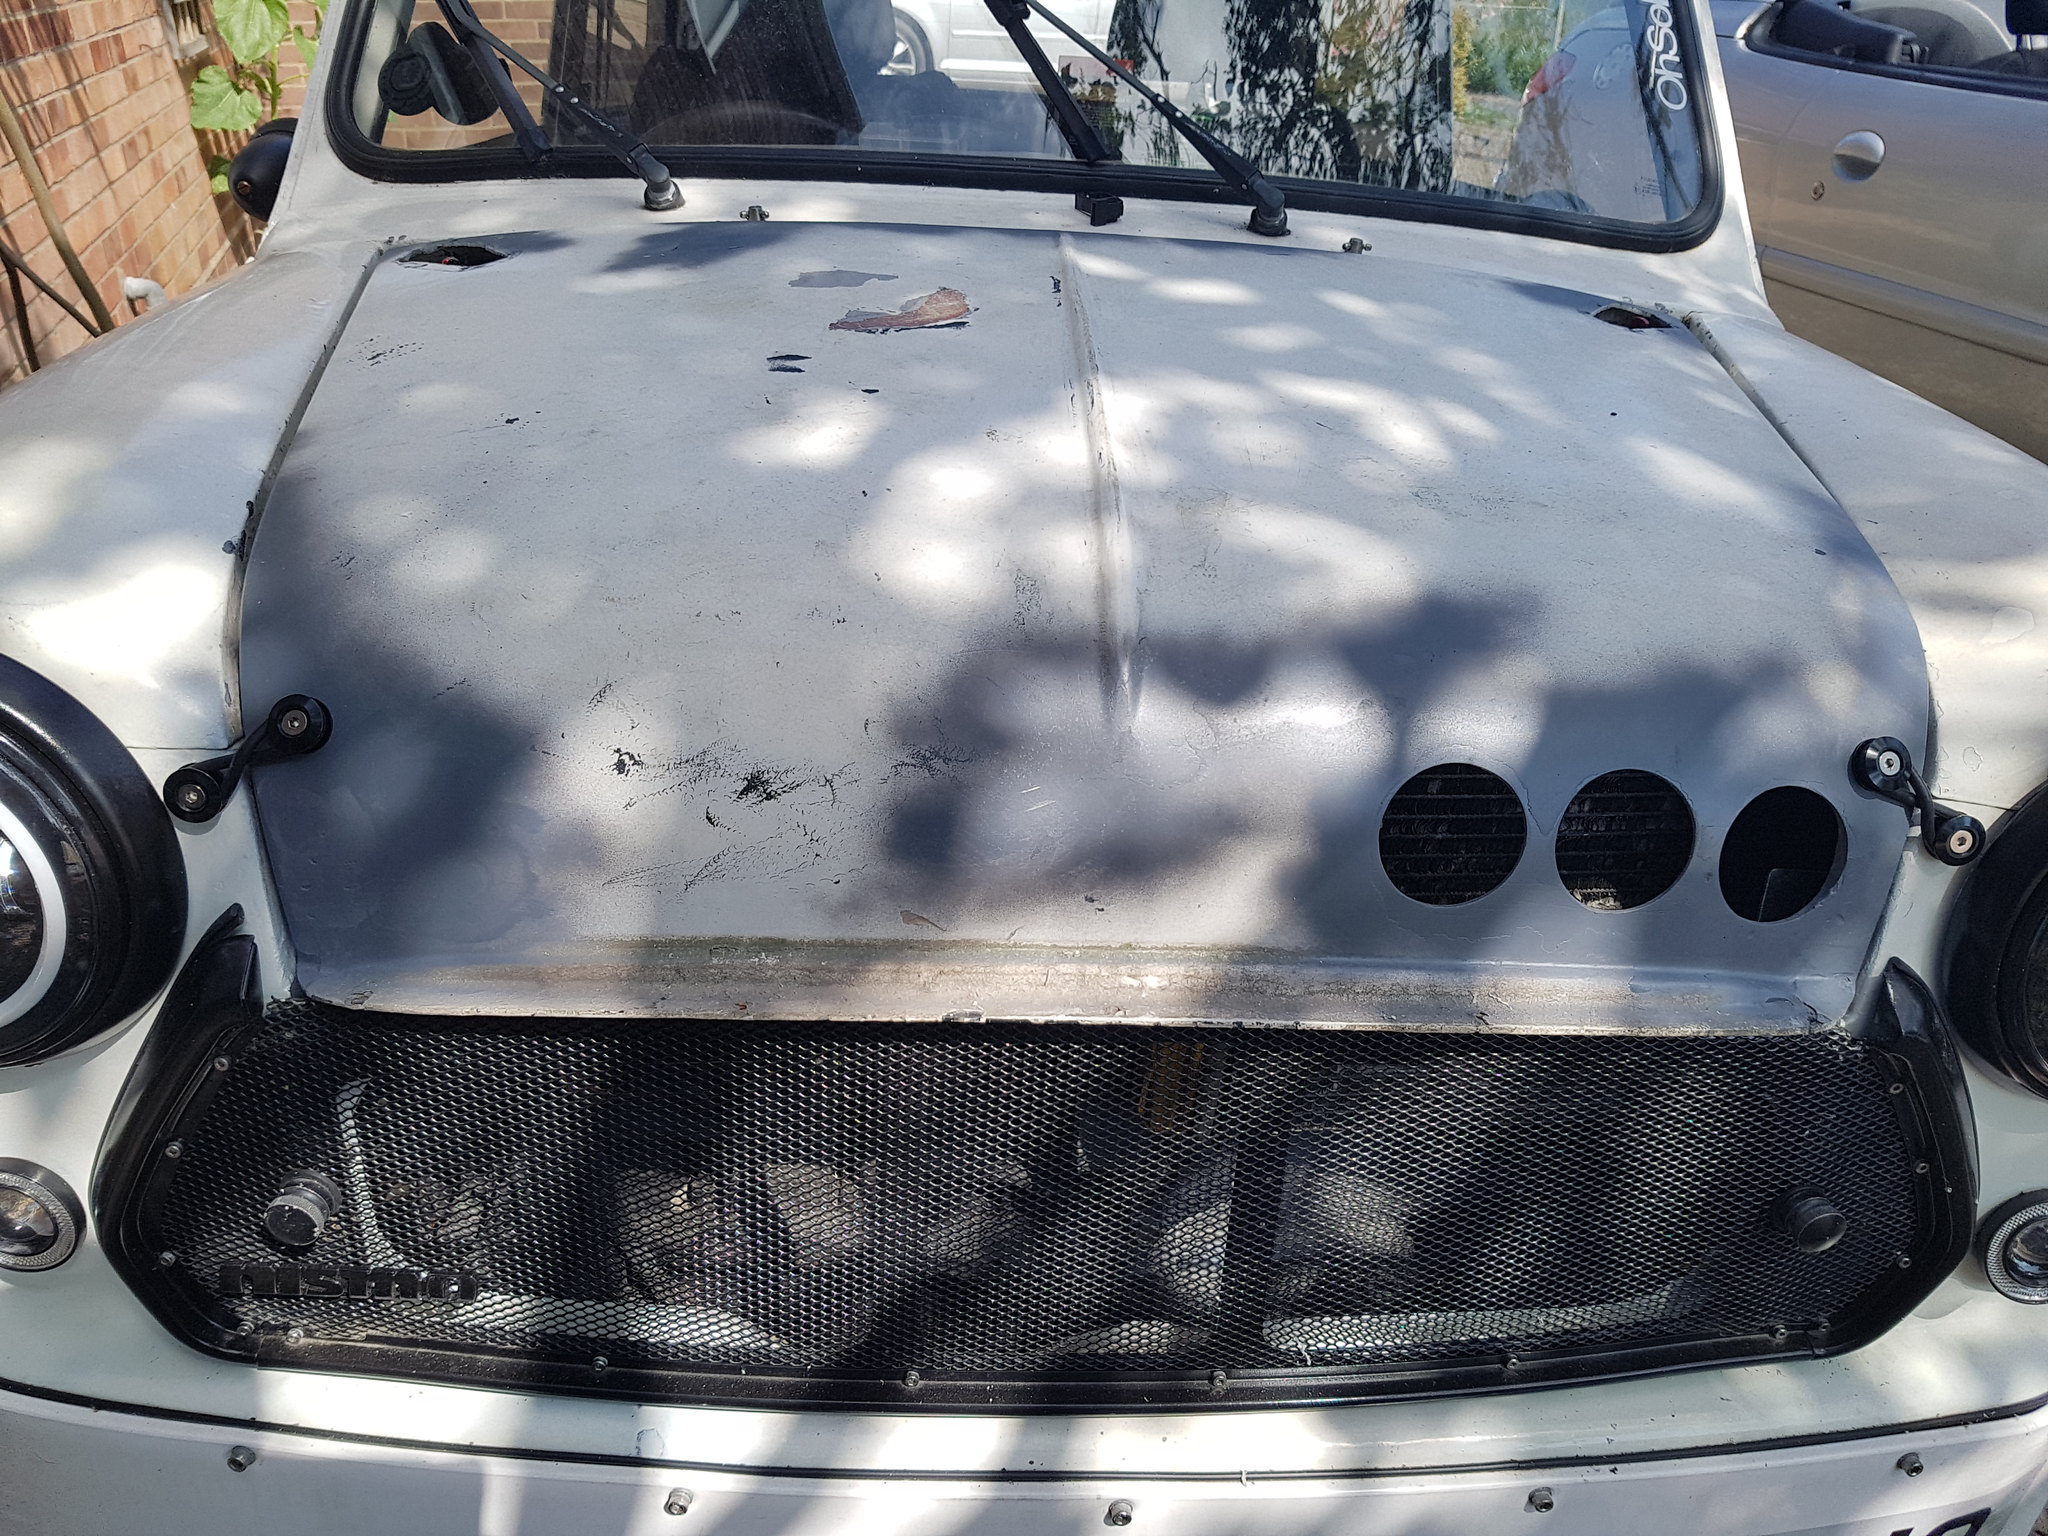
painted round the bonnet gutter, planning to get some self adhesive foam for the bonnet to sit on to stop chipping the paint!
Primed bonnet
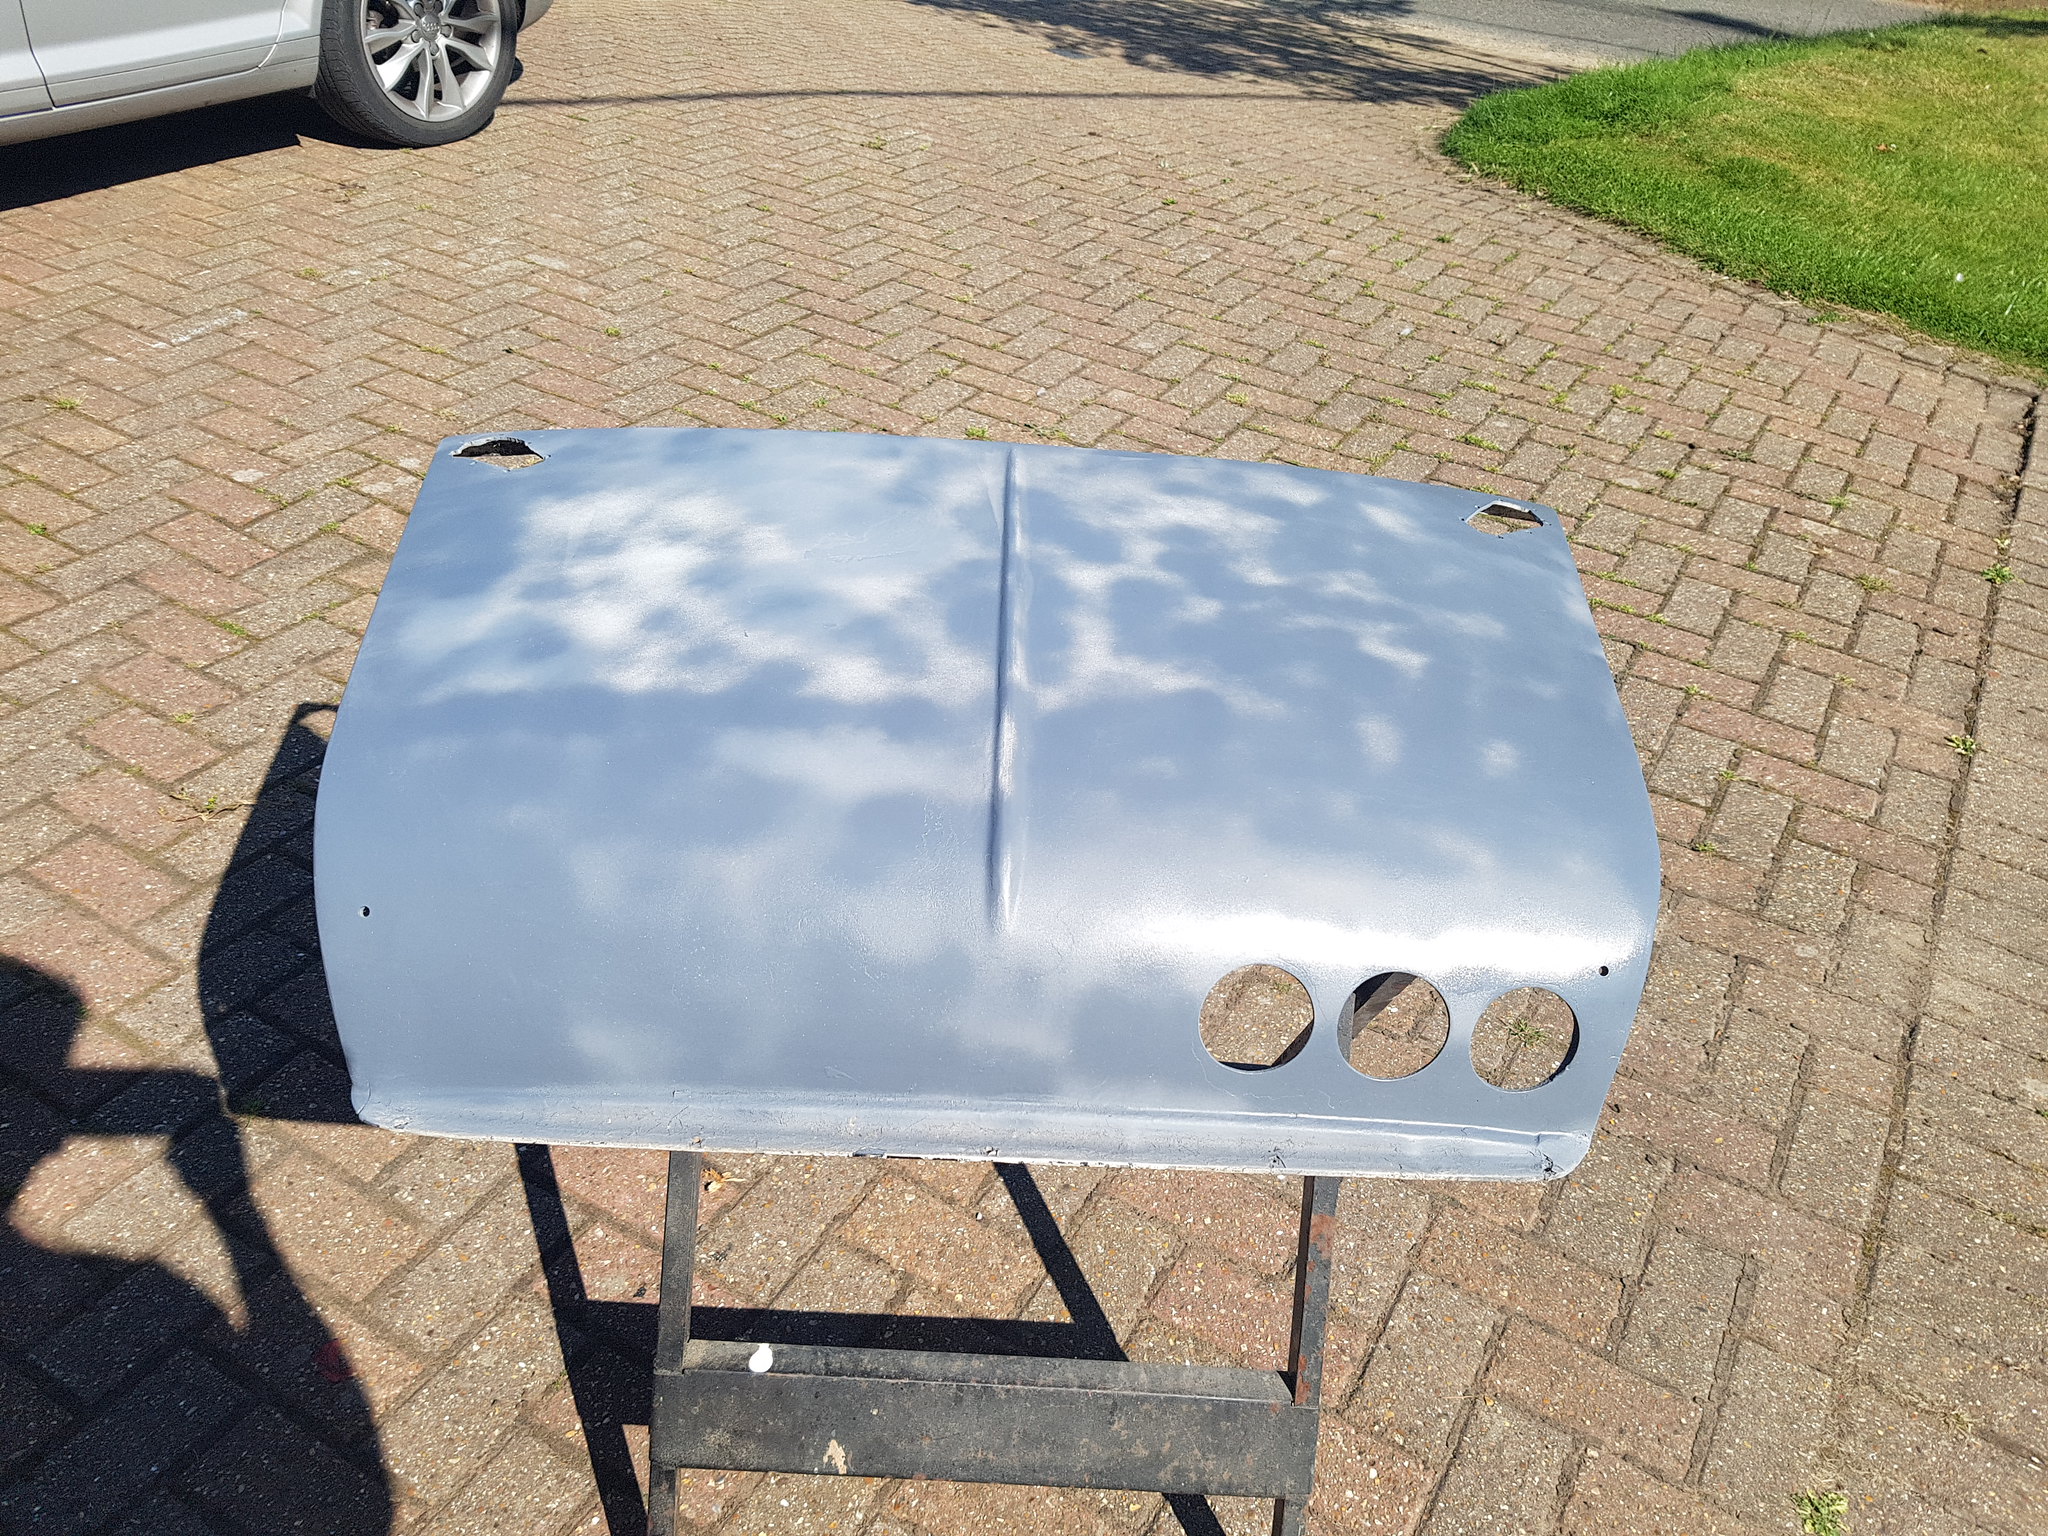 20170827_142648 by Lawrence Balls, on Flickr
first bits of paint
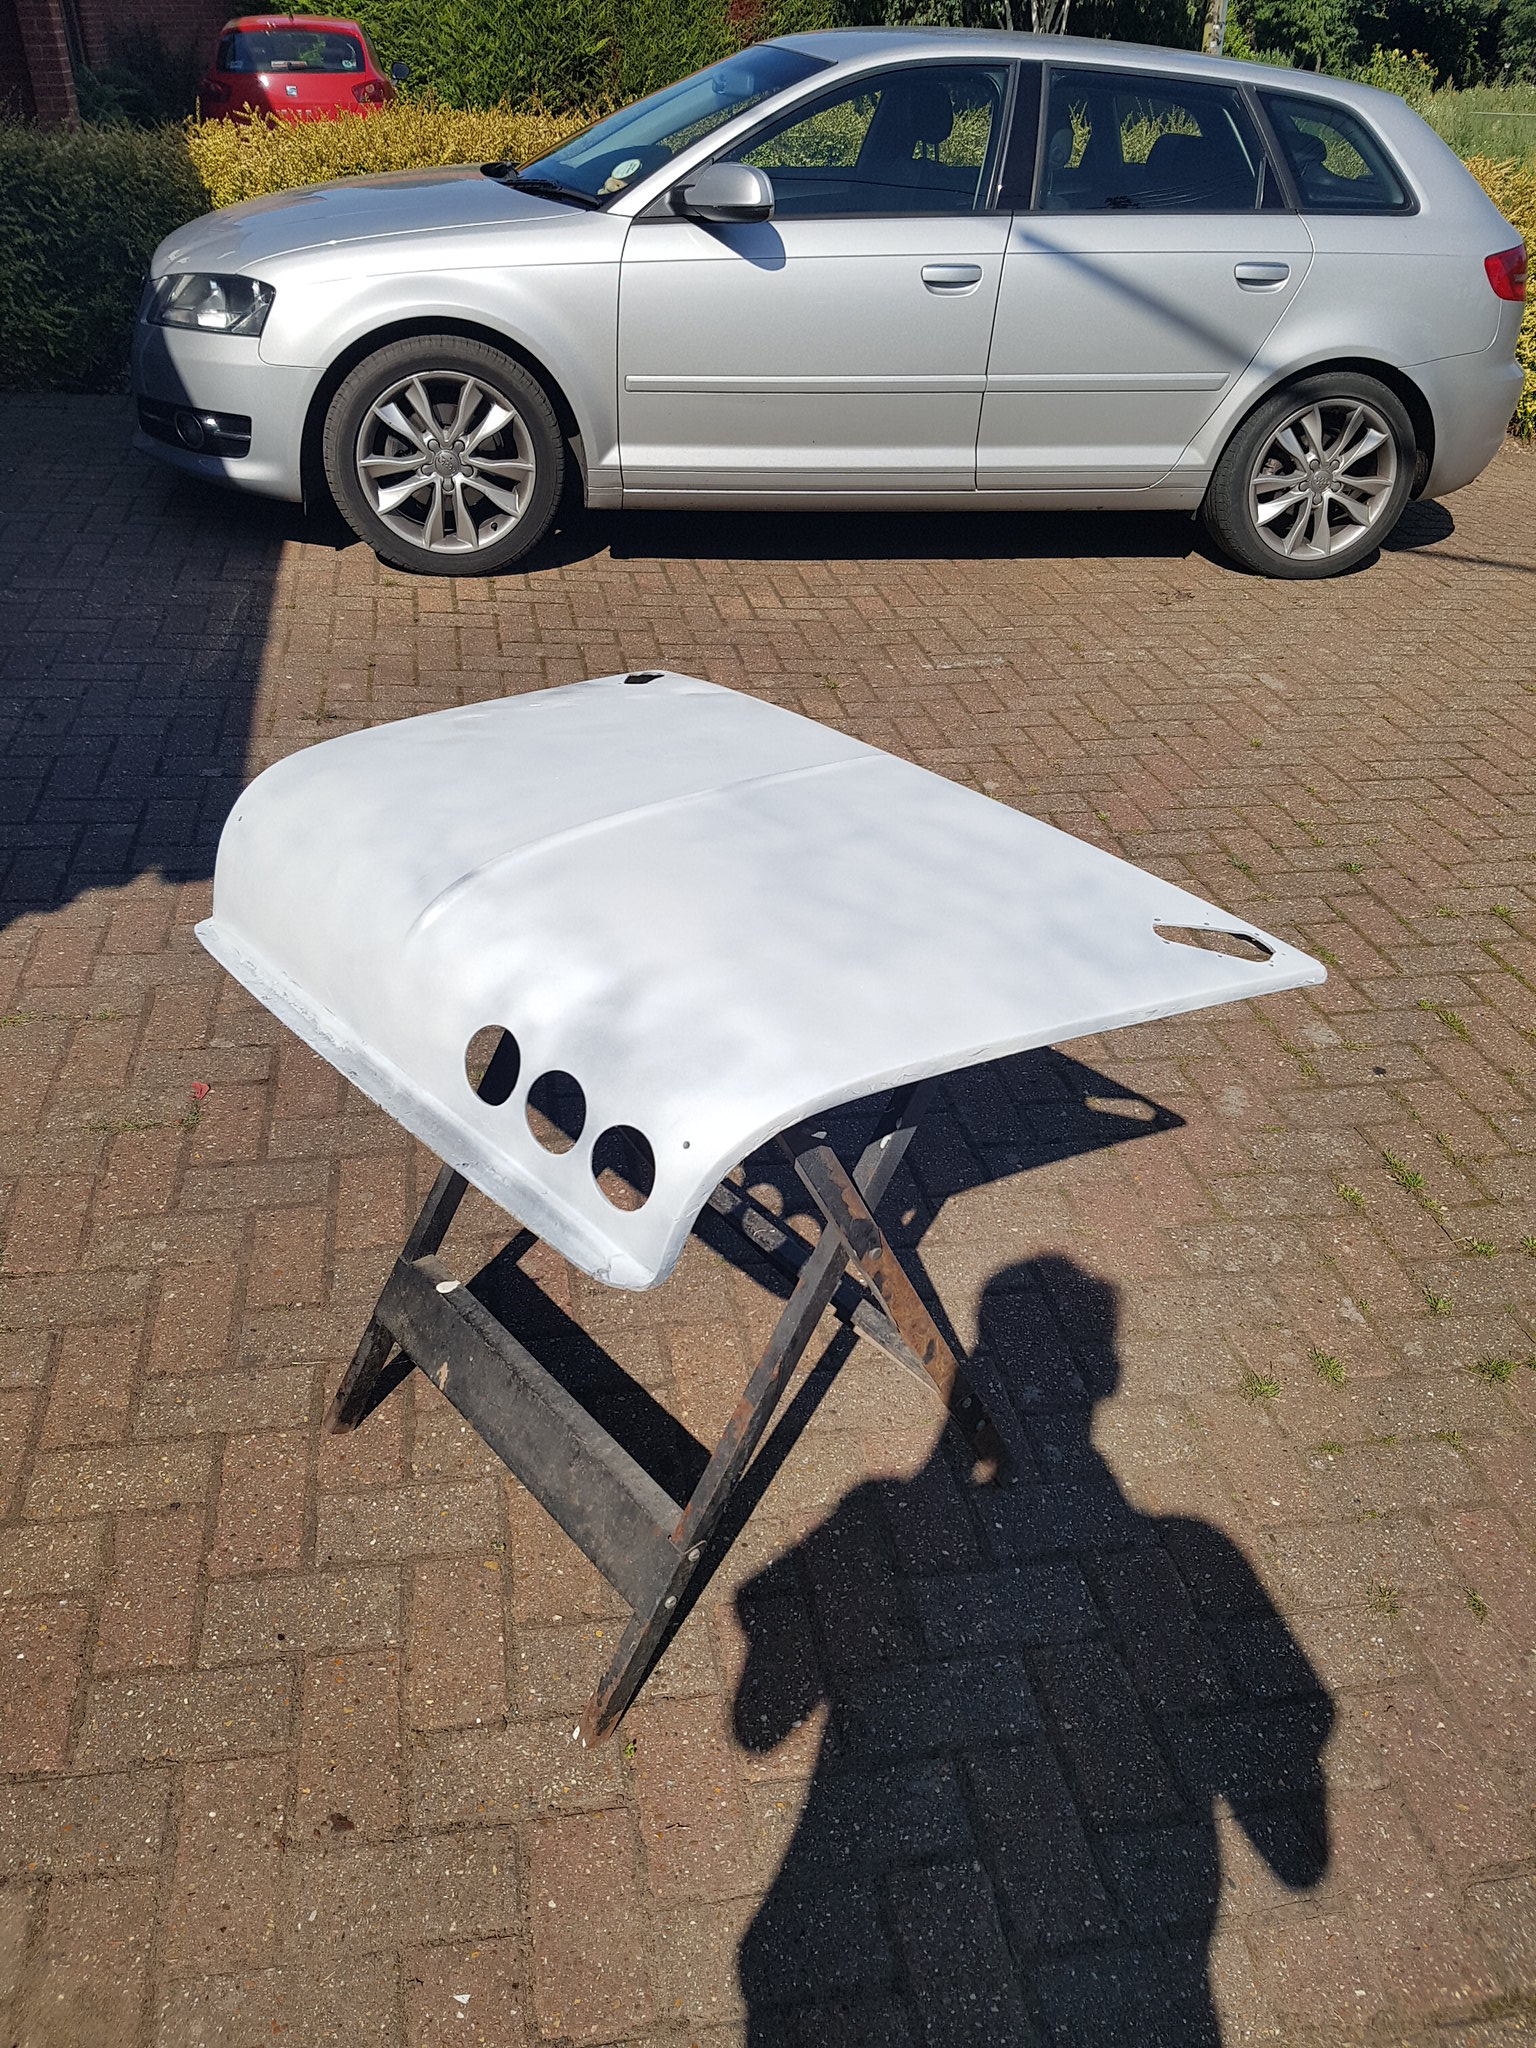 20170827_143311 by Lawrence Balls, on Flickr
bit more
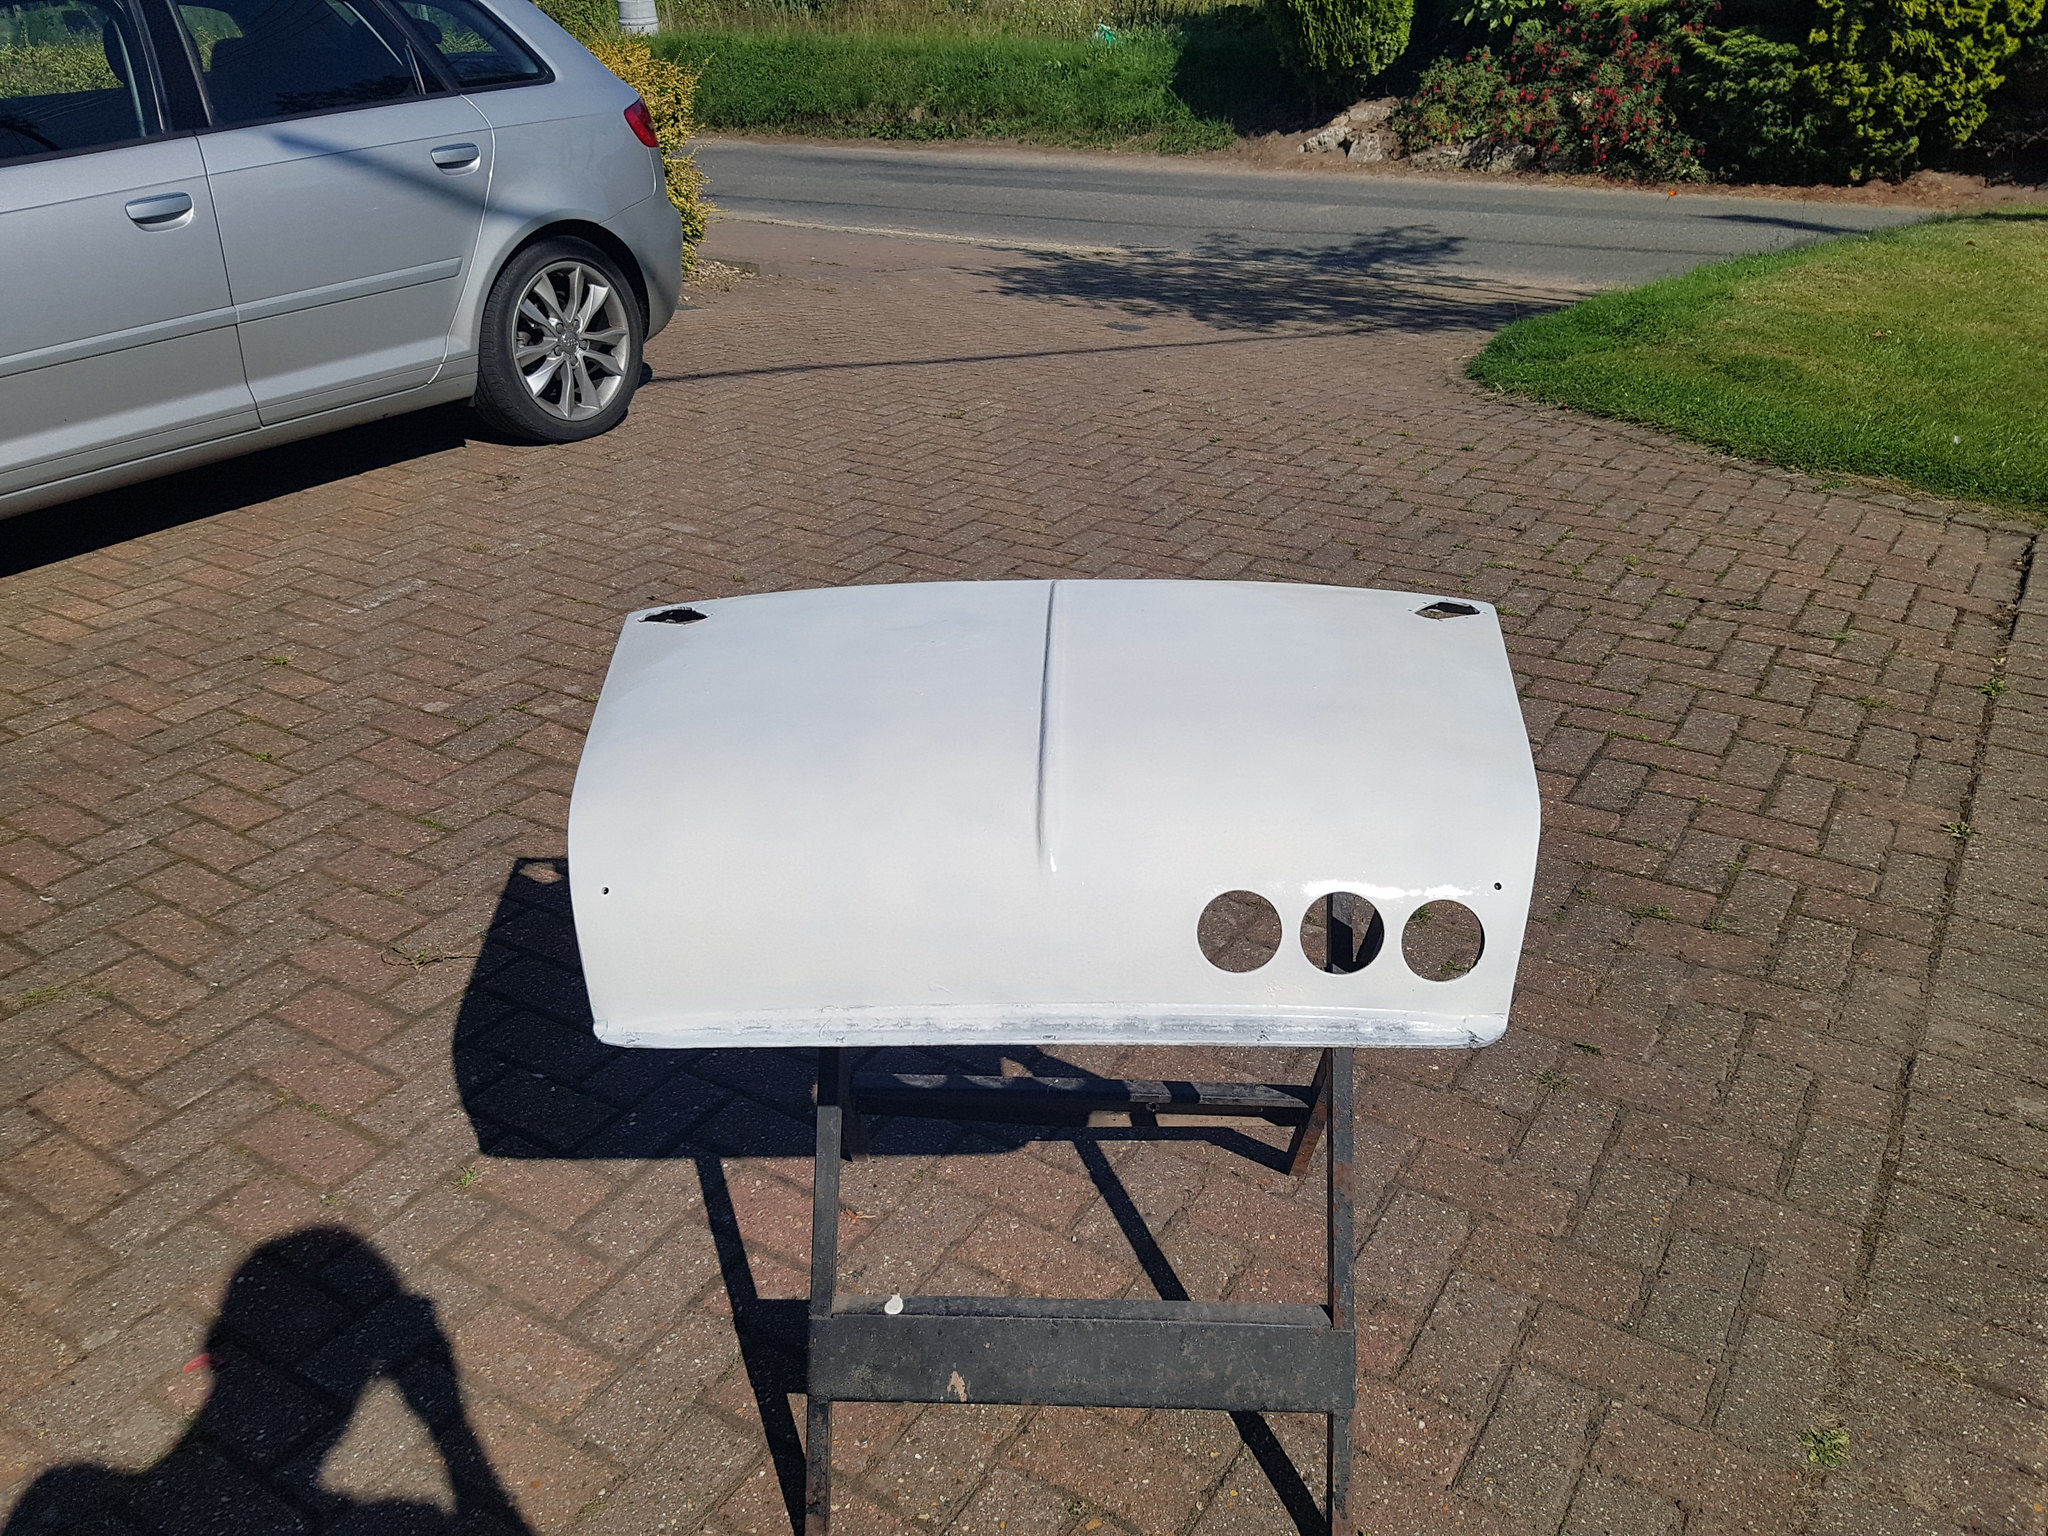 20170827_143958 by Lawrence Balls, on Flickr
painted the gril surround
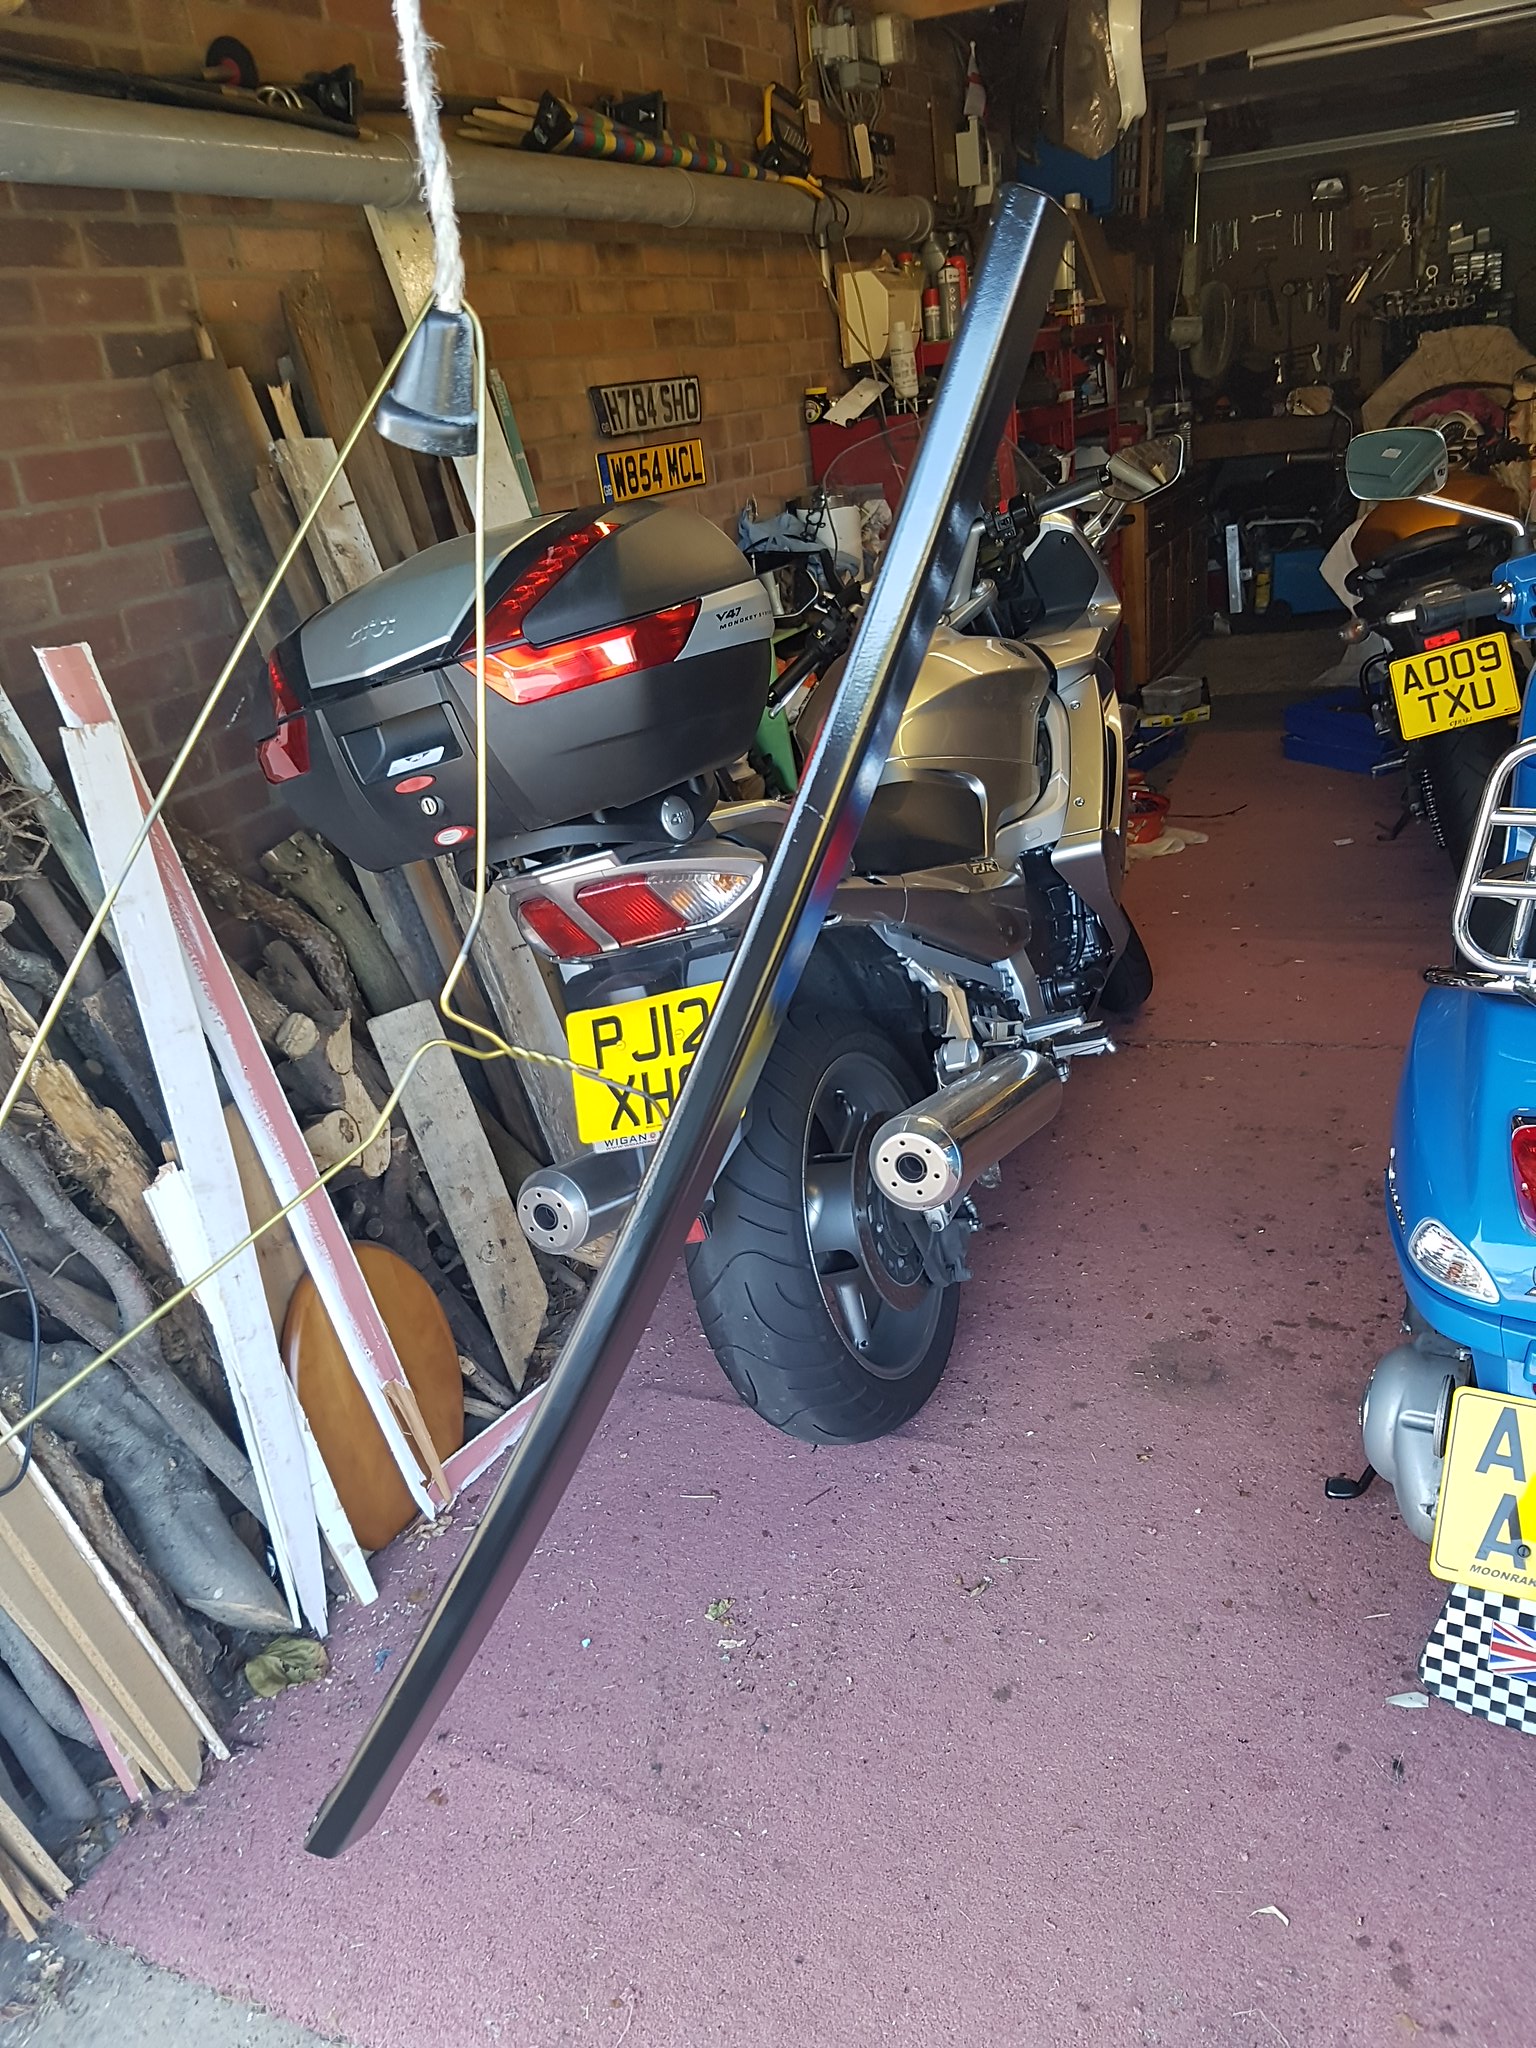 20170827_145911 by Lawrence Balls, on Flickr
fittings back on the bonnet
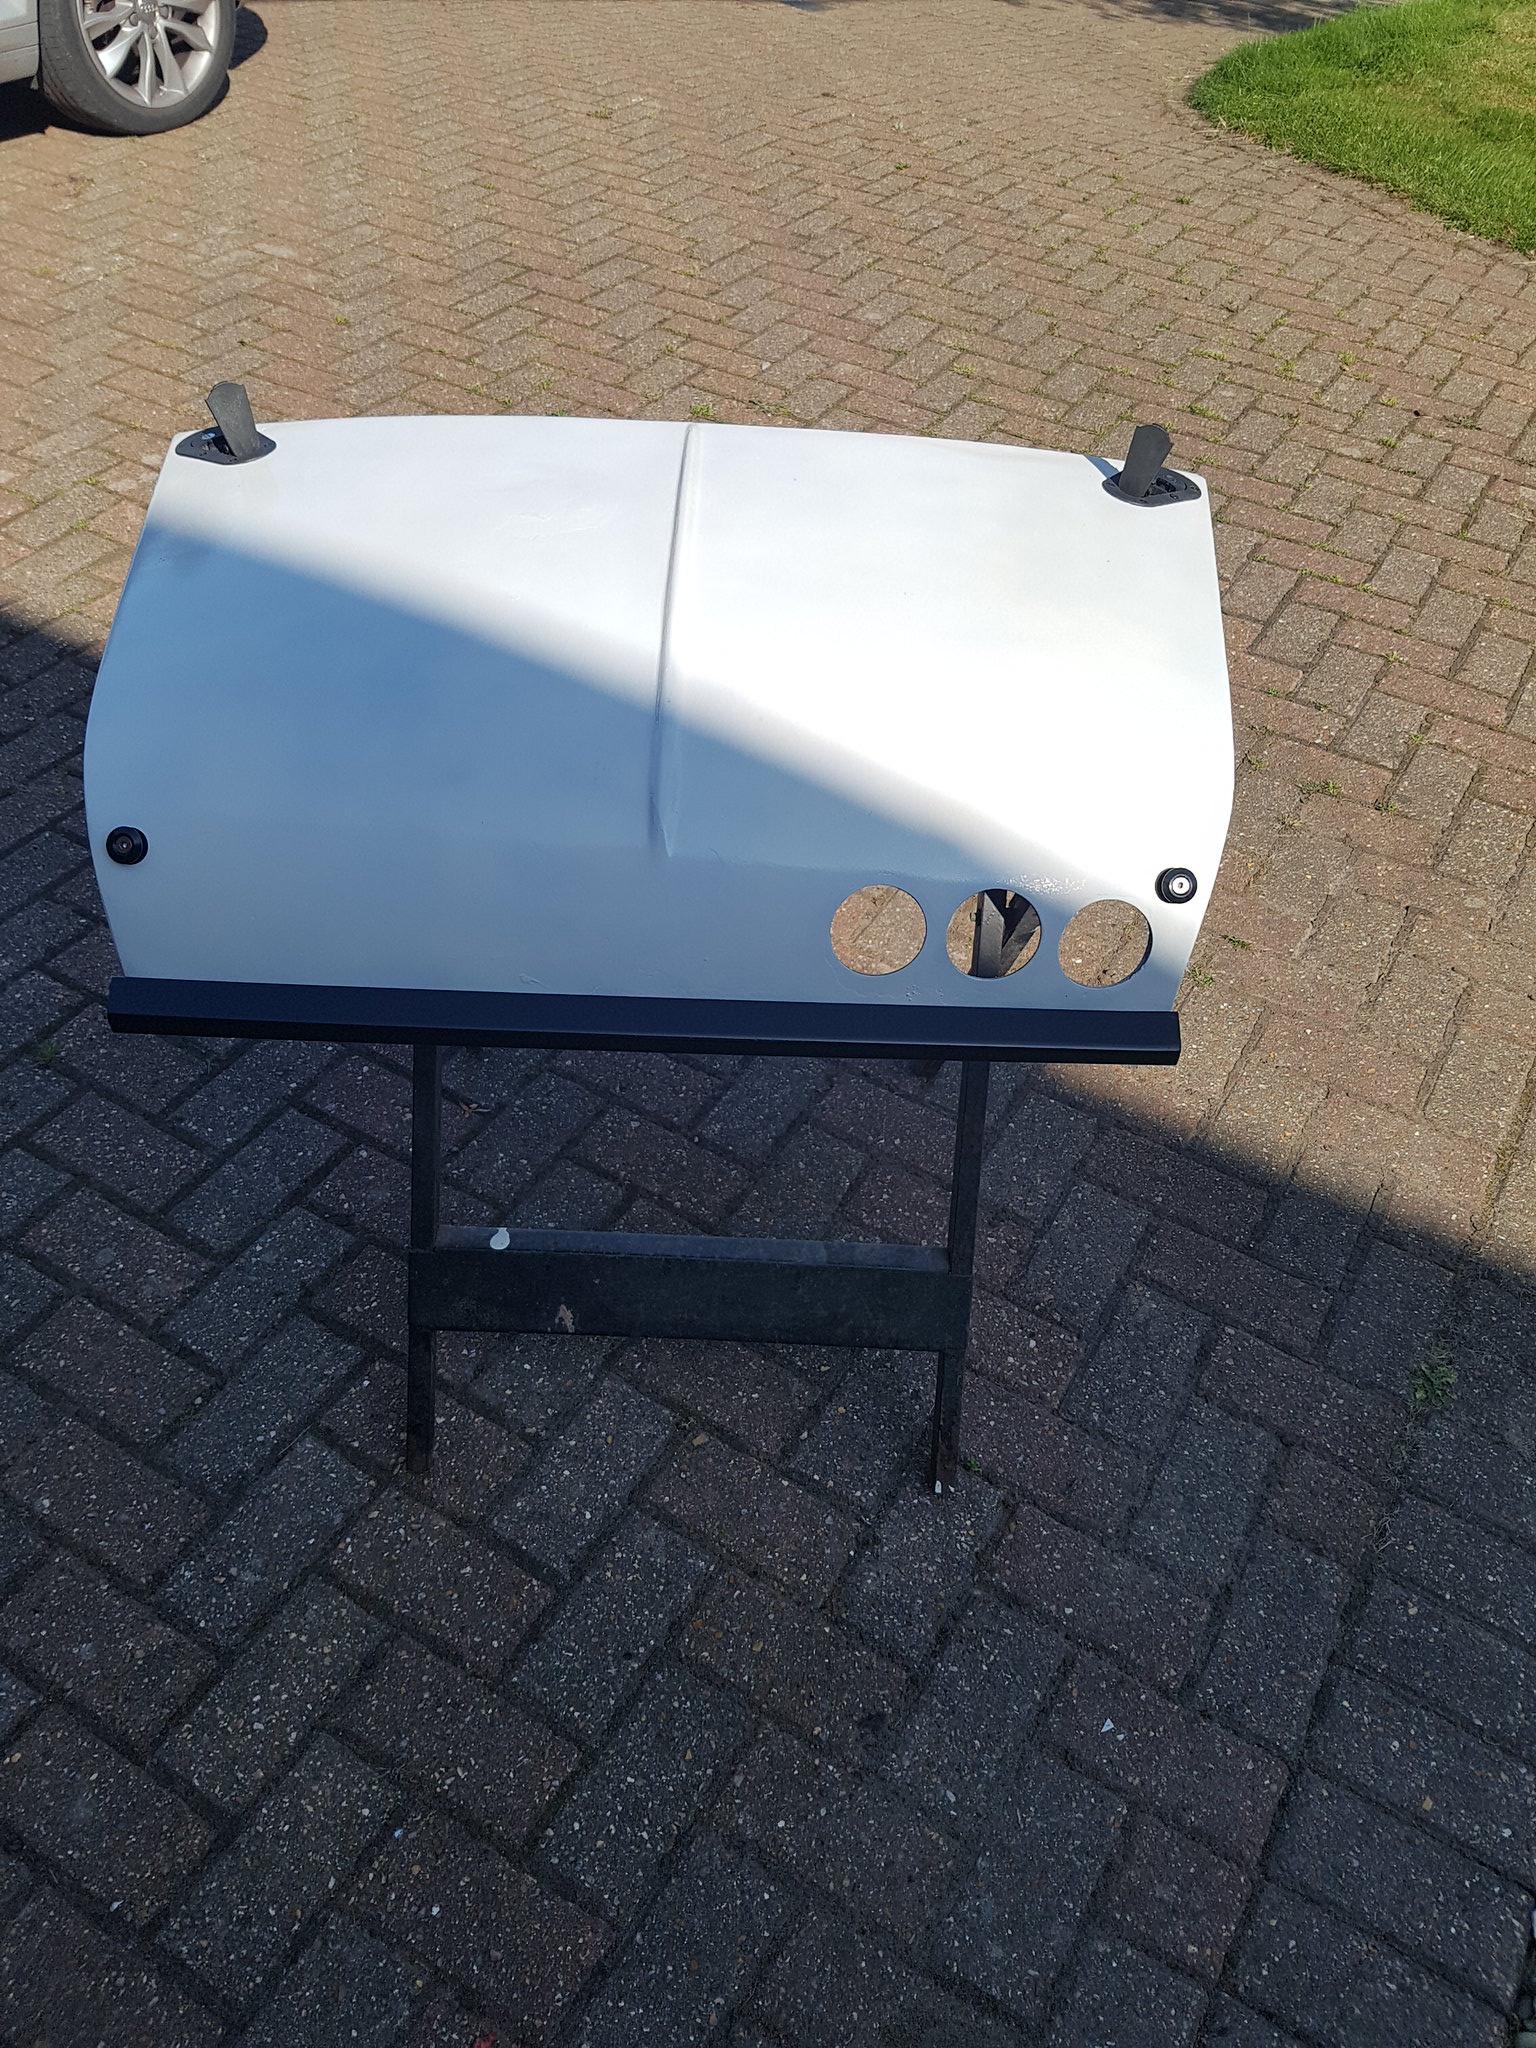 20170827_151416 by Lawrence Balls, on Flickr
and back together looking shiny and quite smart really!
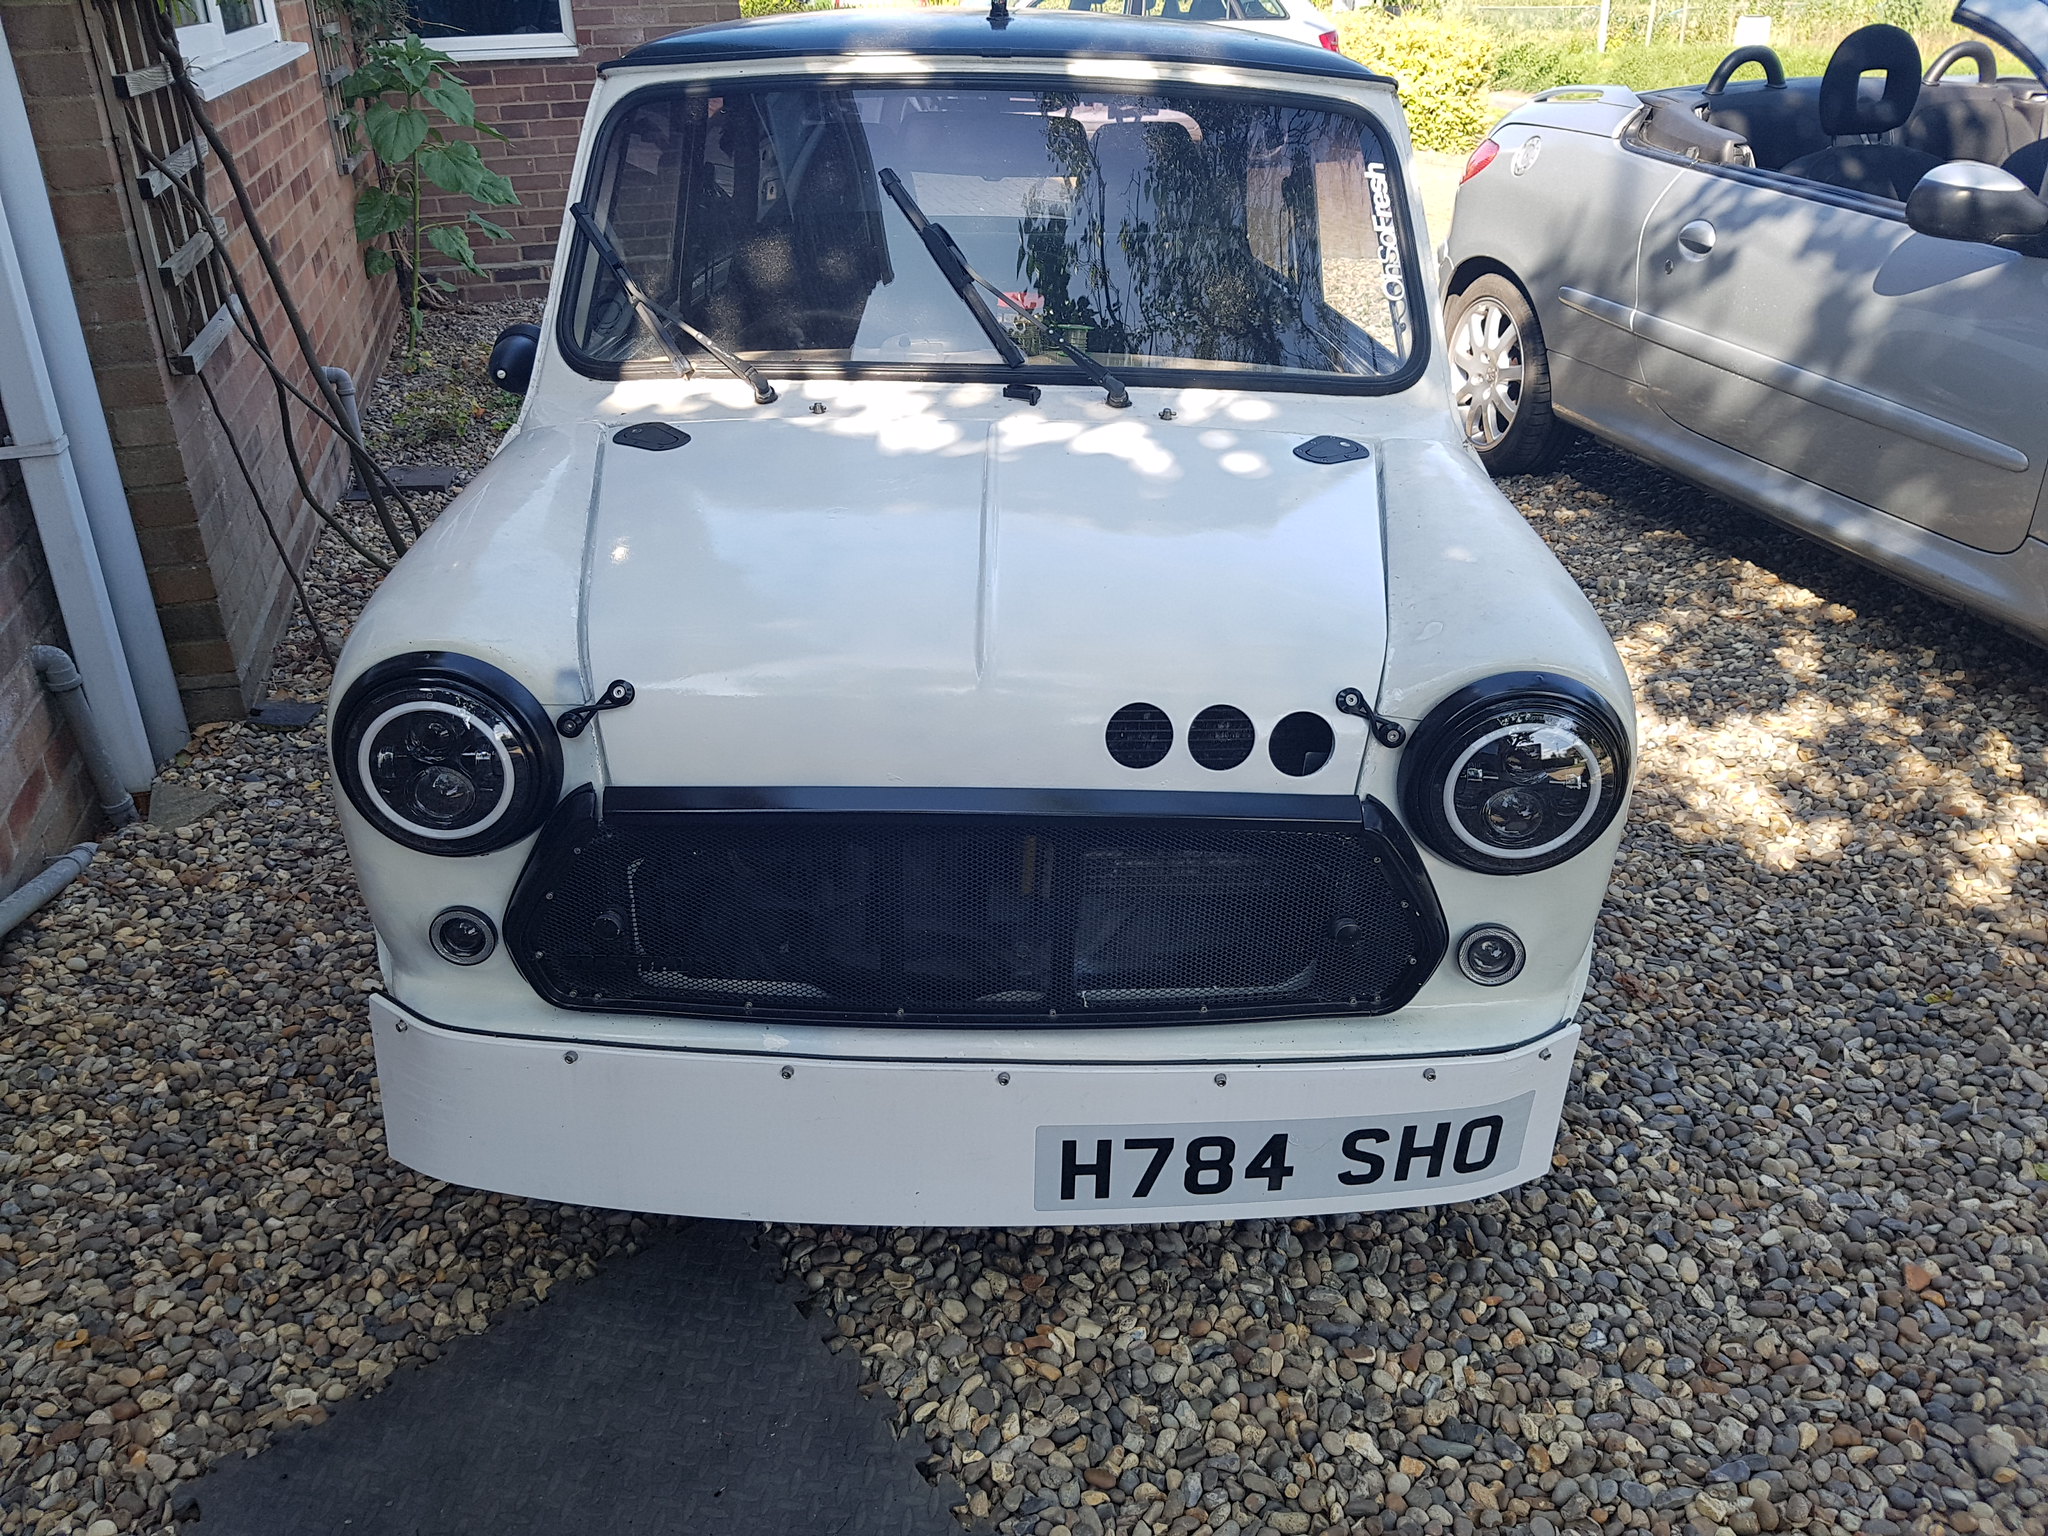 20170827_151735 by Lawrence Balls, on Flickr
That’s all for now. Still waiting on my wiring parts! Least my new side lights have arrived so I can fit them and mock them up.
Lawrence
#626

Posted 31 August 2017 - 04:26 PM
Medium sized update this one.
Side lights finally arrived and so did the ampseal connectors so ive fitted the lights. Ill do with wiring next time the soldering iron is out
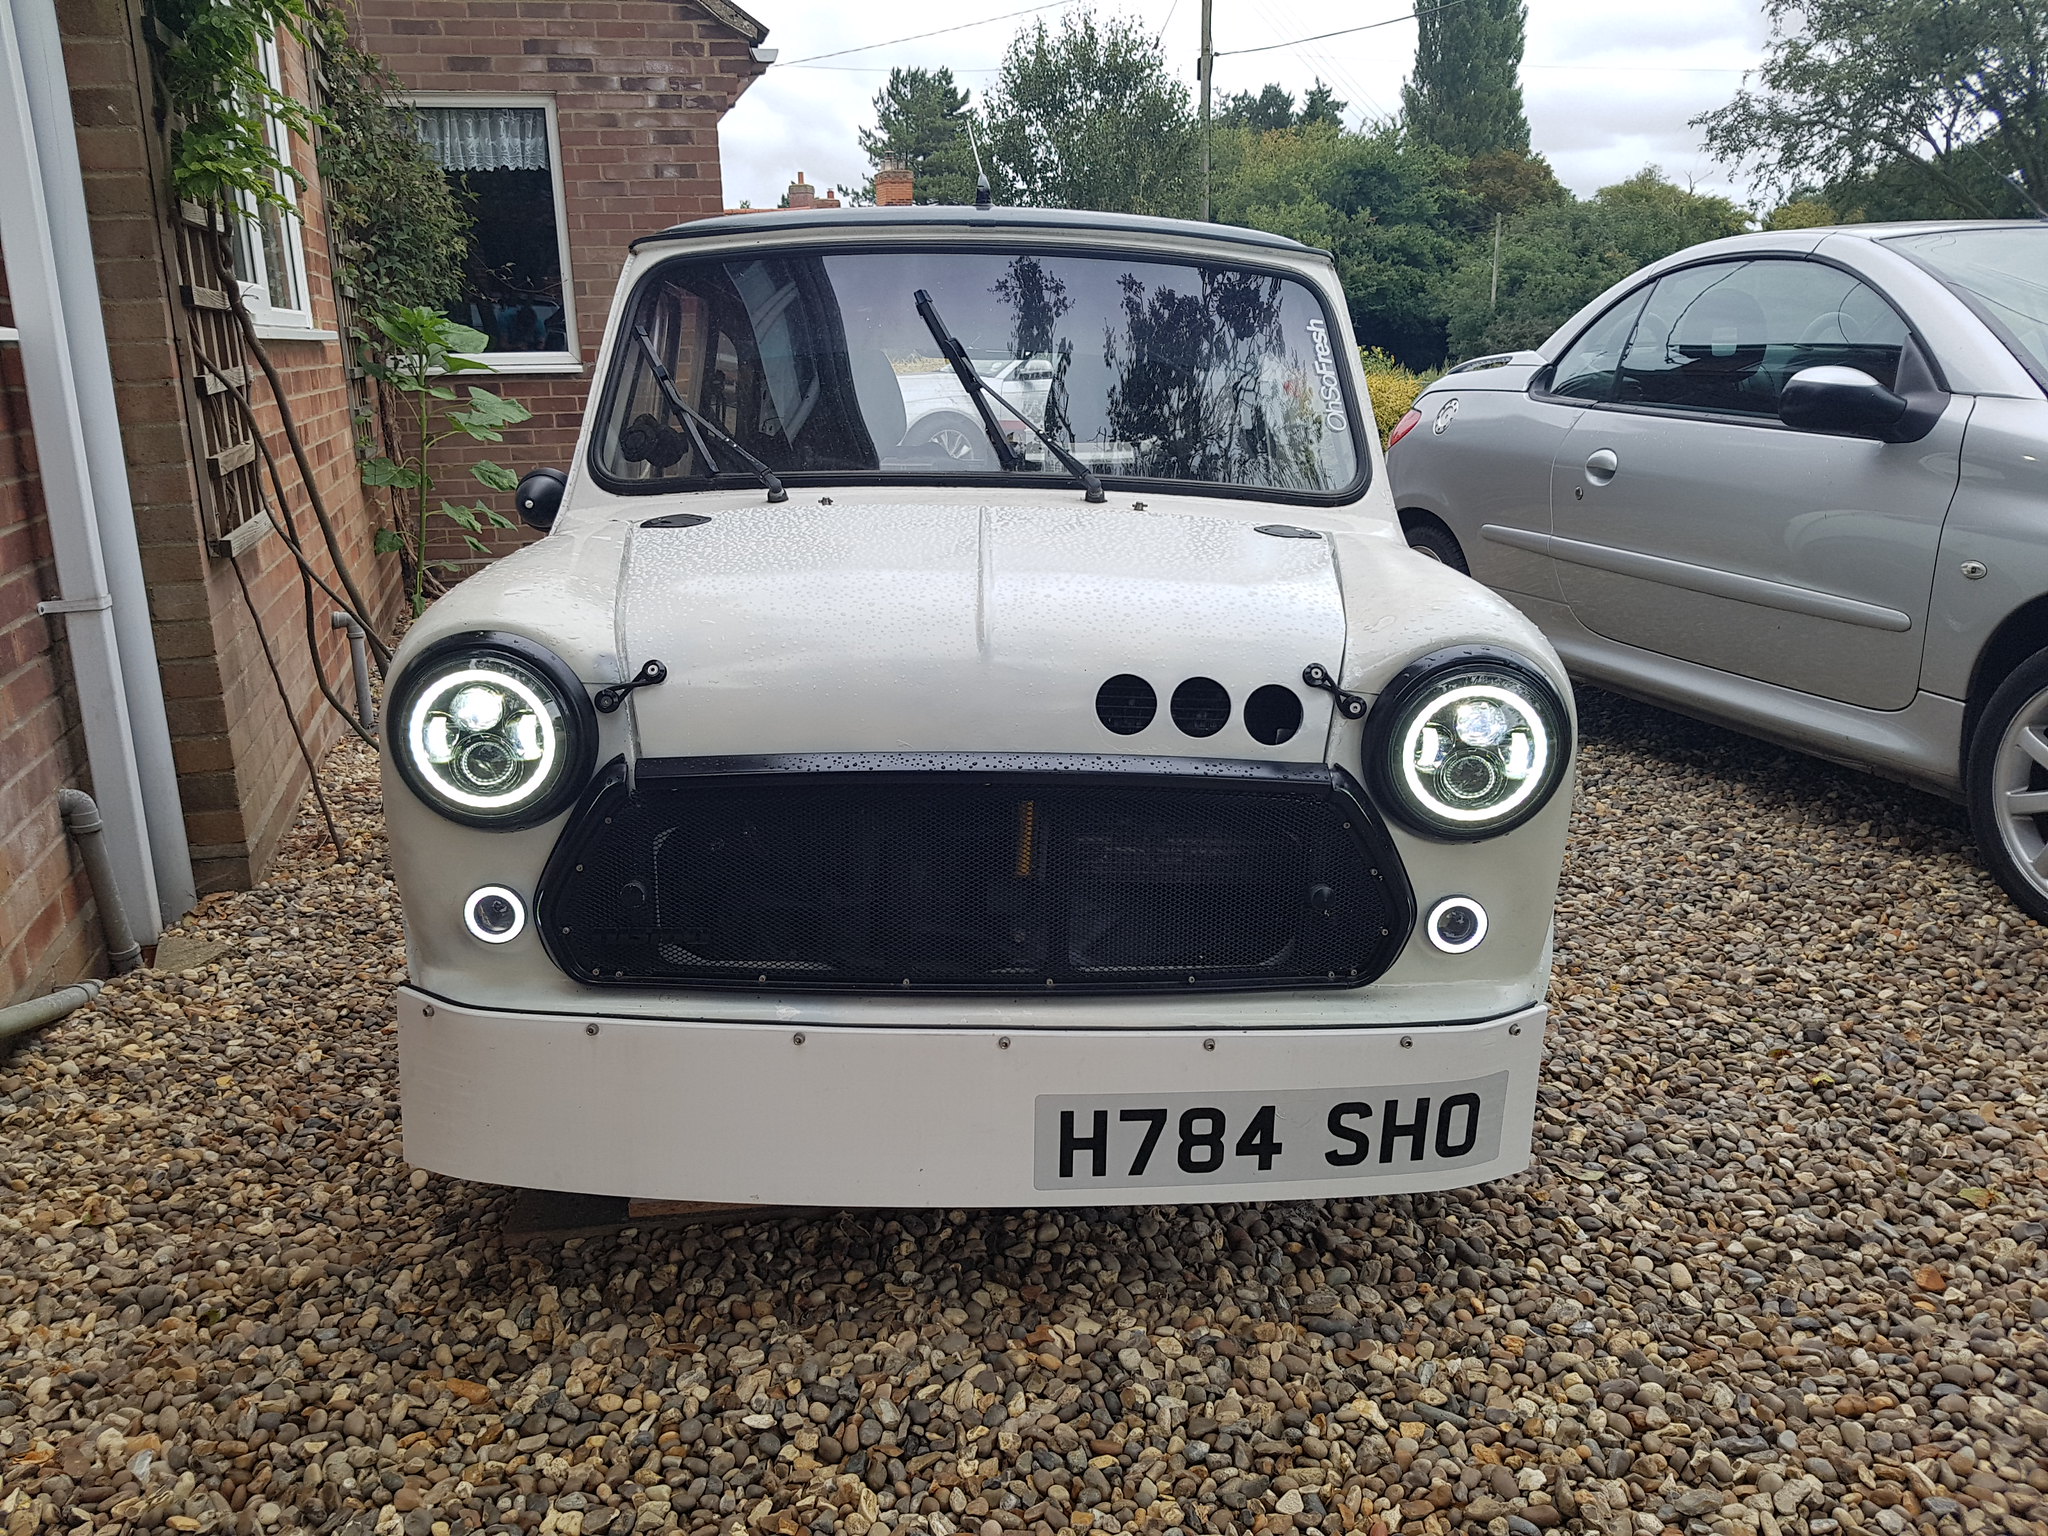 20170830_101607 by Lawrence Balls, on Flickr
Now onto the manifold and downpipes, last update was them tacked together for a trial fit. Now they are more welded
Welded downpipe fully and marked where to cut out
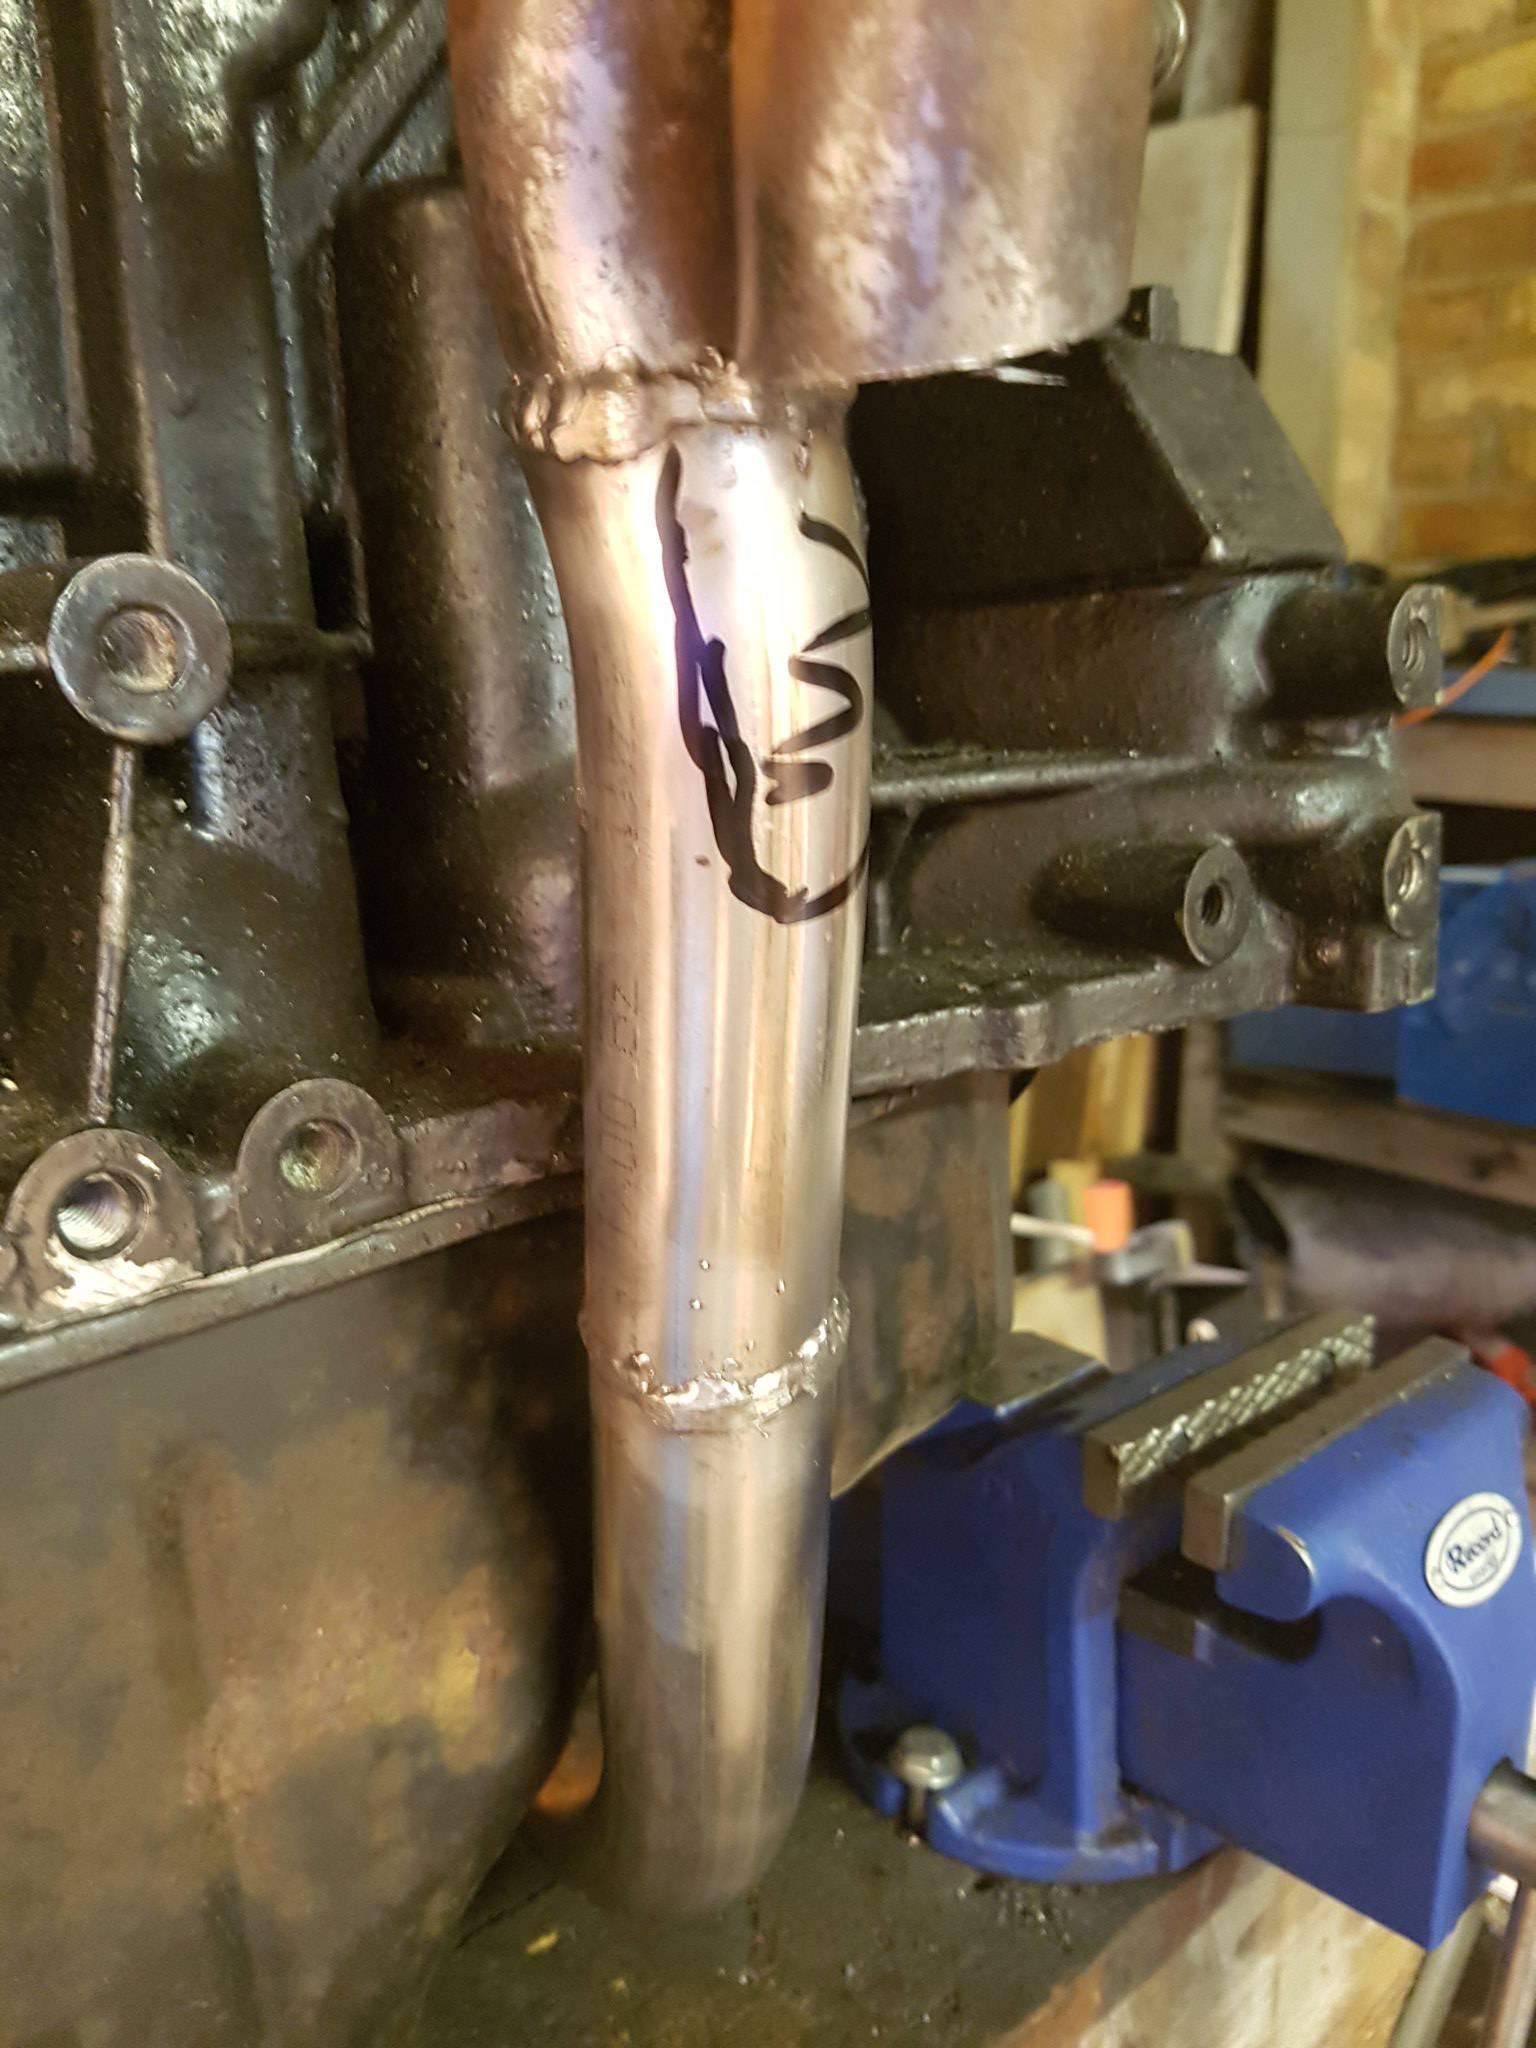 20170831_100859 by Lawrence Balls, on Flickr
Cut out and blend part welded
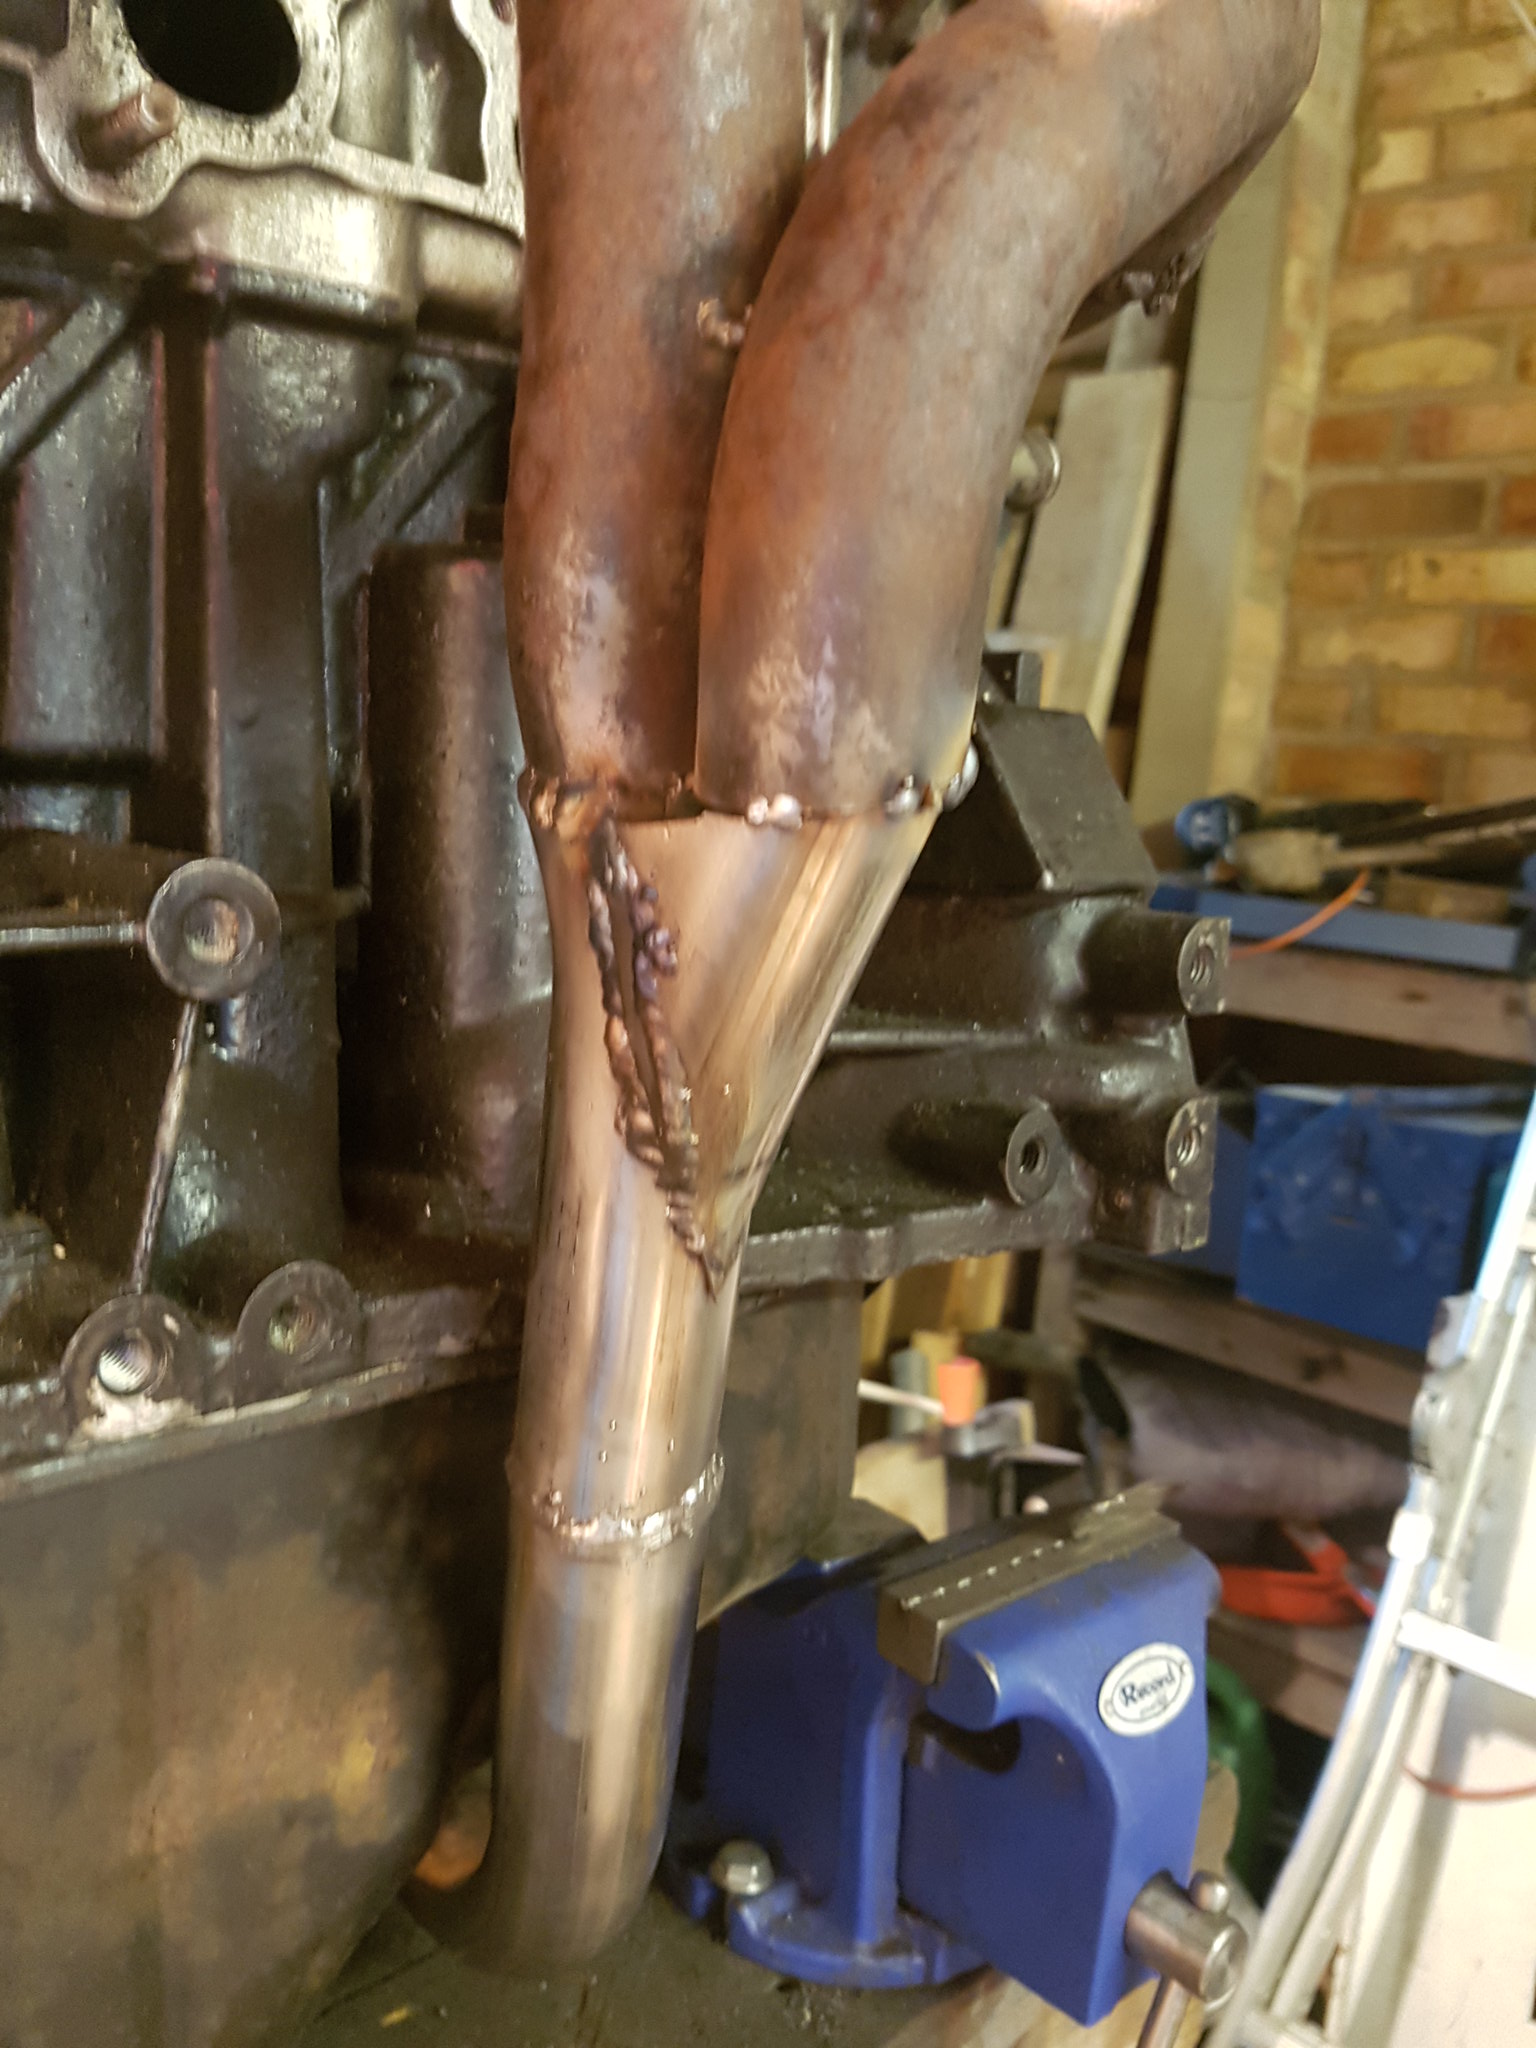 20170831_103704 by Lawrence Balls, on Flickr
Next one welded and marked up
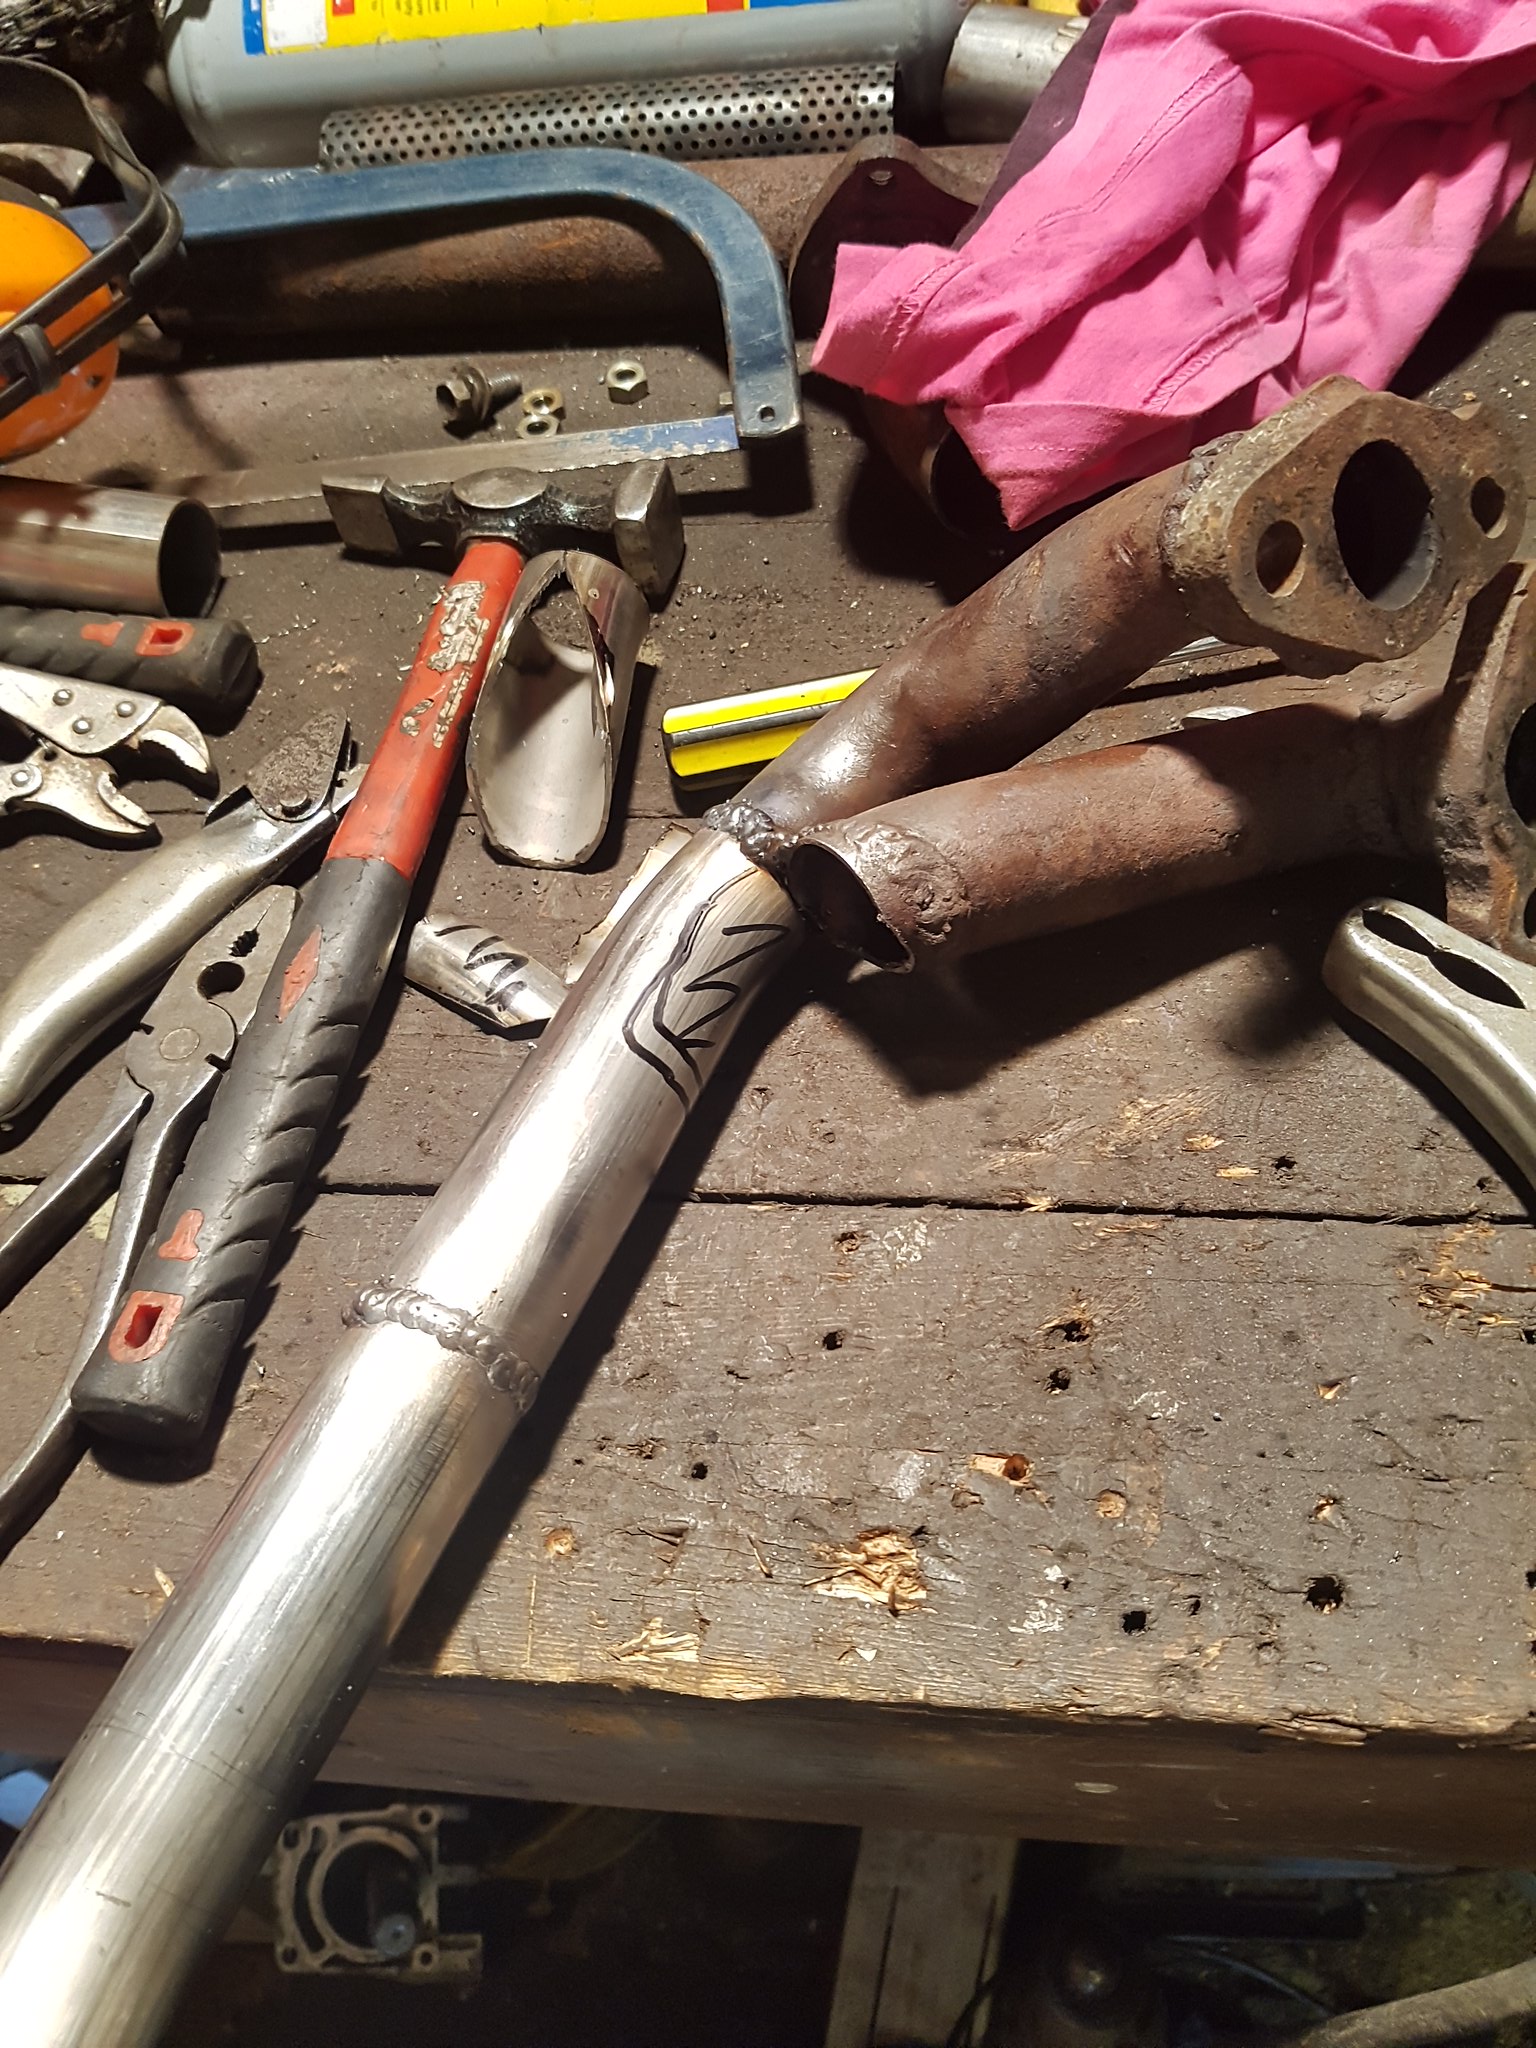 20170831_115500 by Lawrence Balls, on Flickr
And welded
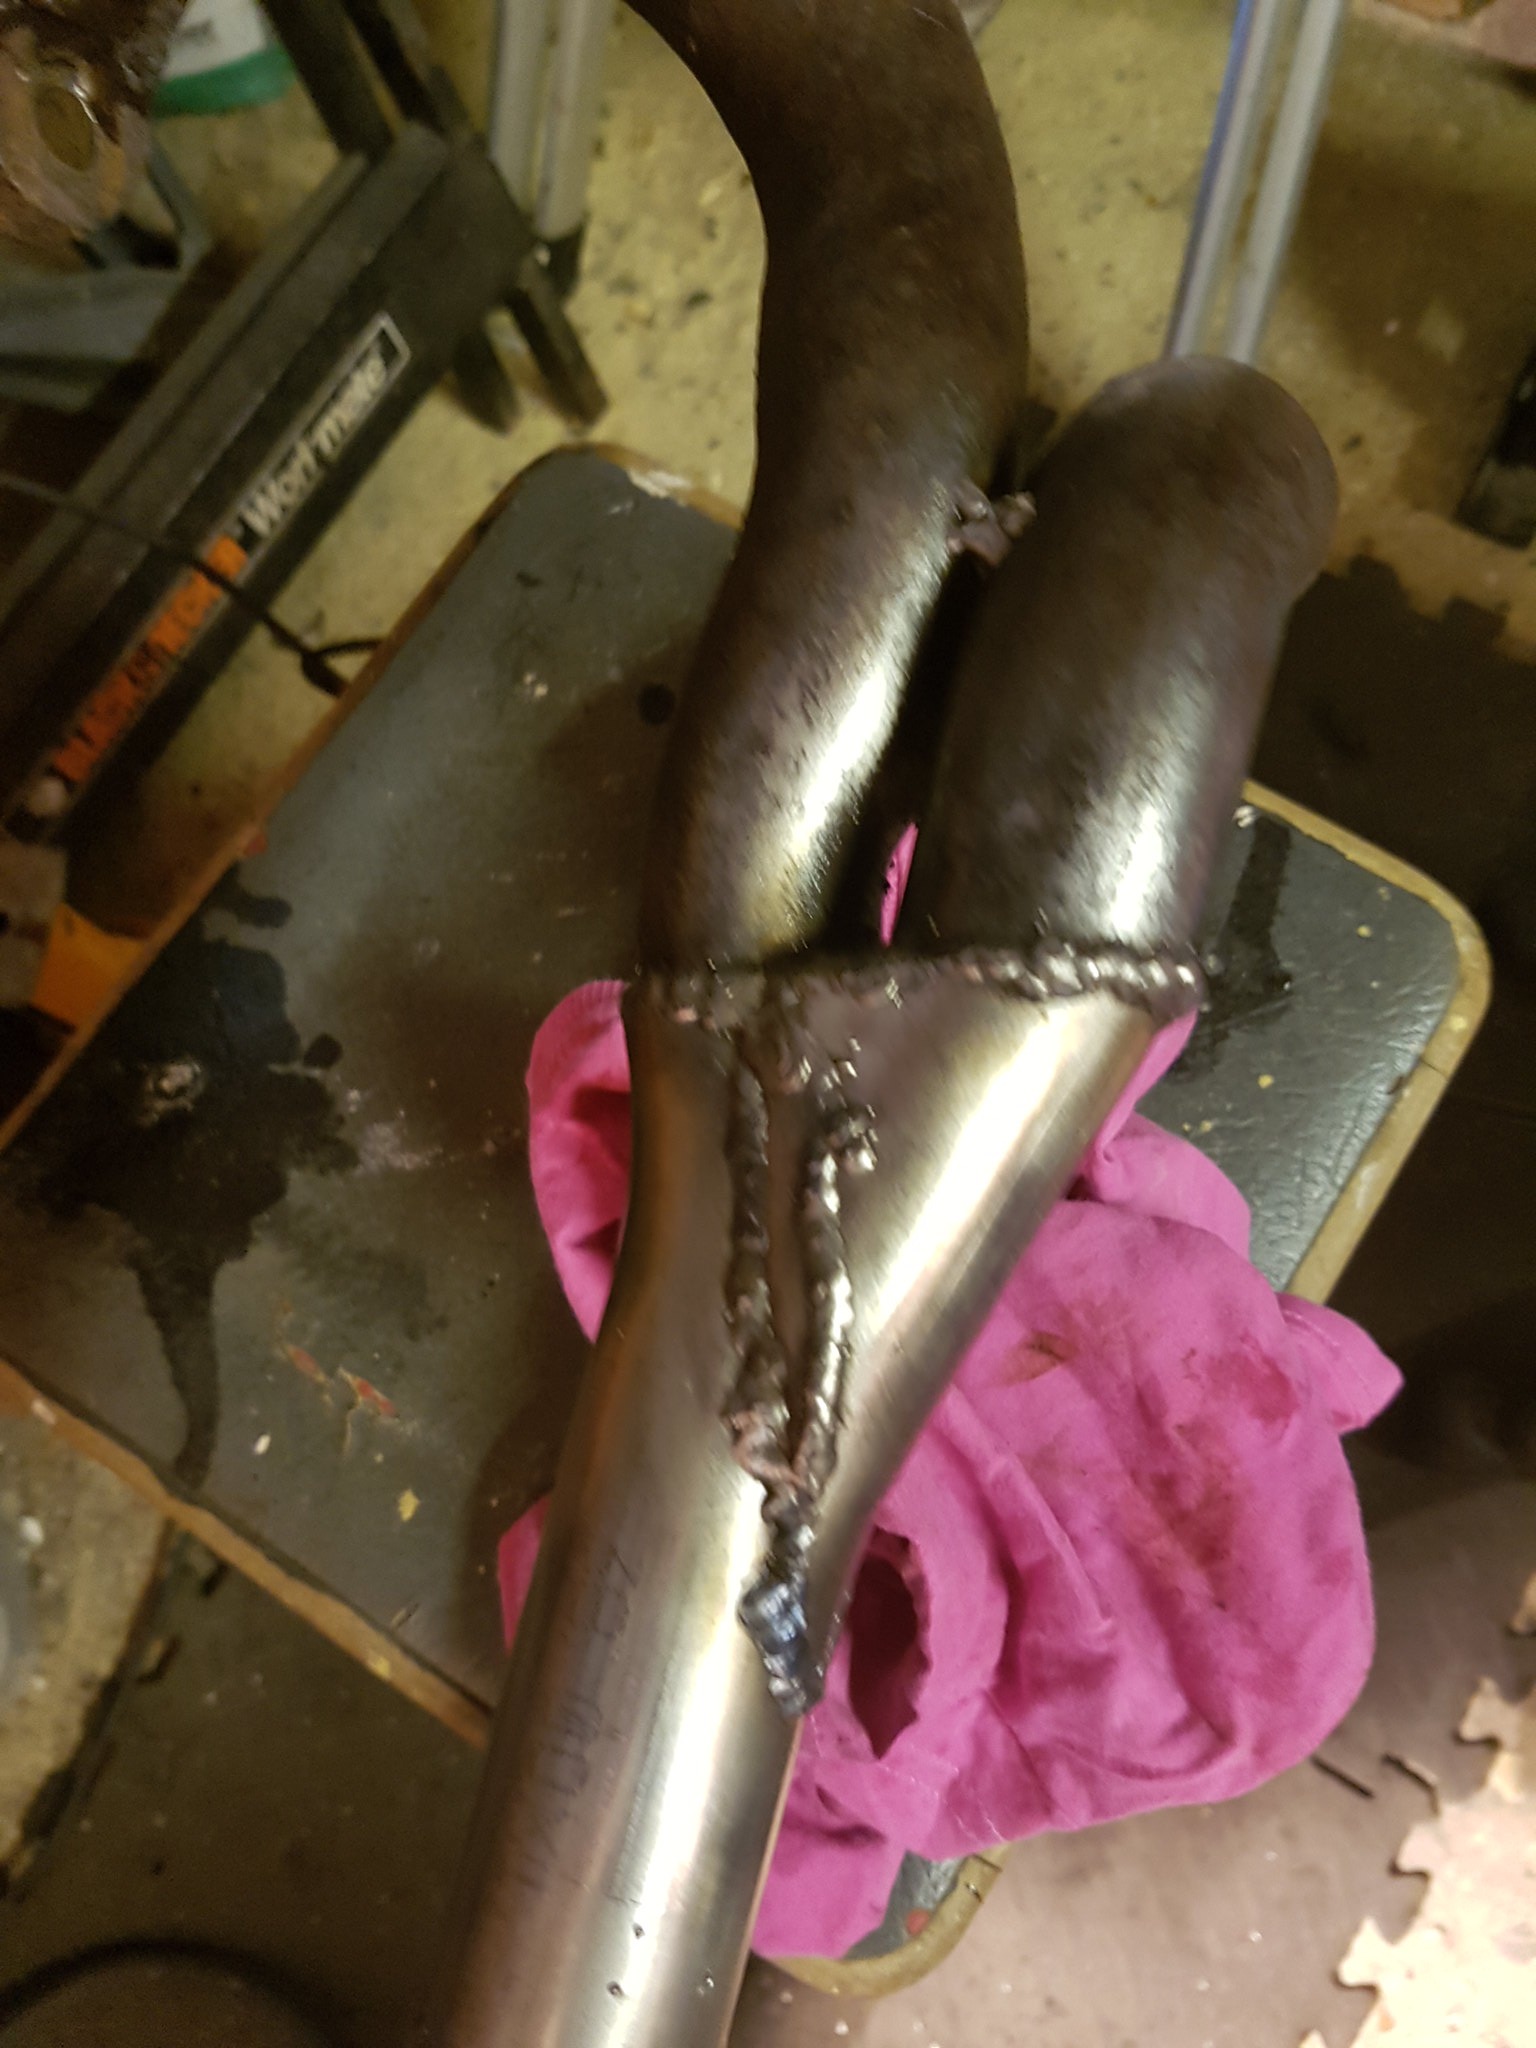 20170831_122130 by Lawrence Balls, on Flickr
All sorted on the down pipe section
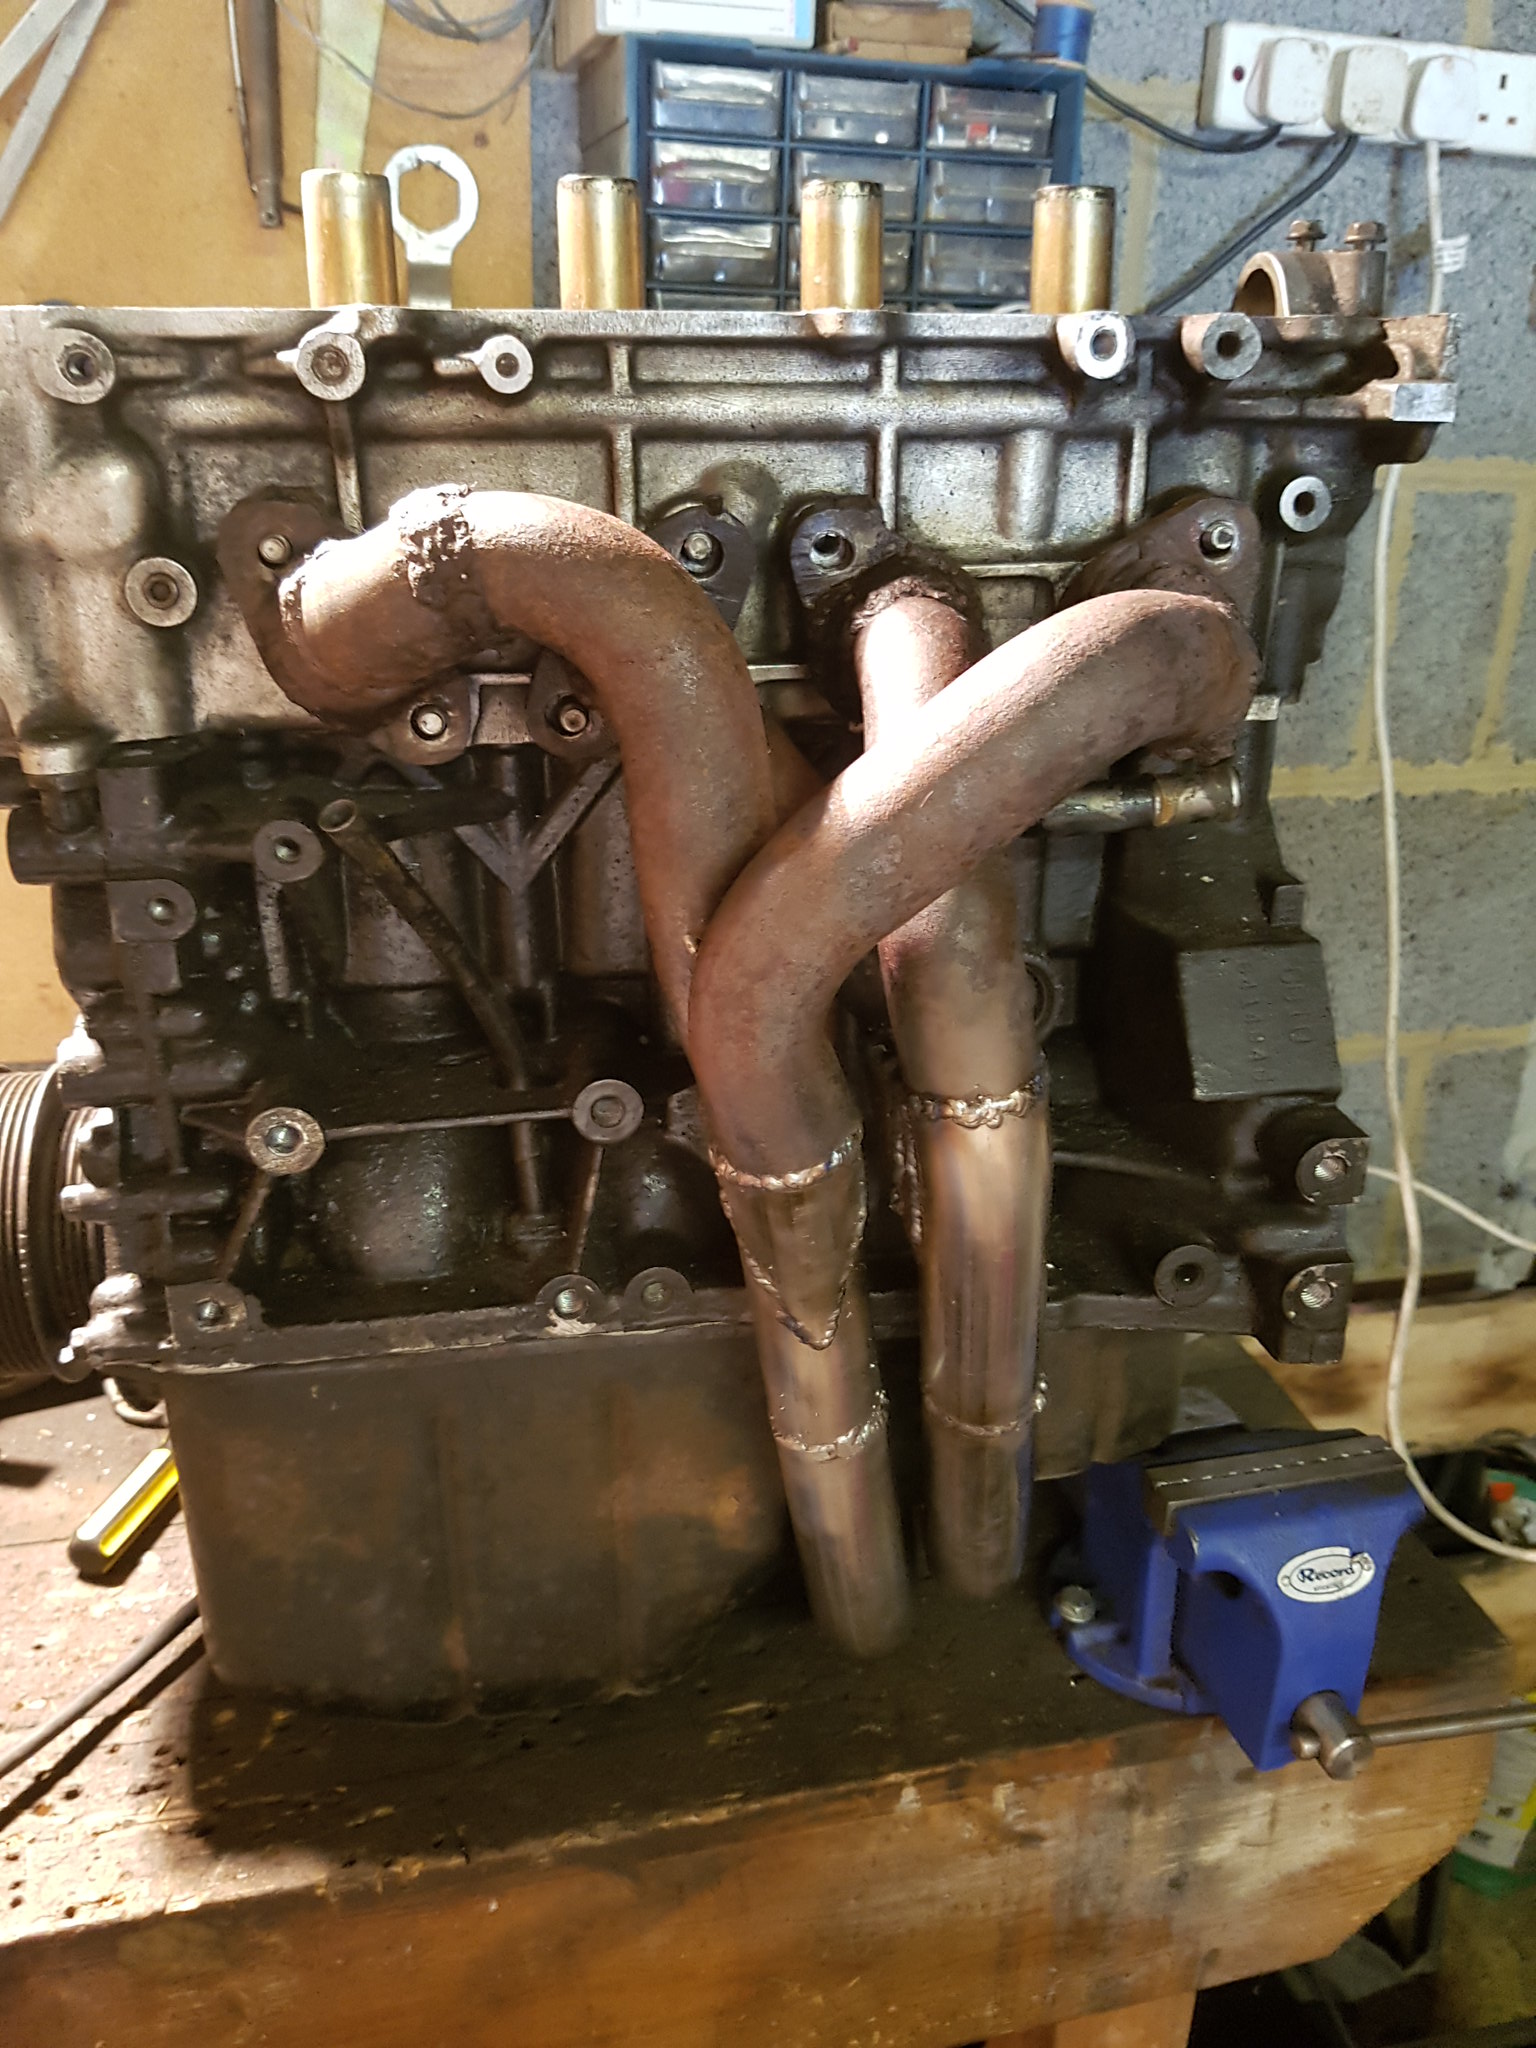 20170831_123627 by Lawrence Balls, on Flickr
And y piece, flexi and v band tacked together
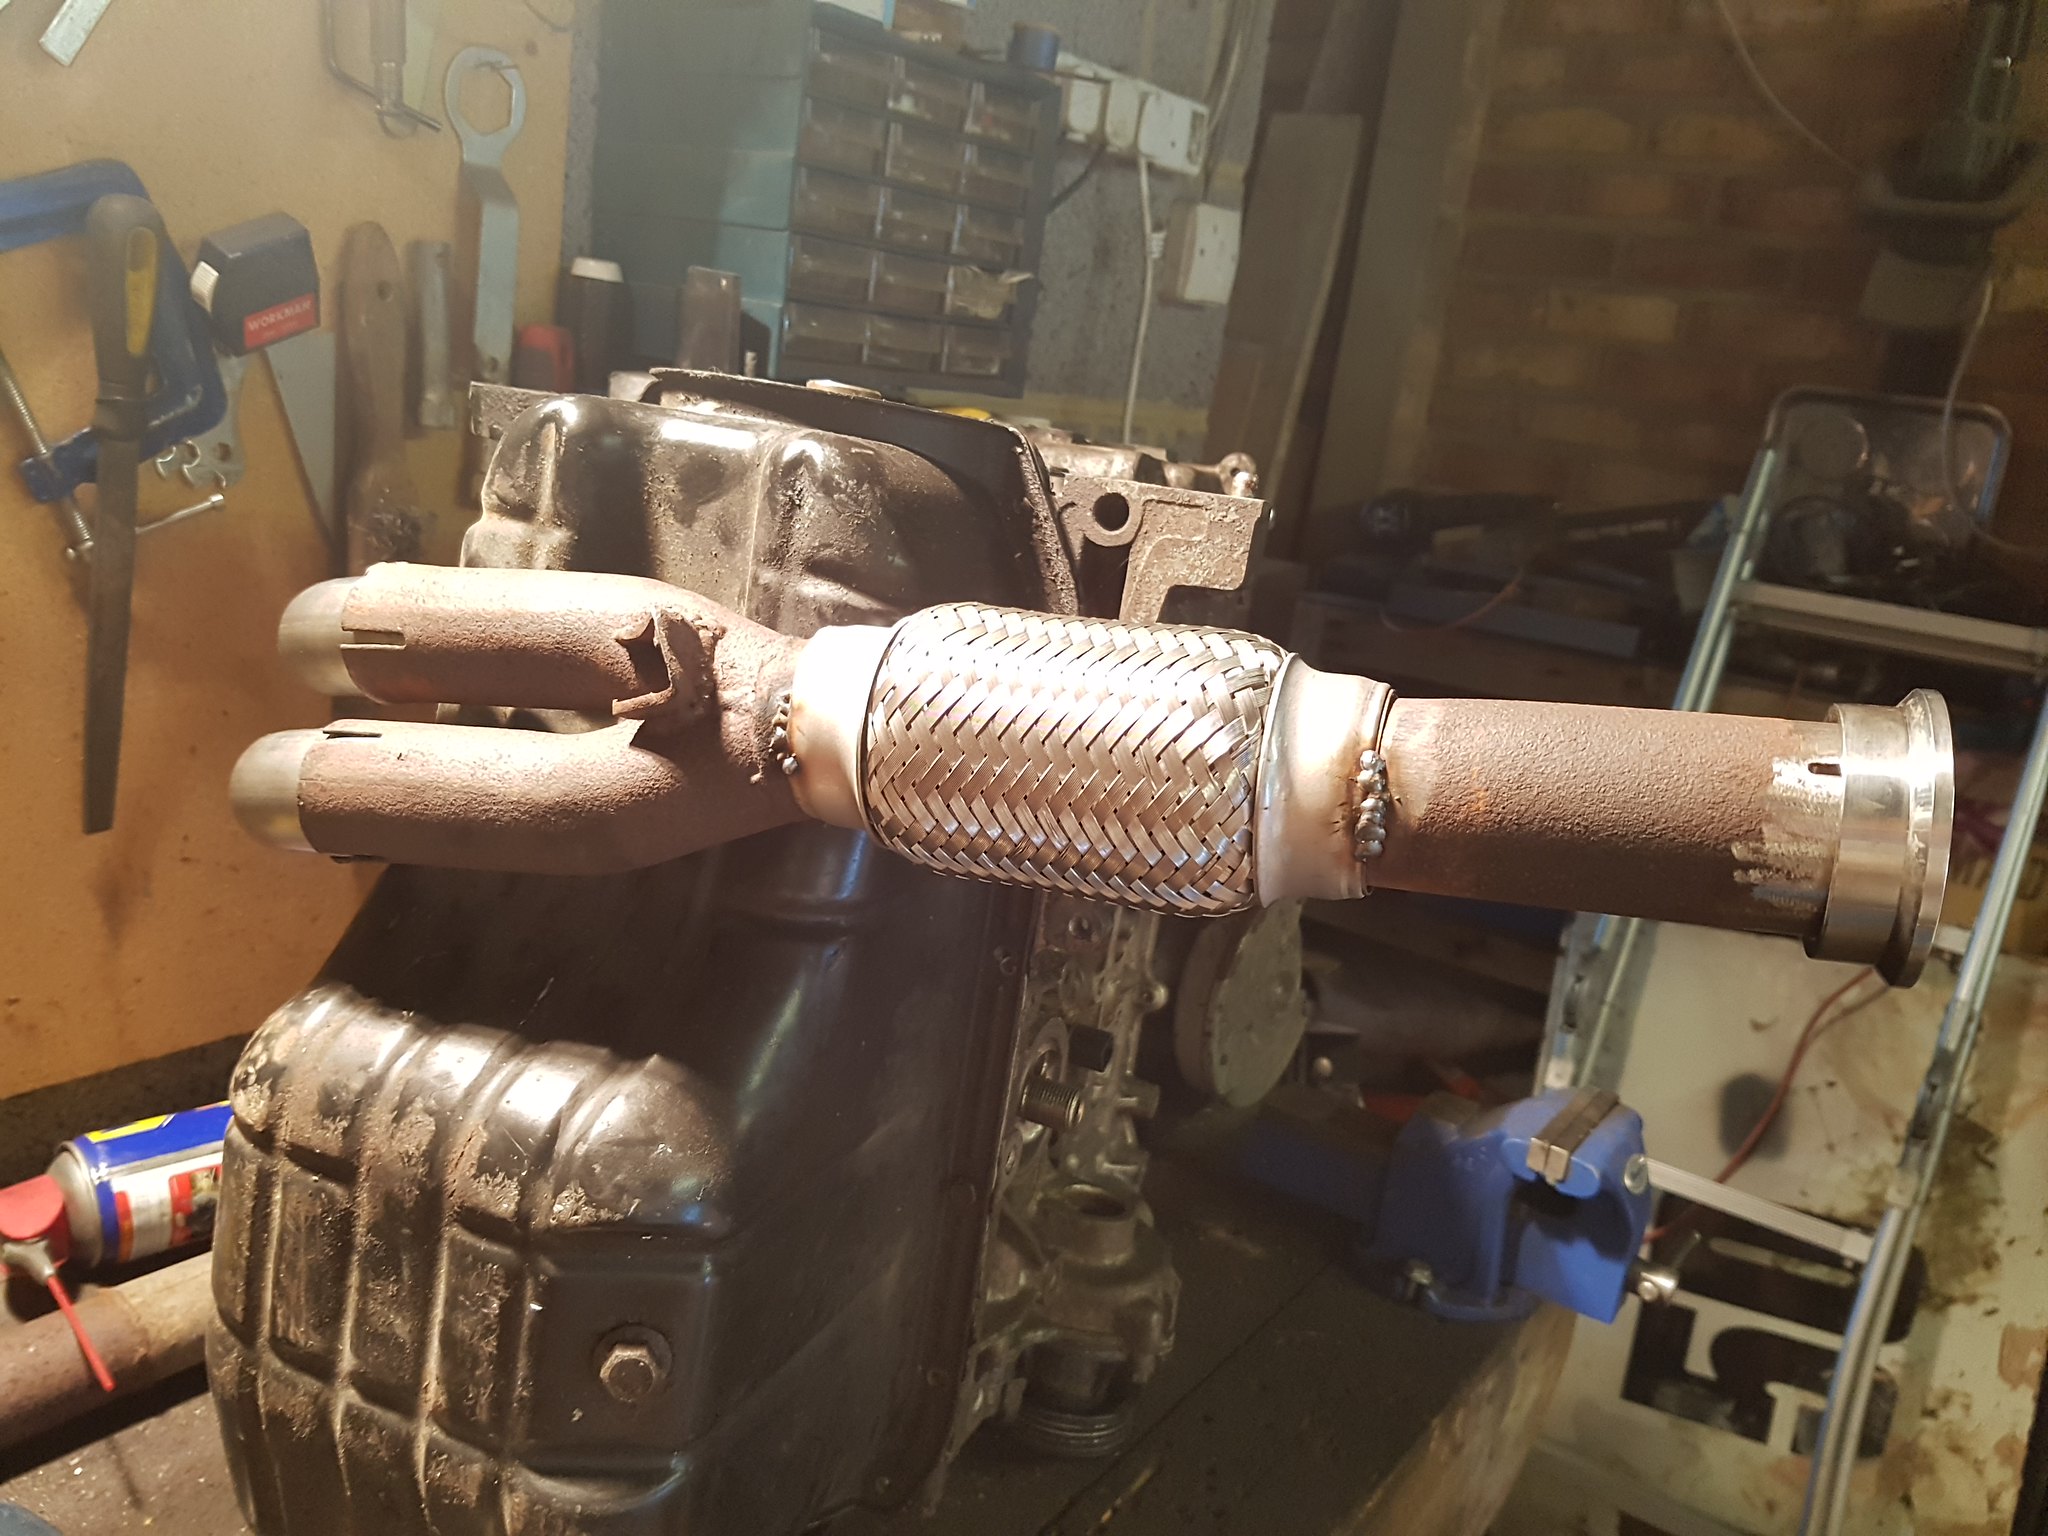 20170831_130153 by Lawrence Balls, on Flickr
And welded with a bit of paint
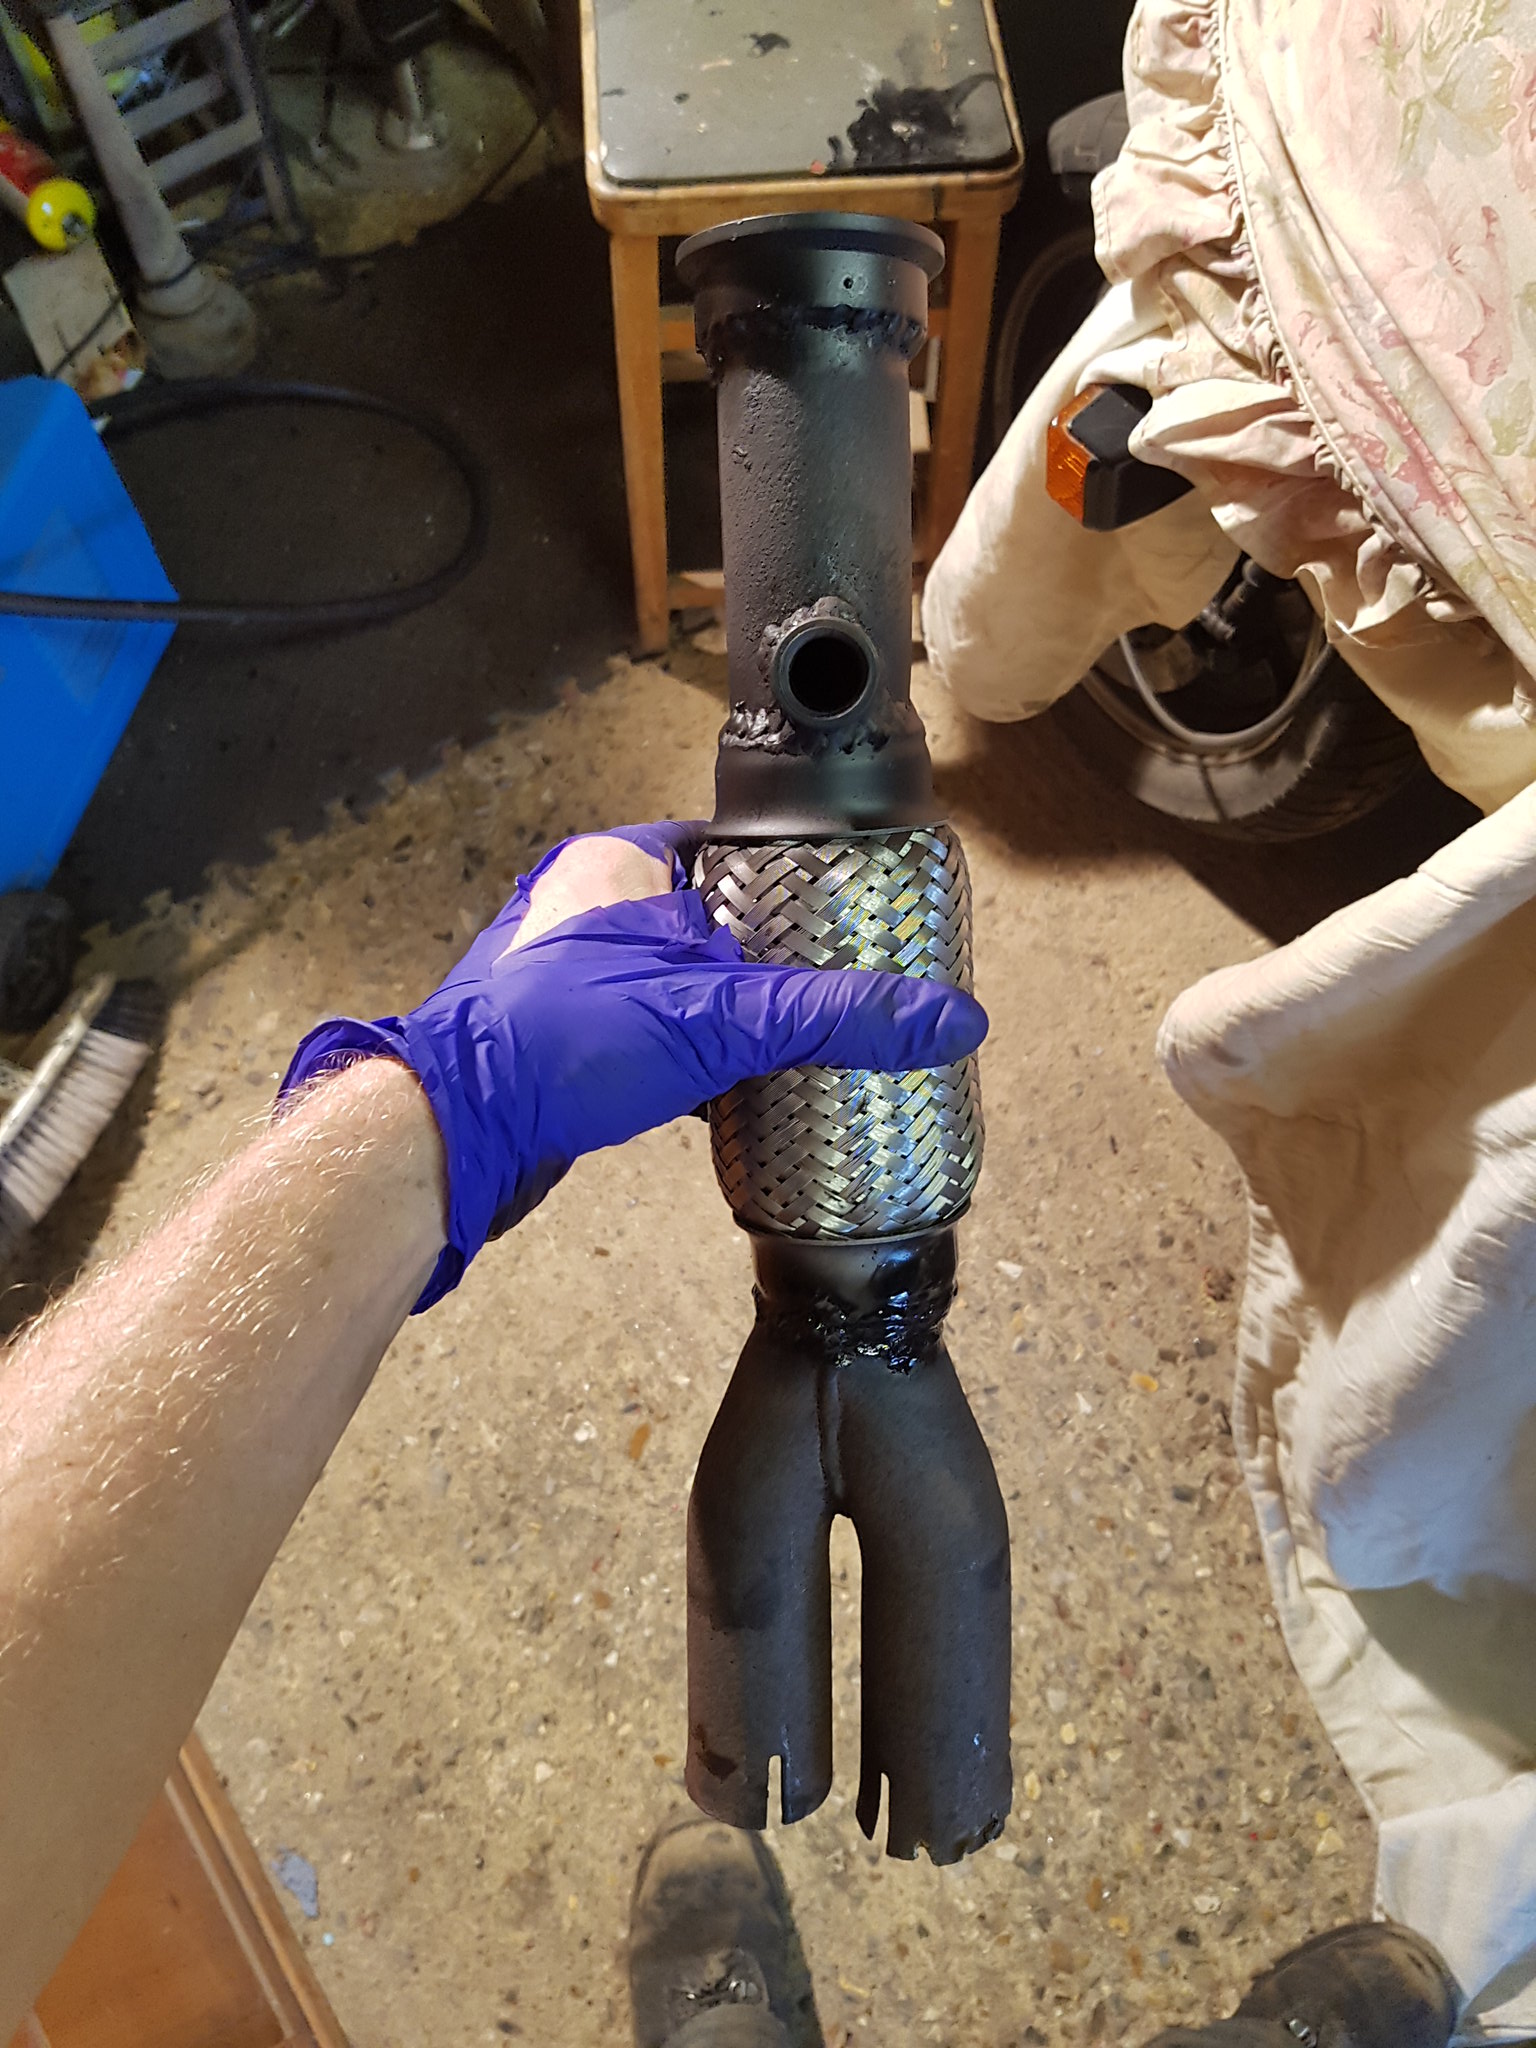 20170831_161523 by Lawrence Balls, on Flickr
Since the photos ive extended one of the downpipes to give more clearance round the gaiter, Got about a 2cm between the manifold and OS inner gaiter. Should be plenty of clearance to keep the gaiter cool now. Also ive made the centre pipe section and started to make brackets to hold up the rear silencer. May need to buy a 90deg bend to make the rear exhaust section, not sure yet.
Next update will be next week as im on placement the next 3 days. Officially got 3 months left to uni now too which is awesome!!
Lawrence
#627

Posted 04 September 2017 - 03:40 PM
Little update from this morning, really should be doing my uni work but I just needed to do something not to do with uni as a break!
Finished the wiring to the fogs and side lights
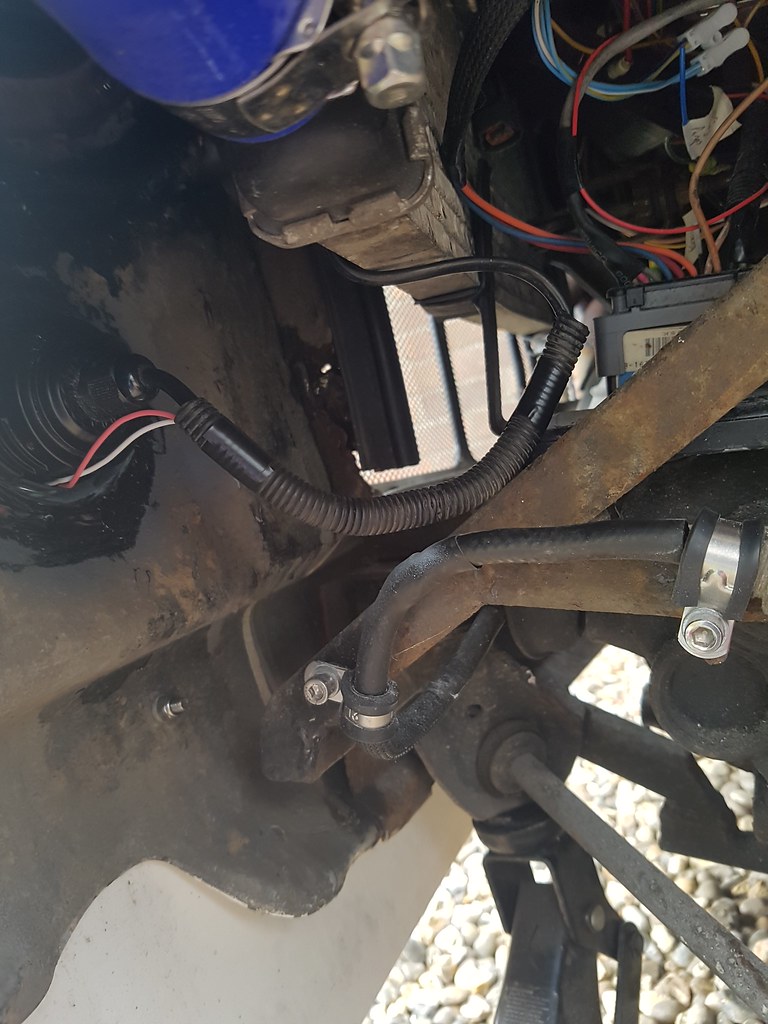 20170904_130639 by Lawrence Balls, on Flickr
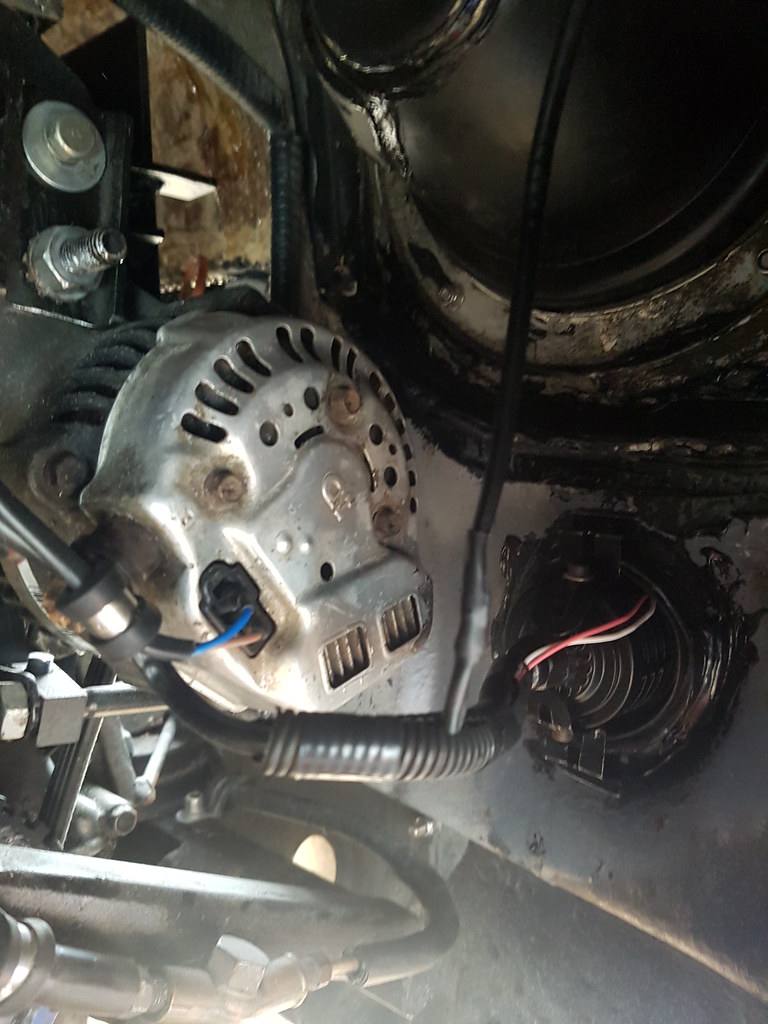 20170904_103847 by Lawrence Balls, on Flickr
Looked for my split pins for the cv nuts but remembered I had to fix the tie rod bolt. Then I remembered I needed to redo a wheel bearing
New races fitted
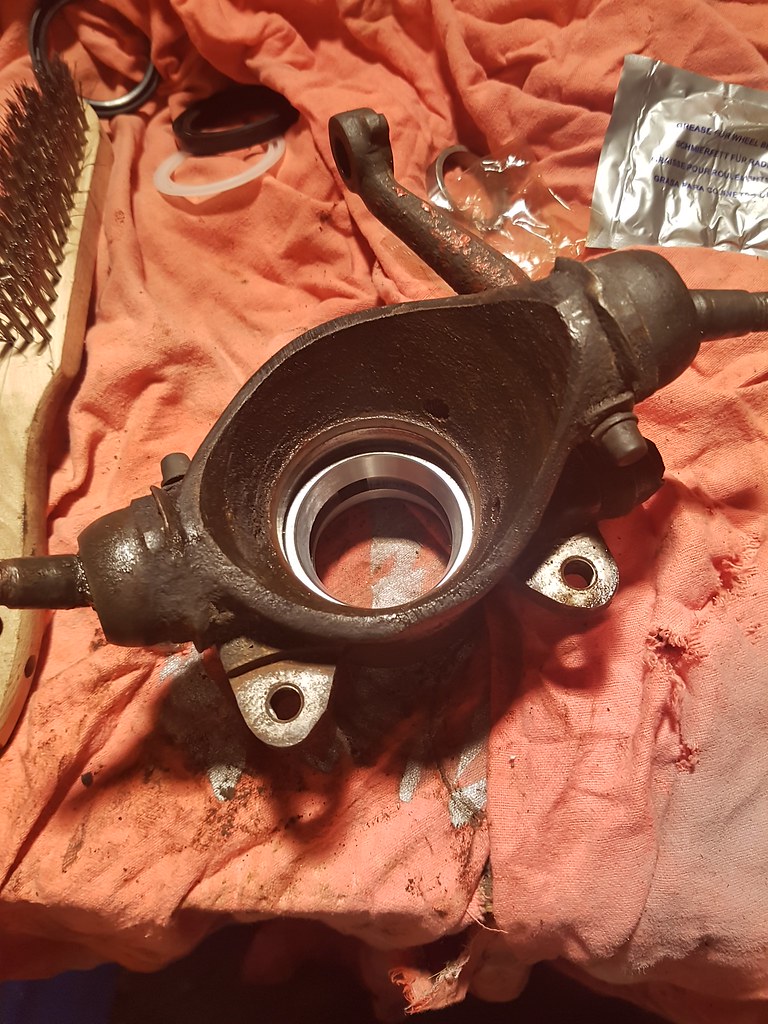 20170904_114348 by Lawrence Balls, on Flickr
also painted up the NS front arch as it was a bit chipped.
Front back together, tie bar to bottom arm bolt in the correct way. BJs are all good still . Everything torqued up.
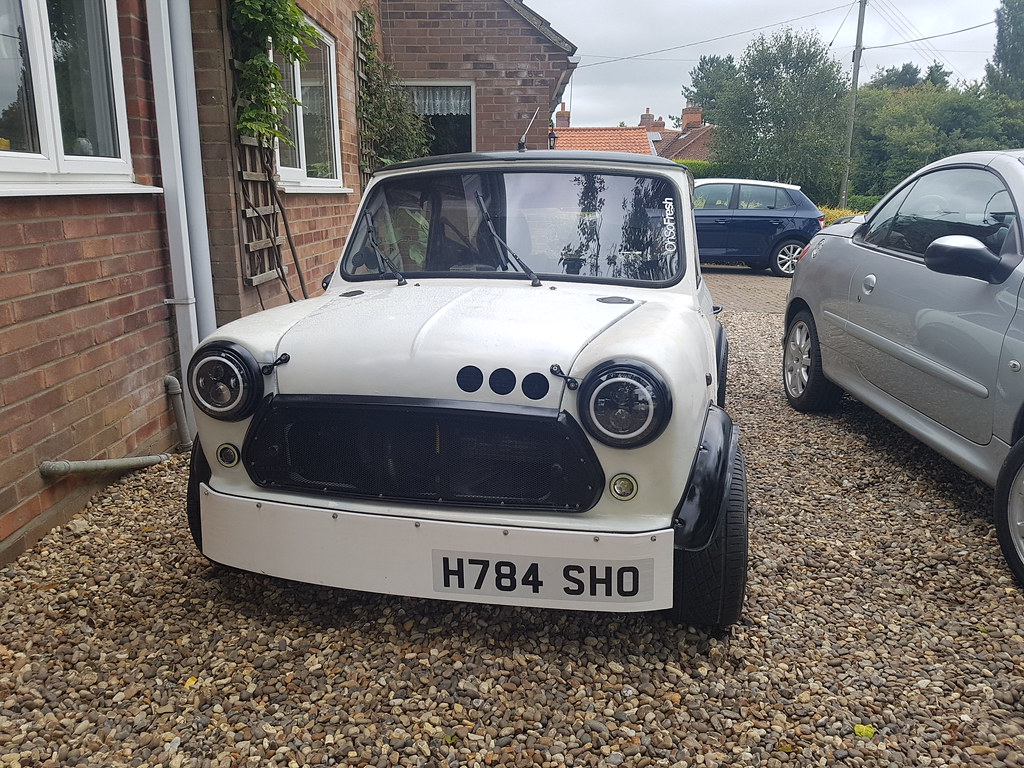 20170904_133824 by Lawrence Balls, on Flickr
Still need to fit the steering rack gaitors but need to buy some more cable ties first. Also found my split pins eventually so can torque up the OS front suspension components
Update maybe at the end of this week, play it by ear as im doing a full time week plus working Sundays plus an essay haha
Lawrence
Edited by lawrence, 04 September 2017 - 03:44 PM.
#628

Posted 04 September 2017 - 04:05 PM
Looks good! Do you have a link to those indicators you've fitted?
Cheers
#629

Posted 04 September 2017 - 05:37 PM
#630

Posted 04 September 2017 - 06:58 PM
1 user(s) are reading this topic
0 members, 1 guests, 0 anonymous users


