Ken -The 1275 High Compression Engine Micra Mini (Running Project)
#541

Posted 30 March 2017 - 12:22 PM
#542

Posted 31 March 2017 - 07:09 AM
Thank you for that recommendation, I shall keep an eye on it. It’s from eBay but it’s also stocked by demon tweeks so fingers crossed it’s not a cheap quality part. It feels solid in its construction
So, people, little update from yesterday morning, gave myself a few hrs in the garage then back to uni work.
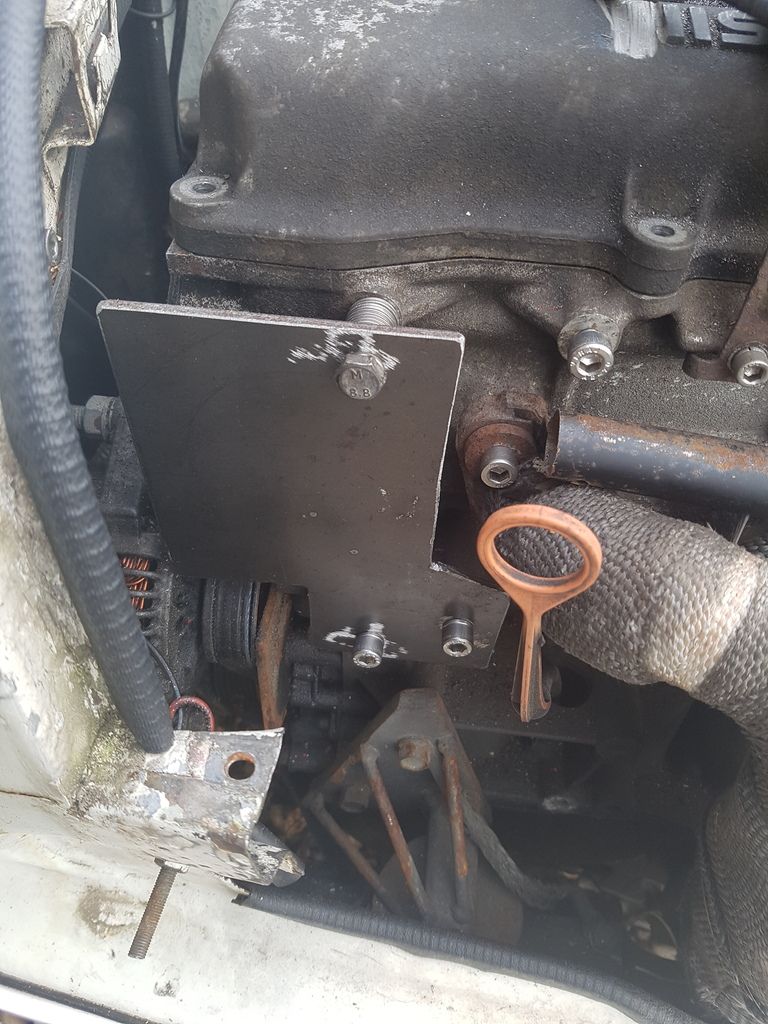
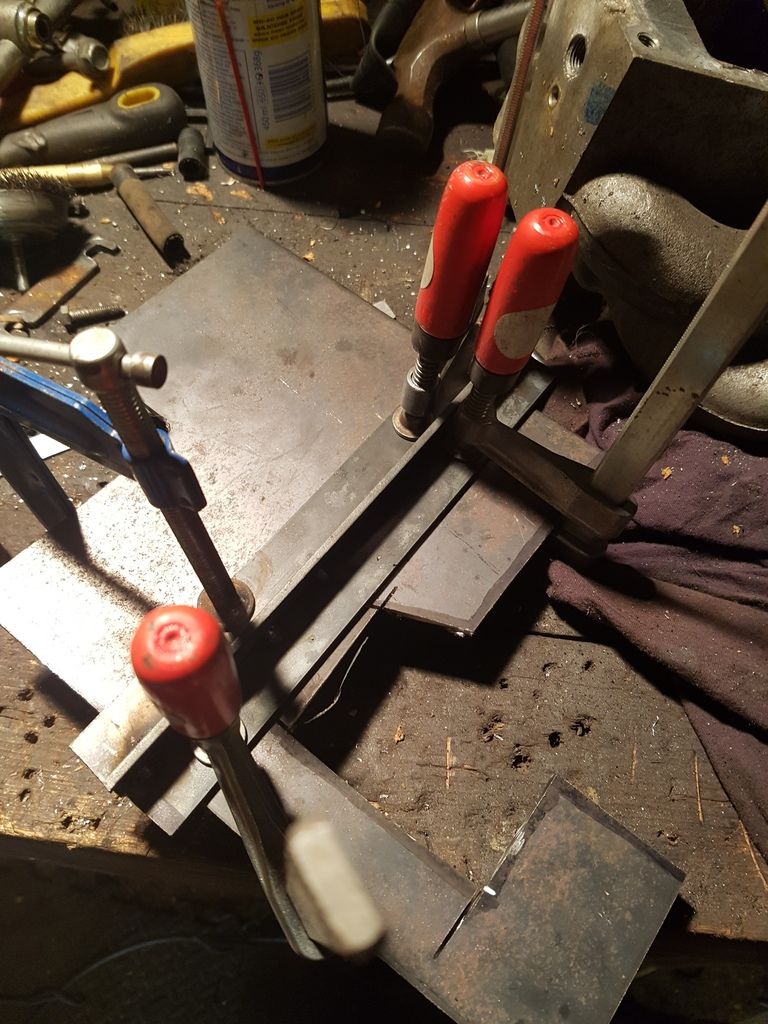
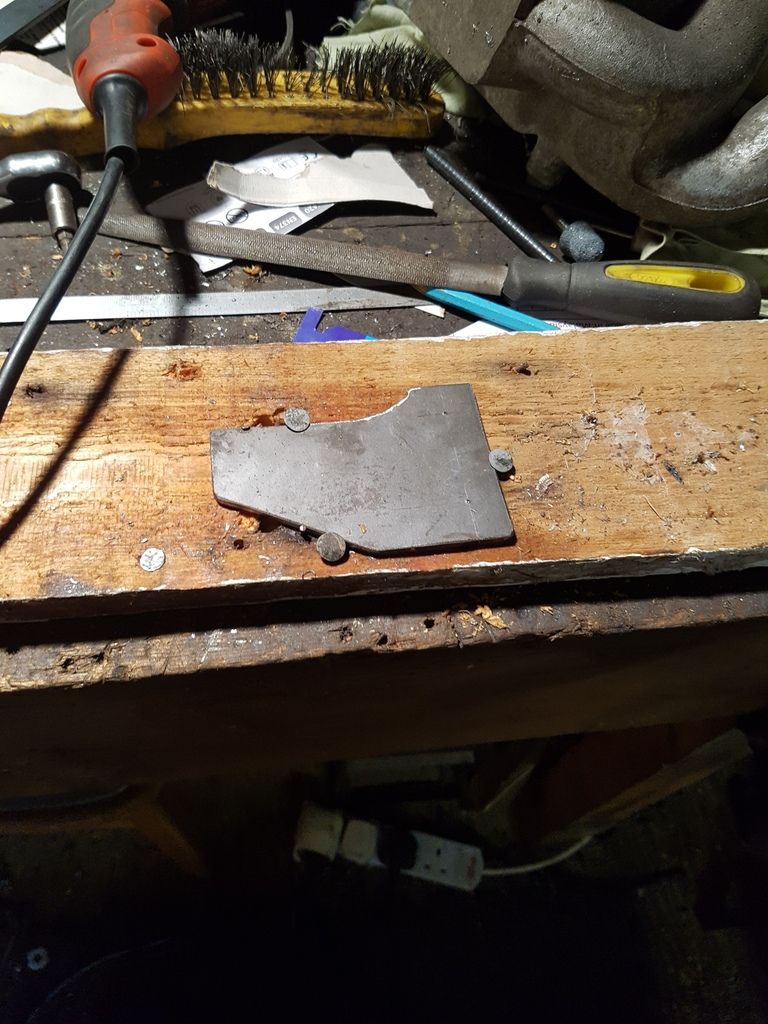
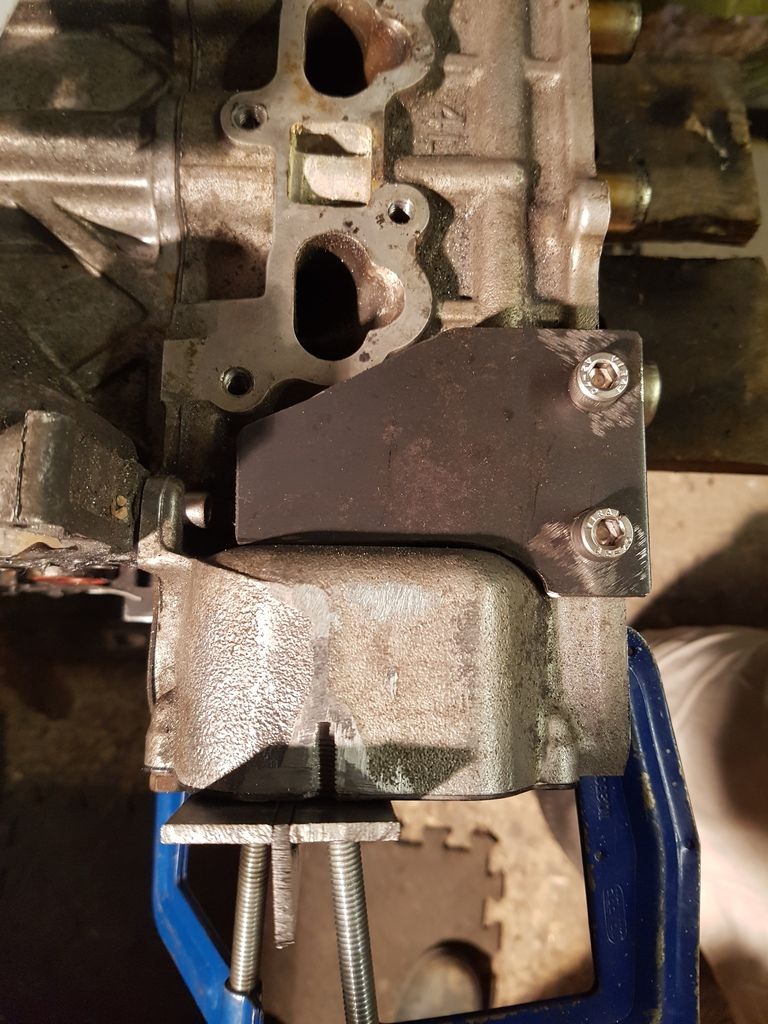
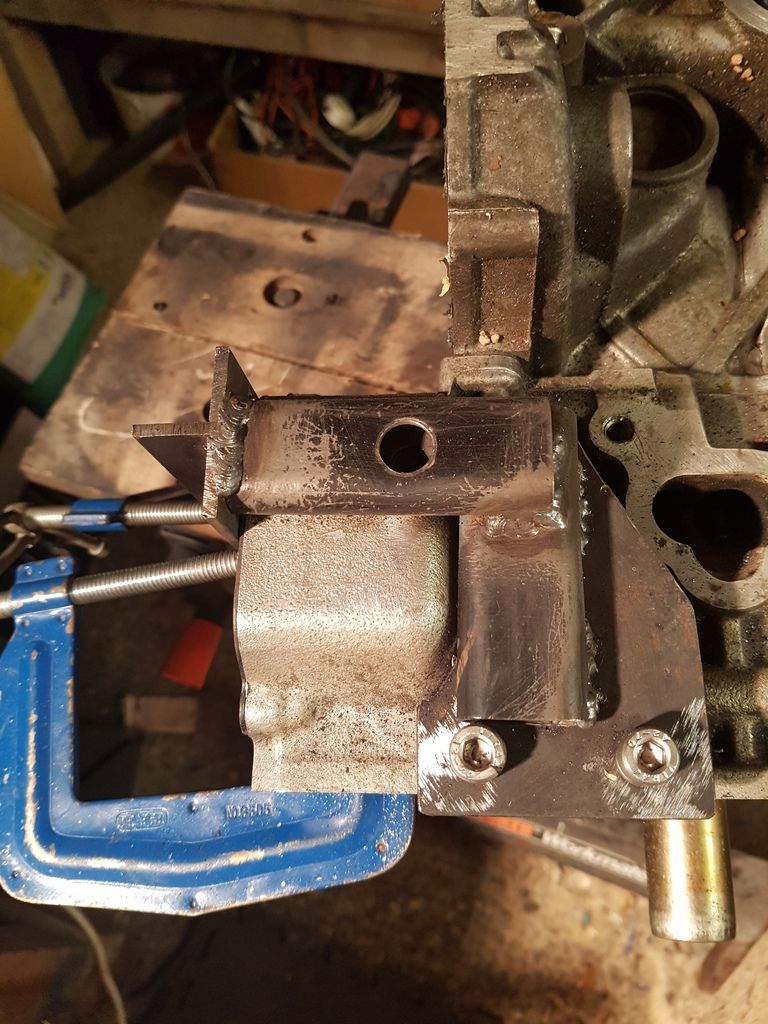
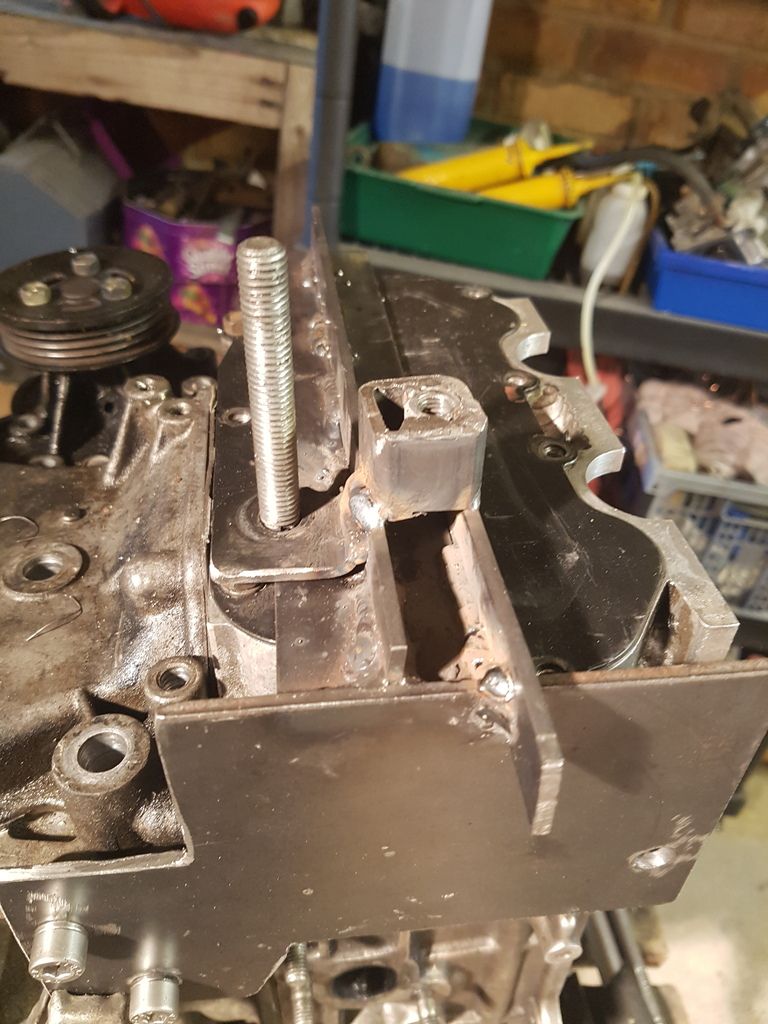
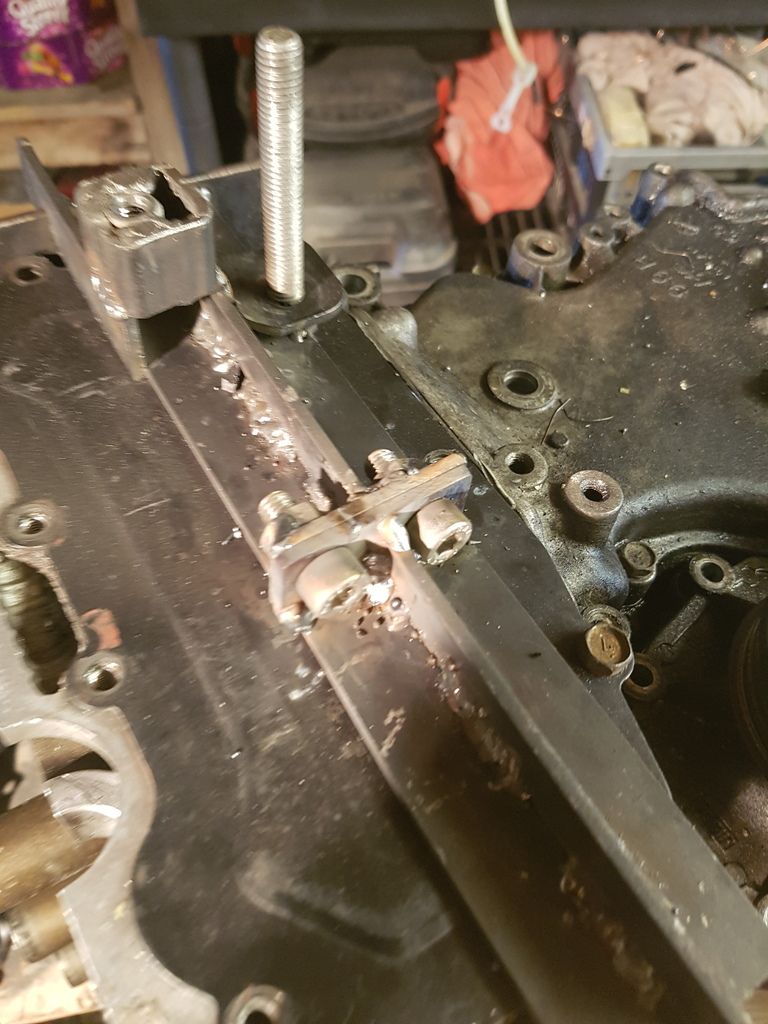
Front plate finished
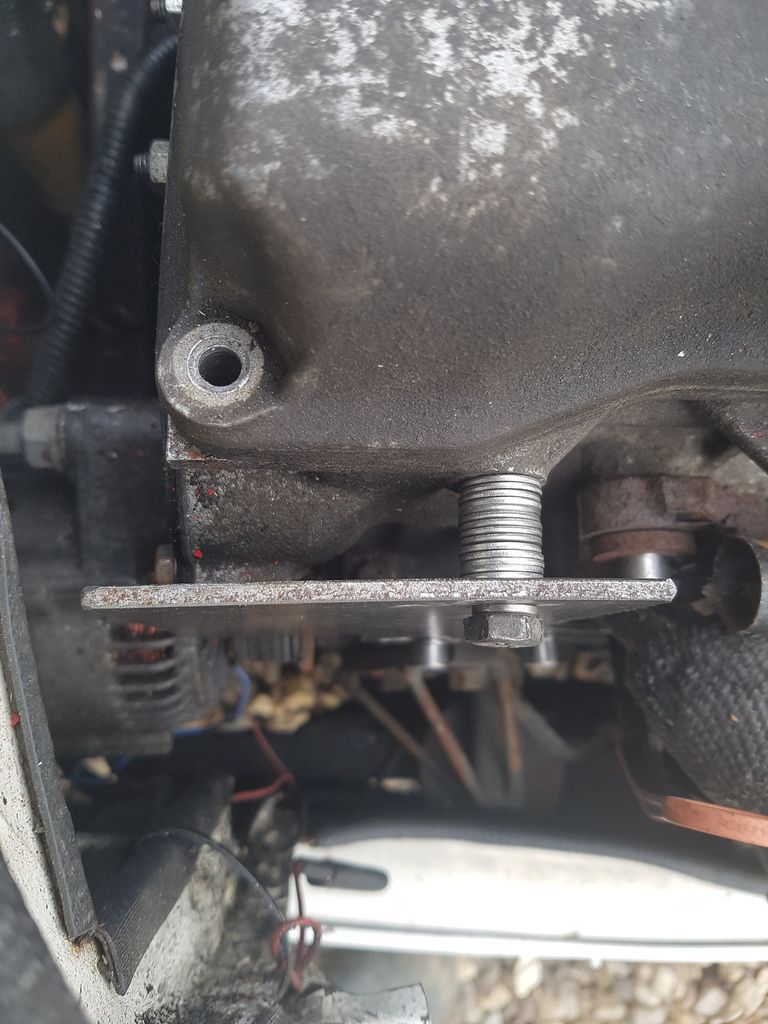
It needs a spacer at the top however I haven’t got anything suitable. Loads of washers it is for now (see this is when a lathe comes in handy for this sorta thing!)
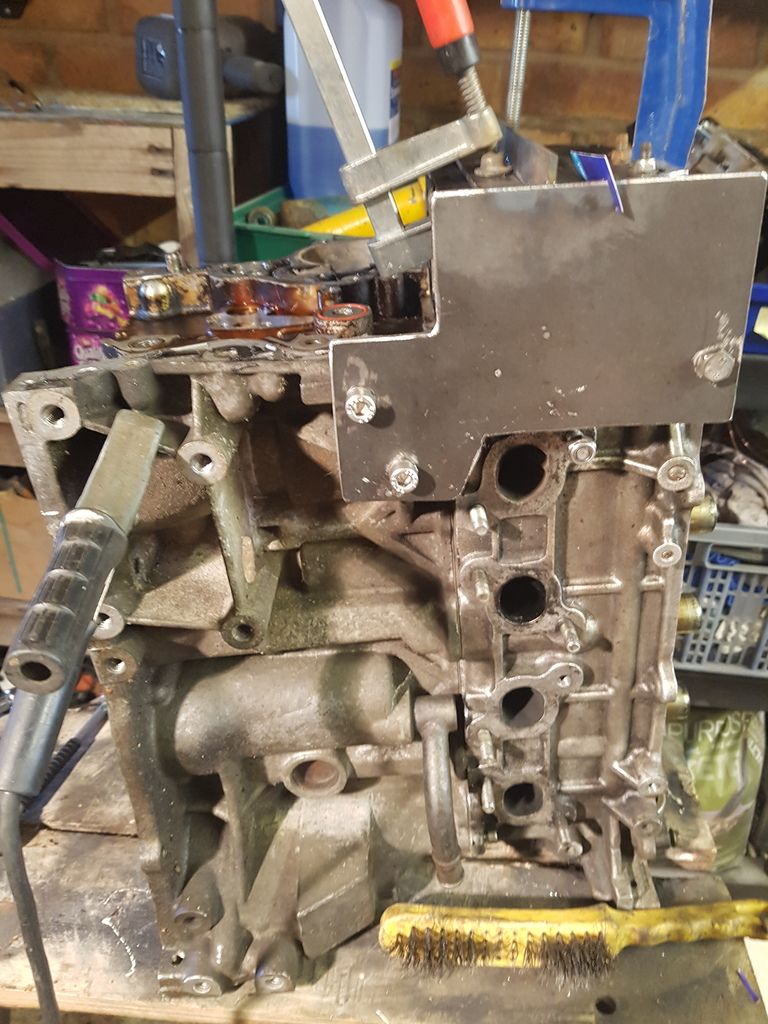
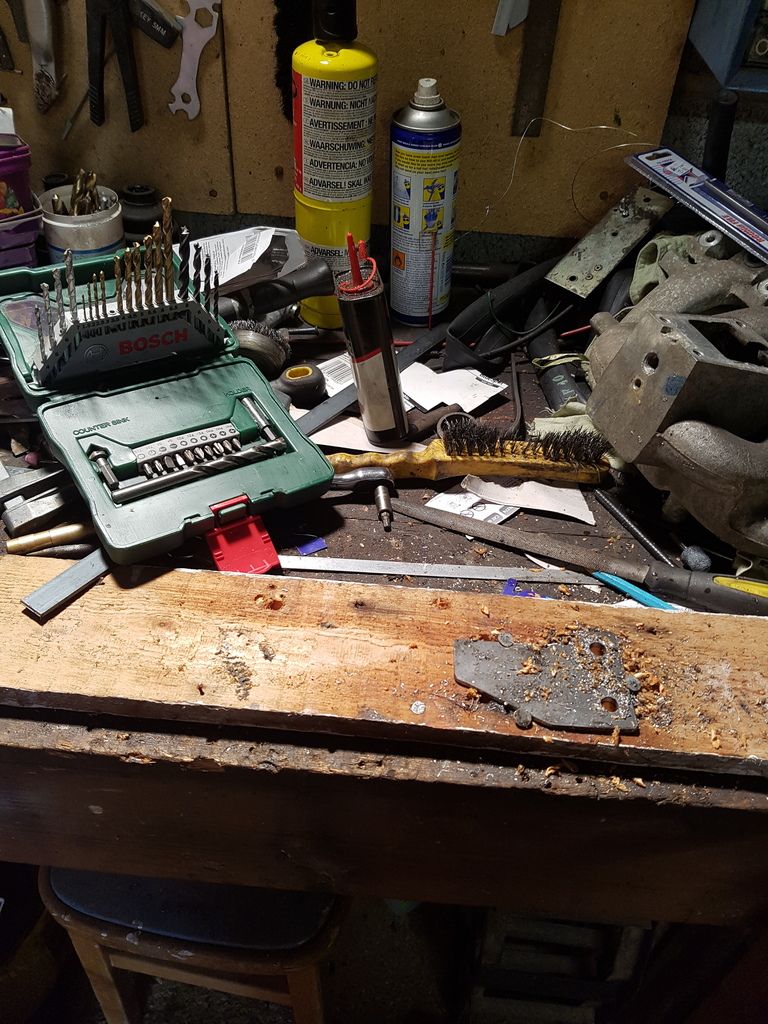
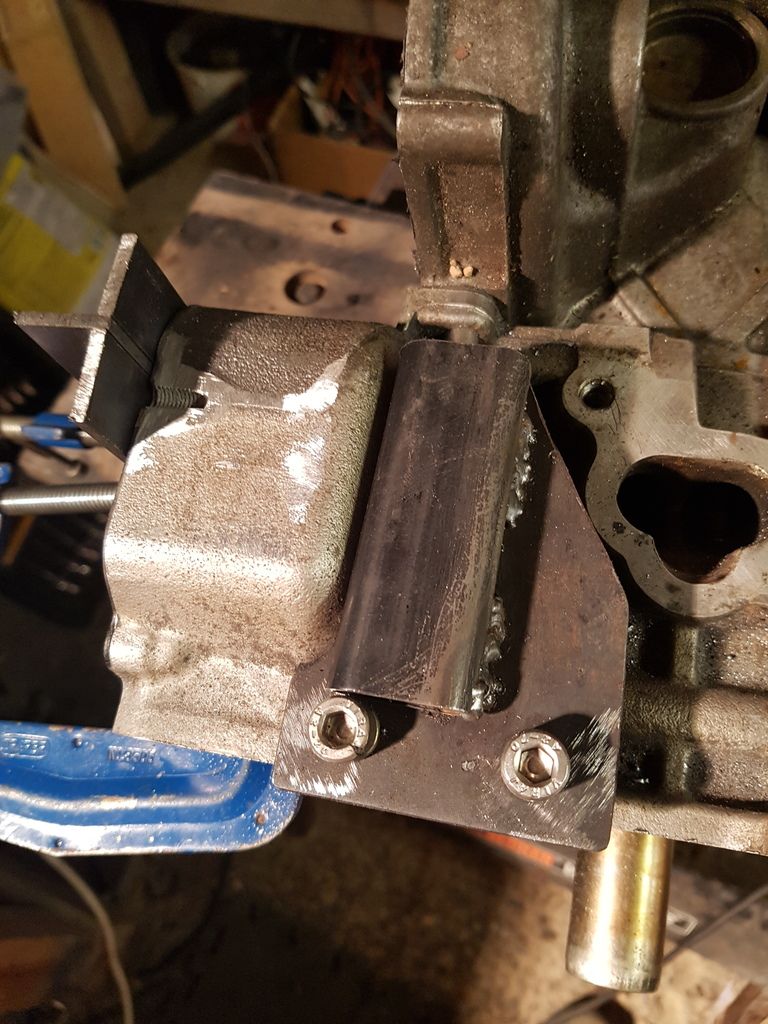
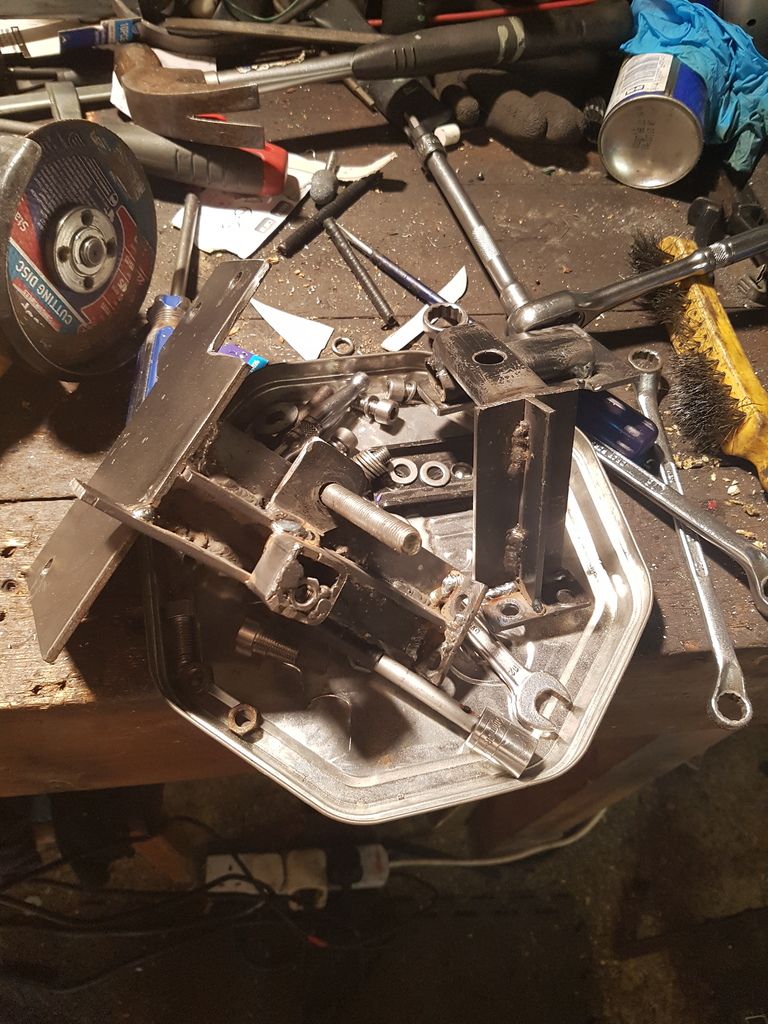
over to the bench for more fabrication
and welded the two parts together
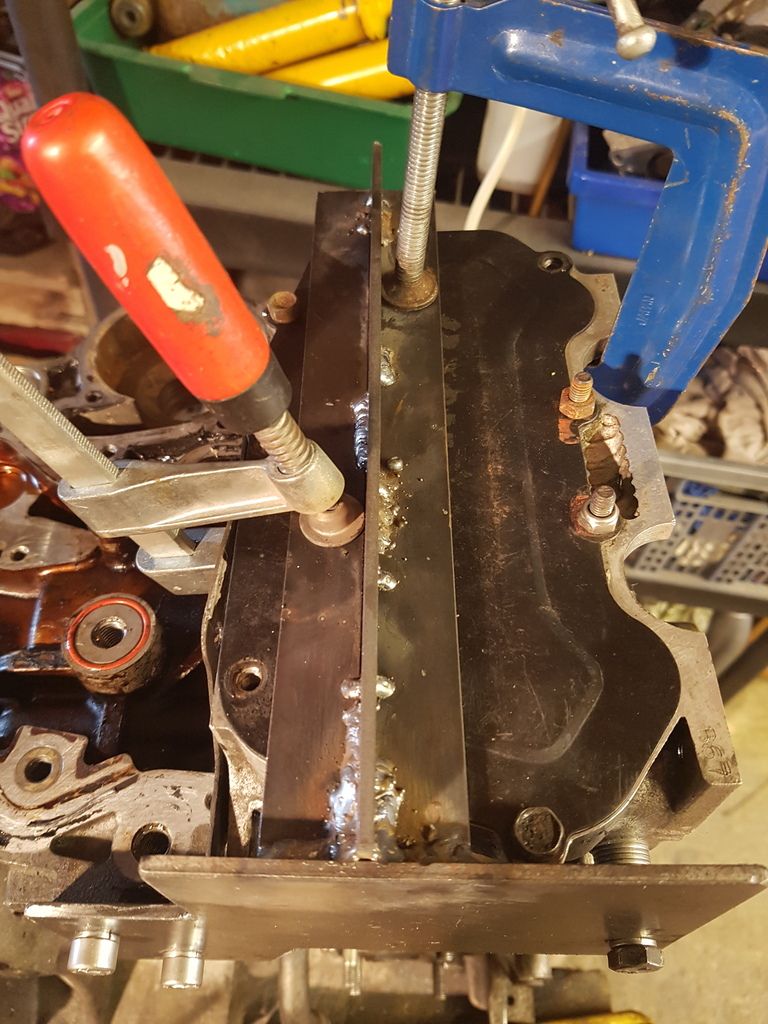
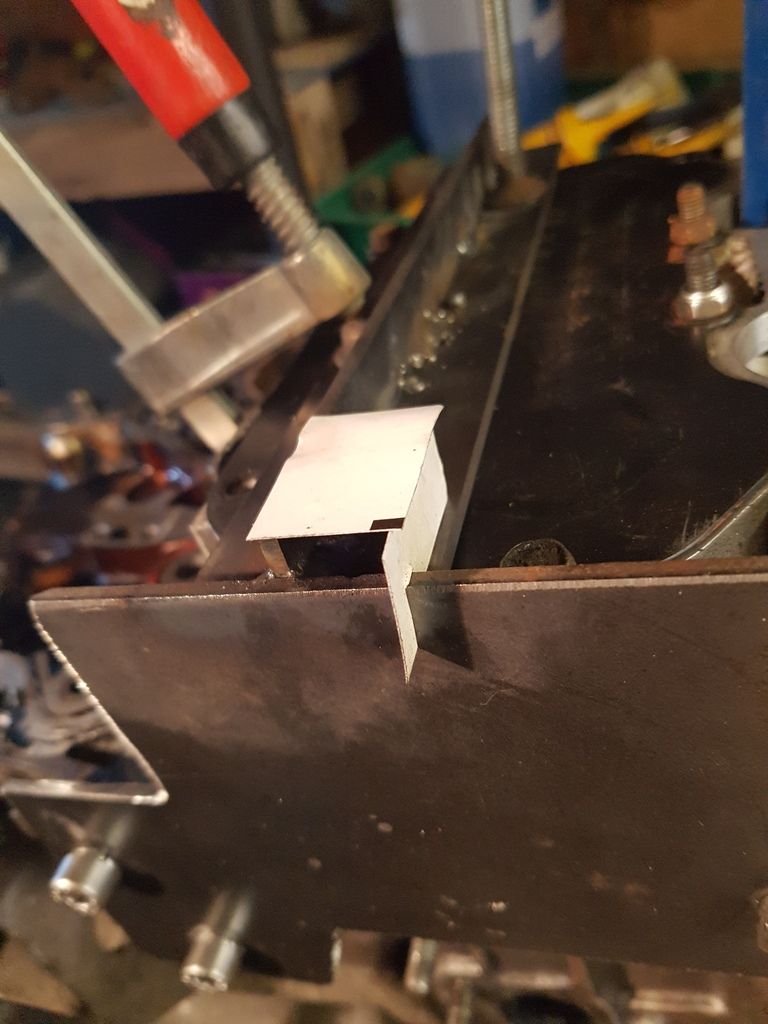
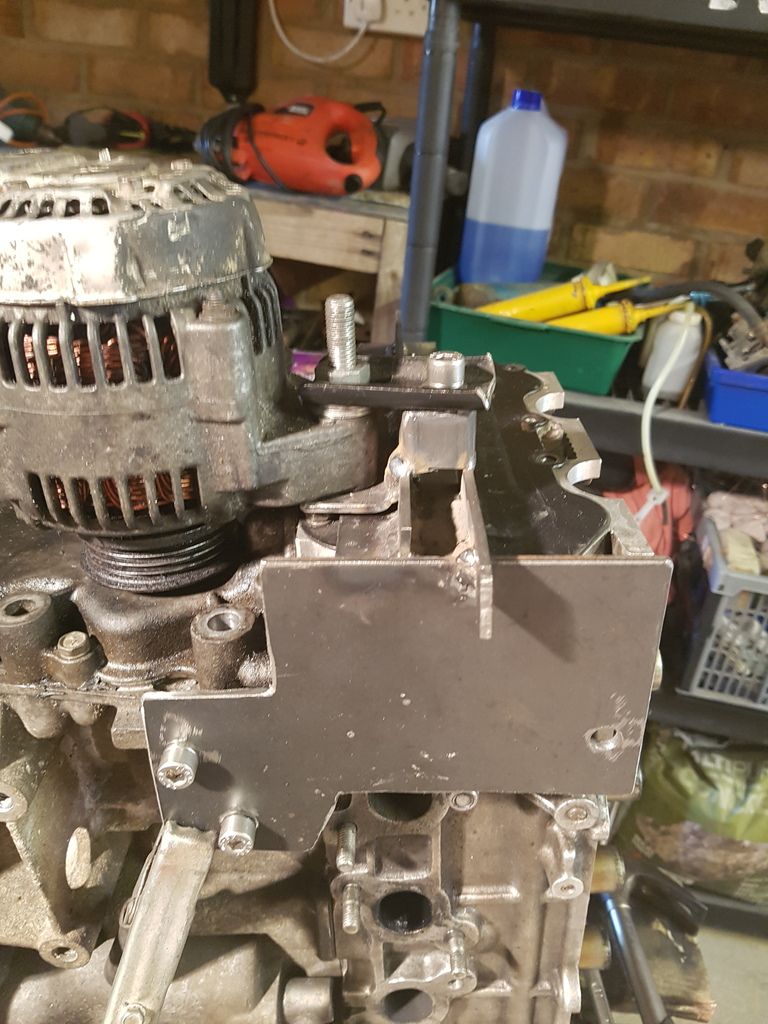
little gusset brace thing is going here
and im boxing it off also
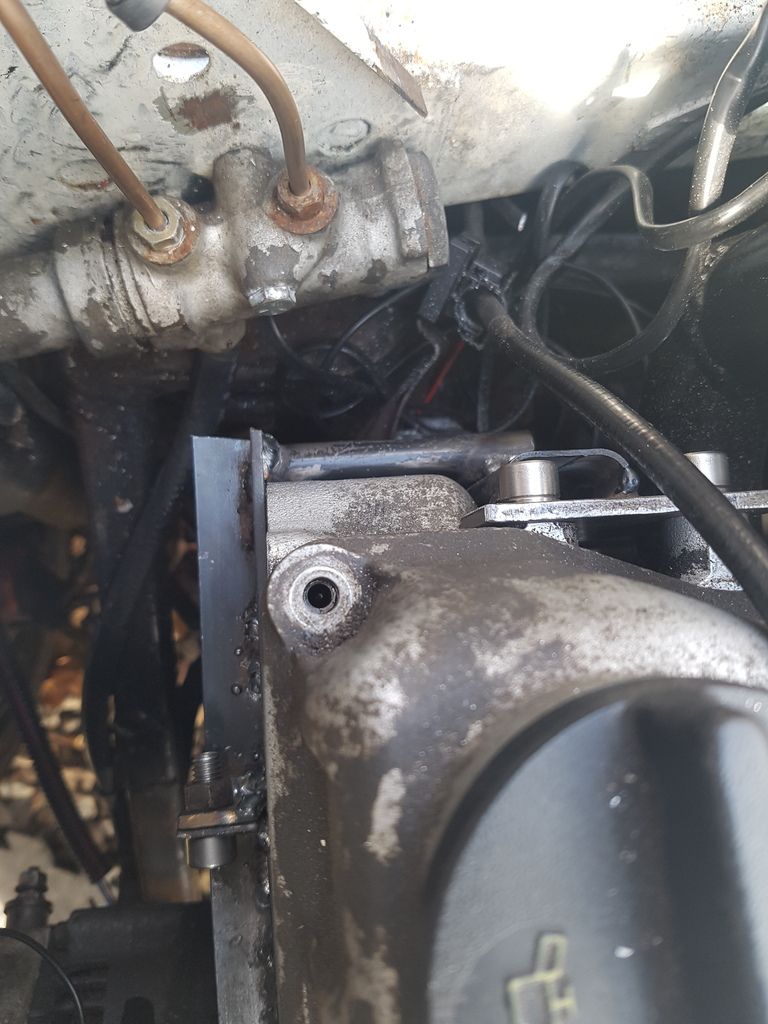
Just need to work out how I to mount the rear section. There are two threaded places on the back of the cylinder head that I am planning to use. Lastly the whole thing will attach to the plate that holds the idler pulley (That I am planning to adapt to a different one I own that is non concentric and spring loaded). In addition to this linking the two mounts together will mean that should the timing cover leak, it will leak down behind the alternator mount and avoid the belt area entirely. Thus keeping it tensioned and clean and dry!
Method in my madness here haha!
Also It is so helpful having a spare engine I can have up at chest height. Getting bits done much quicker compared with working on the car!
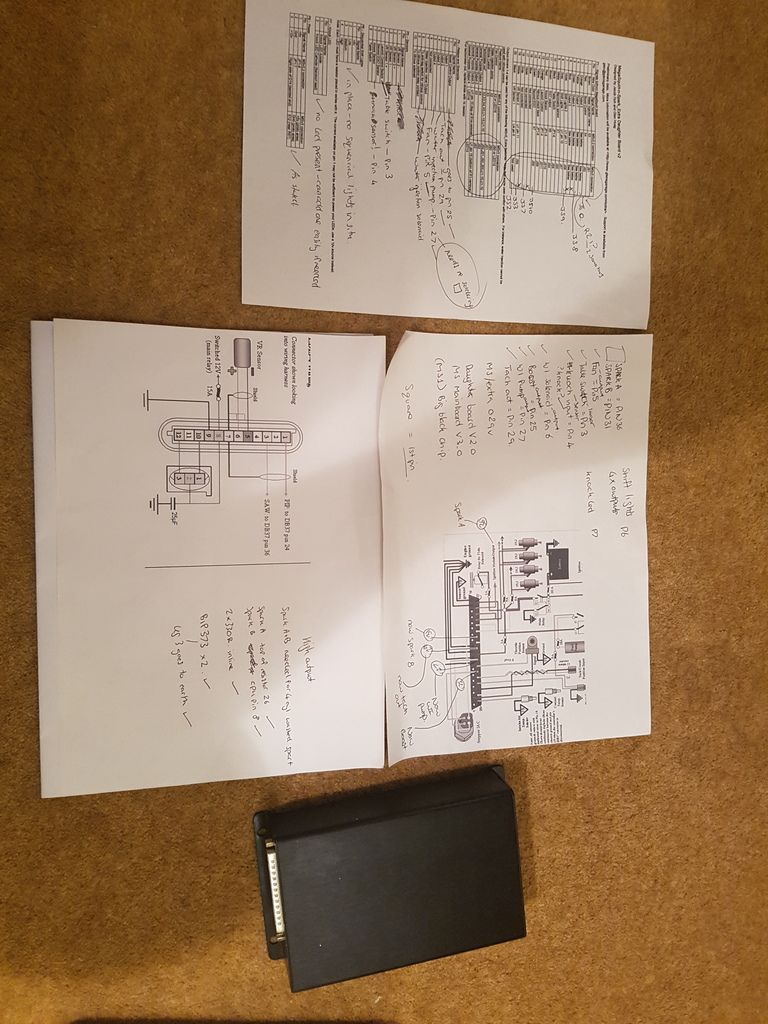
Oh and ive worked out this
My Megasquirt unit. Finally worked out what the PO did to it. Most of its good. Few bits I need to cut off perhaps and ive got one connections that’s broken but I know where it goes.
That’s all for now.
Not sure when the next update will be
Ill let the tension mount
(get it, alternator- tension- mount, HaHa)
Lawrence
#543

Posted 31 March 2017 - 12:13 PM
So the update was sooner than I planned but never mind!
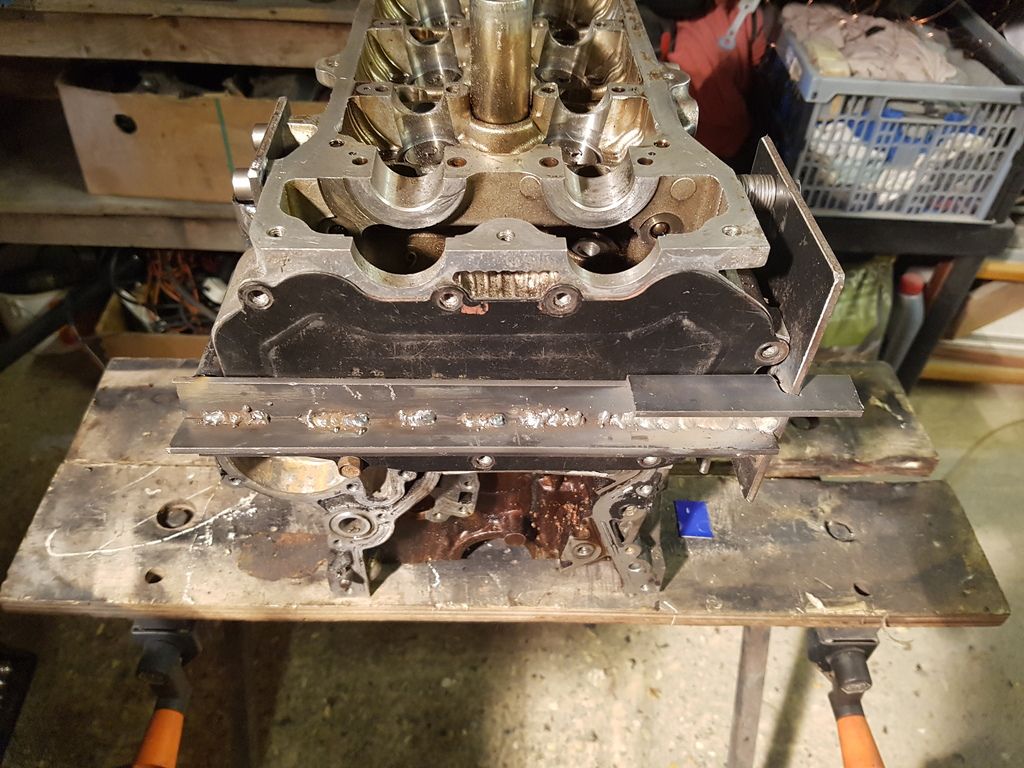
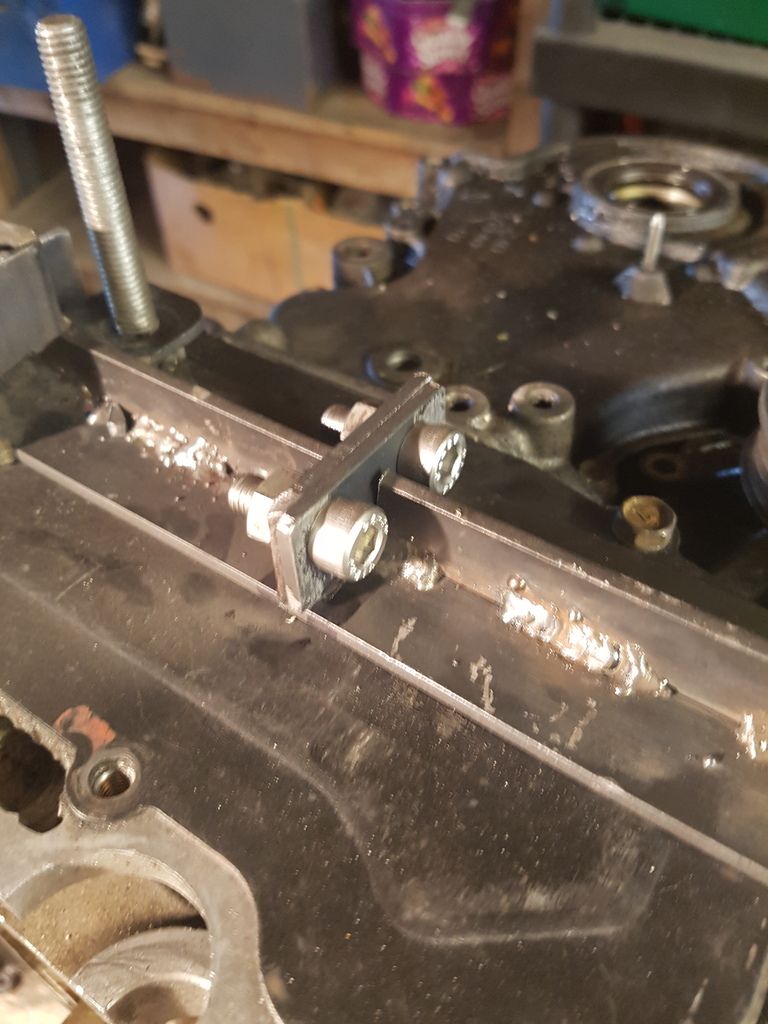
Welded in the brace bit. Just need to box it off now
Bit of CAD
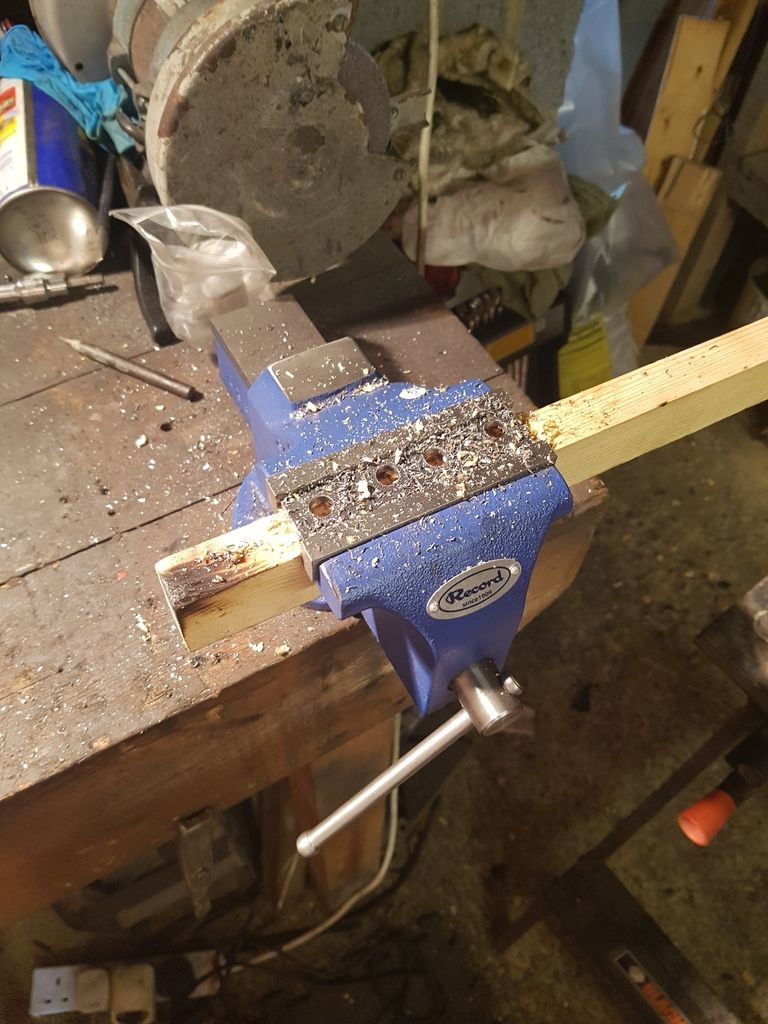
drilling
nice and snug fit
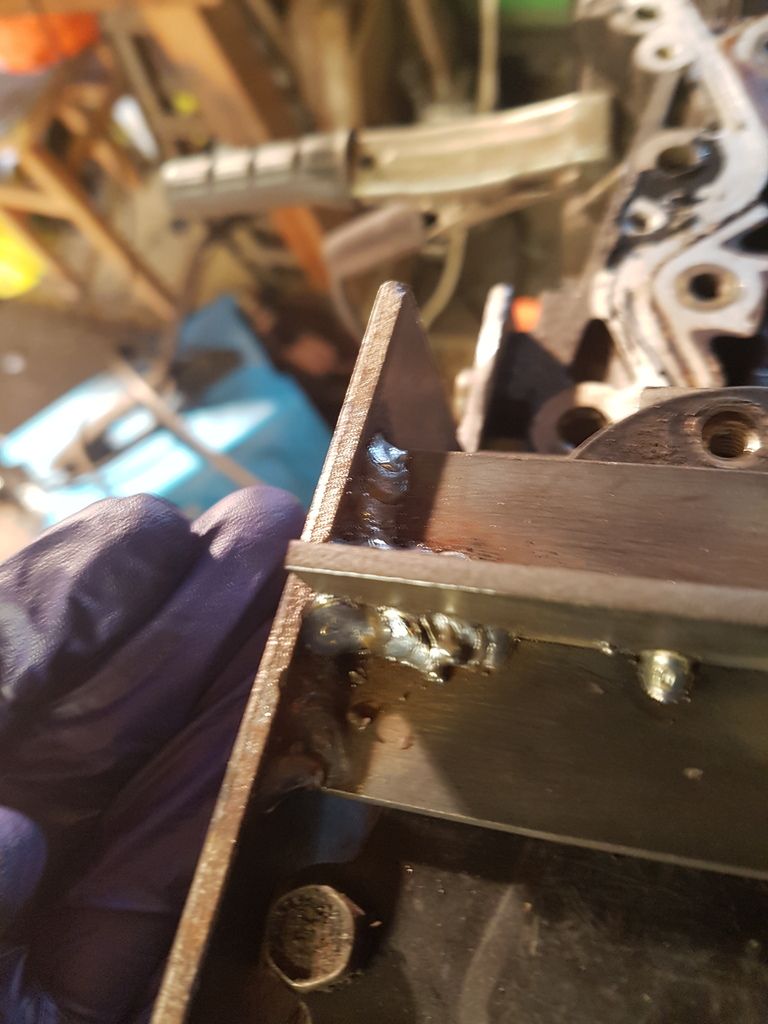
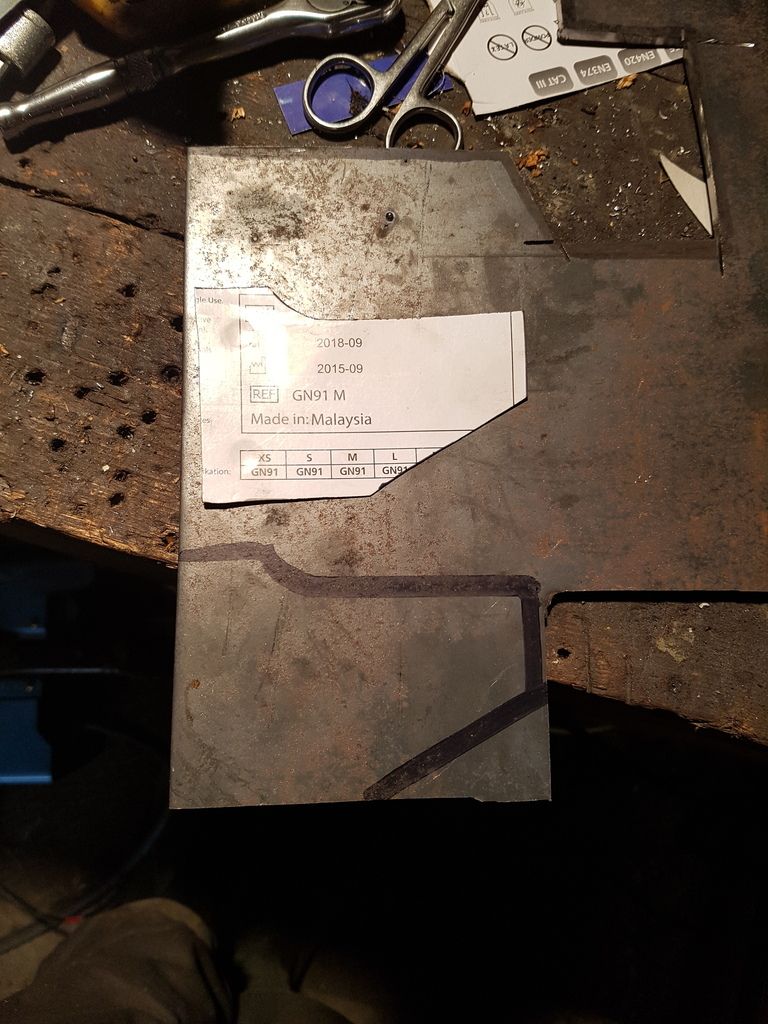
bit of metal cut and stuck
second bit added
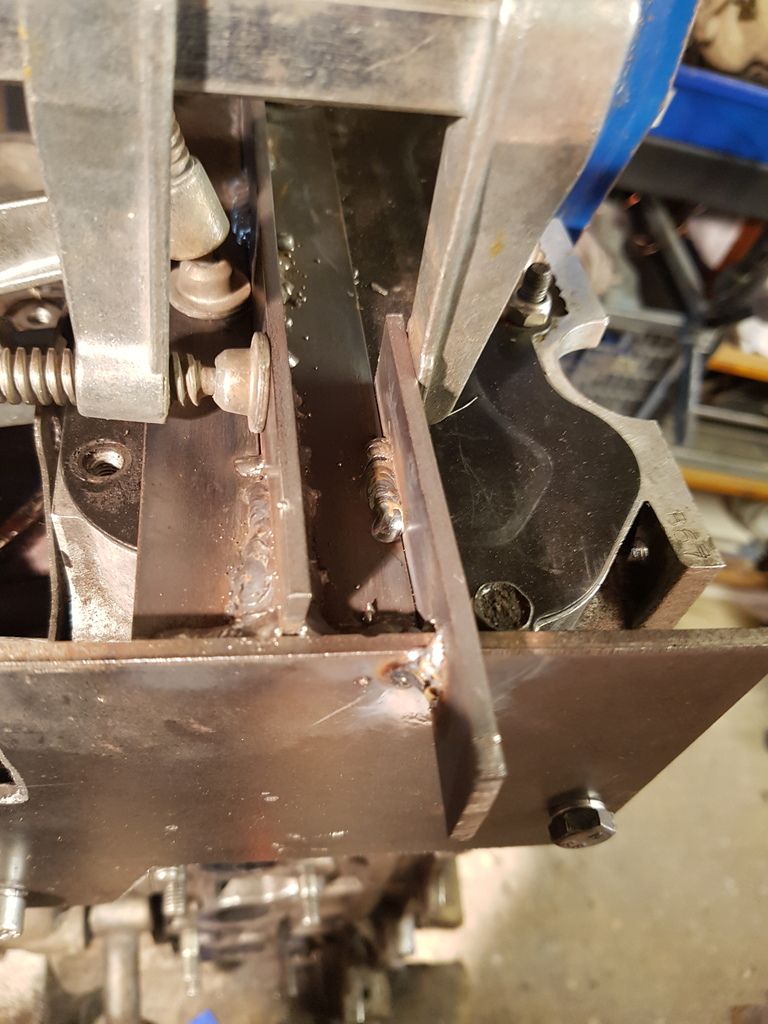
welding finished up
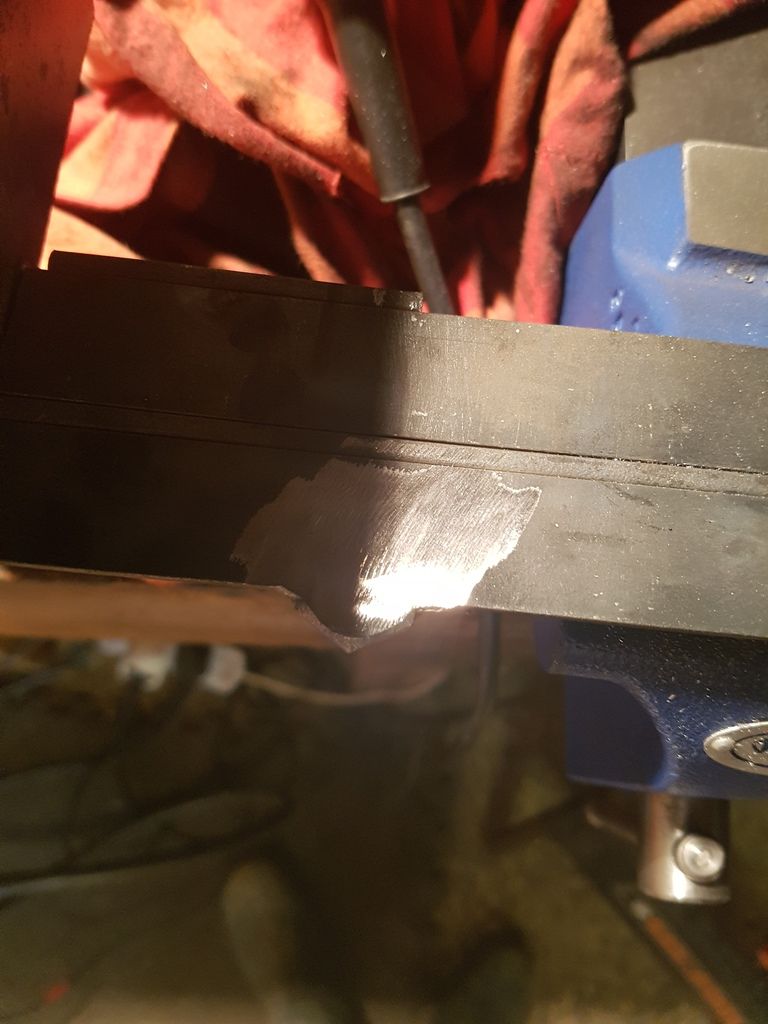
My welding wire is sticking which is making the feed a bit irregular. Need to order tips and new shields
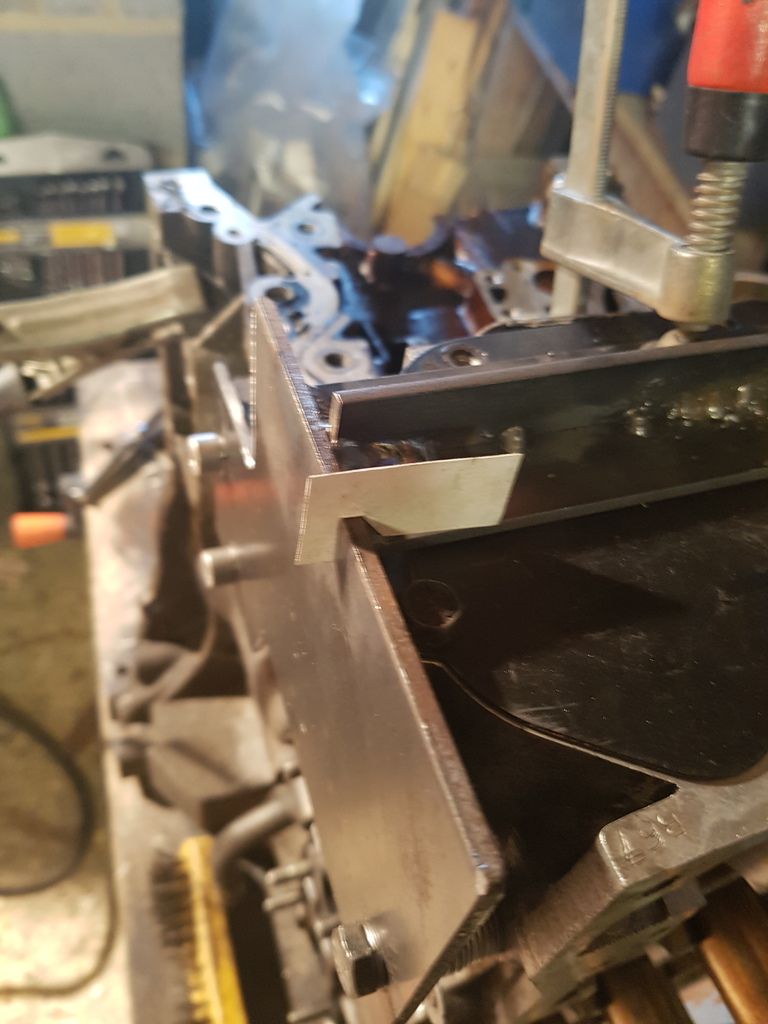
The assembly is designed to slide over the top of the cylinder head and it does so very well. It’s a very snug fit however once fitted and requires a gentle tap with a persuader to come off and go back on.
Next update ill fit the alternator to the mount on the mocking up block
Lawrence
#544

Posted 02 April 2017 - 08:35 PM
Update time, hit a wall with uni work so had a garage day and now back to doing uni work tonight and the words are flowing again now ive not got mini on my mind!
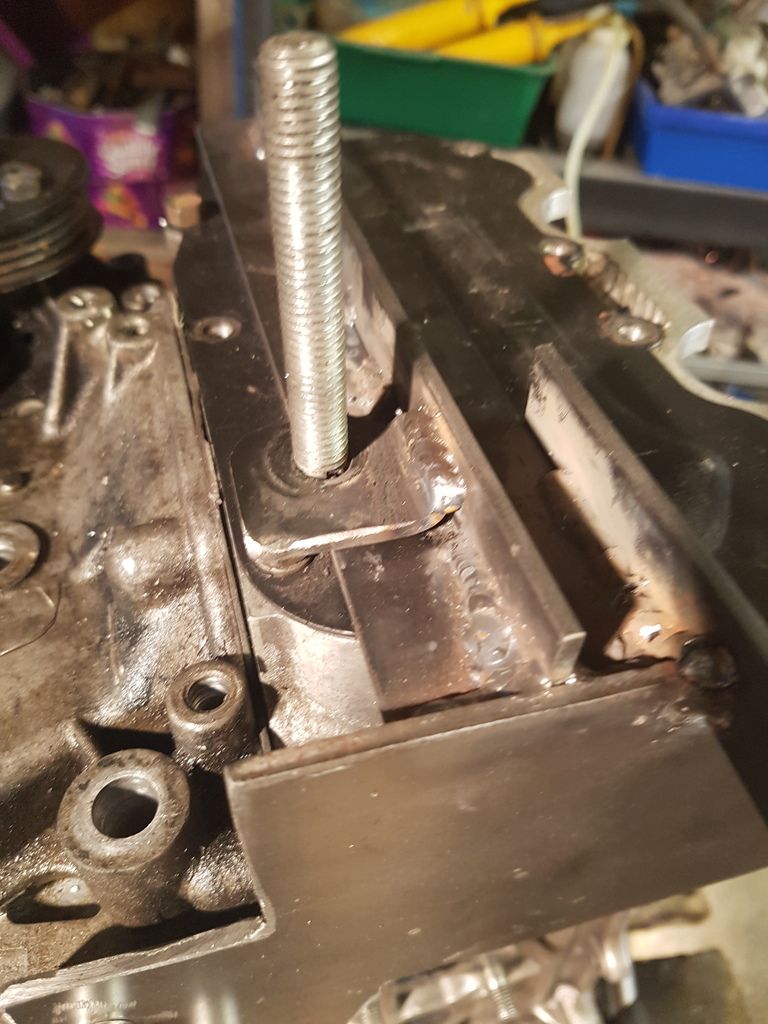
Bolt welded on to hang the alternator
reinforced
(not welded around the bolt on the reinforcer just in case the bolt breaks which is unlikely)
mount made with captive bolt
alternator fitted
So yep. Got an issue. Previously the alternator was mounted with a simple nut on the end of a bolt, this meant all the weight was on that area meaning there was a lot of flex in the mount.
However this way of doing it the alternator hanging bolt is better supported and there is zero sway in the bolt now!
But. It now obviously wont fit as one piece!
So drilled some plates
Popped in place
welded up
and taken apart ready for a trial fit to the car
And fitted back in the car.
Loads of clearance here
and no issues from the front either
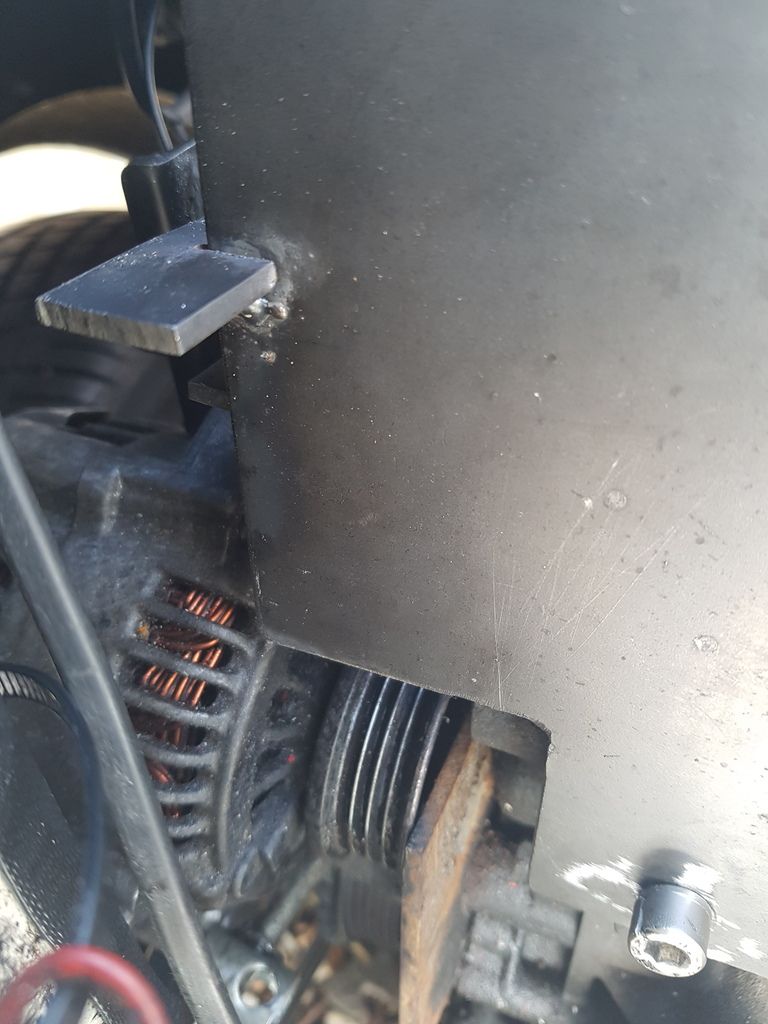
Now putting pressure on the end of the alternator leads to about 1mm of deflection towards the side of the engine. My clearances are fairly tight on the pully as you can see in the last photo. Im planning to trim the plate visible, this will give me over 5mm of deflection which is more than plenty!
So yep that’s the alternator mount sorted! Fingers crossed no more oil leaks for me and if there are I will be majorly grumpy!
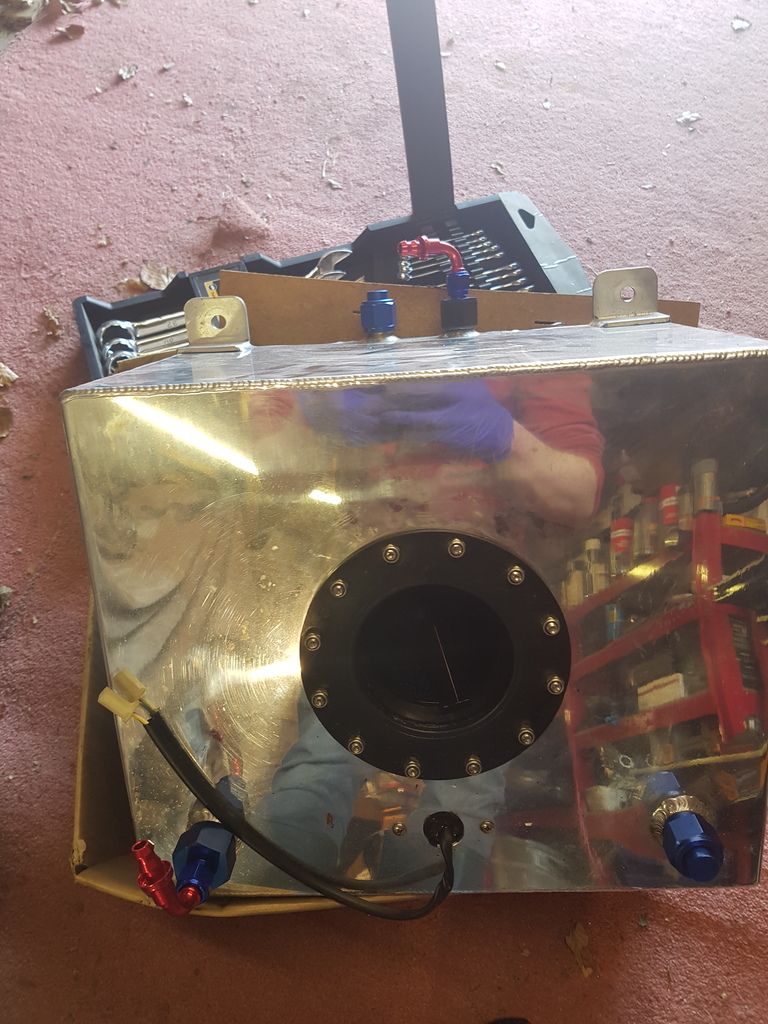
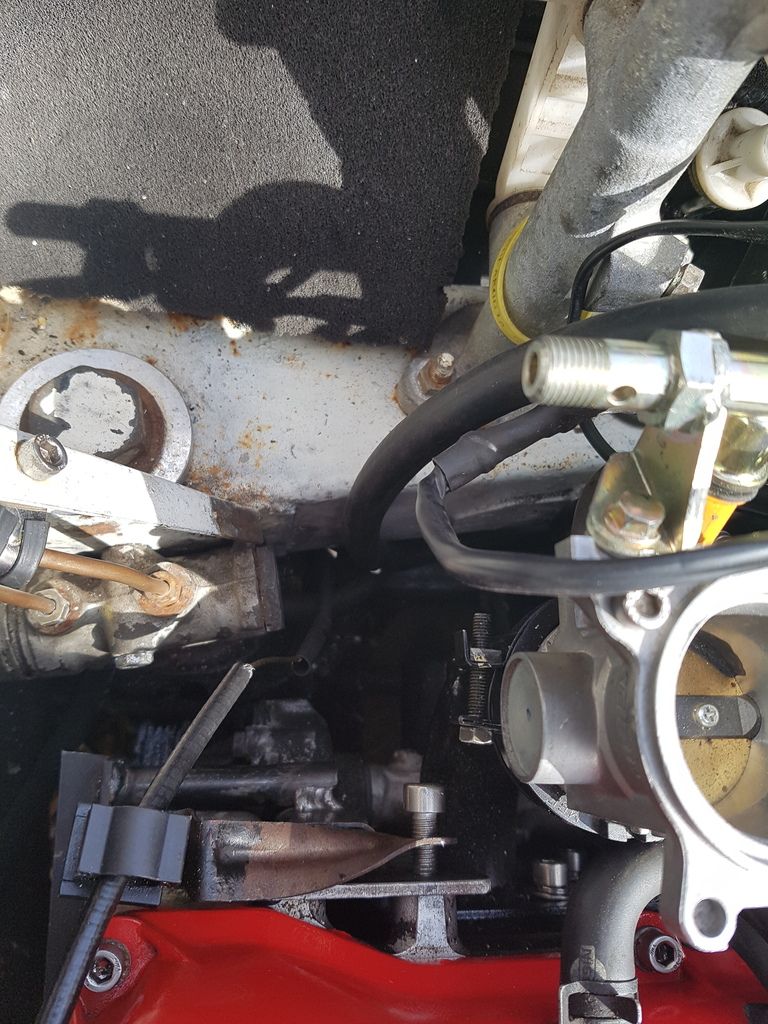
What else have I done? Well I have sorted the fuel return line out and order the T piece I needed for the vaccum line.
Also planned the fuel line under the car so ordered a load of stainless Pclips and bolts to attach everything. Then ill just be waiting on a few bits from china like the fuel pump mount
Oh and I really need to pop to poundland and stock up on spray paint. Got lots of bare metal that needs covering.
That’s all for now
Lawrence
#545

Posted 03 April 2017 - 05:14 PM
Right guys, little update, I had an hour or so this morning till I was planning to visit the girlfriend, didn’t fancy uni work so did a few bits.
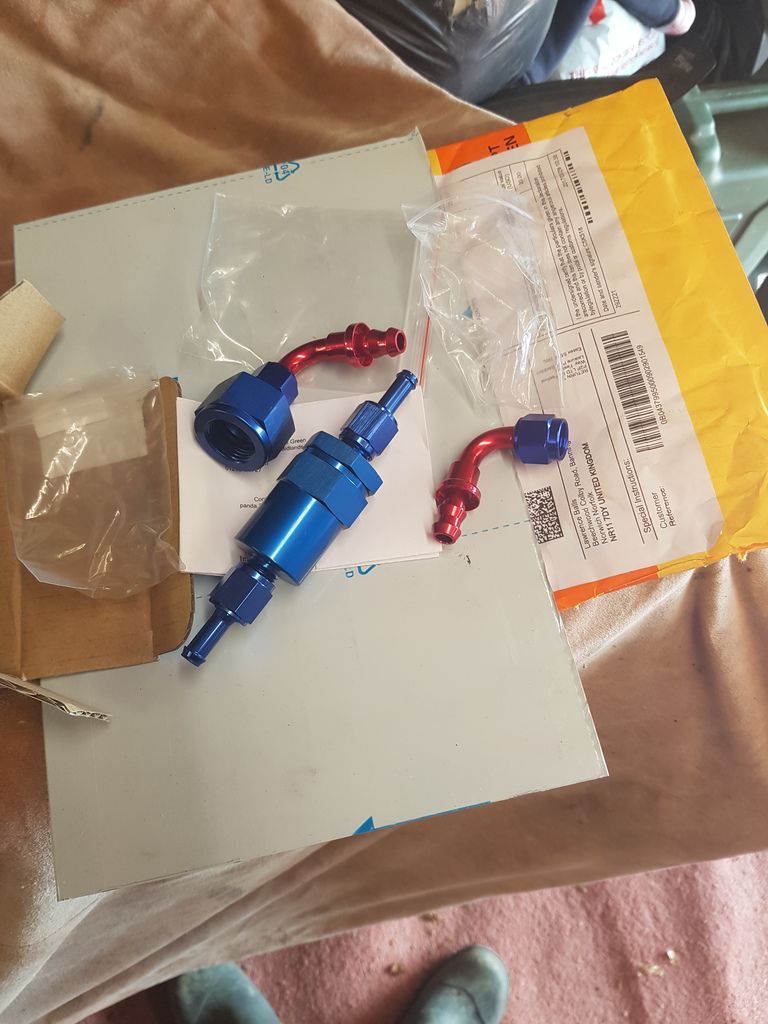
Fuel fittings have now all arrived!
So next stop will be planning the fuel system
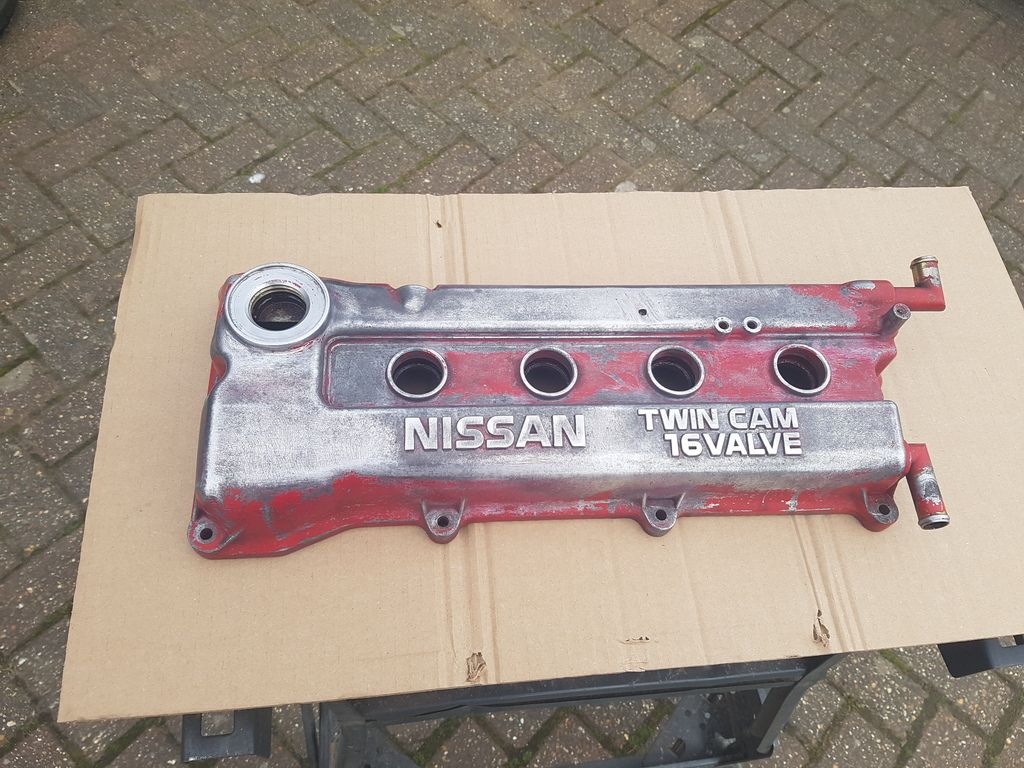
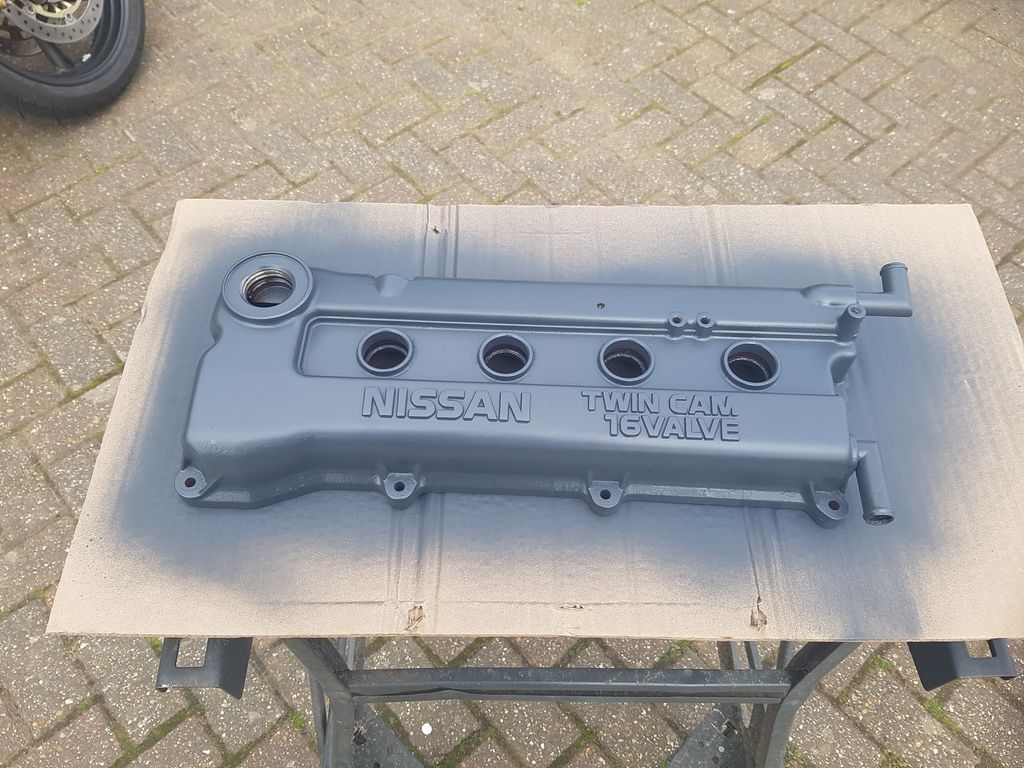
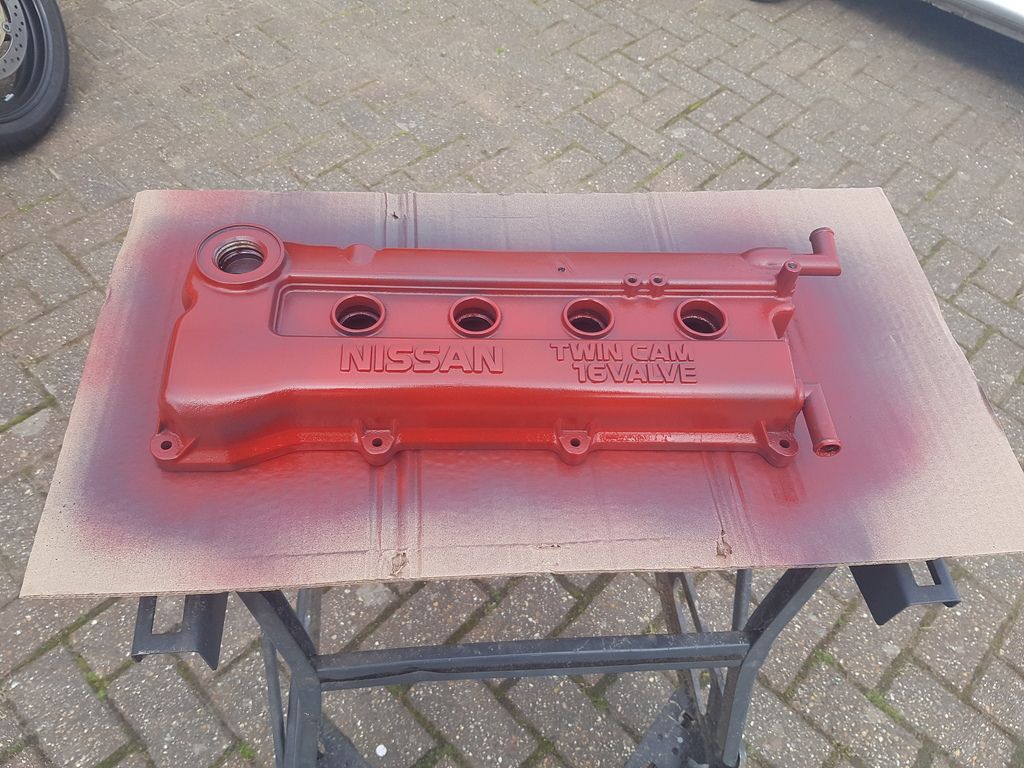
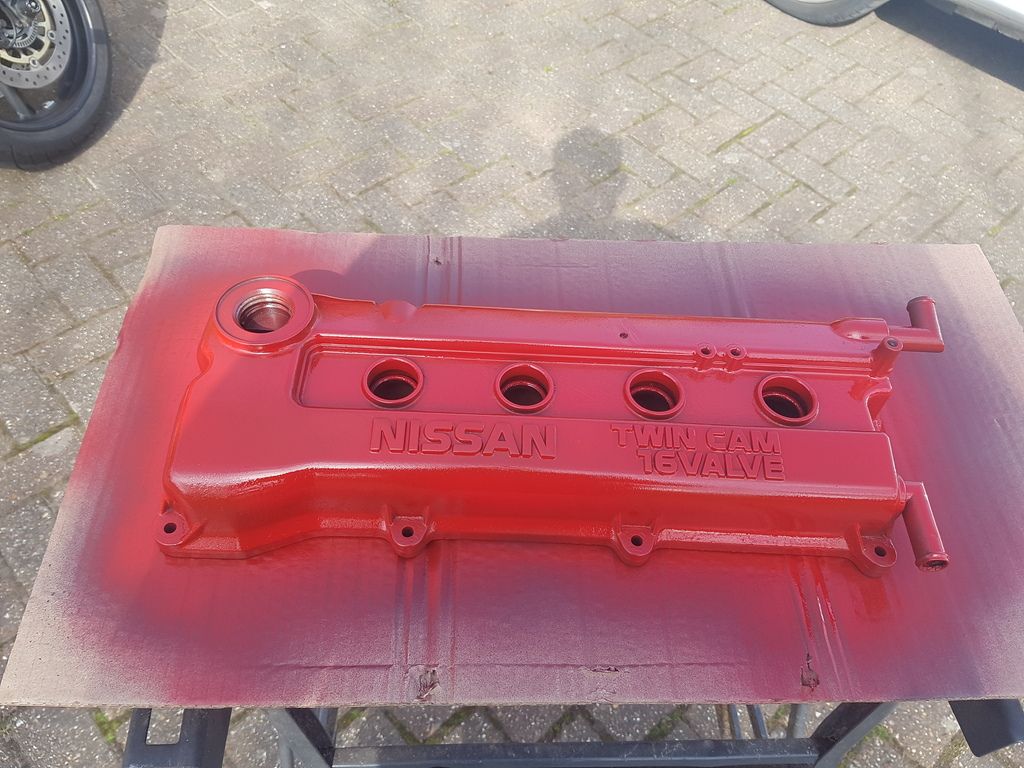
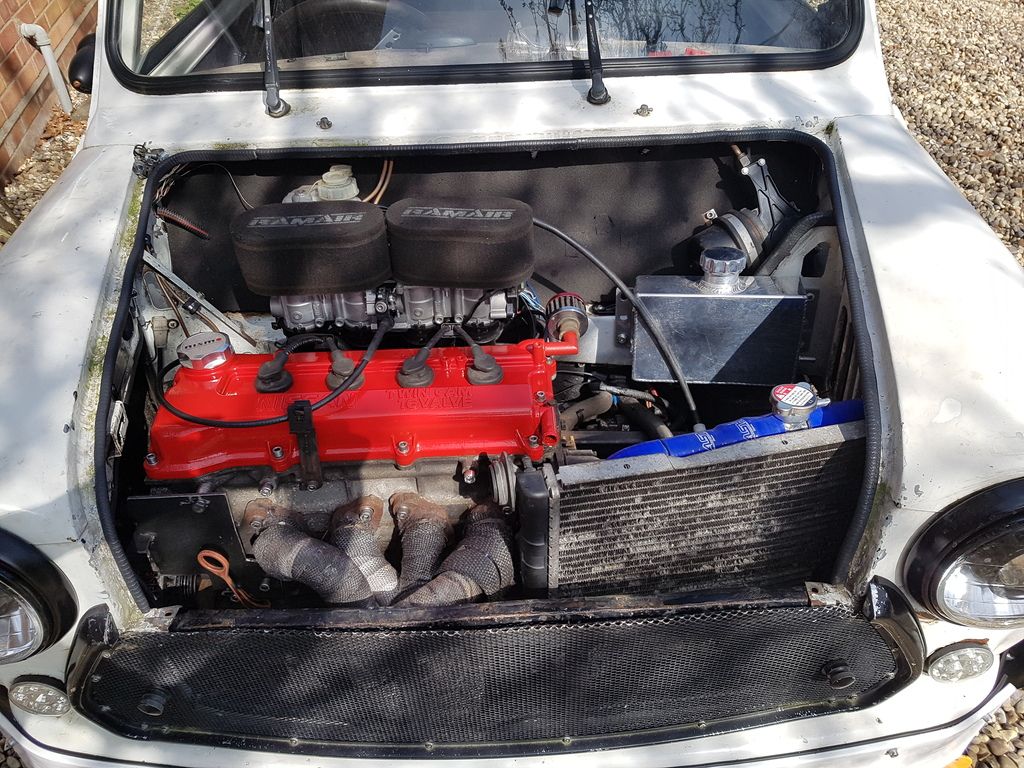
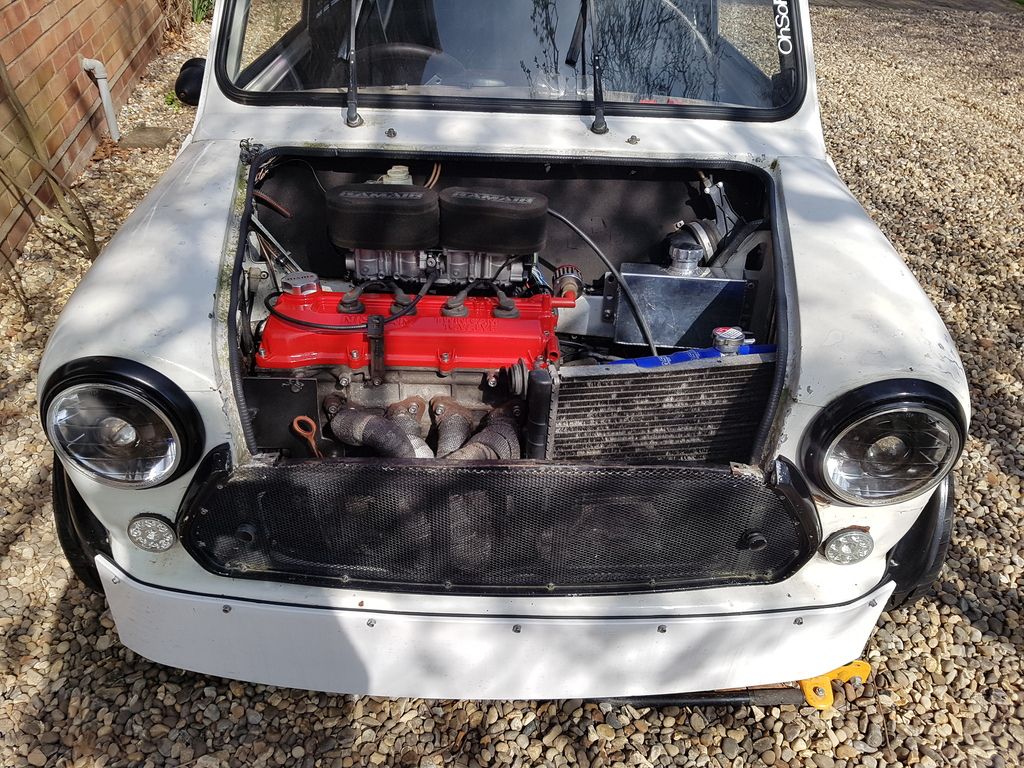
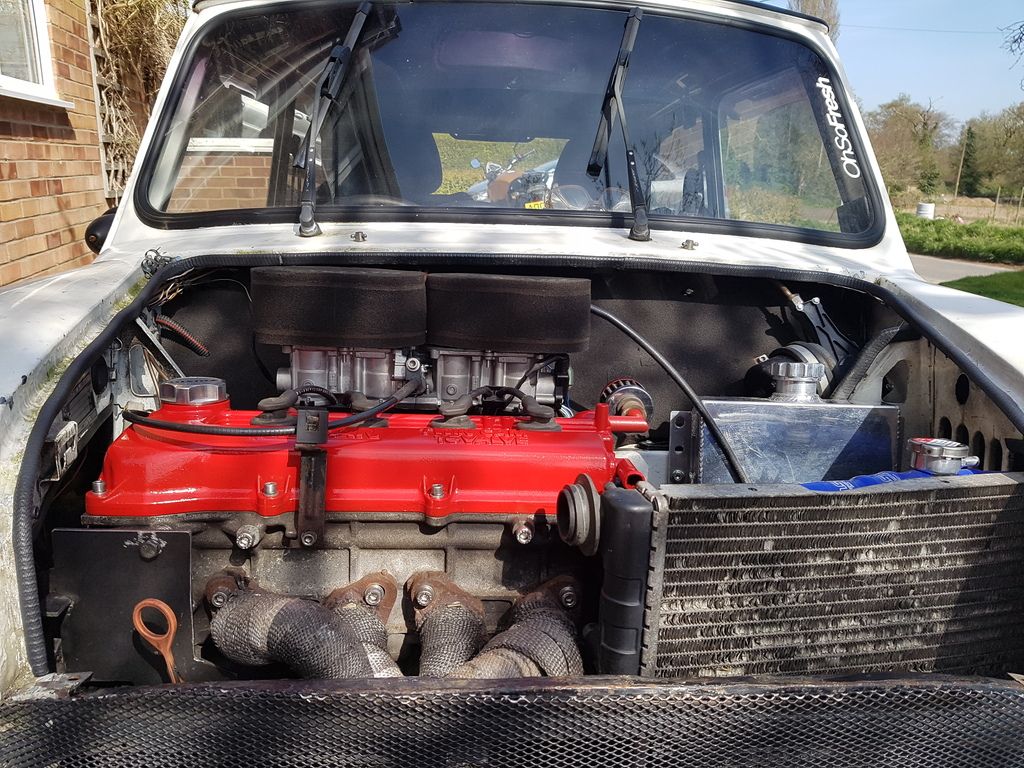
Cleaned up the valve cover
primed
painted
and fitted
Unfortunately the stainless plate I bought to cover the exhaust up and protect the radiator is too tough for me to bend so im going to have to buy some more thinner plate the same dimensions.
In addition I have been to poundland and bought some more cans of paint for the alternator bracket and the water pipe
Next update will be fitting the fuel feed and pump and a bit of painting
Lawrence
#546

Posted 03 April 2017 - 09:22 PM
Would it have been possibly to replace the timing chain cover plate with a thicker bit of steel plate and weld directly on to that?
As for your MIG wire sticking - could be the liner.
#547

Posted 03 April 2017 - 10:02 PM
Regarding a thicker plate I have tried that, the previous mount was the thicker cover plate with a bolted and welded mount. I then shimmed the plate off the cylinder head with the thinnest 1mm washers I could find. This meant the load from the mount was transferred straight to the cylinder head putting no stress through the gasket. However there was still a leak after a while.
I've contacted another micra mini owner to see if they have had leaking issues and they have.
So basically this time I've completely avoided touching the timing chain cover, this means there will be no stress on the gasket so theoretically no leaks also!
The adjustment is on the lower plate where the belt deflecting pulley is. I'm taking it off to trim it soon so will take photographs then. In the future I'm potentially adding a self tensioning belt adjuster that I have in the garage however that's not essential to the runnning of the car and I thought I'd get it going with what I know worked before. It also is an internal cambelt tensioner so I would want and inner wing to protect it from some of the crud that gets thrown around the inner wing.
It may be the liner yep, to be honest the whole welder needs a clean and the consumables replacing, just can't afford that currently
Hope that all makes sense!
Lawrence
#548

Posted 08 April 2017 - 08:51 PM
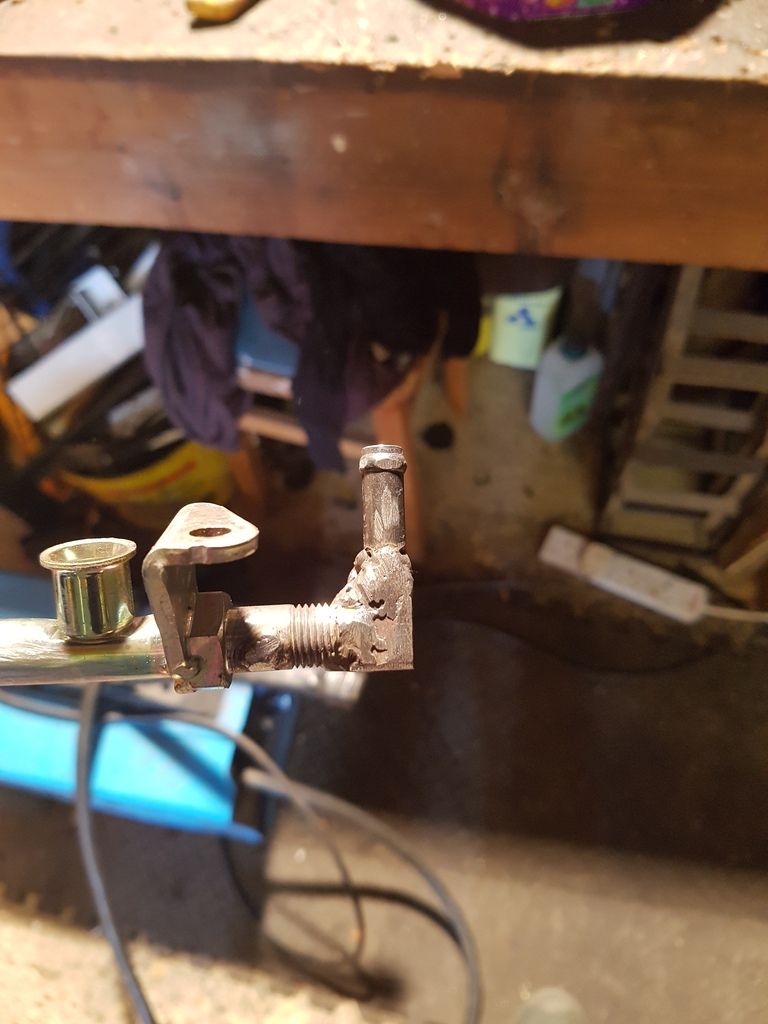
New bits happening, finished off the fuel rail. Where I needed the inlet going.
All the bits to make it up
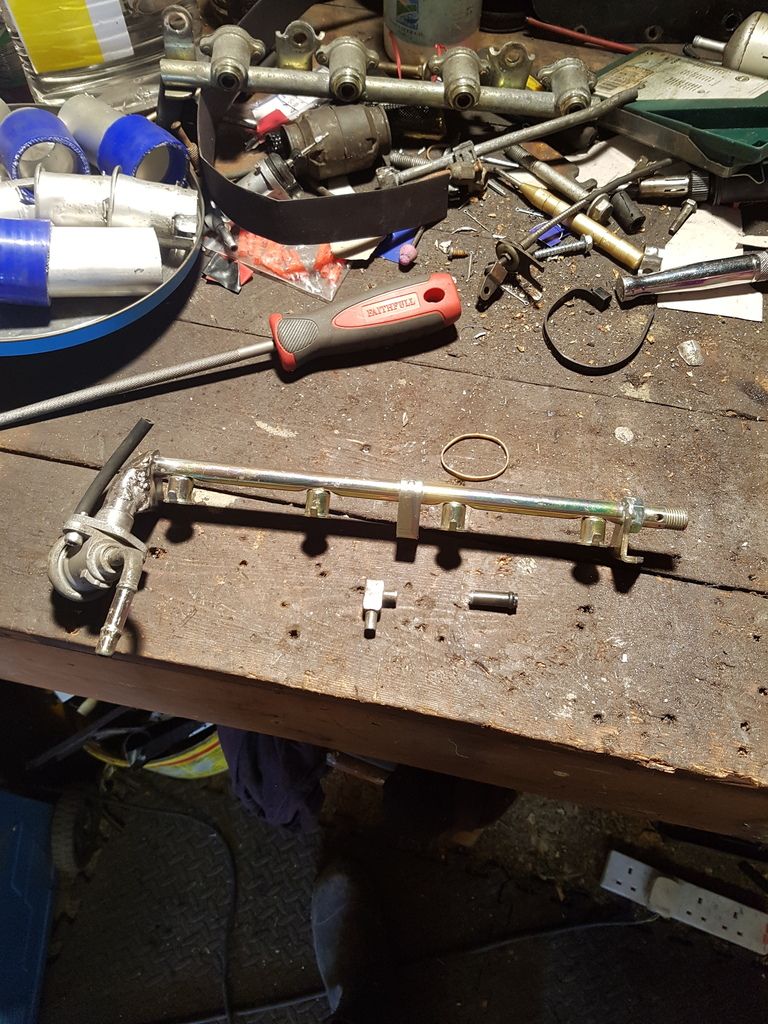
They are all an interference fit to make the welding easier
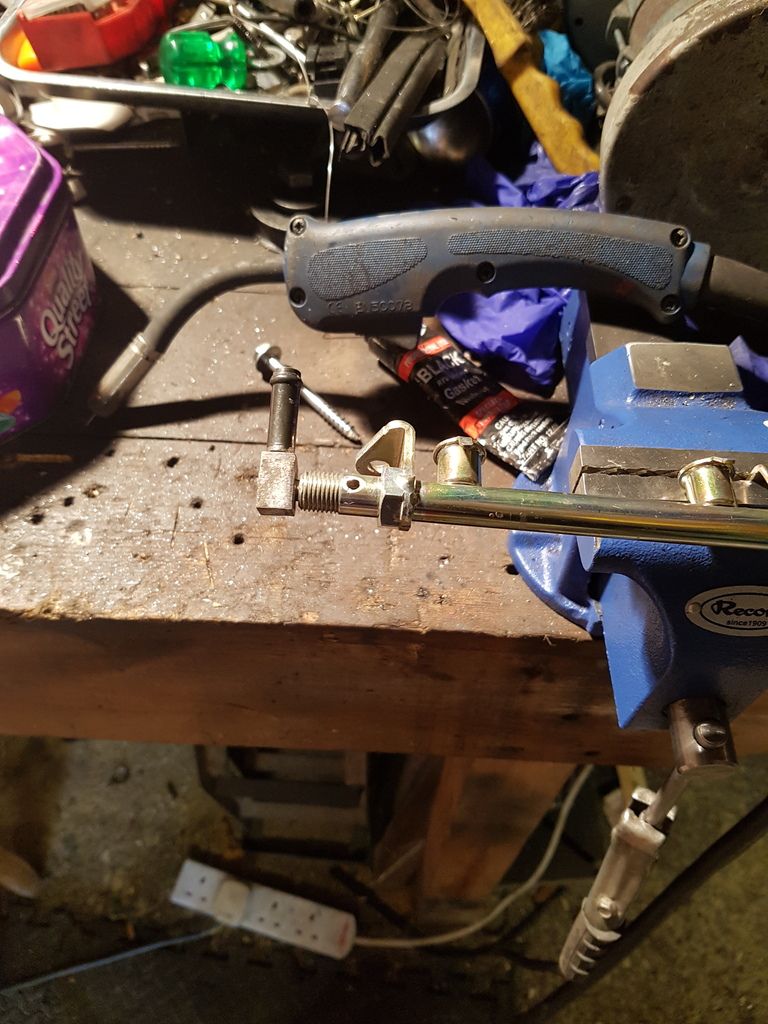
Welded up
Primed up
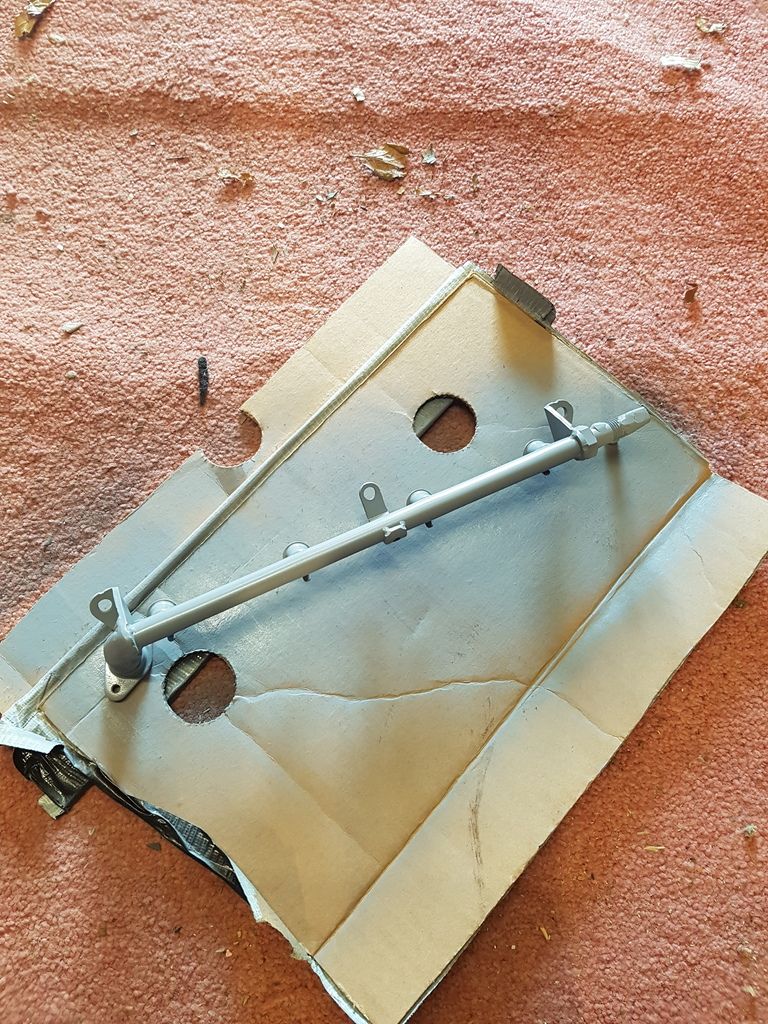
There was no point in fully painting it in case the welds leaked.
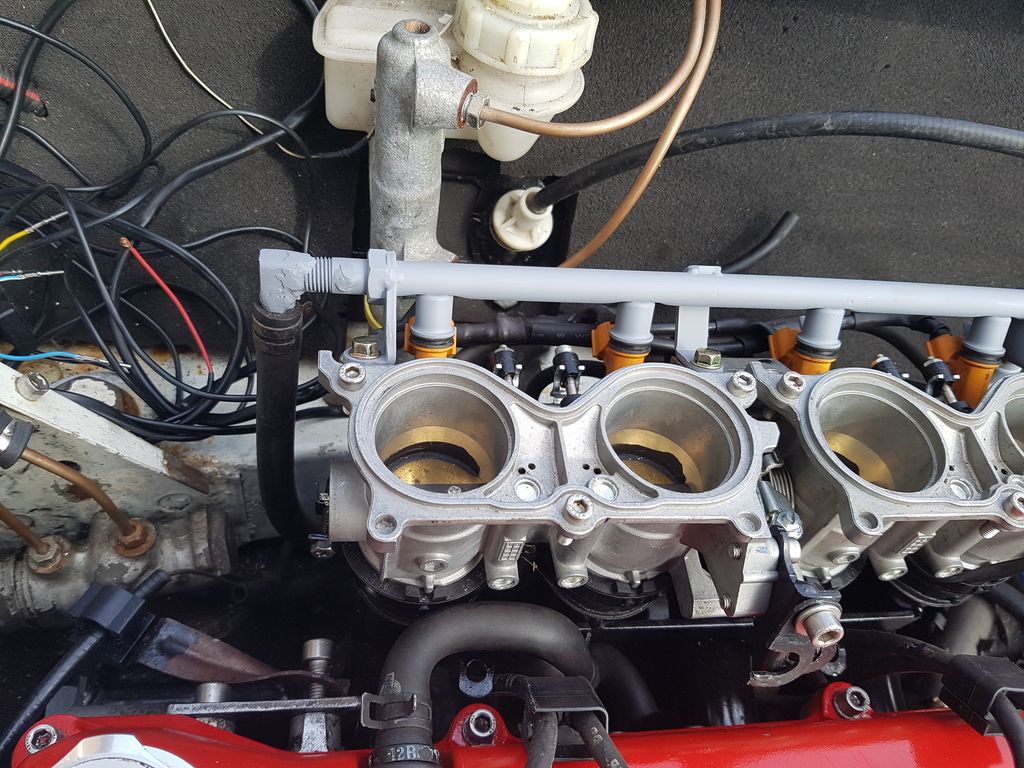
Sorting out the fuel pipe
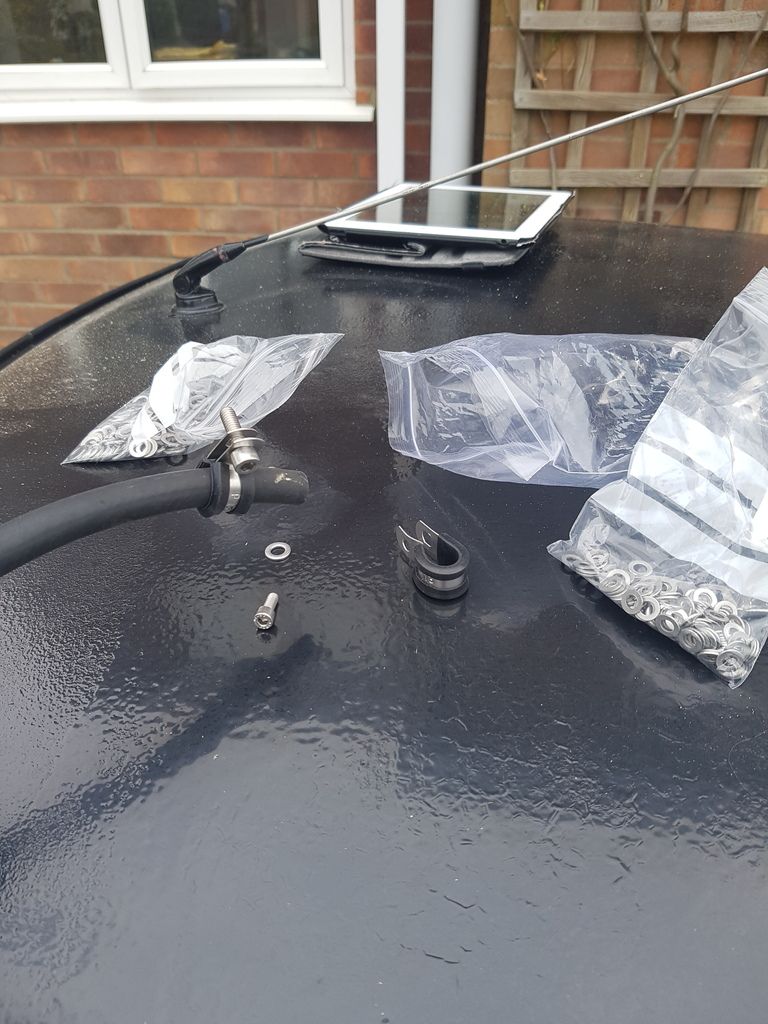
Fitting
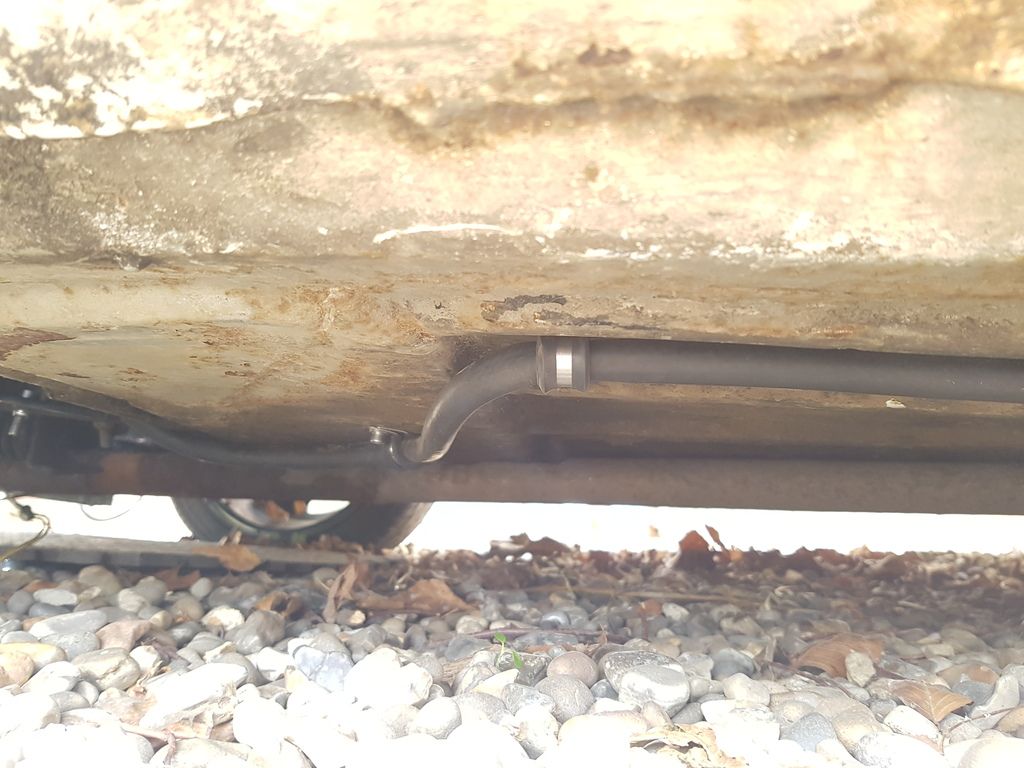
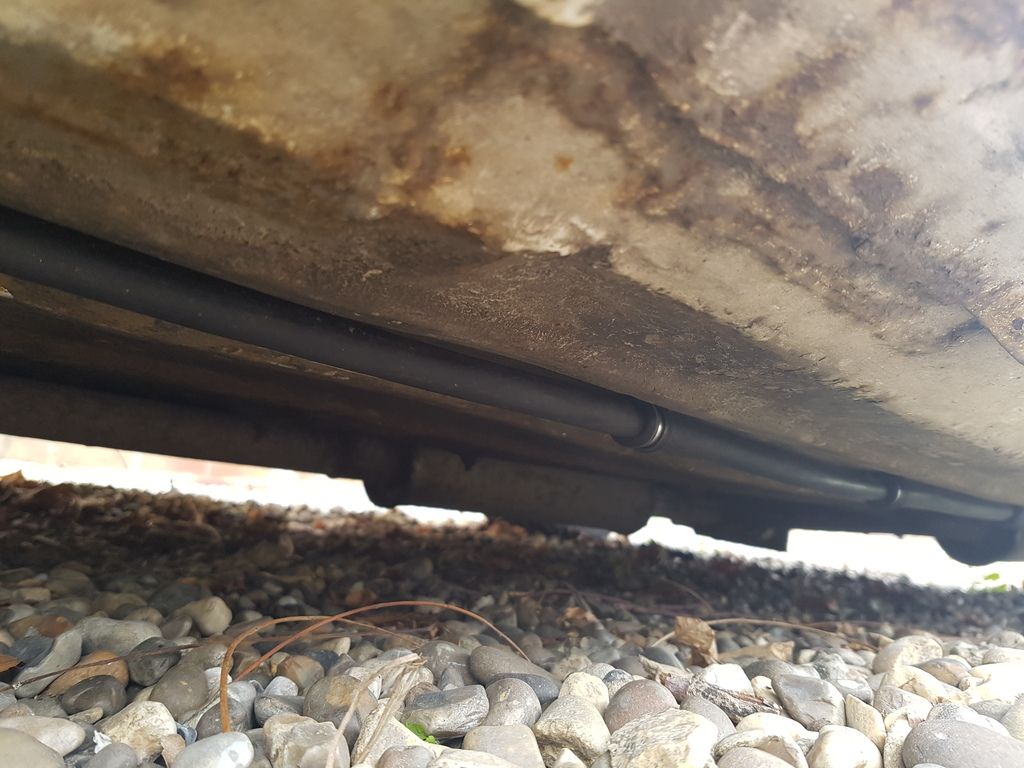
And yep as can be expected, fuel leak
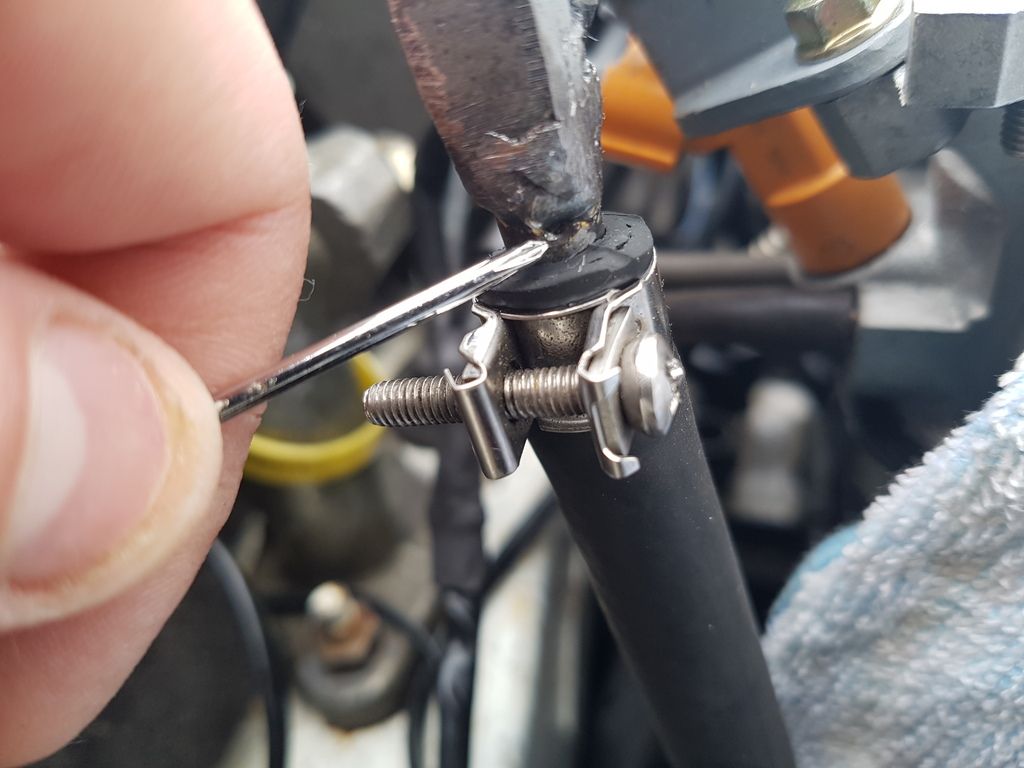
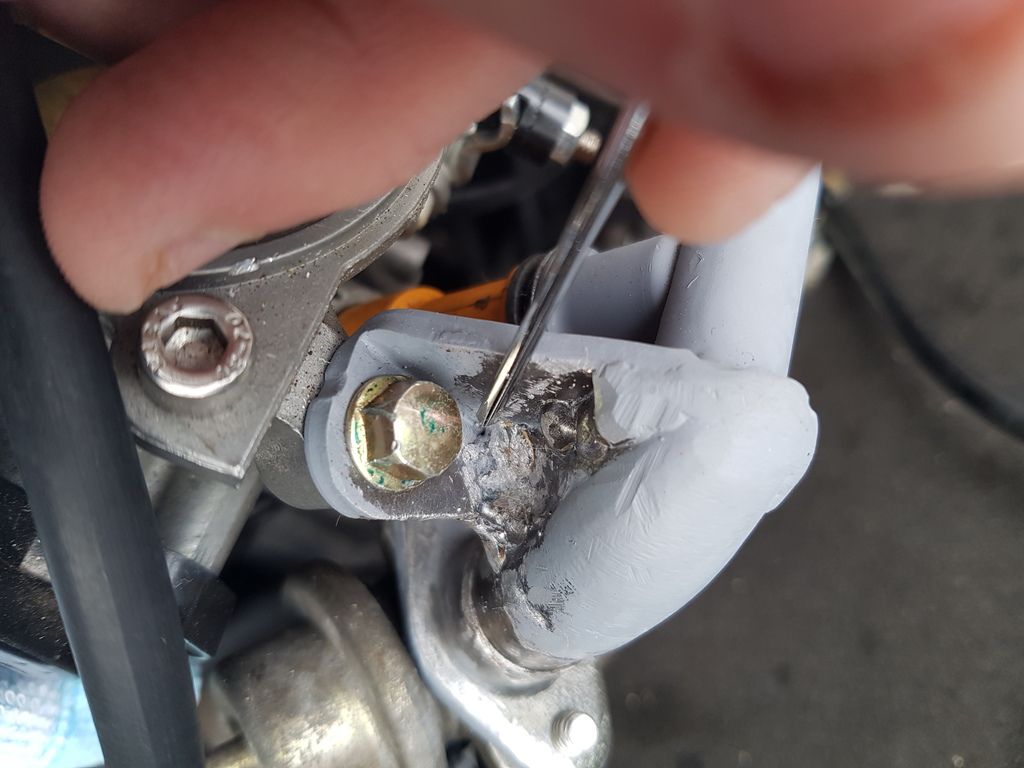
End of the screwdriver points the holes out. Made a nice little fuel fountain!
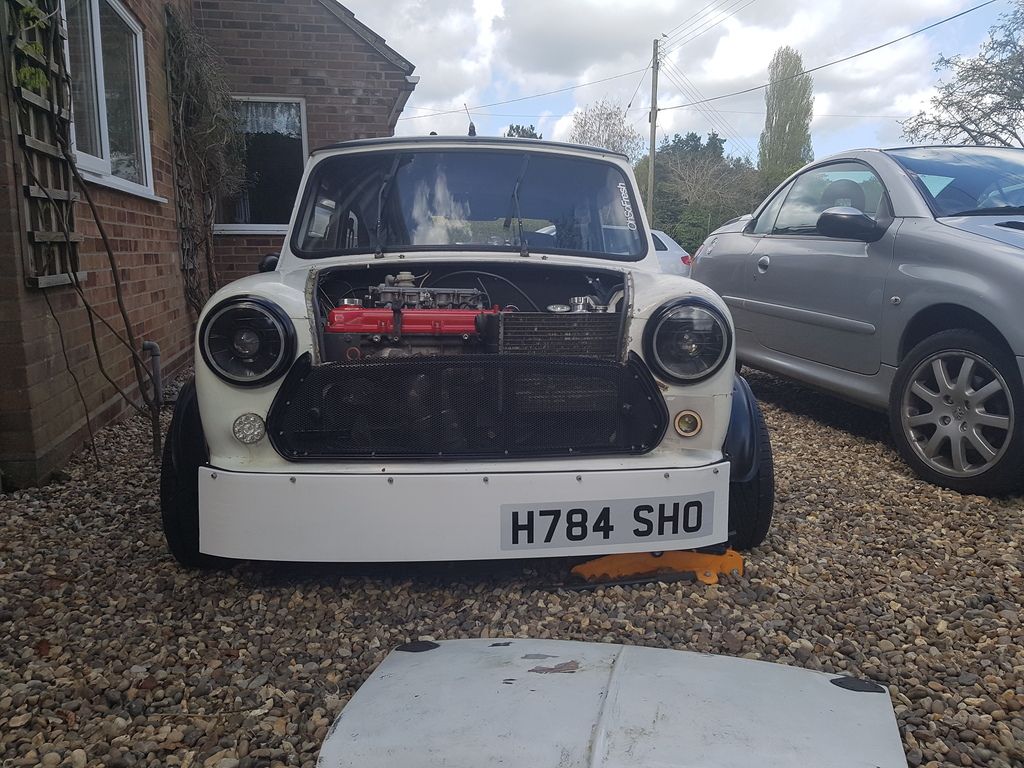
Front grill resprayed gloss black like the headlamp rings
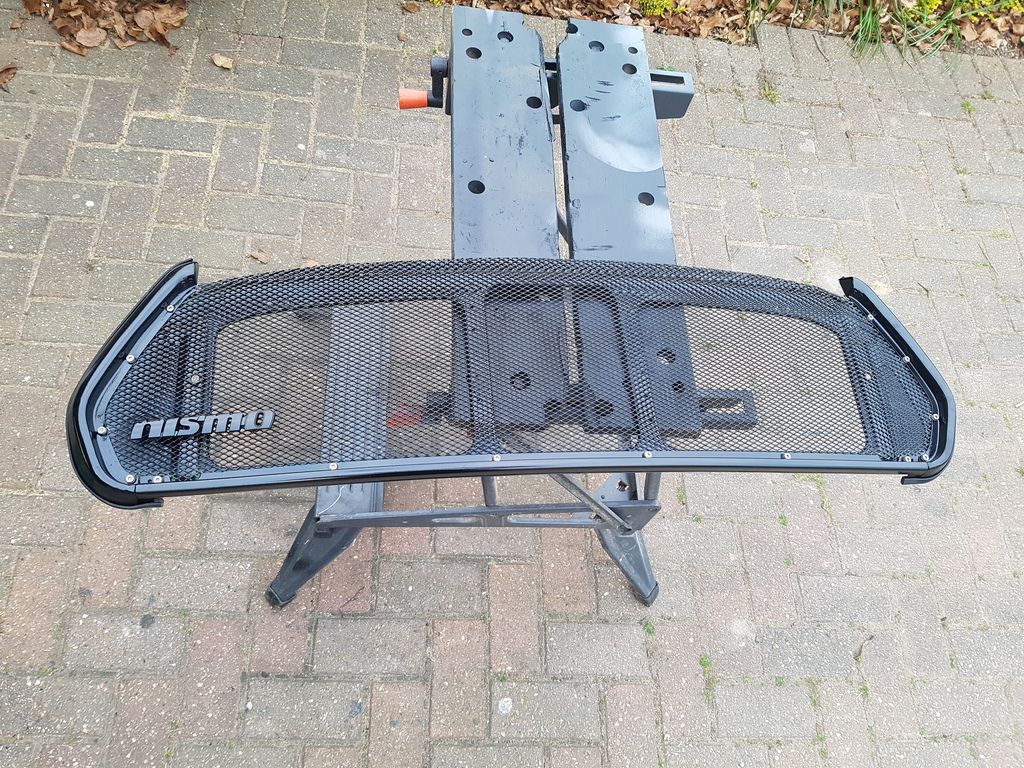
And refitted with the numberplate fitted also. Just need to sort out the front indicators as I changed them a while ago Drls, however I've changed my mind again and gone for a different design. Watch this space :)
Next I need to fix the fuel leaks, the fuel rail is currently drying outside to avoid fires! The pump etc all work fine apart from those leaks.
Tune in for more updates next week :)
#549

Posted 21 April 2017 - 10:55 PM
It's about time I did an update! Well what's been going on, not much in the world of cars! However my dissertation for university is 99% done with just an intro to extract from my brain and that's the plan tommorow.
I've had bits and pieces happen
>new red spot cones for the front bought and compressor borrowed.
>new gaz shocks bought (that I may sell and go protech not sure yet)
>wiring bits, heatshrink etc purchased
>topped up on primer and paint
>sold some spares on eBay to raise funds for said cones and shocks!
>new indicator units arrived
So let's focus on the new indicator units as that's what I've started to play with
Mocked up. It's a led orange ring surrounding a led fog light. They aren't massively expensive (£15) so plan is to buy another few to keep as spares incase they get discontinued
The led fog light I will see how bright it is as if it's not great I'll use it as the side light/drls
Chain drilled and filed some steel
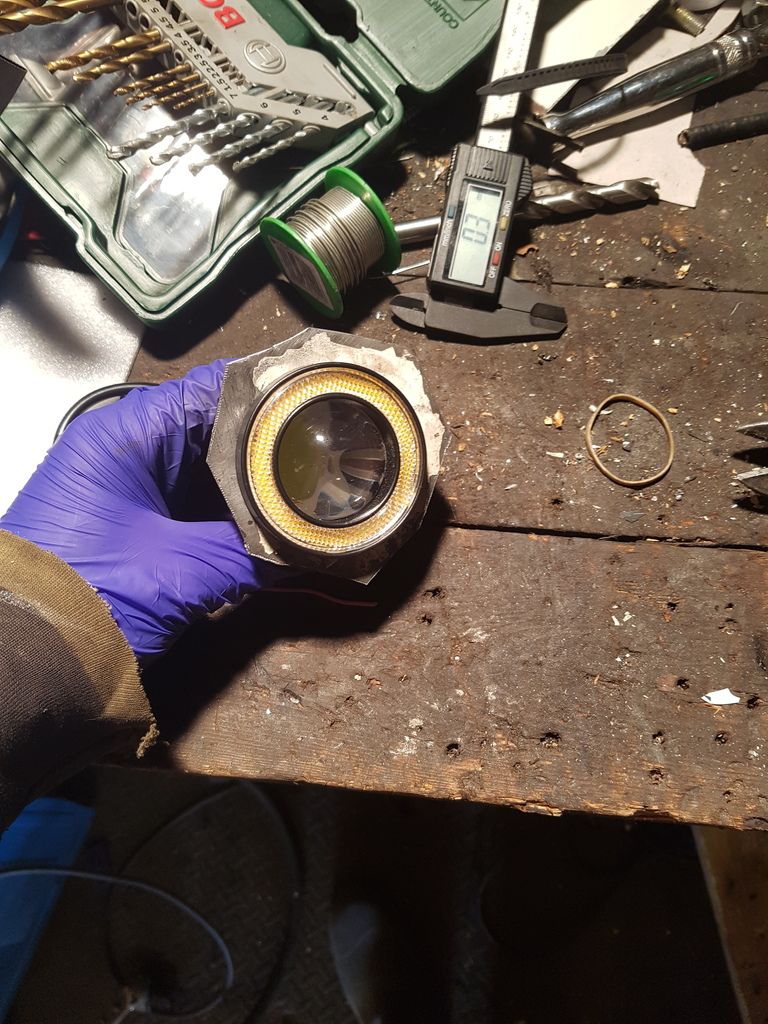
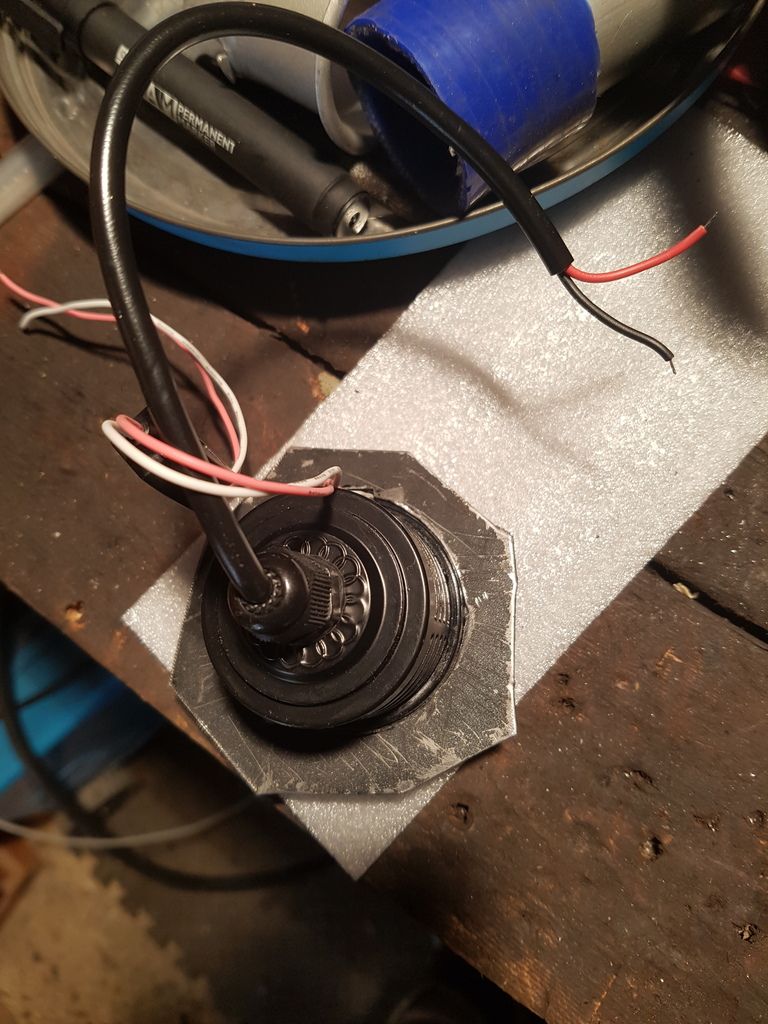
More tweaking of the steel. Now a seal fits to keep water out
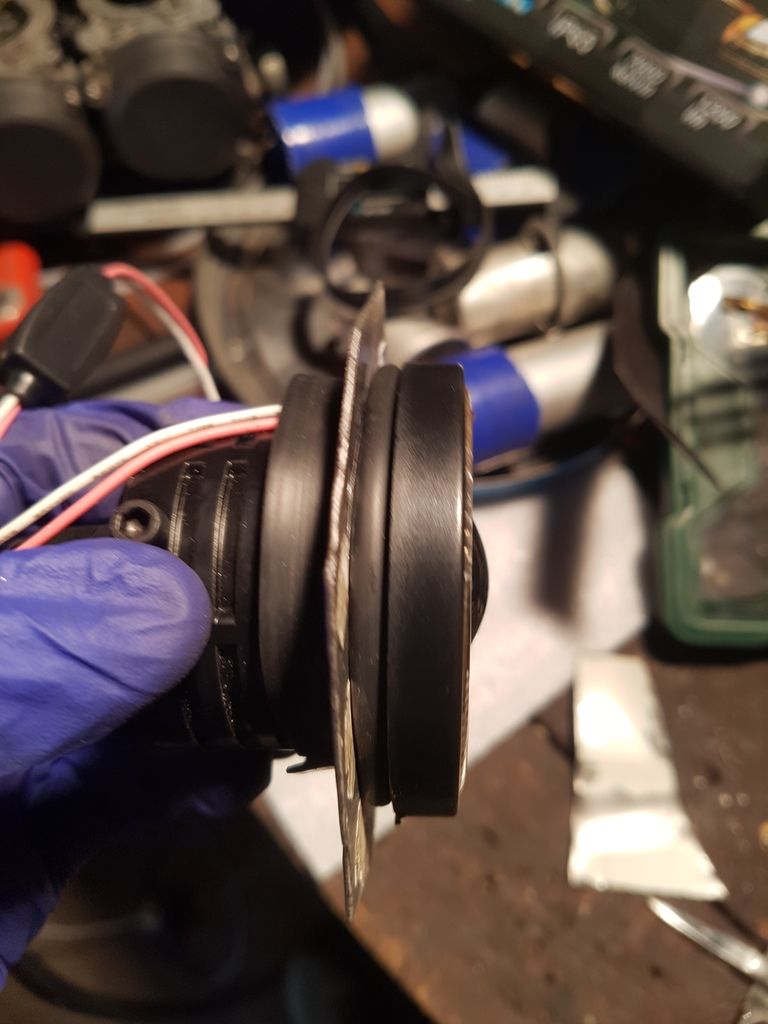
Nice and simple back closing section made, cap off degreaser spray and a metal strip tacked to the plate
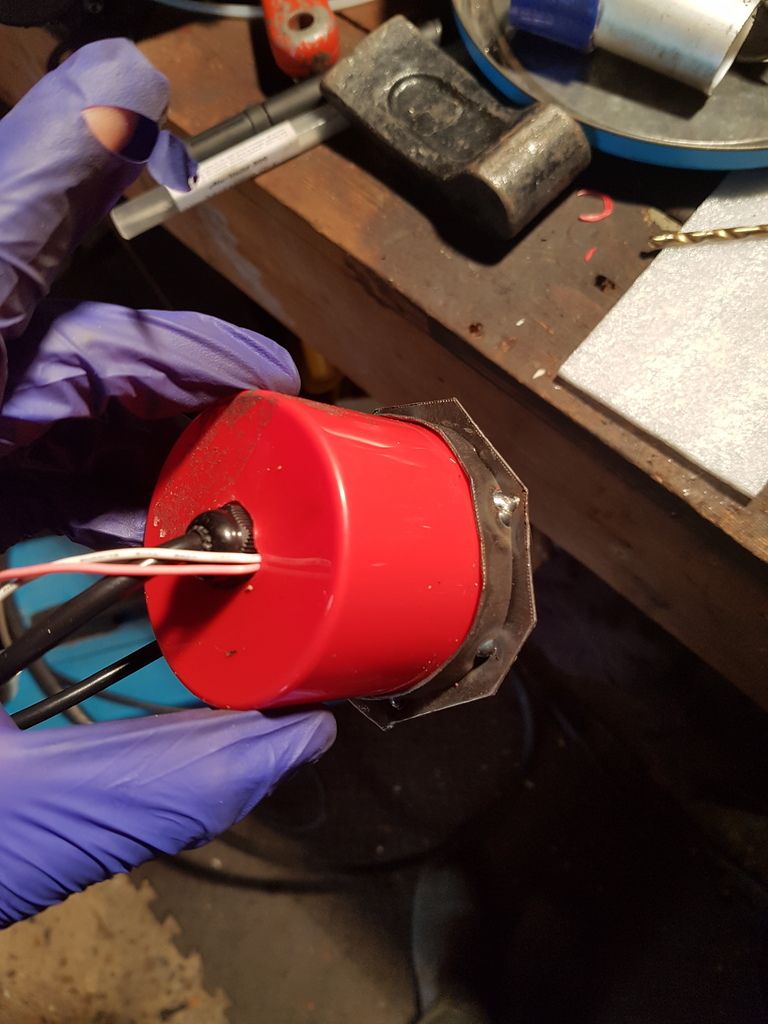
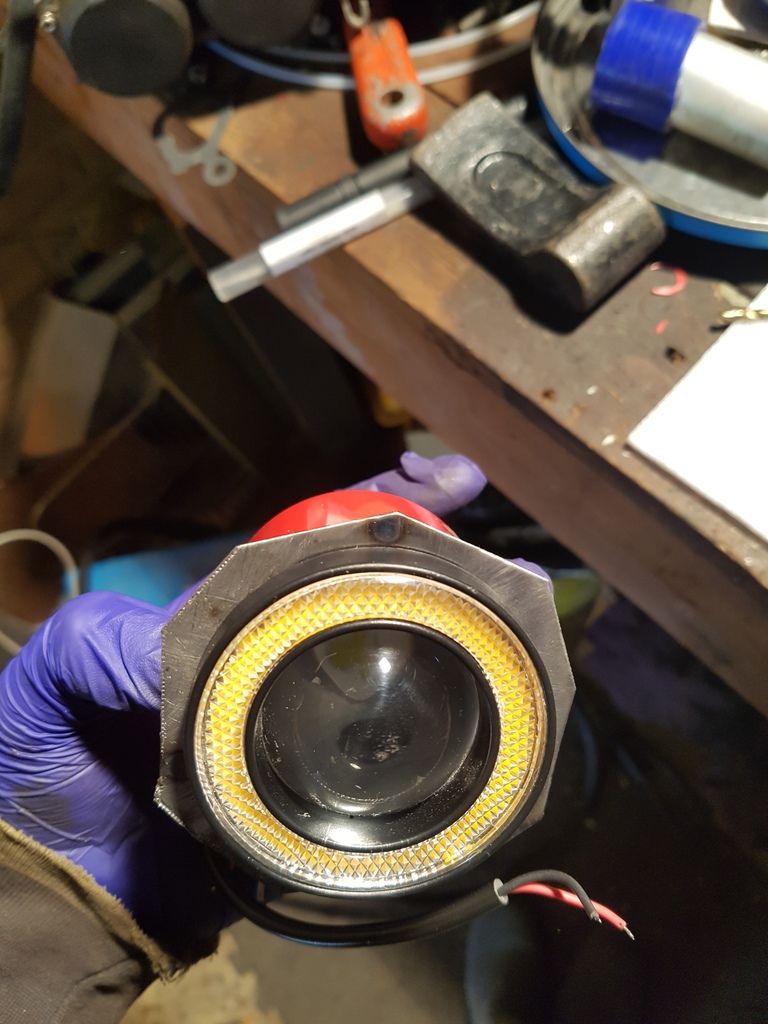
Mounting bolts for the light and grommet for the wiring
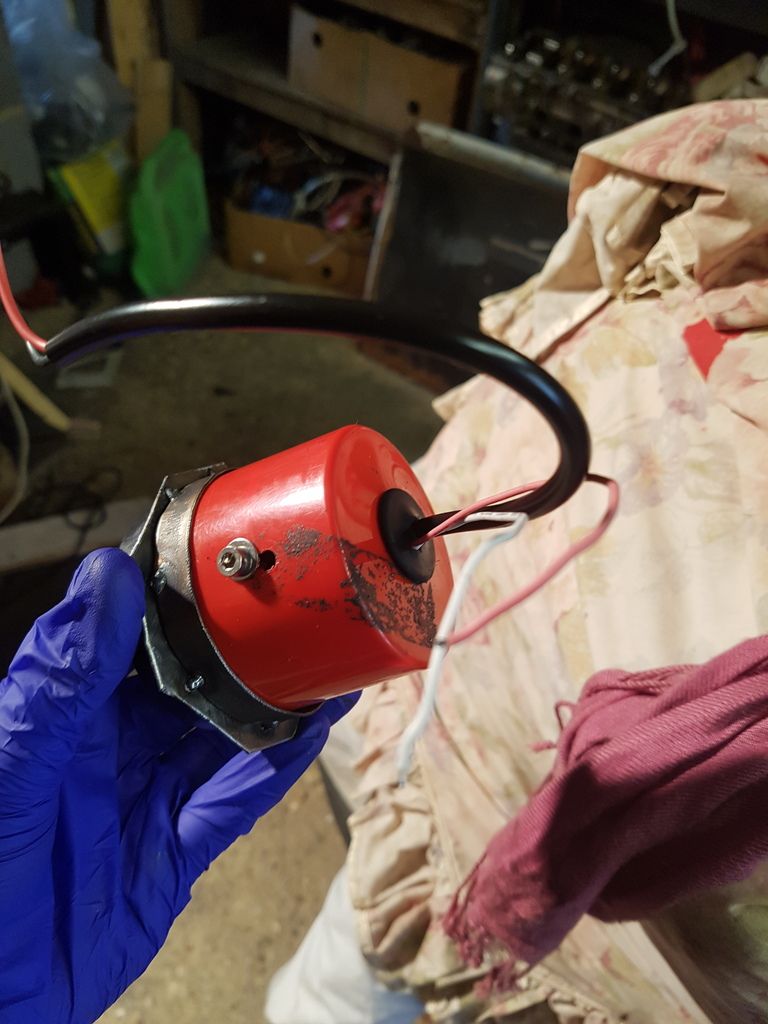
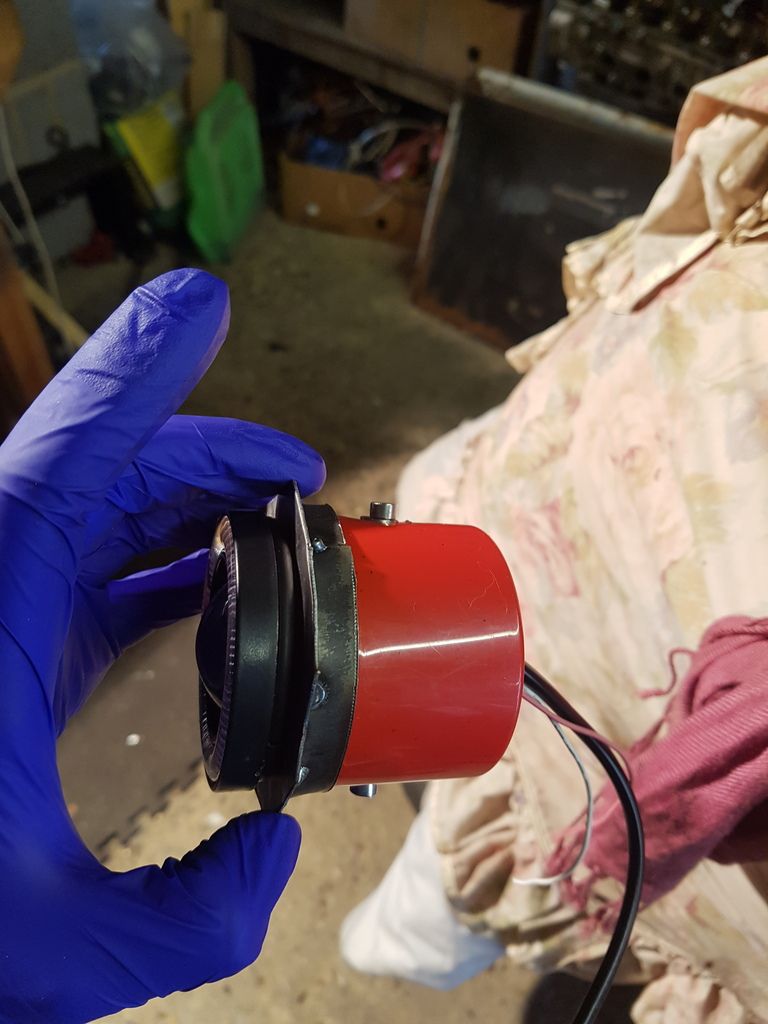
So that's the mount and holder.
Plan is to tack it to the front panel from the inside with a few runs of weld. Then seam seal the steel circle strip bit to the car and a skim of filler over the front. Quite honestly it's not something that will come out frequently and I'm considering extending the 4 wires behind the dash to bullet connectors to keep things simpler in the wheel arch areas. I'll have a think anyhu.
So when the dissertation is handed in I'll be playing in the garage again.
Keep an eye out for updates
Lawrence
#550

Posted 23 April 2017 - 11:10 AM
#551

Posted 23 April 2017 - 08:45 PM
Cheers I_jonez, I think they are a good choice, they are round yet protrude from the bodywork with the seal fitted. This means they will look fairly similar to the headlight if you understand what I mean. I do intend to spray the outside gloss and also may tint the orange section to make it a bit less bright, or maybe buy some flyeyes. Will have to buy a few more lights to experiment with!
So what have I been up to today?
Well firstly
DISSERTATION IS FINISHED!
So freedom from uni work for a short while
Back to mini
Plan was to fit both front cones, what a hassle this turned out to be!
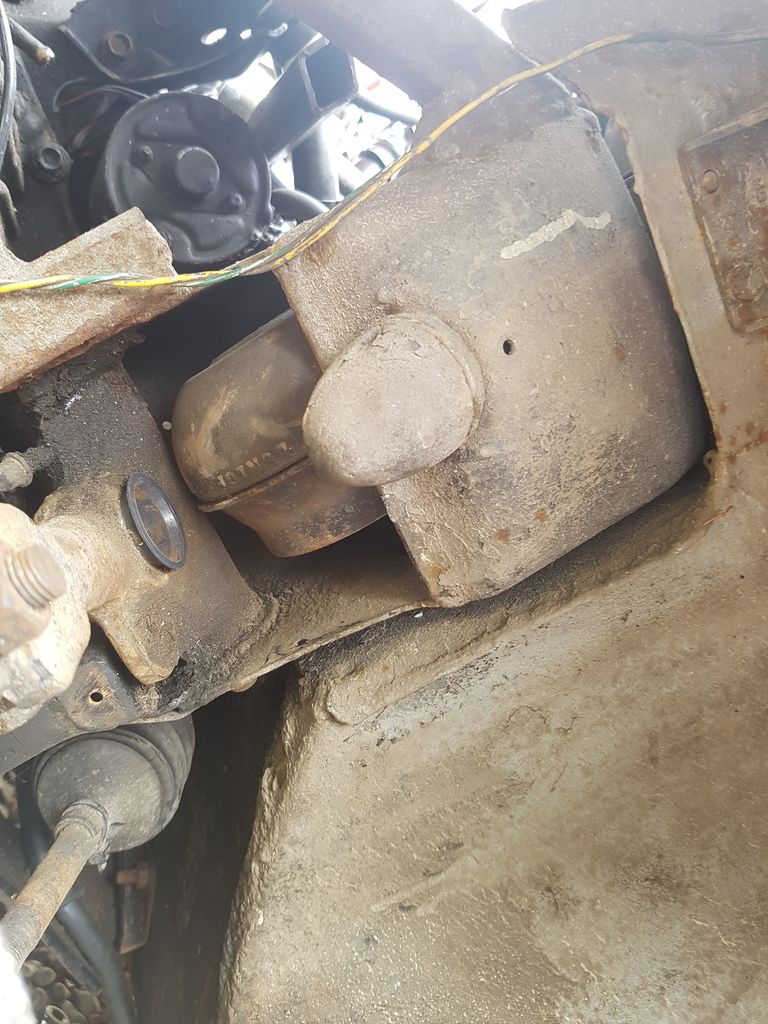
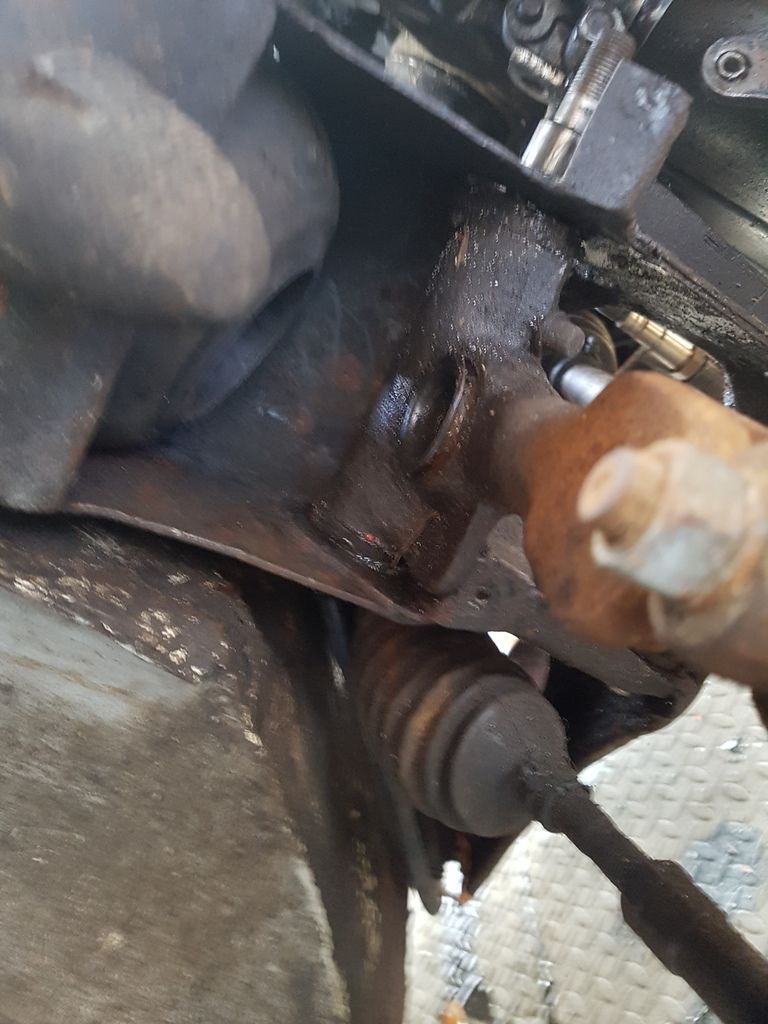
trouble removing it
top arm removed and cone out
Trouble was I had to remove the gearbox mount out enough to get the top arm pin. For once my forward planning had worked. I planned when I fitted the gearbox to be able to remove the engine mount to allow me to remove the top arm pin! Glad I remembered to do this!
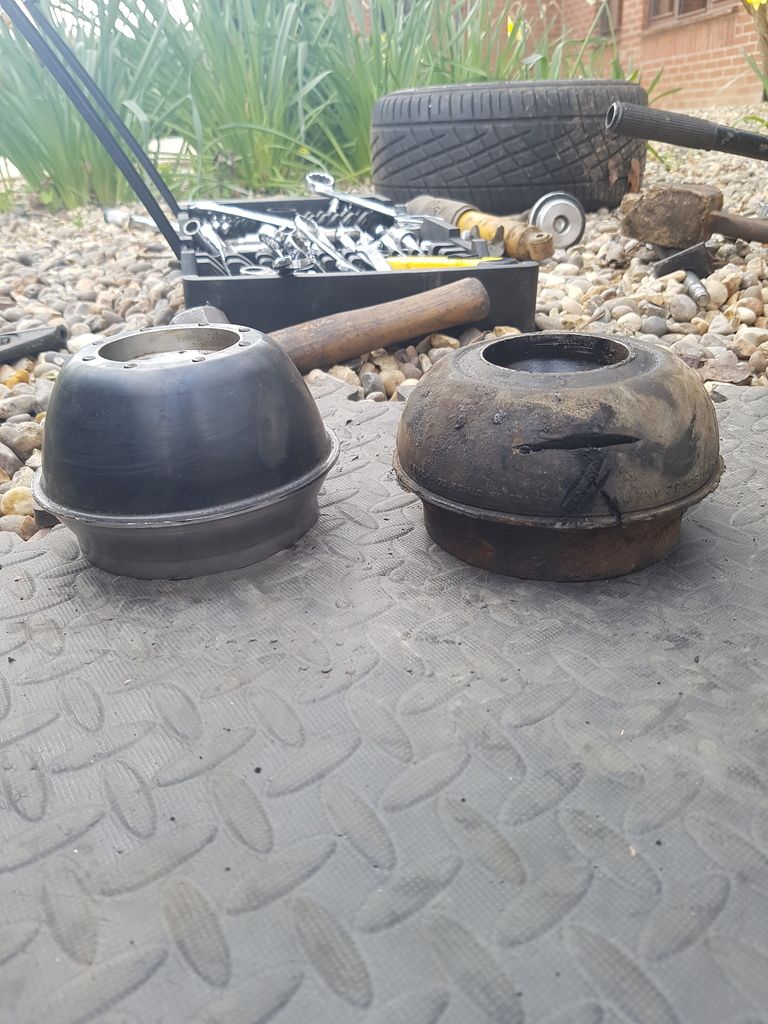
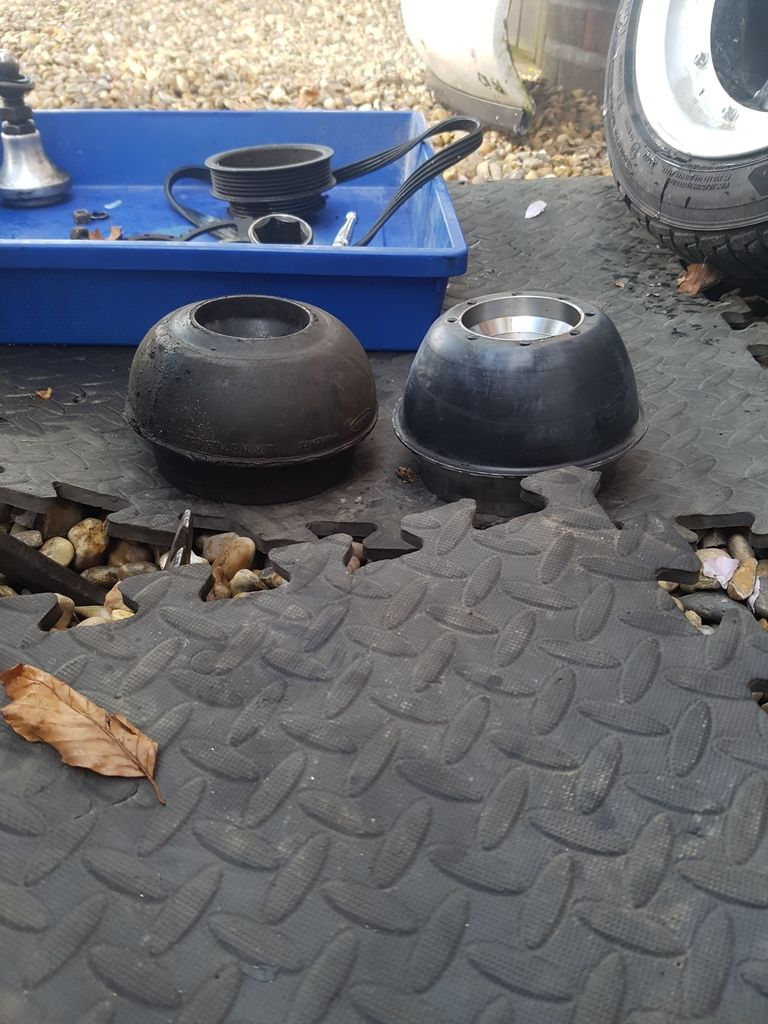
Comparison of cones
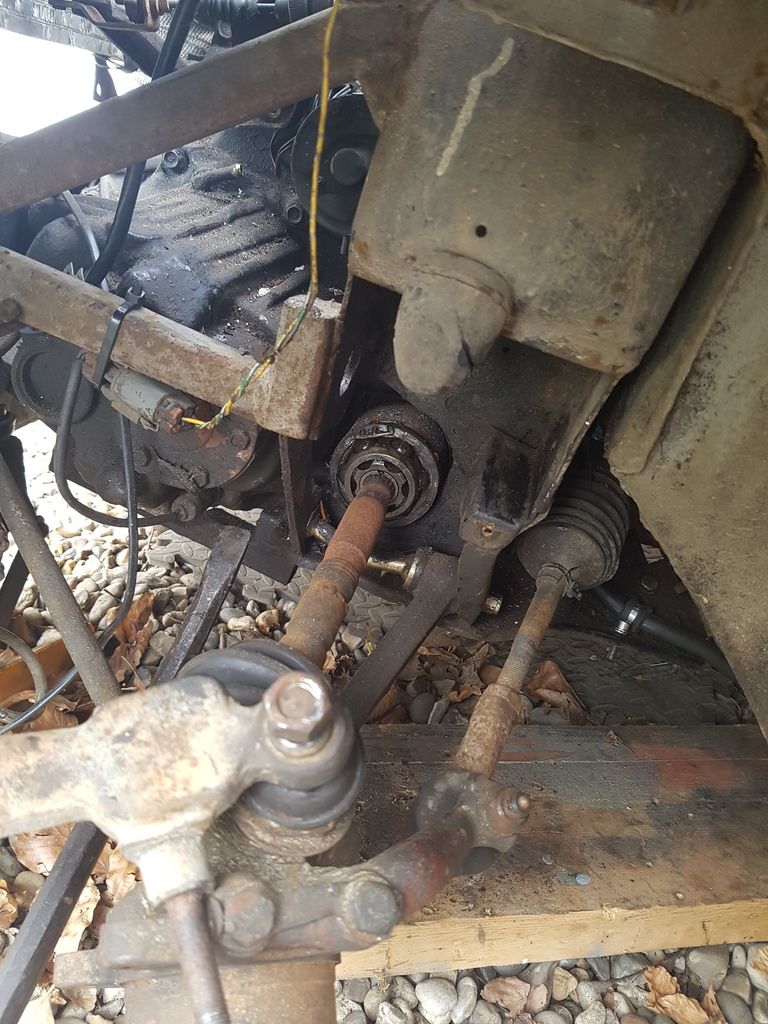
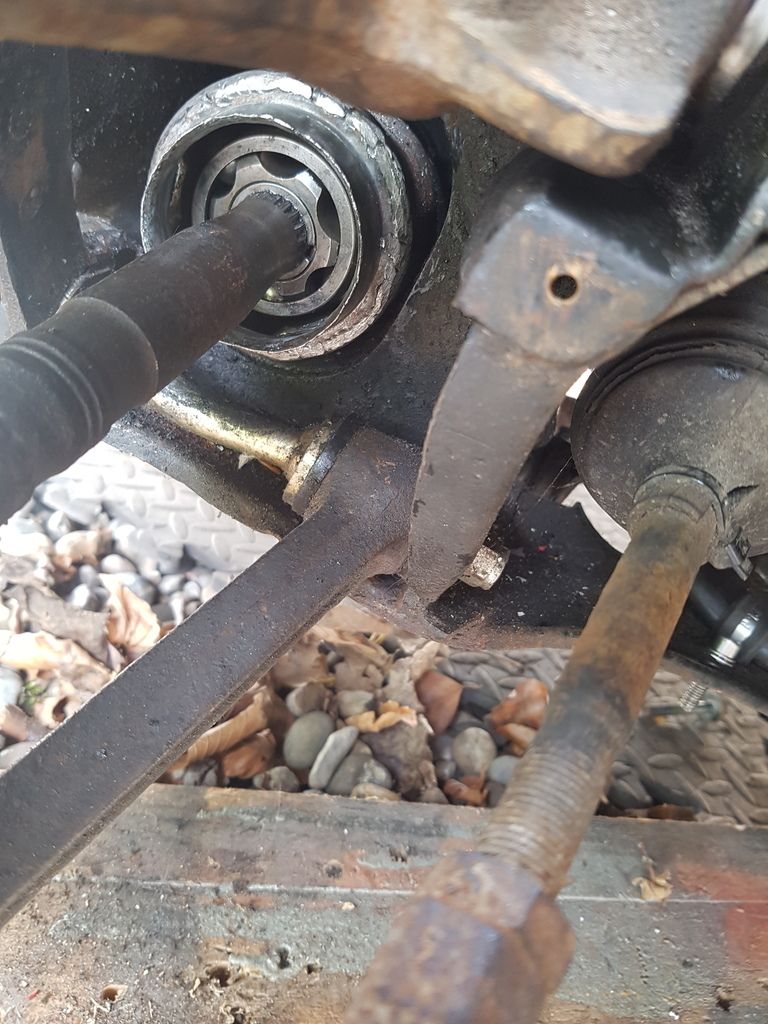
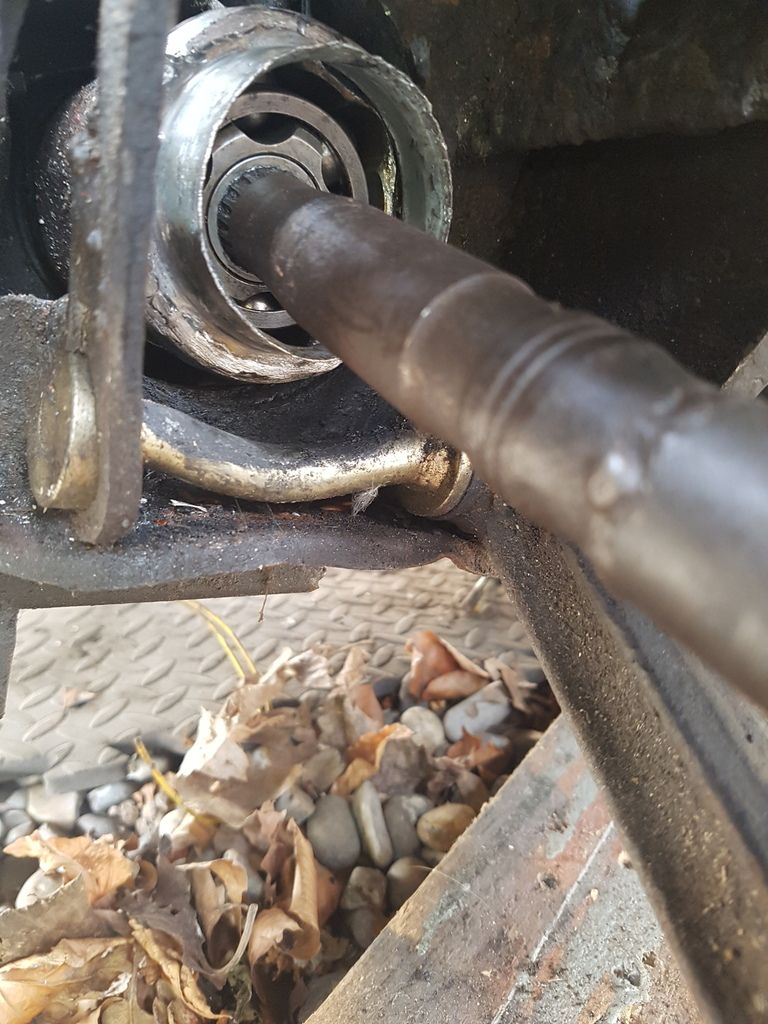
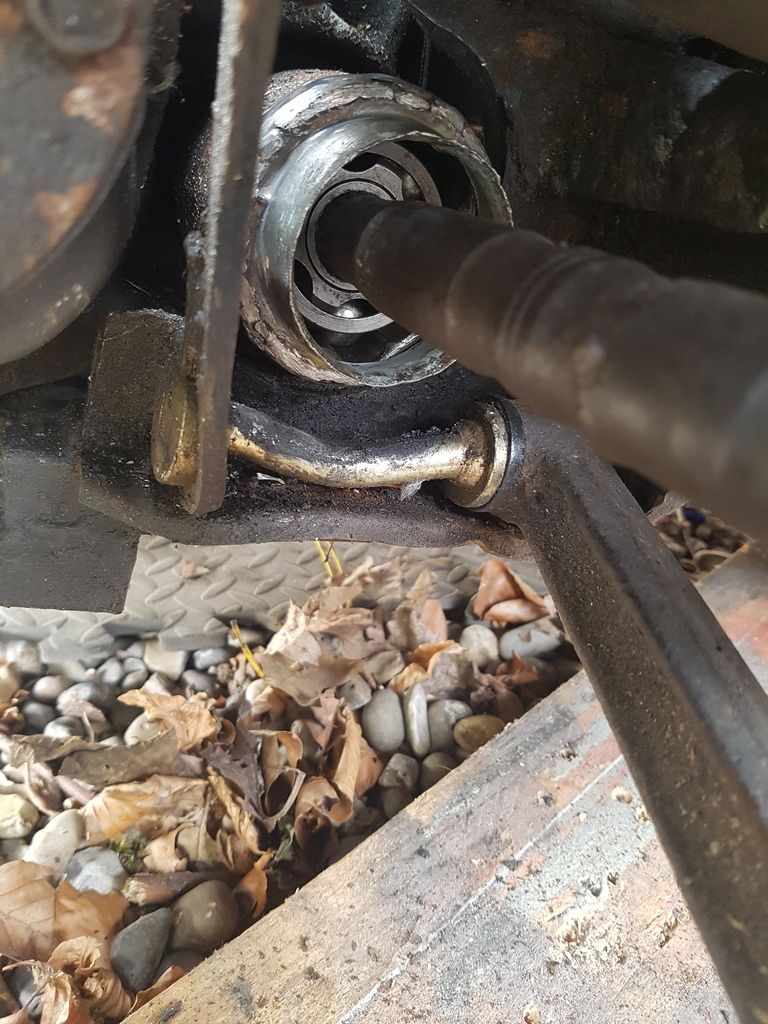
so before the new cones go in the next part was the driveshaft.
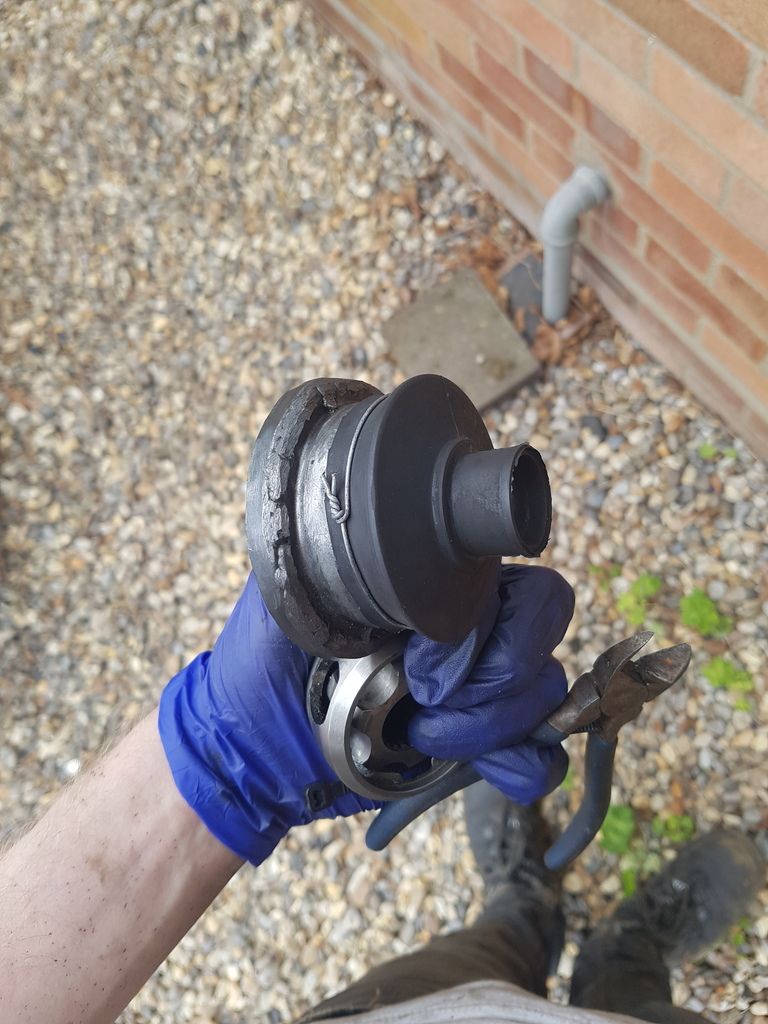
If people remember I made a special ring thing to attach the gasket to that’s fitted to the inner cv joint.
there it is fitted
and at full suspension droop
and this is with the suspension at full compression (well not quite but as low as the car will go and still have clearance on the arches!)
so that’s all gravy, fitted a gaiter and held it on with steel wire
And ive fitted it on the car. No photos so you’ll have to use your imagination. Where there is the lip I have hammered it back down so no way is that “gaiter transfer ring” coming off!!
Unfortuntly I didn’t take a photo of the suspension back together but here is one of the shiny new cone!
I have also upped the ride height to see how well the cones settle.
That’s all for now. Ive a busy week all next week so there won’t be anything more done unfortunately unless I can find some time Tuesday.
So next update will be probably be early may!
Lawrence
#552

Posted 25 April 2017 - 09:26 PM
I really really dislike front suspension donuts!
I found time for the drivers side front to be fitted today
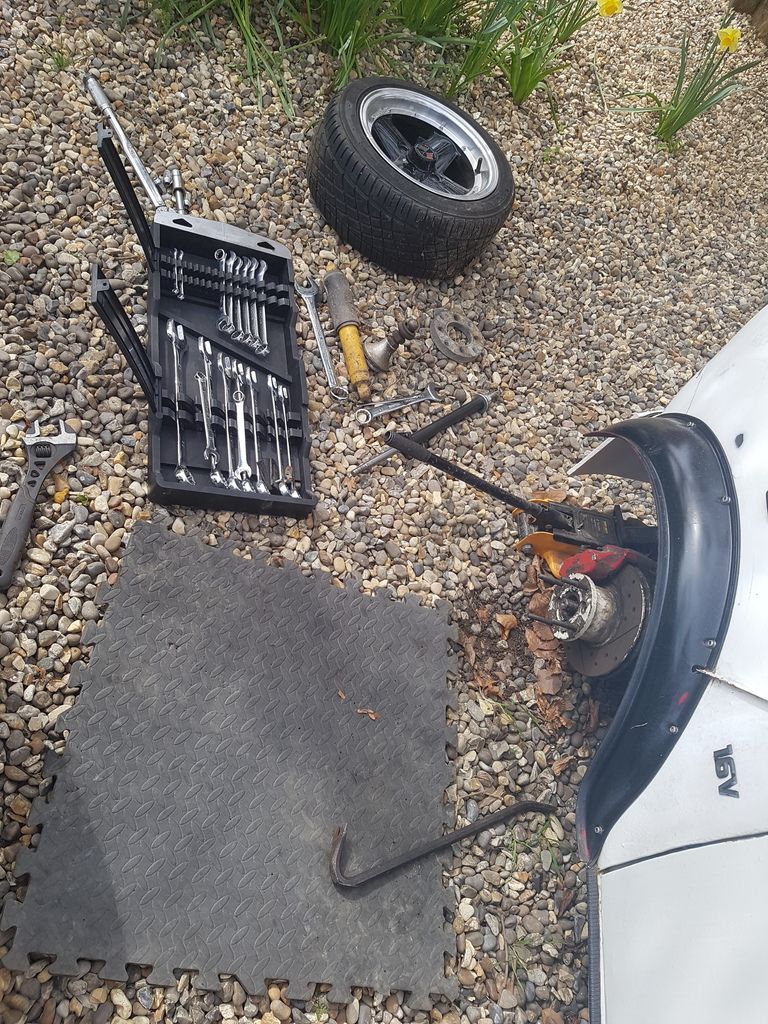
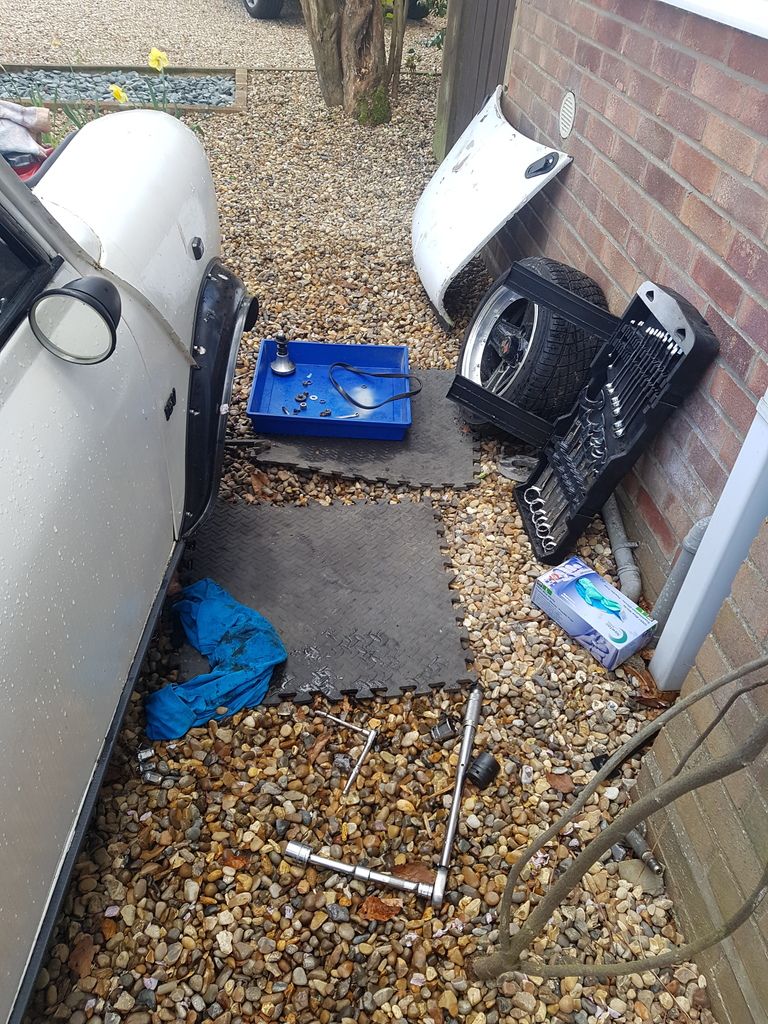
workspace
cone ready to come out
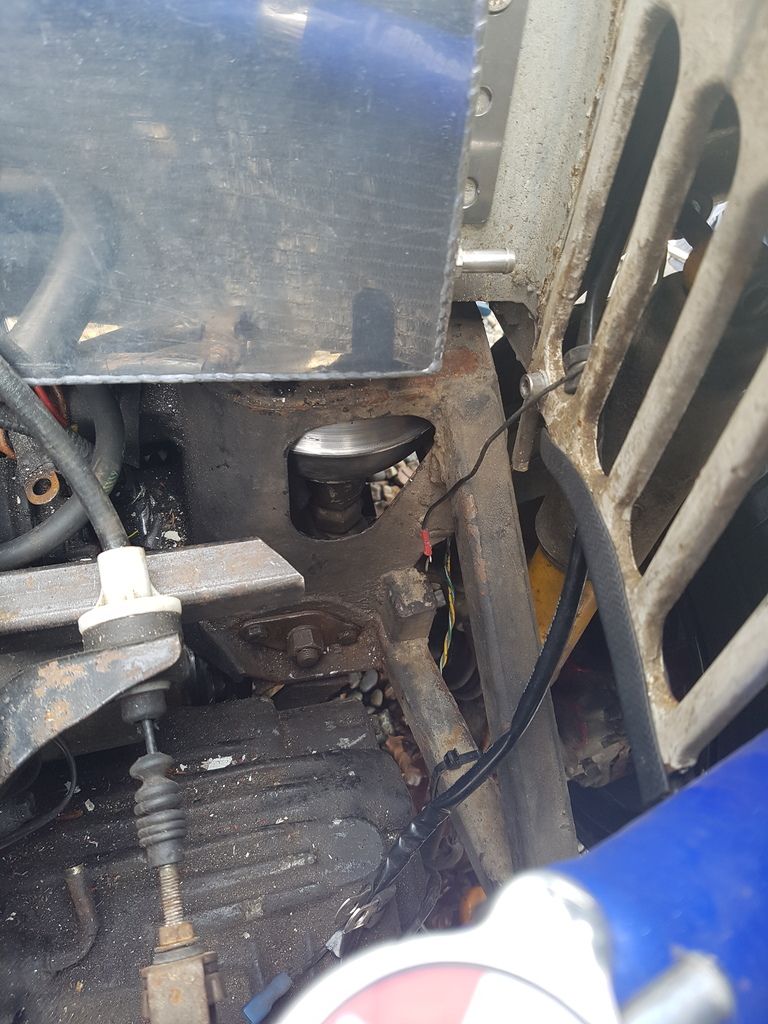
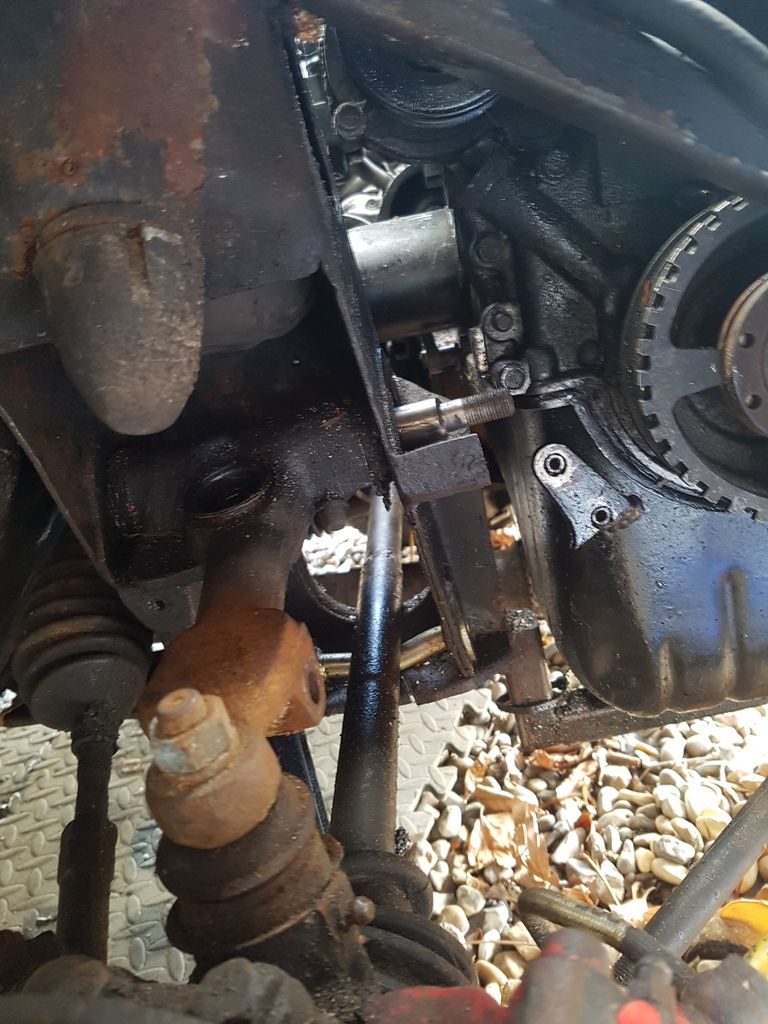
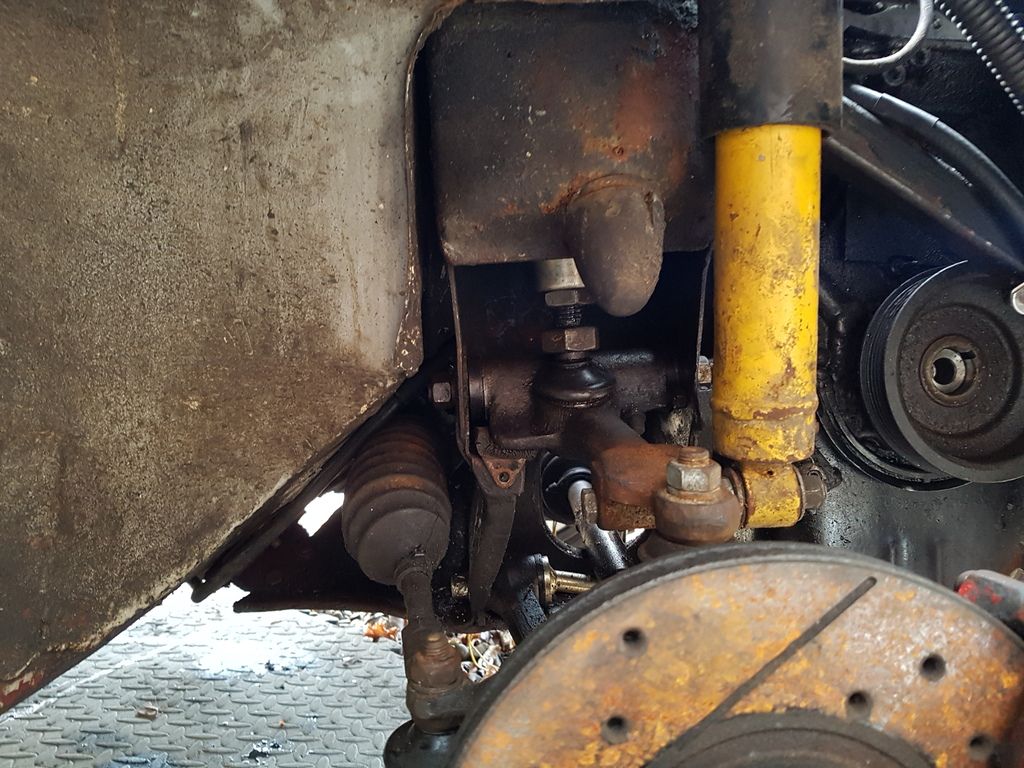
Pully blocking my way this time!
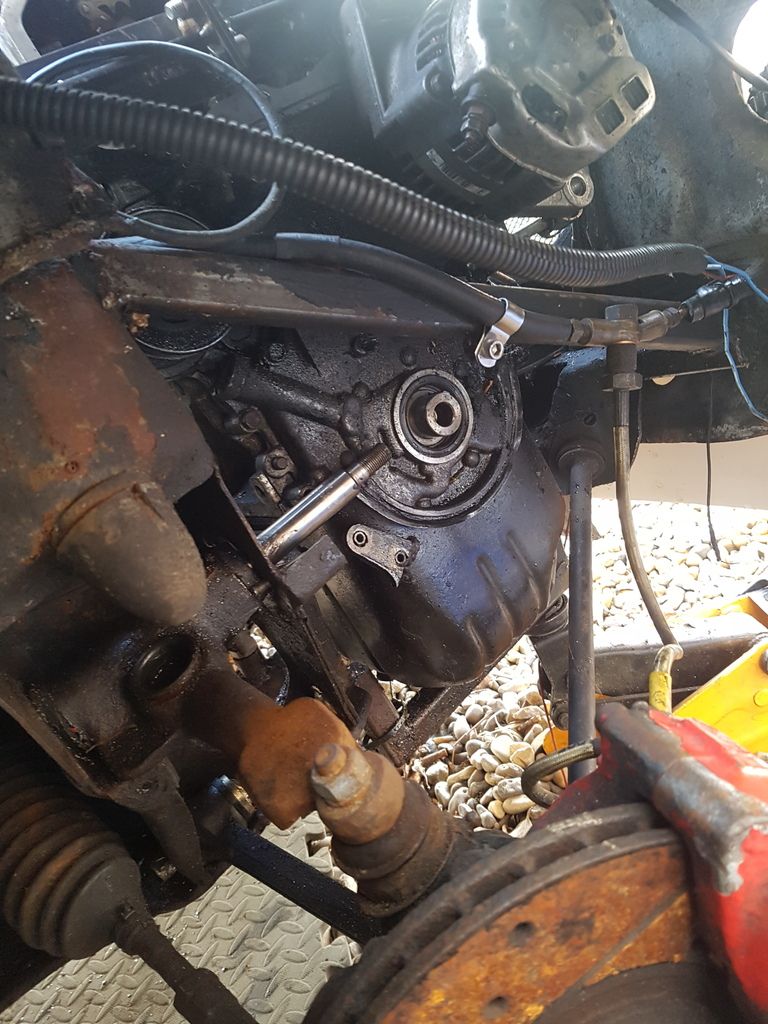
removed allowing space for the pin to come out
side by side
and back together
need to balance the suspension, the back is a tad to low!
Im very glad I can get the pully off with my frame design, if not it would be an engine out job! And im glad I haven’t got to change the cones again any time soon as it is a horrible job! Took me 3 ½ hours to do the os and over 5 for the ns! One good thing was at least the knuckle joints are in good nic and the rubber is also
I need to do a bit of painting around there but that can wait till ive finished with the front indicator modifications and ill do it all at once. Also the inner wings on both side are in dire need of a clean up and repaint as ive got plenty of surface rust on lots of components
Unfortunately I discovered that my brake pads have separated from the backing metal. In all honestly they have been on the car since ive had it so are at least 8 years old but most likely a lot older. Im contemplating getting new callipers also as they are both weeping around the nipples and one of them has a snapped nipple
The next update will be next week hopefully. Planning on getting the front indicators sorted. That will allow me to do some wiring
Feel free to comment
Lawrence
#553

Posted 25 April 2017 - 09:33 PM
Love this project, and how homemade it is (in a good way!) ![]() I do like that front air dam too, tempted to do something similar to cover my k series frame as it looks gash atm
I do like that front air dam too, tempted to do something similar to cover my k series frame as it looks gash atm
#554

Posted 25 April 2017 - 09:44 PM
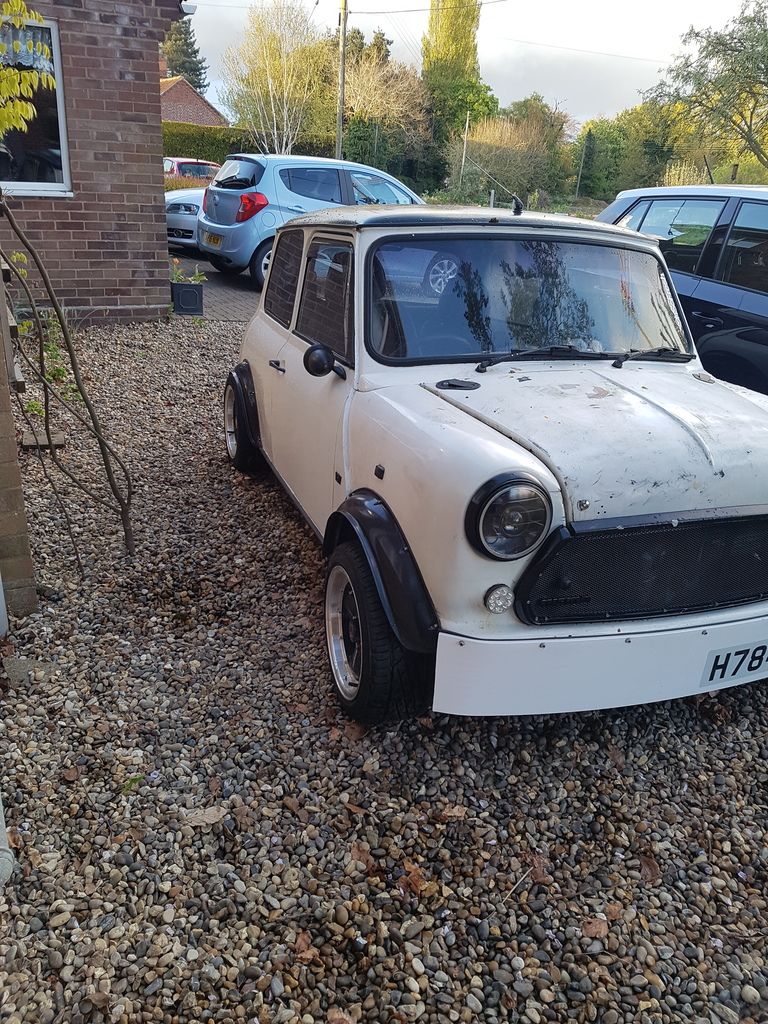
Cheers Will. I do agree she is very much homemade, she's not perfect and quite frankly she is never going to be. But what she will hopefully be is a very solid and fun little car who's hopefully reliable that I've put my own stamp on with no others minis quite like her!
The air dam is nothing fancy, just roofing fascia board, cheap and simple and like you say hides a variety of sins! Overall plan is to make a engine under tray to smooth the airflow out however I need to tweak the current front arches fitment first so I can lower her without arch contact. No rush for that tho!
Lawrence
#555

Posted 26 April 2017 - 08:42 AM
Good stuff.
You do realize that you don't have to take the pin all the way out the front on the top arms? If you get the pin forward enough so that the back is clear of the subframe you can angle the arm forward as the large hole in the front allows enough clearance.
Once it settles let us know how it handles/feels on the red dot cones.
2 user(s) are reading this topic
0 members, 2 guests, 0 anonymous users


