Just ordered two one metre long brake lines along with some rubber lined p clips to make everything very secure. Luckily one of the old lines I can reuse to the t piece on the front brakes so saved a bit of money there, it'll replace the little connecter block part that seeped fluid slightly and I'll make a nice bracket for the front brake lines too as that's an area I'm not happy with.
Lastly I've made a start on the rear engine mount so can begin to make that up come pay day when I get some more gas for welding


Ken -The 1275 High Compression Engine Micra Mini (Running Project)
Started by
lawrence
, Sep 19 2009 12:30 PM
761 replies to this topic
#452
: post #452")
lawrence
-
- Members
-

- 1,341 posts
One Carb Or Two?
Posted 26 February 2016 - 05:40 PM
Right then. Time for another update :)
I'm now on placement from uni. That means I'm working a 37 ½ hour working week but also have to do learning logs and have a big essay to do. But what that means is I now have 3 days off a week so at least one of them can be working on mini! :)
My brake lines arrived the other day from dsn classics. I ordered 1m long lines so have plenty to work with
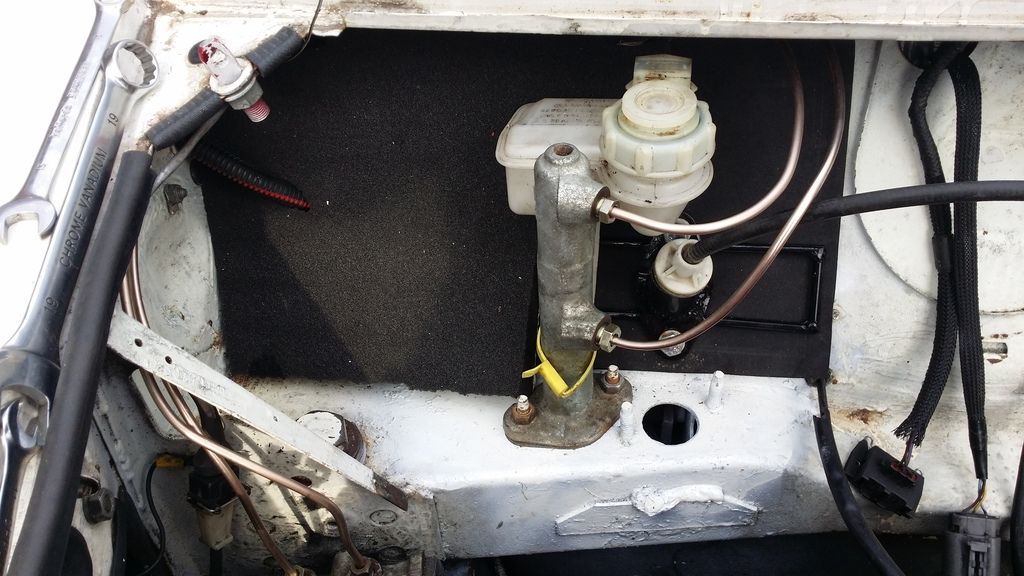
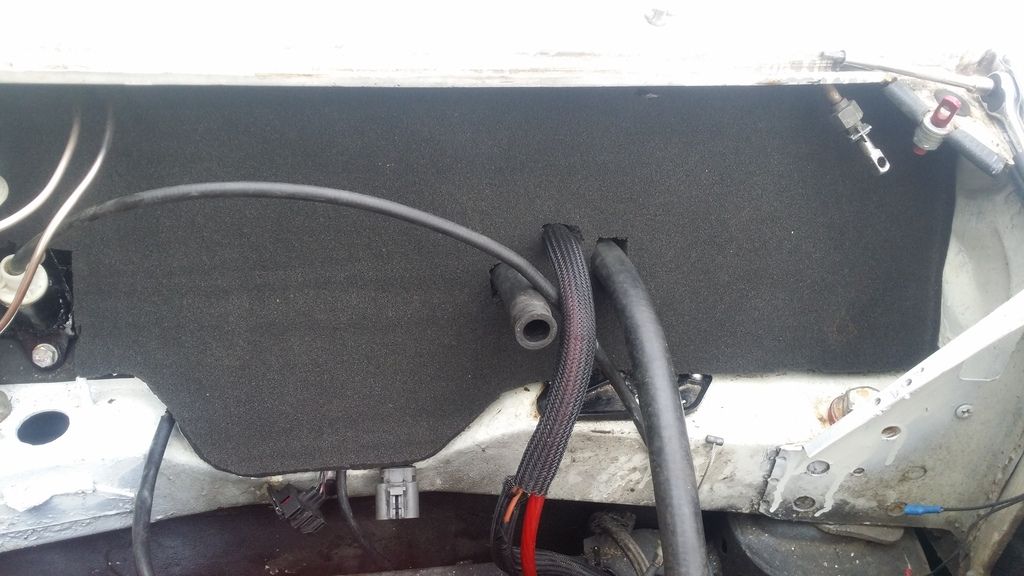
Now waiting on the p clips to secure them. Also measured and fitted sound deadening foam to the bulkhead
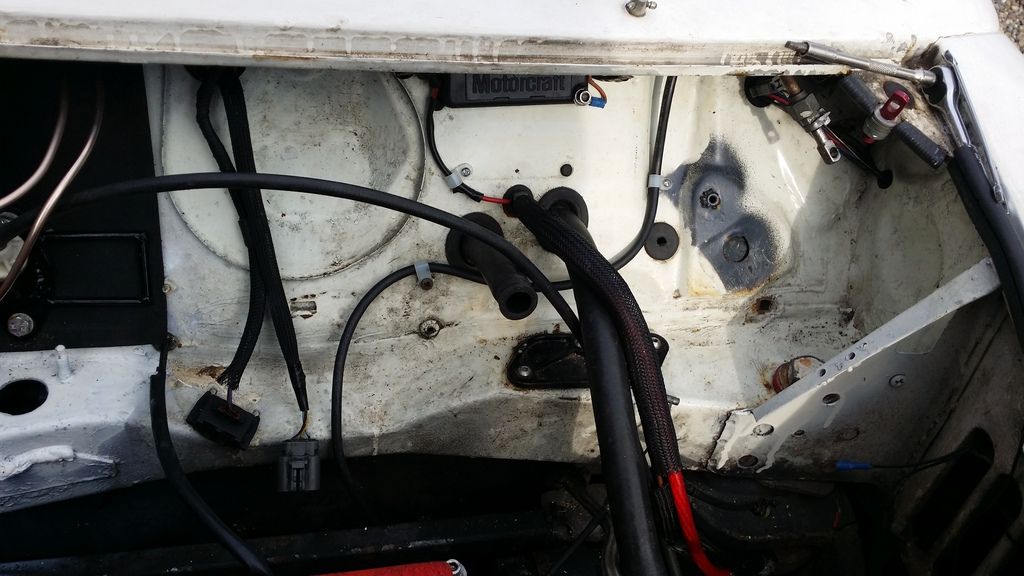
Tidied up some wiring on the bulkhead and relocated a few pieces
Made a cardboard template of the sound deadening for the other side
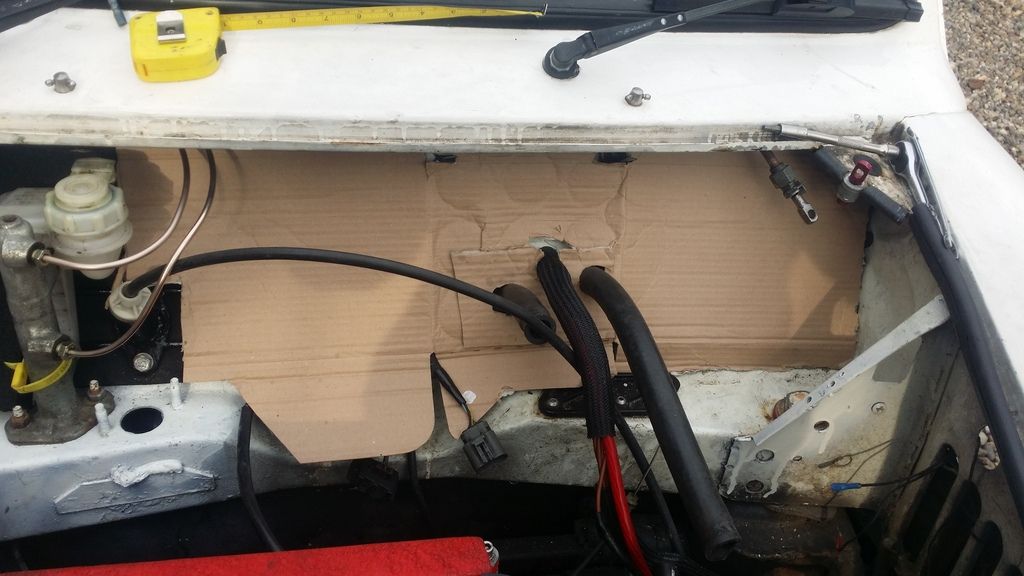
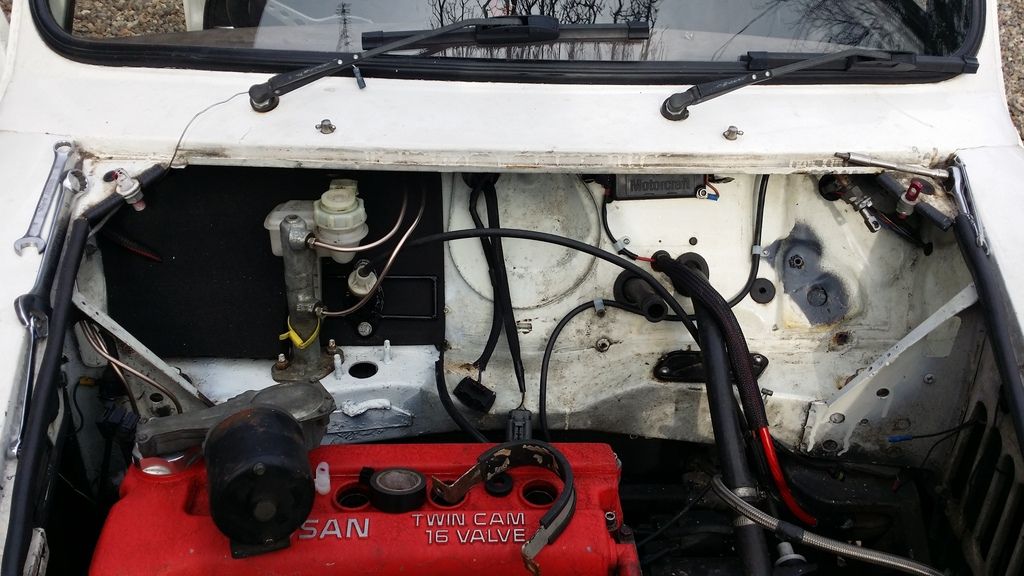
Cut and fitted the foam
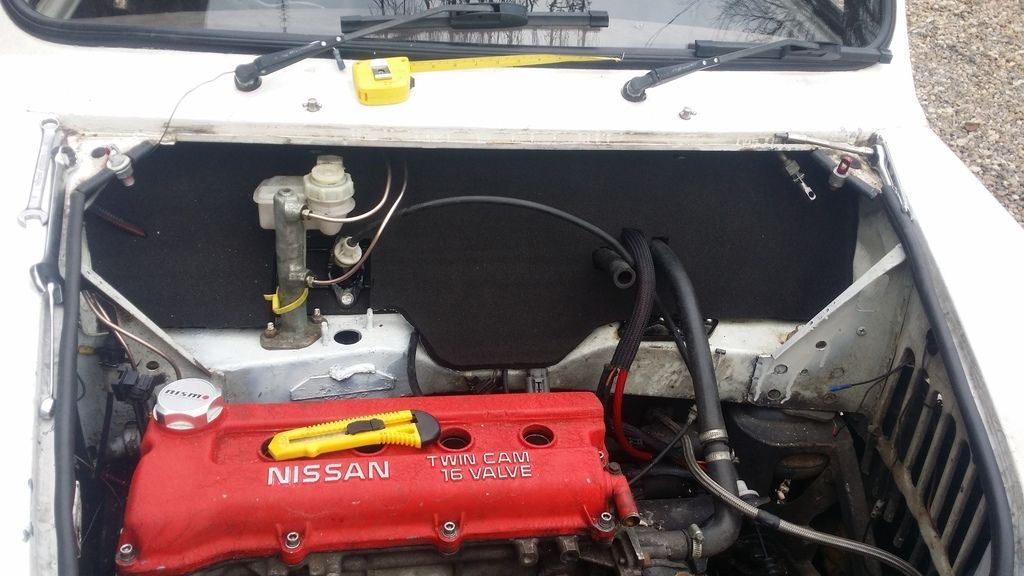
Bulkhead looks so much smarter now
Drilled the holes for the engine mount and fitted it
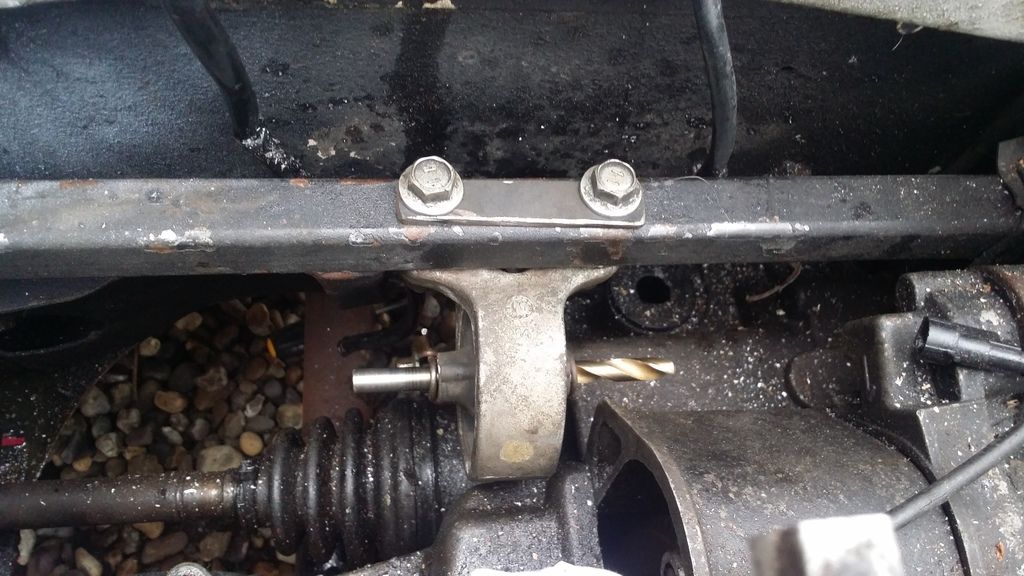
Mocking up the mount with simple wire twists
Just the one bolt into the gearbox casting holds the engine nicely, however there is a lower threaded area I'll use also and triangulate the mount so it's more secure.
So brakes done
Engine mount done (well the hard part just need to drill some bar but that's the hard bit ok)
Carbs now then :)
Trial fit

Float levels much better compared to before

But as always there's problems :) in all honestly I was expecting some bad luck earlier with my track record!
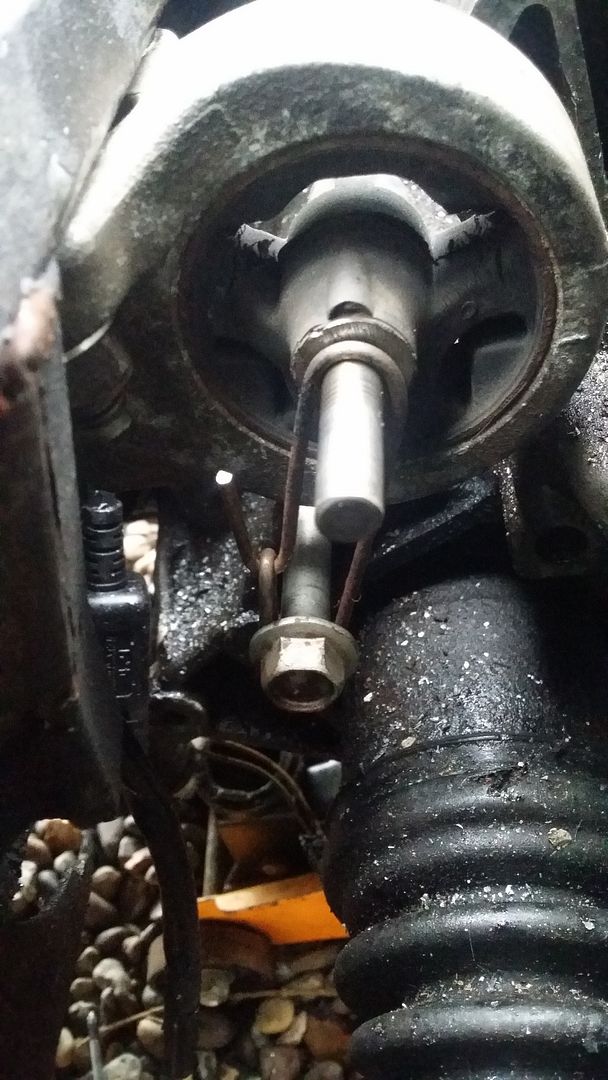
I have clearance issues
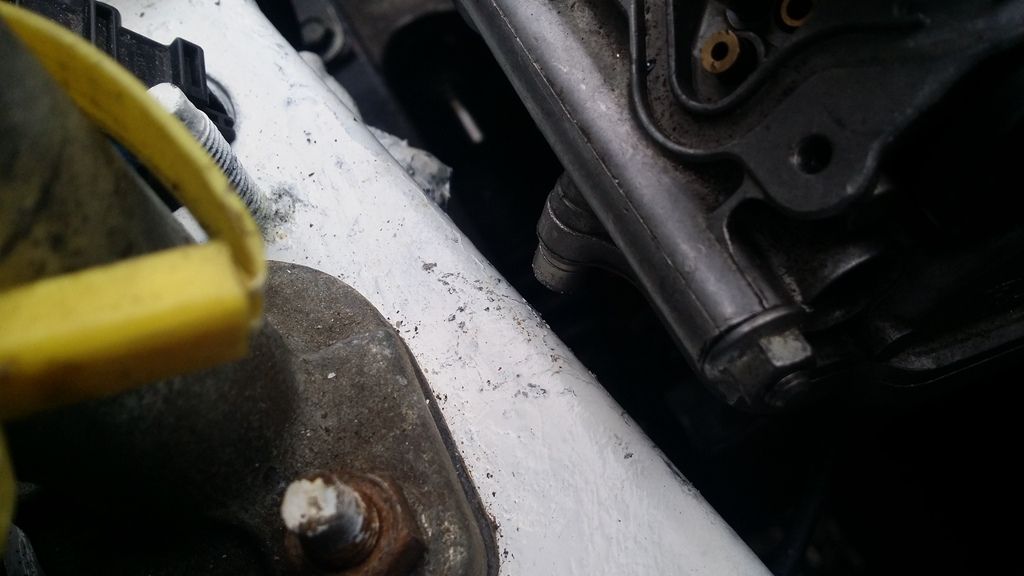
However there is a bright side here. The wire twists that are the rear mock engine mount are there basically to see how much the nissan mount settles.
I need to whip the nsf wheel off to see what clearance there is round the driveshaft gaiter (the whole point I'm redoing the rear mount). Maybe when I take the wheel off I'll find I can lift the rear of the engine more and that will give me more clearance.
But if I have to stick with this clearance what are my options? It's about 3mm so a tight gap
Reckon I can simply notch the bulkhead a little or gently thump it with a hammer?
Hmm
Well feel free to comment. I've been paid but it wasn't a lot so good I'm using my bike as if you cough into the fuel tank after a night out it'll probable get you to work!
I need some argon gas for aluminium welding too then I'll get playing in that department
Lawrence
I'm now on placement from uni. That means I'm working a 37 ½ hour working week but also have to do learning logs and have a big essay to do. But what that means is I now have 3 days off a week so at least one of them can be working on mini! :)
My brake lines arrived the other day from dsn classics. I ordered 1m long lines so have plenty to work with

Now waiting on the p clips to secure them. Also measured and fitted sound deadening foam to the bulkhead
Tidied up some wiring on the bulkhead and relocated a few pieces


Made a cardboard template of the sound deadening for the other side

Cut and fitted the foam

Bulkhead looks so much smarter now

Drilled the holes for the engine mount and fitted it

Mocking up the mount with simple wire twists

Just the one bolt into the gearbox casting holds the engine nicely, however there is a lower threaded area I'll use also and triangulate the mount so it's more secure.
So brakes done
Engine mount done (well the hard part just need to drill some bar but that's the hard bit ok)
Carbs now then :)
Trial fit

Float levels much better compared to before

But as always there's problems :) in all honestly I was expecting some bad luck earlier with my track record!
I have clearance issues

However there is a bright side here. The wire twists that are the rear mock engine mount are there basically to see how much the nissan mount settles.
I need to whip the nsf wheel off to see what clearance there is round the driveshaft gaiter (the whole point I'm redoing the rear mount). Maybe when I take the wheel off I'll find I can lift the rear of the engine more and that will give me more clearance.
But if I have to stick with this clearance what are my options? It's about 3mm so a tight gap
Reckon I can simply notch the bulkhead a little or gently thump it with a hammer?
Hmm
Well feel free to comment. I've been paid but it wasn't a lot so good I'm using my bike as if you cough into the fuel tank after a night out it'll probable get you to work!
I need some argon gas for aluminium welding too then I'll get playing in that department
Lawrence
#453
thelegg
-
- Members
-
- 612 posts
Super Mini Mad
- Location: Forton
Posted 26 February 2016 - 06:34 PM
I need to raise the rear of my engine up as it's a bit tight in places although I'm not sure weather that's due to my mount sagging or just my bad measurements lol everything is looking smart tho :) what have you used for the sound deadening?
#454
lawrence
-
- Members
-
- 1,341 posts
One Carb Or Two?
Posted 26 February 2016 - 07:44 PM
More likely the mount sagging. I should think by its design it needs to settle so I'm going to keep an eye on it to see how much it settles by.
The sound deadening is acoustic foam that's designed for recording studios. It's open cell so should absorb noise but I deliberatly got the fireproof type so it's ok in the engine bay. It does burn if you hold a flame to it but as soon as you take the flame away it goes out so hopefully safer. One drawback is that being open cell it absorbs water to some degree so the paint on the bulkhead has to be solid and every month or so I pat it down with a paper towel to remove the moisture
The sound deadening is acoustic foam that's designed for recording studios. It's open cell so should absorb noise but I deliberatly got the fireproof type so it's ok in the engine bay. It does burn if you hold a flame to it but as soon as you take the flame away it goes out so hopefully safer. One drawback is that being open cell it absorbs water to some degree so the paint on the bulkhead has to be solid and every month or so I pat it down with a paper towel to remove the moisture
#455
thelegg
-
- Members
-
- 612 posts
Super Mini Mad
- Location: Forton
Posted 27 February 2016 - 09:26 AM
I may get another mount but refill it with polyurethane at some point should be a lot stiffer and stronger
#456
lawrence
-
- Members
-
- 1,341 posts
One Carb Or Two?
Posted 27 February 2016 - 05:47 PM
You can buy solid poly mounts for Micras but they aren't cheap!
Right so today I've been sorting the wiring out, trying to get where it goes inside the wings a bit tidyer and better protected. Also moved various wires where they are added into the origional mini loom.
Lastly I fitted my other front side light/Drl. You can see that was a test fit of the indicators also. Slightly dim as it's behind the grill but it was also a bright day so I think they will be fairly easy to see and I'm happy.
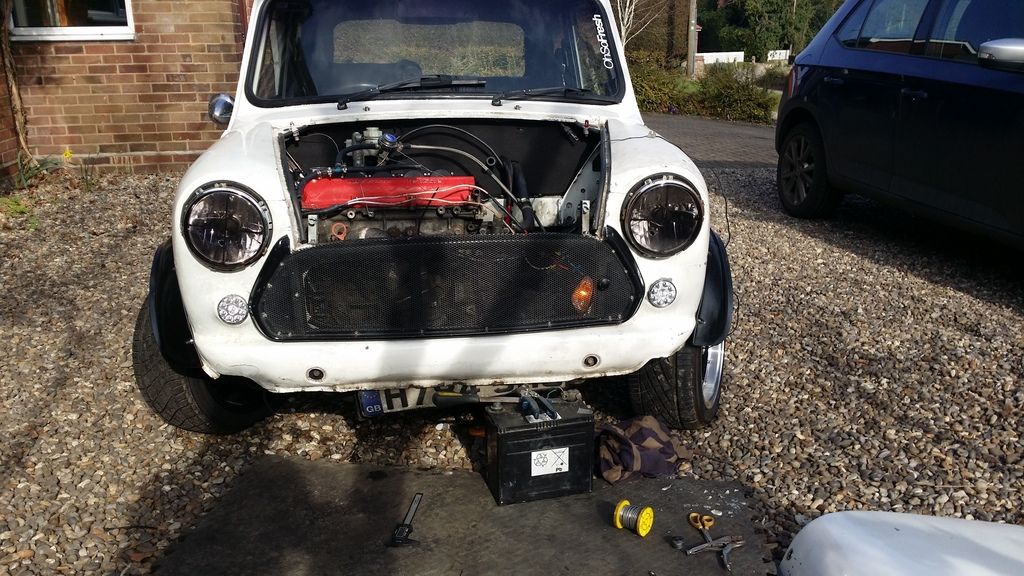
Also honed the clutch a little and that's now working great with no rubbing on the bulkhead. The feel is also better, it's less springy which I put down to the bracing bracket on the bulkhead spreading the load.
I'm putting in an order on minispares tonight. Thinking of buying all the annoying bits that have been nagging me for a while but it's total is £85! So I'll look into cutting some bits out
That's all for this week now. I'm busy tommorow and working the next 3 days after that. So next update will be the 3rd March :)
Feel free to comment
Lawrence
#457
thelegg
-
- Members
-
- 612 posts
Super Mini Mad
- Location: Forton
Posted 27 February 2016 - 07:19 PM
Didn't realise you could buy solid mounts any idea what site you can order them from ? Side lights are looking good are you defiantly sure your indicators are visible enough tho?
#458
lawrence
-
- Members
-
- 1,341 posts
One Carb Or Two?
Posted 27 February 2016 - 09:00 PM
I've sent you some links mate. Well I think they will be bright enough. That's a broken one from my bike that I replaced. The new ones have orange lenses too so it may help. If I have to I can take the grill off for the mot :)
#459
lawrence
-
- Members
-
- 1,341 posts
One Carb Or Two?
Posted 03 March 2016 - 01:17 PM
Just spent a wodge of money at minispares :) Got everything to redo the rear braking system right down to new springs and gaitors etc!
Also got lots of niggly pieces like tie bar bolts spring washer etc.
Those of you with good I spy skills will have noticed that my subframe top mounts are shot so I've also bought a new semi solid mounting kit which may improve the handling slightly who knows!
Also bought some new spacers for the rear wheels to make them lovely and flush with the arches :)
It's my birthday on Saturday so I'm off to Colchester zoo with the girlfriend so my next updates will be in the middle of next week I should think!
Lawrence
#460
smudger068
-

- Members
-
- 344 posts
Speeding Along Now
- Location: Ipswich
Posted 03 March 2016 - 02:28 PM
Lawrence,
You are going Colchester Zoo haha, whats your location Pal?
My Girlfriend lives in Colchester and I in Hadleigh (Ipswich way)
Haha
#461
lawrence
-
- Members
-
- 1,341 posts
One Carb Or Two?
Posted 09 March 2016 - 08:31 AM
So then, update time again :)
Smudger I live near Norwich so we stayed over in Colchester at the uni hotel. Was a nice bday present from the gf :)
So while I was away my shopping arrived
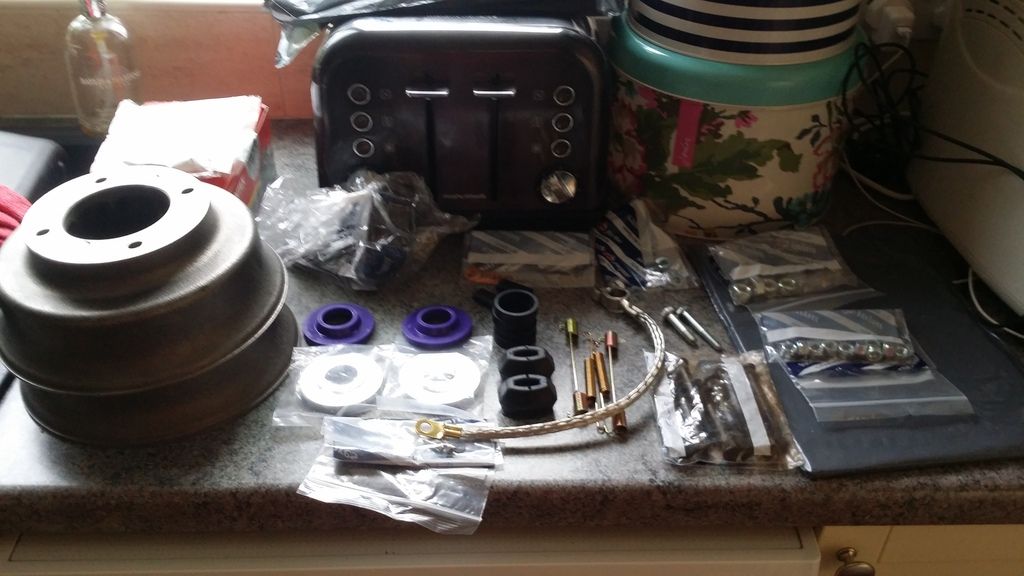
Lots of nice shiny things but not much left now it's mostly fitted!
So I started at the back. Have all new brake parts and some wheel spacers to fit
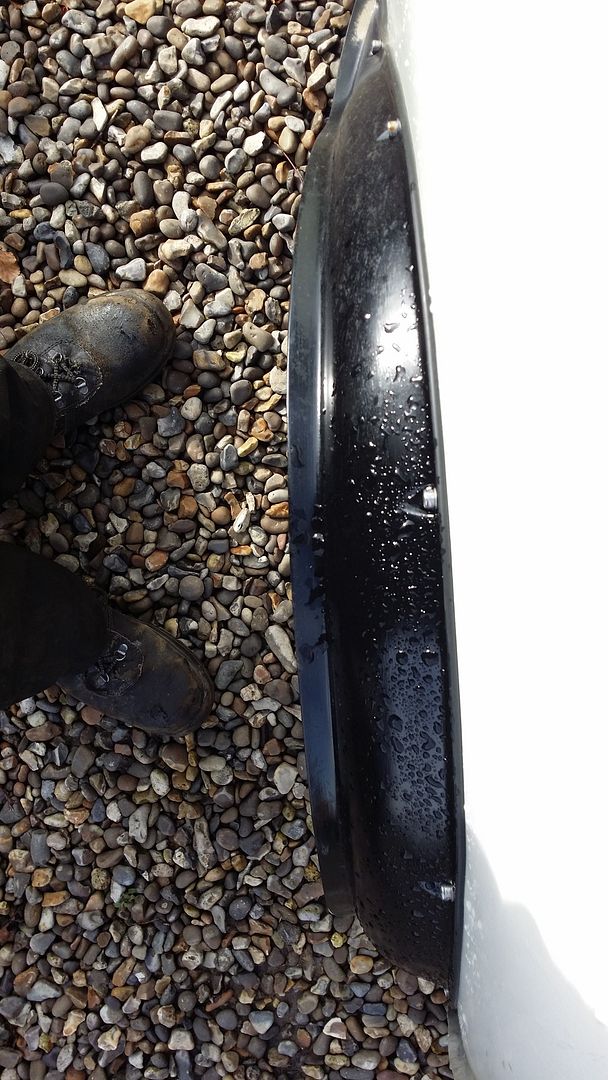
Current over arch gaps
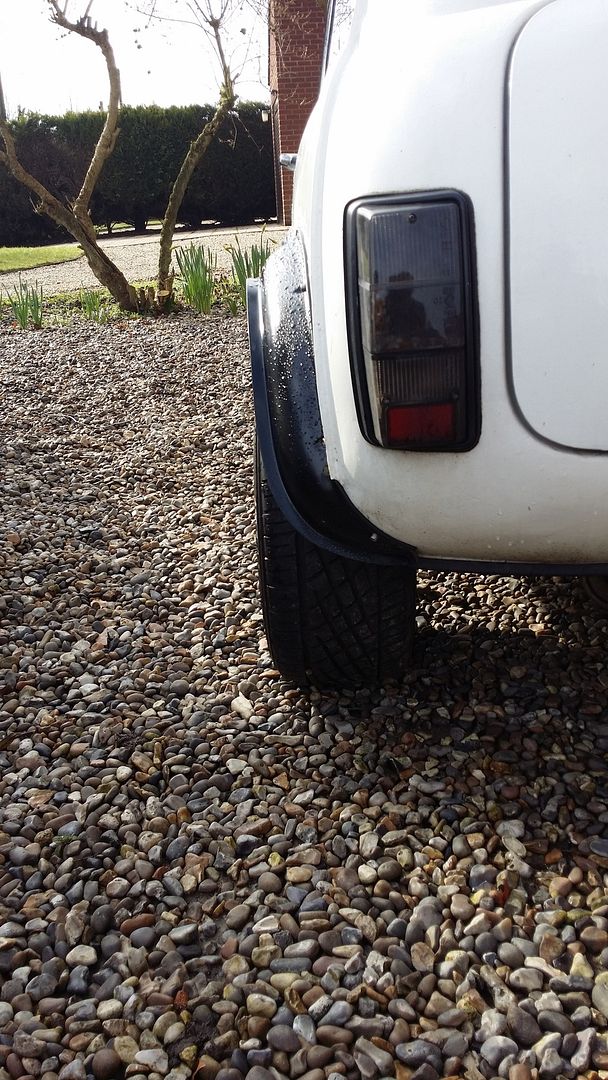
No poke at all
Extended studs fitted
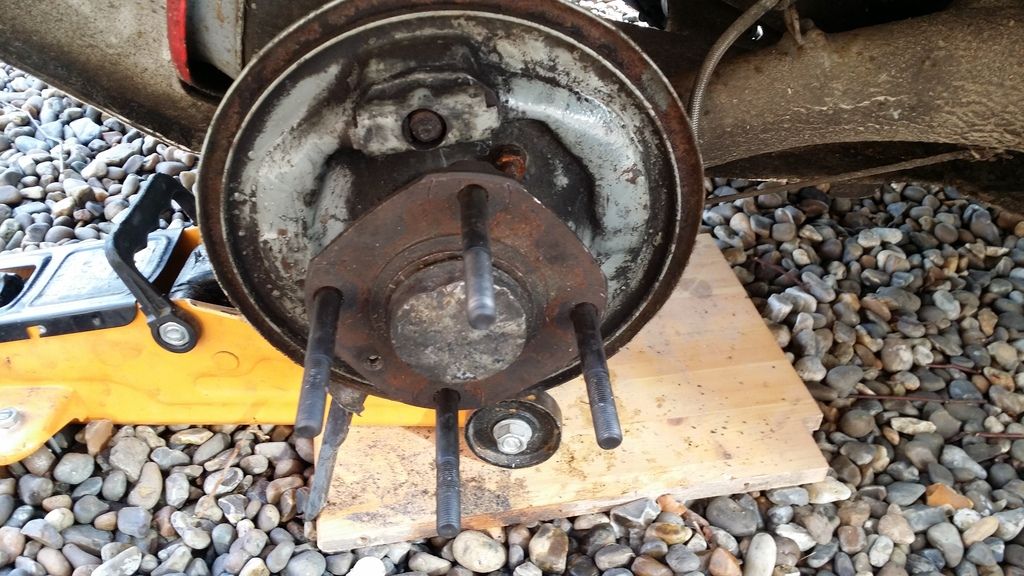
Trial fit old drums with spacers, nice bit of poke now
Tread under the arch so legal :)
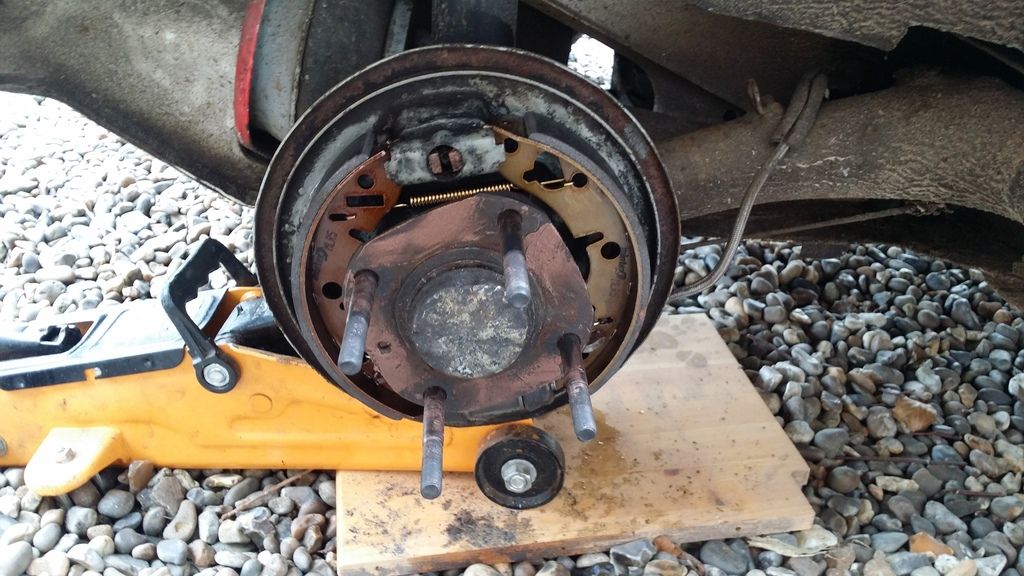
All new shiny brake parts fitted
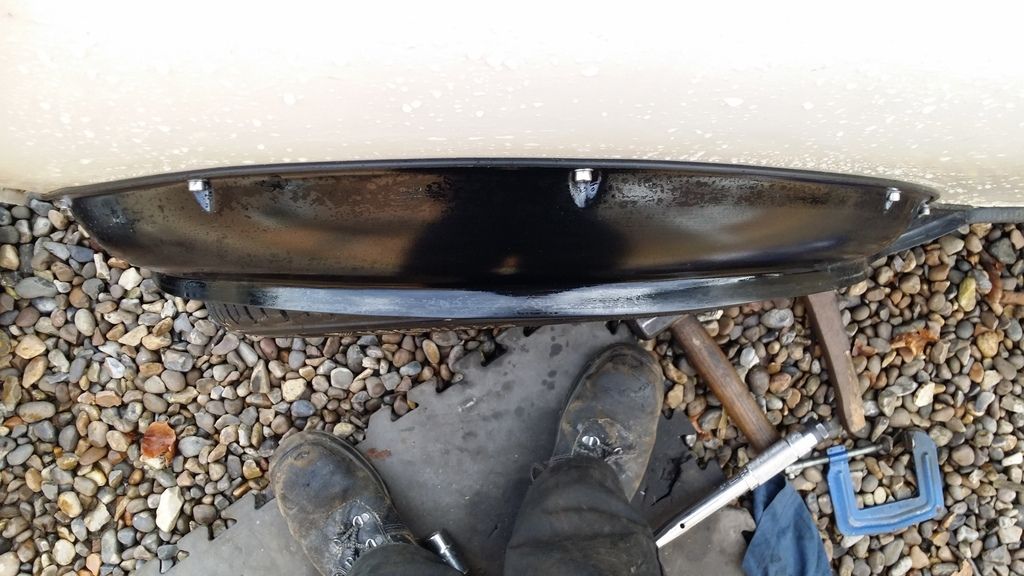
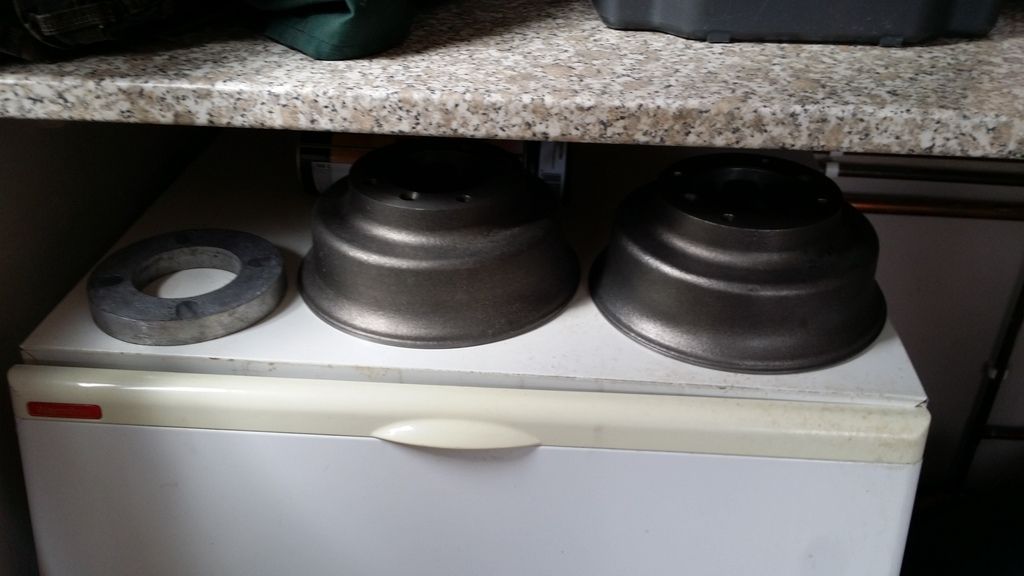
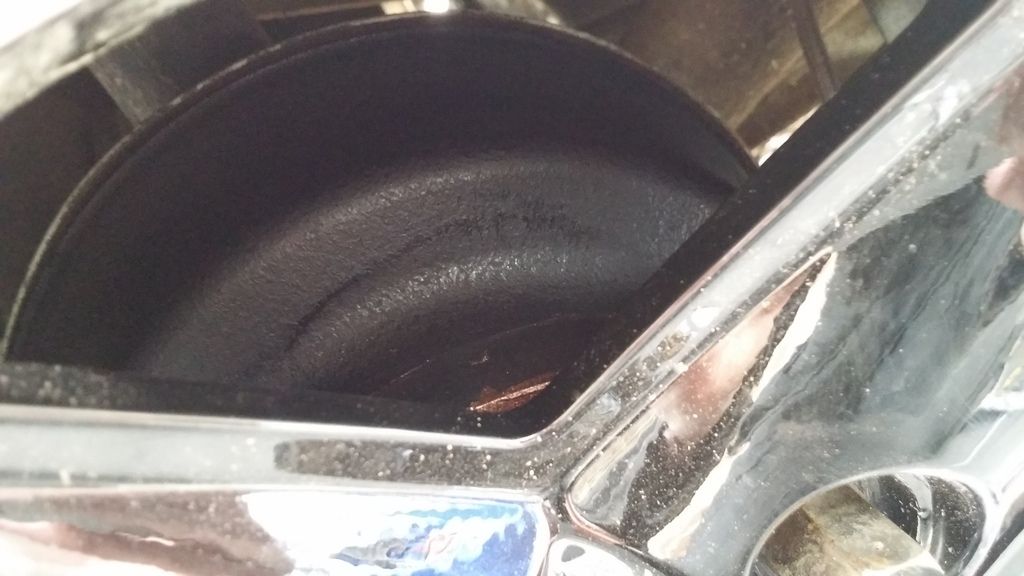
Warming the drums on the heater for painting
Bit of heatproof black
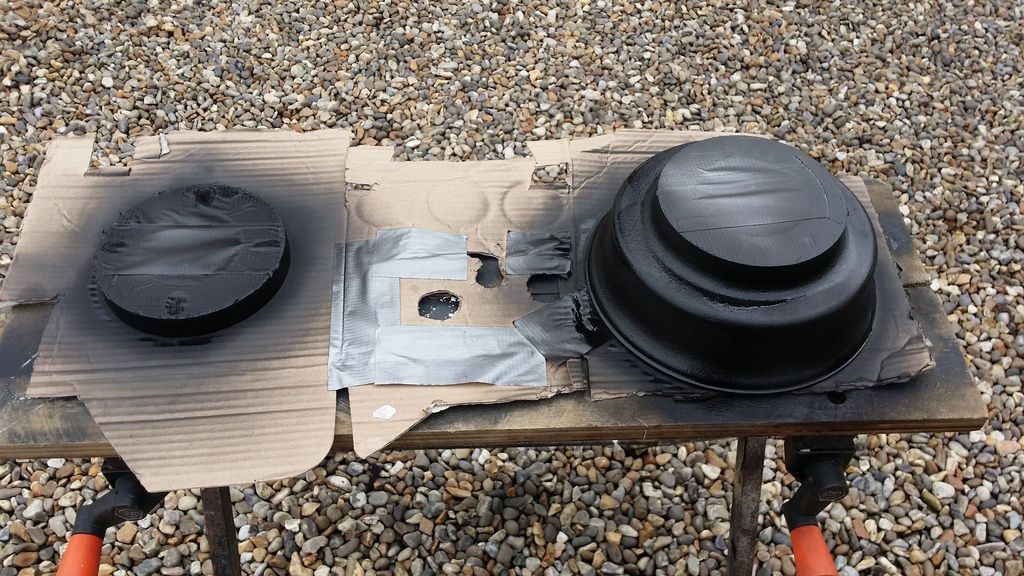
Fitted
And same the other side

Drums and spacer fitted with lots of lovely copper grease on the faces
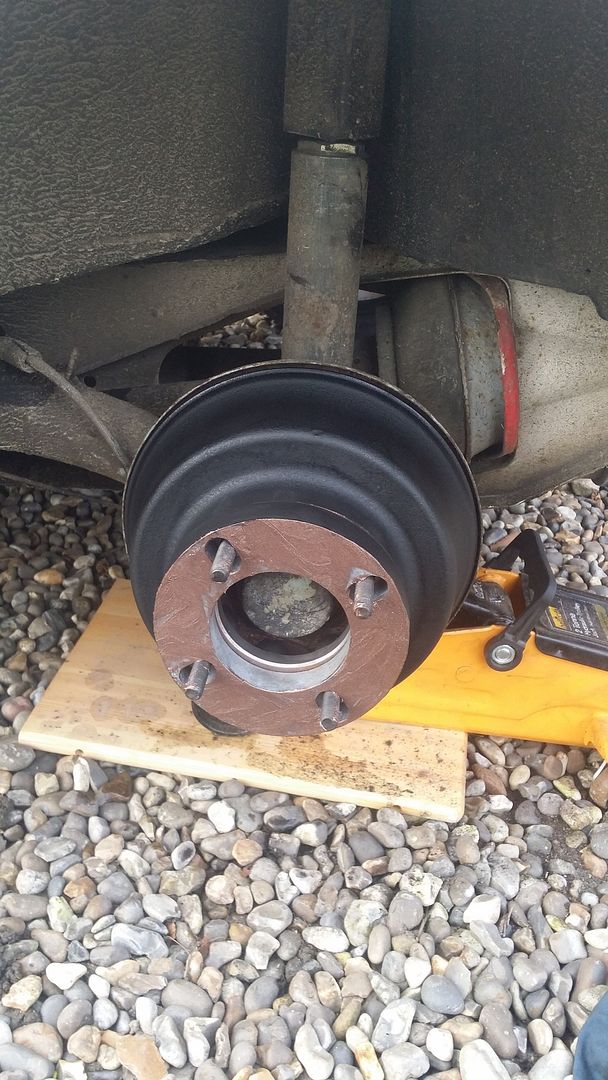
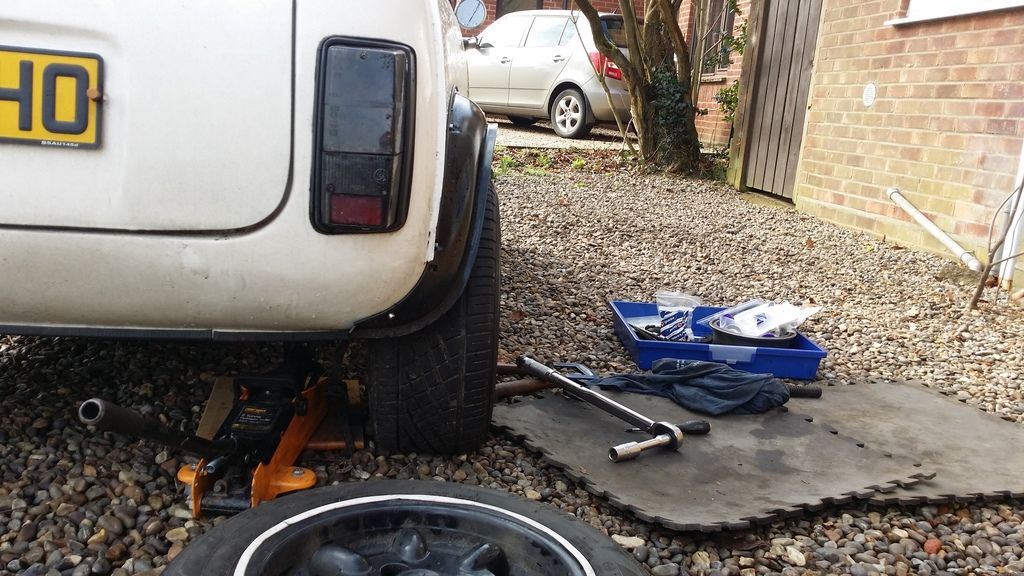
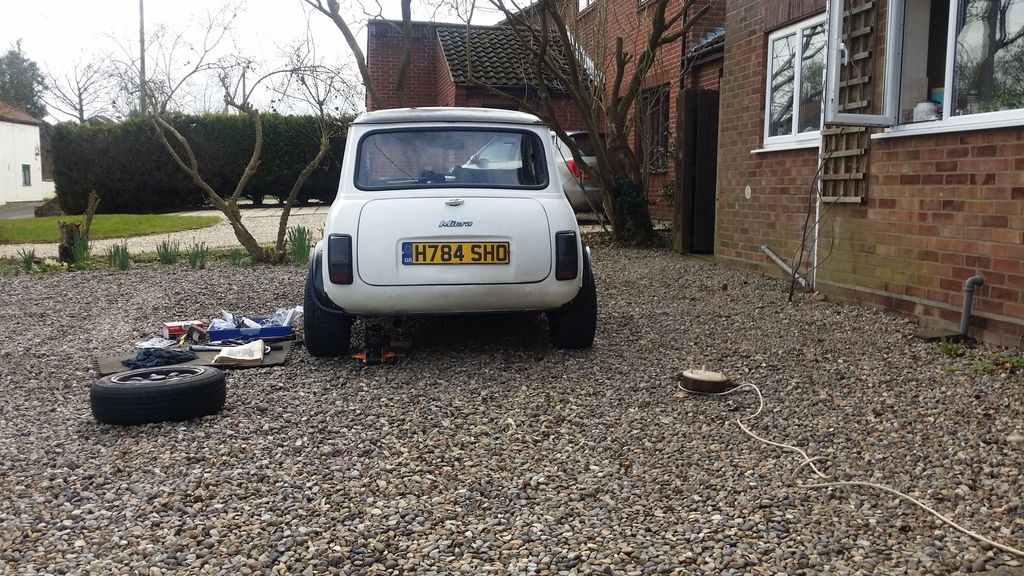
All back together
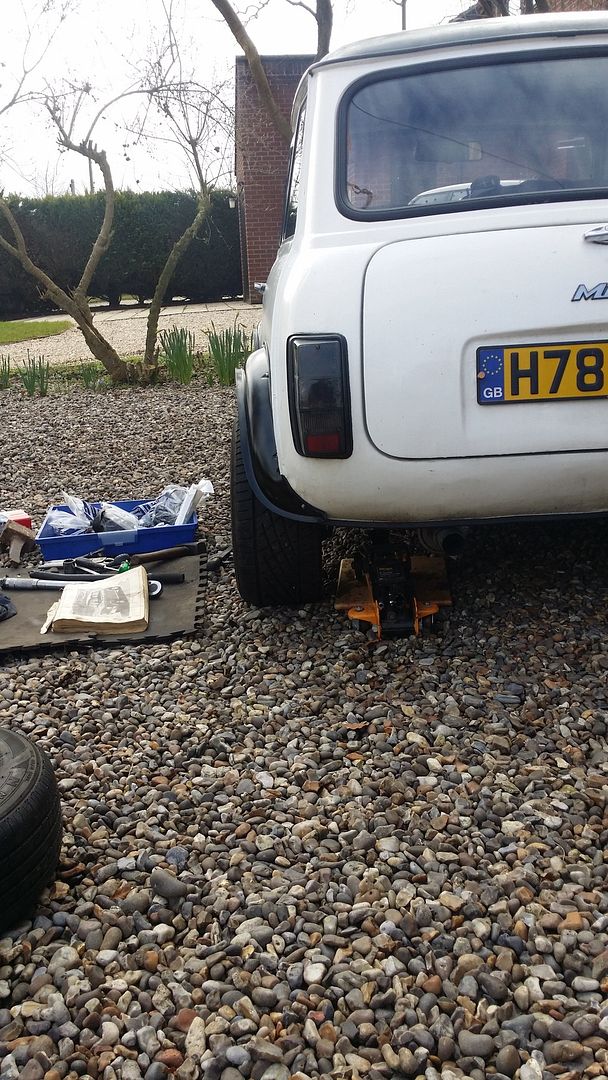
Nice rear view now
Replacing front subby top mounts
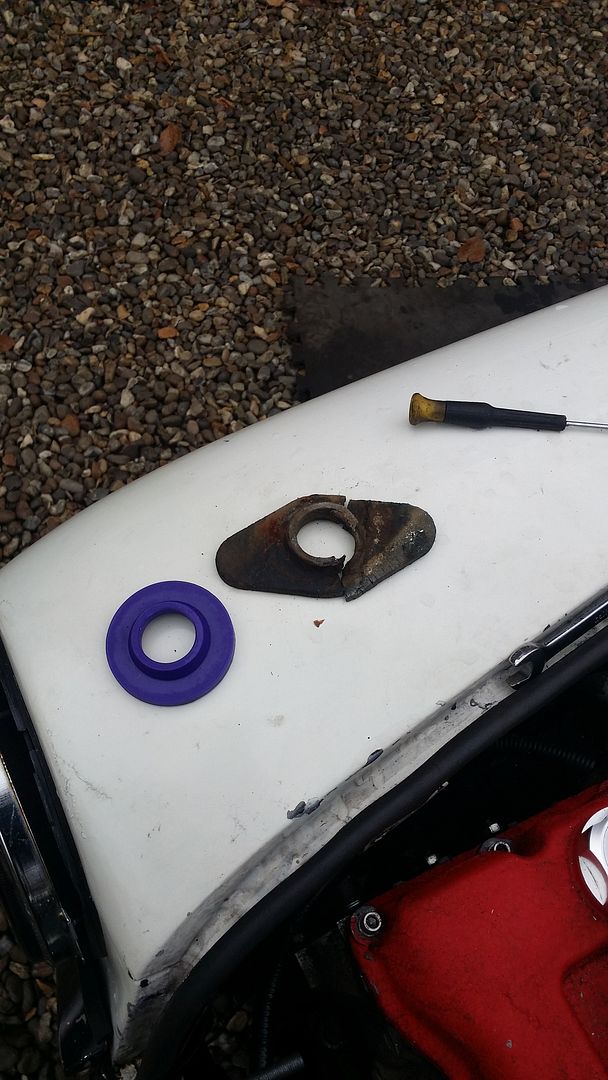
As you can see they are shagged
Fitted the new ones
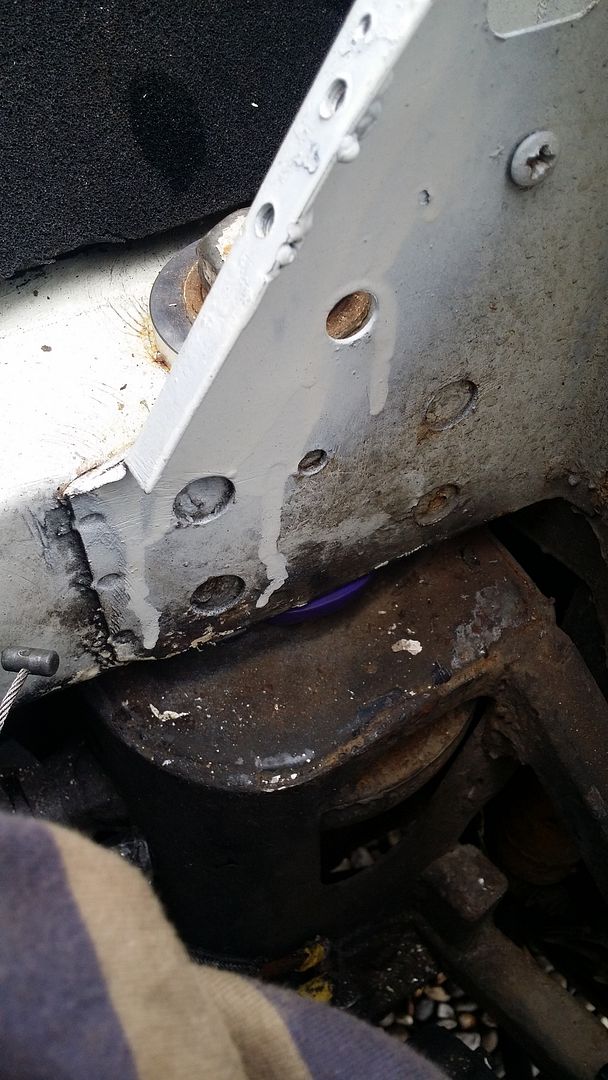
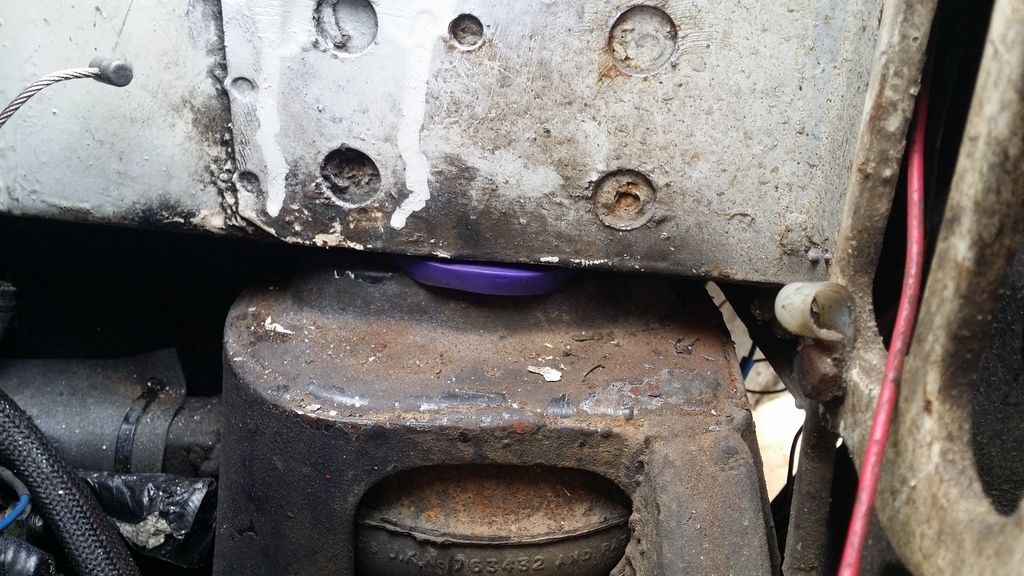
Shiny shiny
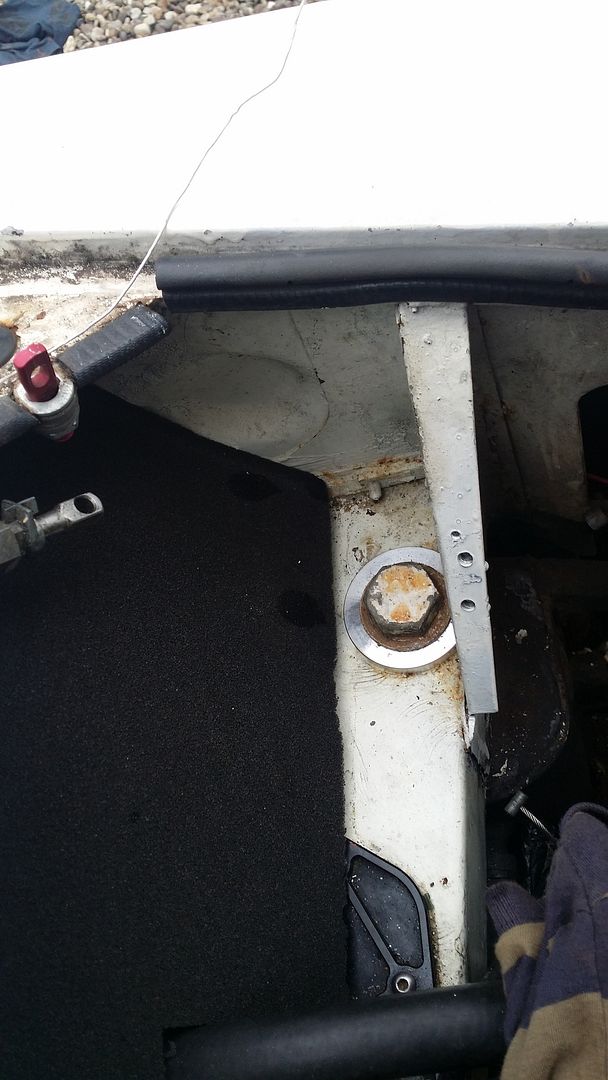
That's all for yesterday folks. Now the top mounts are new ive got trouble getting the heelboard ones holes to line up. Oh and the front braket broke off for one of the teardrop mounts which is nice of it
Feel free to comment
Lawrence
Smudger I live near Norwich so we stayed over in Colchester at the uni hotel. Was a nice bday present from the gf :)
So while I was away my shopping arrived

Lots of nice shiny things but not much left now it's mostly fitted!
So I started at the back. Have all new brake parts and some wheel spacers to fit
Current over arch gaps

No poke at all

Extended studs fitted

Trial fit old drums with spacers, nice bit of poke now

Tread under the arch so legal :)

All new shiny brake parts fitted

Warming the drums on the heater for painting

Bit of heatproof black

Fitted

And same the other side

Drums and spacer fitted with lots of lovely copper grease on the faces

All back together

Nice rear view now

Replacing front subby top mounts

As you can see they are shagged
Fitted the new ones


Shiny shiny

That's all for yesterday folks. Now the top mounts are new ive got trouble getting the heelboard ones holes to line up. Oh and the front braket broke off for one of the teardrop mounts which is nice of it
Feel free to comment
Lawrence
#462
thelegg
-
- Members
-
- 612 posts
Super Mini Mad
- Location: Forton
Posted 09 March 2016 - 08:41 AM
You need to loosen off the top mounts and then line up your floor mounts, just make sure you remember to tighten them up again lol
#463
Artstu
-

- Members
-
- 837 posts
One Carb Or Two?
- Location: Derbyshire
Posted 09 March 2016 - 10:00 AM
The brake shoes are the wrong way round, I'm not exactly sure what difference it makes.
Mixing those solid and flexible subframe mounts is a no no too.

Edited by Artstu, 09 March 2016 - 10:05 AM.
#464
lawrence
-
- Members
-
- 1,341 posts
One Carb Or Two?
Posted 09 March 2016 - 02:02 PM
Cheers thelegg, I always have trouble with them and now I know why! With regards to the mounts Thats what minispare recommend over the normal rubber ones. I've also got the rubber heelboard ones and rubber front ones to go back on also
Cheers for the photo of the brakes artstu, I can't find a clear photo in my Haynes so just popped them on using the tiny photo I had to help. I'll make them correct when I bleed the brakes. Will also print your picture off so I can pop it in the Haynes for the future
Thanks for the helpfull comments chaps
Lawrence
#465
thelegg
-
- Members
-
- 612 posts
Super Mini Mad
- Location: Forton
Posted 09 March 2016 - 07:05 PM
Your welcome mate, yeah you don't want the shoes on wrong lol I've done it and it makes it impossible to get a good handbrake


7 user(s) are reading this topic
0 members, 3 guests, 0 anonymous users
-
Bing (4)


