
Wow some nice progress there bud. Love the black lamps.
Arrrr !! Boobies alert !!


Ken -The 1275 High Compression Engine Micra Mini (Running Project)
Started by
lawrence
, Sep 19 2009 12:30 PM
761 replies to this topic
#242
: post #242")
grahama
-

- Members
-

- 2,442 posts
Up Into Fourth
- Location: Warrington
- Local Club: None in my area !!
Posted 02 July 2014 - 06:31 PM
Very nice
#243
lawrence
-
- Members
-
- 1,341 posts
One Carb Or Two?
Posted 03 July 2014 - 04:12 PM
Cheers for the comments guys
I've got a bit more done today :)
Light tinted
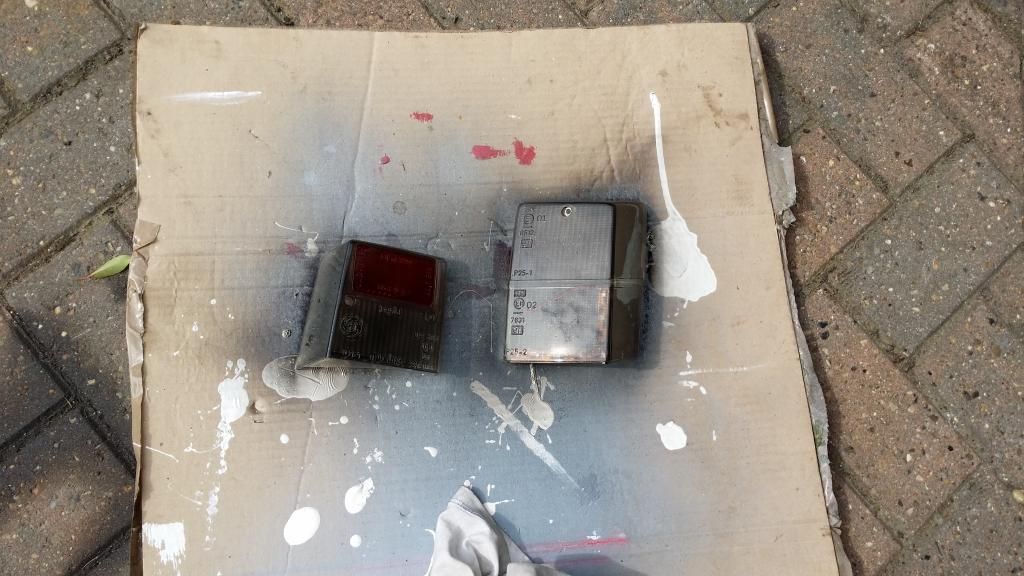
One light fitted
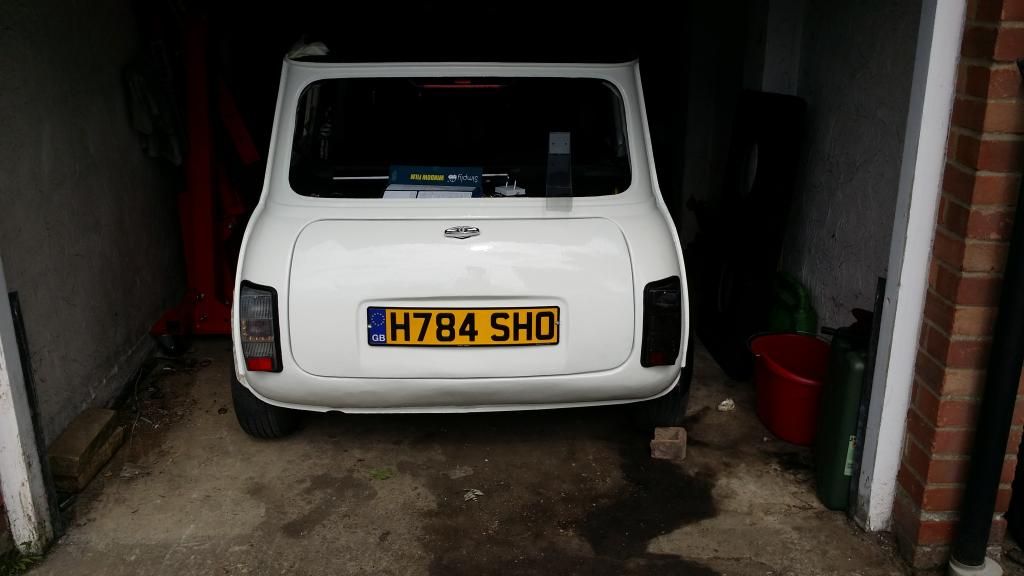
Other done
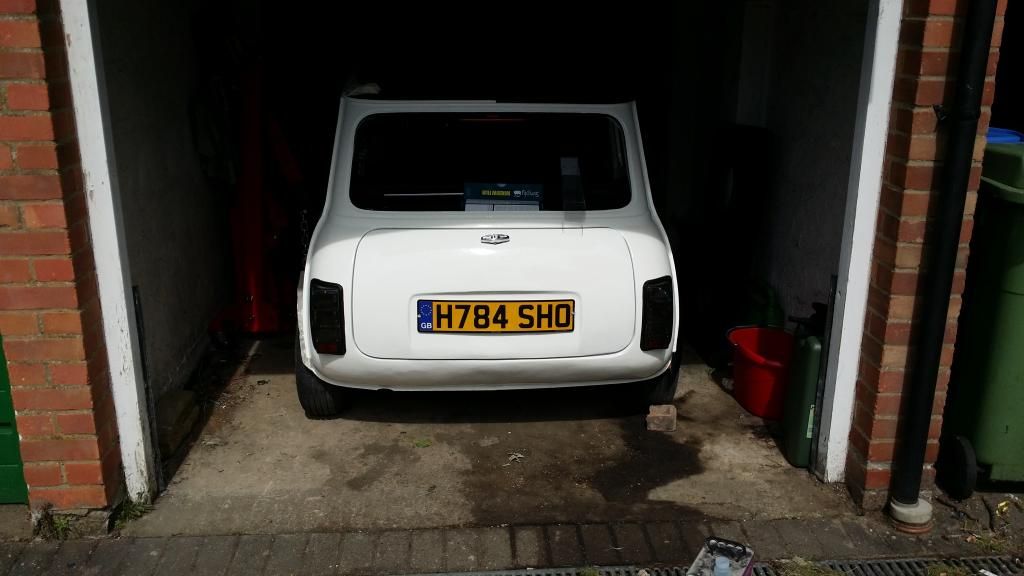
They look very dark in the photos but they aren't so bad in the daylight
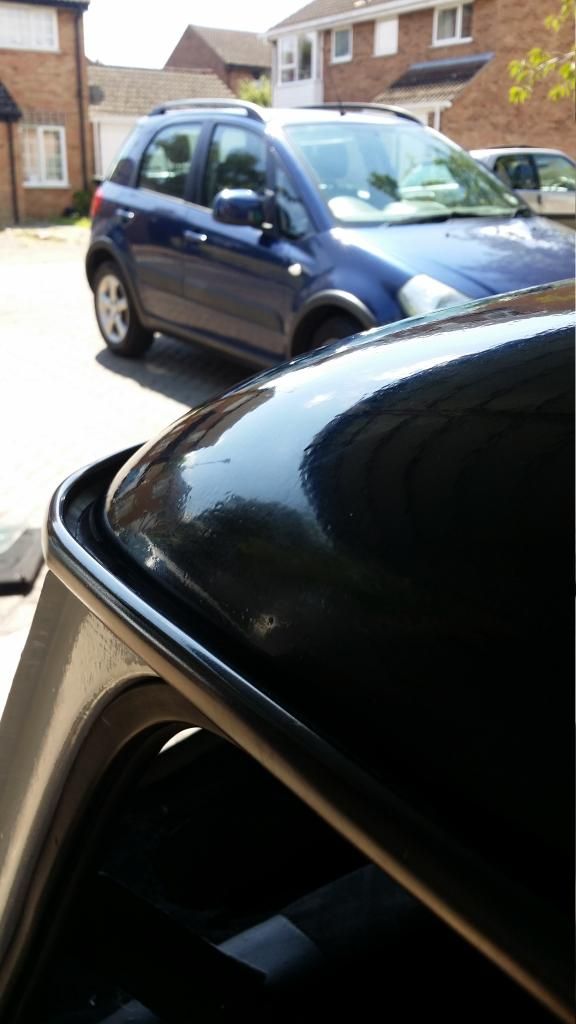
Also polished up one corner of the roof, the finish isn't too bad however I'm not happy with it so the roof will need a few more coats to get a good shine on it
I've got my new cv joint so I fitted that also :)
The mini now has drive!!!!!!!!
It moved back and forth under its own engine!
However I do have an oil leak unfortunately so I will need to look into that
They'll be another update tomorrow possibly
Feel free to comment
Lawrence
I've got a bit more done today :)
Light tinted

One light fitted

Other done

They look very dark in the photos but they aren't so bad in the daylight
Also polished up one corner of the roof, the finish isn't too bad however I'm not happy with it so the roof will need a few more coats to get a good shine on it


I've got my new cv joint so I fitted that also :)

The mini now has drive!!!!!!!!
It moved back and forth under its own engine!
However I do have an oil leak unfortunately so I will need to look into that
They'll be another update tomorrow possibly
Feel free to comment
Lawrence
Edited by lawrence, 03 July 2014 - 04:22 PM.
#244
sashafelix
-

- Noobies
-
- 58 posts
Stage One Kit Fitted
- Location: Johannesburg
- Local Club: Cape Town Mini Owners Club
Posted 03 July 2014 - 10:59 PM
Just read the whole thread. Awesome work man, very inspiring.
#245
lawrence
-
- Members
-
- 1,341 posts
One Carb Or Two?
Posted 08 July 2014 - 07:47 AM
Cheers sashafelix, it's taken a long time to get to this point haha :)
So people, time for an update from the last few half days of work
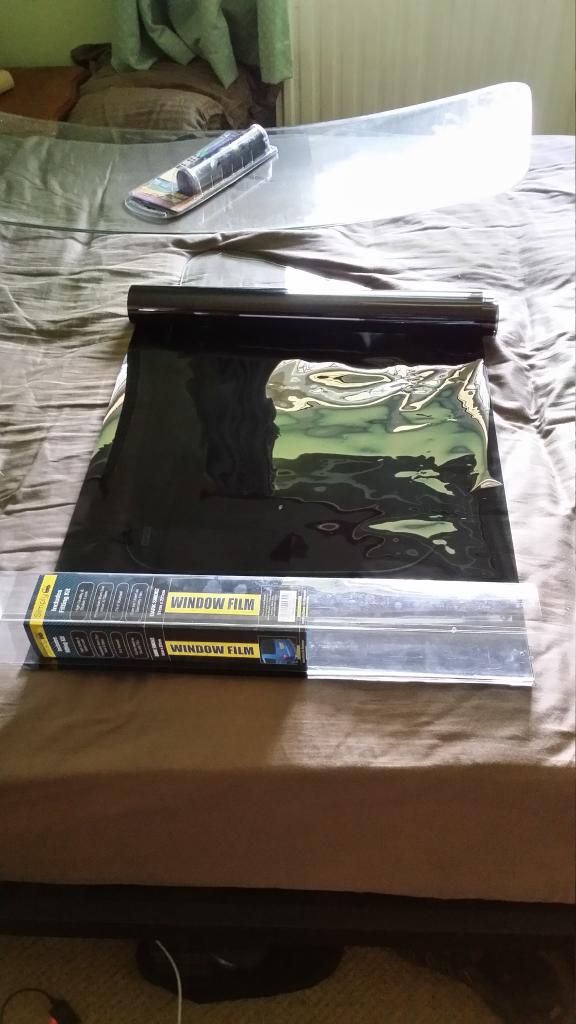
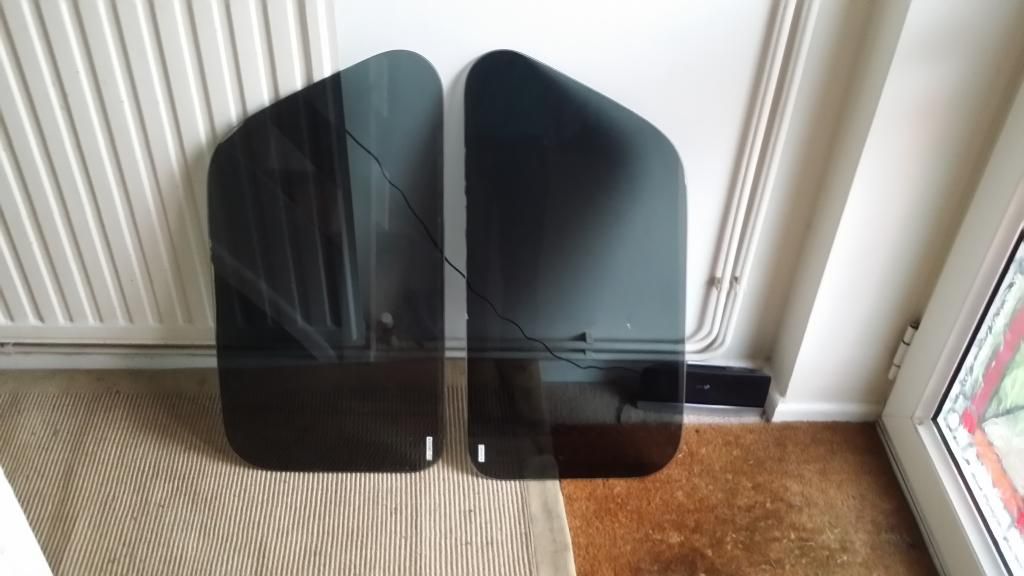
Brought my windows inside
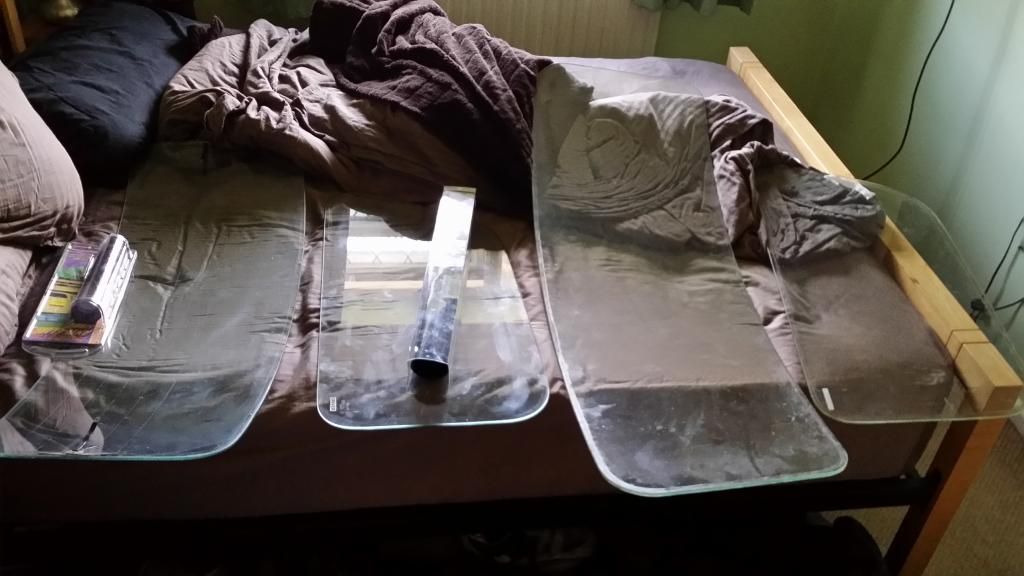
Nice dark window tint
Rear quarters
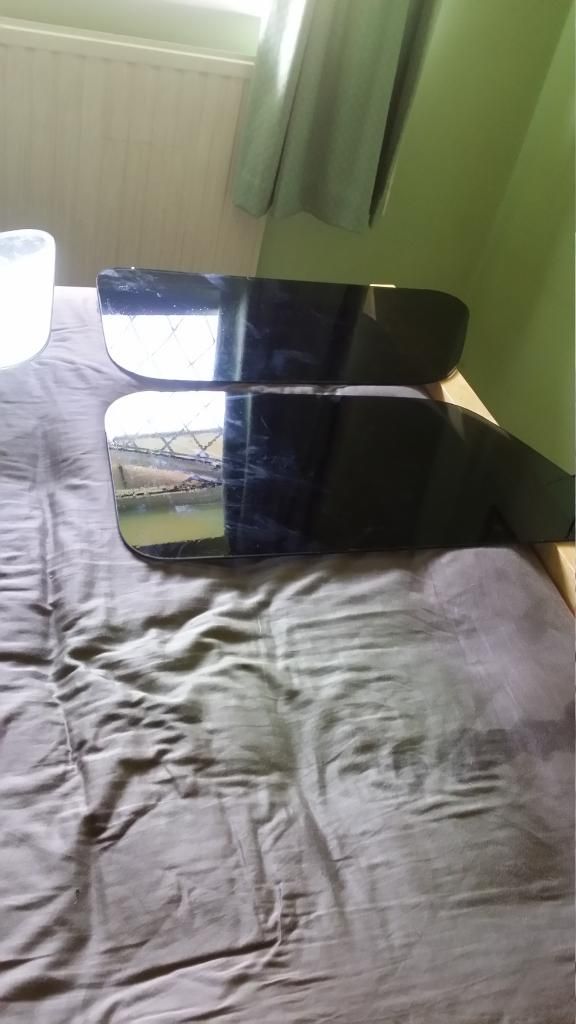
Windscreen sun strip
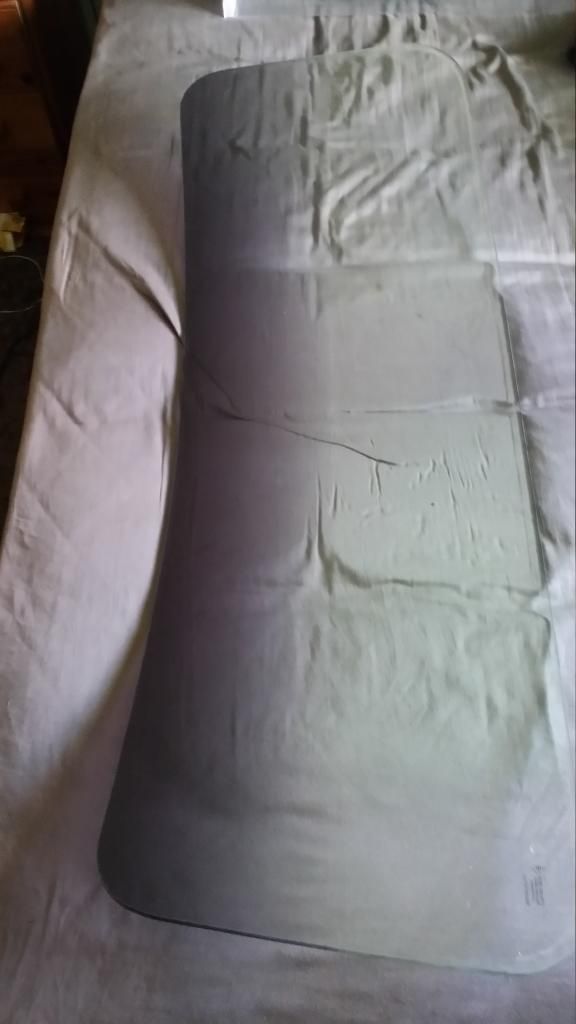
All sorted
Rear quarter fitted
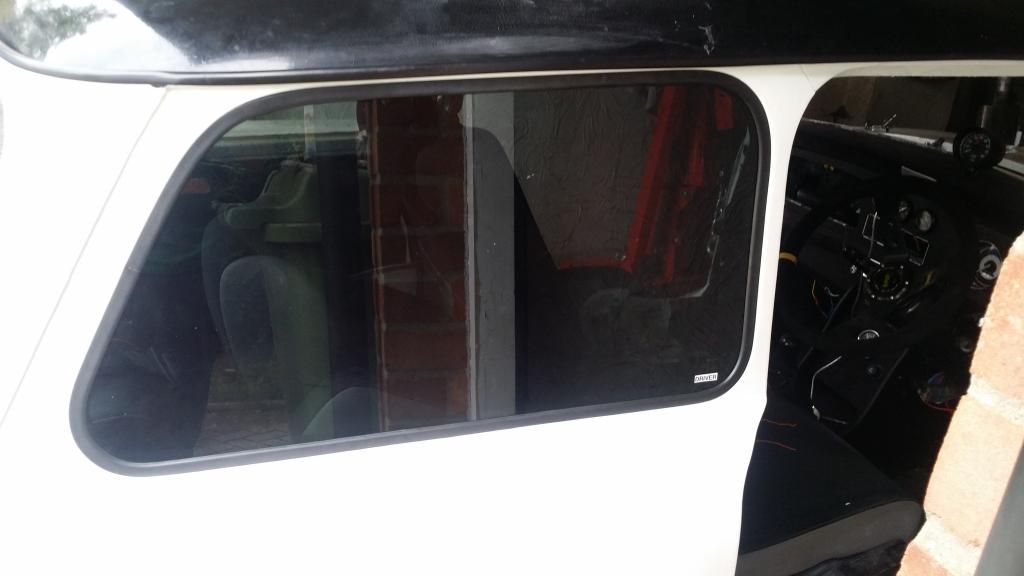
Unfortunatly the weather has been pretty grim and I've been working instead so the other side hasn't been painted yet
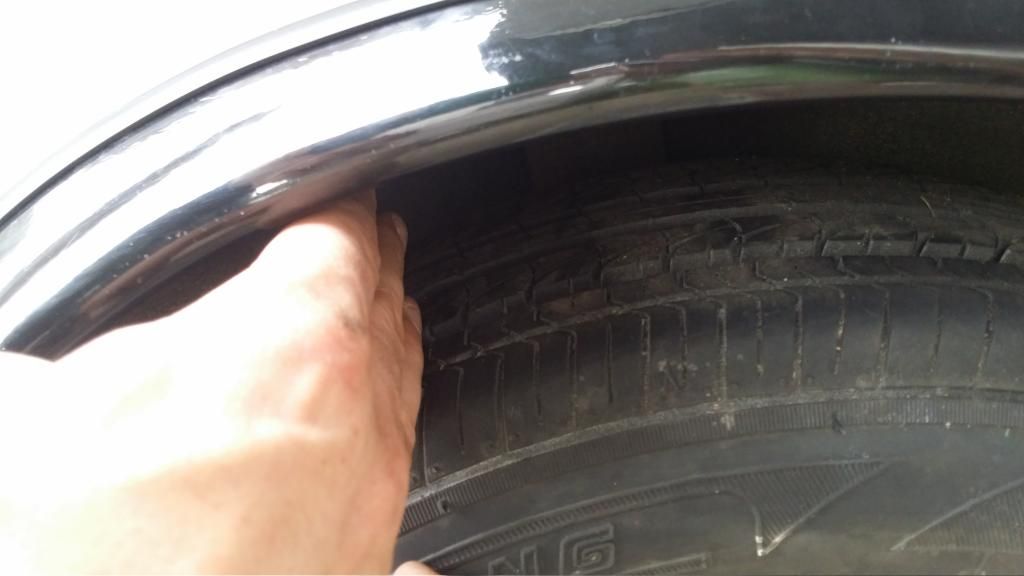
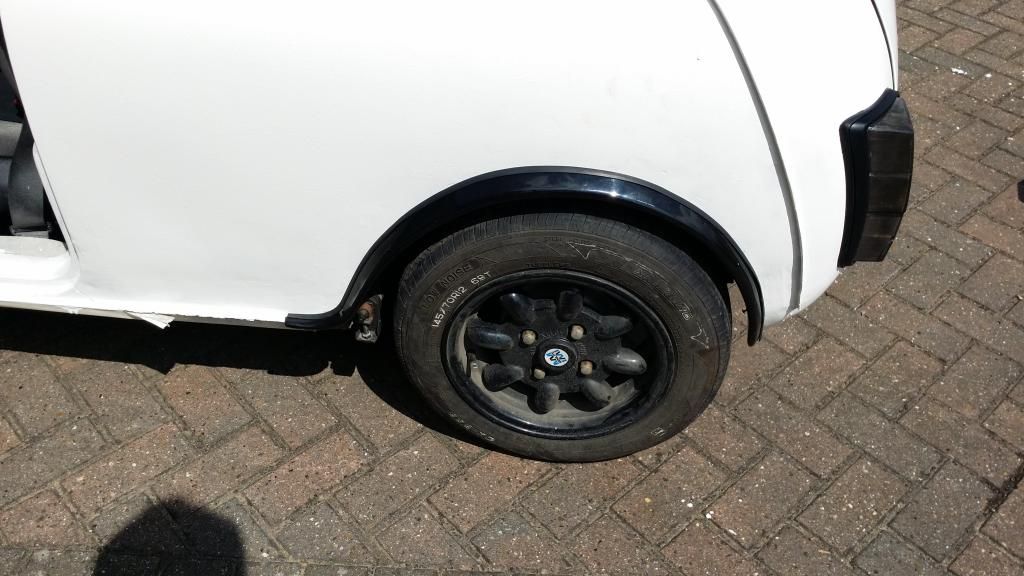
Rear wheel arch fitted

Gap unacceptable, needs moar lowz
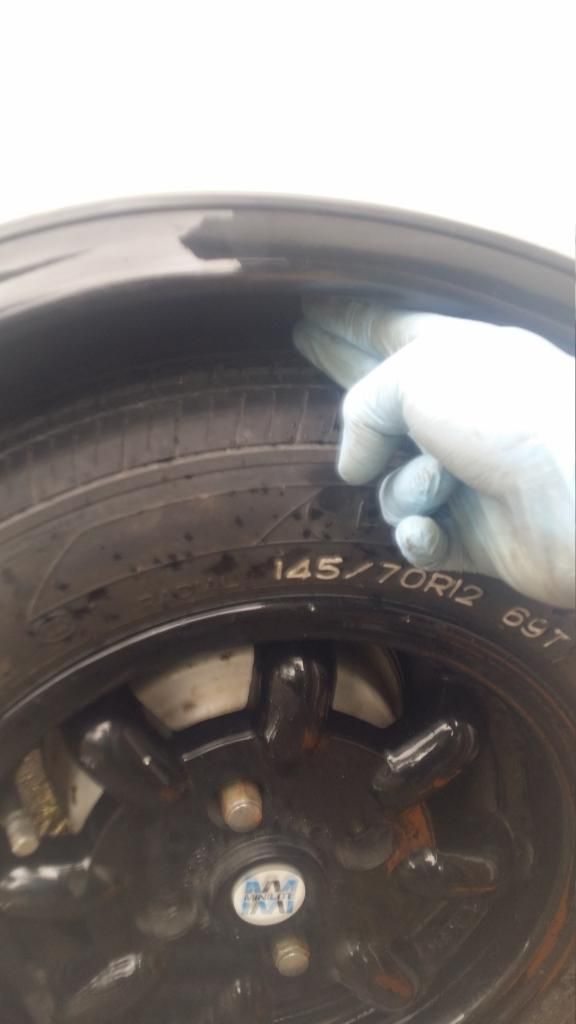
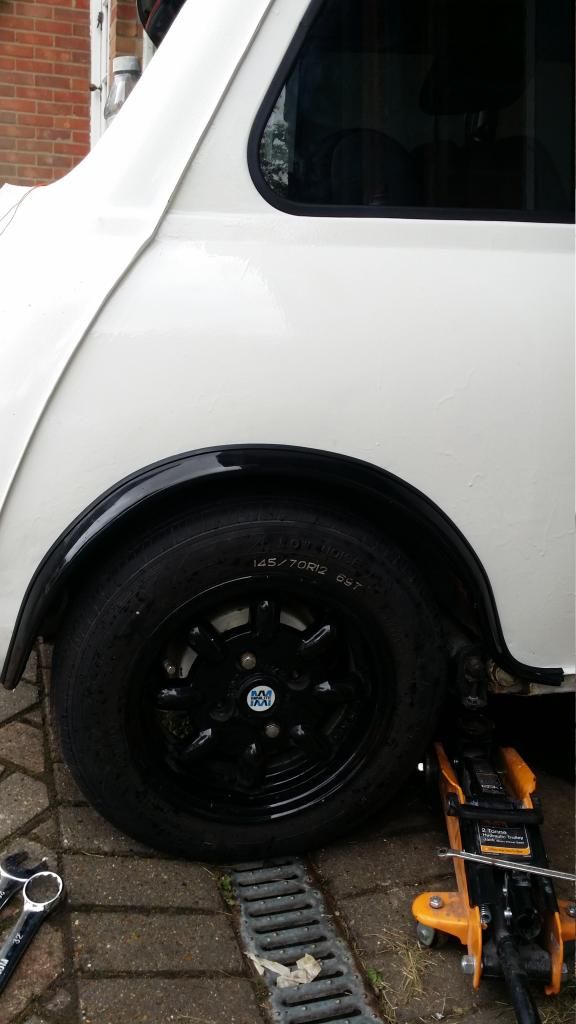
Much better
Overall look, I'm glad I trimmed the arches down and didn't choose arch less in the end
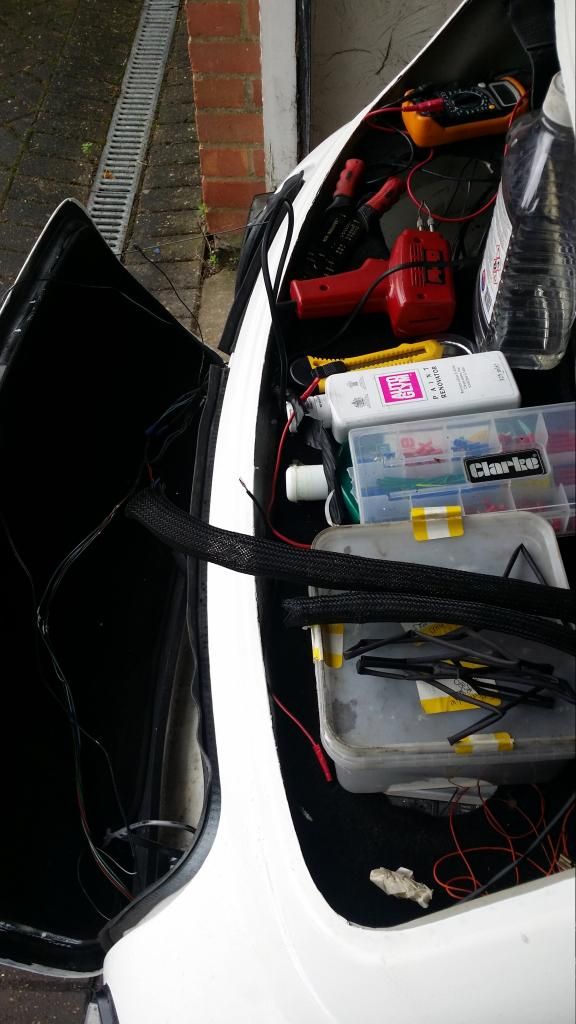
Equipment for some rewiring work on the rear lights
Led rear lights sorted
Brake lights sorted also
I've wired the rear fog to go throught the offside old reversing light so just need to grab a red bulb, the old side and brake lights are now one combined light as the led strips have replaced the side light. So the rear is almost done
Boot put back together

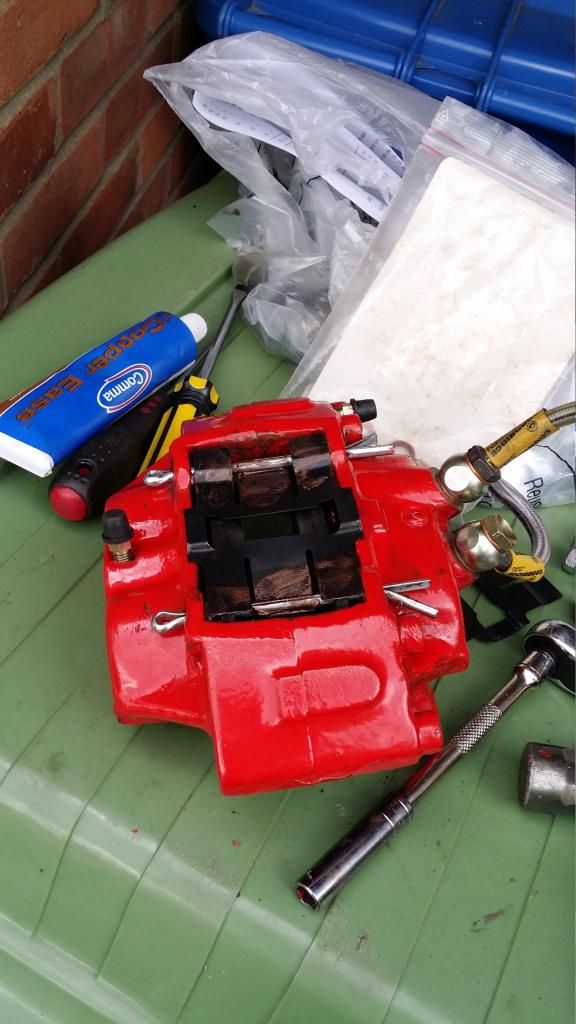
And my last update, new brake hoses and nipple covers fitted to the painted from calipers

So I suppose a plan could be needed, basically I need to fit and bleed the braking system system today which means I have to fit the calipers etc and dig out my brake bleeding kit, got to check all unions etc, I'm pretty sure I'm missing some copper washers so want to double check!
I also may do some work on the exhaust but I'm running out of gas and still waiting for a cheap flexi joint on ebay. I shall also make a shopping list of parts I still need and make a trip to dsn classics for some bit and pieces
Well that's my update
Any comments are appreciated
Lawrence
So people, time for an update from the last few half days of work
Brought my windows inside

Nice dark window tint

Rear quarters

Windscreen sun strip

All sorted

Rear quarter fitted

Unfortunatly the weather has been pretty grim and I've been working instead so the other side hasn't been painted yet
Rear wheel arch fitted

Gap unacceptable, needs moar lowz

Much better

Overall look, I'm glad I trimmed the arches down and didn't choose arch less in the end

Equipment for some rewiring work on the rear lights

Led rear lights sorted

Brake lights sorted also
I've wired the rear fog to go throught the offside old reversing light so just need to grab a red bulb, the old side and brake lights are now one combined light as the led strips have replaced the side light. So the rear is almost done
Boot put back together

And my last update, new brake hoses and nipple covers fitted to the painted from calipers

So I suppose a plan could be needed, basically I need to fit and bleed the braking system system today which means I have to fit the calipers etc and dig out my brake bleeding kit, got to check all unions etc, I'm pretty sure I'm missing some copper washers so want to double check!
I also may do some work on the exhaust but I'm running out of gas and still waiting for a cheap flexi joint on ebay. I shall also make a shopping list of parts I still need and make a trip to dsn classics for some bit and pieces
Well that's my update
Any comments are appreciated
Lawrence
Edited by lawrence, 08 July 2014 - 08:08 AM.
#246
lawrence
-
- Members
-
- 1,341 posts
One Carb Or Two?
Posted 10 July 2014 - 08:33 AM
Update from the last two day, haven't got a huge amount of work done, just quite a few little bits and pieces
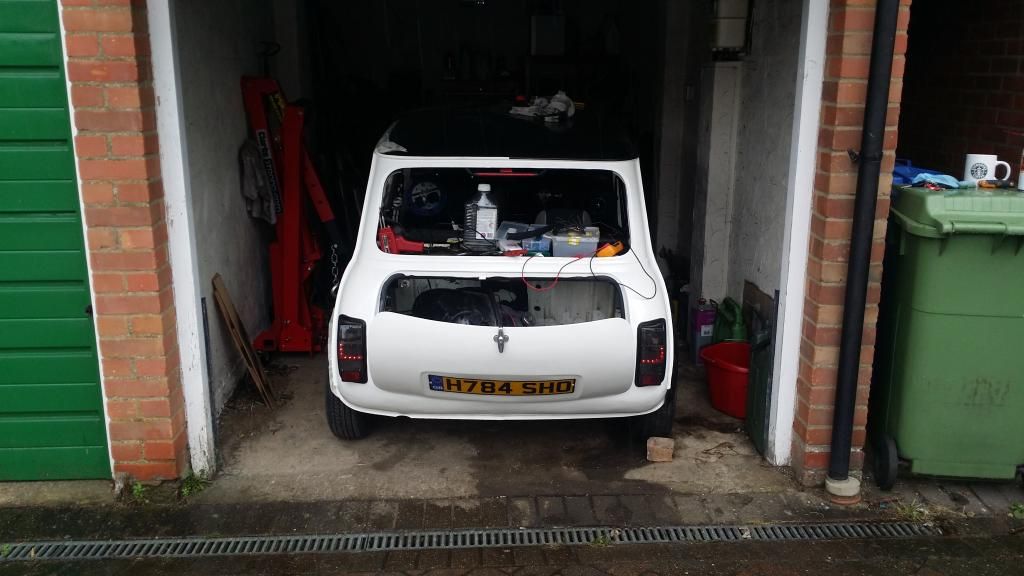
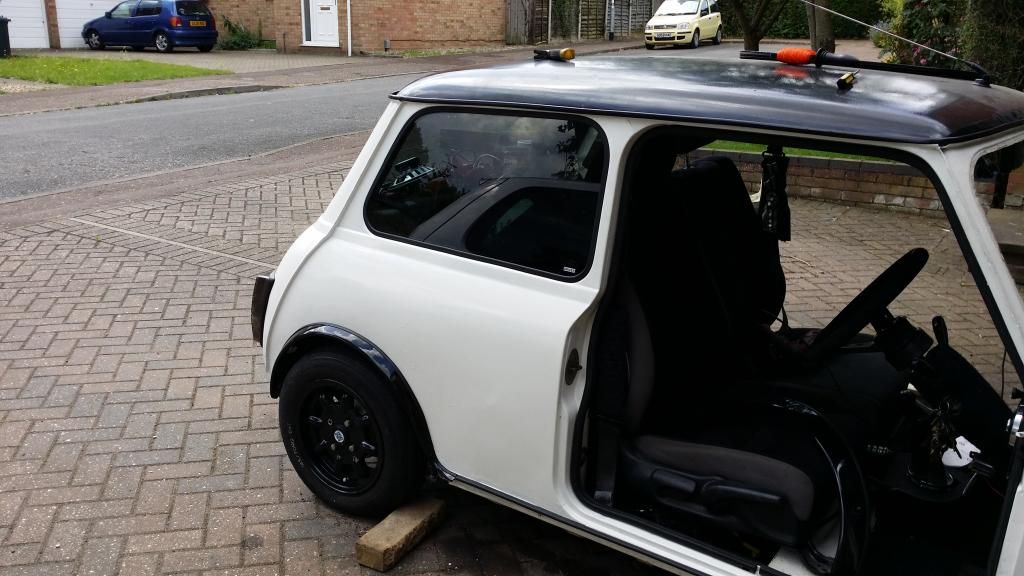
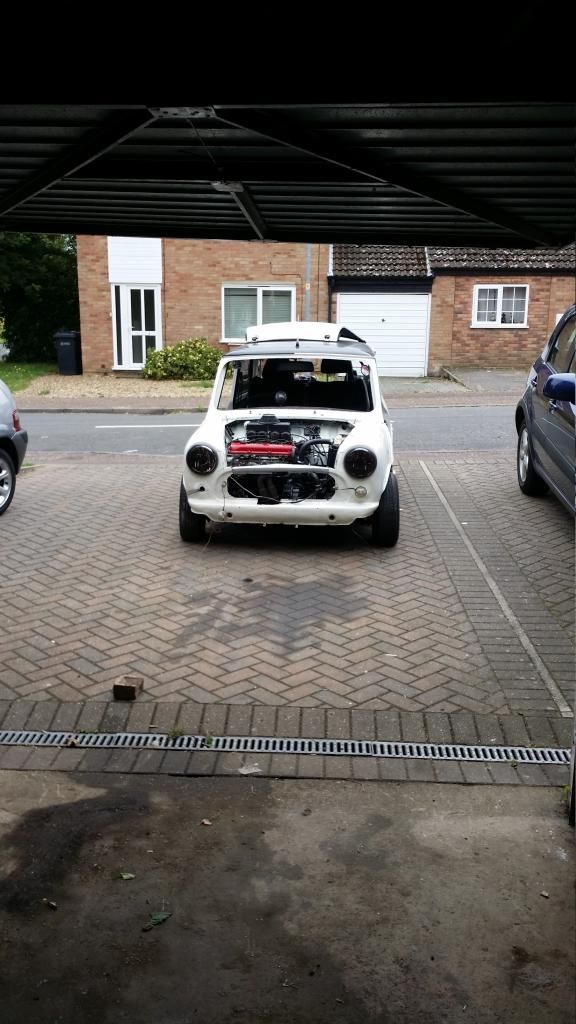
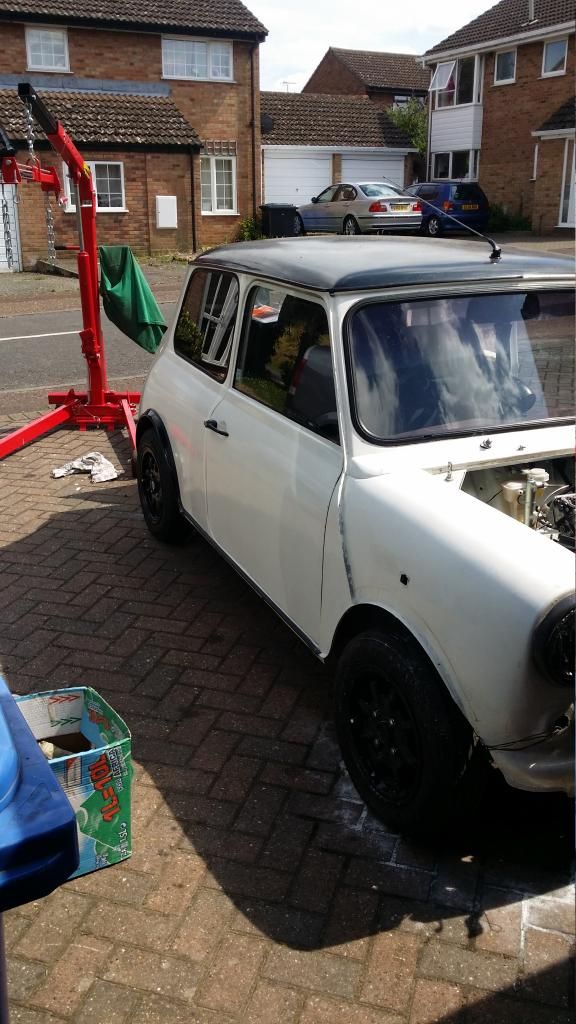
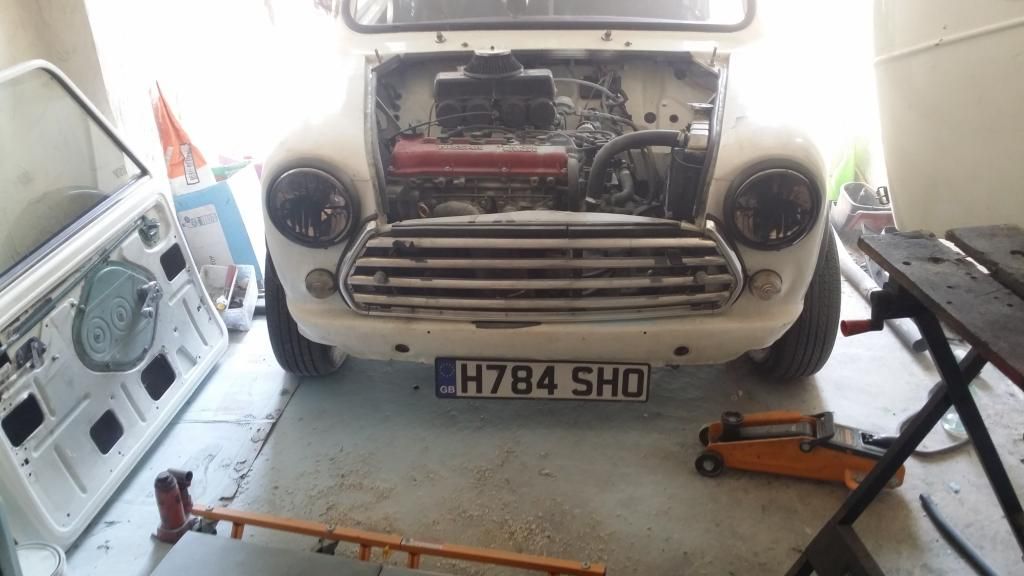
Rolled her outside to play
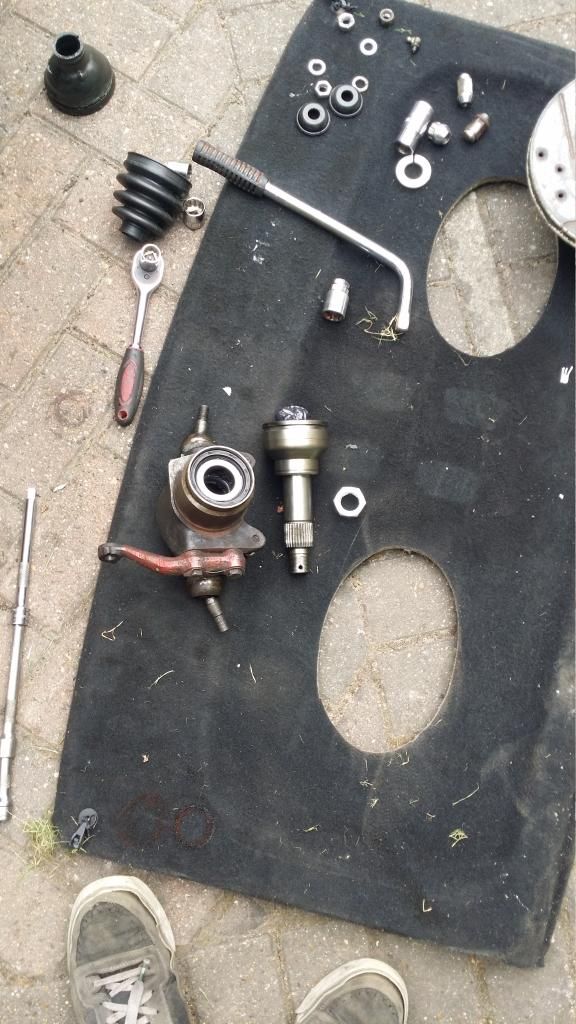
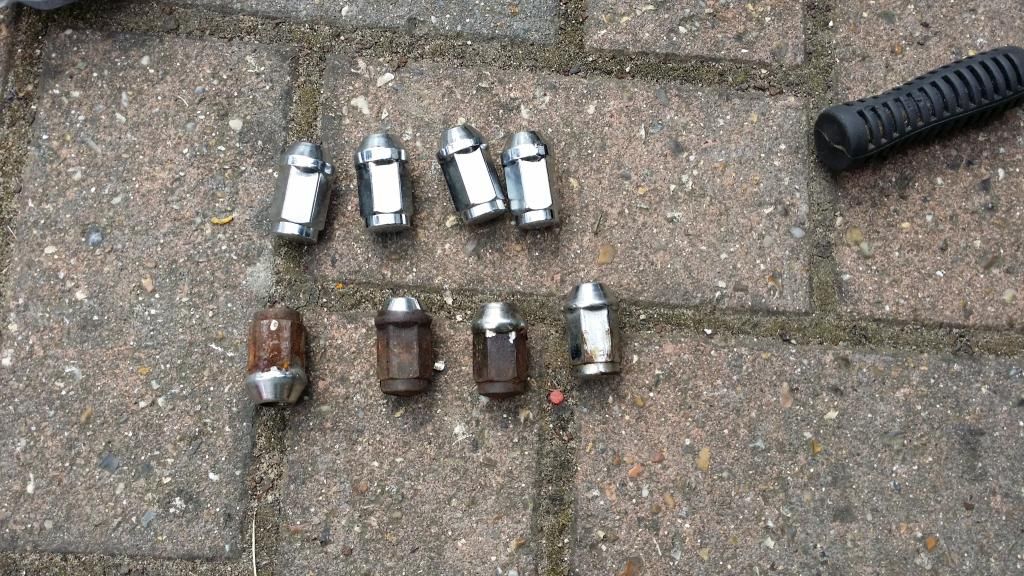
Went shopping to dsn classics, got track rod ends, load of nuts and washers that I had lost, new wheel nuts to replace nasty rusty ones and a few other bits and pieces
New wheel nuts
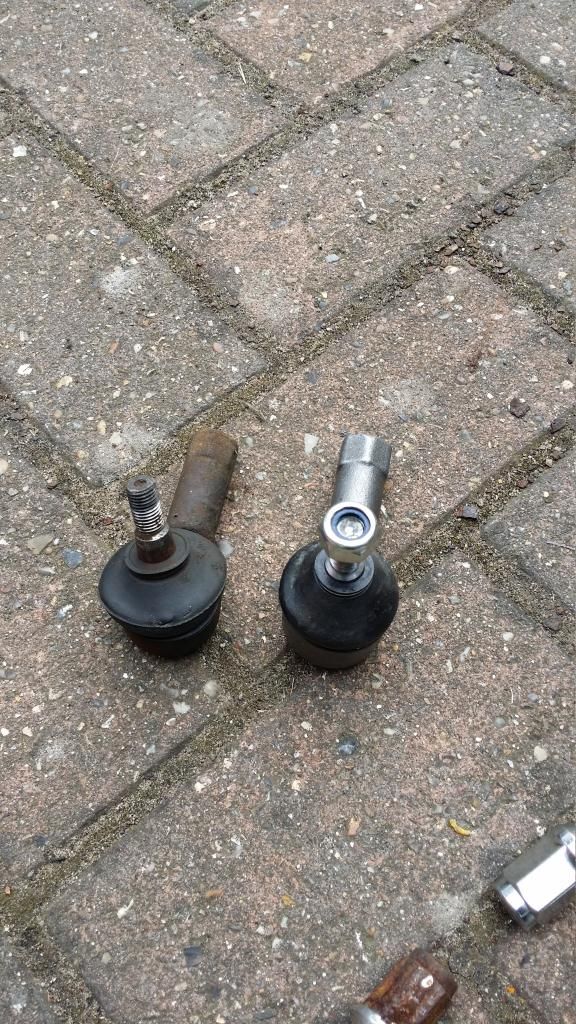
New track rod ends
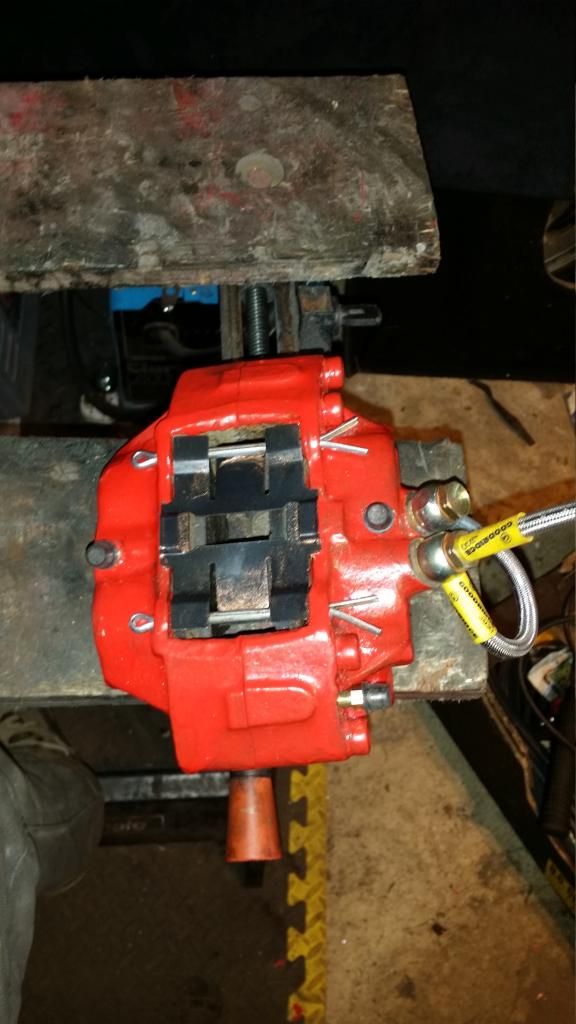
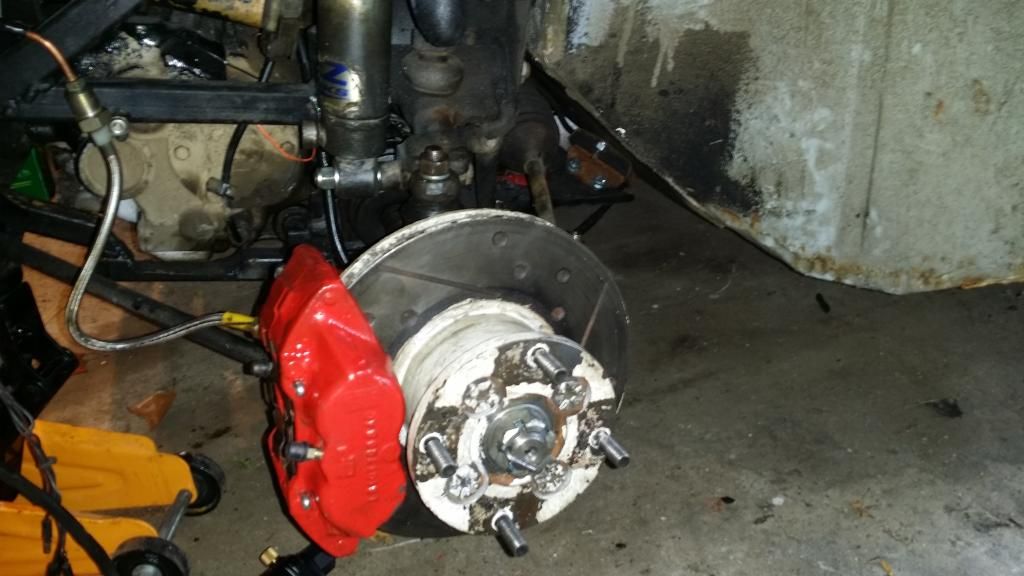
Built up brake calliper, new nipples, hoses etc
And fitted all my new bits on this side, tidied up my gaz shock, it's lost it's zinc coating but seems to be working fine, doesn't look the best but that's £40 saved which is great
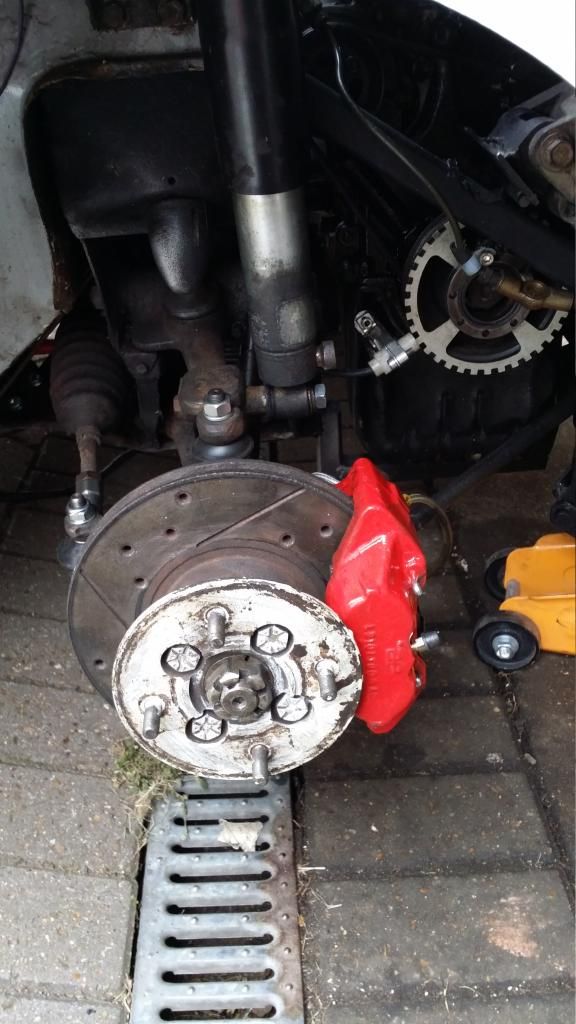
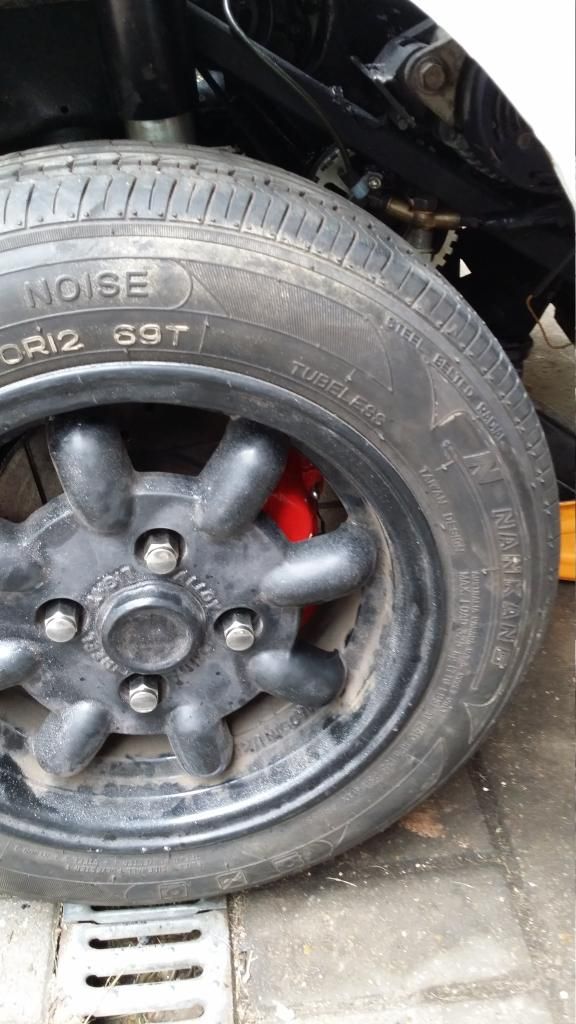
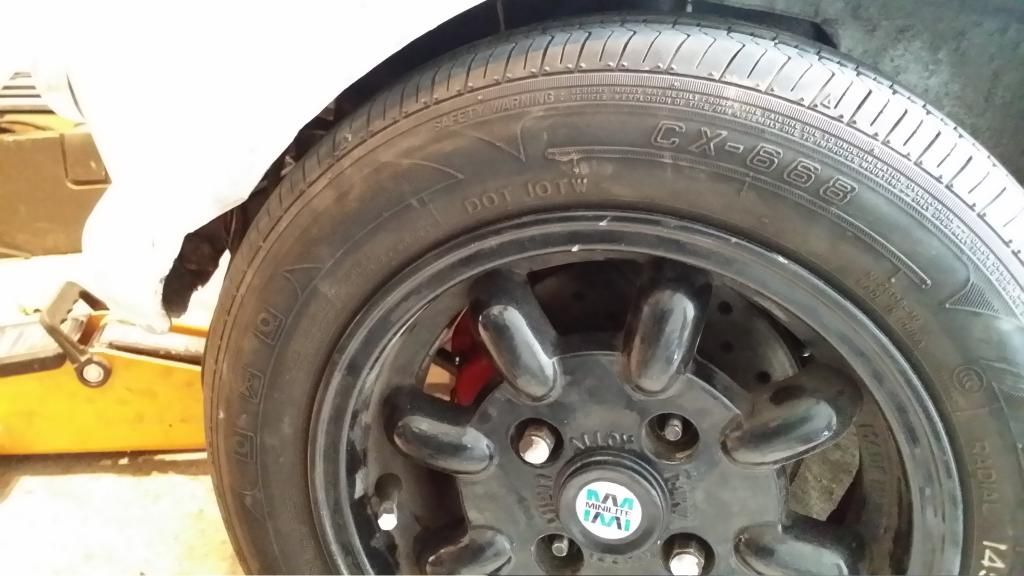
Cheeky red calliper behind the wheel :)
Other calliper built up also
So that's my brakes almost ready to be bled however before I can do that I have to address the issue of my driveshaft again, it seems to have popped out the near side inner joint again, now I am hoping this is just due to me rushing to get it all together. Also I've notices that the near side front wheel really isn't turning smoothly at all, this could be due to the wheel bearing on the way out, something I rather it wasn't!
Additionally on the bad news front the engine may need to come out yet again, I've narrowed down the oil leak and it's coming from the timing chain cover and then drips onto the aux drive belt which then sprays oil everywhere
So plan for today is sort out the driveshaft problem, hopefully it's something simple like I did put the splines in far enough, fingers crossed. Then I need to clean up that oil leak and give it a good looking over to see if it possible to fix the problem without removing the engine again!
Hope you like this update guys
I'm getting there slowly but surely I think!
Lawrence
Rolled her outside to play

Went shopping to dsn classics, got track rod ends, load of nuts and washers that I had lost, new wheel nuts to replace nasty rusty ones and a few other bits and pieces
New wheel nuts

New track rod ends

Built up brake calliper, new nipples, hoses etc

And fitted all my new bits on this side, tidied up my gaz shock, it's lost it's zinc coating but seems to be working fine, doesn't look the best but that's £40 saved which is great

Cheeky red calliper behind the wheel :)

Other calliper built up also

So that's my brakes almost ready to be bled however before I can do that I have to address the issue of my driveshaft again, it seems to have popped out the near side inner joint again, now I am hoping this is just due to me rushing to get it all together. Also I've notices that the near side front wheel really isn't turning smoothly at all, this could be due to the wheel bearing on the way out, something I rather it wasn't!
Additionally on the bad news front the engine may need to come out yet again, I've narrowed down the oil leak and it's coming from the timing chain cover and then drips onto the aux drive belt which then sprays oil everywhere
So plan for today is sort out the driveshaft problem, hopefully it's something simple like I did put the splines in far enough, fingers crossed. Then I need to clean up that oil leak and give it a good looking over to see if it possible to fix the problem without removing the engine again!
Hope you like this update guys
I'm getting there slowly but surely I think!
Lawrence
Edited by lawrence, 10 July 2014 - 08:45 AM.
#247
lawrence
-
- Members
-
- 1,341 posts
One Carb Or Two?
Posted 12 July 2014 - 07:33 PM
So guys, there good news and bad news
Let's start with the good news!
Final fixed the driveshaft problem for good! They are properly situated in the cvs now! There is drive on the wheel!
Fitted the refurb end brakes, new bolts and tie rods :) all nicely copper slipped up so no rusty bolts!
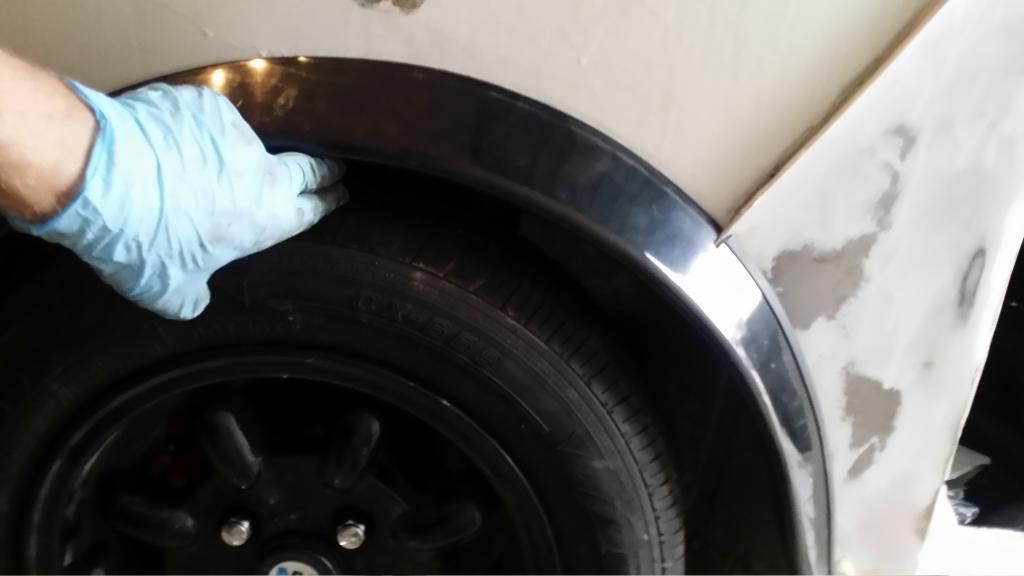
Lowered her at the front, left some clearance tho haha
A nice two finger job like the back
I then DROVE! That's right reversed her out of the garage under her own powerz!
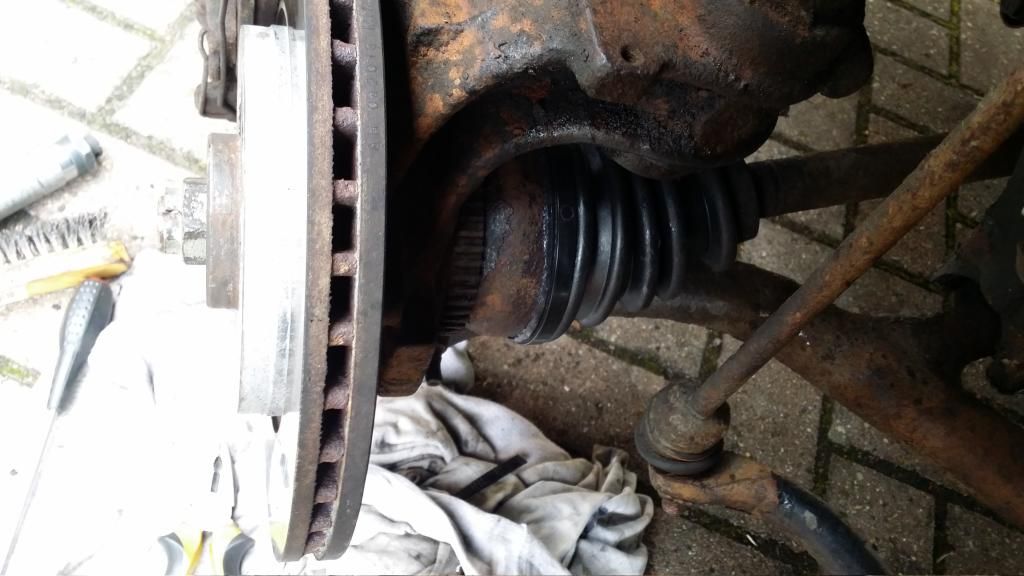
Side project, daily driver shitron saxo cv gaitor was farked
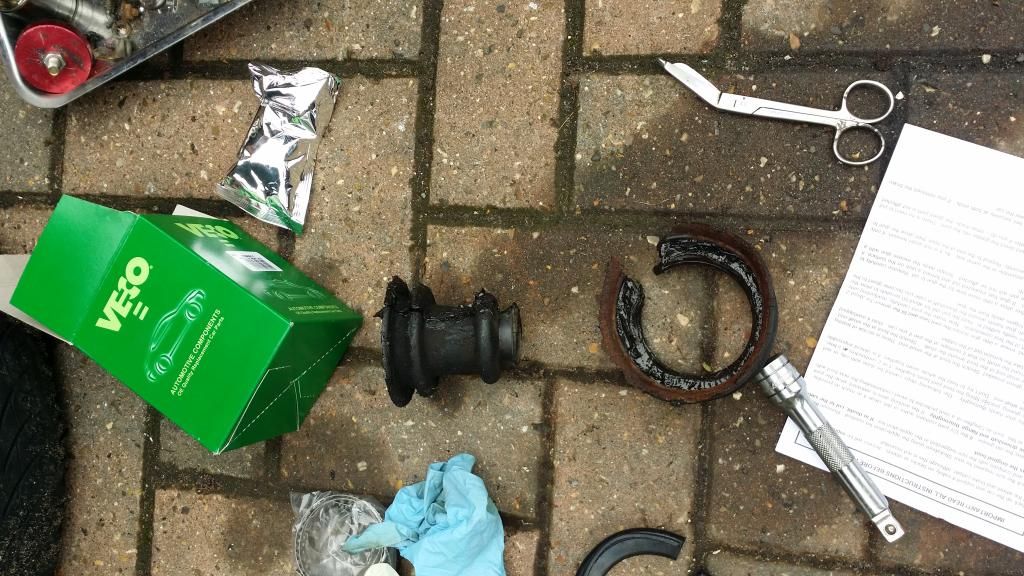
Lovely new rubbery goodness! No more squeaking while parking and going over bumps :)
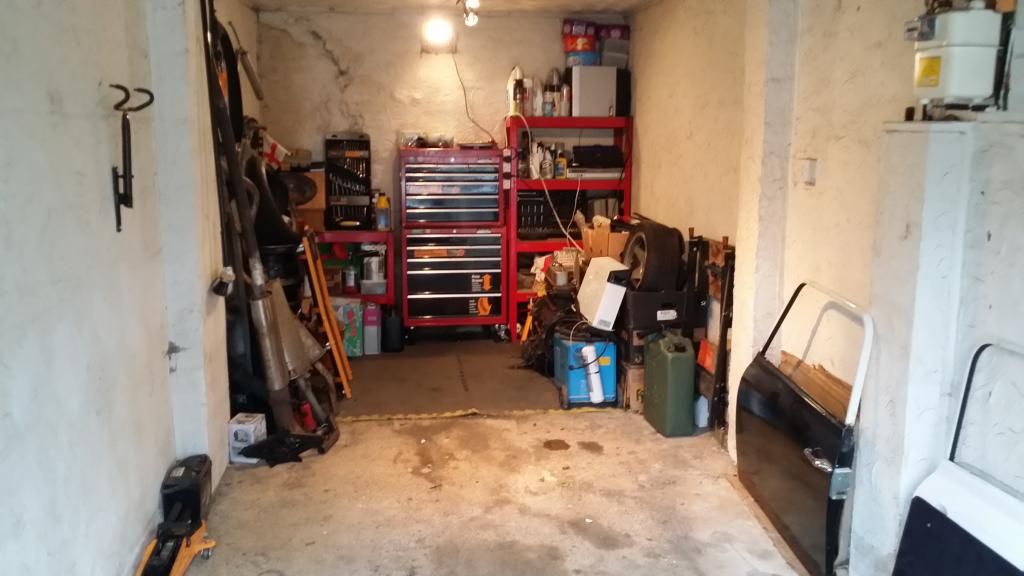
Then I gave the man cave a good tidy :)
So that's my updates from the last few days, also done bits and bobs like wiring and general small things that there's no point in photographing
Right well I said there was bad news didn't i
Basicly I can't seem to manage to bleed the brakes no matter how hard I try, rears were fine but there is absolutely nothing appearing from the fronts. I'll put a post in the braking section to see if there are any people who can help me out
On another update I've got all my pieces of exhaust together so can finally create and exhaust. I'm going for a single exit using parts of the rc 40 and parts of the dtm twin. The exhaust will also have a cheeky bypass valve fitted but I haven't decided where it will be placed yet, more on that come Tuesday as I'm now working till then
Feel free to comment
Lawrence
Let's start with the good news!
Final fixed the driveshaft problem for good! They are properly situated in the cvs now! There is drive on the wheel!
Fitted the refurb end brakes, new bolts and tie rods :) all nicely copper slipped up so no rusty bolts!

Lowered her at the front, left some clearance tho haha

A nice two finger job like the back

I then DROVE! That's right reversed her out of the garage under her own powerz!

Side project, daily driver shitron saxo cv gaitor was farked

Lovely new rubbery goodness! No more squeaking while parking and going over bumps :)

Then I gave the man cave a good tidy :)

So that's my updates from the last few days, also done bits and bobs like wiring and general small things that there's no point in photographing
Right well I said there was bad news didn't i
Basicly I can't seem to manage to bleed the brakes no matter how hard I try, rears were fine but there is absolutely nothing appearing from the fronts. I'll put a post in the braking section to see if there are any people who can help me out
On another update I've got all my pieces of exhaust together so can finally create and exhaust. I'm going for a single exit using parts of the rc 40 and parts of the dtm twin. The exhaust will also have a cheeky bypass valve fitted but I haven't decided where it will be placed yet, more on that come Tuesday as I'm now working till then
Feel free to comment
Lawrence
Edited by lawrence, 12 July 2014 - 07:44 PM.
#248
lawrence
-
- Members
-
- 1,341 posts
One Carb Or Two?
Posted 23 July 2014 - 10:42 PM
So people, it really is time for another update :)
I've been doing various bits and pieces to get the project almost completed
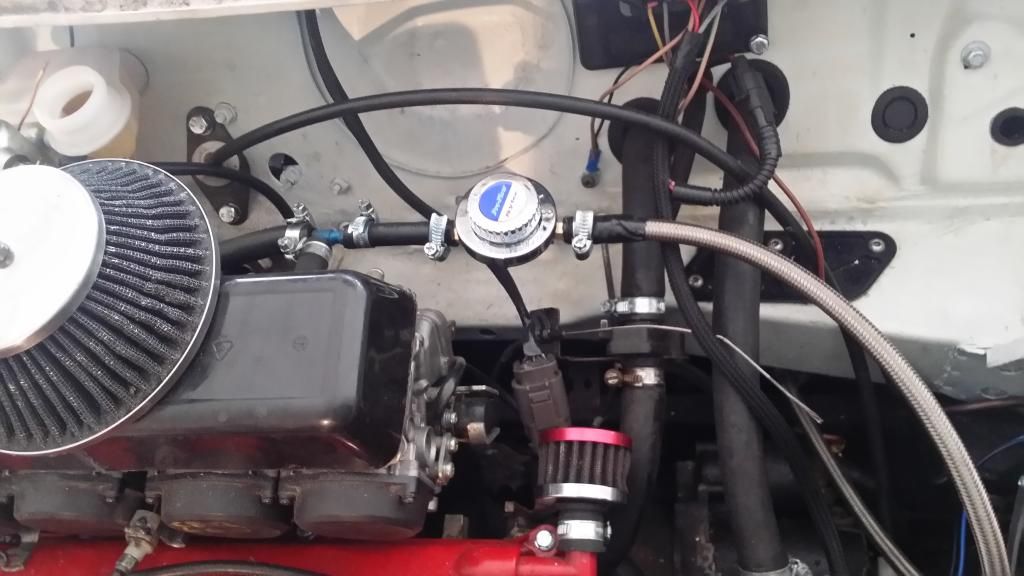
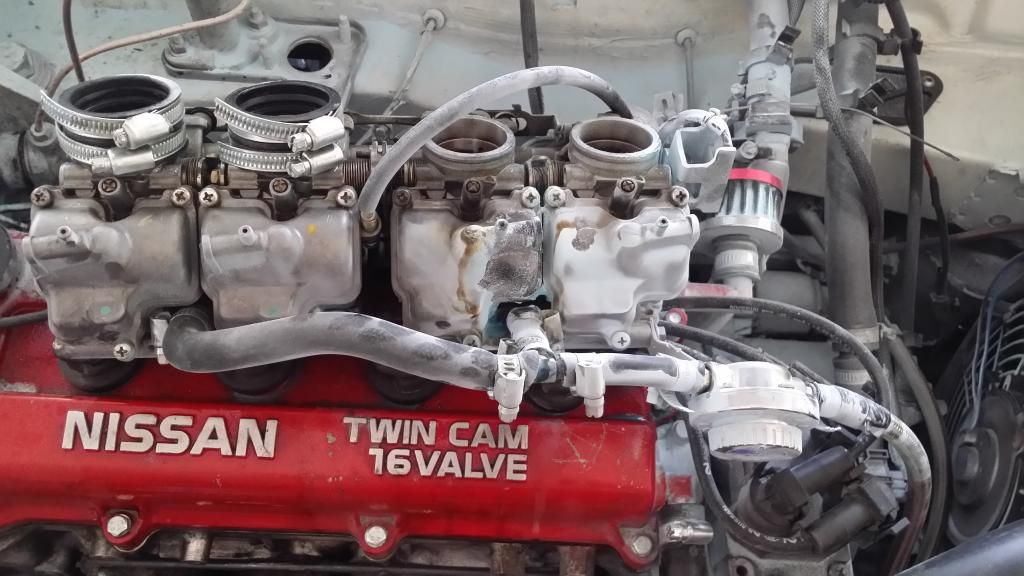
Bought a fuel pressure regulator valve to stop the carbs over fuelling so that's one issue sorted
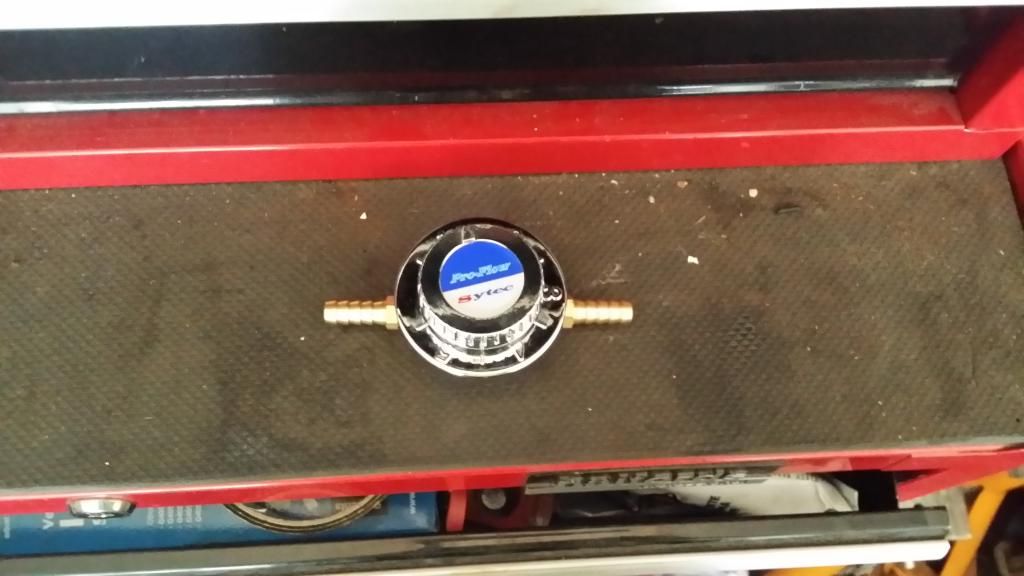
And fitted it
Managed to brake this off
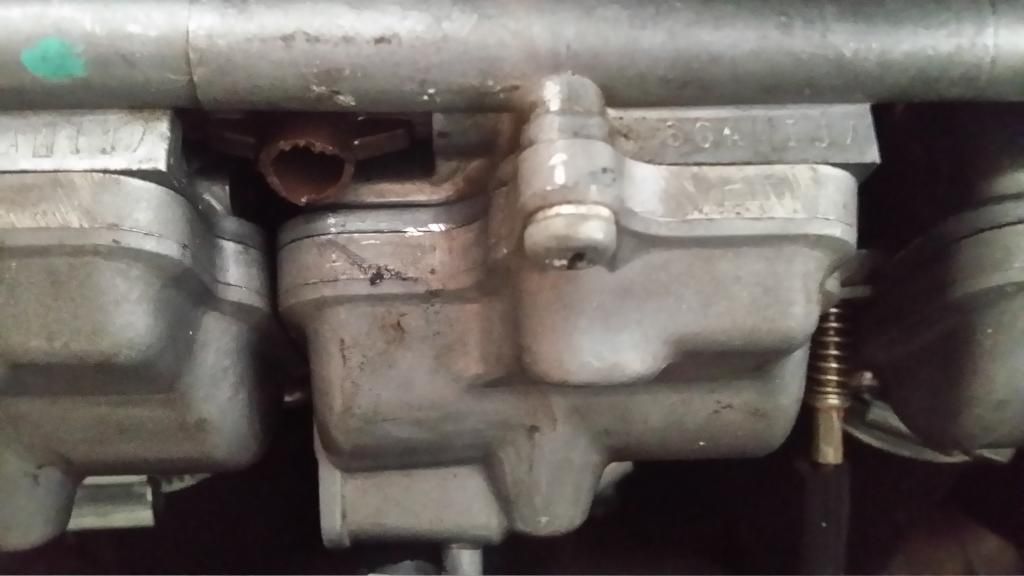
The broken part
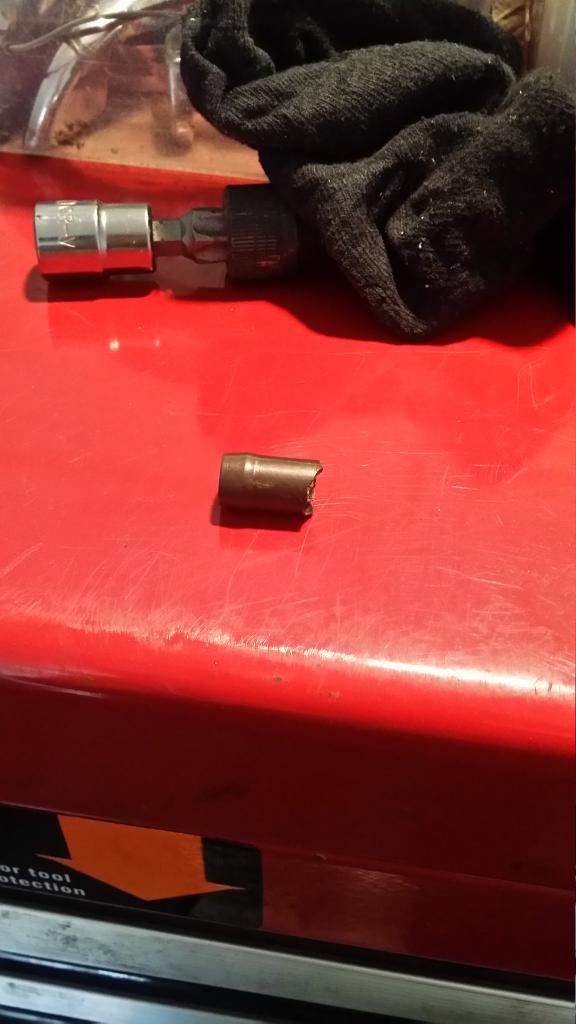
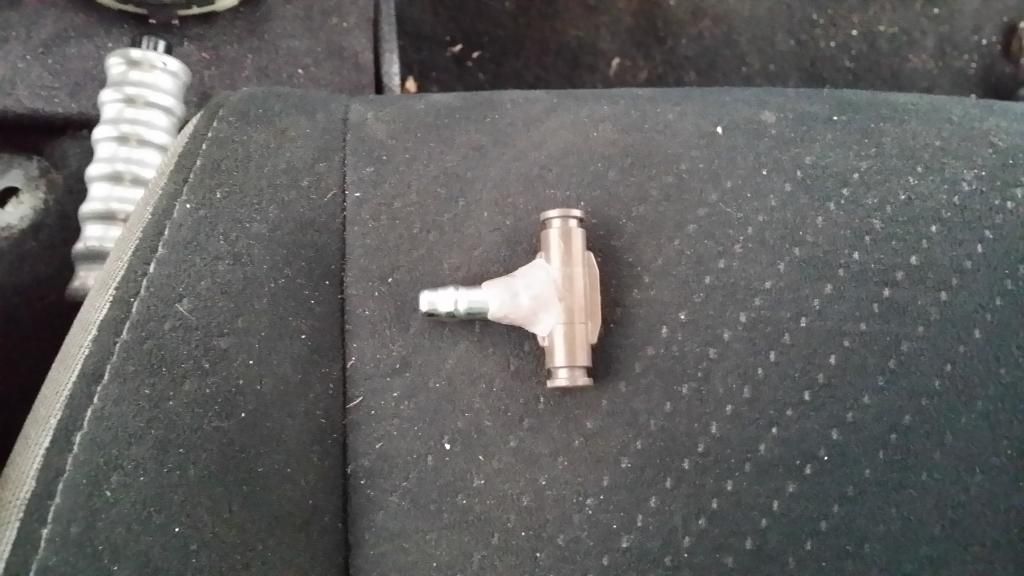
Managed to repair it
Fitted the windscreen back in

I've been doing various bits and pieces to get the project almost completed
Bought a fuel pressure regulator valve to stop the carbs over fuelling so that's one issue sorted

And fitted it

Managed to brake this off

The broken part

Managed to repair it

Fitted the windscreen back in

#249
lawrence
-
- Members
-
- 1,341 posts
One Carb Or Two?
Posted 23 July 2014 - 10:47 PM
Started mocking up the exhaust
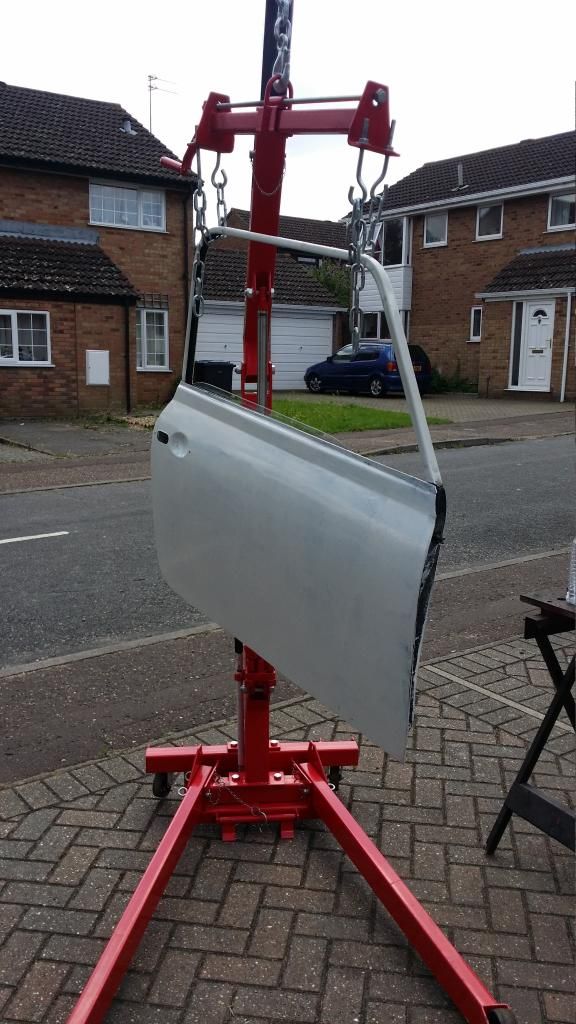
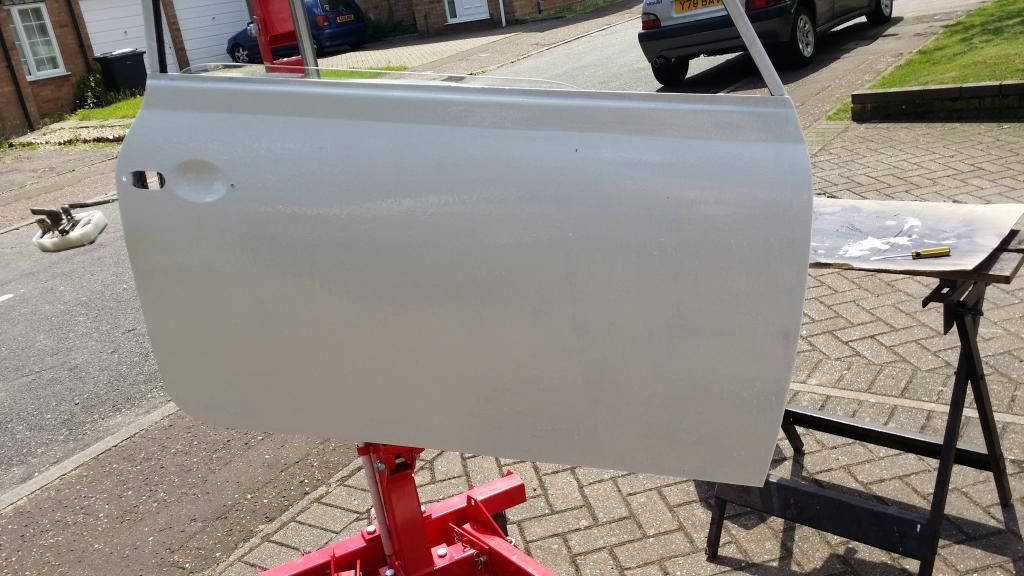
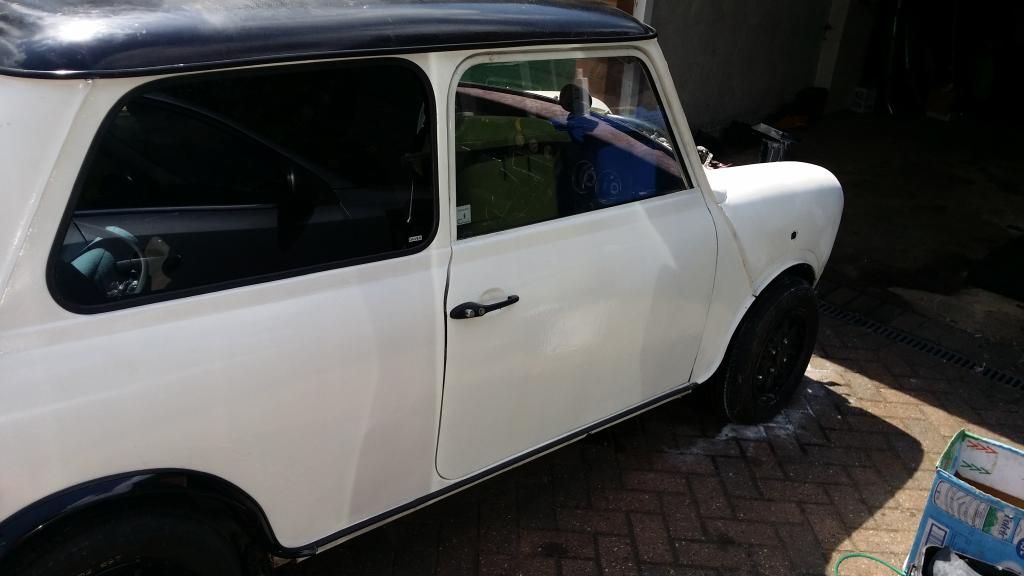
Painted the driver side door
Painted the ps rear quarter
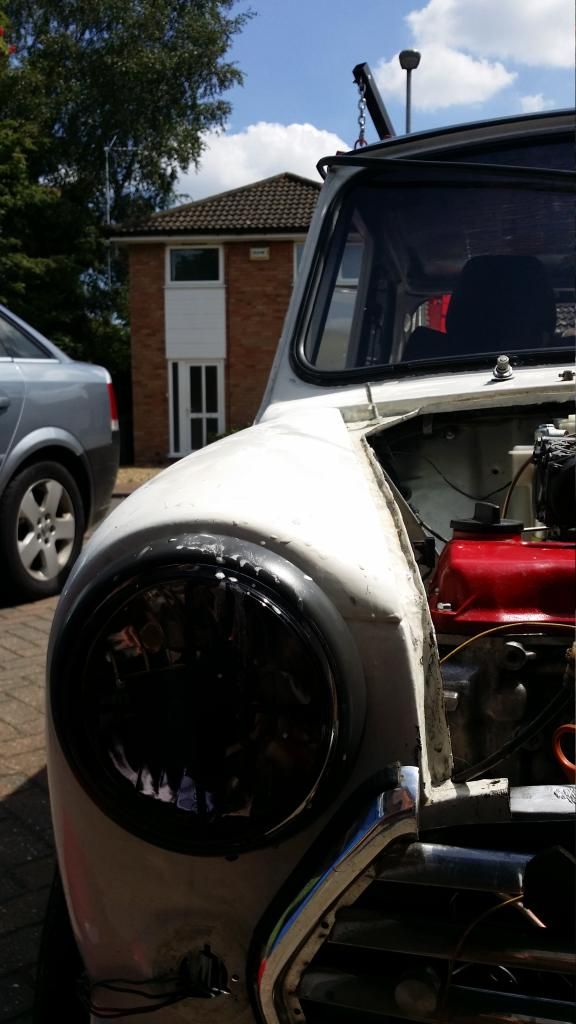
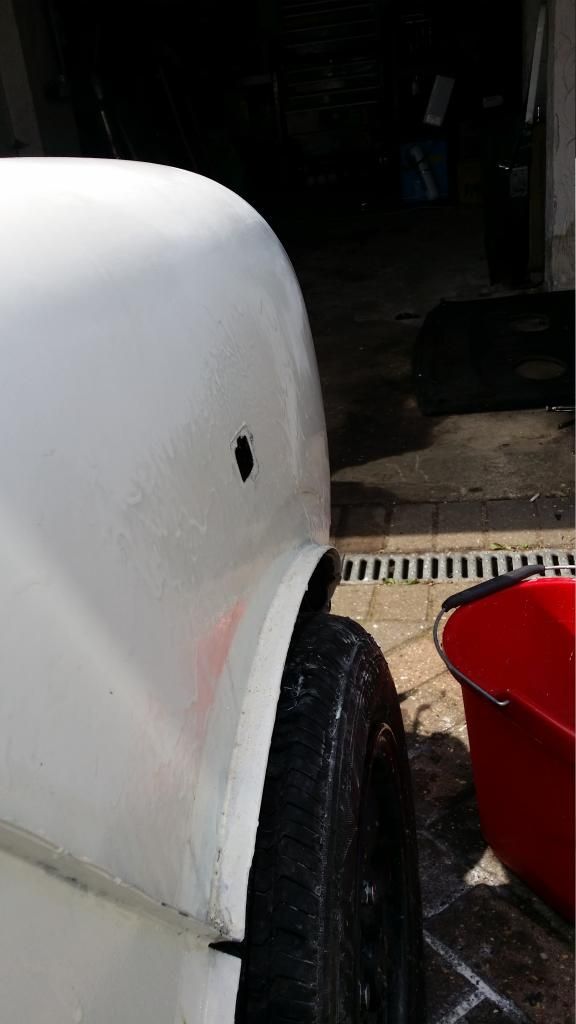
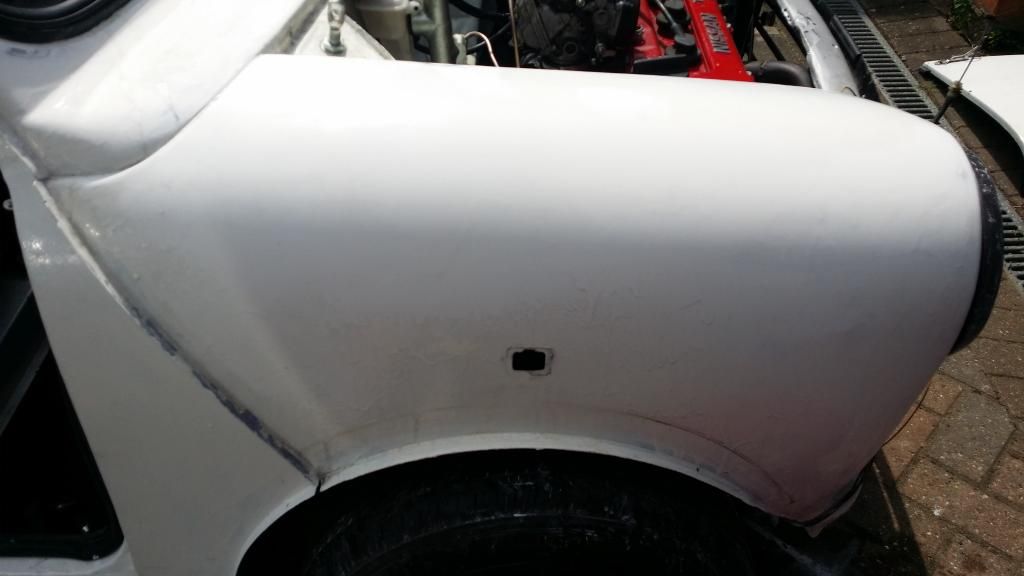
Flatted back the ds wing for some new coats of paint
Trying to remove the runs
Door being built back up
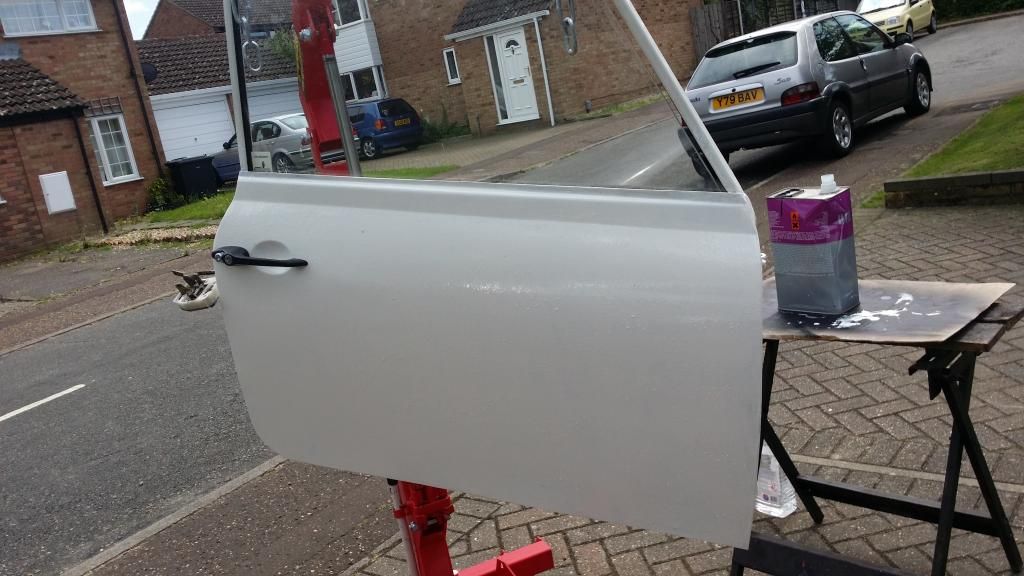
And then fitted
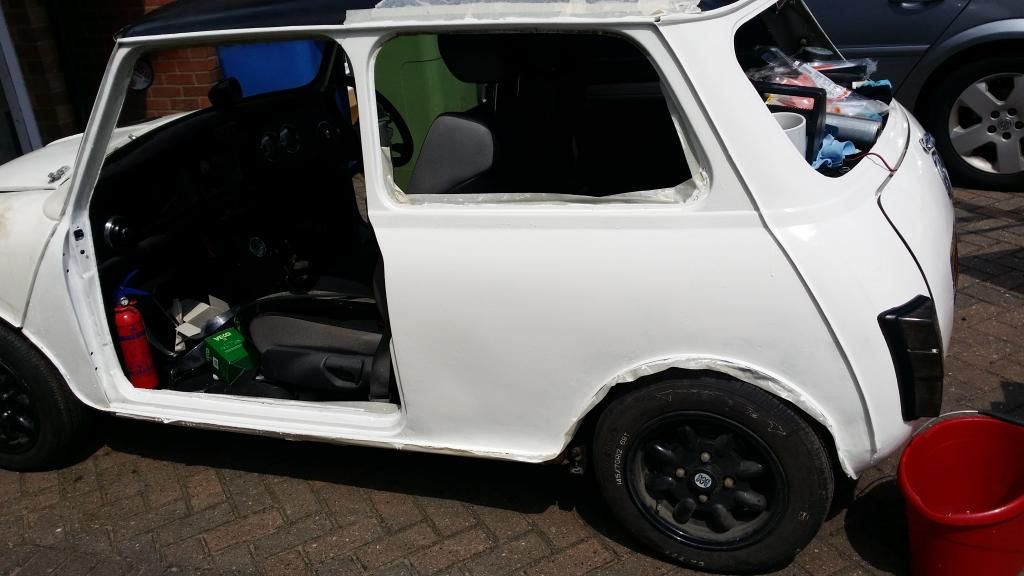
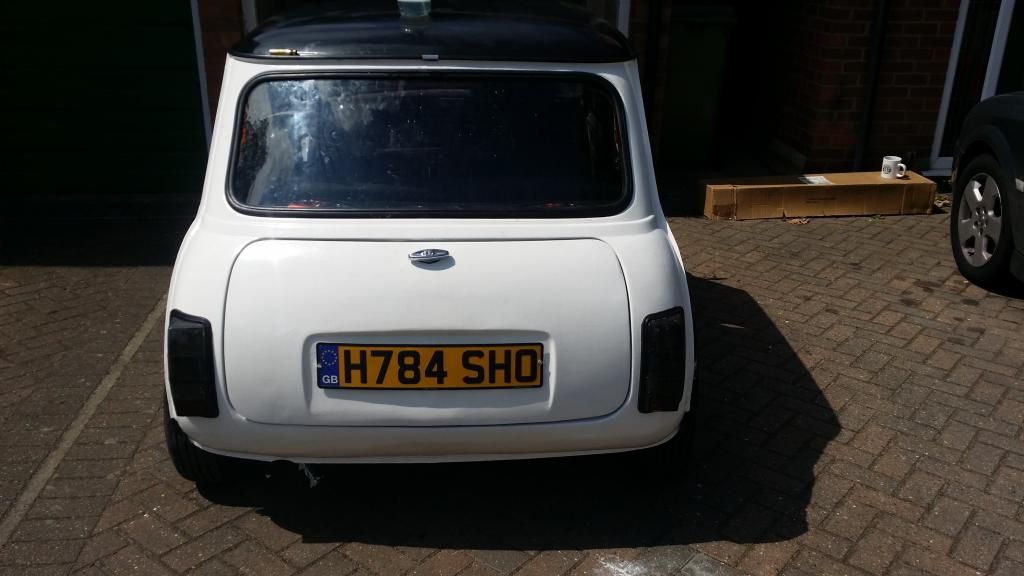
Front shot

Fitted rear arch
And rear tinted window
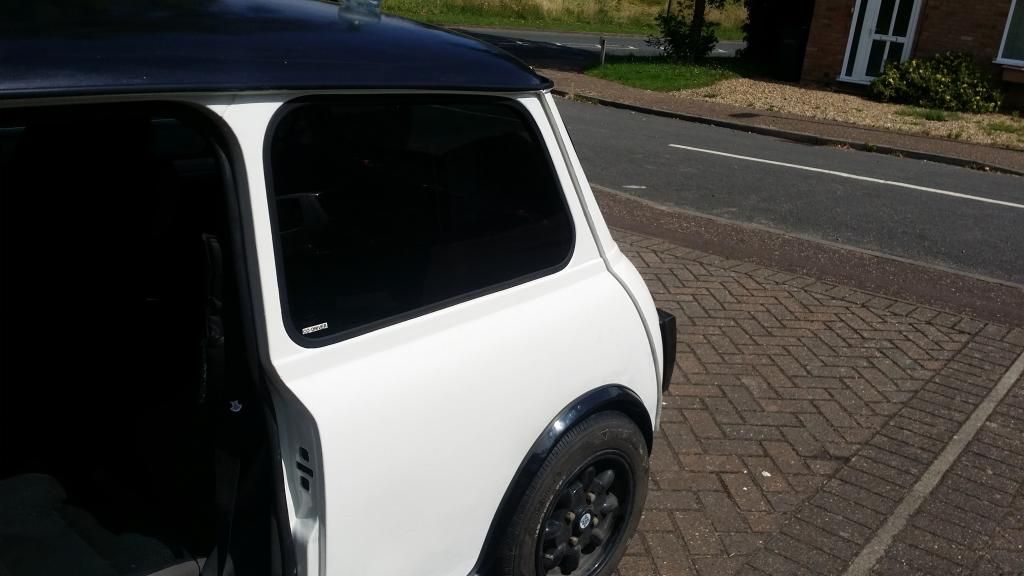
Another rear shot
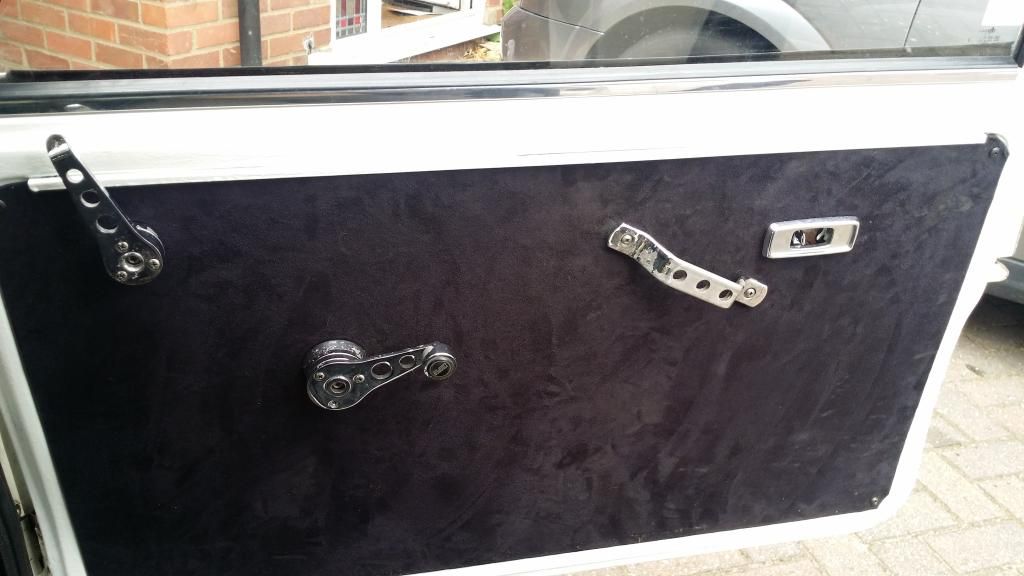
Driver side door built up
These pictures are from the last two weeks, I've got some more to come just waiting for them to be uploaded. Also sorted some bits and bobs like cable routing with p clips, bit of wiring and tidying up ready for her to get back to the road!
Another update soon!
Lawrence

Painted the driver side door


Painted the ps rear quarter

Flatted back the ds wing for some new coats of paint

Trying to remove the runs


Door being built back up

And then fitted


Front shot

Fitted rear arch

And rear tinted window

Another rear shot

Driver side door built up

These pictures are from the last two weeks, I've got some more to come just waiting for them to be uploaded. Also sorted some bits and bobs like cable routing with p clips, bit of wiring and tidying up ready for her to get back to the road!
Another update soon!
Lawrence
Edited by lawrence, 23 July 2014 - 10:50 PM.
#250
lawrence
-
- Members
-
- 1,341 posts
One Carb Or Two?
Posted 23 July 2014 - 11:33 PM
My photos are all nicely uploaded :)
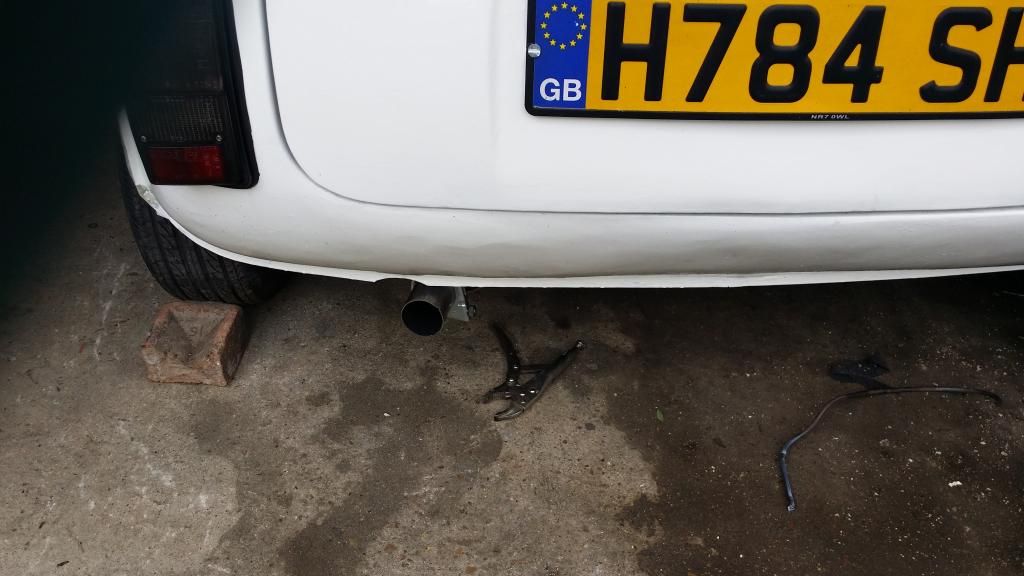
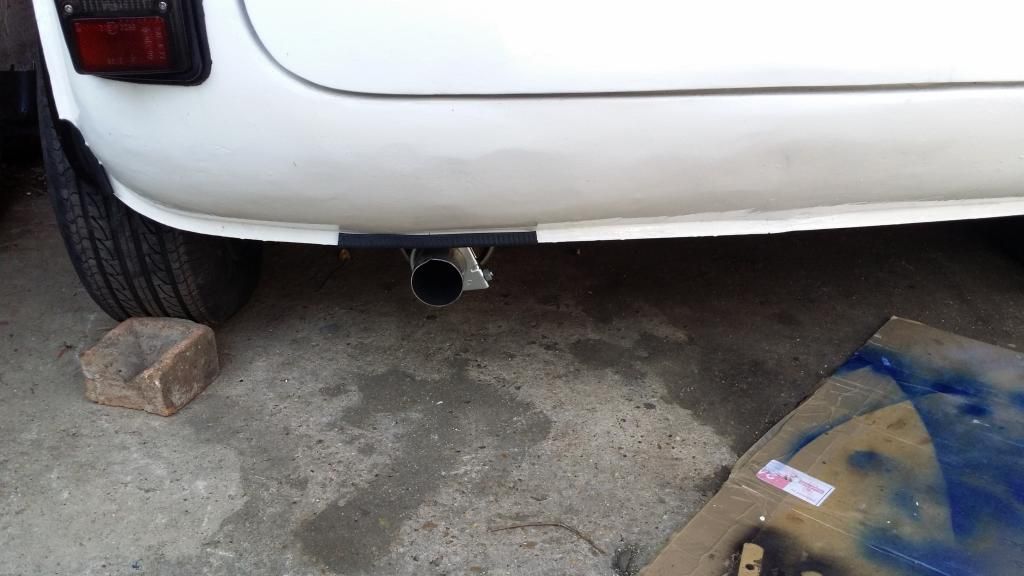
Exhaust tip position finalised
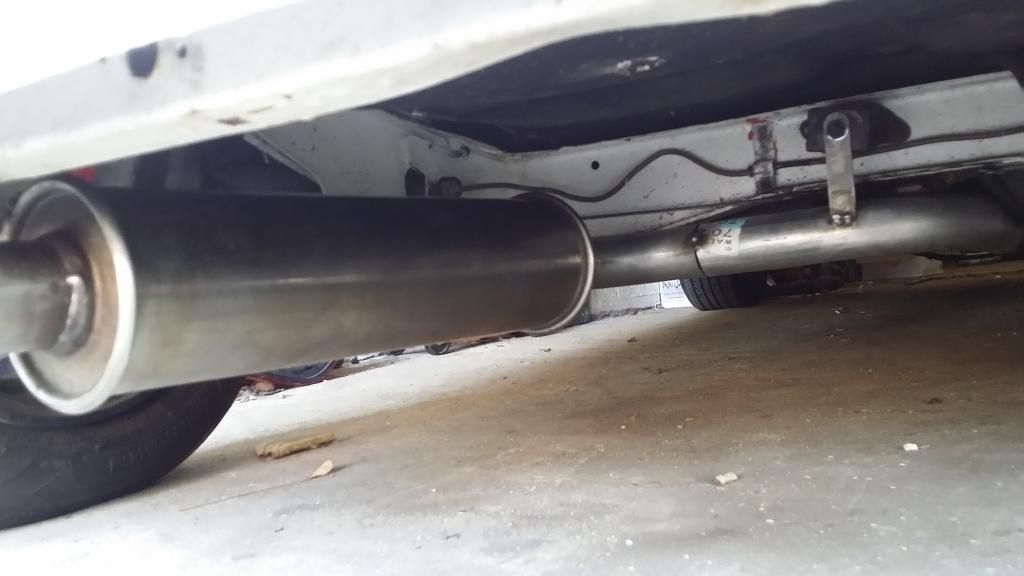
Undercar shot
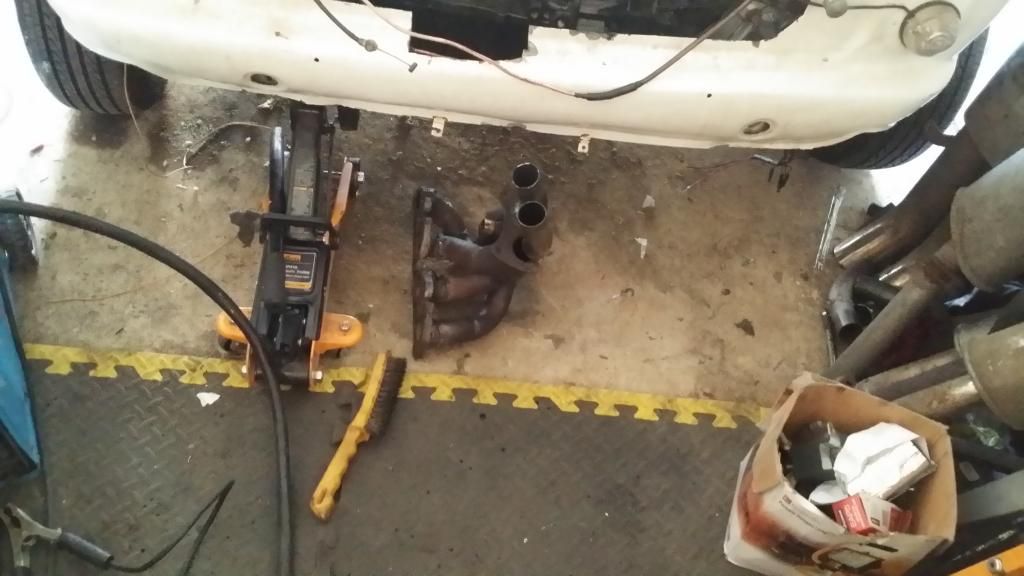
Exhaust manifold being finished off
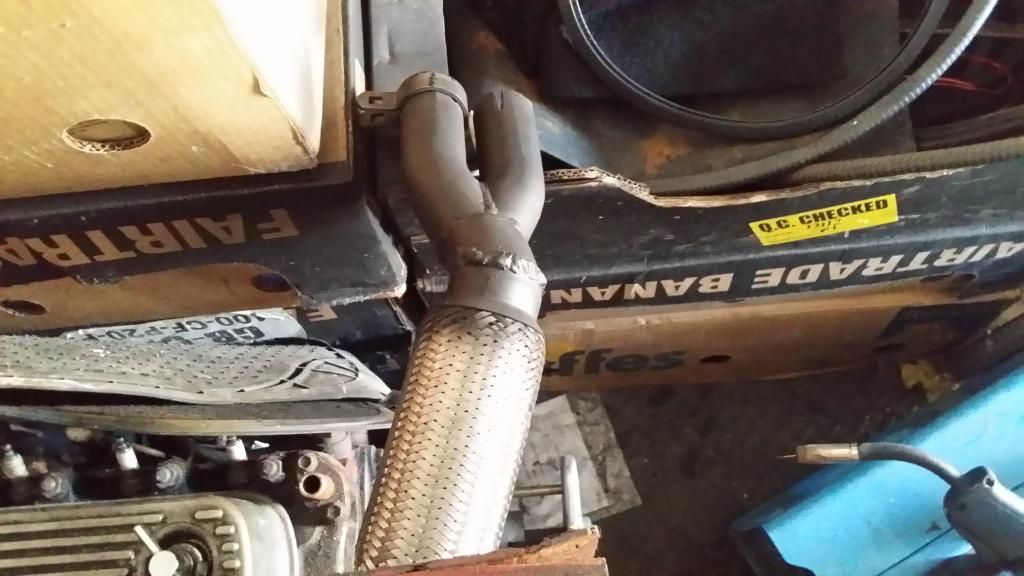
Y piece being modded for flexi pipe so give the exhaust system some movement
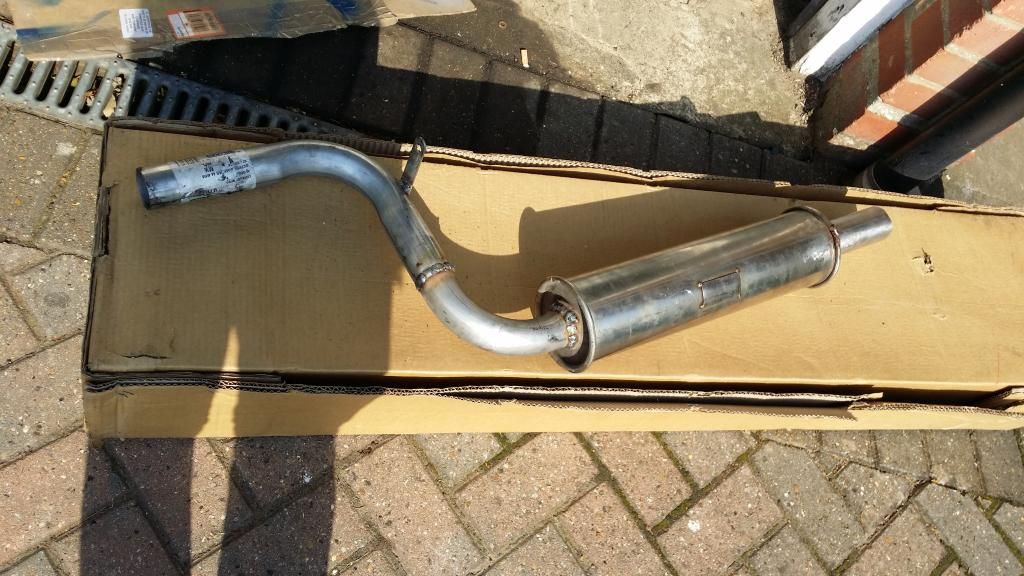
Rear silencer section fully welded
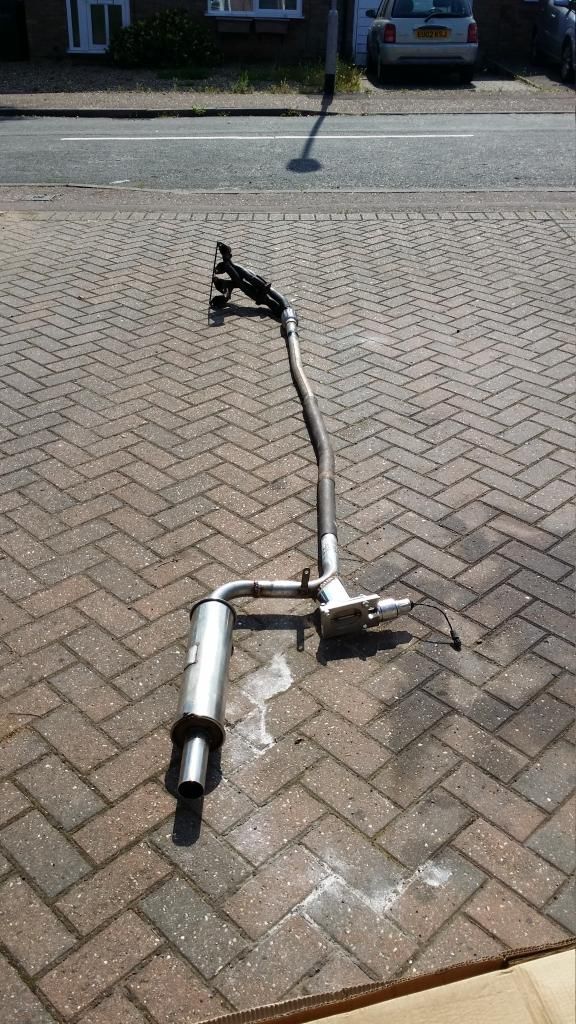
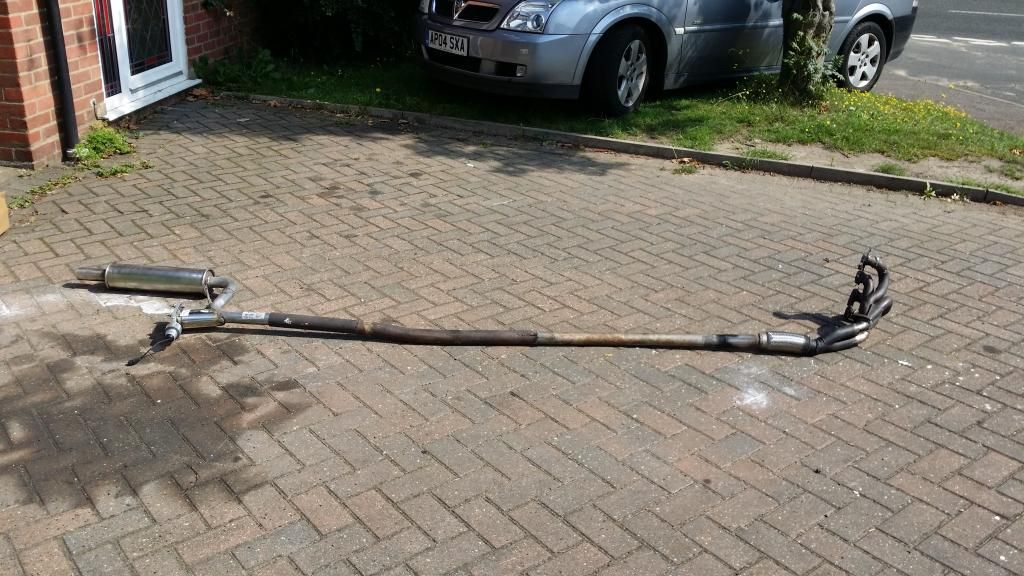
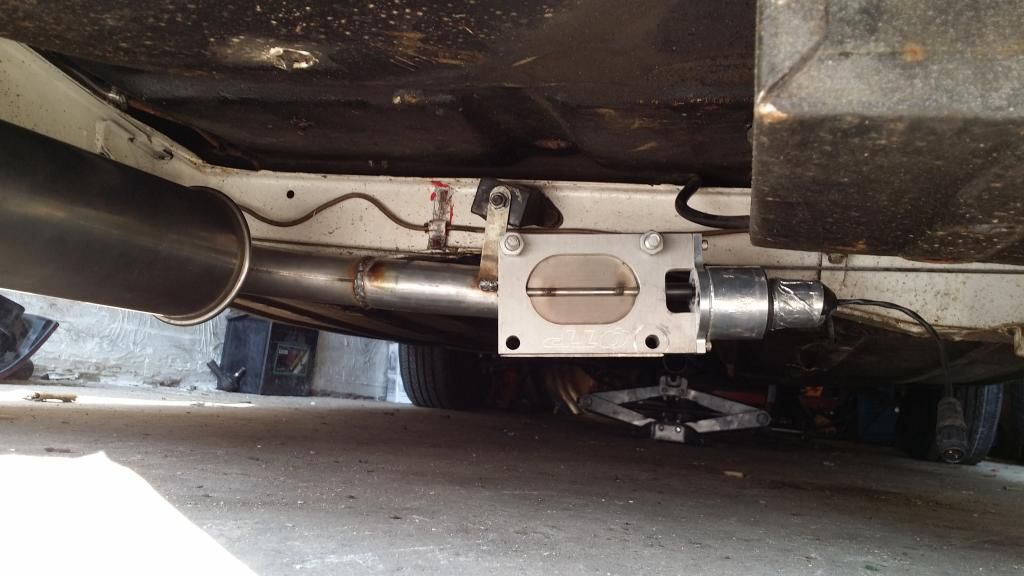
Qtp exhaust valve fitted and exhaust system mocked up on the drive
Exhaust fitted
I changed the centre pipe part of the exhaust shown on the driveway picture for a single straight through pipe to make a tidier job of it all
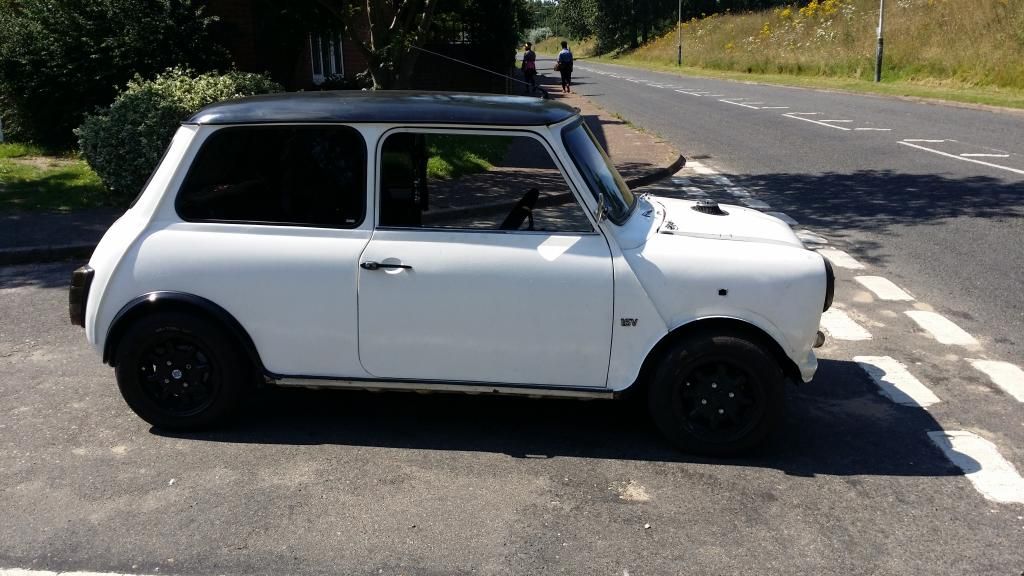
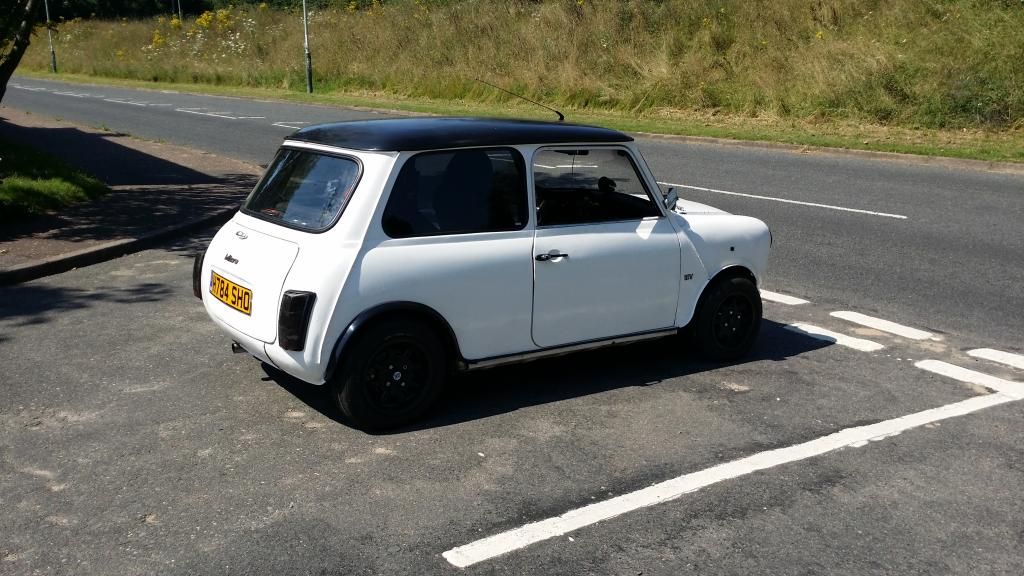
Rolled her out of the garage for a mini photoshoot
And last but not least a little video of the exhaust :)
http://i1111.photobu...0723_131440.mp4
The exhaust system is a 4/2/1 system, k series manifold modded to the micra exhaust flanges and then modded to a mini lcb y piece which is the welded to a flexi pipe in the middle of the mini lcb y piece for some flexibility. Keeping the mini y piece will allow me to fit standard mini exhaust, such as rc40, maniflow system etc.
I chose a 1 3/4 straight through pipe going to two 90deg bends then to a stainless silencer from ebay, end exhaust diameter of 2inches.
I chose 1 3/4 as that's what the rc40 on my a series 1275 performed best at, the micra 998 should put out the same bhp approximately therfore I chose the same diameter system.
The electronic exhaust valve will be linked to megajolt so when the car is at certain higher revs (3500 plus for example it will open) I doubt it'll add any power but it'll sound pretty cool!
Hope everyone likes this update
Two more jobs to do for her then I can think about insurance and driving her :)
>front brakes need bleeding efficiently! going to get a gunson easy bleed kit next pay day
>fix the slight oil leak from the timing chain gasket
Feel free to comment
Lawrence
http://i1111.photobu...0723_131440.mp4
Exhaust tip position finalised

Undercar shot

Exhaust manifold being finished off

Y piece being modded for flexi pipe so give the exhaust system some movement

Rear silencer section fully welded

Qtp exhaust valve fitted and exhaust system mocked up on the drive


Exhaust fitted

I changed the centre pipe part of the exhaust shown on the driveway picture for a single straight through pipe to make a tidier job of it all
Rolled her out of the garage for a mini photoshoot


And last but not least a little video of the exhaust :)
http://i1111.photobu...0723_131440.mp4
The exhaust system is a 4/2/1 system, k series manifold modded to the micra exhaust flanges and then modded to a mini lcb y piece which is the welded to a flexi pipe in the middle of the mini lcb y piece for some flexibility. Keeping the mini y piece will allow me to fit standard mini exhaust, such as rc40, maniflow system etc.
I chose a 1 3/4 straight through pipe going to two 90deg bends then to a stainless silencer from ebay, end exhaust diameter of 2inches.
I chose 1 3/4 as that's what the rc40 on my a series 1275 performed best at, the micra 998 should put out the same bhp approximately therfore I chose the same diameter system.
The electronic exhaust valve will be linked to megajolt so when the car is at certain higher revs (3500 plus for example it will open) I doubt it'll add any power but it'll sound pretty cool!
Hope everyone likes this update
Two more jobs to do for her then I can think about insurance and driving her :)
>front brakes need bleeding efficiently! going to get a gunson easy bleed kit next pay day
>fix the slight oil leak from the timing chain gasket
Feel free to comment
Lawrence
http://i1111.photobu...0723_131440.mp4
Edited by lawrence, 23 July 2014 - 11:34 PM.
#251
rally515
-

- Members
-
- 3,848 posts
Up Into Fourth
- Location: Lancashire
Posted 24 July 2014 - 12:14 AM
I love that exhaust valve, such a col little touch!  .
.
Can you do a video of drive by with one opena nd another pass closed to show the difference ?
Also neat work you've made on fabricating the exhaust.
Cheers,
Cliff
#252
lawrence
-
- Members
-
- 1,341 posts
One Carb Or Two?
Posted 25 July 2014 - 07:28 PM
Cheers rally515, I like the exhaust valve too :) I do like a beasty exhaust but I start work at 7 in the morning so it was pretty antisocial, I used to have a 2inch straight through pipe going to a twin dtm but had a few neighbours asking me to drive a bit quieter in the morning even tho I already was so felt bad. The exhaust valve gives me the best of both worlds :)
I'll do the drive by video when I've got her back on the road if I remember
For now here's another video of her running :)
http://i1111.photobu...0725_123434.mp4
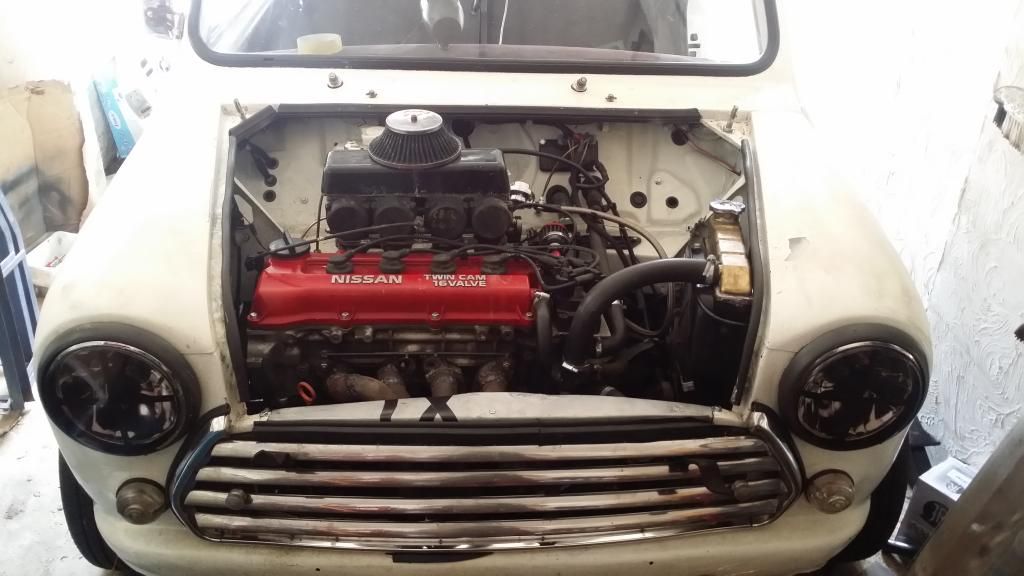
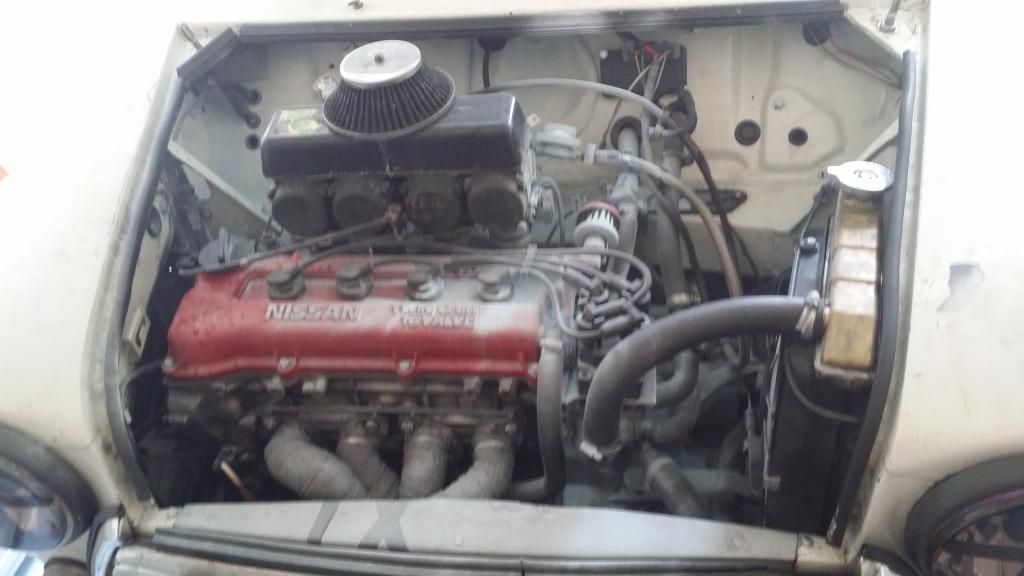
I've done a few bits today, cleaned up the carbs with some carb cleaner and finished off the engine bay
Working out the wiring for my sport button
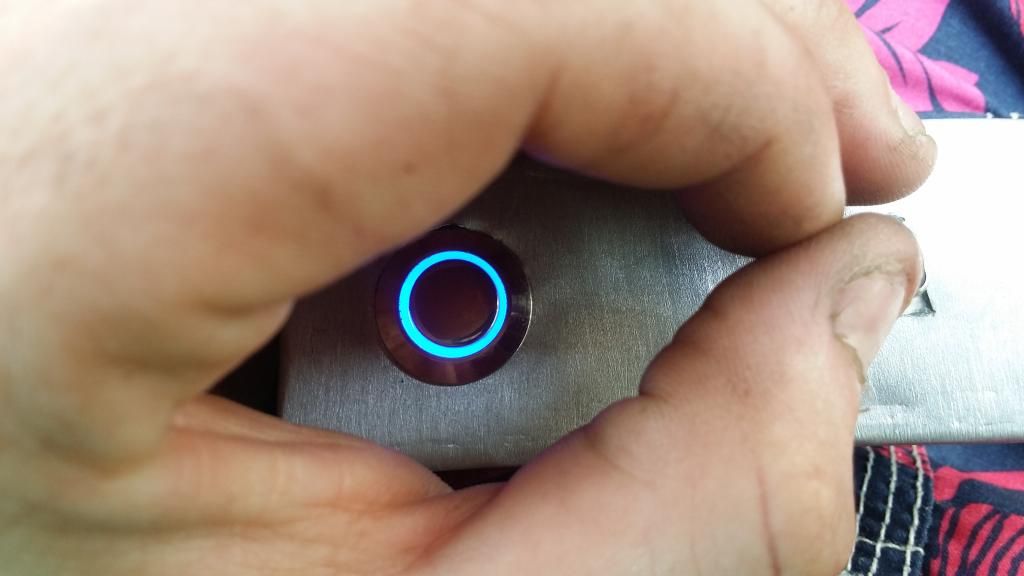
All wired in :)

Sport button light up blue when the engines on, when it's pressed the counter on the right of the clocks goes up, when it's at 100 the exhaust valve is fully opened. There is also a button on the counter so I can set what percentage the valve is open as I already suspect at fully open she will be ear splittingly loud, especially in a confined space such as a car park ;)
Only things left to do are bleed the front brakes and to try and stop the very small oil leak on the timing cover :)
Now at work for the next three days so there will be no more updates and I'm off on holiday in two weeks time so no more money can be spent in mini unless people buy my spare parts
Hope you like this update, it's not much to show but I'm just sorting the niggly bit out now
Feel free to comment
Lawrence
I'll do the drive by video when I've got her back on the road if I remember
For now here's another video of her running :)
http://i1111.photobu...0725_123434.mp4
I've done a few bits today, cleaned up the carbs with some carb cleaner and finished off the engine bay

Working out the wiring for my sport button

All wired in :)

Sport button light up blue when the engines on, when it's pressed the counter on the right of the clocks goes up, when it's at 100 the exhaust valve is fully opened. There is also a button on the counter so I can set what percentage the valve is open as I already suspect at fully open she will be ear splittingly loud, especially in a confined space such as a car park ;)
Only things left to do are bleed the front brakes and to try and stop the very small oil leak on the timing cover :)
Now at work for the next three days so there will be no more updates and I'm off on holiday in two weeks time so no more money can be spent in mini unless people buy my spare parts
Hope you like this update, it's not much to show but I'm just sorting the niggly bit out now
Feel free to comment
Lawrence
Edited by lawrence, 25 July 2014 - 07:30 PM.
#253
Jess93xx
-

- Noobies
-
- 1 posts
Starting My Mini Up
- Location: Norwich
Posted 25 July 2014 - 07:37 PM
I think your mini is so cool and think you have put a lot of work into it however I think you should put more time in seeing your girlfriend more! I can't wait to drive his in car parks! Will be so awesome!!!!!!!! x
x
Edited by Jess93xx, 25 July 2014 - 07:52 PM.
#254
lawrence
-
- Members
-
- 1,341 posts
One Carb Or Two?
Posted 31 July 2014 - 08:57 AM
Small update,
I think I have almost fixed the oil leak which is nice, need to finish the painting and bleed the brake still also
Done a few bit
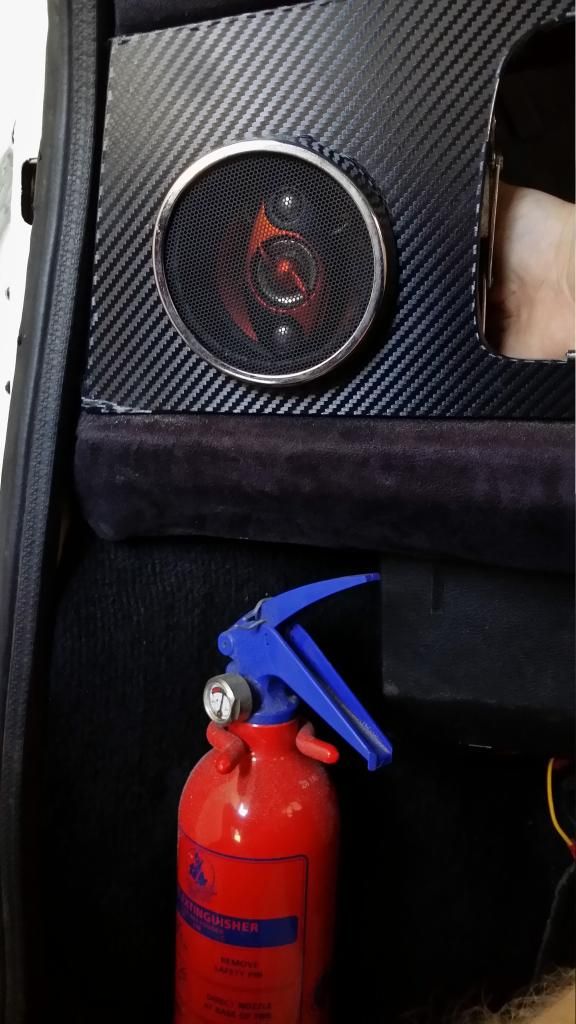
Tried to fit some front speakers
Looked pretty stupid there so thought of another better position
The working progress
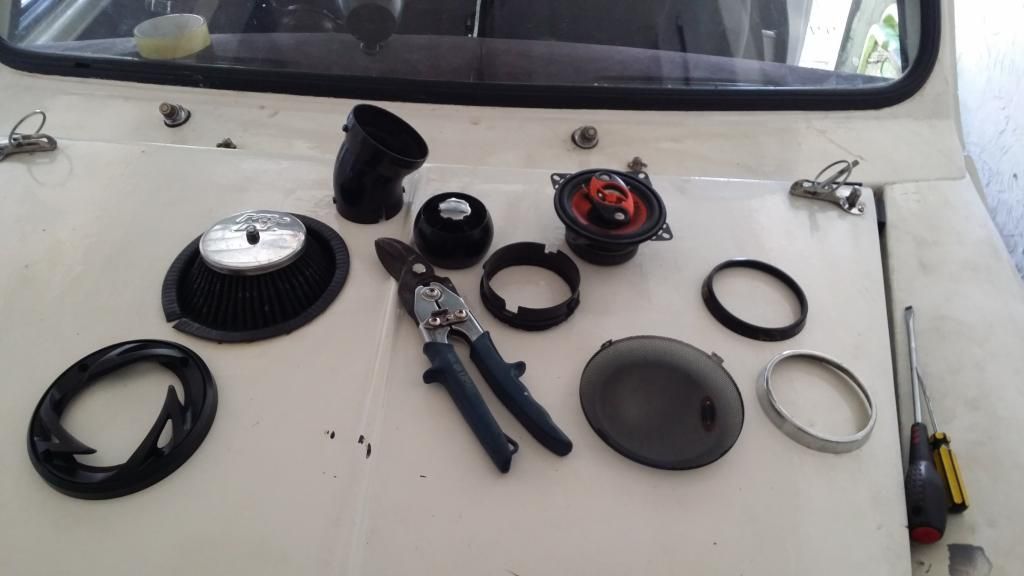
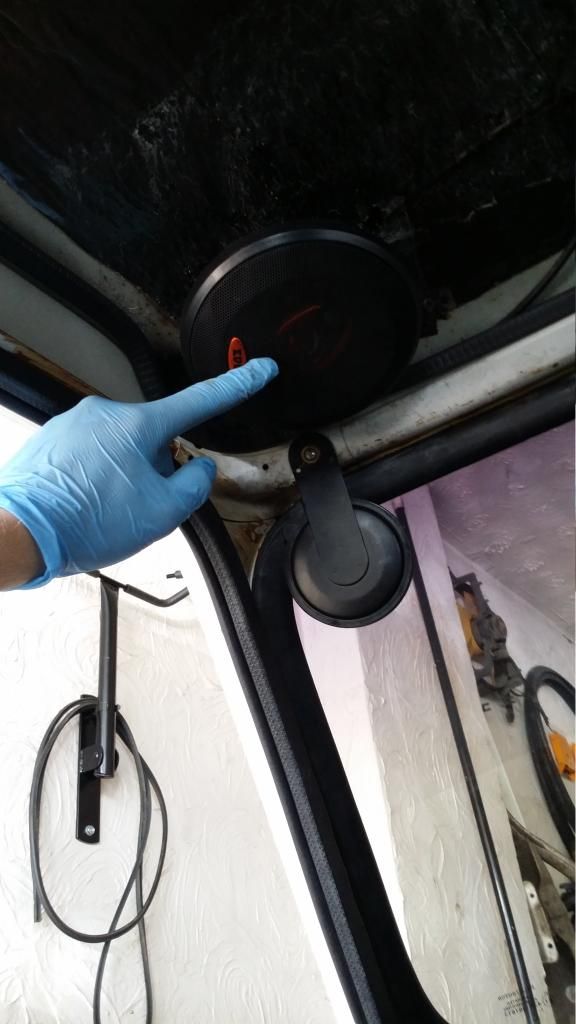
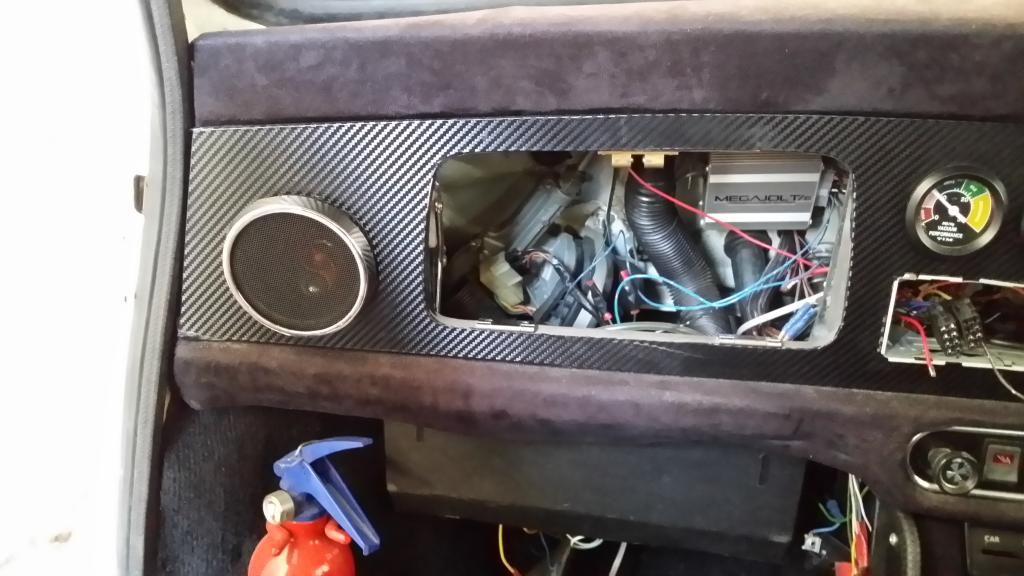
The new position
And the other side
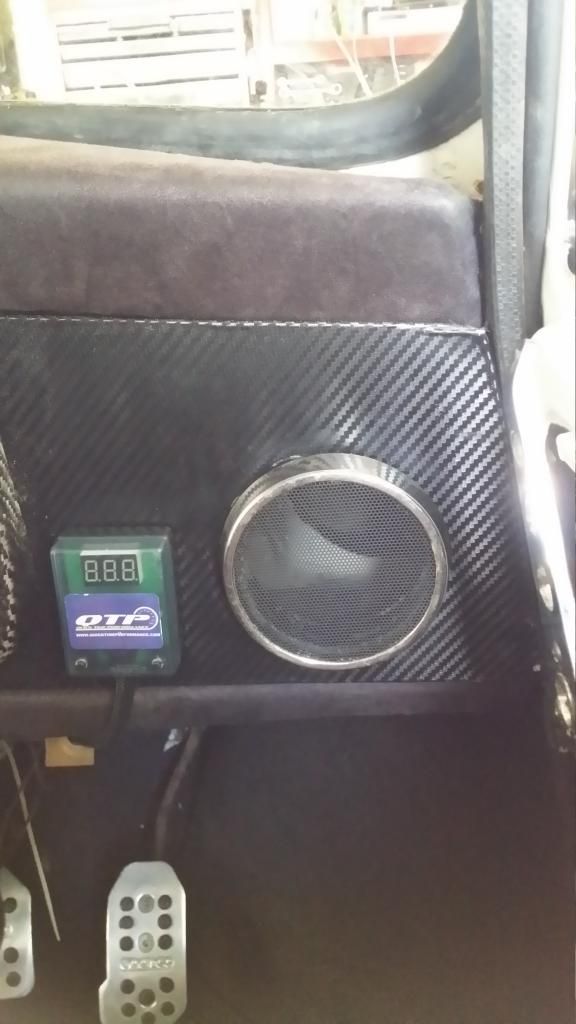

They look pretty good there, it's nice and subtle too, both cold air vents are blanked also
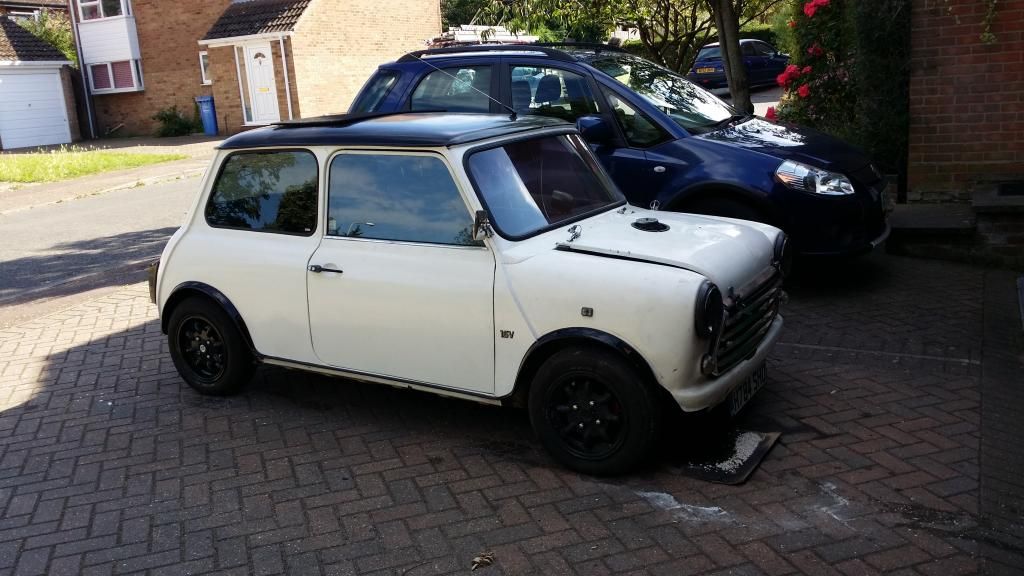
Rolled her out and took a picture
And gave her a hell of a clean inside

An issue has arisen however, my petrol pip fix on the carbs hasn't worked and they are still leaking looking into getting the part made from aluminium. Also the rubber connectors between the carbs and inlet manifold can't take the engine vibrations and are coming loose however tight the jubilee clips are, so I'm on the look out for some silicone hose now to replace the rubber connectors, I'll be finishing off the exhaust today also as my wrap has arrived
Feel free to comment
May be a post again later this evening
Lawrence
I think I have almost fixed the oil leak which is nice, need to finish the painting and bleed the brake still also
Done a few bit
Tried to fit some front speakers

Looked pretty stupid there so thought of another better position
The working progress

The new position


And the other side


They look pretty good there, it's nice and subtle too, both cold air vents are blanked also
Rolled her out and took a picture

And gave her a hell of a clean inside

An issue has arisen however, my petrol pip fix on the carbs hasn't worked and they are still leaking
looking into getting the part made from aluminium. Also the rubber connectors between the carbs and inlet manifold can't take the engine vibrations and are coming loose however tight the jubilee clips are, so I'm on the look out for some silicone hose now to replace the rubber connectors, I'll be finishing off the exhaust today also as my wrap has arrivedFeel free to comment
May be a post again later this evening
Lawrence
#255
lawrence
-
- Members
-
- 1,341 posts
One Carb Or Two?
Posted 31 July 2014 - 11:58 AM
We'll today started well, got the exhaust manifold all nicely wrapped up
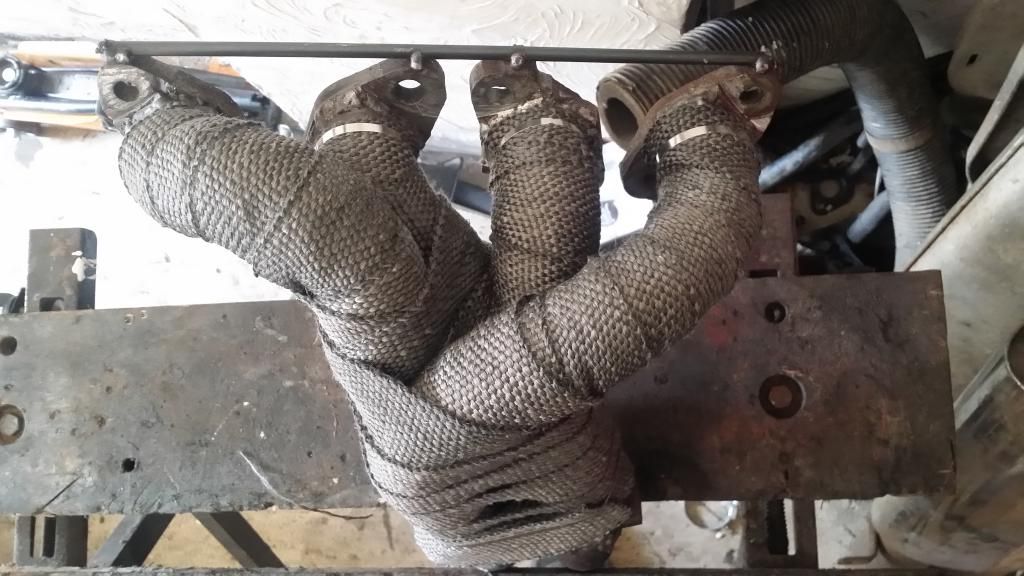
Fitted it all back up completely forgetting that the petrol pipe was leaking
Engine backfired popping the carburettors off the manifold and ignited the petrol pissing from the carbs resulting in 3 foot flames in the engine bay
So I grabbed the fire extinguisher From the car and put it all out
Mini is completely fine thank god but covered in the powder everywhere
Source of the fire
So I've packed her away for now as that powder is causing me to cough loads
So on the shopping list is petrol resistant silicone hoses for the carb to manifold connection and new petrol pipe connectors between the carbs, gunna get them made from milled aluminium so this mistake does not happen again!
Kinda rubbish update to be honest but at least I didn't get hurt !:)
Lawrence

Fitted it all back up completely forgetting that the petrol pipe was leaking
Engine backfired popping the carburettors off the manifold and ignited the petrol pissing from the carbs resulting in 3 foot flames in the engine bay
So I grabbed the fire extinguisher From the car and put it all out
Mini is completely fine thank god but covered in the powder everywhere


Source of the fire

So I've packed her away for now as that powder is causing me to cough loads
So on the shopping list is petrol resistant silicone hoses for the carb to manifold connection and new petrol pipe connectors between the carbs, gunna get them made from milled aluminium so this mistake does not happen again!
Kinda rubbish update to be honest but at least I didn't get hurt !:)
Lawrence


1 user(s) are reading this topic
0 members, 1 guests, 0 anonymous users


