Jump to content


Photo
- - - - -

Project Erm


  • Please log in to reply
834 replies to this topic

#121 scsracing

scsracing

    Mini Mad

  • Members
  • PipPipPipPip
  • 276 posts
  • Location: Eastbourne

Posted 15 March 2010 - 09:49 PM

Your dad looks like an Artiste with the welder.

Where you at the last PMOC club meet? if so im really sorry i didnt come to introduce myself i had everybody and the uncle asking me stuff LOL.


Yes we were at the last one but we didn't know anyone so just found a random table with someone on it and picked that one to sit at.Its hard for us to get to the regular meetings as my dad works 4x4 shifts and it seems he is working for all the next few meetings and all the next big shows coming up soon too.Once the car is actually done though should be a bit more of a regular thing as i will be able to get places and go to shows etc.

#122 scsracing

scsracing

    Mini Mad

  • Members
  • PipPipPipPip
  • 276 posts
  • Location: Eastbourne

Posted 15 March 2010 - 10:18 PM

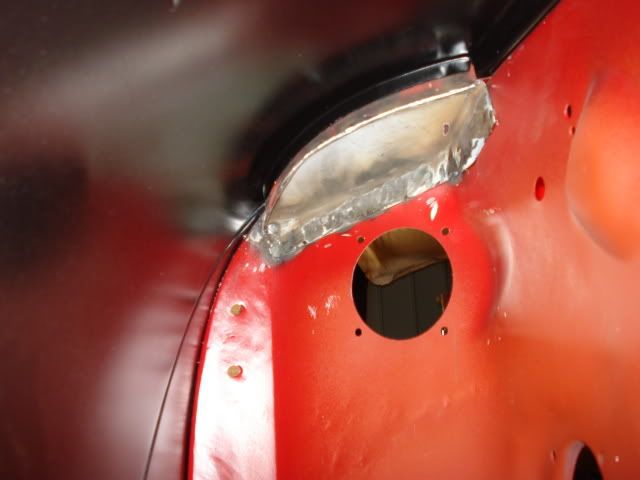
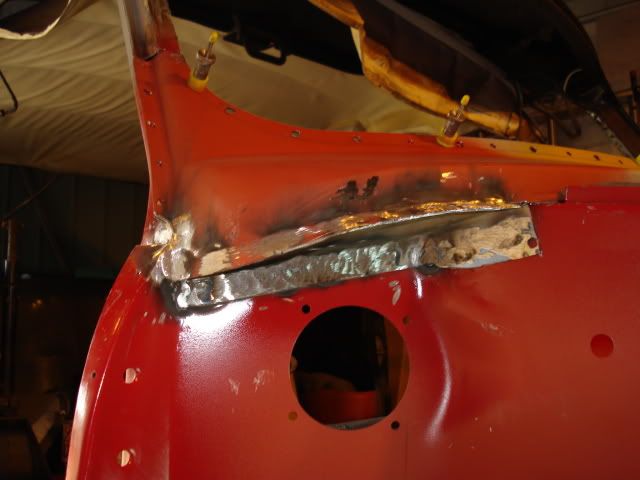
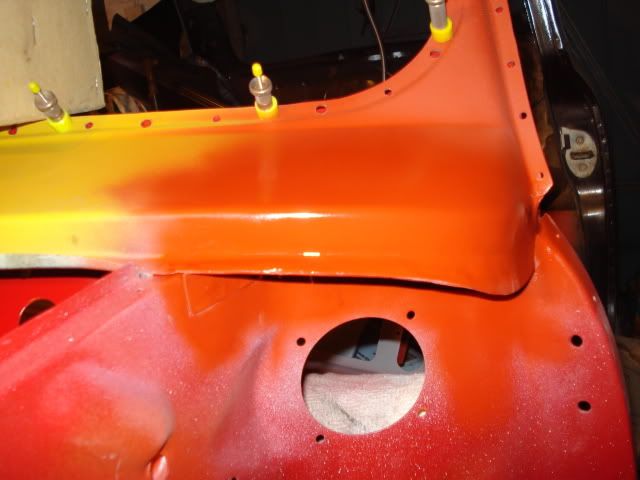
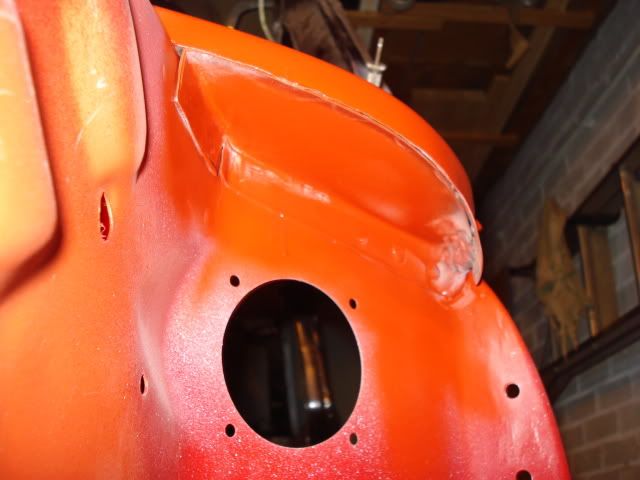
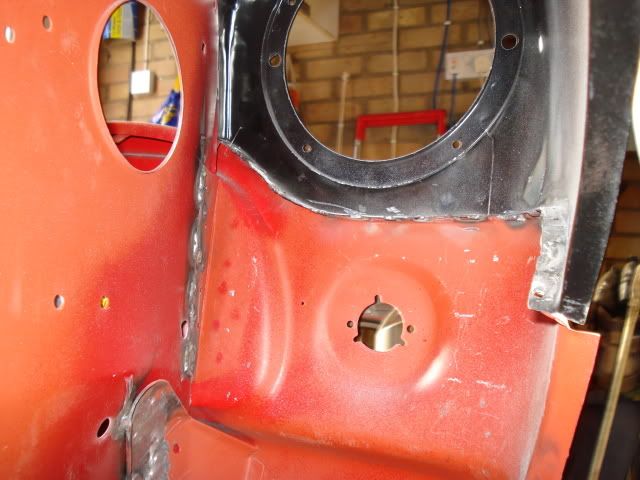
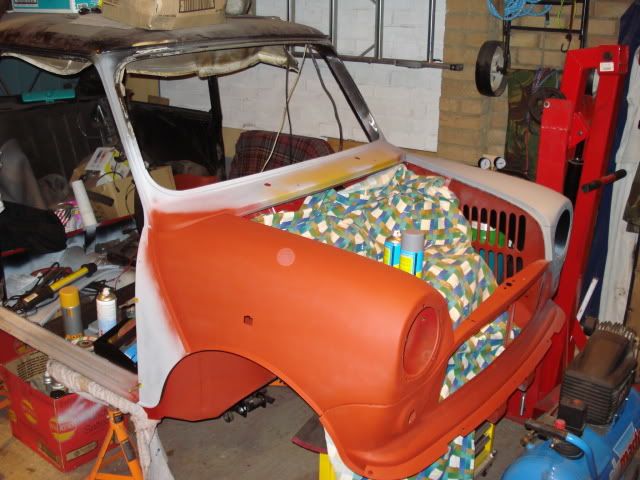
Just a little bit done today most of it priming and painting all the edges that will be welded on the wings, A panels and front panel.

Dad did fit both scuttle closure plates

Posted Image
Posted Image
Posted Image
Posted Image

Tomorrow is his last day before going back to work for a rest so he's hoping to get every panel tacked on.

#123 scsracing

scsracing

    Mini Mad

  • Members
  • PipPipPipPip
  • 276 posts
  • Location: Eastbourne

Posted 16 March 2010 - 07:25 PM

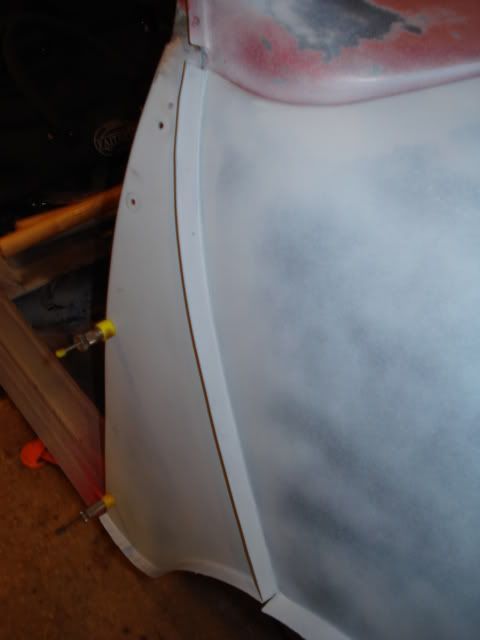
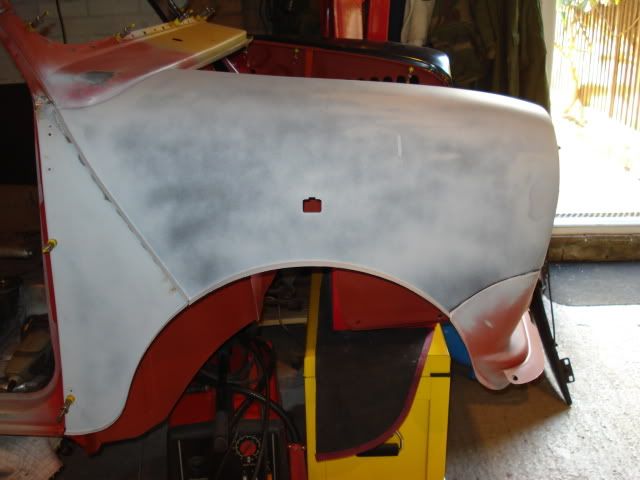
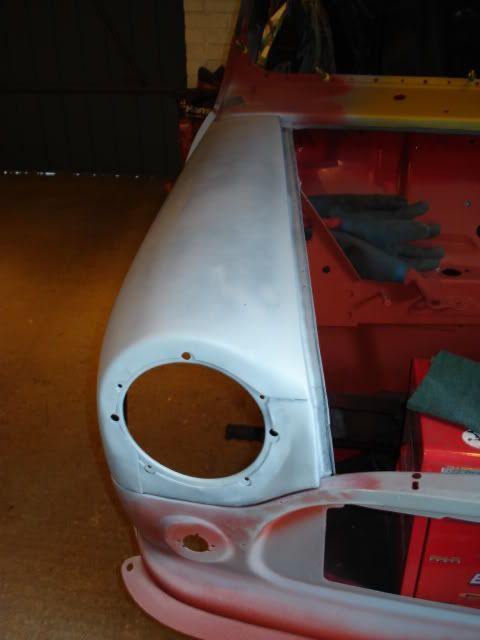
Well my Dad did not get all the front panels tacked on but he did finish the r/h wing and front panel r/h side welding. He's leaving folding round the A panel lip until he refits the door to see how the gaps are.

Posted Image
Posted Image
Posted Image
Posted Image

The panel gaps have come good in the end but took a lot of effort to get right, the l/h side will not quite fit right but i'm sure it will look fine once he's finished hopefully on his next off shift next week.

#124 scsracing

scsracing

    Mini Mad

  • Members
  • PipPipPipPip
  • 276 posts
  • Location: Eastbourne

Posted 24 March 2010 - 07:00 PM

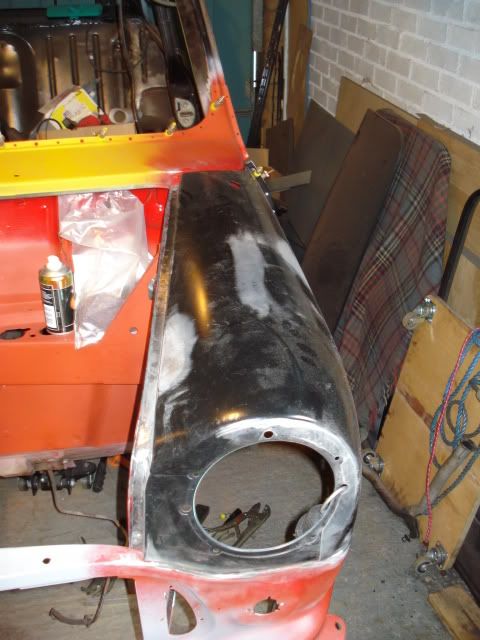
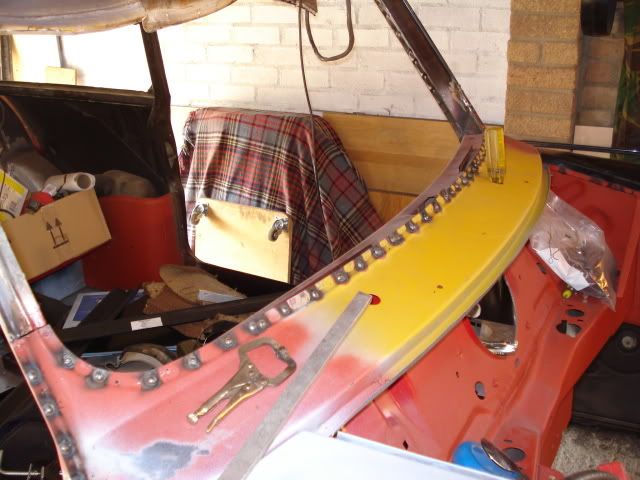
Busy last 2 day's for dad, l/h wing now welded on

Posted Image

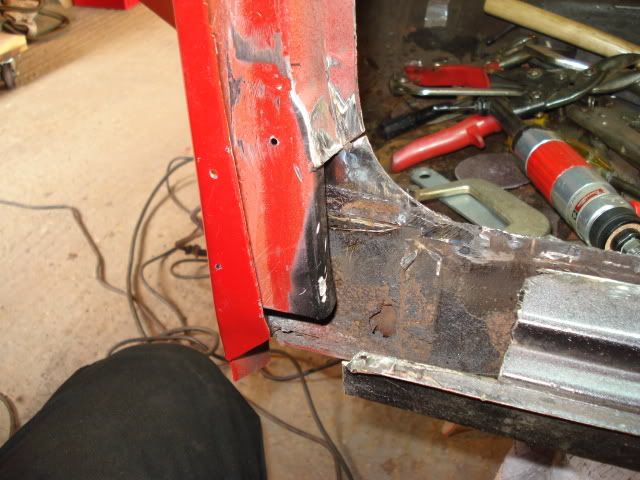
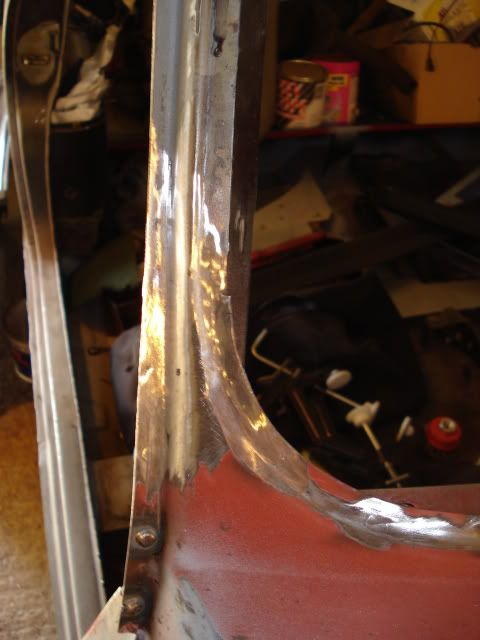
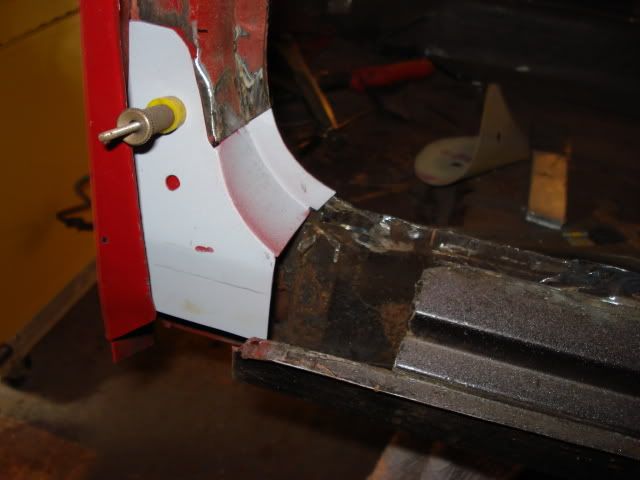
Bottom of l/h A post was rotten so dad cut out the damage
Posted Image

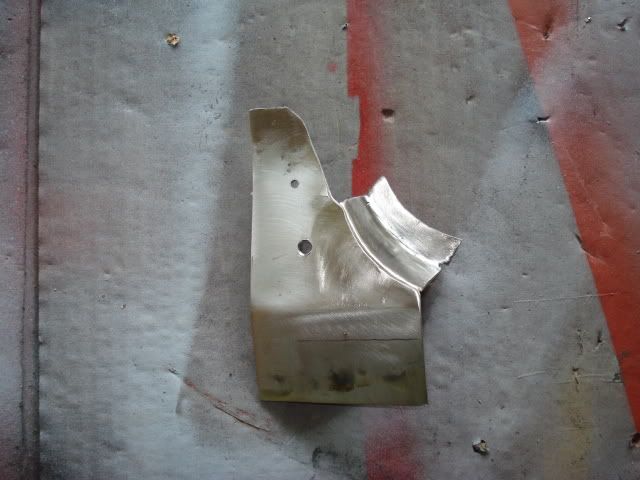
and made a new repair section
Posted Image

he will weld this in once he replaces the door step as the new step needs to be fettled before fitting. He will then weld in the A panel as well.

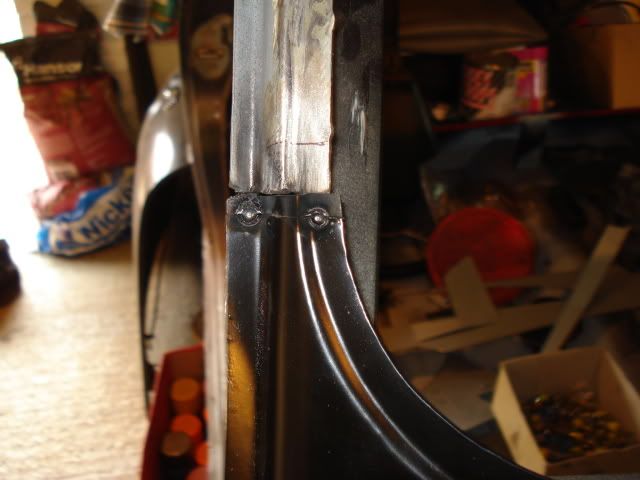
He then went onto fitting the Heritage scuttle but the r/h upper corner did not fit very well
Posted Image

so after a few hours of fettling it ended up like this
Posted Image

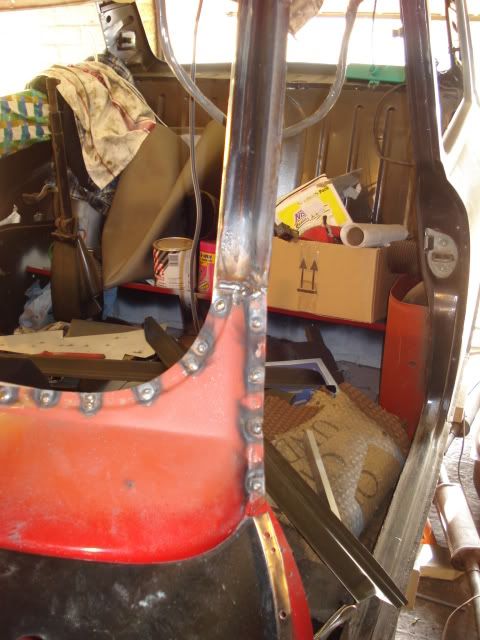
so a skim of filler and it will be fine, anyway he went on to weld in the rest of the scuttle and l/h corner
Posted Image
Posted Image

Its all been ground down and etch primed although the l/h corner will need a little bit of filler to finish off.
He also trial fitted the r/h door, he said the fit was ok but he will add filler pieces to the door edge's to get the gaps right.

#125 Pauly

Pauly

    Up Into Fourth

  • Members
  • PipPipPipPipPipPipPipPipPip
  • 4,213 posts
  • Location: Wolverhampton
  • Local Club: Just 4 Fun Minis!

Posted 24 March 2010 - 09:45 PM

Wow, just seen this thread, cant beleive I missed it to be honest. Nice work, how do you make the complex curves like the center section of the rear baulkhead lip and the bottom a post repair section where it curves? Also would like to know how you did the repair on the baulkhead by the n/s master cylinder holes? I would of used ready made repair panels if they are a bit complex, think its great how you have made them.

#126 sonikk4

sonikk4

    Twisted Paint Polisher!!!

  • Admin
  • PipPipPipPipPipPipPipPipPipPipPip
  • 15,970 posts
  • Name: Neil
  • Location: Oxfordshire

Posted 24 March 2010 - 10:31 PM

Wow, just seen this thread, cant beleive I missed it to be honest. Nice work, how do you make the complex curves like the center section of the rear baulkhead lip and the bottom a post repair section where it curves? Also would like to know how you did the repair on the baulkhead by the n/s master cylinder holes? I would of used ready made repair panels if they are a bit complex, think its great how you have made them.


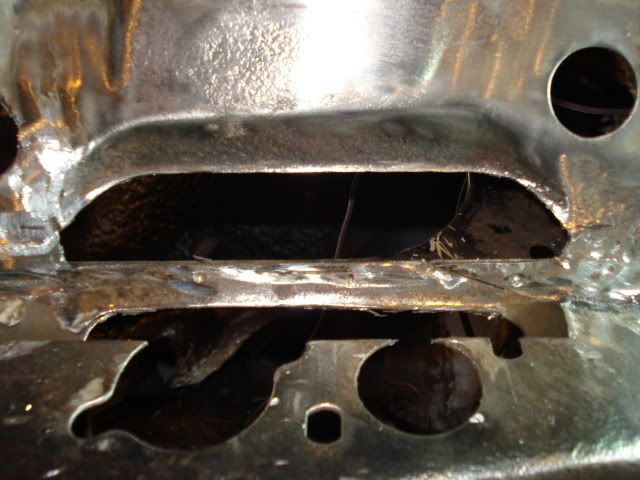
Basically everything is made in sections and then tacked together. I use several different types of panel beating hammers and dollies to get the curves where they are needed. Once i'm happy with the overall shape i then weld it all up but a bit at a time to minimise distortion.

If you mean the bulkhead panels under the crossmember these were made as three different pieces and individually shaped for the contours using the hammers and dollies. Again once i was happy with the shapes that were tacked checked and then welded up.

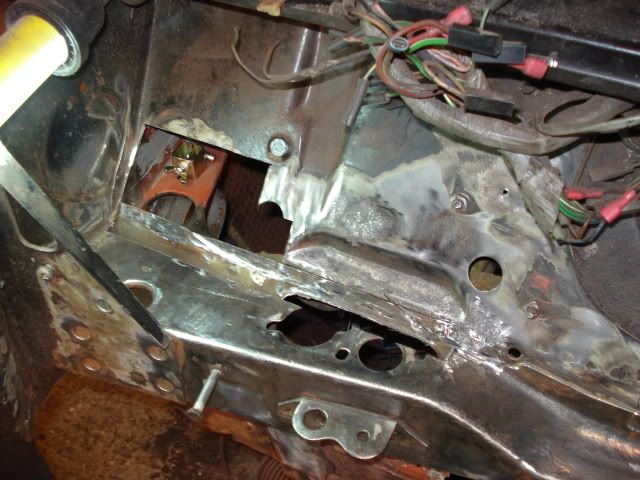
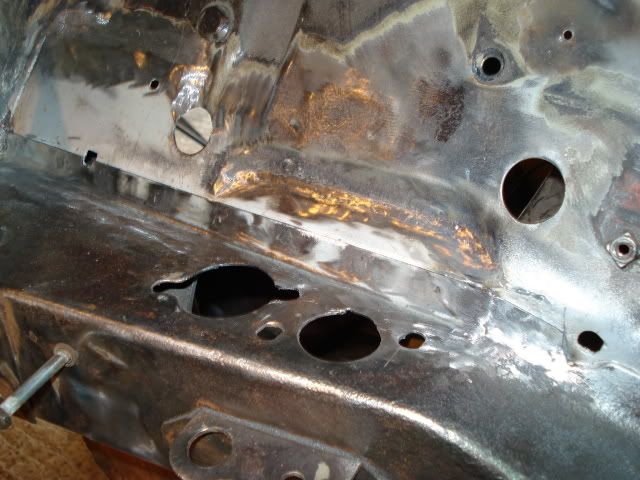
The ones above the crossmember were individually cut to suit and then welded in do you mean these
Posted Image

or these
Posted Image
Posted Image

It took a lot of time and effort but i think the results are good plus it saved a lot of money my son could ill afford to spend.
By trade i'm an Aircraft engineer and have converted airliners to freighters amongst other things so making panels for the mini is easy (i have been welding and restoring cars for over 23 years as a hobby.) i have folders and the such like at work but unfortunately no shrinkers or stretchers so more complex panels i have to make in sections and then weld together.

Hope this explains what you were after.

Neil, Erms welder and Scotts dad.

#127 mini_matt_106

mini_matt_106

    Super Mini Mad

  • Members
  • PipPipPipPipPipPip
  • 591 posts
  • Location: Andover

Posted 25 March 2010 - 03:28 PM

that is a beautiful repair! only just saw the big gay on the left that was filled too once there is paint on you would never know it was there, maybe rivaling pannelbeaterpeter s work to be honest! lol

#128 sonikk4

sonikk4

    Twisted Paint Polisher!!!

  • Admin
  • PipPipPipPipPipPipPipPipPipPipPip
  • 15,970 posts
  • Name: Neil
  • Location: Oxfordshire

Posted 25 March 2010 - 07:23 PM

that is a beautiful repair! only just saw the big gay on the left that was filled too once there is paint on you would never know it was there, maybe rivaling pannelbeaterpeter s work to be honest! lol


Thanks for that appreciate the comment :)

Just a little bit of work today

Scuttle primed
Posted Image

Slowly priming the front in red, will flash coat the seams with topcoat before sealing all the gaps
Posted Image

And this is the repair section i made yesterday pinned in place
Posted Image

Thats it for now as back to work for another 4 days so hopefully will get back on it next tues.
Scott is going to start cleaning up the inside of the bulkhead next week and also the steering rack mount as well.

#129 Pauly

Pauly

    Up Into Fourth

  • Members
  • PipPipPipPipPipPipPipPipPip
  • 4,213 posts
  • Location: Wolverhampton
  • Local Club: Just 4 Fun Minis!

Posted 25 March 2010 - 08:06 PM

The repair in the last picture is what I meant, I take it you just made a template of the opposide side?

Edited by Pauly, 25 March 2010 - 08:07 PM.


#130 sonikk4

sonikk4

    Twisted Paint Polisher!!!

  • Admin
  • PipPipPipPipPipPipPipPipPipPipPip
  • 15,970 posts
  • Name: Neil
  • Location: Oxfordshire

Posted 25 March 2010 - 08:41 PM

The repair in the last picture is what I meant, I take it you just made a template of the opposide side?


No as the damage was different so needing a different sized repair. Although it was similar it was a bit smaller but a slightly different shape. All the repair sections i have made for the car have been individually tailored to fit so making templates would have been nice to do but pointless. Oh the joys of rust and bodgery from previous owners.

#131 mini670

mini670

    Mini Mad

  • Members
  • PipPipPipPip
  • 293 posts

Posted 26 March 2010 - 04:02 PM

Fantastic project,

Wish i could make repair sections those! You mentioned that you will put top coat on the seams before sealing. This got me wondering if i have done the right thing with my project, ive put seam sealler some welds stright on onto the primed metal, would i be better stripping it back, re-priming, top coating, then seam sealing?

Luckily ive not got to the front end areas yet so i can do those bits as as your project.

#132 sonikk4

sonikk4

    Twisted Paint Polisher!!!

  • Admin
  • PipPipPipPipPipPipPipPipPipPipPip
  • 15,970 posts
  • Name: Neil
  • Location: Oxfordshire

Posted 27 March 2010 - 10:02 AM

Fantastic project,

Wish i could make repair sections those! You mentioned that you will put top coat on the seams before sealing. This got me wondering if i have done the right thing with my project, ive put seam sealler some welds stright on onto the primed metal, would i be better stripping it back, re-priming, top coating, then seam sealing?

Luckily ive not got to the front end areas yet so i can do those bits as as your project.


To be honest with you the only reason i have done it the way i have is to trial it. I'm trying to build in as much protection as possible to the seams as they are notorious for rusting even with seam sealing.

I have in the past just primed the seams then seam sealed and painted and maybe i missed a bit who knows for sure but the dreaded rust bug wormed its way in again.

Every seam, joint gap etc that i can get to will have been etch primed, primed and topcoated then welded then paint touched up, seam sealed both sides where possible. Its probably being *rec of the tum* but after spending so much time welding fabricating etc i want the car to be as rust free as possible in the future. The other thing to remember with primer is that it is porous so even seam sealing may not give it the protection you want. I know i still have to bare metal some sections or use zinc based primer to weld but at least there is some extra protection there now.

Every joint in the wheel arches, front wings etc will be seam sealed then stone chipped then topcoated again.

A lot of work i know but its my choice, my son has spent and is still spending a lot of money on 'Erm' so the more we can do to make the car last longer the better in my eyes.

Its your choice as to whether you want to go this route but like i have mentioned the more protection the better especially if you are going to keep your mini long term.

Neil

#133 mini670

mini670

    Mini Mad

  • Members
  • PipPipPipPip
  • 293 posts

Posted 27 March 2010 - 09:29 PM

yep i completely agree, anything should be done to keep the rot away.
I too have been extremely *rec of the tum* when it comes to sealing the thing up. Using Bilt hamber zinc primer, but it isnt weld through. After that ive warmed the seams up with a hot air gun, squirt some dynax s50 into the seam, clean up then seam seal all areas. Thats all so far. ill be stone chiping the undersides and top coat.

#134 sonikk4

sonikk4

    Twisted Paint Polisher!!!

  • Admin
  • PipPipPipPipPipPipPipPipPipPipPip
  • 15,970 posts
  • Name: Neil
  • Location: Oxfordshire

Posted 31 March 2010 - 08:59 PM

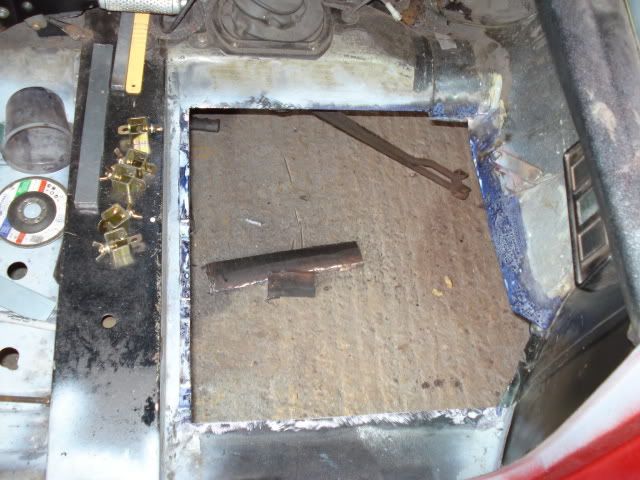
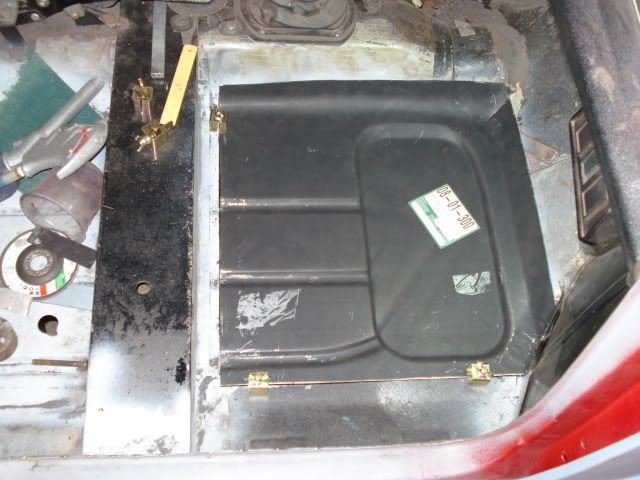
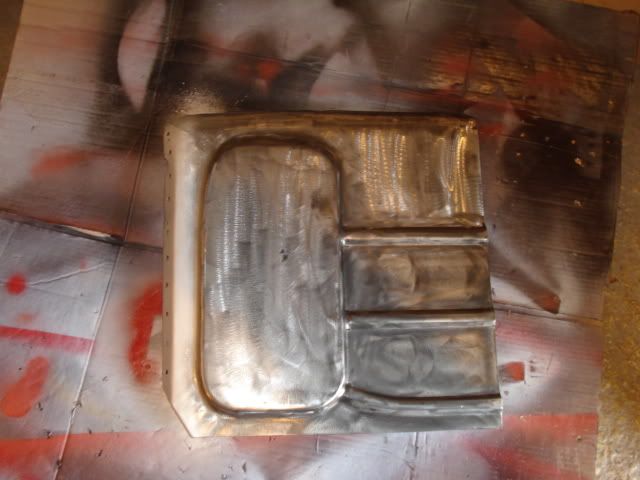
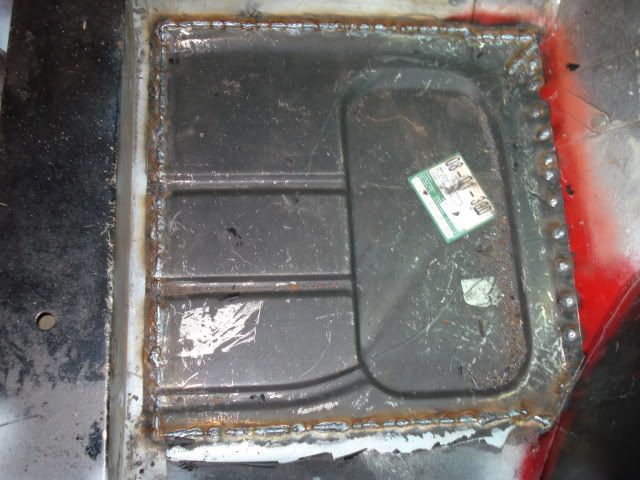
De-ja-vu once again. Due to Scott never having wielded a grinder before he went a little OTT on the newly installed r/h floor panel welds and basically thinned the metal too much. Such is life and i have to admit the panel was not a good fit so out with the oldish and in with the new again,

Flintstone power
Posted Image
Slaved in
Posted Image
Cut to size and E coat removed
Posted Image

It will be welded in tomorrow and on a different note has anybody had problems with Magnum door step panels. The ones we have been supplied with the flange to sill curves in at both ends, not good it should be straight. >:)

#135 scsracing

scsracing

    Mini Mad

  • Members
  • PipPipPipPip
  • 276 posts
  • Location: Eastbourne

Posted 01 April 2010 - 10:21 PM

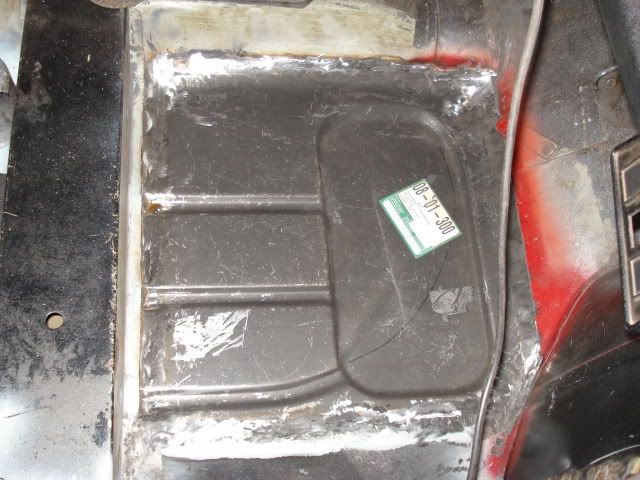
Dad has welded in the r/h floor pan and ground it all down
.
Posted Image
Posted Image

At least this time the floor fits a lot better, he's got to do some more fabrication to finish off the r/h side where the floor attaches to the inner wing then some sealing up.


3 user(s) are reading this topic

0 members, 3 guests, 0 anonymous users