Jump to content


Photo
- - - - -

Project Erm


  • Please log in to reply
834 replies to this topic

#106 scsracing

scsracing

    Mini Mad

  • Members
  • PipPipPipPip
  • 276 posts
  • Location: Eastbourne

Posted 02 March 2010 - 07:09 PM

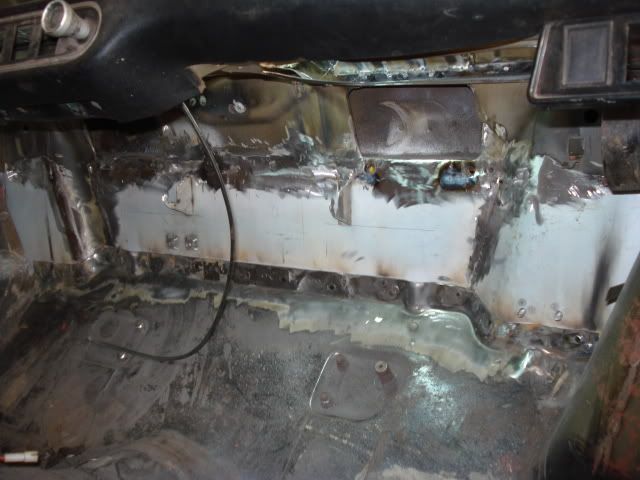
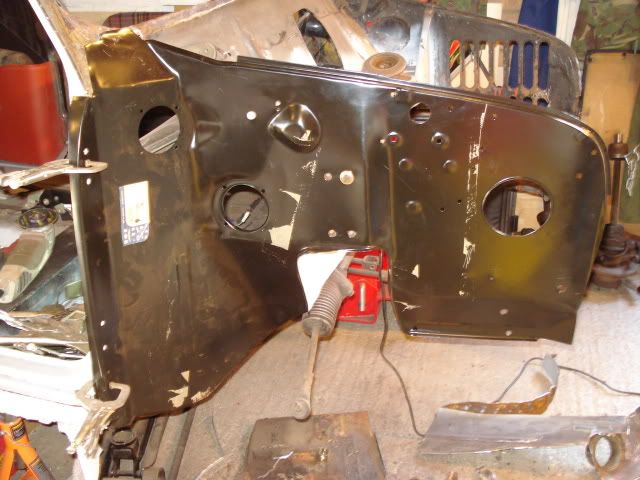
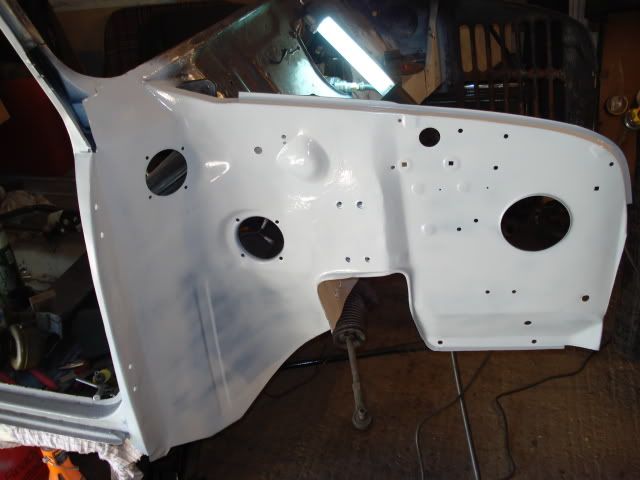
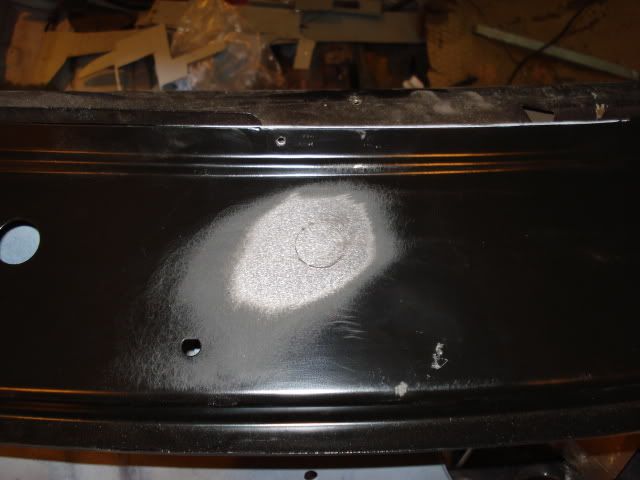
Another busy day for Dad, here's the finished bulkhead just needs a skim of filler before topcoat

Posted Image

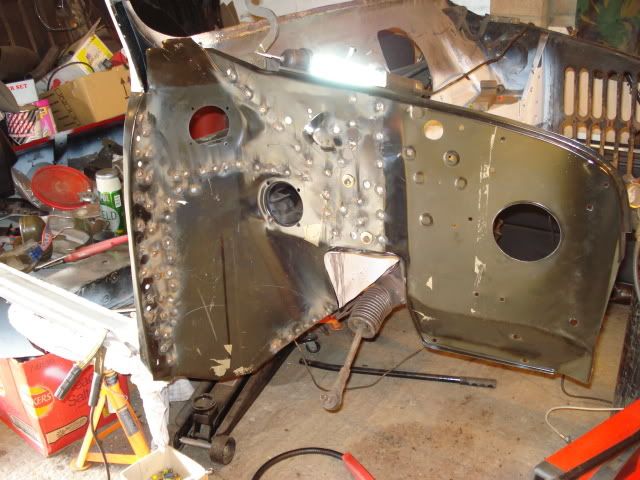
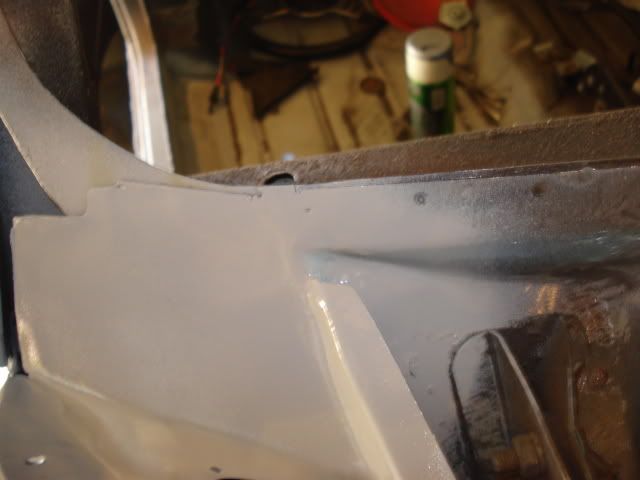
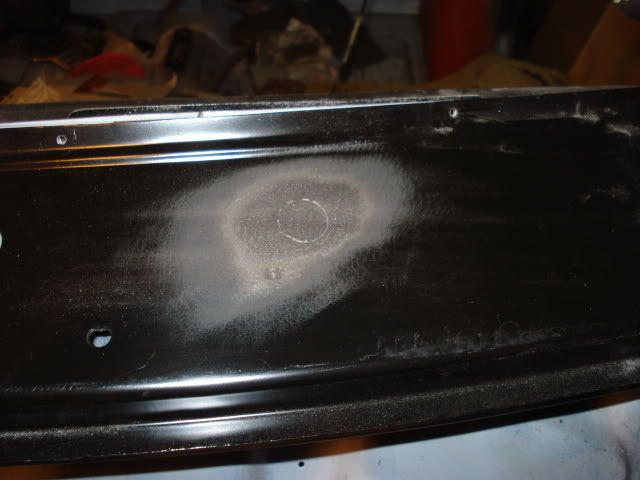
and the inside with welds ground down waiting for sealing up

Posted Image

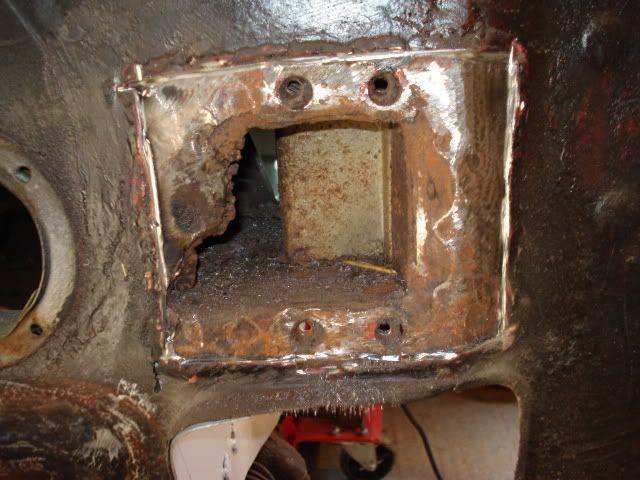
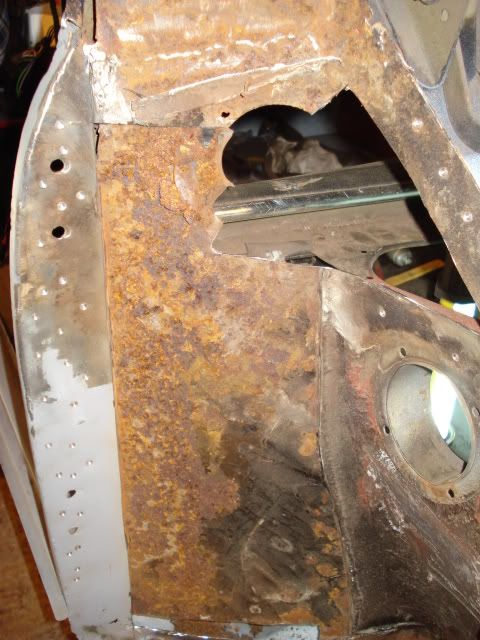
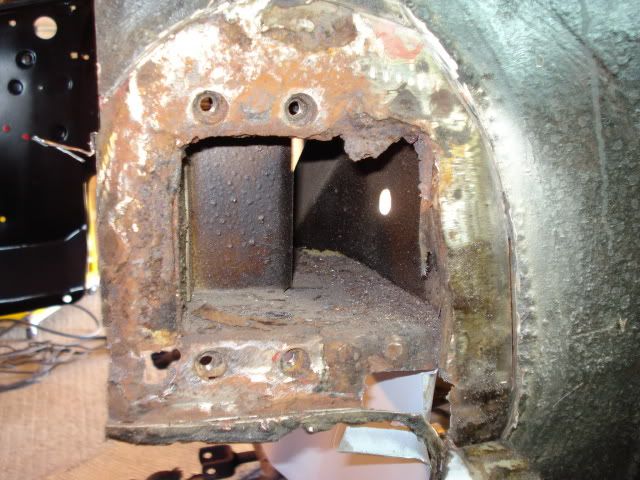
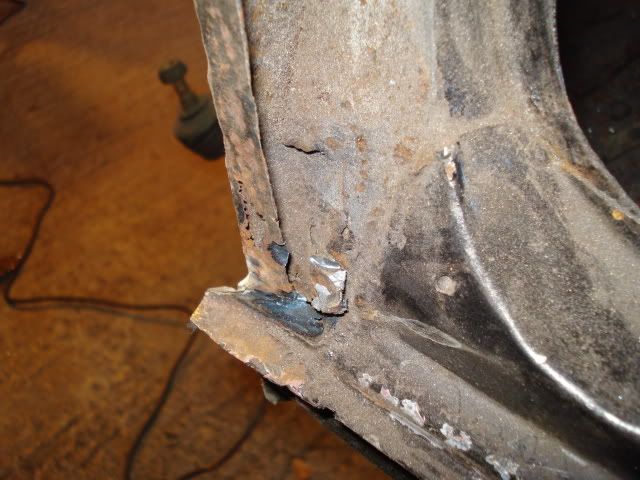
He then got on with taking the inner wing off, but first here's the damage that had been covered over and not treated at all

Posted Image
Posted Image

There was no paint or anything on any of the surfaces covered by the flitch panel and crap panel covering the damper mount. Fortunately once dad went over the remaining bits with the grinder it all came up clean.
Posted Image

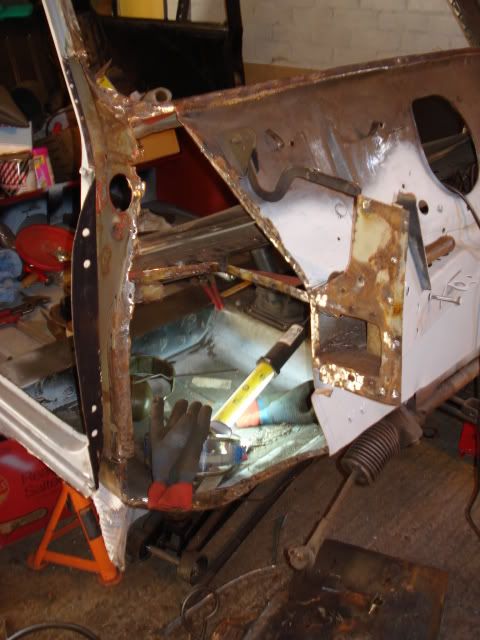
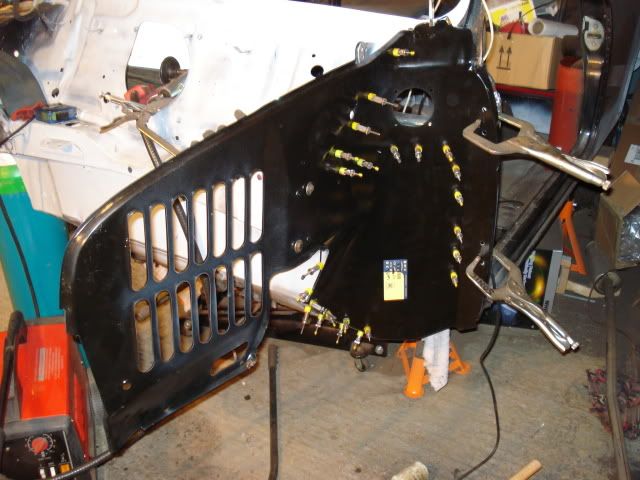
New inner wing clamped in place and it actually fits. Tomorrow he will fit some small repairs prior to fitting the inner wing
Posted Image

#107 scsracing

scsracing

    Mini Mad

  • Members
  • PipPipPipPip
  • 276 posts
  • Location: Eastbourne

Posted 03 March 2010 - 07:43 PM

Mini is progressing lots now down to my dad.Hopefully by the end of next week the front of the car should be done next which would be great as all that would be left would be the left hand sills,door step and door skin along with two floor pans and the right hand outer sill.That might sound alot to some but in the scale of this project there just small touches :lol: .Just have a few tiny repairs on the bulkhead above the rear arches and the rear window frame edges.

Anyway today was more prep done by my dad to get it all ready for the inner wing to go on.

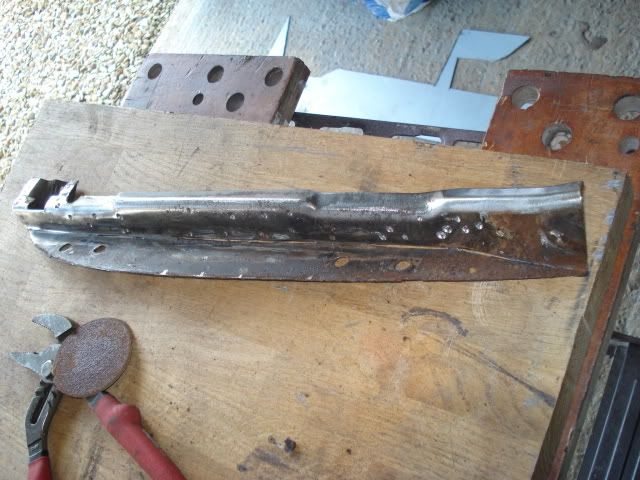
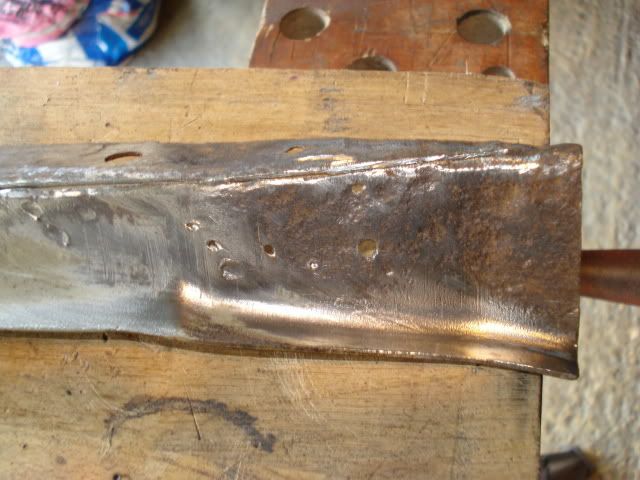
New section to replace old crusty section as it was in bad shape as shown in yesterdays photos.
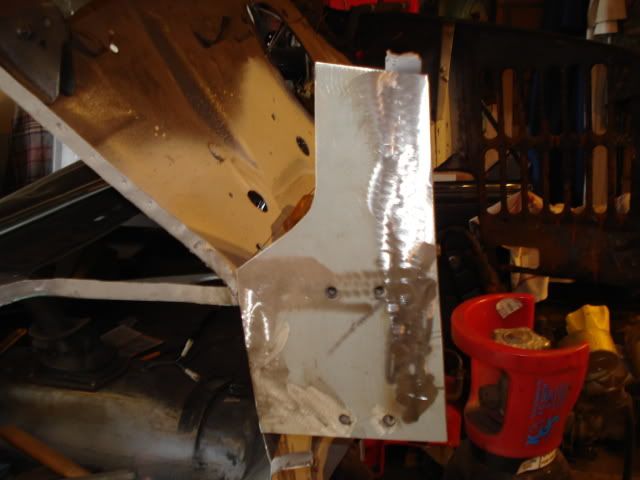
Posted Image

Window frame edge section fitted too as before hand the last person left it bare with no paint so it was quite bad which most of it missing.
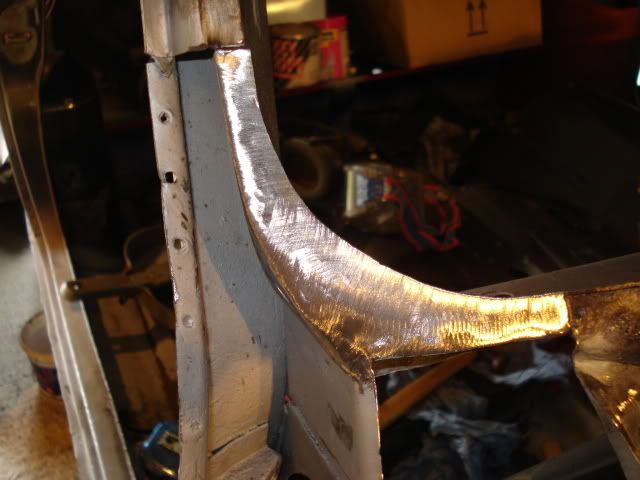
Posted Image

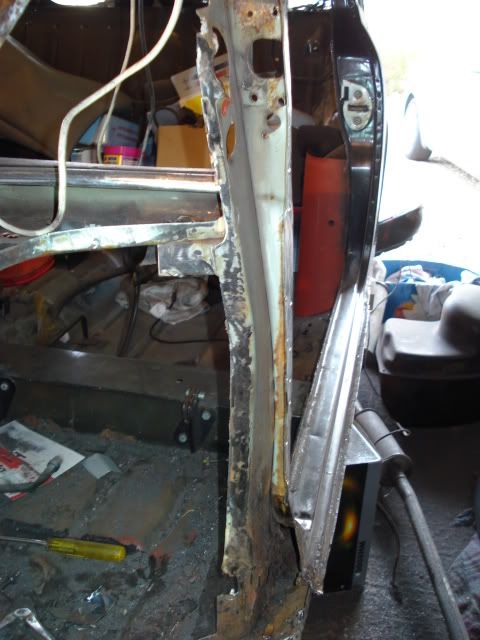
All the edges which join to the inner wing cleaned and prepped ready for welding .Also inside around the back of the dash was done as its hard to get too once inner wing is in
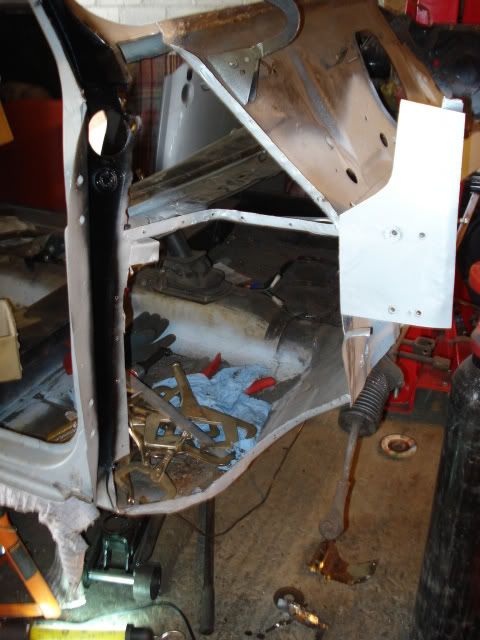
Posted Image

Bulk inside just had welds ground down and then sprayed to protect it for time being until it gets done at body shop.Still needs alot of the old paint stripping back around the large repair section but think i might be doing that on sunday.
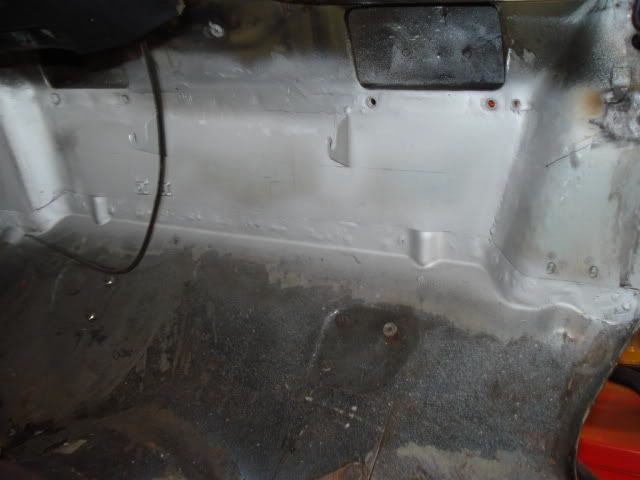
Posted Image

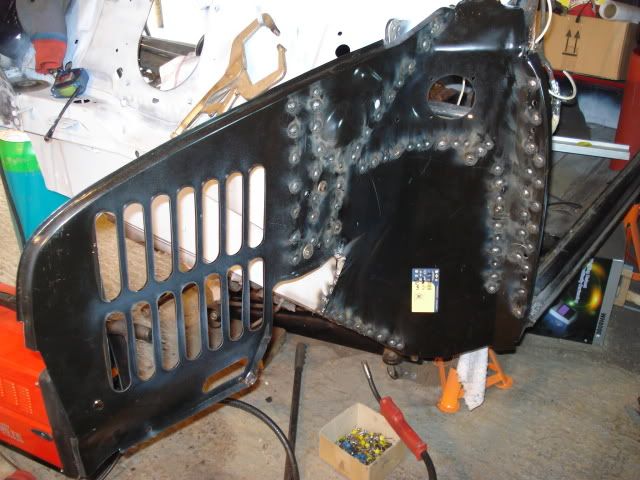
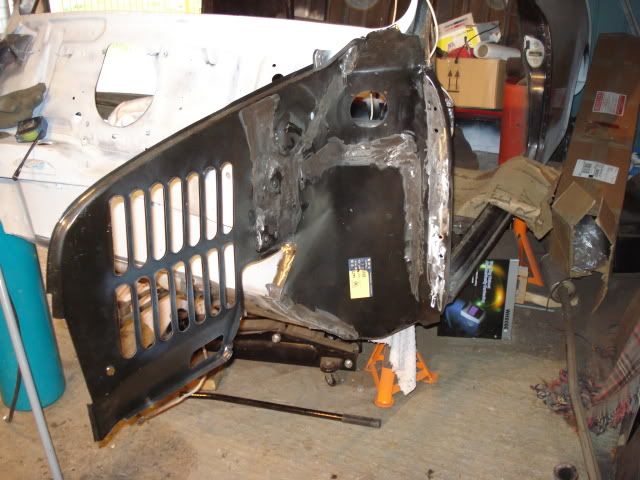
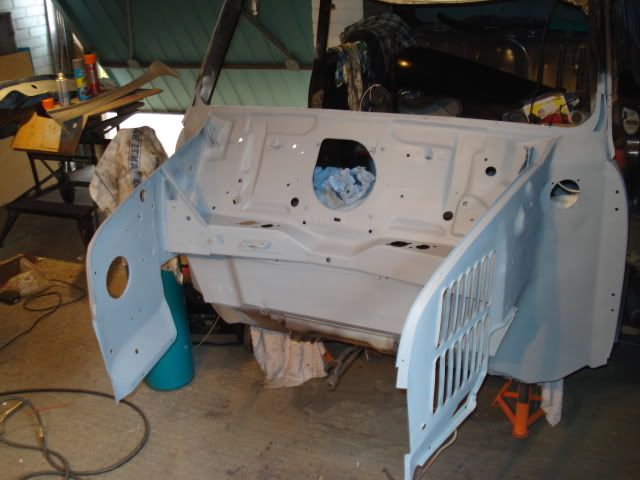
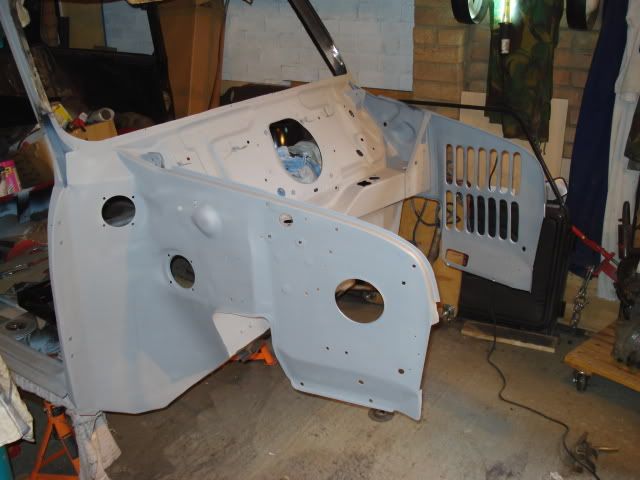
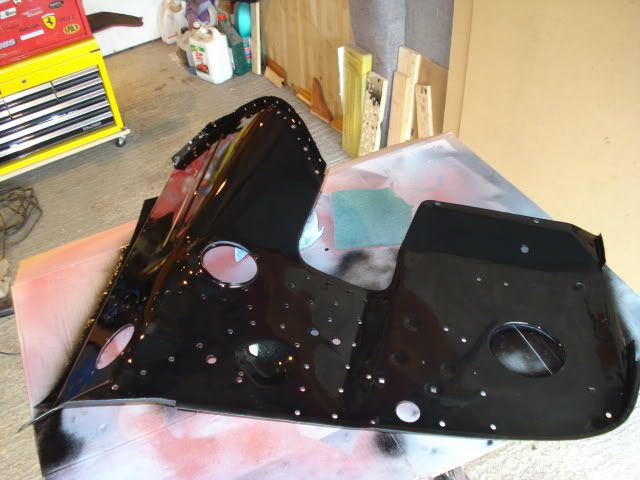
Inner wing preped with etch primer,primer and gloss black just to stop it rusting for time being,will be red in the end but this is just a temporay measure.Lots of holes in it as it will be spot welded on with a mig as we don't have a spot welder yet.
Posted Image

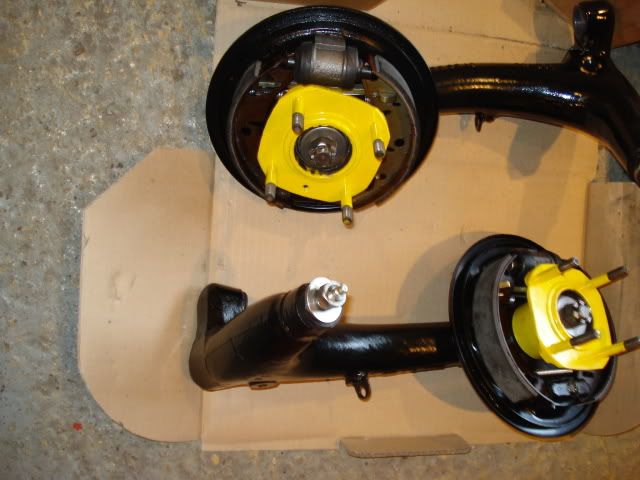
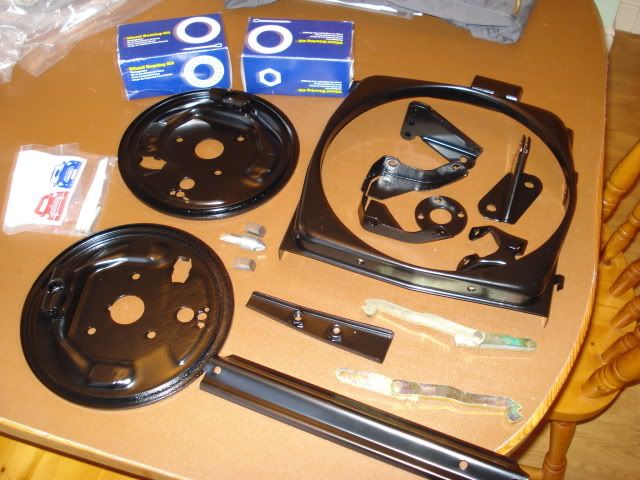
And some shiny bits,got all the bits to build up rear brakes and arms now so thats a fun job to do,just need to buy surspension kit and can get rear subframe built up.
Posted Image

That all for now folks, :lol:

Edited by scsracing, 03 March 2010 - 07:46 PM.

#108 Mini Basher

Mini Basher

    Speeding Along Now

  • TMF+ Member
  • PipPipPipPipPip
  • 424 posts
  • Location: Forest of Dean
  • Local Club: Mini Foresters

Posted 03 March 2010 - 07:54 PM

Your Dads doing an amazing job of all the welding and fabricating all the parts, keep up the good work it's raelly coming along welll

Andy

#109 scsracing

scsracing

    Mini Mad

  • Members
  • PipPipPipPip
  • 276 posts
  • Location: Eastbourne

Posted 03 March 2010 - 08:00 PM

Your Dads doing an amazing job of all the welding and fabricating all the parts, keep up the good work it's raelly coming along welll

Andy


Yeah these 4 weeks he has off are really a great time for him to make some ground on this project as we plan to hit the body shop summer time getting all the body work done now means once the wammer weather hits we can think about getting it painted and then moving onto the mechcanical side of the car(sort of on it now but its on the back burner at the moment)

He does fabricate and fix things for a living as he is a aircraft engineer and has been for about 28 years so i am quite lucky on that front :lol: ,plus quite a while back he used to weld for other people and do up his own cars so has some experience in the field :lol:

Edited by scsracing, 03 March 2010 - 08:01 PM.

#110 scsracing

scsracing

    Mini Mad

  • Members
  • PipPipPipPip
  • 276 posts
  • Location: Eastbourne

Posted 04 March 2010 - 09:23 PM

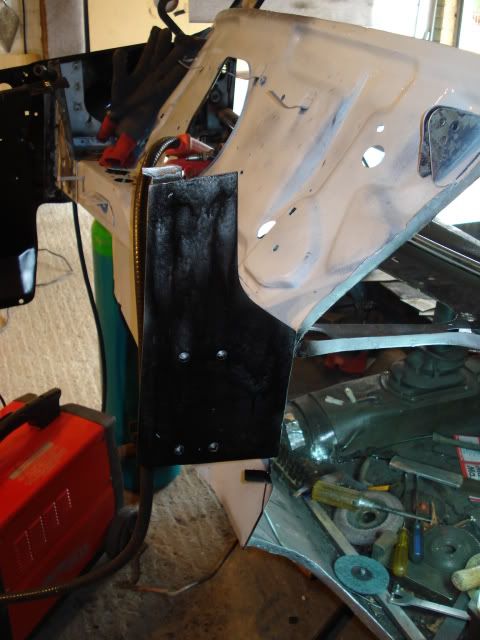
R/h inner wing now fitted, welds ground down and etch primed

Posted Image
Posted Image

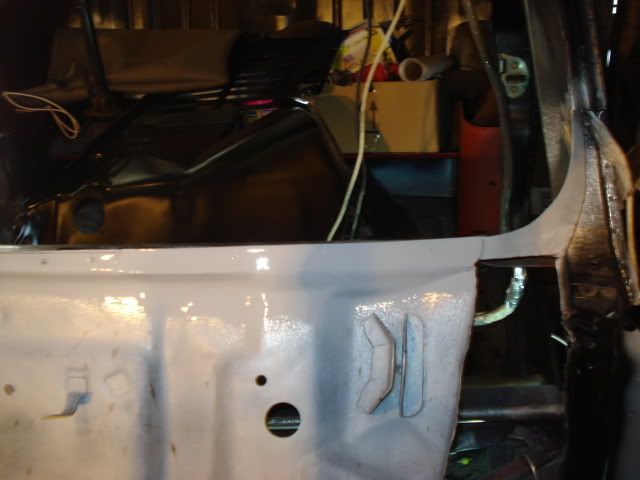
Dad welded up the small gap where the inner wing is spotted onto the windscreen surround

Posted Image

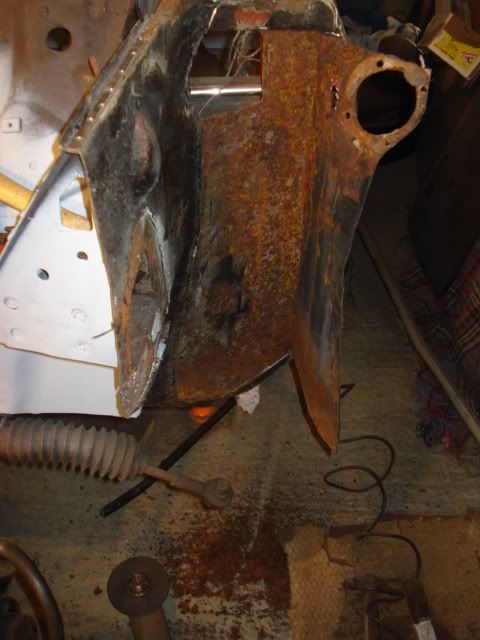
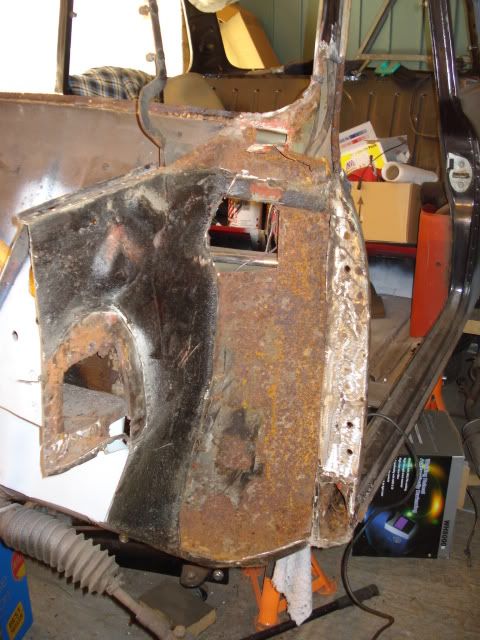
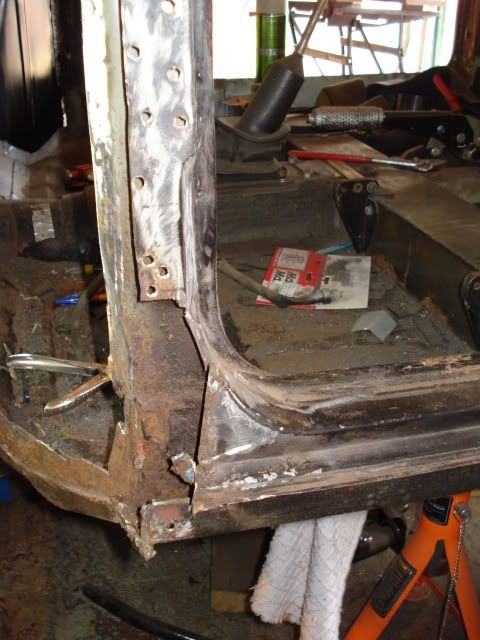
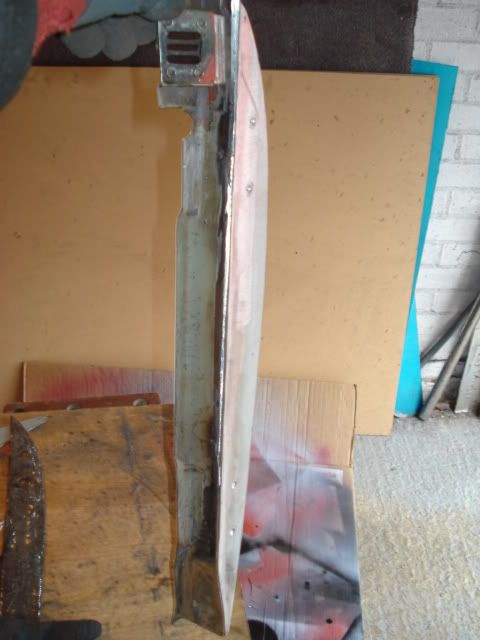
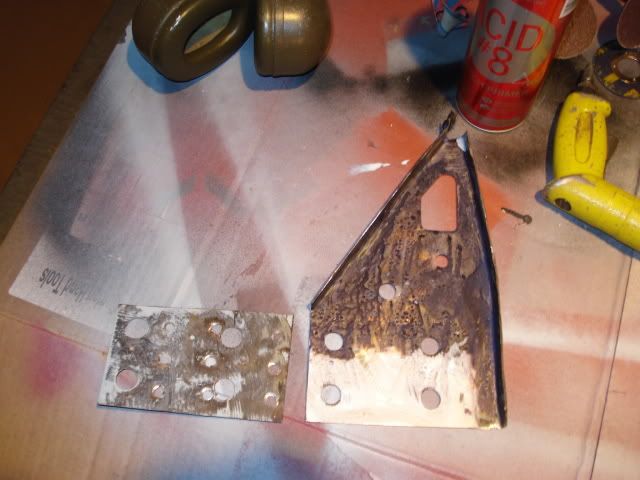
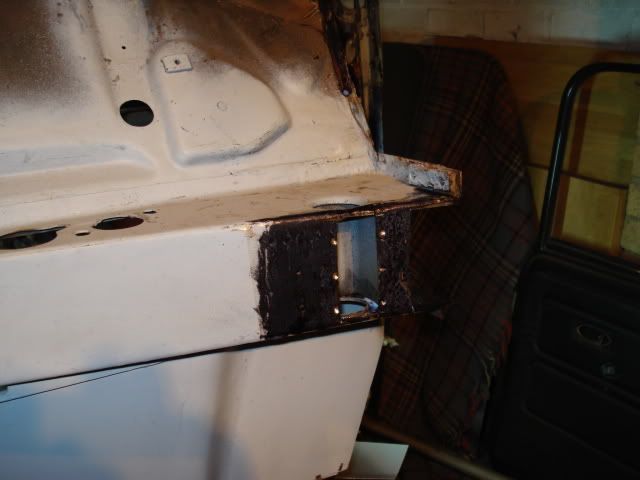
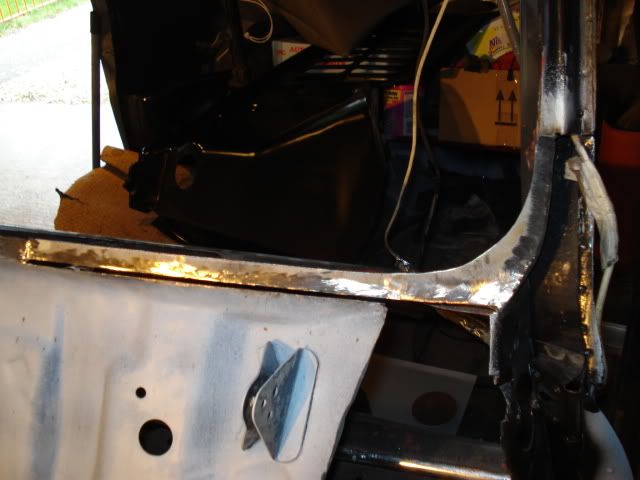
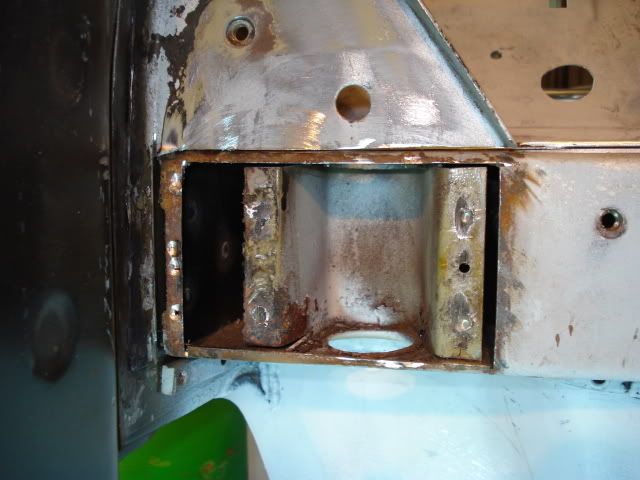
L/h inner wing has been partially removed and he found this under the plate covering the damper mounting holes so more repairs required

Posted Image

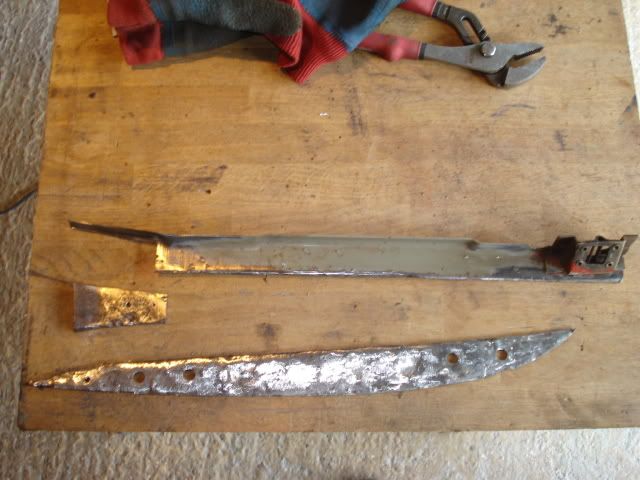
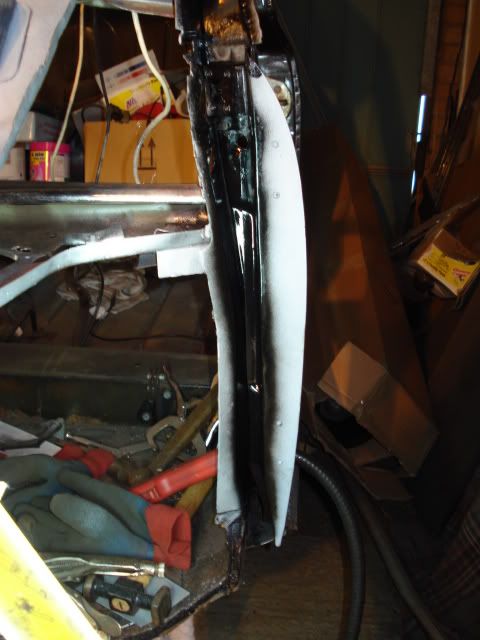
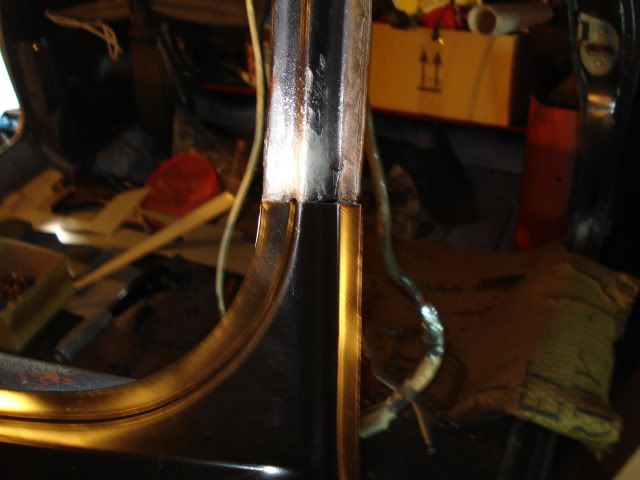
and at the bottom of the A post is this lash up so more panel fabrication required

Posted Image

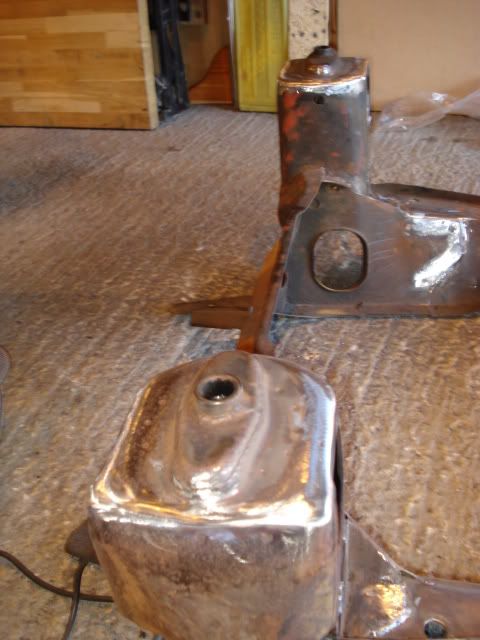
Dad also reinforced all the welding on the front subframe and seam welded the top mounts and ground them down flush, this will look good when powder coated.

Posted Image

All in all a busy day for him and more to come tomorrow ;)

#111 scsracing

scsracing

    Mini Mad

  • Members
  • PipPipPipPip
  • 276 posts
  • Location: Eastbourne

Posted 05 March 2010 - 07:58 PM

Right another day and more rust(well it is a mini).More work done by my dad,

A lovely rust sandwich

Posted Image

All peeled back

Posted Image

The door hinged panel was pretty shot and this is a look inside the left hand sill,the sill is getting replaced anyway but it was just full of loose rust and rubbish which old sill covered over

Posted Image

The shot door hinge panel which according to my dad was quite hard to get off without damaging any other panels.

Posted Image

The part behind this hinge panel is solid but needs treating as there is rust in there.

Posted Image

Hinge panel pretty much had it

Posted Image

Old knackered section cut out

Posted Image

New section welded in and welds ground down and smoothed ready to fit back in car after it was been painted .

Posted Image

Also inner wing now cut off and the lips,window frame edge etc will be sorted out like on the otherside.Thats it for today guys,might be some more tomorrow but don't know yet :lol:

Edited by scsracing, 05 March 2010 - 09:22 PM.

#112 scsracing

scsracing

    Mini Mad

  • Members
  • PipPipPipPip
  • 276 posts
  • Location: Eastbourne

Posted 07 March 2010 - 07:20 PM

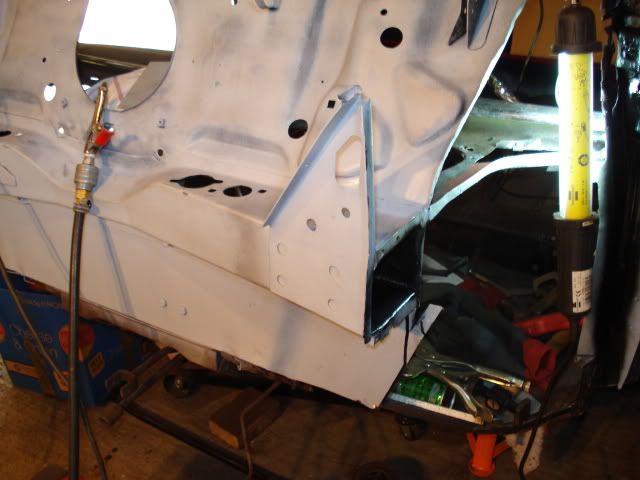
Well today started off well getting the l/h side of the inner wing area all prepped until Dad looked at the inner wing support bracket,

Posted Image

It was a bit worse for wear but when he removed it the cross member was also knackered so all the rust was cut out, he made a new section for the support bracket and welded that in. He started to tack the repair sections into the cross member when he ran out of gas Bugger!!

Posted Image

Now he's got to find a supplier tomorrow and so more wire as well.

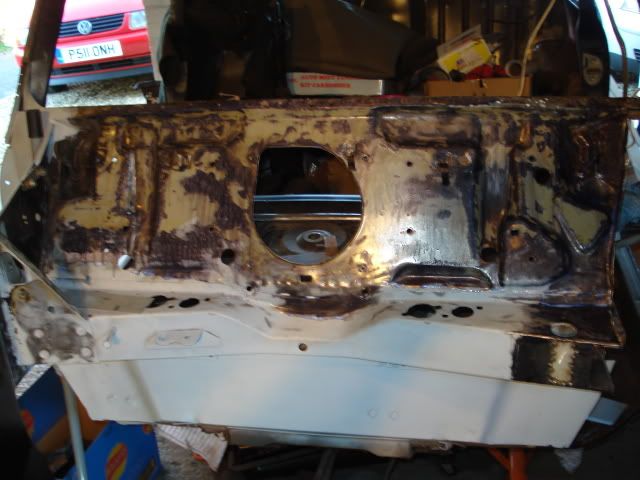
We stripped back the rest of the bulkhead and cleaned that up as well

Posted Image

The new inner wing was etch primed, primed and then top coated ready for welding on hopefully tomorrow

Posted Image

#113 scsracing

scsracing

    Mini Mad

  • Members
  • PipPipPipPip
  • 276 posts
  • Location: Eastbourne

Posted 08 March 2010 - 10:07 PM

Expensive day today after Dad's credit card got a battering at B.O.C. One bottle of Argoshield Light and 5kg spool of 0.6mm wire and a new regulator £190 bar the odd pound or two. Ouch!! :( :D

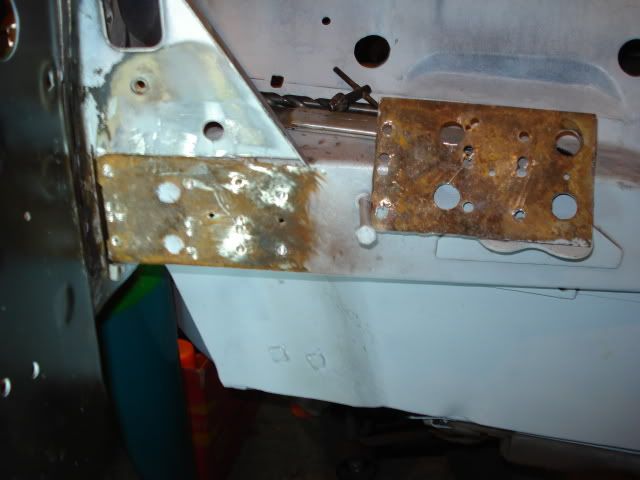
Anyway after all that he's got on a bit more today so the l/h inner wing support bracket is back on
Posted Image

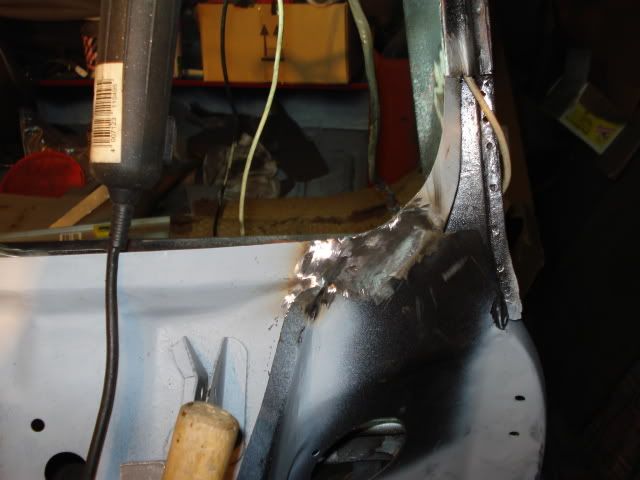
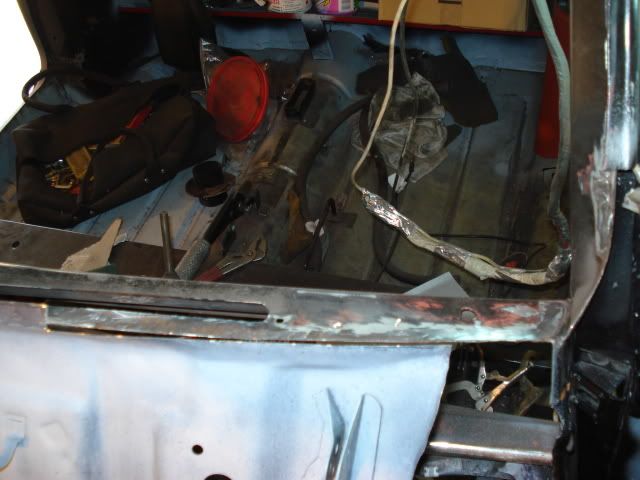
The l/h corner of the windscreen cutout is rotten as a peach so he's cutout all the nasty stuff
Posted Image

New section tacked in
Posted Image
and ground down and cleaned up, the outer new section will be welded in tomorrow
Posted Image

and the repaired l/h A post welded back in
Posted Image

Now the compressor is dying so hopefully we will be getting a new bigger one soon, we just need Machinemart to have another VAT free night. :wub: :)

Edited by scsracing, 08 March 2010 - 10:09 PM.

#114 scsracing

scsracing

    Mini Mad

  • Members
  • PipPipPipPip
  • 276 posts
  • Location: Eastbourne

Posted 09 March 2010 - 07:49 PM

Well we got another bottle of gas,costly but if this one runs out we in trouble as its massive.
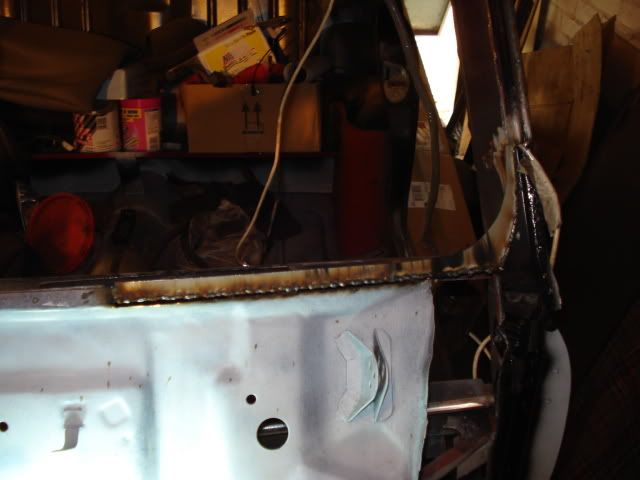
Dad has been busy again as usual,

The window lip has been finished now with the remaining gap welded up and then ground down and preped.

Posted Image

Then the L shaped repair section was welded in and preped ready for inner wing to go in.

Posted Image.

Inner wing lined up and held in with skin pins.

Posted Image

A few spot welds later :thumbsup:

Posted Image

All ground down :)

Posted Image

#115 jayare

jayare

    Up Into Fourth

  • TMF+ Member
  • PipPipPipPipPipPipPipPipPip
  • 2,093 posts

Posted 09 March 2010 - 08:20 PM

This is coming along really well - you're going to have a properly solid Mini there when it's all done!

JR

#116 scsracing

scsracing

    Mini Mad

  • Members
  • PipPipPipPip
  • 276 posts
  • Location: Eastbourne

Posted 10 March 2010 - 05:52 PM

Right more work done today.

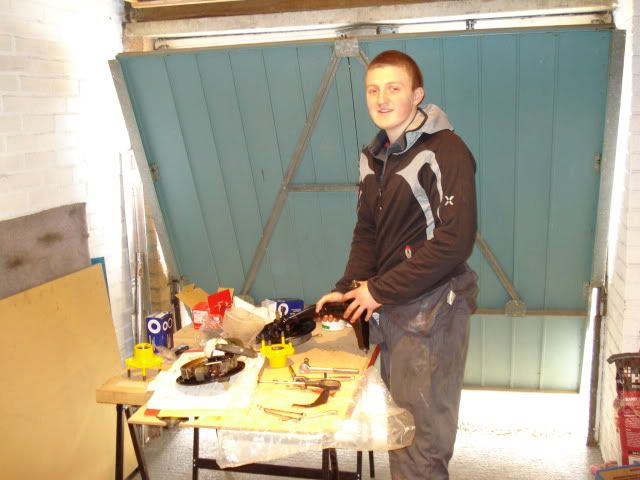
First off proof i do actually do some work on it :)

Posted Image

Not alot of welding done today as the radius arms took up alot of the time to build.Dad did get some welding in though with him patching up the top of the inner wing so there is no longer a hole.

Posted Image

Also after doing the left hand wing support and seeing what was behind it he decided to do the right hand one.Although this time the inner wing was on,Slight problem getting at the spot welds closest to the inner wing as had to drill at a odd angle.Once it was off though it was the same as the other side so we were glad he decided to take it off.

Posted Image

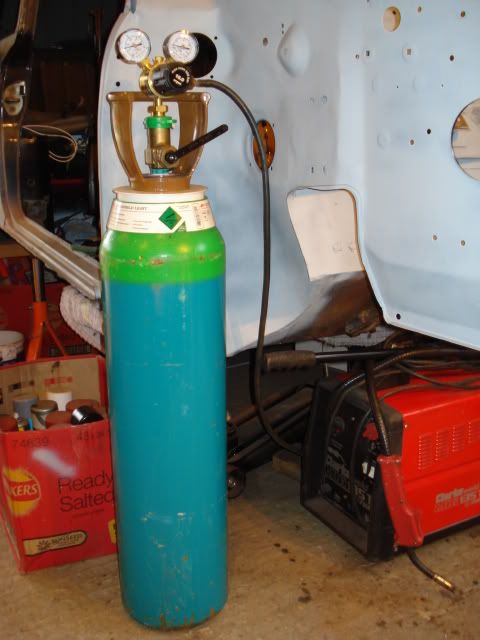
The big BOC bottle dad got the other day,thing weighs a tonne and much bigger than his old bottle so should last a while.

Posted Image

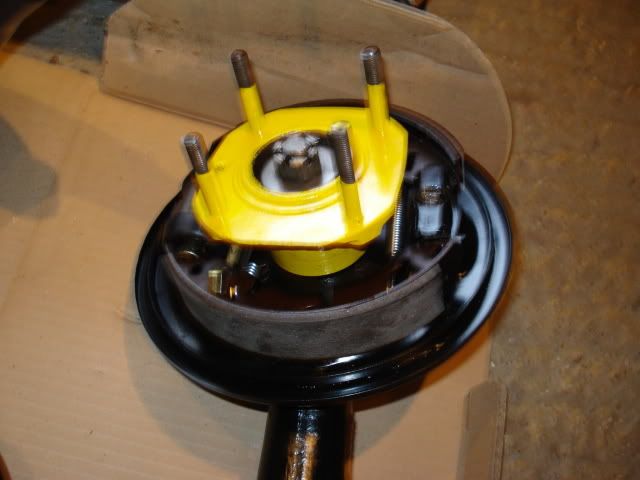
The radius arms were built up.Bit of a pain as the holes for the wheel cylinder were in the wrong place so those had to be drilled out and adjusted.Took a few attempts getting the springs for the pads the right way round.

Also the stub axle was very rough as we think the arms were bead blasted leaving the surface rough so after some wet and dry the bearings fitted.All the powder coating had to be removed inside the hub too as there was alot of over spray.

Posted Image

Posted Image

Edited by scsracing, 15 March 2010 - 09:52 PM.


#117 scsracing

scsracing

    Mini Mad

  • Members
  • PipPipPipPip
  • 276 posts
  • Location: Eastbourne

Posted 11 March 2010 - 05:35 PM

Dad's been busy today, he has sorted out the other inner wing mounting bracket

Posted Image

and then he had tried the Heritage scuttle for size, l/h side not bad

Posted Image

R/h side rubbish fit

Posted Image

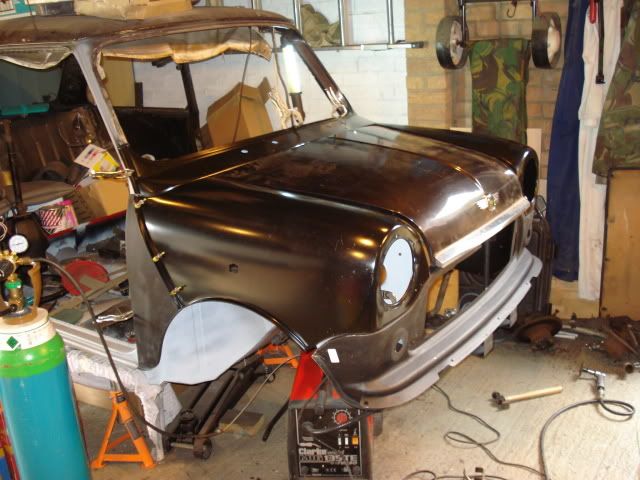
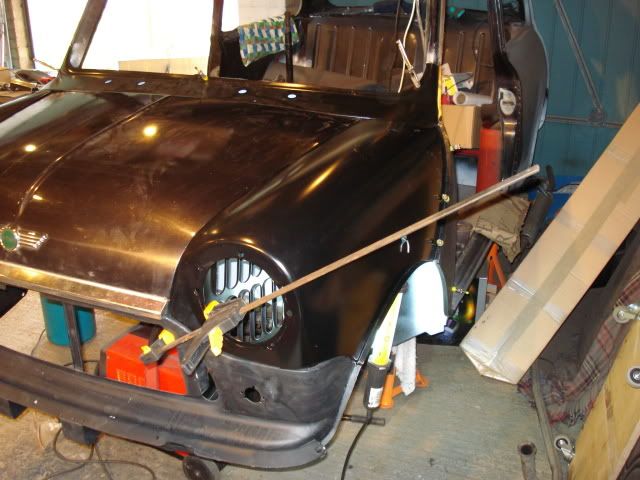
He's not impressed but he will make it fit. Anyway while waiting for the paint to dry for the inner wing repair he pinned this lot in

Posted Image
making the use of a sash clamp to make the l/h wing line up
Posted Image

and the A panel fits well (inner arch view)
Posted Image

Tomorrow he will spend more time fettling the panels to get the gaps right, just a struggle with the l/h wing to front panel gap. Its bad but again it will have it.

#118 Daveuk

Daveuk

    Speeding Along Now

  • Members
  • PipPipPipPipPip
  • 429 posts
  • Location: Lowestoft
  • Local Club: friendly with any mini people

Posted 13 March 2010 - 08:40 AM

jealous jealous jealous ha ha

great work the both of you are doing, got me in the mood now for mine again,

cheers

Dave

#119 scsracing

scsracing

    Mini Mad

  • Members
  • PipPipPipPip
  • 276 posts
  • Location: Eastbourne

Posted 13 March 2010 - 06:38 PM

jealous jealous jealous ha ha

great work the both of you are doing, got me in the mood now for mine again,

cheers

Dave


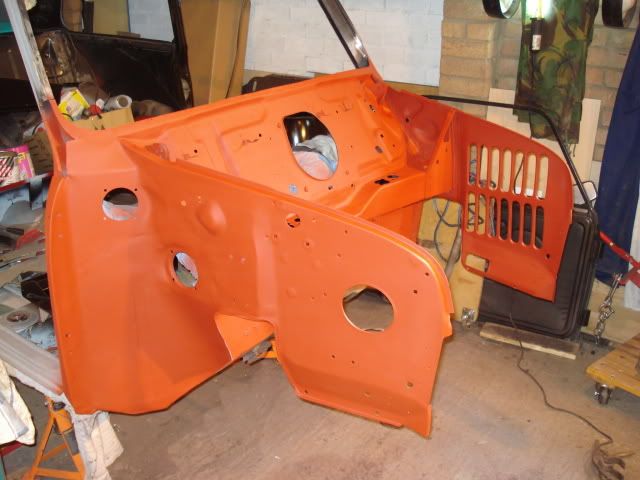
Cheers for that, Dad has been real busy this past 4 weeks he would have done more but its all the niff naff repairs that take the time. Anyway he's filled the spare holes in the scuttle

Posted Image
Posted Image

and all the inner panels got a liberal dose of grey primer

Posted Image
Posted Image

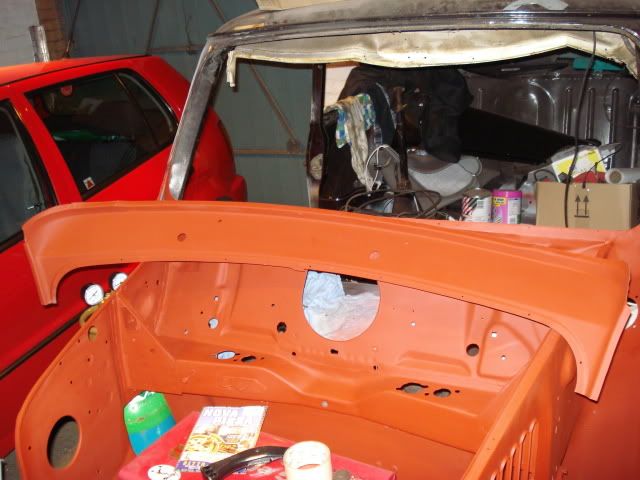
then on with the red primer ready for top coating in the covered areas behind the scuttle and A panels

Posted Image

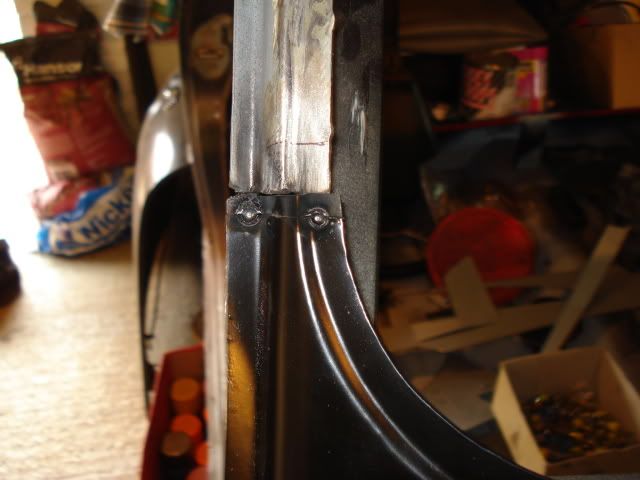
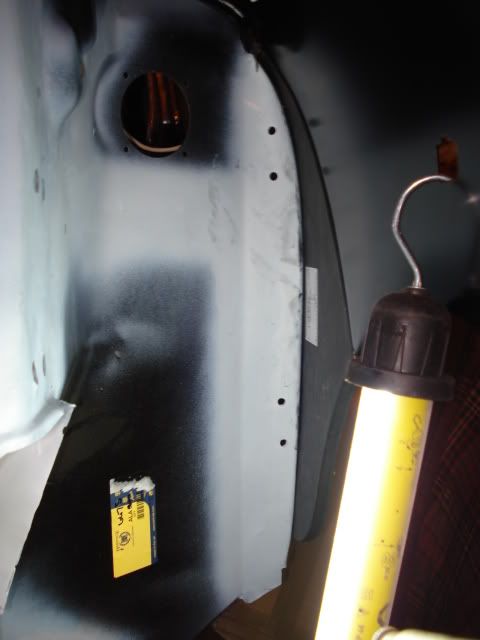
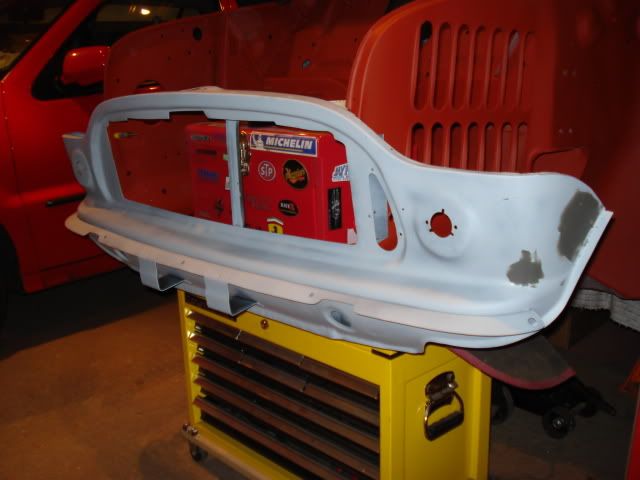
He's got rid of the E coating on the front panel and etch primed, he's also etch primed, primed under the scuttle ready to topcoat that before he welds it in place. He has then got to prime and paint the inside of the wings and A panels before they are welded on.

Posted Image
Posted Image

#120 jwb_moto

jwb_moto

    One Carb Or Two?

  • TMF+ Member
  • PipPipPipPipPipPipPip
  • 1,387 posts
  • Local Club: PMOC

Posted 15 March 2010 - 09:42 PM

Your dad looks like an Artiste with the welder.

Where you at the last PMOC club meet? if so im really sorry i didnt come to introduce myself i had everybody and the uncle asking me stuff LOL.


2 user(s) are reading this topic

0 members, 2 guests, 0 anonymous users