Project Erm
#91

Posted 24 February 2010 - 08:53 PM
#92

Posted 25 February 2010 - 04:40 PM
tubing arches is more for wheel clearance so you can get a low low mini
and would get rid of your bodged section
Hmm still not sure though.Which part are you referring too as the bodged section though?
#93

Posted 25 February 2010 - 08:26 PM
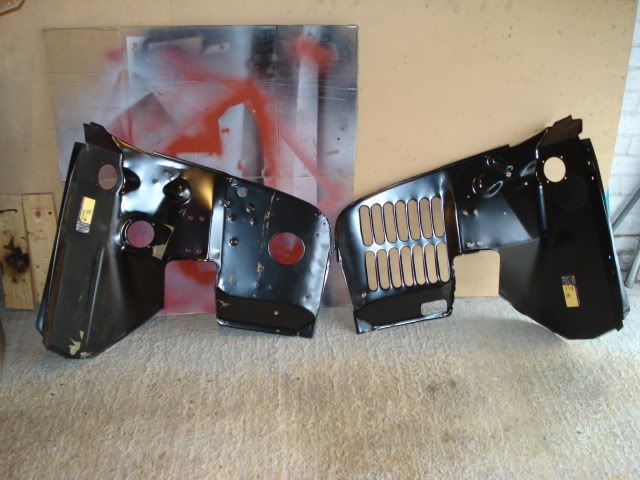
and this
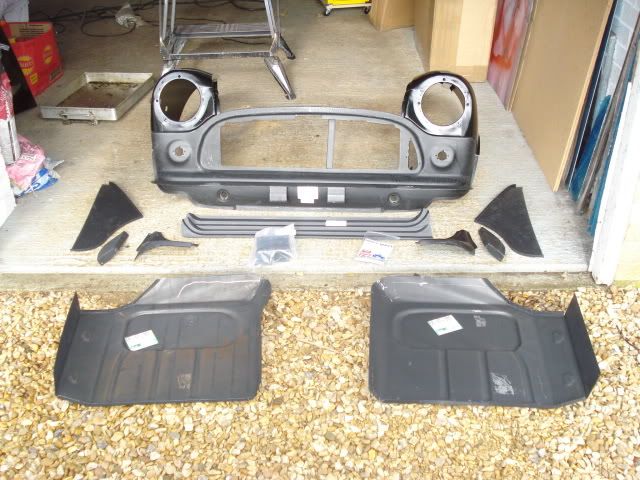
Likey likey only thing now is i need Dad to finish repairing the bulkhead, carefully remove the scuttle, remove the old inner wings and then prime and paint the panels before it can all be fitted to Erm. Still he's got another three weeks off work so hopefully most of it will be done by then.
#94

Posted 25 February 2010 - 08:36 PM
Anyway today i have mainly been doing this
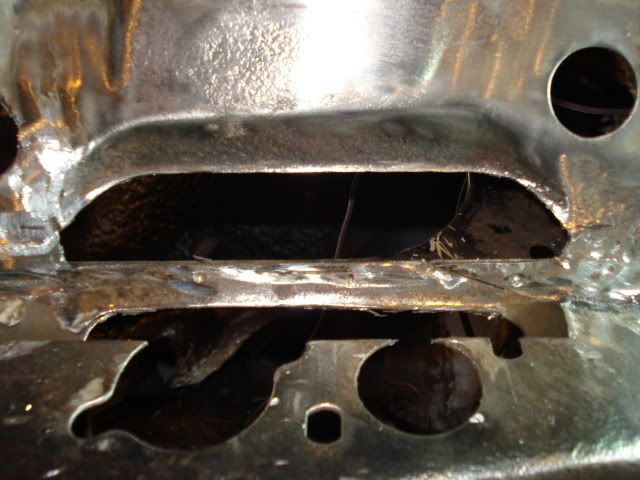
and this
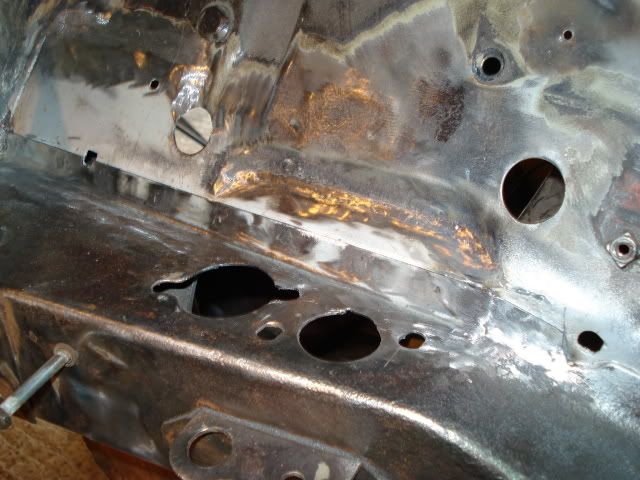
and this
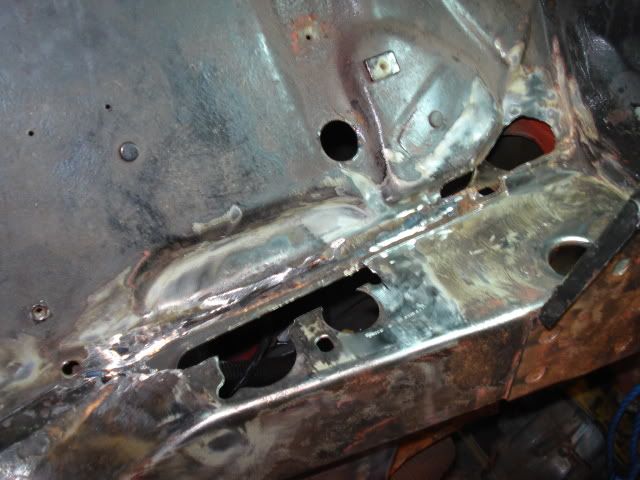
and this
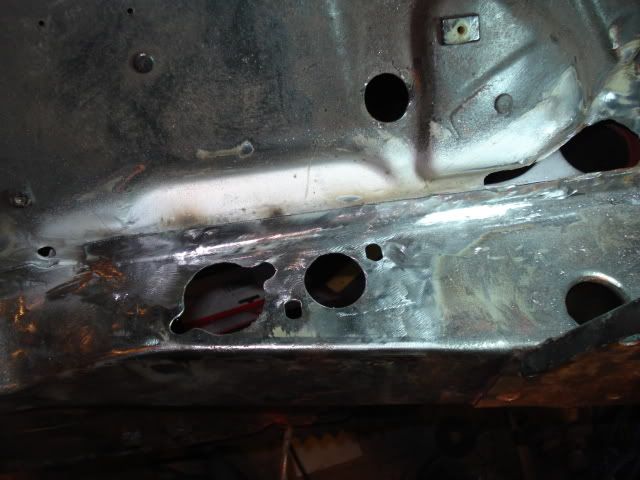
2 more bits to do then onto the big repairs under the cross member.
#95

Posted 25 February 2010 - 11:18 PM
tubing arches is more for wheel clearance so you can get a low low mini
and would get rid of your bodged section
Hmm still not sure though.Which part are you referring too as the bodged section though?
you said they had been messed about with? #head scratch#
basically the arch comes down a fair bit before reaching the outer body if that makes sence, when you tub the arches you take a straight piece of metal and go from that nice piece of metal you had (inner arch) and come straight out, if you search there should be a couple guides i'll have a quick look for you
#96

Posted 26 February 2010 - 07:21 PM
tubing arches is more for wheel clearance so you can get a low low mini
and would get rid of your bodged section
Hmm still not sure though.Which part are you referring too as the bodged section though?
you said they had been messed about with? #head scratch#
basically the arch comes down a fair bit before reaching the outer body if that makes sence, when you tub the arches you take a straight piece of metal and go from that nice piece of metal you had (inner arch) and come straight out, if you search there should be a couple guides i'll have a quick look for you
Yeah that bodge wasn't a bodge just were the outer arch had to be pulled back as it was much further forward than it should be so when the last guy replaced it he must of not had it in the right place.Don't think i will box the arches though,thanks for the suggestion but its just not for me at the moment
#97

Posted 26 February 2010 - 07:58 PM
Oh the joys of mini welding!!!
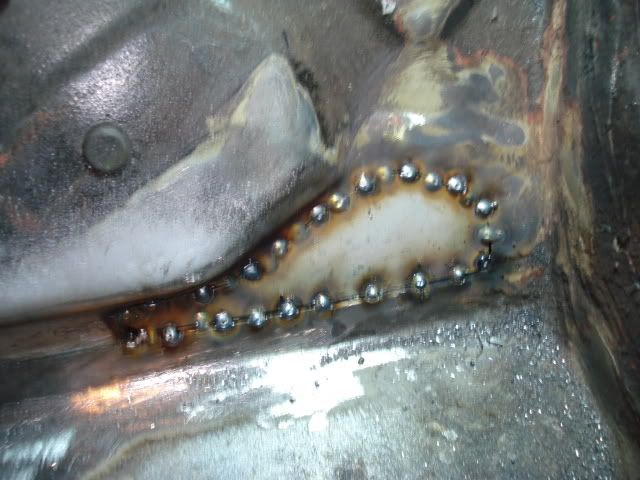
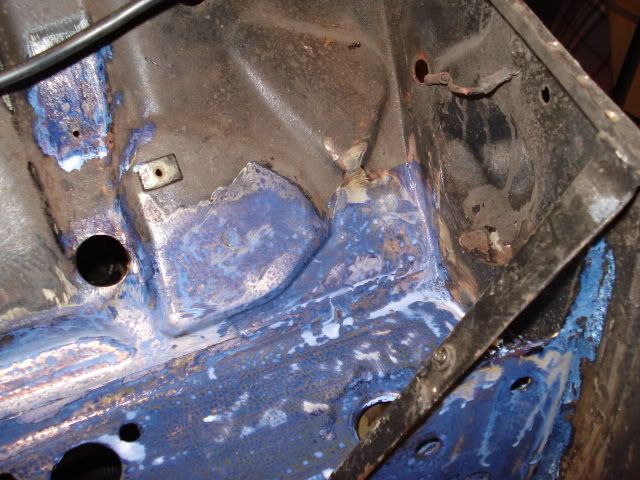
#98

Posted 26 February 2010 - 09:02 PM
#99

Posted 26 February 2010 - 09:14 PM
when we did my mates inner wings we got the heritage ones with the A panels already attached. It really saves a lot of hassle linning panels up and takes the guess work out of it. |Your dad deffo has a lot of patience.
I saw the inner wings with a panels already welded in but there was quite a difference in price to just buying them separate.Hopefully once all the inner wings are in and the front end is on then lining up all the wings and a panels plus scuttle shouldn't be too bad although when the wings arrived my dad spent some time getting them so they would just line up with the front end for the picture above.So the panels may need some adjusting they will fit in the end
Yeah he does have alot of patience but its probably because he knows the end result will be good and he would rather spend time making sure i drive a safe car rather than some patchy old death trap held together with filler and waxoil
#100

Posted 26 February 2010 - 09:21 PM
JR
#101

Posted 26 February 2010 - 09:41 PM
Have a practise welding some of the pile of bits you've cut off back together - once you get the hang of it it's not too difficult and I'm sure your dad would welcome the help!
JR
Have had a go at it a little while back,really do need to get some more practice in though.Problem is the only day in the week i get off is a Sunday and my dad works 4 on 4 off so rarely gets Sundays off.Although he has the next 3 or 4 Sundays off though so maybe have a go then.Think my plan for this sunday is remove rest of wiring loom and place in the bin(dad hates wiring,so i get to do instead although weirdly i like doing it
#102

Posted 27 February 2010 - 04:40 PM
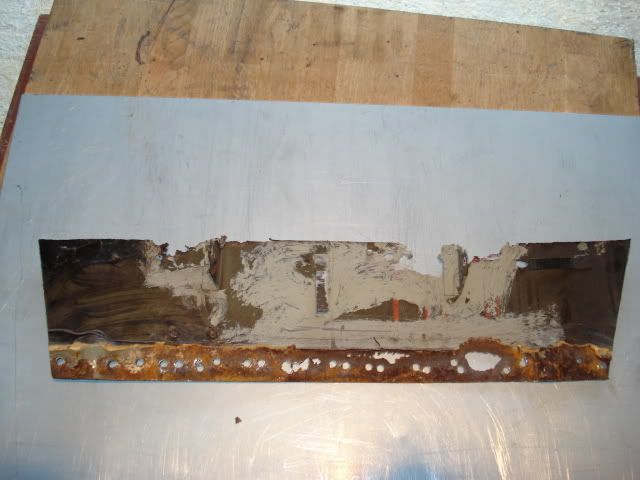
Dad fabricated this new lower bulkhead panel and transferred over the heater box hooks and also a couple of welded in nuts,
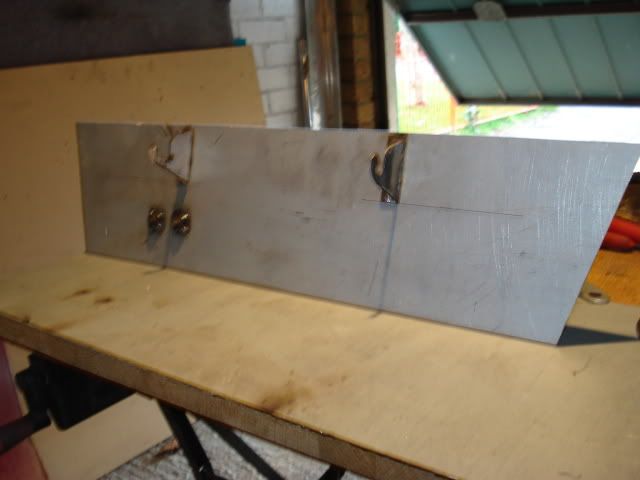
Old rusty bulkhead section,
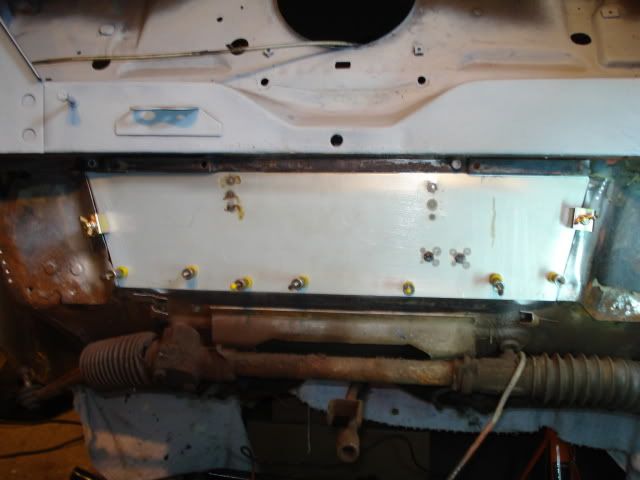
New section clamped in place after area rust treated and Zinc primer applied to bulkhead cutout and repair panel,
Internal view,
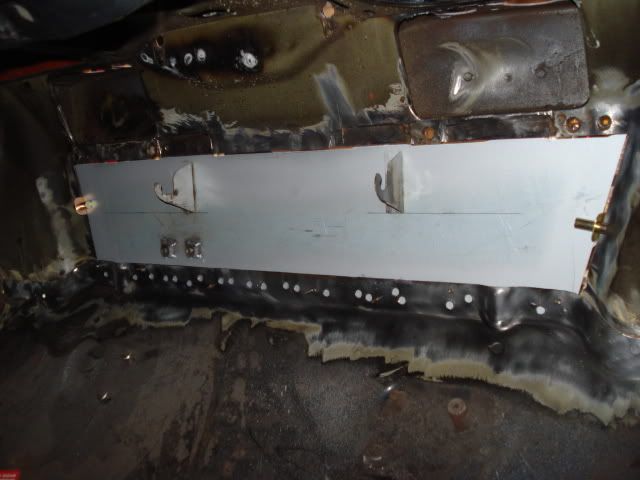
This will get spot welded in tomorrow and Dad will cutout and fabricate the remaining two sections of bulkhead while i get to play with the engine. Head off time to see what state the engine is in. First time for me with a proper engine although i used to build Nitro engines for model cars.
#103

Posted 28 February 2010 - 05:41 PM
On the plus side tho the head is good, all the valves are tidy with minimal wear in the valve guides,
Before
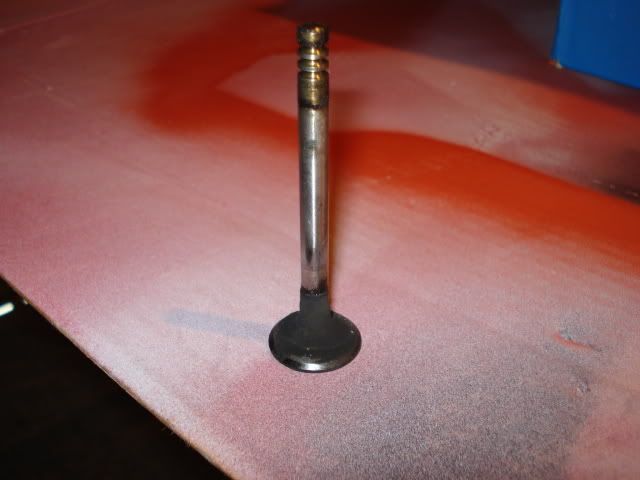
After
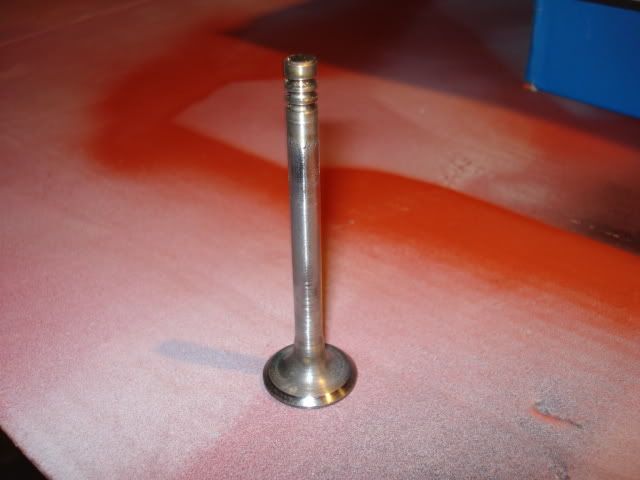
Also we finally got the corroded pot joint off but i had to grind it off then Dad gave it some large abuse with a hammer and chisel and it finally gave up
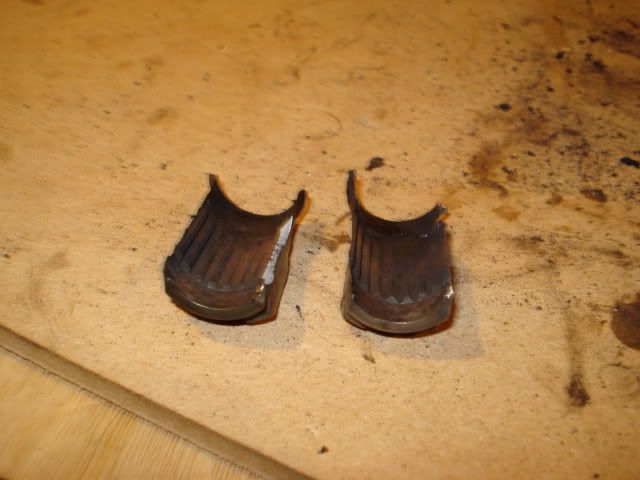
However i did learn that grinding can give you a bit of a hot spot especially around the crown jewels
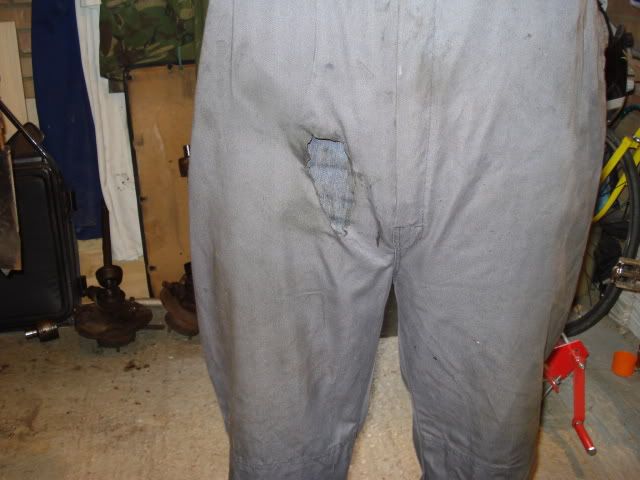
Dad fabricated the r/h repair panel for the lower bulkhead and tacked it in place, just the l/h to do tomorrow
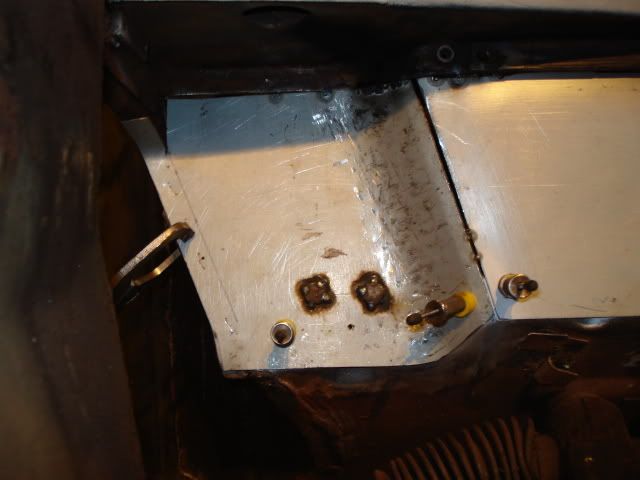
Edited by scsracing, 28 February 2010 - 05:42 PM.
#104

Posted 01 March 2010 - 07:31 PM
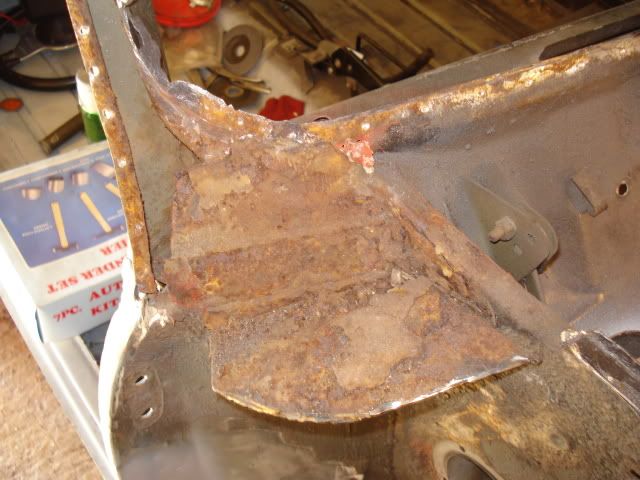
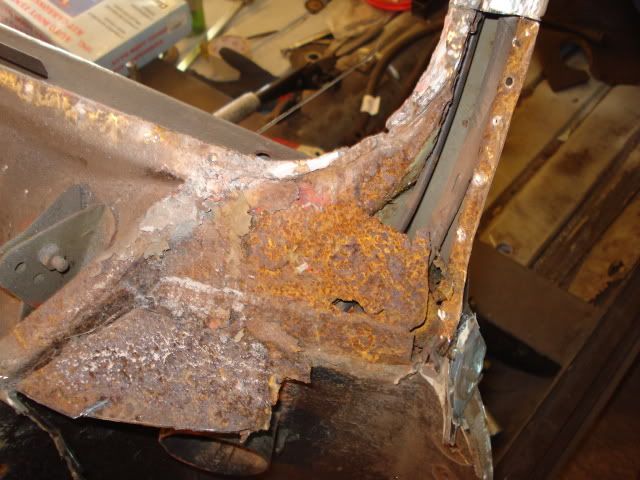
While he was waiting for primer and rust treatment to dry he whipped the scuttle off and look what he found
R/h side
L/h side
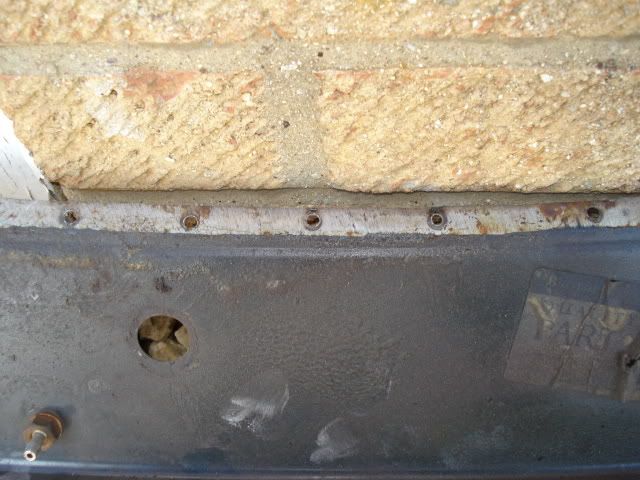
and the top edge of the scuttle was just bare metal, no treatment what so ever.
Somebody had gone to all the effort of replacing the scuttle but no preventative work done to any other of the areas covered by the scuttle. What a clown.
#105

Posted 01 March 2010 - 08:26 PM
1 user(s) are reading this topic
0 members, 1 guests, 0 anonymous users


