Project Erm
#661

Posted 06 June 2011 - 05:47 PM
#662

Posted 07 June 2011 - 07:25 PM
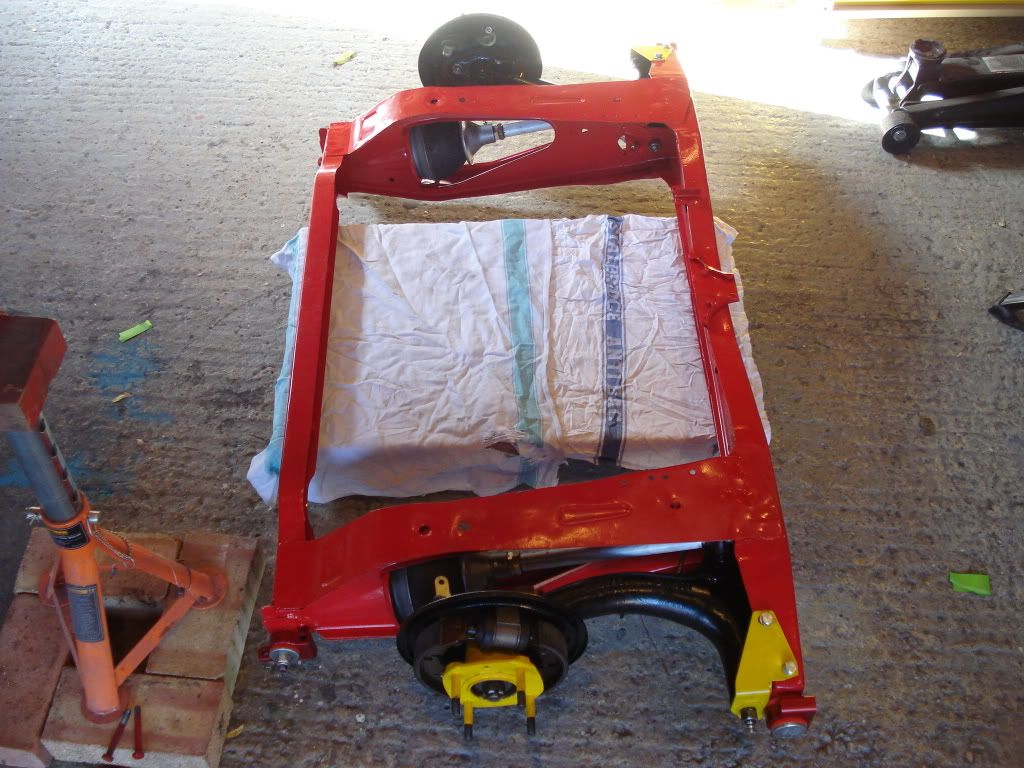
Today's trial's and tribulations consisted of the rear subframe build up.
Offered the subbie back up just to check everything was all right but yet again Satan farted in our faces and lo and behold one of the heelboard captive nuts failed. BUGGER BUGGER BUGGER. I did not know whether to cry or just smash the car with a big big stick.
So after contemplating falling on my sword we decided to take a fairly drastic step. I was going to drill out the old nut through the heelboard but instead we cut a large enough hole through the inner sill stiffener and found the nut had pulled away with part of the heel board stiffener not good. Now i thought i had done enough welding to keep this all from happening but obviously not.
So did this
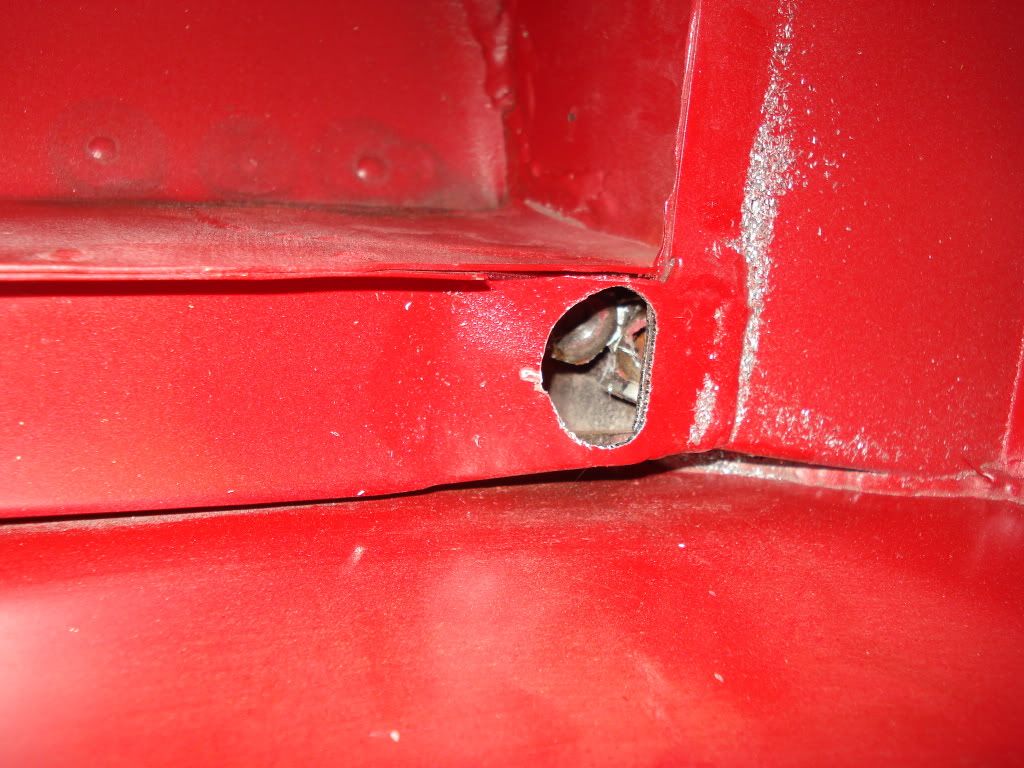
closer view
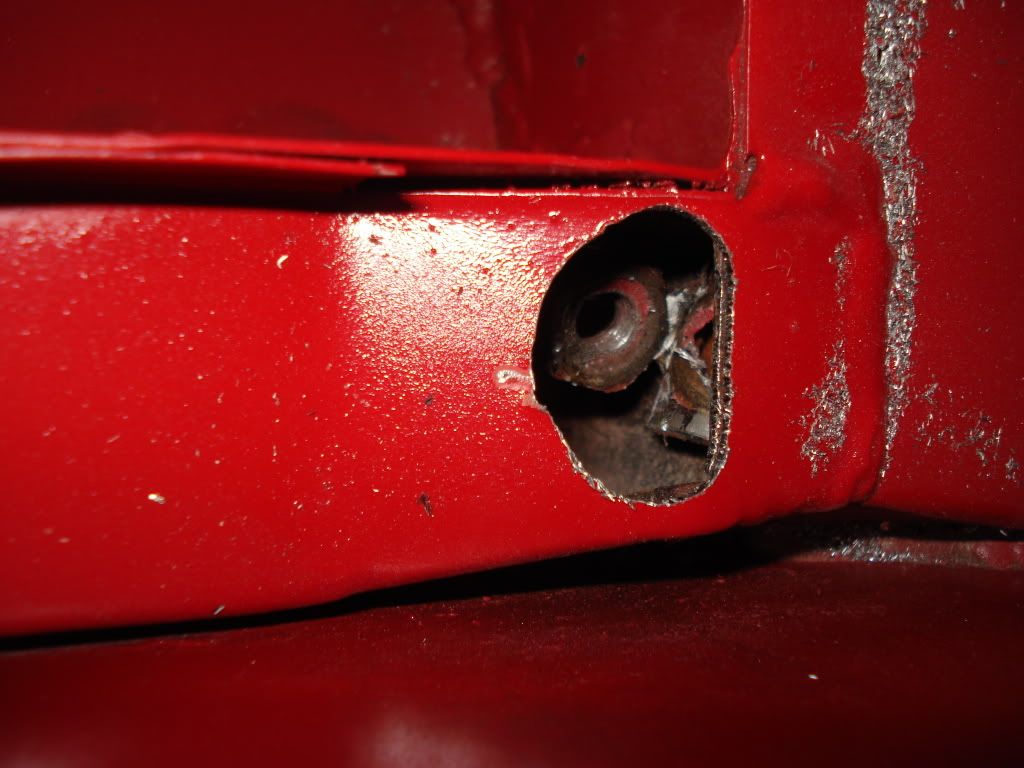
you can see the nut and the distorted stiffener so i had to use a large drift to beat the nut back out of the way and to reposition the stiffener. Now we will use the bolt and a stiff nut to secure the subframe so at least its only this side that suffered.
The only good thing about all of this is its given me an idea for making a small removable plate in this area for situations like this.
Anyway we fitted one of these bad boys and they look good
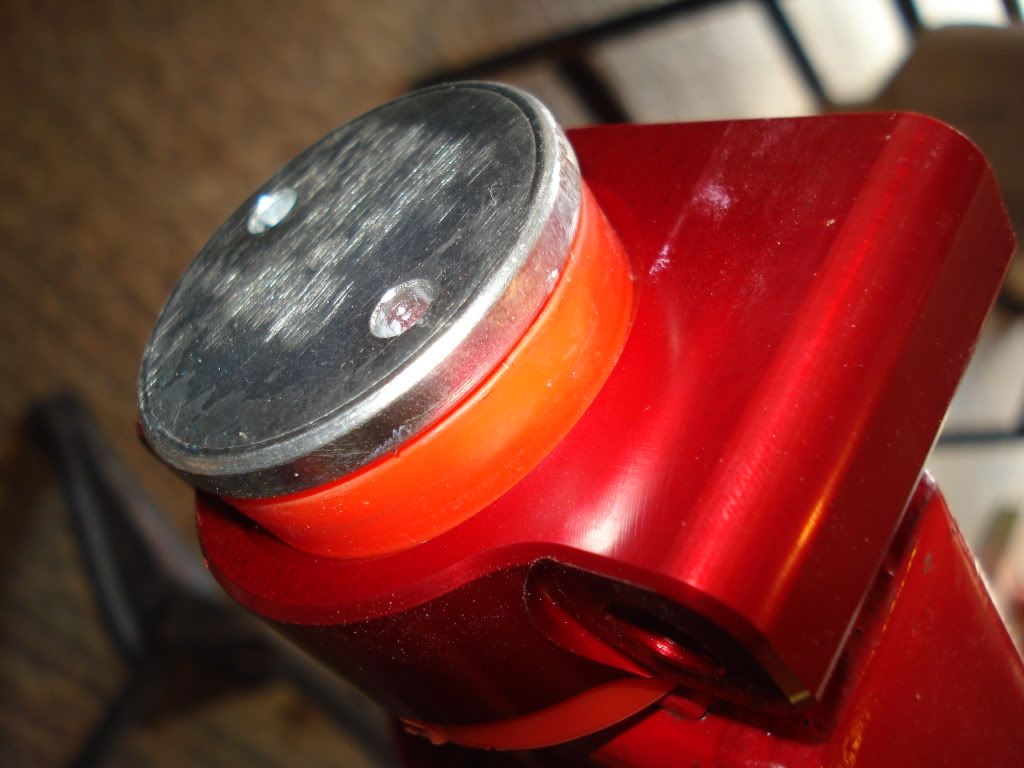
So Scott then built up the rest of the subframe and it looks good. Not sure about the yellow brackets but for the moment i think Scott will stick with them.
#663

Posted 07 June 2011 - 08:29 PM
Hugh
#664

Posted 07 June 2011 - 10:13 PM
How exactly did it come loose? Were you cranking down on the bolts a bit too much or just really really bad luck?
That subframe shouldn't be allowed on TMF, it's a bit...adult!
Also, I think (could be wrong) you have the rear subframe mounts on the wrong way. I think the lower bolt goes towards the front of the frame. Not that it actually makes any difference, personally I don't know why they're different heights in the first place.
EDIT: Nope, it would appear mine are the wrong way round according to Somerfords PDFs. That means they must have been the wrong way round for a loooong time.
#665

Posted 07 June 2011 - 10:22 PM
Ouch!
How exactly did it come loose? Were you cranking down on the bolts a bit too much or just really really bad luck?
That subframe shouldn't be allowed on TMF, it's a bit...adult!
I think its down to bad luck to be honest. I do remember adding weld to the nuts but maybe i missed this one and no i was not cranking down on the bolts. My calibrated white knuckles were not over used.
And the subbie looks sexier in the flesh, he just needs some minifins to really add that extra stiffie enducing factor
#666

Posted 07 June 2011 - 10:28 PM
Yeah Minifins are nice
#667

Posted 07 June 2011 - 10:44 PM
It just shows how things have mutated over the last 22 months.
#668

Posted 08 June 2011 - 12:40 AM
#669

Posted 08 June 2011 - 03:36 PM
It might well have been a heritage item, I've heard pretty bad things about how poorly the strengthening brackets are positioned and welded in place on heritage heelboards
.
Well its a lesson learnt, none of us are infallible so the next time i will weld everything to within an inch of its life
#670

Posted 08 June 2011 - 07:10 PM
My nuts are still visible, oo er matron, so will add some weld to them while I can still see them.
Graham
#671

Posted 08 June 2011 - 07:27 PM
#672

Posted 08 June 2011 - 09:18 PM
good luck with the rest of the build
rob
#673

Posted 09 June 2011 - 12:04 PM

Hmmmmmm, makes me want a Big Mac.
#674

Posted 15 June 2011 - 06:35 PM
After much swearing and cursing the front subframe went in
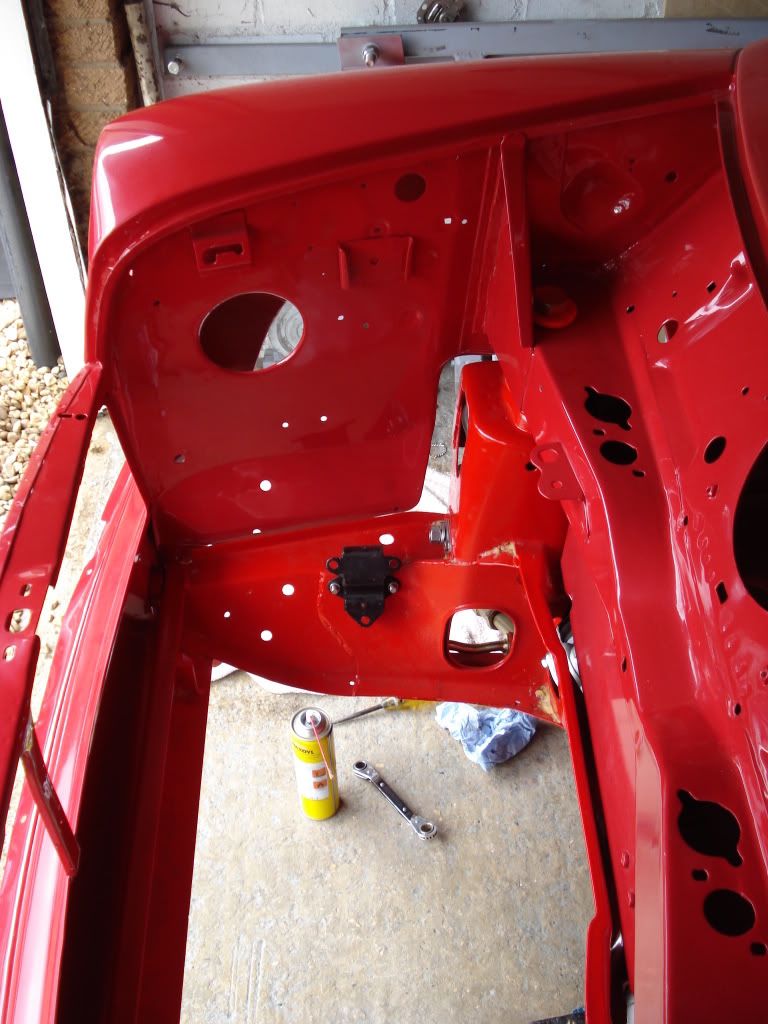
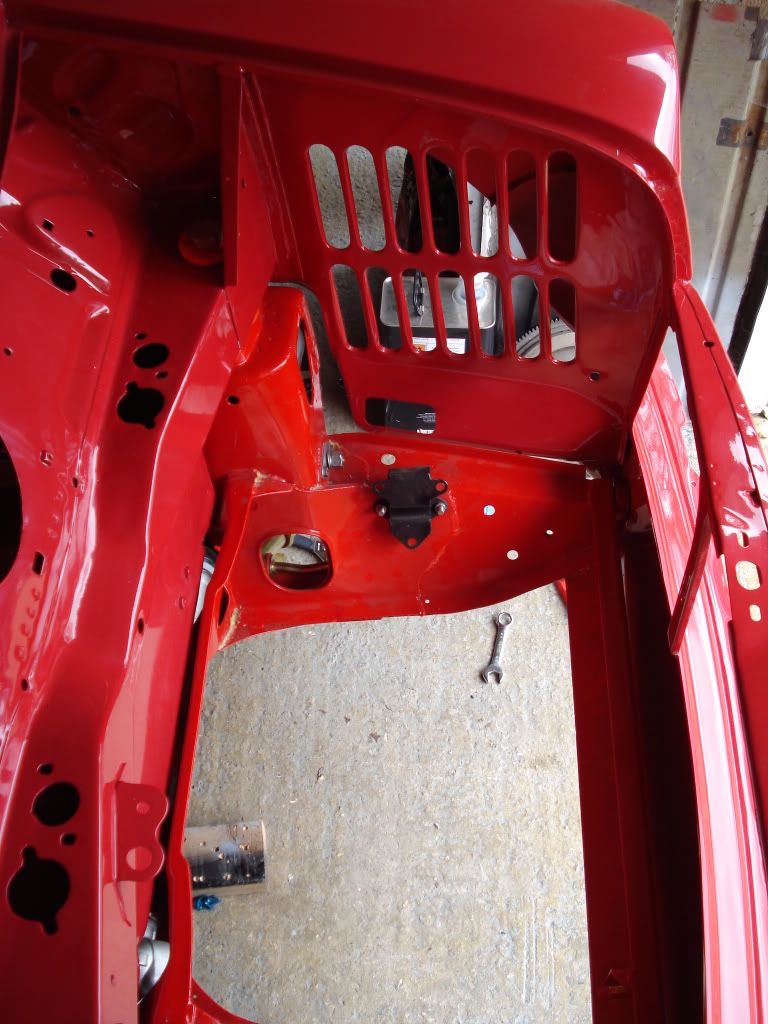
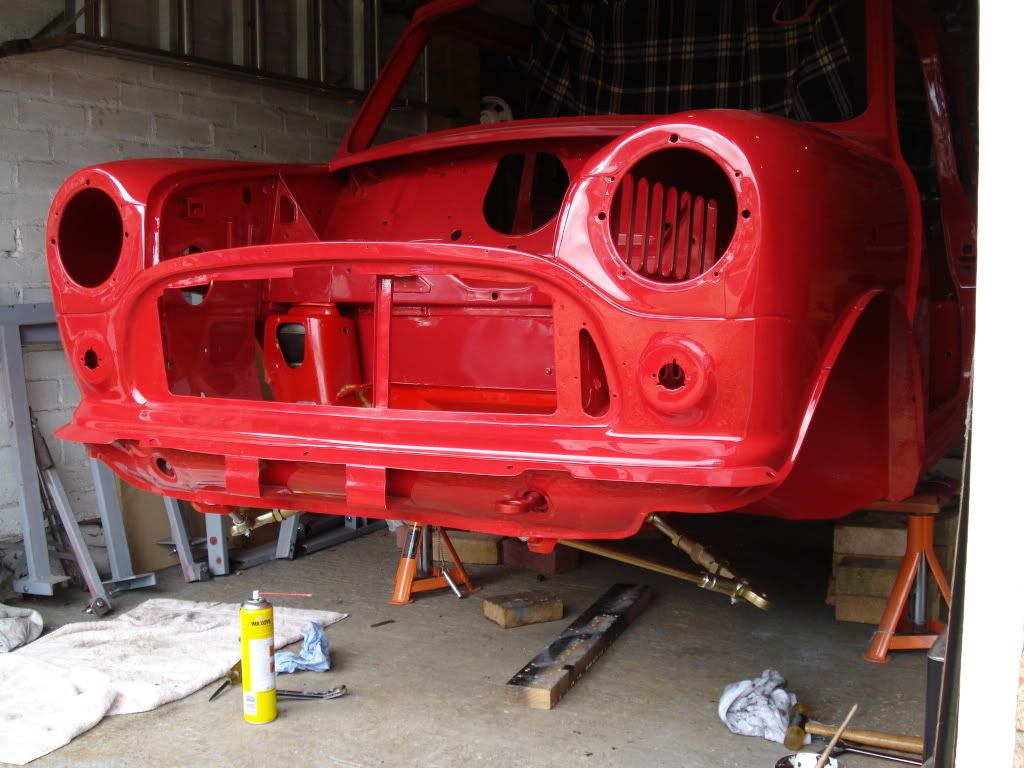
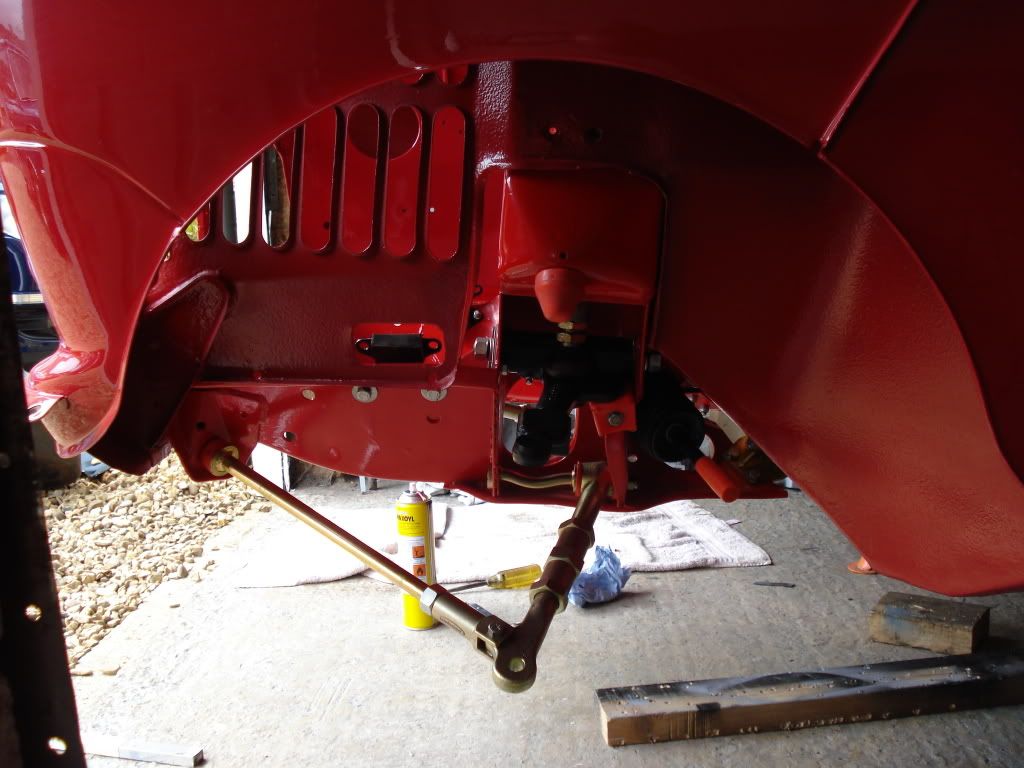
It was hard work and the moral to the story here is when you replace the front panel fit the bloody subframe first still a lesson learnt.
Anyway then the rear subframe leapt onto the car along with a Gaz shocker on both sides hopefully never to be taken off in a long while but we shall see,
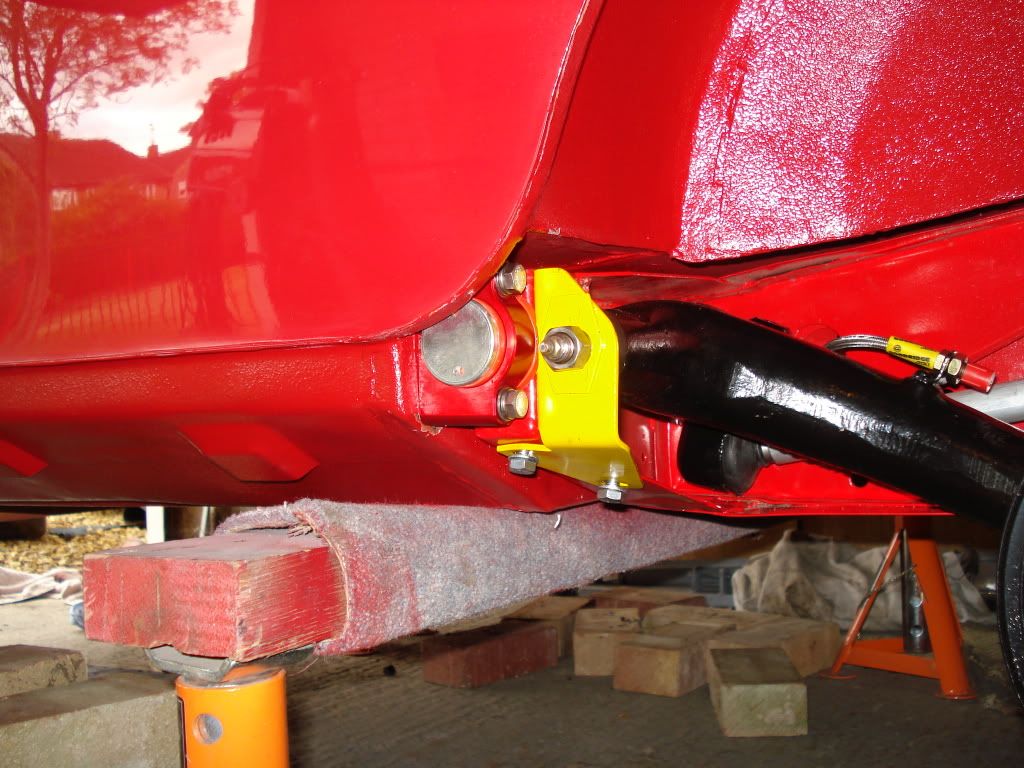
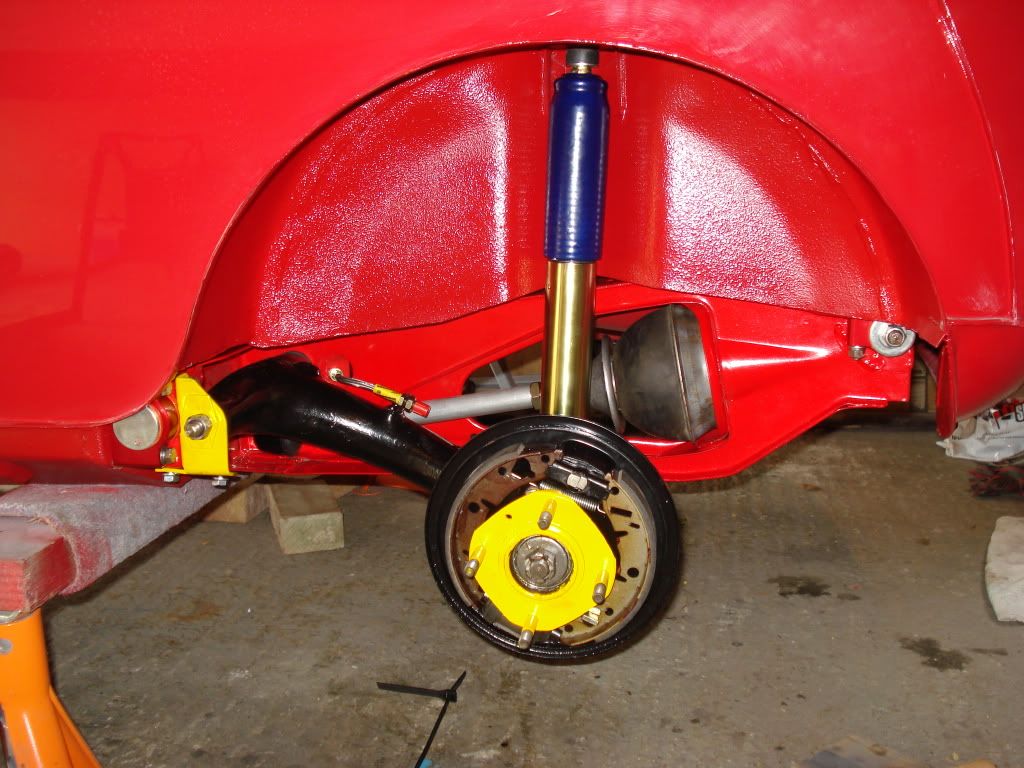
Then it was back to the front again and on with the hubs and more shock absorbers
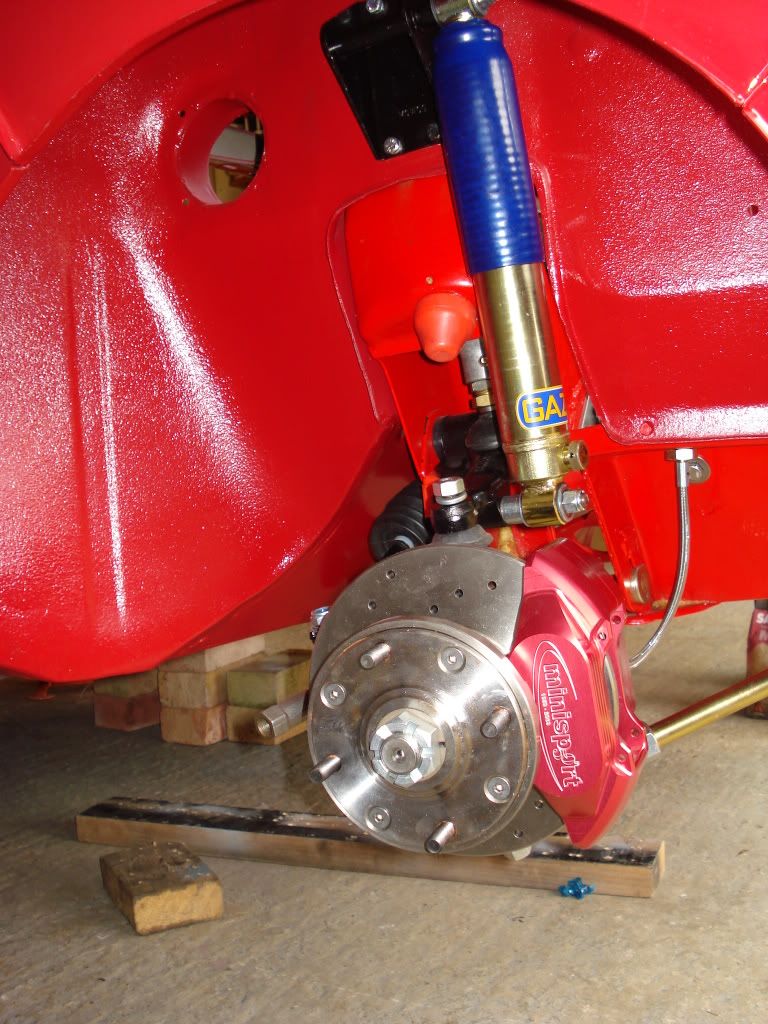
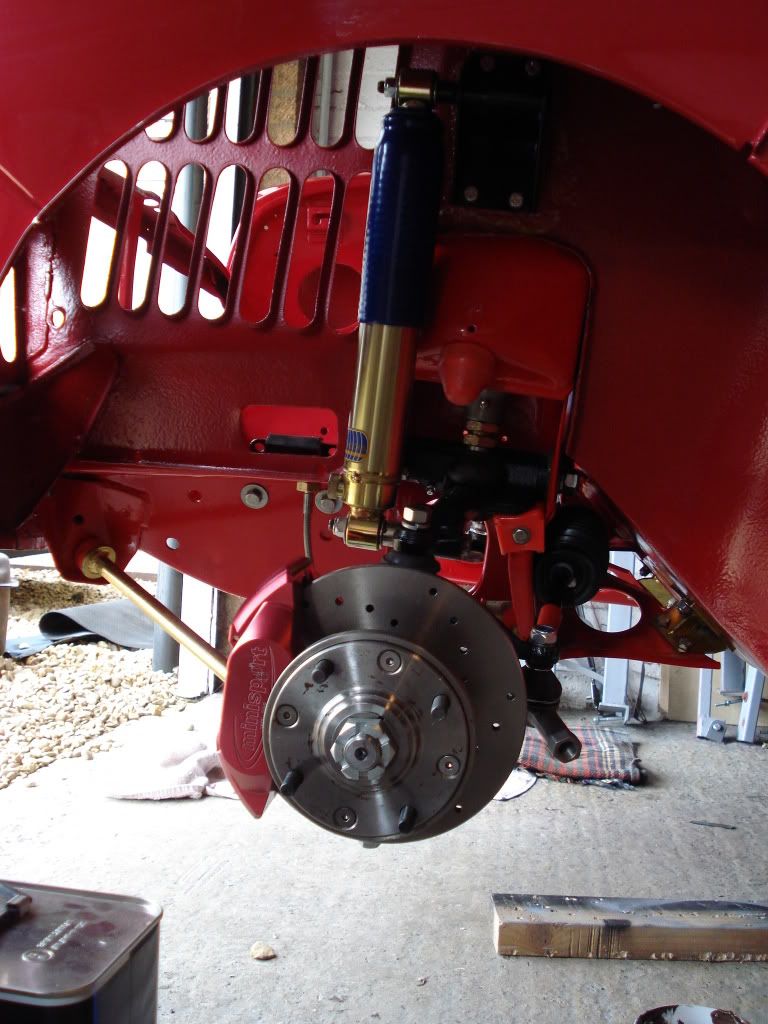
So now he's much heavier but looking good. Tomorrows little task will be to build 4 wheels.
Also forgot to add we also fitted the steering rack which to be honest was a pain as the U bolts had to be crushed in a vice to get them to fit plus one of them must have been made by Stevie Wonder. I'm surprised the damn thing fitted but it did. After market fittings can be very hit and miss
Edited by sonikk4, 15 June 2011 - 07:48 PM.
#675

Posted 15 June 2011 - 06:47 PM
I have had some wellers shipped from the UK and powder coated recently and will be curious to see how you will put the rubber onto the rims as not to scratch the paint. Any tips would be great.
1 user(s) are reading this topic
0 members, 1 guests, 0 anonymous users


