Jump to content


Photo
- - - - -

Project Erm


  • Please log in to reply
834 replies to this topic

#466 scsracing

scsracing

    Mini Mad

  • Members
  • PipPipPipPip
  • 276 posts
  • Location: Eastbourne

Posted 17 February 2011 - 02:57 PM

Not much of an update on the bodywork side of things other than more sanding and removal of layers of old paint in preparation for paint.Only a few bodywork repairs left now(mainly gaping the R/H side door around the top,getting the boot to fit nicely and sorting out some small areas).

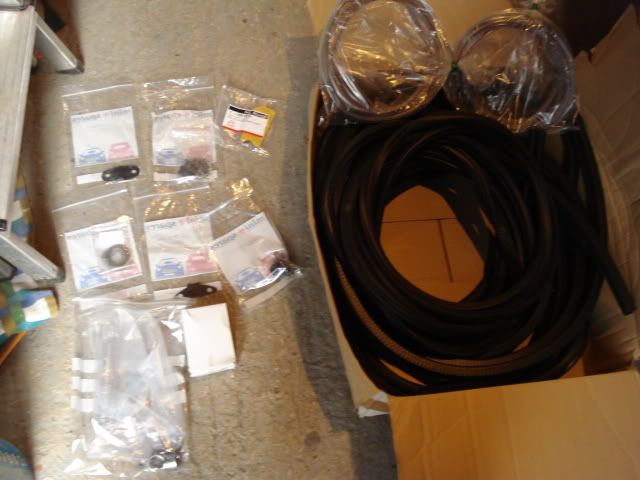
Received all the body seals yesterday so we can test out the fitting of the doors,boot and windows before paint as I have all the hinges now too that will be used as before we were using some old hinges that had seen better days.

Posted Image

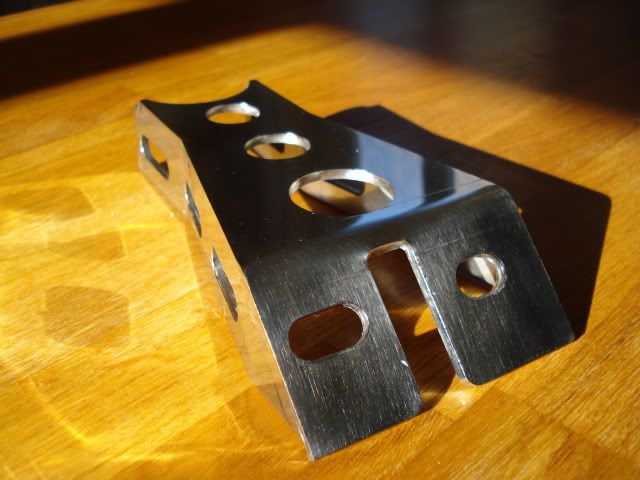
Another bit of bling for Erm too :xxx:

Posted Image

Edited by scsracing, 17 February 2011 - 02:59 PM.


#467 GraemeC

GraemeC

    Crazy About Mini's

  • TMF+ Member
  • PipPipPipPipPipPipPipPipPipPip
  • 7,412 posts
  • Location: Carnforth

Posted 17 February 2011 - 07:49 PM

With that bracket you'll possibly need to slot the hole where the steering rack comes through into the car, to give enough rotation of the rack to match the column drop :xxx:

#468 sonikk4

sonikk4

    Twisted Paint Polisher!!!

  • Admin
  • PipPipPipPipPipPipPipPipPipPipPip
  • 15,970 posts
  • Name: Neil
  • Location: Oxfordshire

Posted 22 February 2011 - 07:55 PM

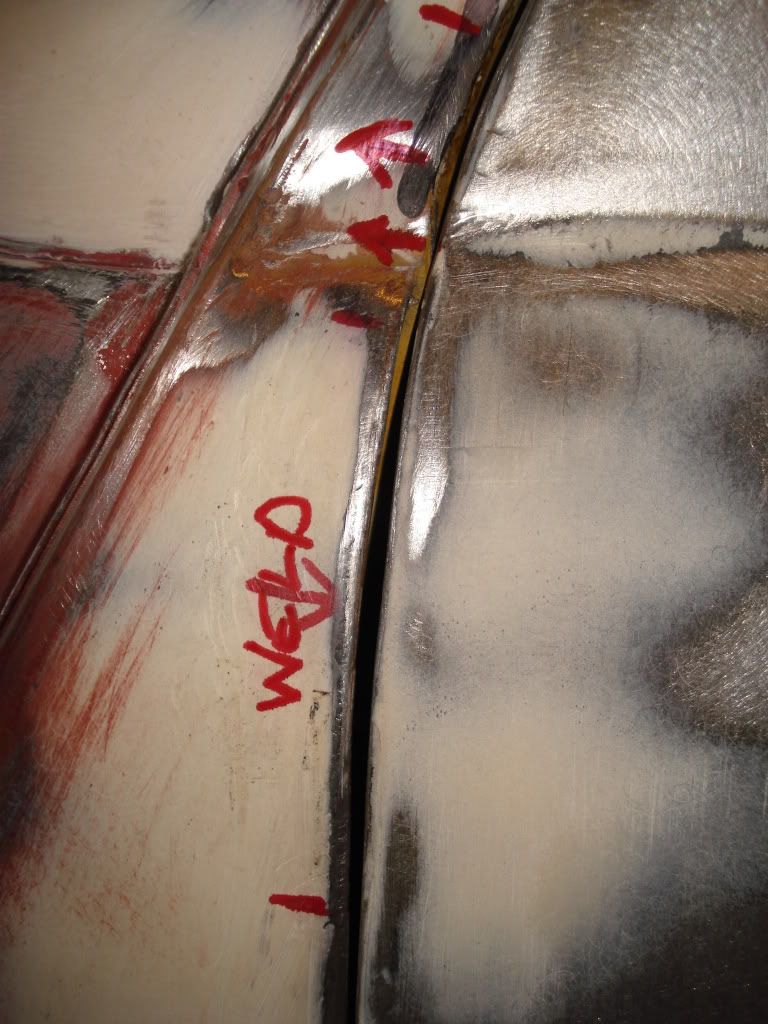
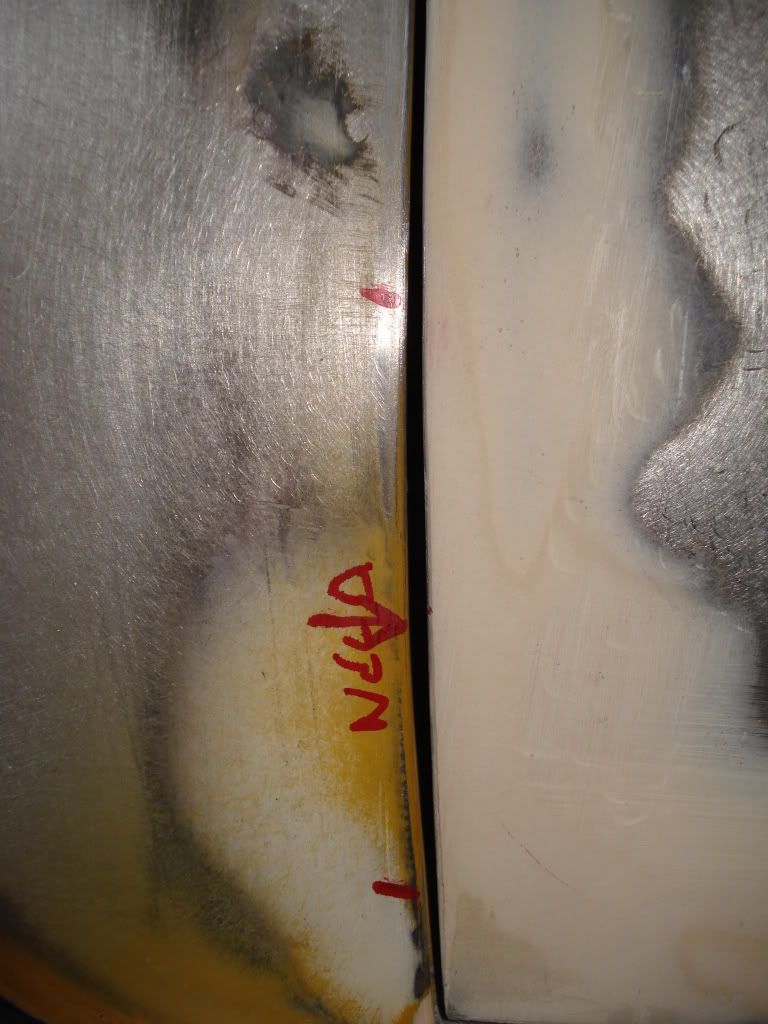
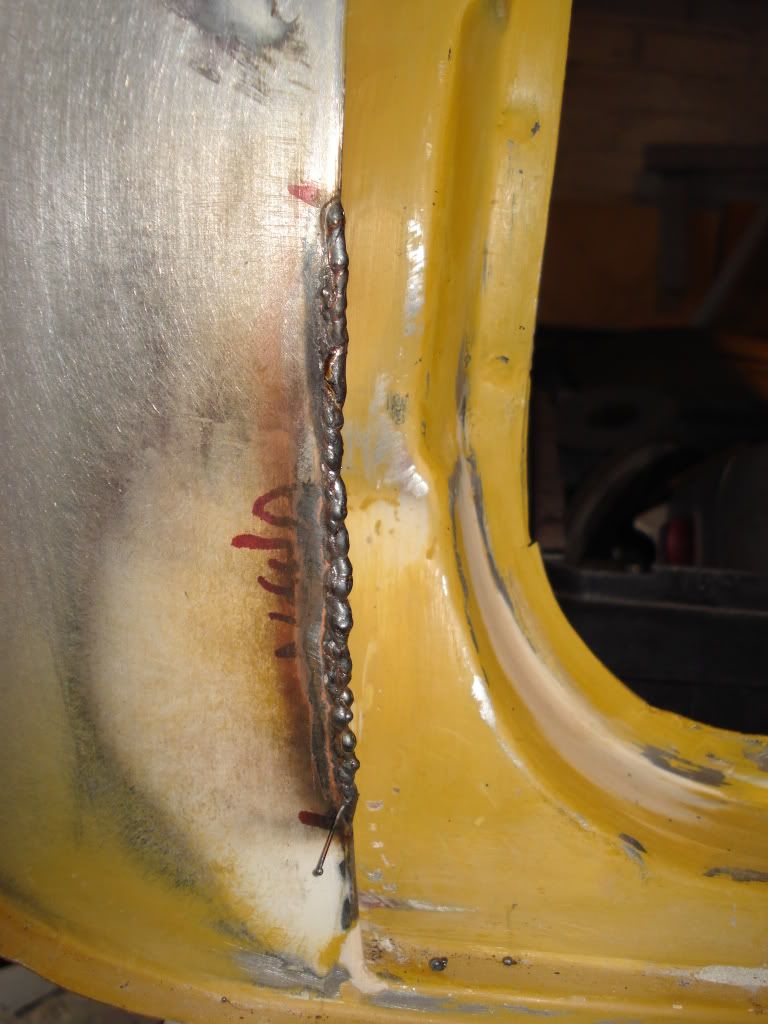
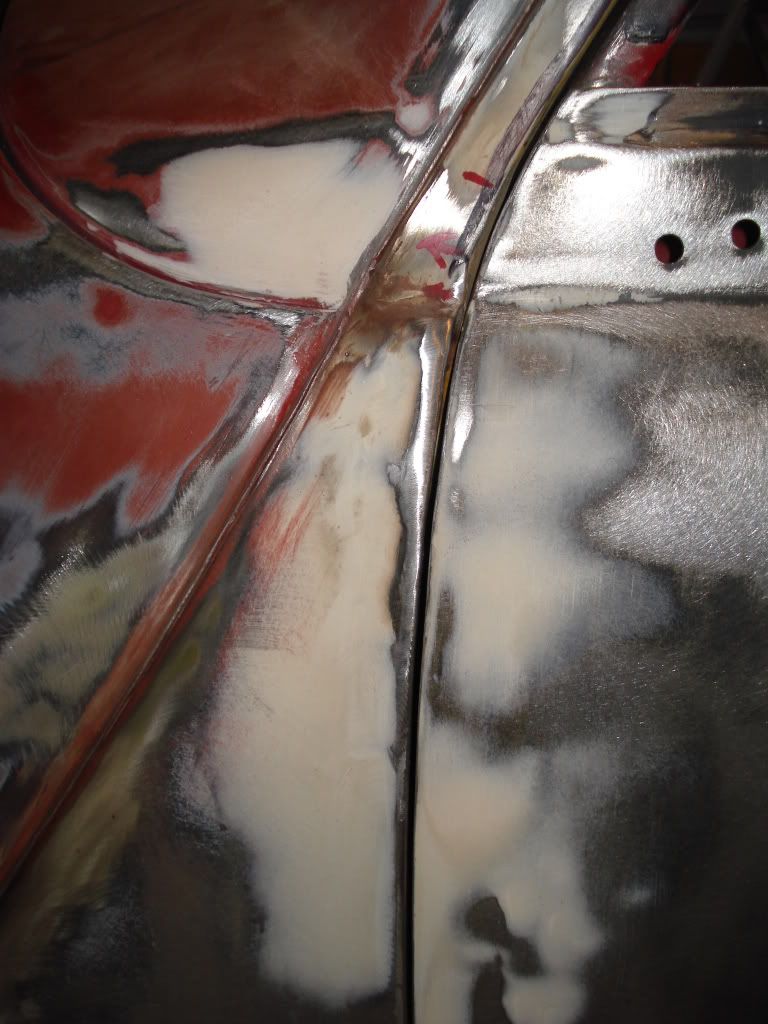
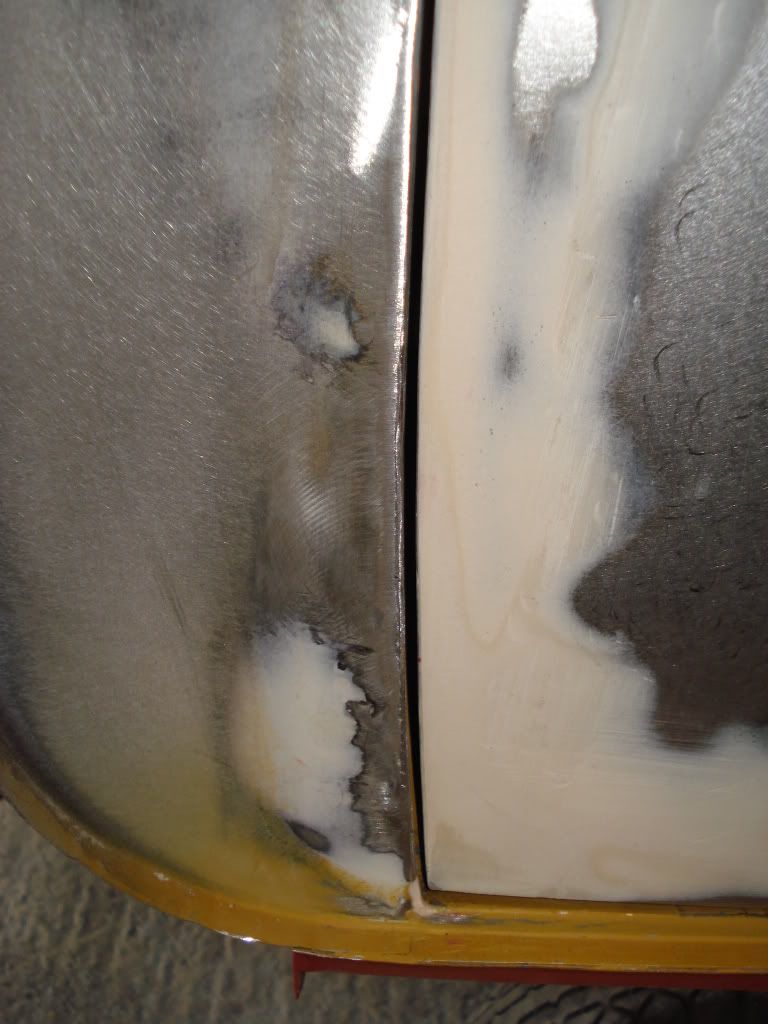
Decided to revisit the l/h door gaps after Scott had fitted the billet alloy hinges. I could not believe how bad the door fit was so something was very badly amiss.

After a bit of head scratching cursing crying and just plain what the hell we refitted the old/new hinges and voila it all fitted so on closer inspection the new alloy hinges were about 2mm larger. It turns out after a phone call and email of piccies the after market hinges we had fitted to gap the door are actually smaller as the alloy hinges measurements were directly copied of original Rover hinges. We did have the offer of machining some metal off the hinges but until i can get a set of vernier calipers from work its not worth it. So in a word BUGGER!! so we cannot fit the nice shiny alloy ones.

So anyway i decided to revisit the gaps once more just to be really picky
Posted Image
Posted Image

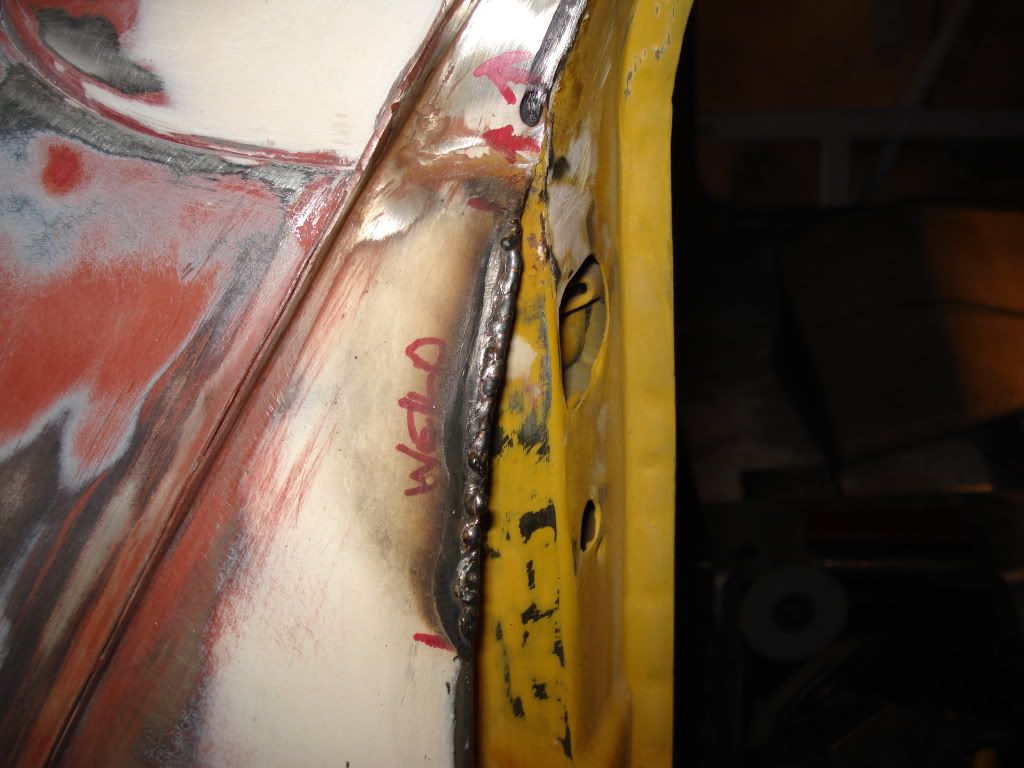
So after a wee bit of welding
Posted Image
Posted Image

And after a bit of grinding and polishing we ended up we these
Posted Image
Posted Image

Some more work was done to really tidy the whole leading and aft edge gaps and then just a small amount of extra metal to be removed and added to the angled section of the door cut out. That will be finished tomorrow so we can then turn the car around to do the final gapping on the r/h door.

#469 ado15

ado15

    Super Mini Mad

  • Traders
  • PipPipPipPipPipPip
  • 614 posts
  • Location: Norfolk

Posted 23 February 2011 - 11:25 AM

Hi

It's a shame you can't use our hinges. I guess it's another lesson along the lines of when you fitted the wings/bonnet. Always fit up the panels with everything you intend to use in the final build. Especially, if you are going for tight gapping as you are. It leaves far less room for adjustment later.

Mind you, you got us in a bit of a panic for a while when you rang! We've learned one thing from it..... the aftermarket hinges we have are smaller than the originals!

Great work by the way. It's a long haul, doing this level of project, but it'll all start coming together soon. Well done.

#470 sonikk4

sonikk4

    Twisted Paint Polisher!!!

  • Admin
  • PipPipPipPipPipPipPipPipPipPipPip
  • 15,970 posts
  • Name: Neil
  • Location: Oxfordshire

Posted 23 February 2011 - 09:11 PM

Hi

It's a shame you can't use our hinges. I guess it's another lesson along the lines of when you fitted the wings/bonnet. Always fit up the panels with everything you intend to use in the final build. Especially, if you are going for tight gapping as you are. It leaves far less room for adjustment later.

Mind you, you got us in a bit of a panic for a while when you rang! We've learned one thing from it..... the aftermarket hinges we have are smaller than the originals!

Great work by the way. It's a long haul, doing this level of project, but it'll all start coming together soon. Well done.


Cheers for that, we did find the original hinges as well after a root around and they were the same so it looks like they were changed in the past. The gaps on the doors before i re skinned them were awful so unfortunately your hinges would have compounded the problem.

Like you have said though lining everything up and using all of the mounts hinges etc you are going to use on the final build is the way to go although having a son who constantly changes his mind with shiny things does not help :(

Thanks for the offer of machining them for us but until i go back to work i could not have measured them properly (my vernier calipers and micrometers are there) and i really need to get the car in paint as soon as possible.

We did like the hinges a lot and will get another set in the near future for our other car Paddy the Clubman :)

#471 Miniowner123

Miniowner123

    One Carb Or Two?

  • Members
  • PipPipPipPipPipPipPip
  • 987 posts
  • Location: Brighton

Posted 23 February 2011 - 09:19 PM

nothing to do with the hinge problem, but don't they say for lightweight doors only?

#472 sonikk4

sonikk4

    Twisted Paint Polisher!!!

  • Admin
  • PipPipPipPipPipPipPipPipPipPipPip
  • 15,970 posts
  • Name: Neil
  • Location: Oxfordshire

Posted 23 February 2011 - 09:27 PM

Got a good crack on with the car today, finished the gapping on the l/h door and gave it another skim of filler so happy with that.

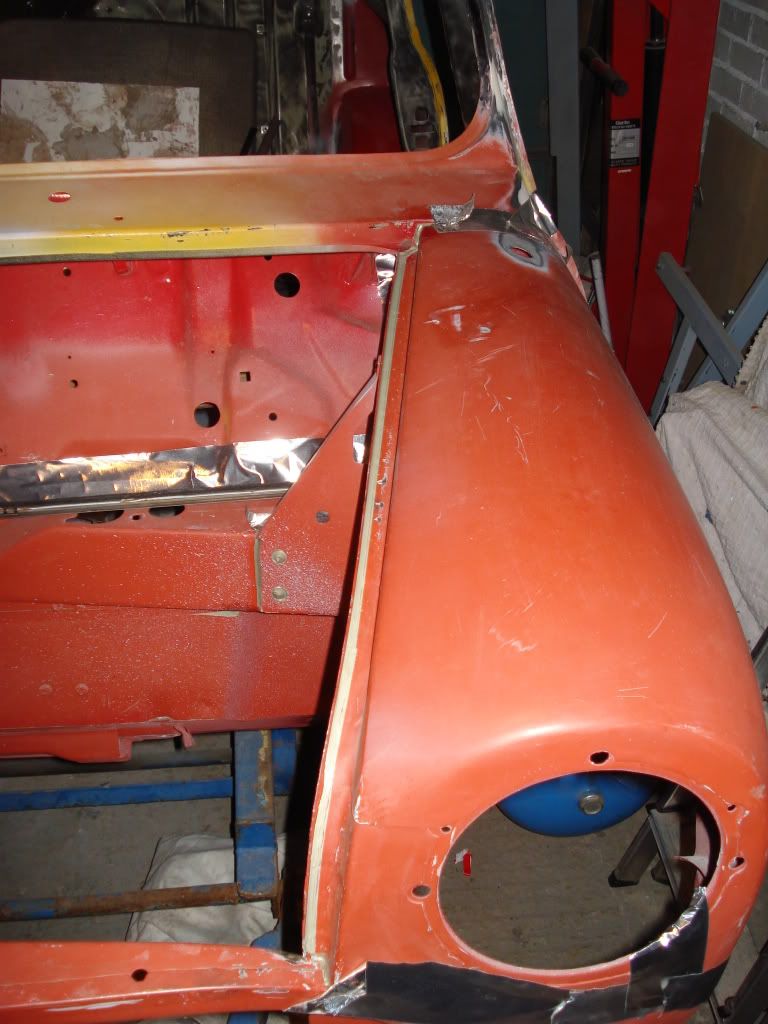
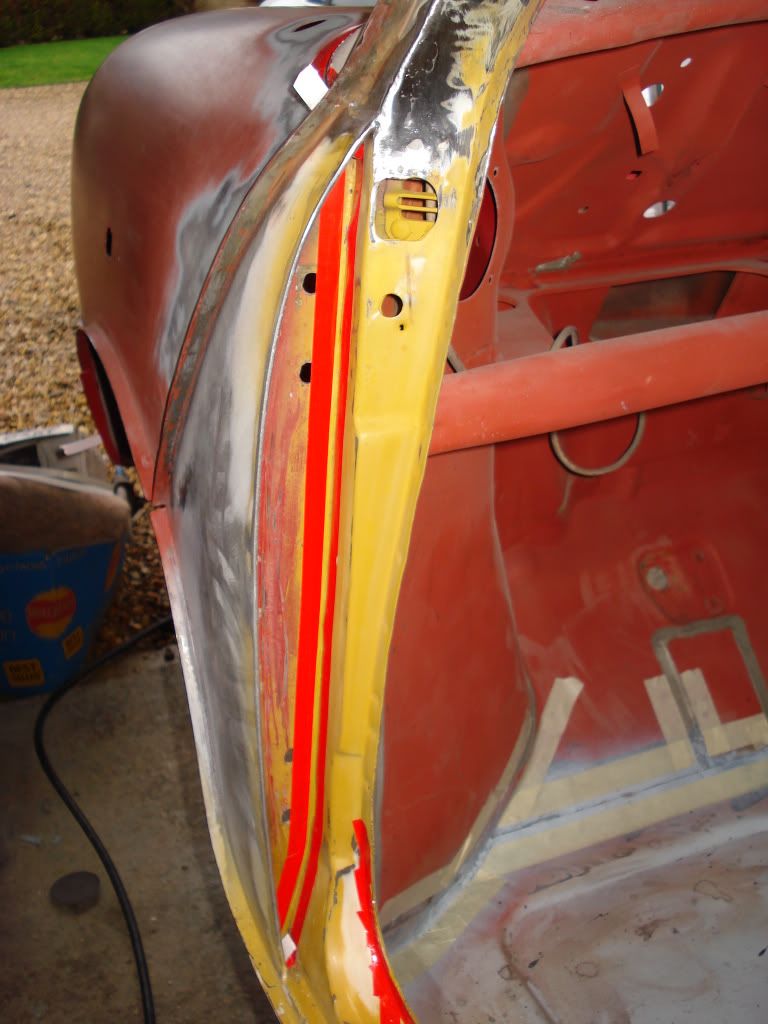
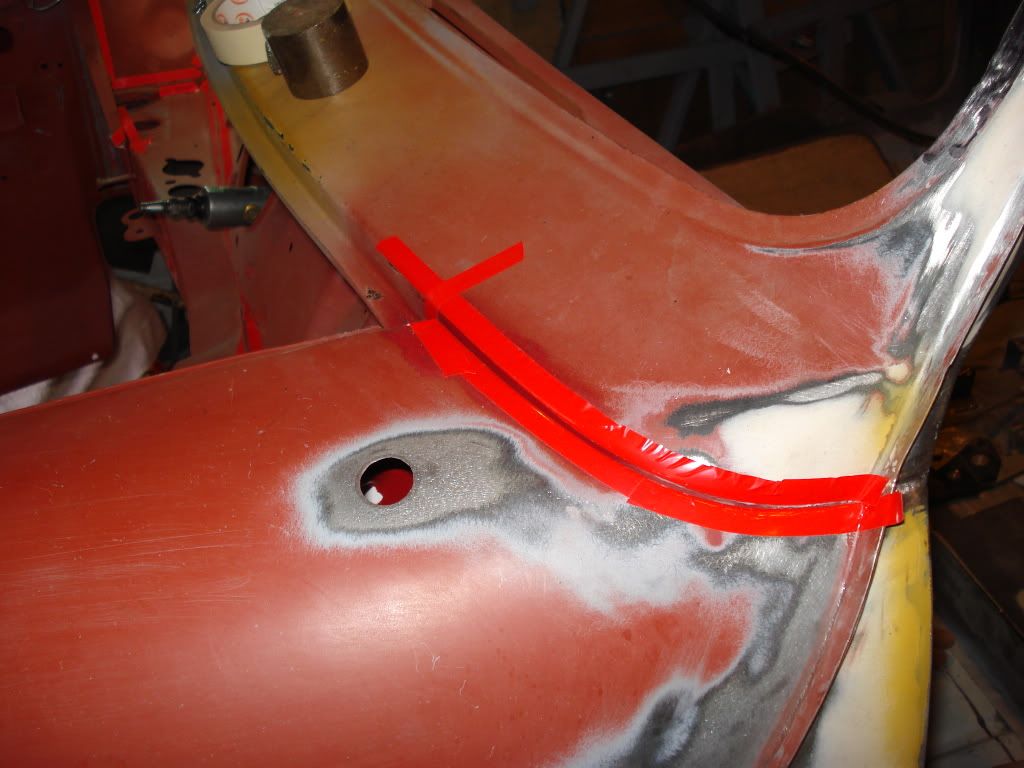
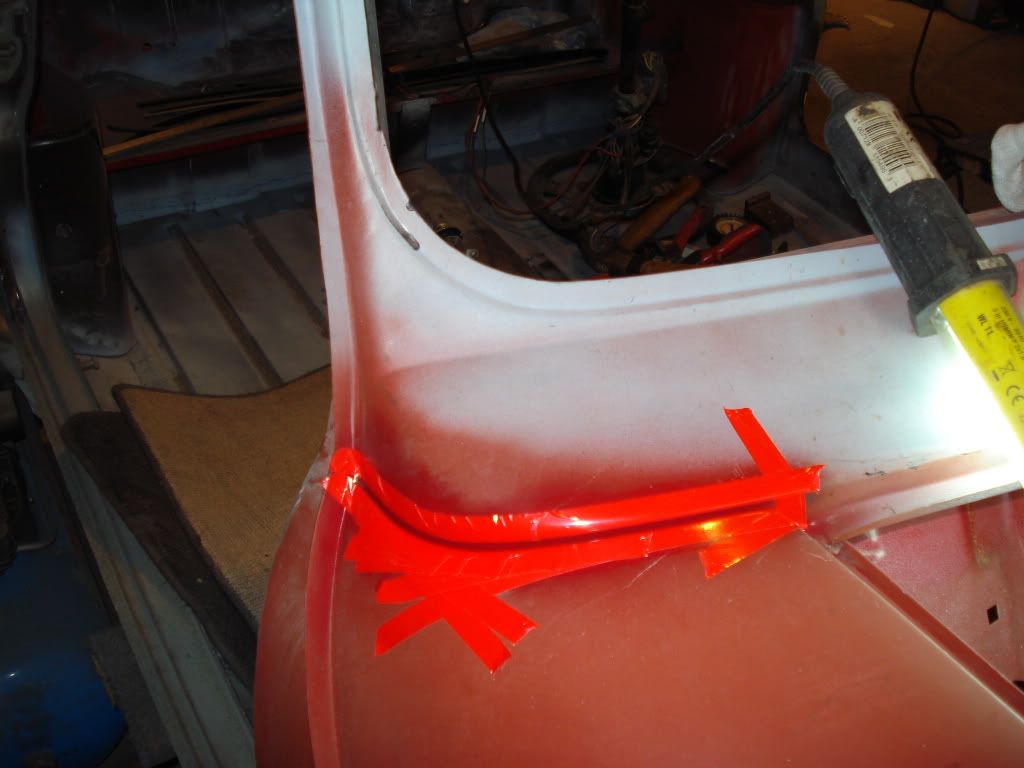
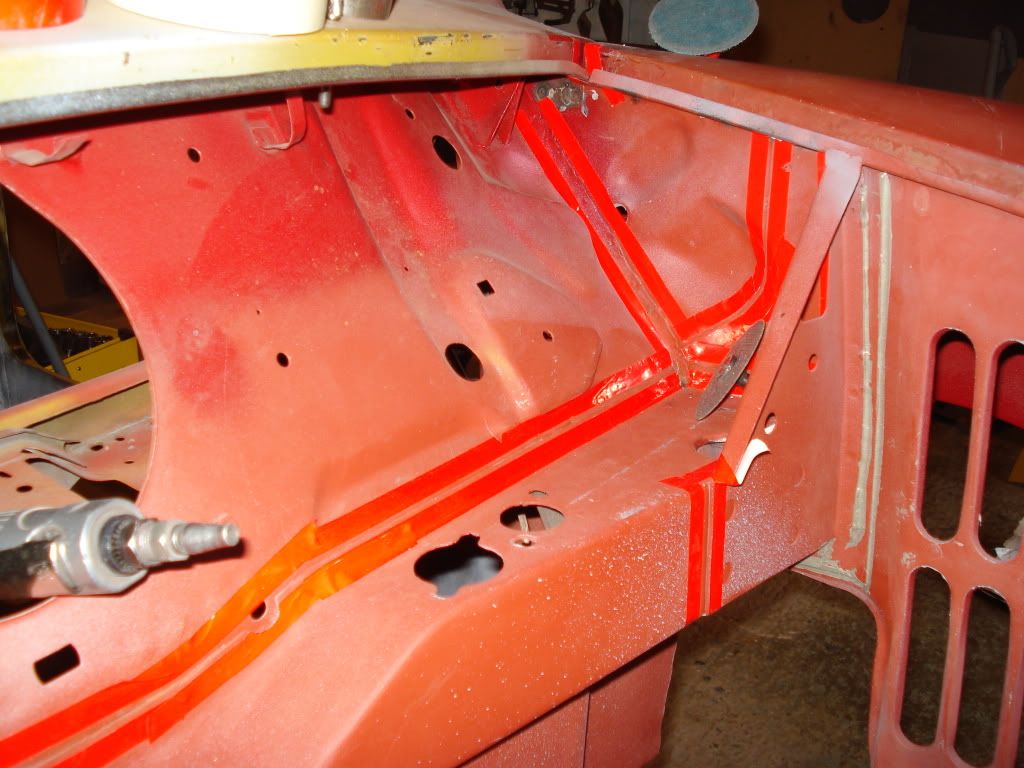
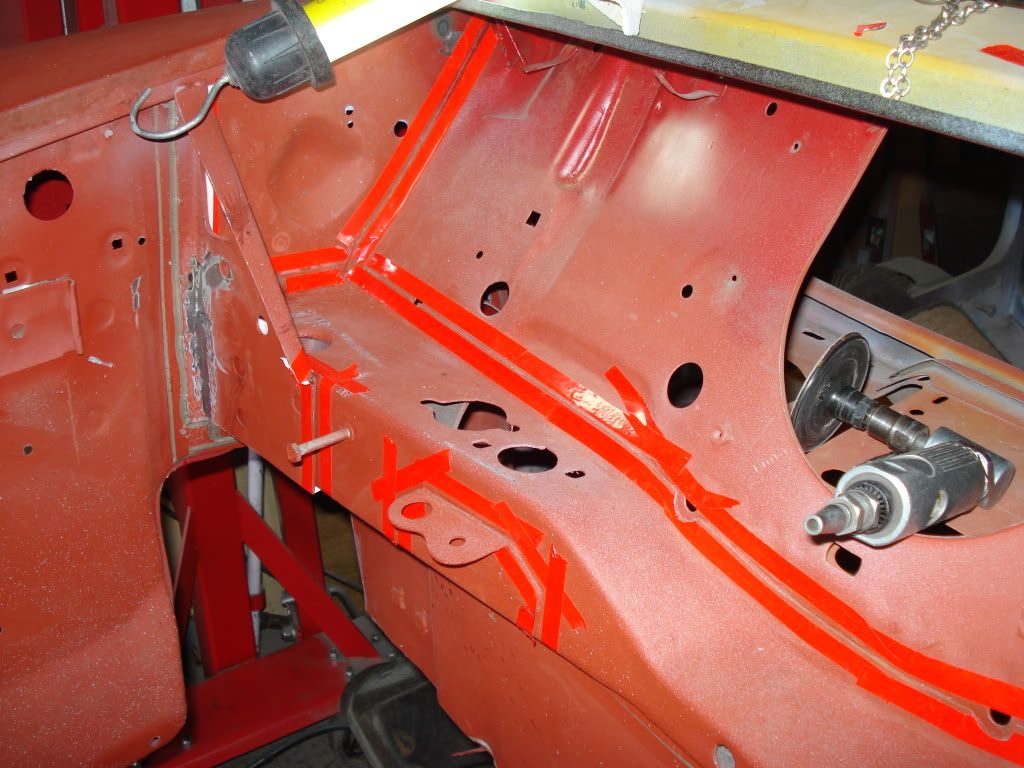
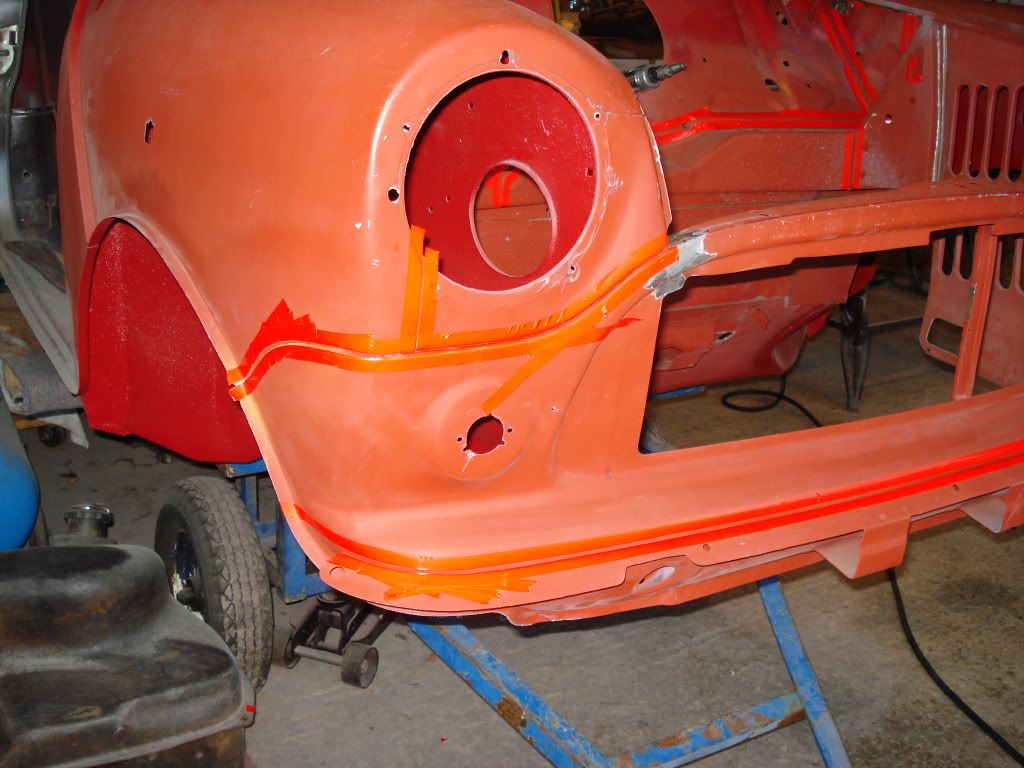
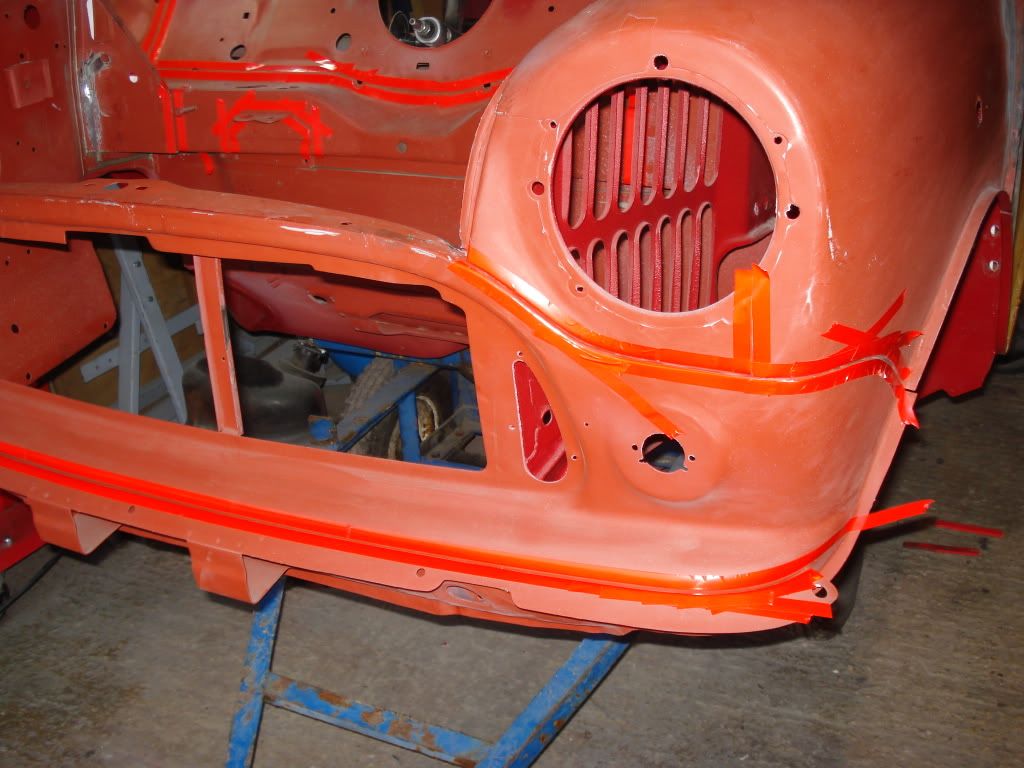
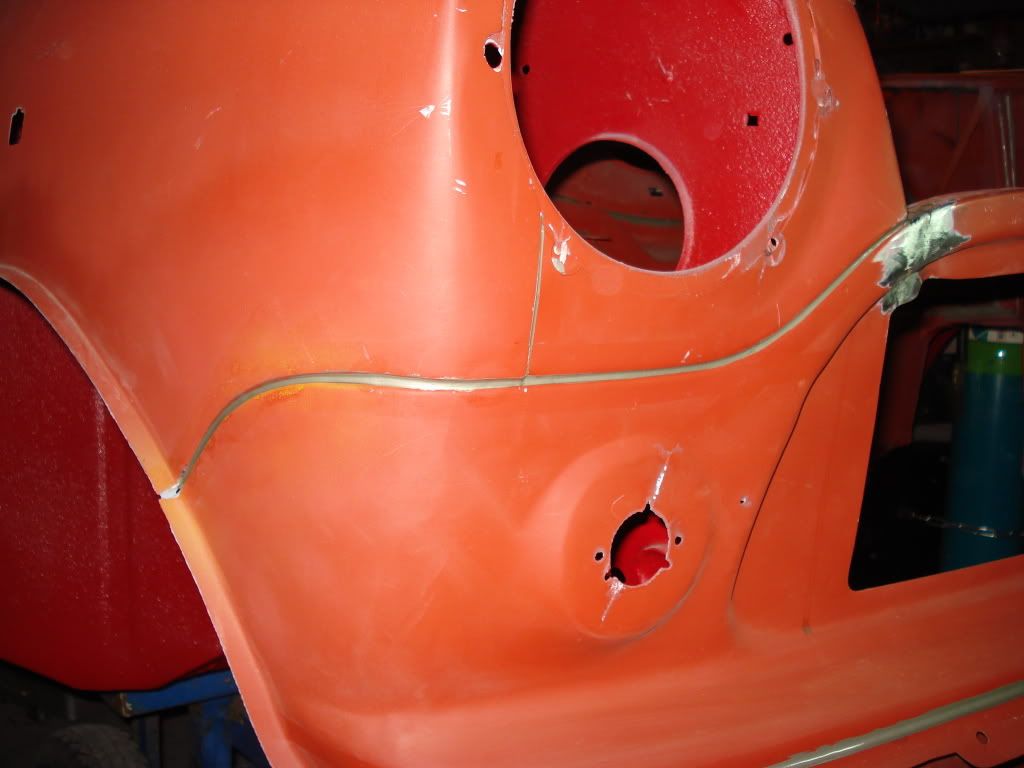
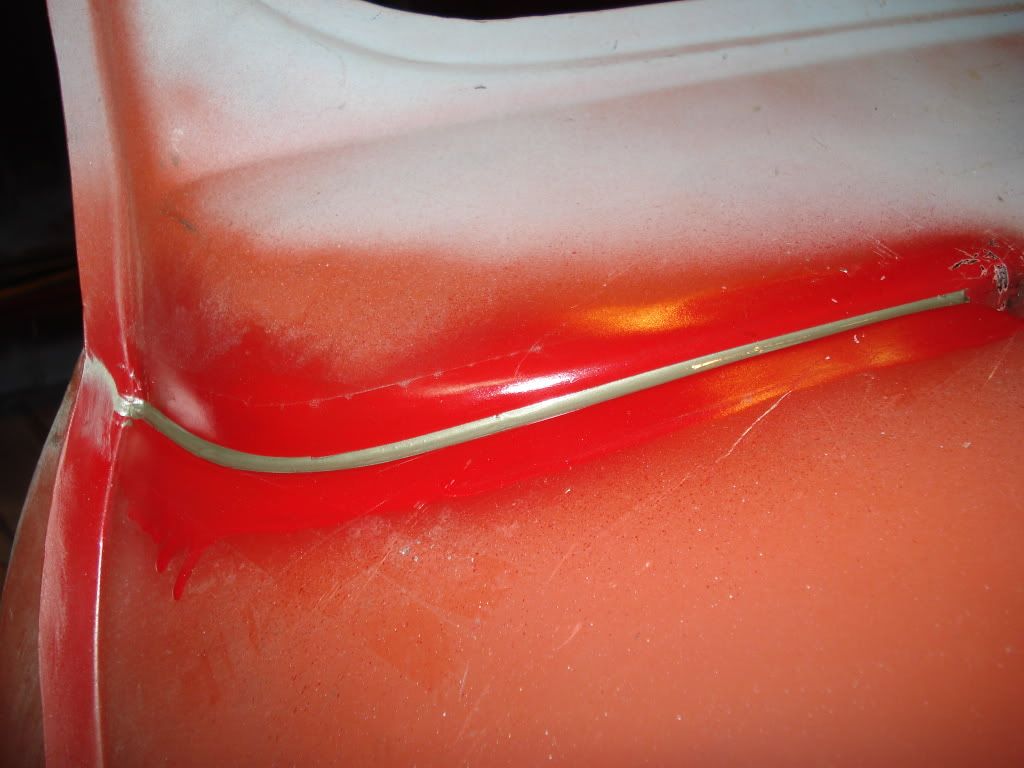
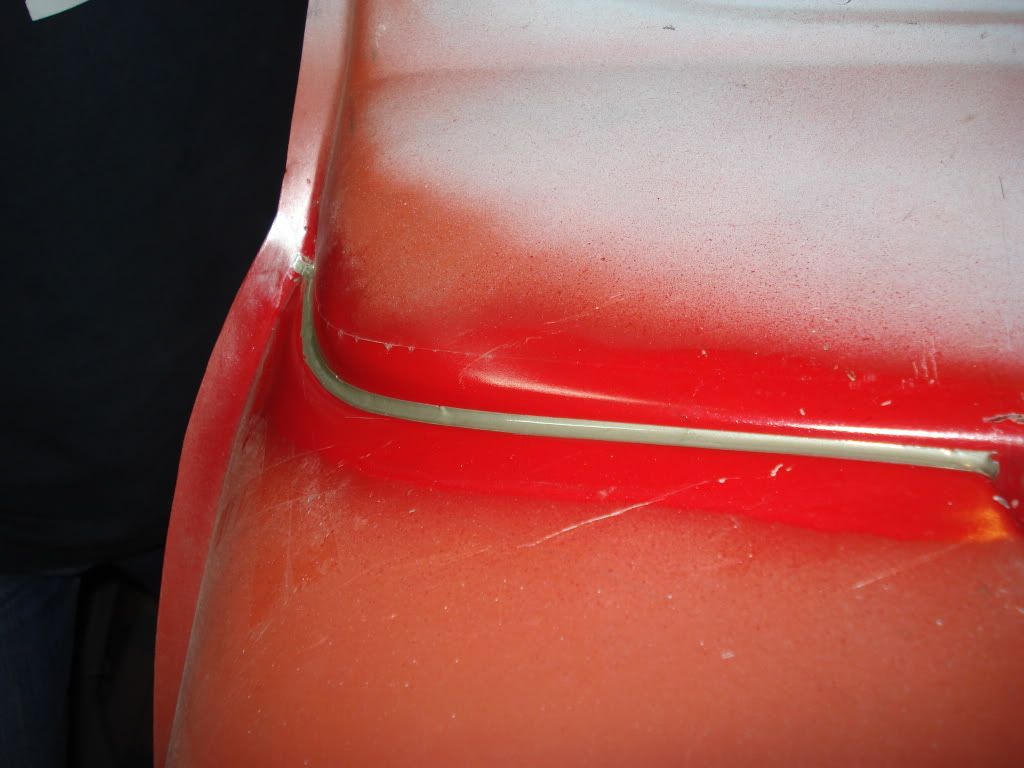
Then it was on with the fiddly job of sealing all of the gaps on the front of the car as the next series of photo's will show, first the taping.
L/h A post
Posted Image
L/h scuttle corner
Posted Image
R/h corner scuttle
Posted Image
L/h cross member
Posted Image
R/h cross member
Posted Image
Front of r/h wing
Posted Image
Front of l/h wing
Posted Image
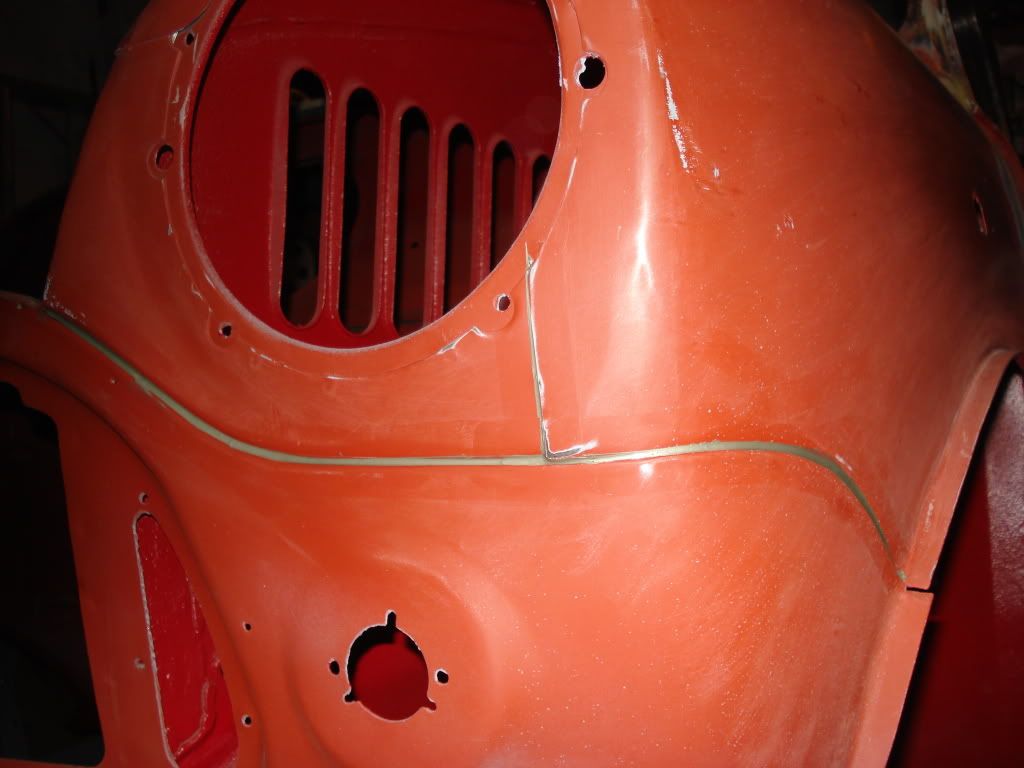
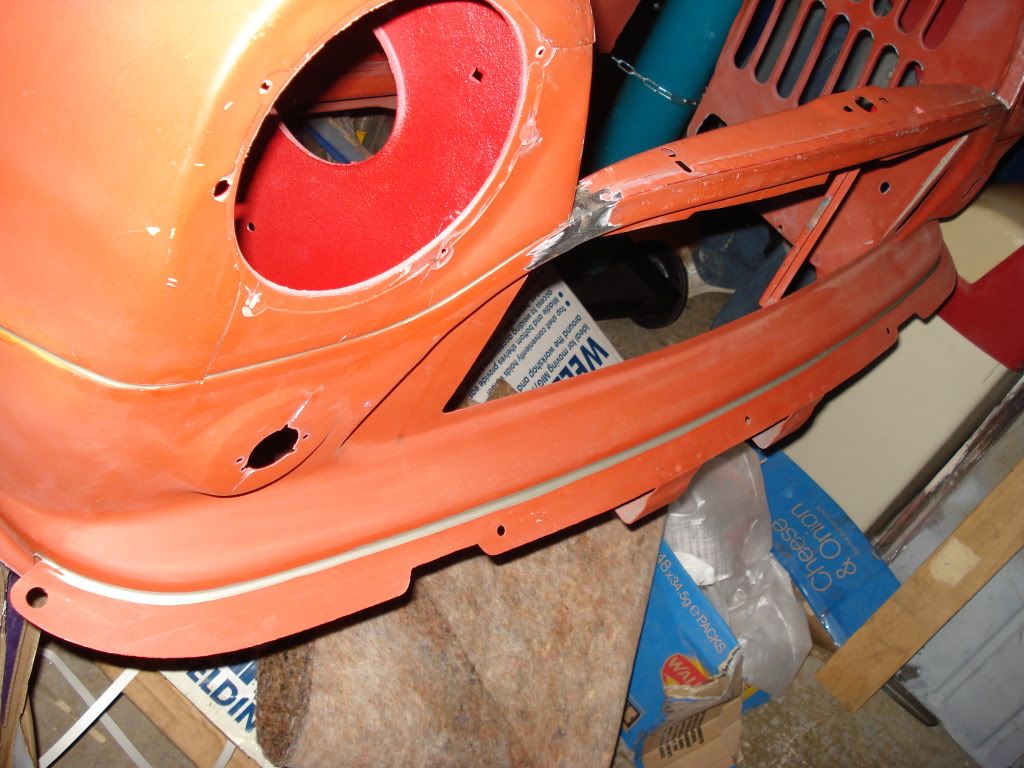
Then all sealed up
Posted Image
Posted Image
Posted Image
Posted Image
Posted Image

Also sealed up the rear quarter to inner arches on both sides plus the join between the quarter panels and rear panels and as an added bonus the inside join on the rear heelboard. Oh happy days all in all that little lot took over 6 hours of prep work and sealing. Just the r/h A post to do sealing wise thankfully.

#473 ado15

ado15

    Super Mini Mad

  • Traders
  • PipPipPipPipPipPip
  • 614 posts
  • Location: Norfolk

Posted 24 February 2011 - 11:30 AM

We did like the hinges a lot and will get another set in the near future for our other car Paddy the Clubman :gimme:


Received the hinges back today. Why didn't you just keep them for Paddy? Anyway, we'll sort it out with you when you sort out your next order.


nothing to do with the hinge problem, but don't they say for lightweight doors only?


They are intended for carbon or GRP doors, but we have them on a full weight door here and it seems OK so far. However, we won't guarantee them on steel doors.

Edited by ado15, 24 February 2011 - 11:35 AM.


#474 jagman.2003

jagman.2003

    One Carb Or Two?

  • Members
  • PipPipPipPipPipPipPip
  • 1,307 posts
  • Location: In the shed.
  • Local Club: Owner of my own club of Minis

Posted 24 February 2011 - 01:14 PM

Great job, just far enough ahead to keep feeding me with inspiration on my project. I've used aftermarket hinges. They do seem quite far out. But not impossible.

#475 sonikk4

sonikk4

    Twisted Paint Polisher!!!

  • Admin
  • PipPipPipPipPipPipPipPipPipPipPip
  • 15,970 posts
  • Name: Neil
  • Location: Oxfordshire

Posted 24 February 2011 - 08:02 PM

We did like the hinges a lot and will get another set in the near future for our other car Paddy the Clubman >_<


Received the hinges back today. Why didn't you just keep them for Paddy? Anyway, we'll sort it out with you when you sort out your next order.


nothing to do with the hinge problem, but don't they say for lightweight doors only?


They are intended for carbon or GRP doors, but we have them on a full weight door here and it seems OK so far. However, we won't guarantee them on steel doors.


Scott decided he was going to have the door furniture instead i believe( i could be wrong) hence the reason he has returned them. Paddy will not be having a full rebuild until next year at the earliest as he is road legal and Scott will need a set of wheels to drive once he's passed his test.

Not only that i have not decided on the full sleeper spec for Paddy yet other than R1 power. I had a good look at the hinges and i cannot see why they will not last on a full weight door. The only real difference between original steel hinges and your billet alloy ones is the top hinge has three mounting bolts whereas your only had two holes oh and obviously the weight.

We predominantly use aluminium in the Aviation industry although carbon fibre composites are appearing more and more, both items are used in high stress areas carrying serious weight and have to rack up some serious flight hours before any detrimental effects are found so i'm sure the billet hinges are capable of lasting as long if not longer than the old steel items.

#476 scsracing

scsracing

    Mini Mad

  • Members
  • PipPipPipPip
  • 276 posts
  • Location: Eastbourne

Posted 24 February 2011 - 08:05 PM

We did like the hinges a lot and will get another set in the near future for our other car Paddy the Clubman :)


Received the hinges back today. Why didn't you just keep them for Paddy? Anyway, we'll sort it out with you when you sort out your next order.


nothing to do with the hinge problem, but don't they say for lightweight doors only?


They are intended for carbon or GRP doors, but we have them on a full weight door here and it seems OK so far. However, we won't guarantee them on steel doors.


Glad you received them. Didn't keep them for Paddy as its going to be an expensive few months in the build (paint soon along with new interior and others parts which are going to cost a bomb) and any money I can save is handy.However come Paddy's make over we shall be using your billet hinges :)

We thought using them on our doors would be ok as the car is never going to be a daily driver so the usage isn't going to be huge.

Will place that order soon >_<

Edited by scsracing, 24 February 2011 - 08:11 PM.


#477 scsracing

scsracing

    Mini Mad

  • Members
  • PipPipPipPip
  • 276 posts
  • Location: Eastbourne

Posted 24 February 2011 - 08:10 PM

Great job, just far enough ahead to keep feeding me with inspiration on my project. I've used aftermarket hinges. They do seem quite far out. But not impossible.


Glad we are keeping you inspired while we are going mental over finishing this some time this century >_< .After comparing the third party steel hinges to the originals and were abouts on the door we have had to add material using original hinges(or hinges the same size,ie dsn classics billet ones) would of meant not having to add any extra material or only a small amount in some places compared to the large amounts with have had to add. :)

#478 sonikk4

sonikk4

    Twisted Paint Polisher!!!

  • Admin
  • PipPipPipPipPipPipPipPipPipPipPip
  • 15,970 posts
  • Name: Neil
  • Location: Oxfordshire

Posted 24 February 2011 - 08:30 PM

Great job, just far enough ahead to keep feeding me with inspiration on my project. I've used aftermarket hinges. They do seem quite far out. But not impossible.


Cheers for that Jagman.

Well today was more of the same with gapping issues and sealing.
The gapping on the r/h door had been done earlier although we did have a few issues with packers on the hinges again but soon sorted. However the window frame was a royal pain in the backside. We had this
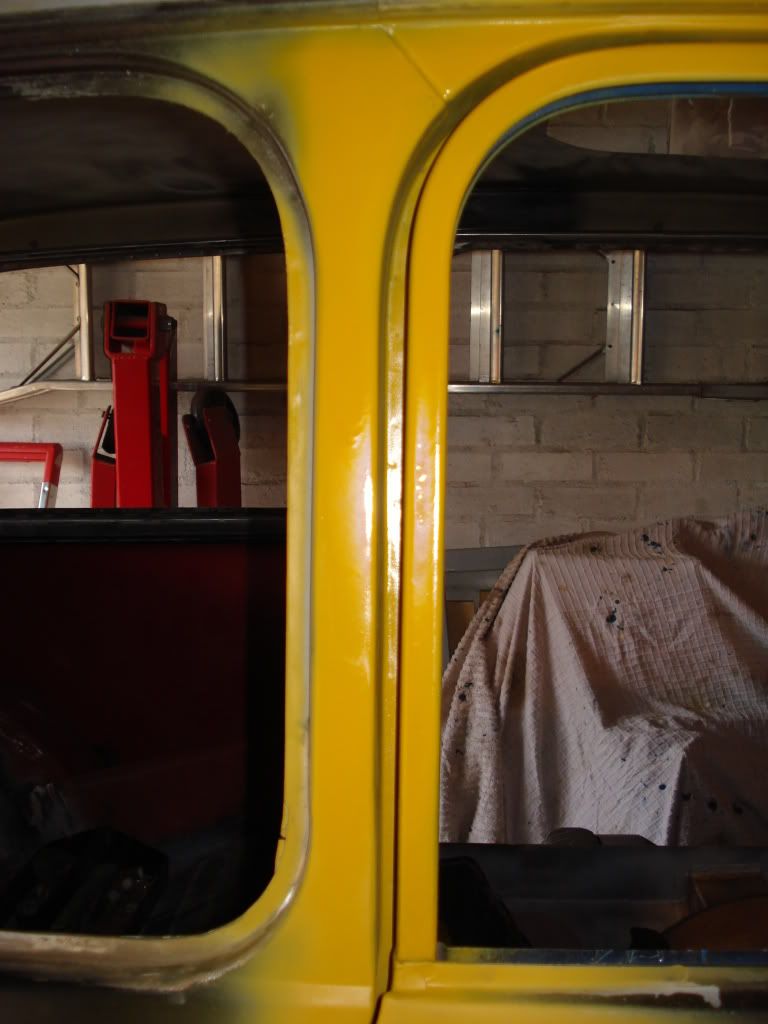
Posted Image
A large gap and it tapered although not as bad as when we first fitted the door, a large hammer and a block of wood moved it back enough for a nice gap at the front.
So after some head scratching again (no wonder i'm going bald >_<) i decided to slot the door itself where the the frame goes into in several places and drilled out the spot weld on the front to enable the frame to move and we got this a nice even gap all the way up.
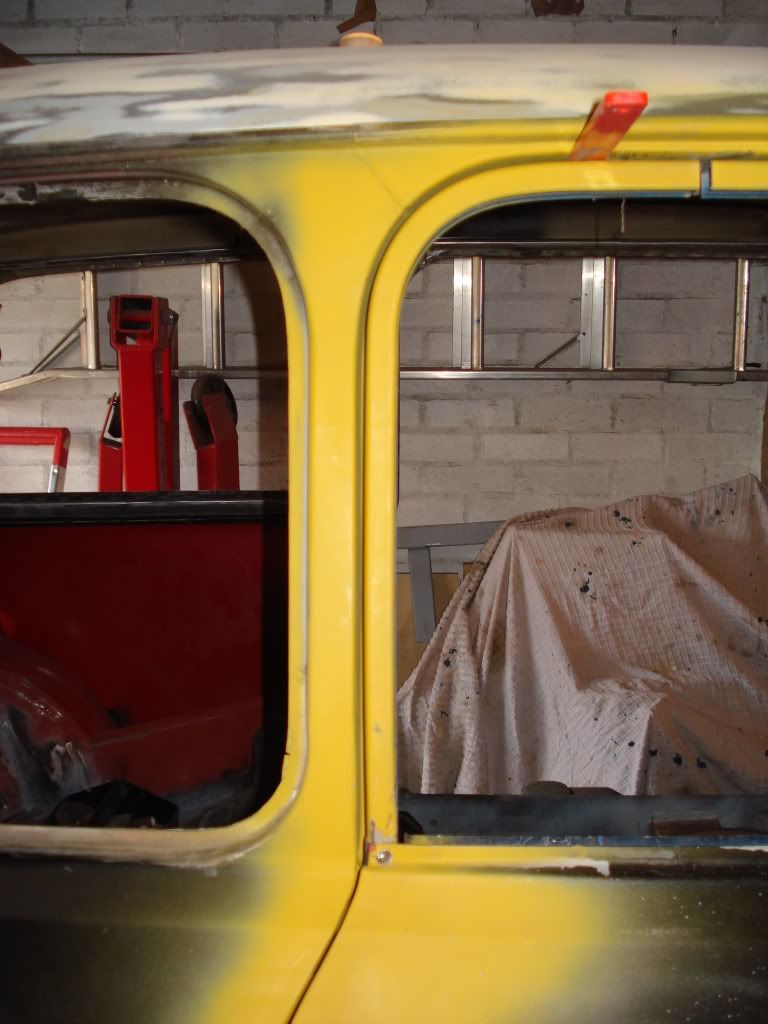
Posted Image
This is the gap we had at the top which i needed to fill
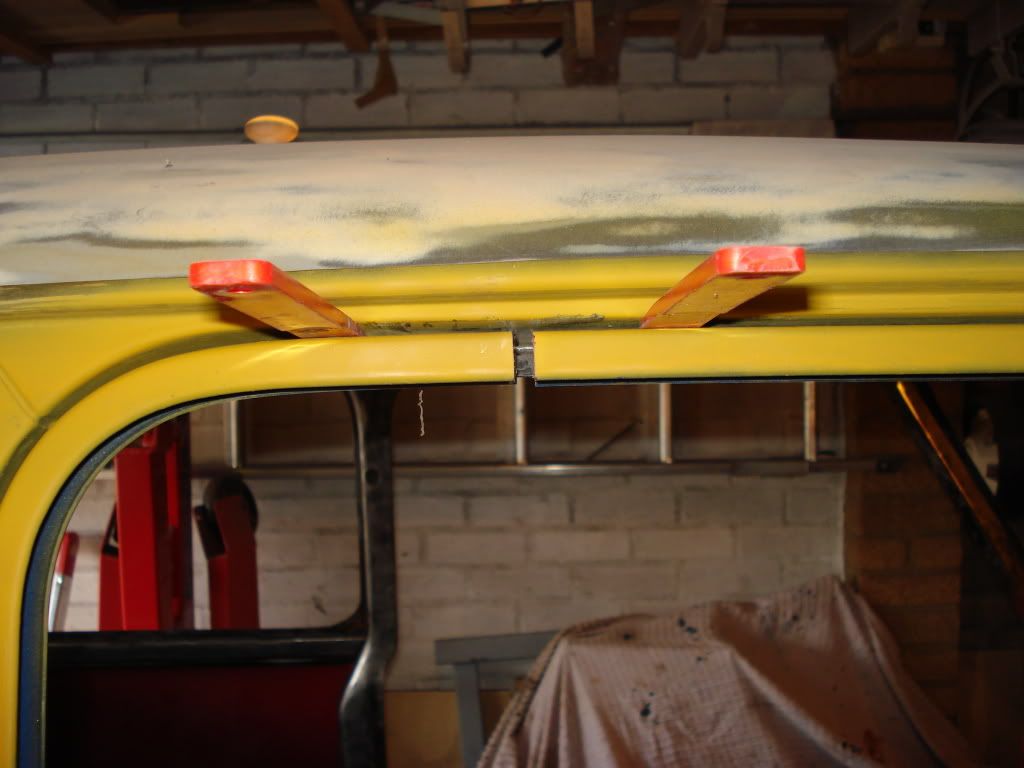
Posted Image
Less than 1/4" so after cutting a piece out of an old frame this is the outcome
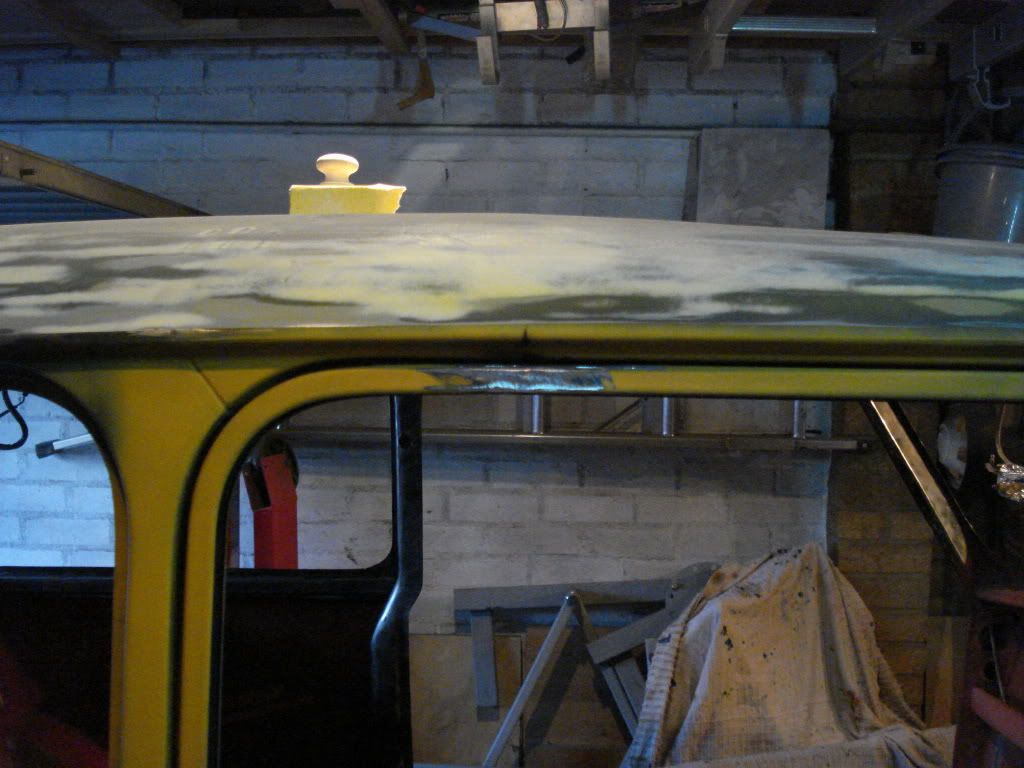
Posted Image
A skim of filler to finish and happy days plus the door is now welded up and a skim to finish that.

Scott taped up the wings and on the rear bench so i could seal them up, so the wings have been done
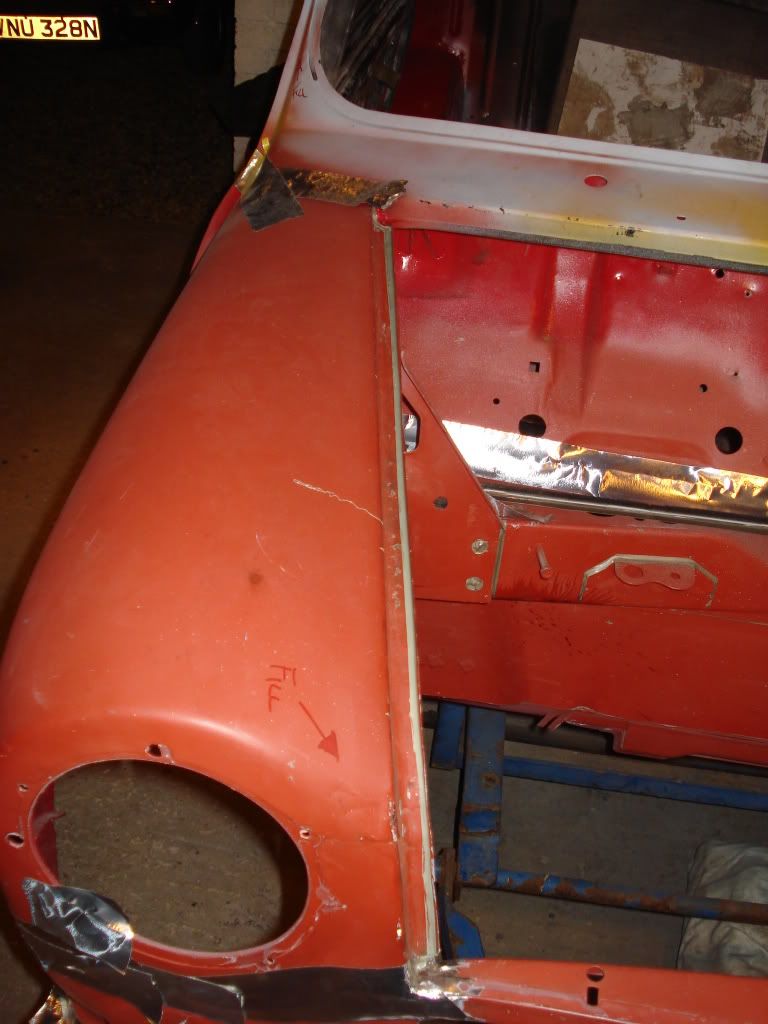
Posted Image
Posted Image
and there is a bit more work to do inside the car before all of the sealing is finished. Back to work for another four days now then 12 days off for the big push for paint.
#479 hustybusty

hustybusty

    Mini Mad

  • Members
  • PipPipPipPip
  • 236 posts

Posted 24 February 2011 - 09:09 PM

Looking nice, wish I had picked up some of your tips a while back.

#480 Scholes2012

Scholes2012

    Mini Mad

  • Members
  • PipPipPipPip
  • 239 posts
  • Local Club: NONE

Posted 24 February 2011 - 09:31 PM

May i ask why the silver tape is over the sealer ? is it to just stop bit's getting in it ? or is it a chemical reaction thing?

edit spelling >_<

Edited by Scholes2012, 24 February 2011 - 09:32 PM.


3 user(s) are reading this topic

0 members, 3 guests, 0 anonymous users