Project Erm
#451

Posted 06 February 2011 - 10:11 PM
#452

Posted 06 February 2011 - 10:18 PM
#453

Posted 06 February 2011 - 10:25 PM
ThanksHi walt, open up a new post in complete mini rebuilds then if you do not have one open a Photobucket account its free. Upload your photo's to that then hover over the picture you want to load on the forum click on the img code (it should be on the bottom of the drop down). This should automatically copy so all you need to do is paste onto your thread. Happy days
#454

Posted 07 February 2011 - 08:45 PM
L/h side welded ready for grinding
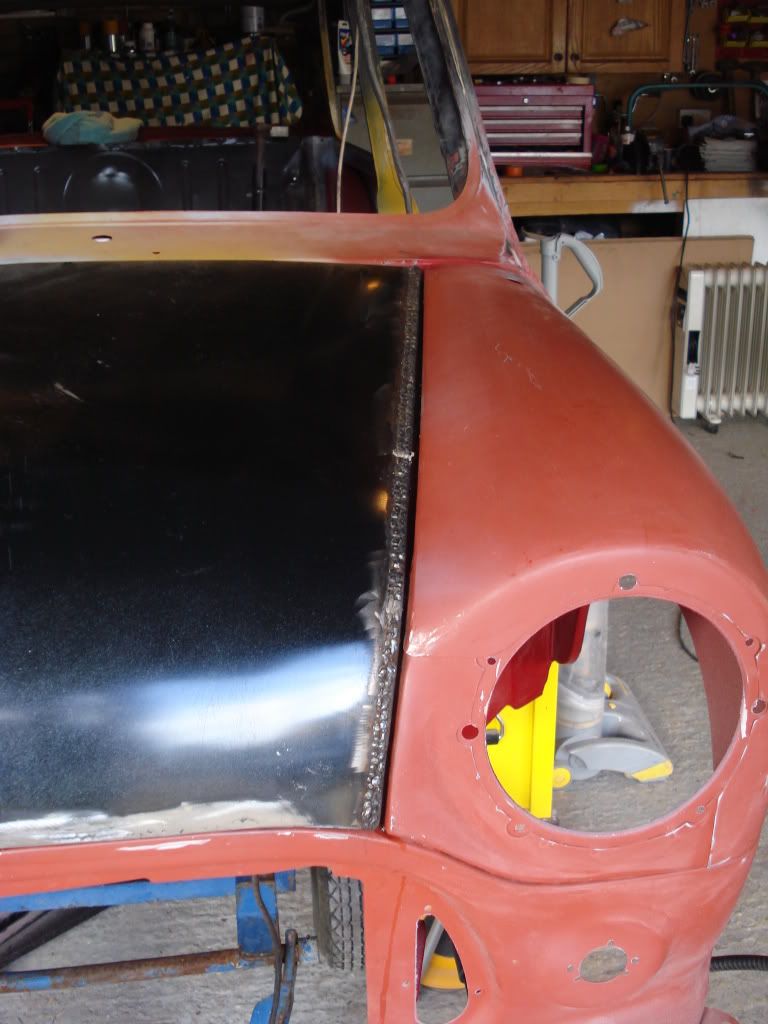
R/h side sectioned and filler piece being added
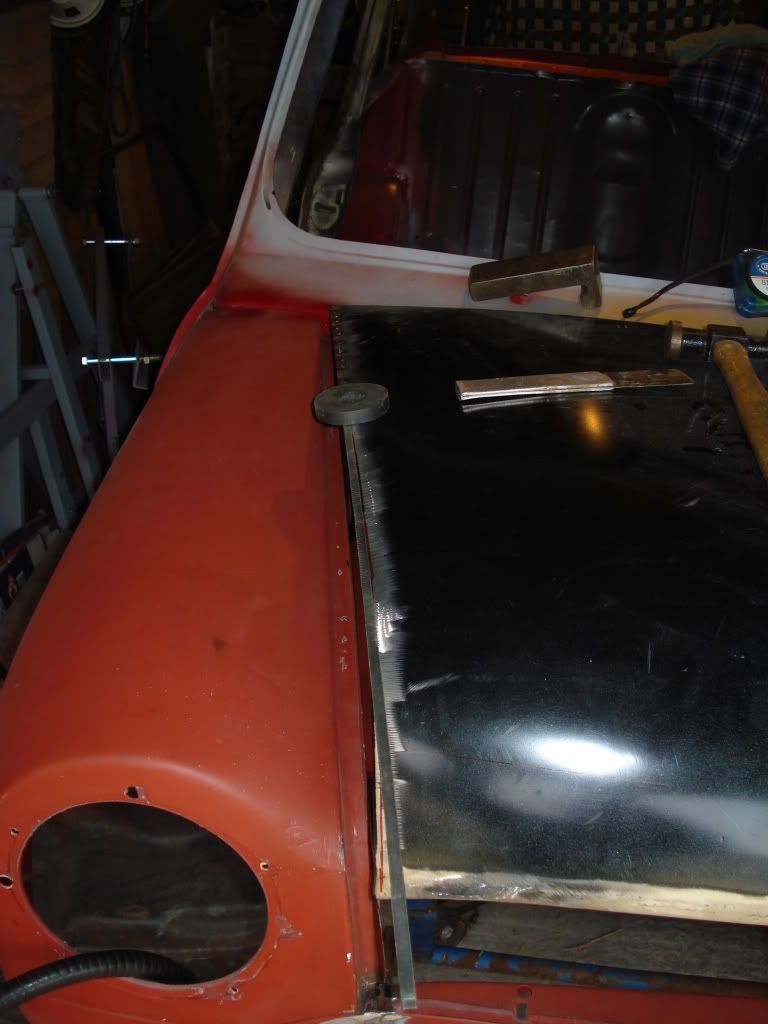
Some more of the filler strip going in
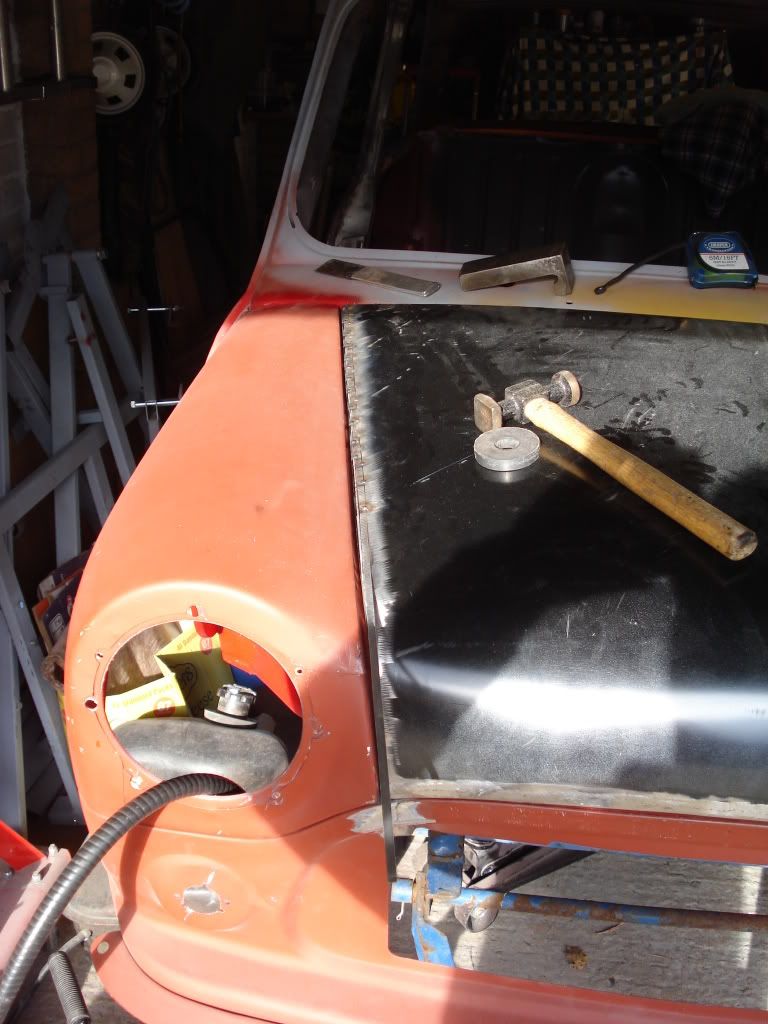
Done ready for grinding flush
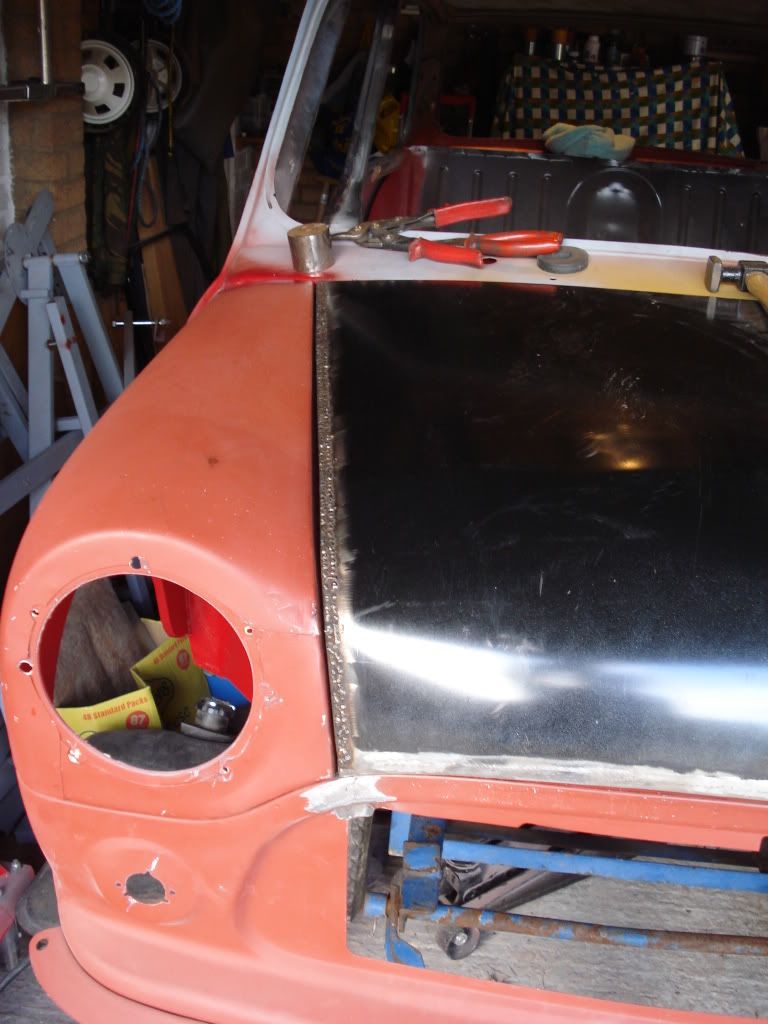
The inside reinforcing straps have been cut around so they sit flush to the skin and the external welds have been ground down ready for filling tomorrow. Just the internal bits to be ground down and sealed. Then a final check with the new hinges and final tweaking hopefully all done by the end of tomorrow.
#455

Posted 07 February 2011 - 09:17 PM
nicely done, but now the bonnet is wider, will the grill parts fit ok or are you doing something else with the front??
Graham
#456

Posted 07 February 2011 - 09:21 PM
Hi,
nicely done, but now the bonnet is wider, will the grill parts fit ok or are you doing something else with the front??
Graham
No grill parts on the bonnet its smooth, we will be fitting the earlier style grill and moustache to the front panel. The lip on the bonnet was removed before i started the insertion process.
Haha son beat you to it.
Edited by sonikk4, 07 February 2011 - 09:23 PM.
#457

Posted 07 February 2011 - 09:22 PM
Hi,
nicely done, but now the bonnet is wider, will the grill parts fit ok or are you doing something else with the front??
Graham
Going for a mk1 grille with moustache so the original chrome front strip off of the bonnet has been removed along with the lip on the bonnet it fitted too.
#458

Posted 08 February 2011 - 08:32 PM
It now skimmed with filler and the inside is seam sealed just needs another layer to finish off. Oh and our polished stainless steel drop bracket turned up today and very nice it is to. Now back to work again for another 4 days but more pressure now as the house is on the market so really need to get busy with Erm.
#459

Posted 10 February 2011 - 06:04 PM
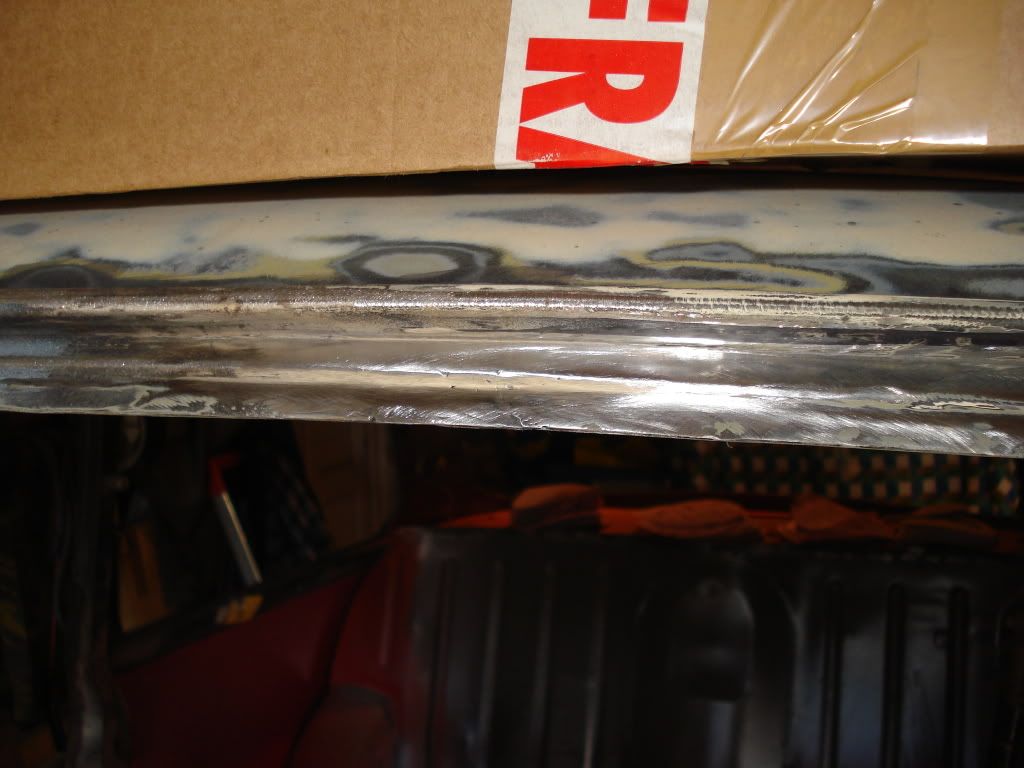
Hello, great work been done here i have the same problem with my bonnetDid a bit more work on the bonnet today after we found that the billet alloy hinges Scott had bought had moved things around abit. Had to split one side again to straighten a gap and sort the rear flange as it was hitting.
It now skimmed with filler and the inside is seam sealed just needs another layer to finish off. Oh and our polished stainless steel drop bracket turned up today and very nice it is to. Now back to work again for another 4 days but more pressure now as the house is on the market so really need to get busy with Erm.
just one question did you use seam sealer on the underside of the welds could you
post a photo
cherrs
#460

Posted 11 February 2011 - 07:49 PM
Hello, great work been done here i have the same problem with my bonnetDid a bit more work on the bonnet today after we found that the billet alloy hinges Scott had bought had moved things around abit. Had to split one side again to straighten a gap and sort the rear flange as it was hitting.
It now skimmed with filler and the inside is seam sealed just needs another layer to finish off. Oh and our polished stainless steel drop bracket turned up today and very nice it is to. Now back to work again for another 4 days but more pressure now as the house is on the market so really need to get busy with Erm.
just one question did you use seam sealer on the underside of the welds could you
post a photo
cherrs
Hi will do when i get back from work Sun but it won't be until the evening, my works computer system will not let me use photobucket so i have no access to my photo's.
Regards Neil
#461

Posted 13 February 2011 - 07:18 PM
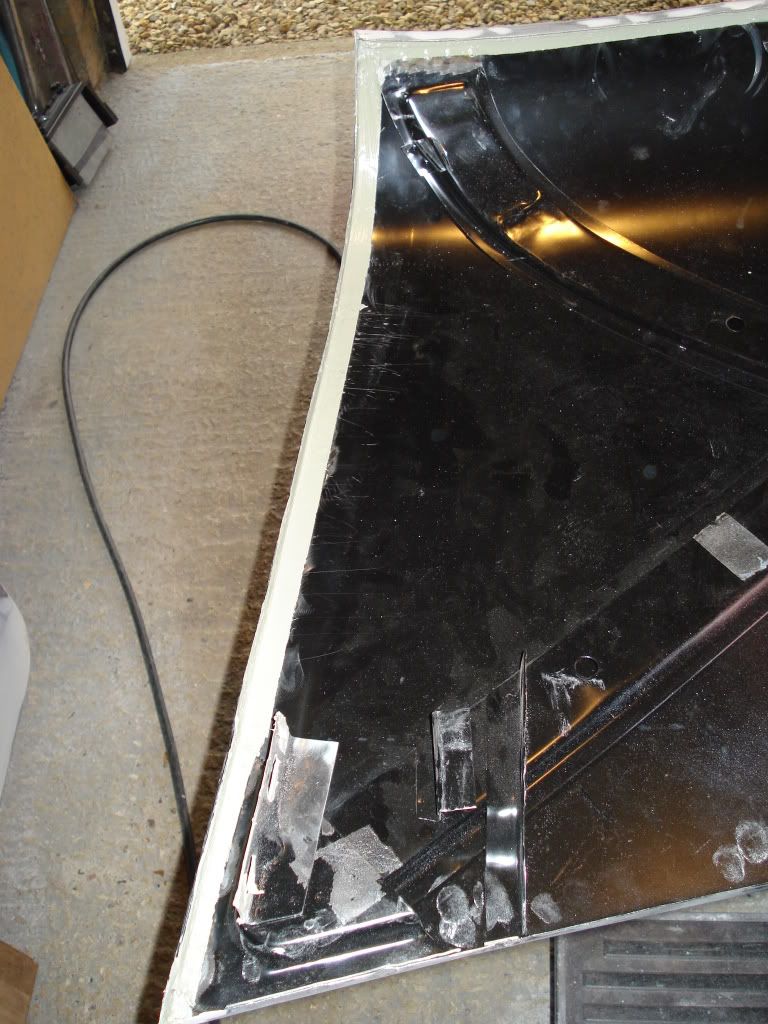
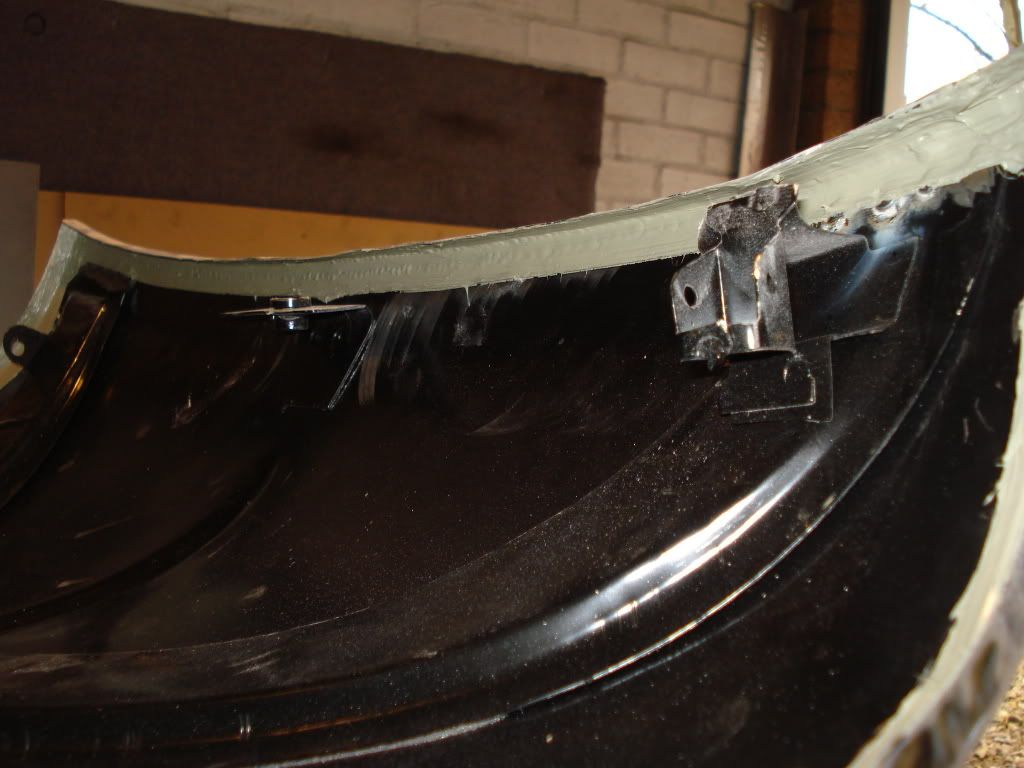
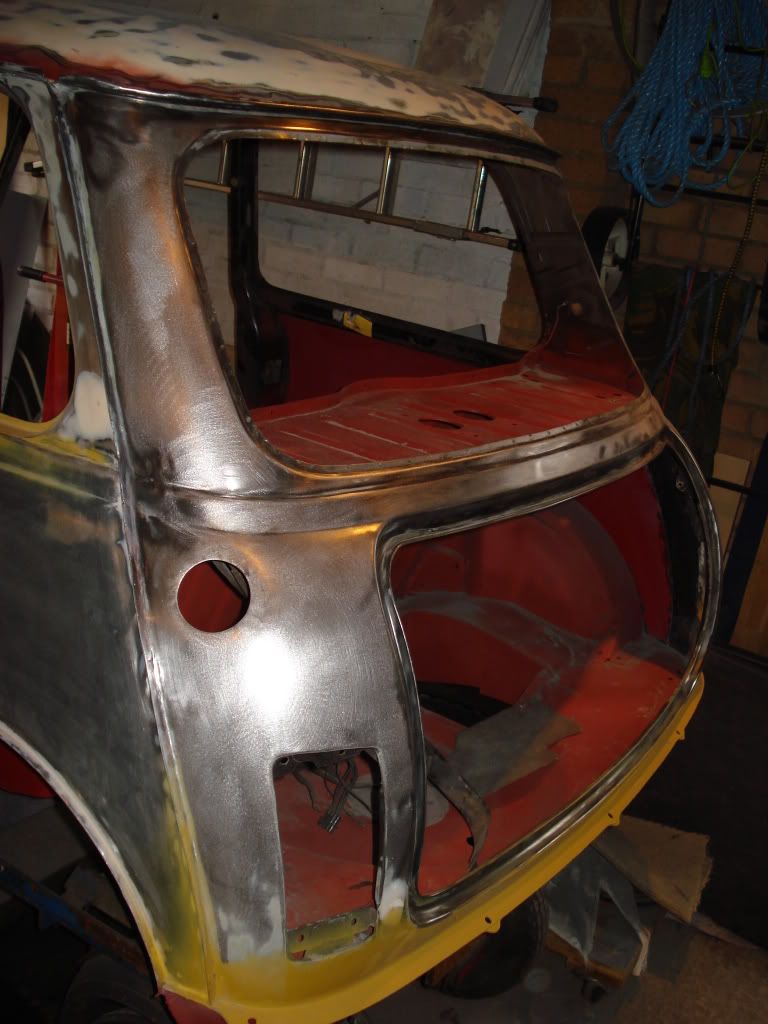
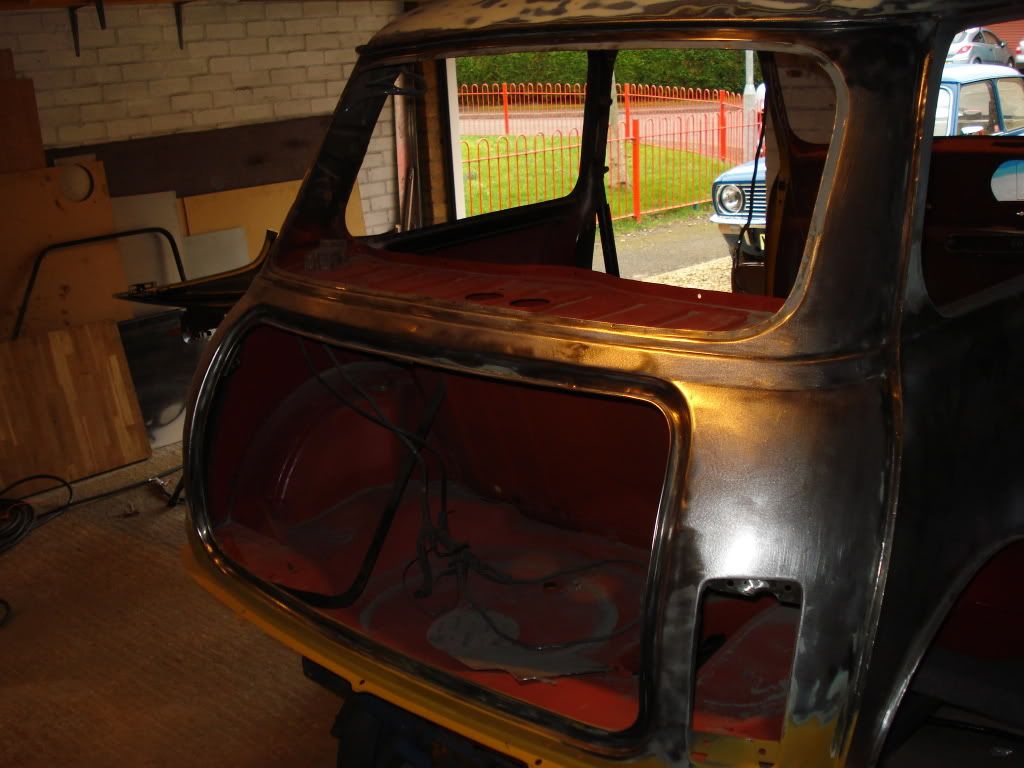
Between myself and Scott we have started stripping the remaining old paint of Erm especially around the rear panel, the guttering and window and door frames. We have found a few more sections of rust that will need to be disposed of so that will be a job for tomorrow.
#462

Posted 13 February 2011 - 08:08 PM
#463

Posted 13 February 2011 - 09:00 PM
Great progress. Bonnet looks good. Hoping to tidy my bonnet gaps a little too soon. So nice to have some ideas. I see the clubman is trying to sneak into the last picture.
Paddy does like to stick his snout in on the odd occasion, i think he's a little jealous of all the attention Erm is getting
#464

Posted 14 February 2011 - 07:44 PM
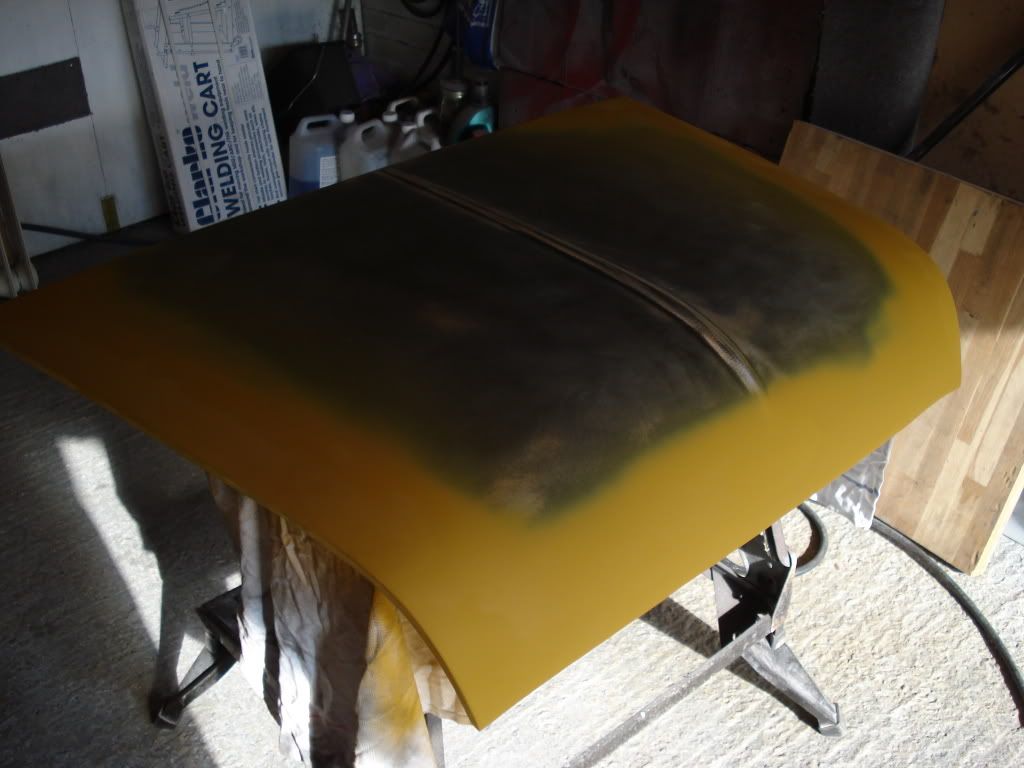
Then it was onto some more rust around the windscreen aperture
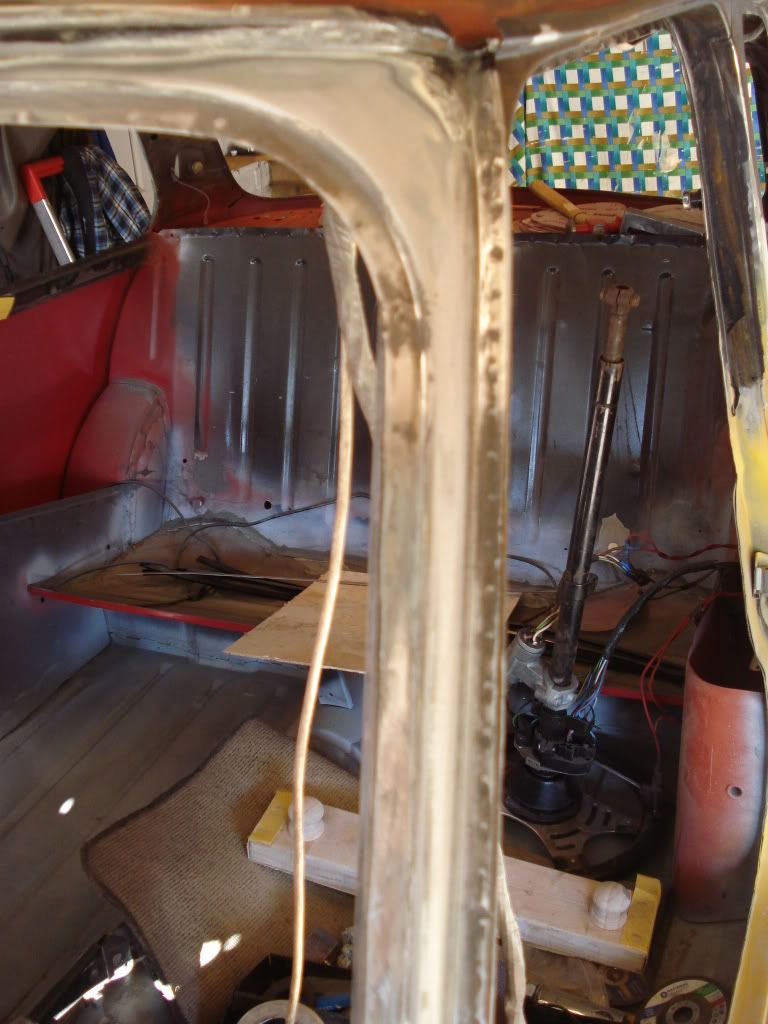
It had to go so off it went
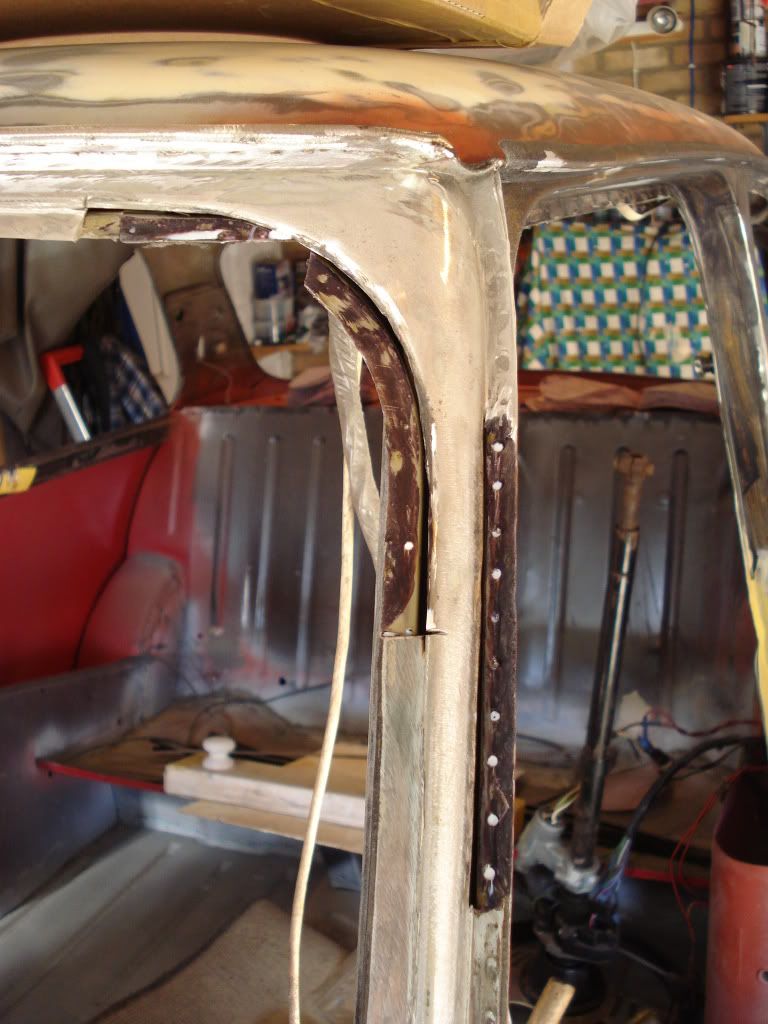
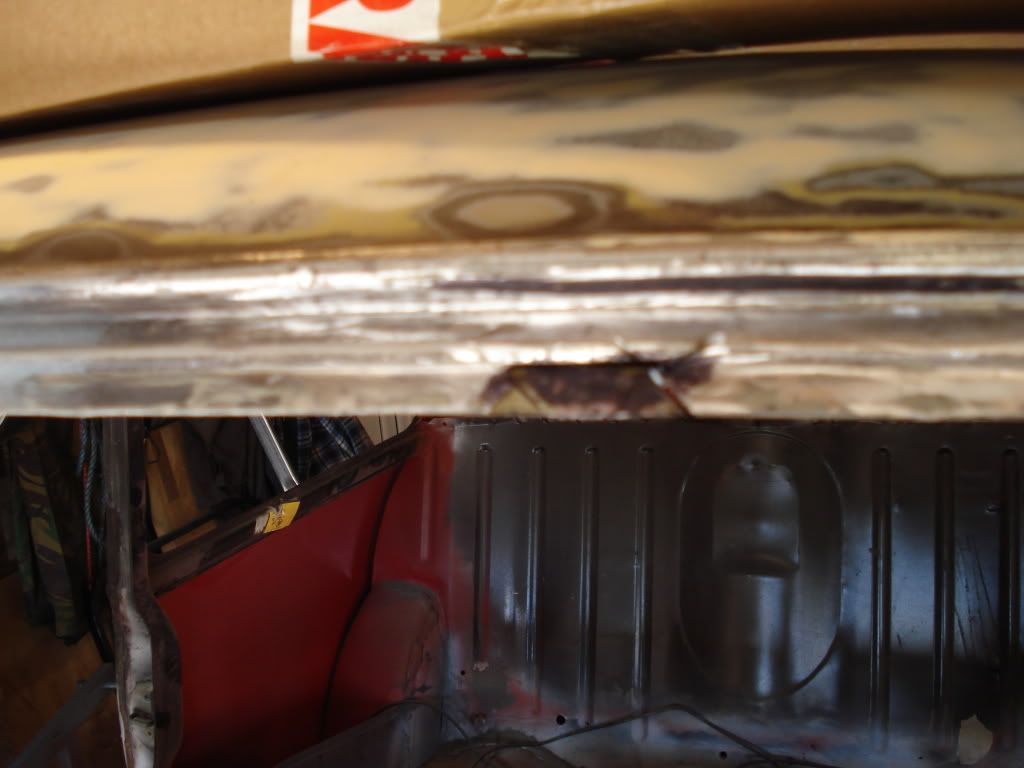
Then new pieces were fabbed up, the area treated and then Zinc rich primer applied
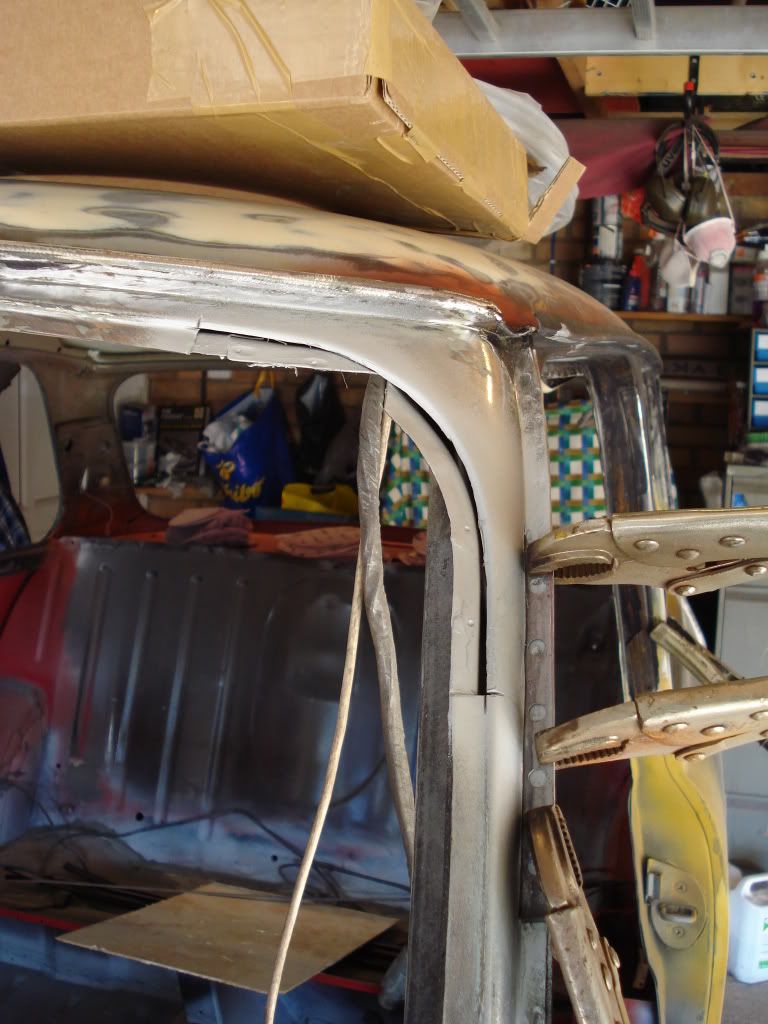
welded up
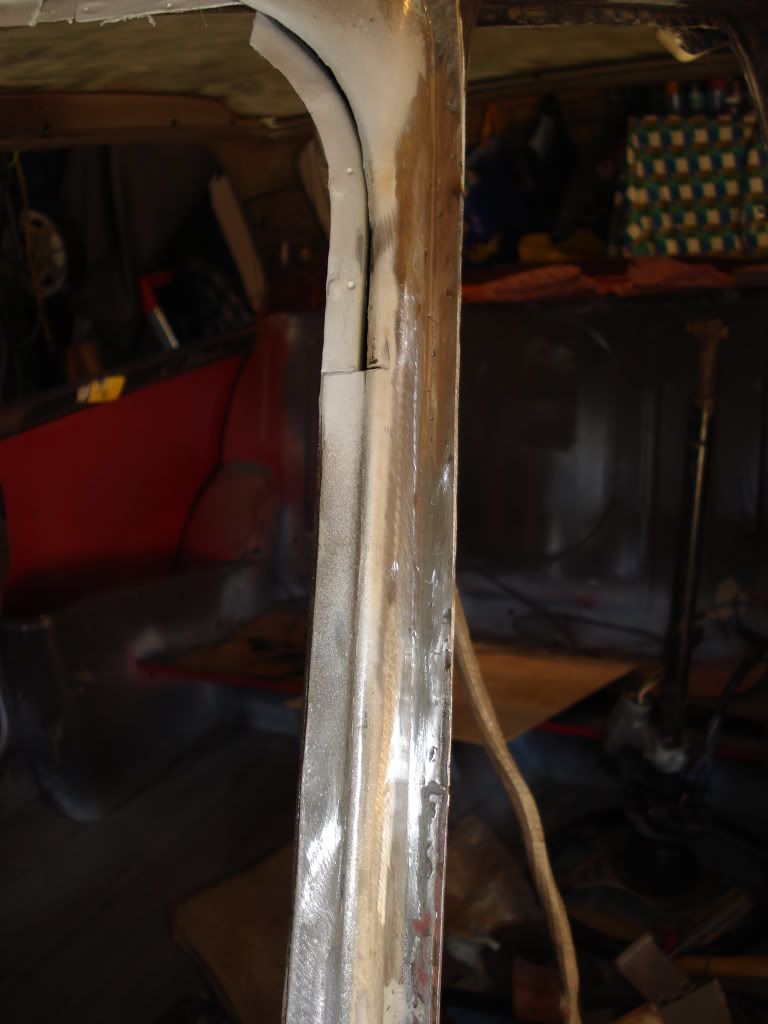
then the corner piece
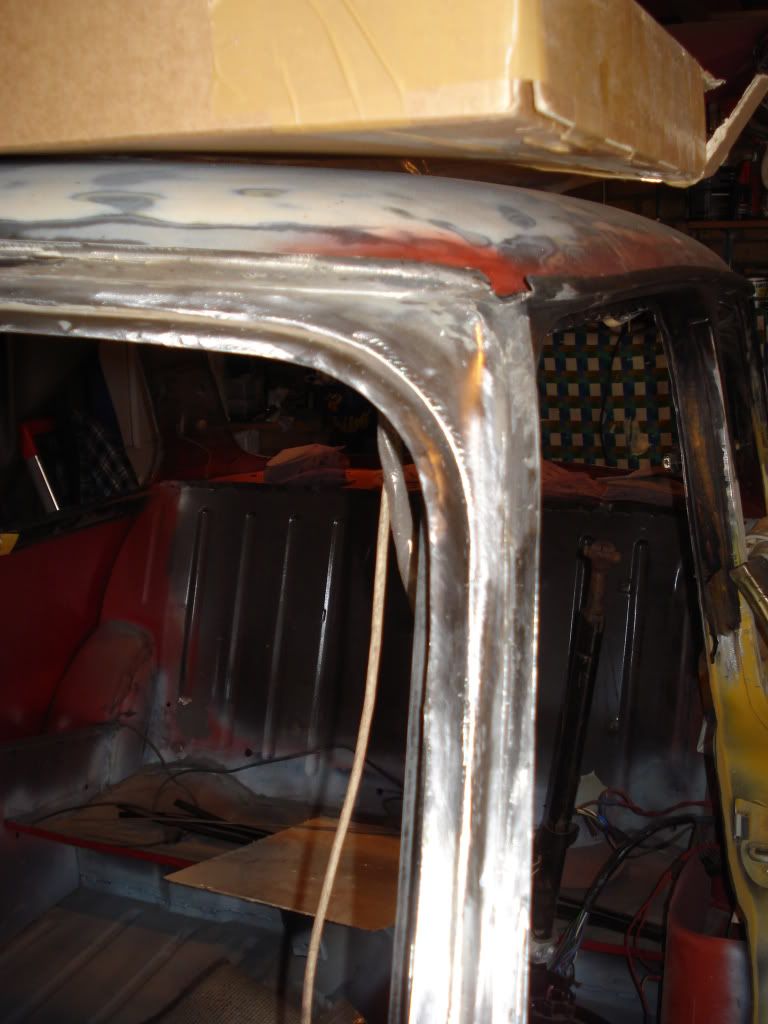
then the centre section
Happy days, all that's needed now is a skim of filler to finish.
#465

Posted 14 February 2011 - 07:56 PM
Hugh
2 user(s) are reading this topic
0 members, 2 guests, 0 anonymous users


