Scott has finally got the flywheel off Erms old lump so hopefully will get the gearbox stripped down this week if all goes well then will give the case a good dose of looking at prior to rebuilding the box. He's taken the diff off and from what we can see does not look to bad although i will give it a good look over later.

Project Erm
Started by
scsracing
, Aug 30 2009 06:17 PM
834 replies to this topic
#406

sonikk4
-

- Admin
-

- 16,033 posts
Twisted Paint Polisher!!!
- Name: Neil
- Location: Oxfordshire
Posted 12 December 2010 - 10:04 PM
#407
sonikk4
-
- Admin
-
- 16,033 posts
Twisted Paint Polisher!!!
- Name: Neil
- Location: Oxfordshire
Posted 13 December 2010 - 01:32 PM
Back on Erm today, lots of prep work for sealing
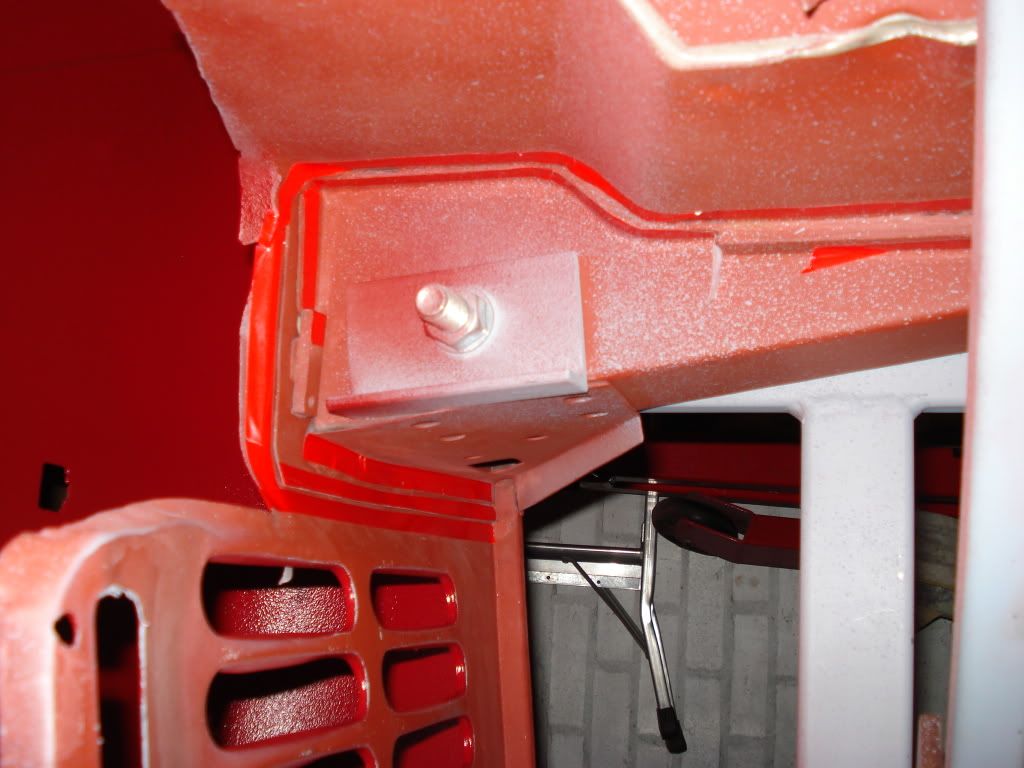

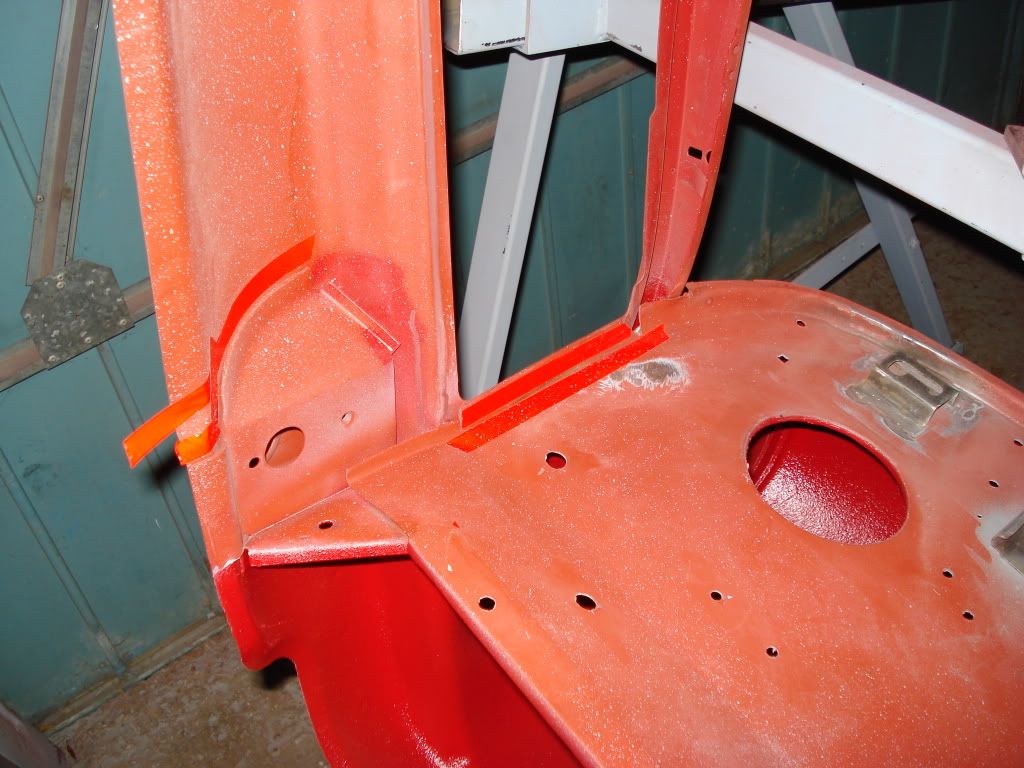
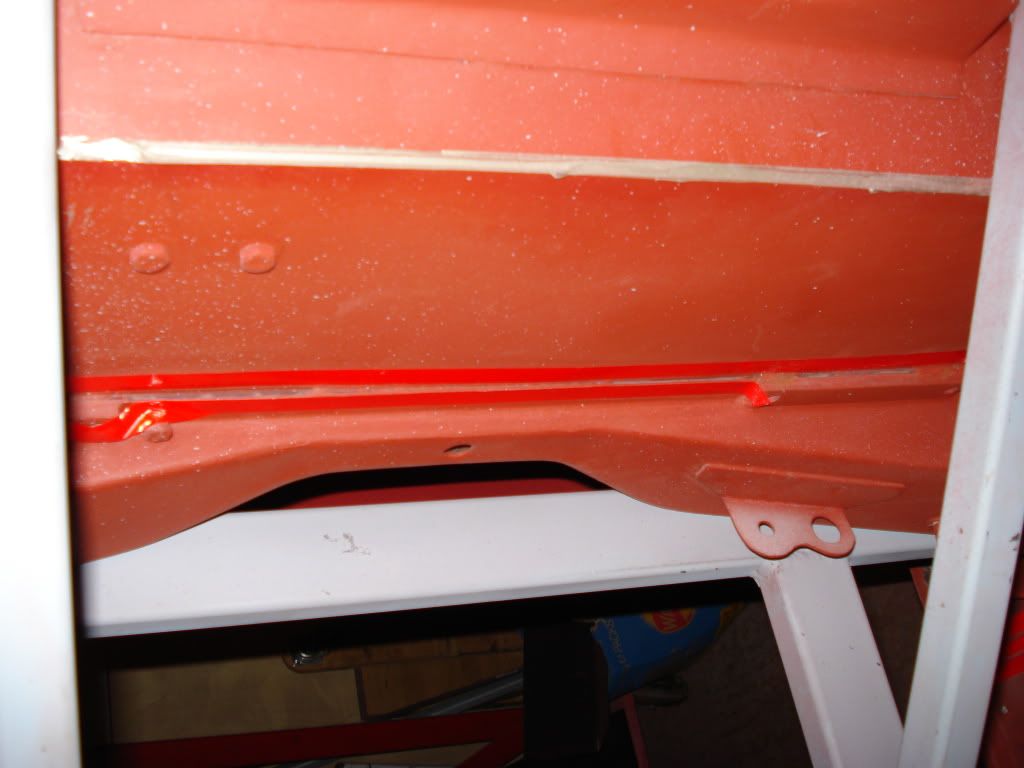
and then sealed

Then managed to put the final top coat layer on the r/h inner wing
Now its back out to the garage to sort out the stupid roof ariel and the rust around it .
.
and then sealed
Then managed to put the final top coat layer on the r/h inner wing
Now its back out to the garage to sort out the stupid roof ariel and the rust around it
.
#408
hughJ
-

- Members
-
- 727 posts
Soldiering Along
- Location: Highlands, Scotland
Posted 13 December 2010 - 01:40 PM
Neil, I see your online right now - lunch breaks are great. As usual you are meticulous. I thought it would be too cold to paint! We are frosty here. Is the seam sealer painted on or is it something that comes from a mastic gun?
Again. your work looks super. Thanks again for your advice.
All the best
Hugh
Again. your work looks super. Thanks again for your advice.
All the best
Hugh
#409
Teapot
-

- Members
-
- 5,010 posts
TMF Legend
- Location: Seaton, East Devon
Posted 13 December 2010 - 01:55 PM
Great work. Mmm new metal, new paint.
NB to self: Must stop being diverted by irrelevant details,
eg must find ladder feet which fell off last week

NB to self: Must stop being diverted by irrelevant details,
eg must find ladder feet which fell off last week
#410
nrwilliams
-
- Noobies
-
- 133 posts
Mini Mad
- Location: Uckfield, East Sussex
Posted 13 December 2010 - 04:47 PM
How do you make it look so easy?
Great project!
Great project!
#411
sonikk4
-
- Admin
-
- 16,033 posts
Twisted Paint Polisher!!!
- Name: Neil
- Location: Oxfordshire
Posted 13 December 2010 - 07:12 PM
Neil, I see your online right now - lunch breaks are great. As usual you are meticulous. I thought it would be too cold to paint! We are frosty here. Is the seam sealer painted on or is it something that comes from a mastic gun?
Again. your work looks super. Thanks again for your advice.
All the best
Hugh
Hi Hugh i have to admit i have had my thermals on and the heater to take the edge off enough to comfortably work. The seam sealer is applied with a mastic gun but the Semkits that i use (Aviation sealant) has a tube diameter somewhat smaller than a standard so its a fiddle with the pneumatic gun that i have. Unfortunately the correct type of tool is chuffing expensive but where there's a will there's a way.
Had to go online just to check on something and load the first batch of pictures, i have now got more to add so will be doing that shortly. The paint is only in the inner wings so not to worried if it looks a tad funny not that you could tell anyway with it being on top of stone chip

#412
sonikk4
-
- Admin
-
- 16,033 posts
Twisted Paint Polisher!!!
- Name: Neil
- Location: Oxfordshire
Posted 13 December 2010 - 07:14 PM
How do you make it look so easy?
Great project!
Blimey i wish it was easy, it took over an hour just to mask up let alone getting the sealant to look somewhat decent, still once its got a nice shiny coat of paint on it it will have been worth it
Cheers.
#413
sonikk4
-
- Admin
-
- 16,033 posts
Twisted Paint Polisher!!!
- Name: Neil
- Location: Oxfordshire
Posted 13 December 2010 - 07:36 PM
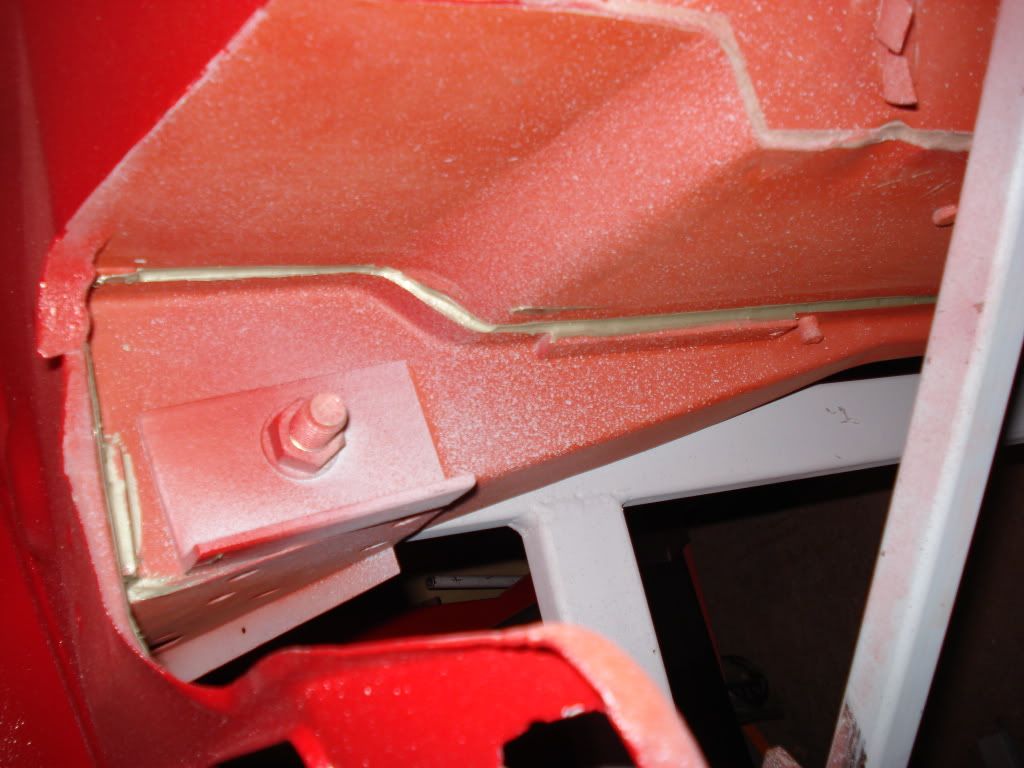
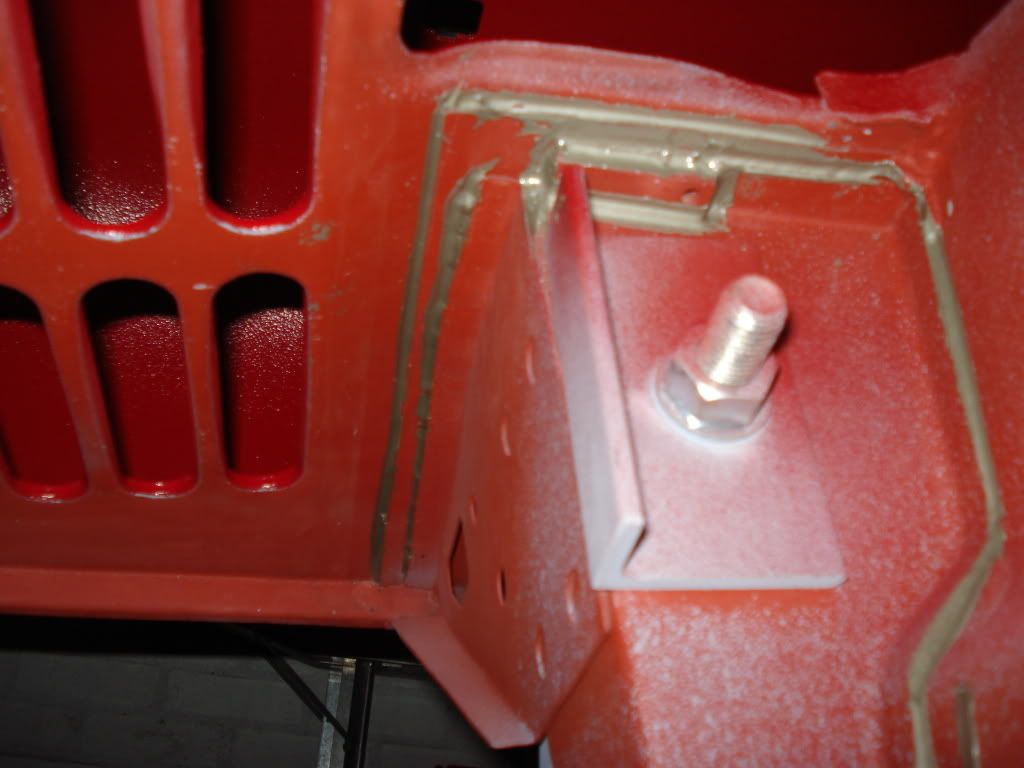
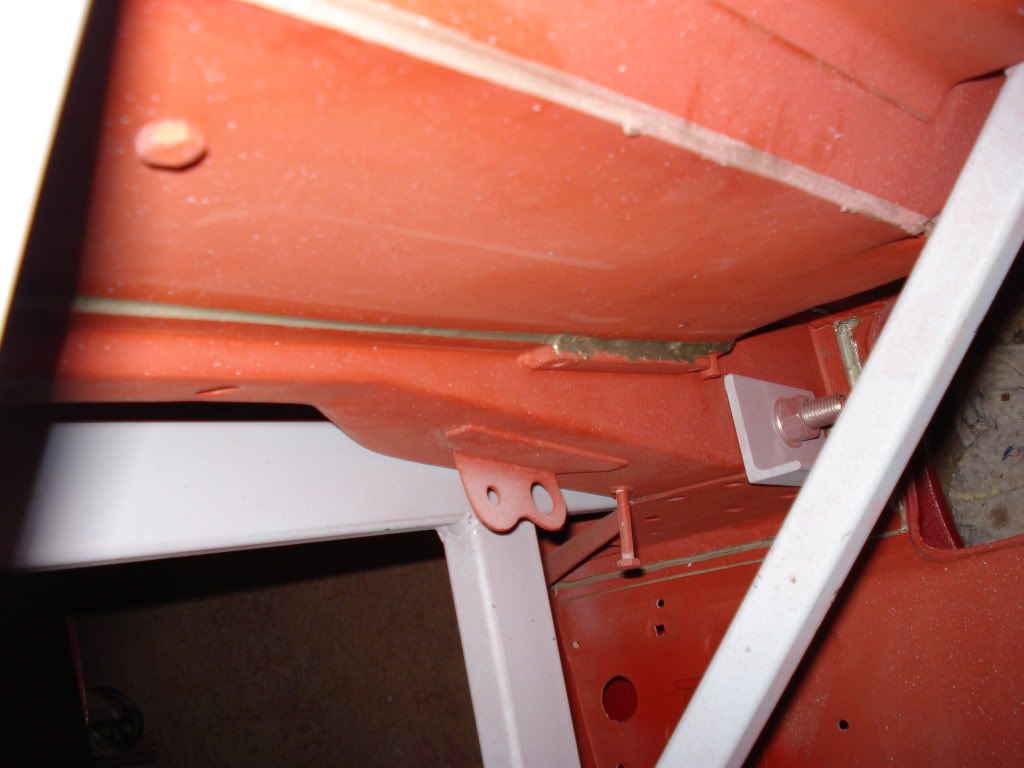
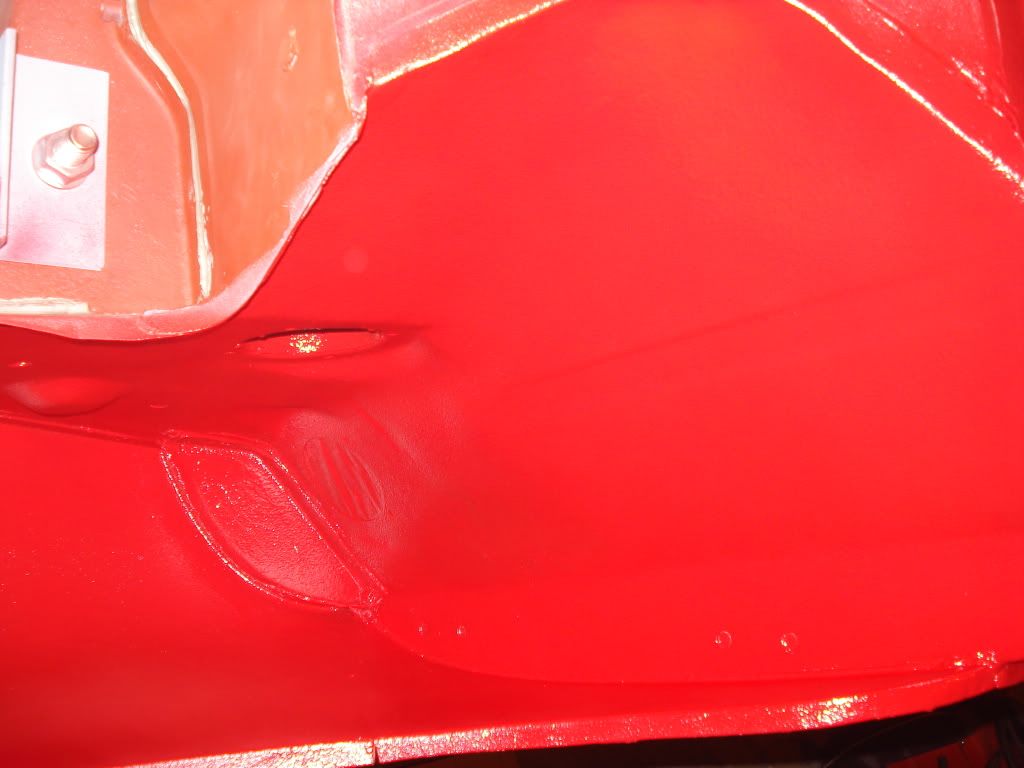
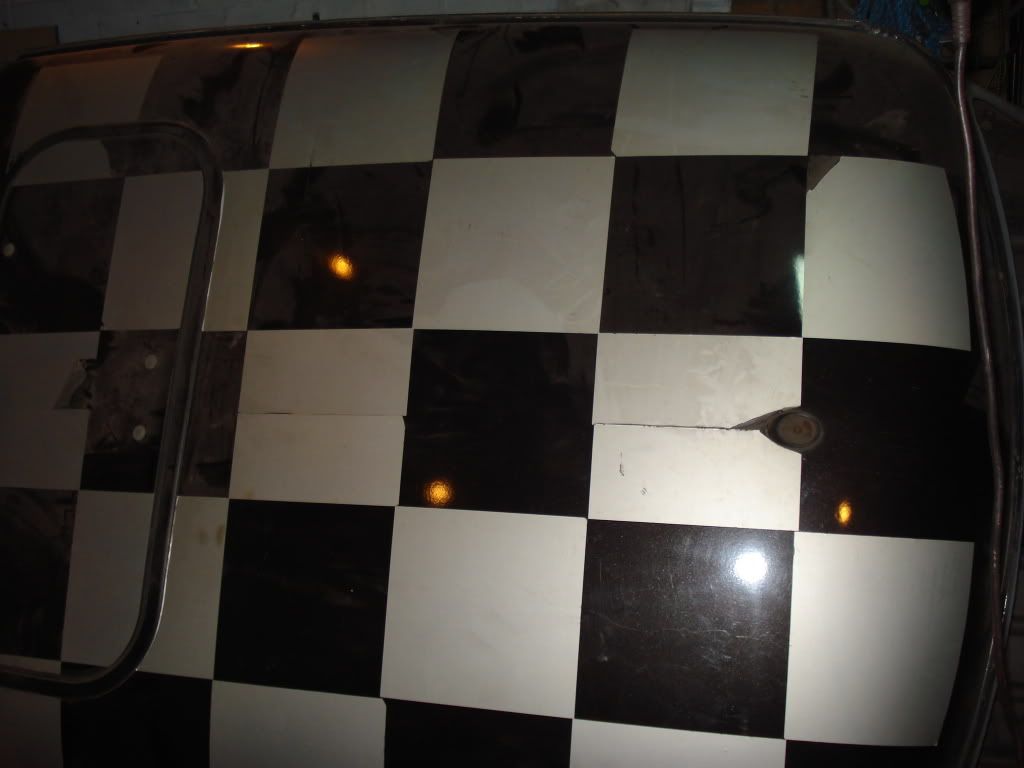
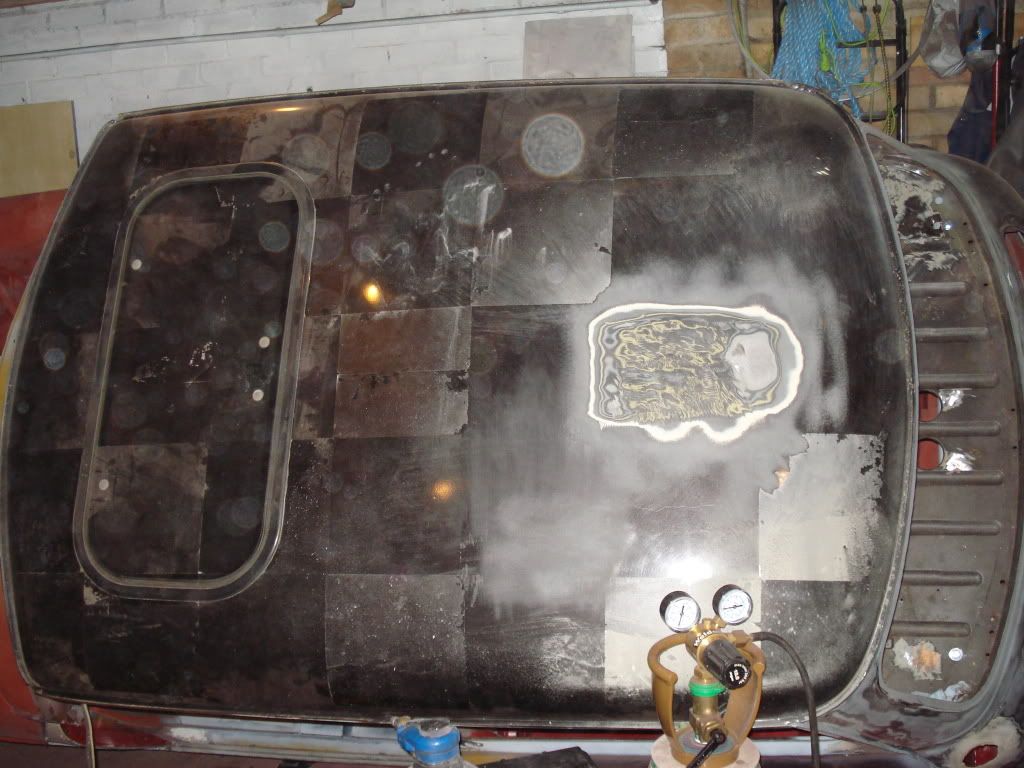
Righto this was the afternoons work, rusty roof aerial mount nasty looking thing
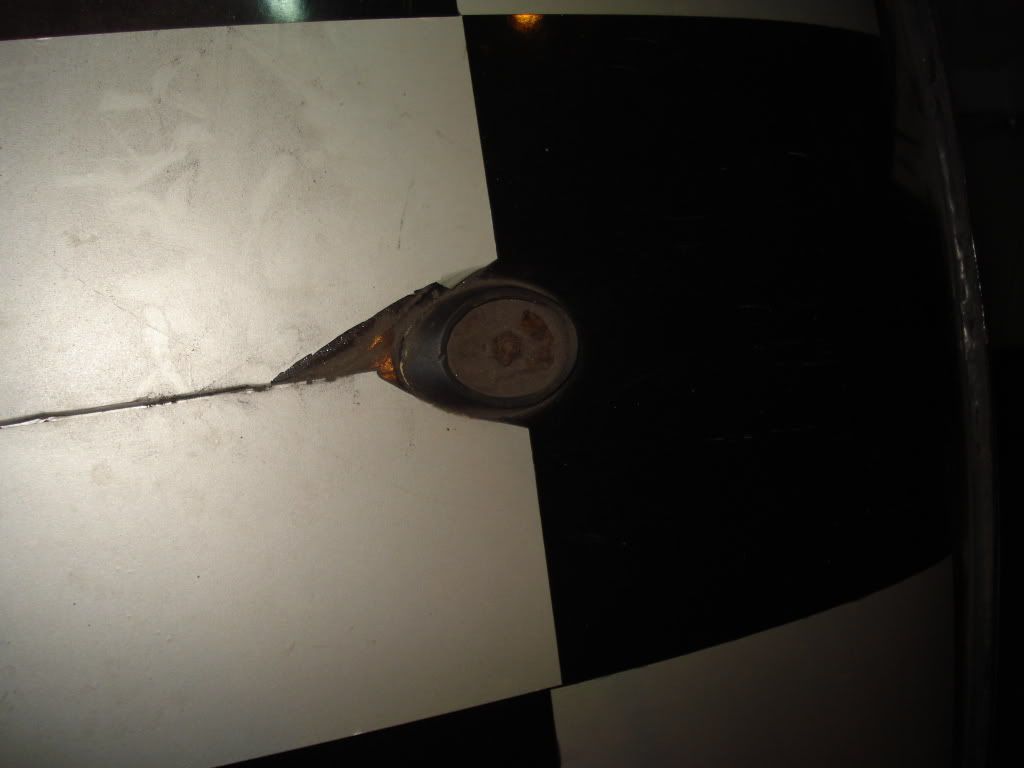
and the rust under it
now no more
Noughts and crosses anybody
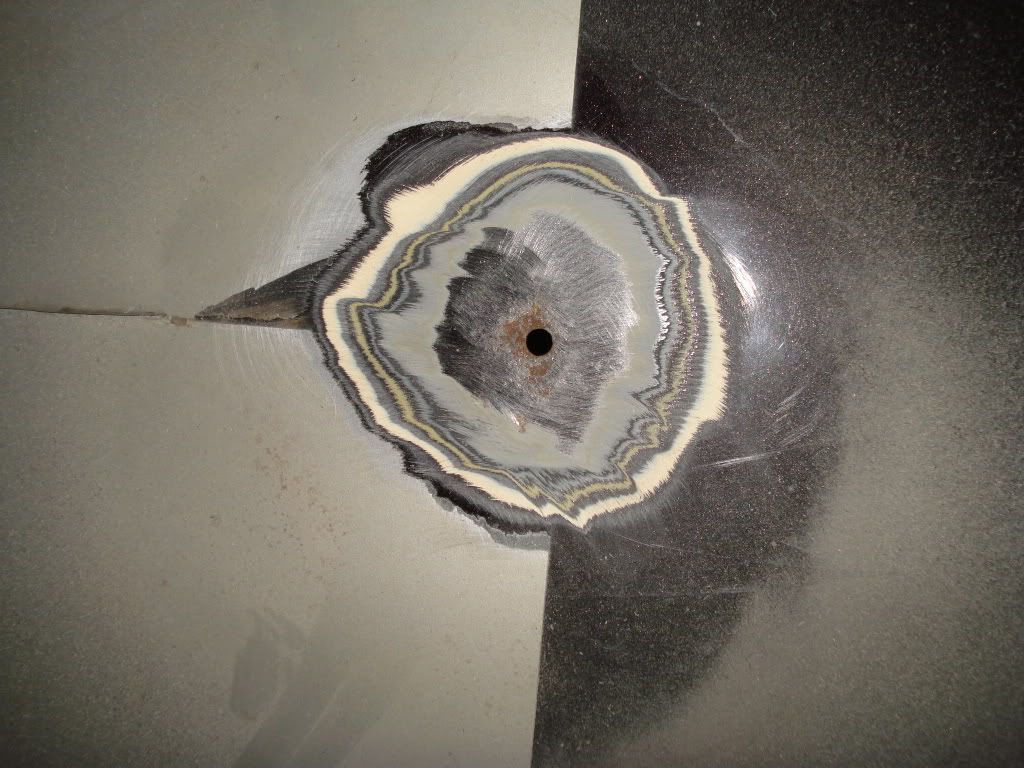
now gone as well, sorry for the poor photo camera had a moment i think
did suffer some minor skin ripple with the welding but a skim of filler will sort that out.
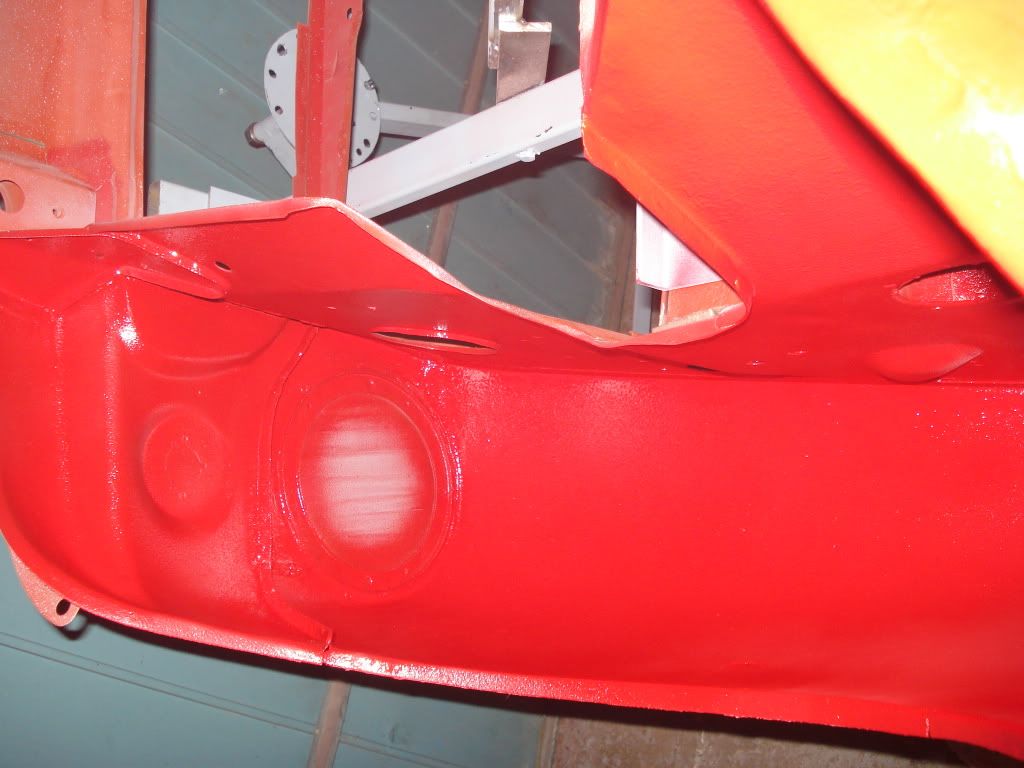
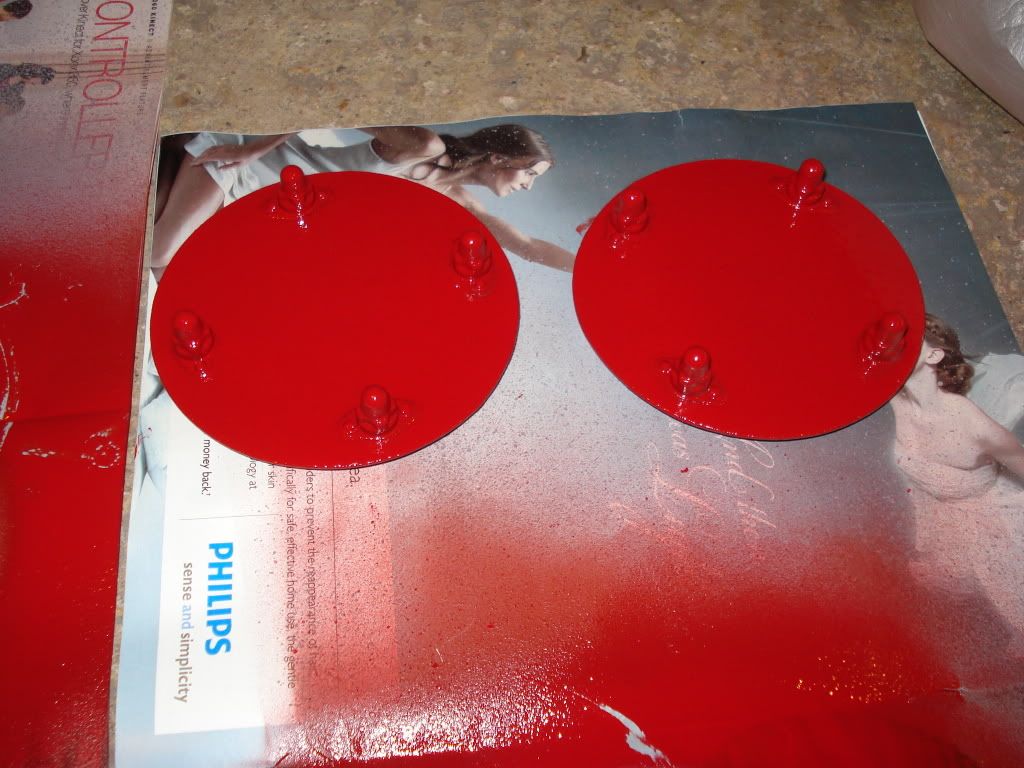
Had to stone chip the fresh vent closure plates i had made
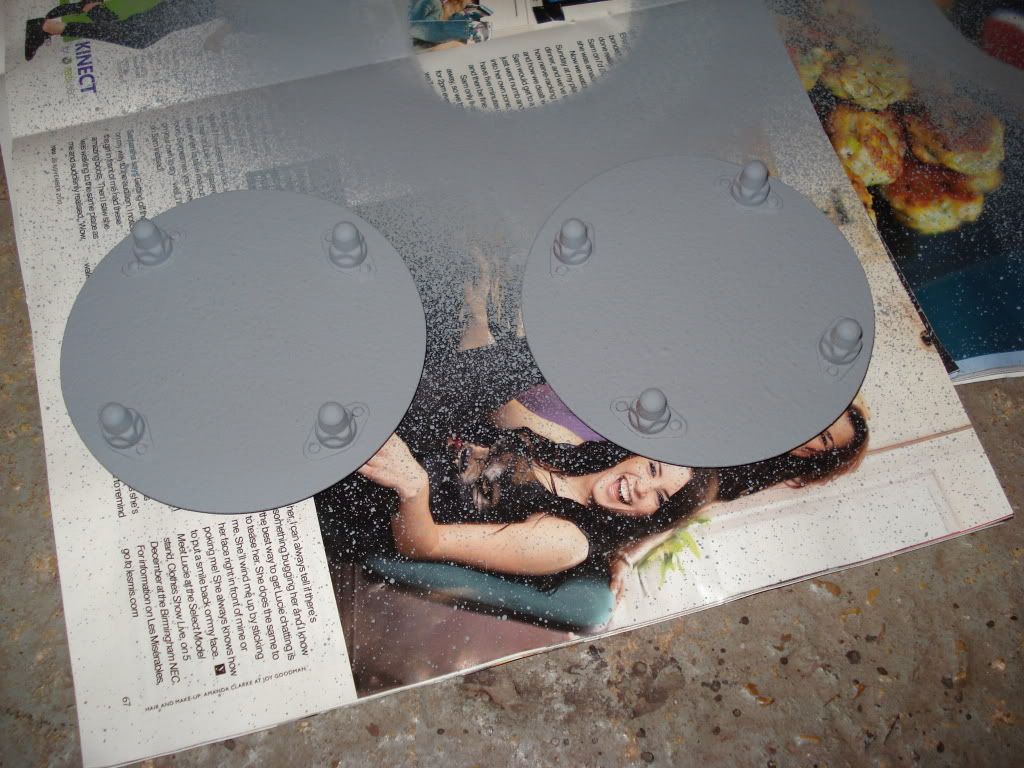
then all nicely painted to match the paint in the inner wing
All sorted now quite a bit done today so very happy with the progress after the slow previous week.
and the rust under it
now no more
Noughts and crosses anybody
now gone as well, sorry for the poor photo camera had a moment i think
did suffer some minor skin ripple with the welding but a skim of filler will sort that out.
Had to stone chip the fresh vent closure plates i had made
then all nicely painted to match the paint in the inner wing
All sorted now quite a bit done today so very happy with the progress after the slow previous week.
#414
myredmini
-

- Members
-
- 3,211 posts
My Mummy Says It's OK
- Name: Dan
- Location: Teesside
- Local Club: BOG MOG
Posted 13 December 2010 - 11:31 PM
Keep Up the good work ! Very neat sealing going on there too
#415
retroracer1275
-

- Banned
-
- 543 posts
Super Mini Mad
Posted 14 December 2010 - 12:16 AM
any chance of making a couple more that i can buy
 lol
lollooking good

#416
jagman.2003
-

- Members
-
- 1,307 posts
One Carb Or Two?
- Location: In the shed.
- Local Club: Owner of my own club of Minis
Posted 14 December 2010 - 08:33 AM
Great work, nice prompts for my project as to where all those seams are hiding!
#417
sonikk4
-
- Admin
-
- 16,033 posts
Twisted Paint Polisher!!!
- Name: Neil
- Location: Oxfordshire
Posted 14 December 2010 - 02:20 PM
any chance of making a couple more that i can buy
looking good
If i could get a supply of the sealed anchor nuts then i could but they are not cheap, mine i had laying around the garage and the rivets so cost me nothing
 . Might be worth looking into though
#418
rich2
-
- Members
-
- 351 posts
Speeding Along Now
Posted 18 December 2010 - 05:14 PM
Good to see ERM is still making progress despite the temperature. Its pretty bleak in my garage, and I seem to spend all my time taking off and putting on gloves! Those fuses will be a very nice touch. Good work!
#419
sonikk4
-
- Admin
-
- 16,033 posts
Twisted Paint Polisher!!!
- Name: Neil
- Location: Oxfordshire
Posted 21 December 2010 - 01:58 PM
-5.5 degrees in the garage i must be bloody mad. Even my airline fittings were frozen so not good.
Anyway enough griping, once i sorted the airline fittings, got the compressor going (Clarke compressors suck big time in the cold) and the heater on i managed to remove all of the old vinyl adhesive with lashings of Acetone.
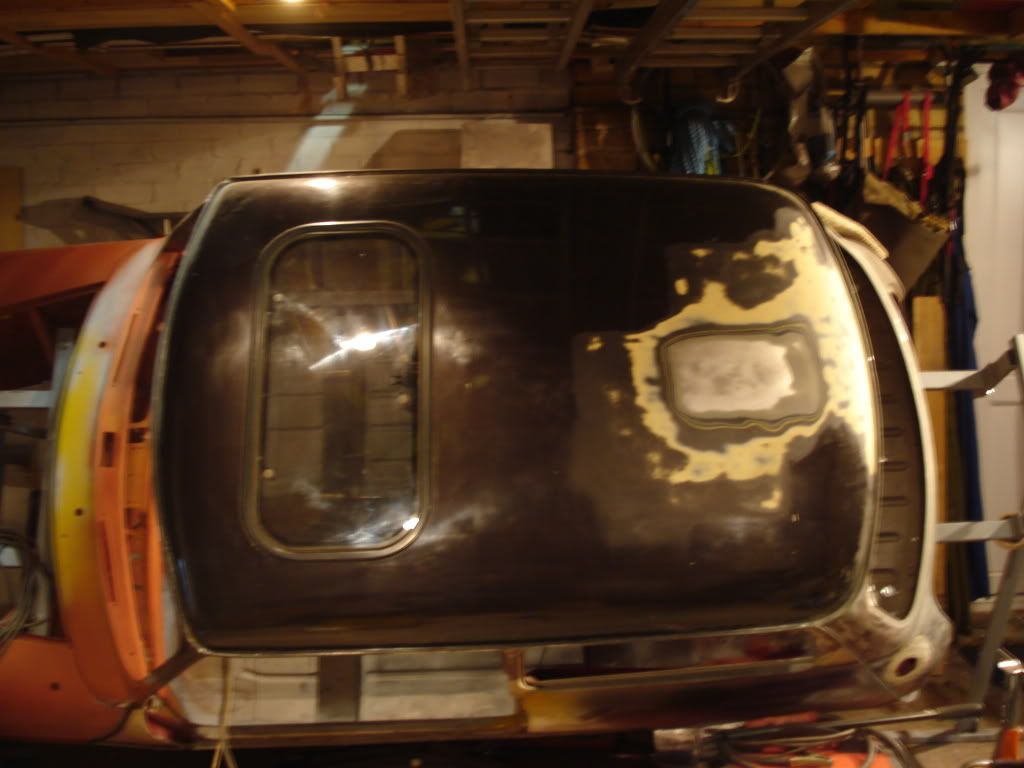
then it was time to sand. Now before anybody says what about the sunroof well that's Scott's job to remove it but as he is slaving away in Halfords today i will forgive him for not removing it so sanded around it but will finish it all off once the sunroof is out. Also i will have to go around the roof gutter with some other sanding implements as the DA will only go so far.
Anyway i decided 3 1/2 hrs in the garage is enough for today so time to hit Sky+ and watch all my recorded programs. Happy days.
Anyway enough griping, once i sorted the airline fittings, got the compressor going (Clarke compressors suck big time in the cold) and the heater on i managed to remove all of the old vinyl adhesive with lashings of Acetone.
then it was time to sand. Now before anybody says what about the sunroof well that's Scott's job to remove it but as he is slaving away in Halfords today i will forgive him for not removing it so sanded around it but will finish it all off once the sunroof is out. Also i will have to go around the roof gutter with some other sanding implements as the DA will only go so far.
Anyway i decided 3 1/2 hrs in the garage is enough for today so time to hit Sky+ and watch all my recorded programs. Happy days.
#420
sonikk4
-
- Admin
-
- 16,033 posts
Twisted Paint Polisher!!!
- Name: Neil
- Location: Oxfordshire
Posted 13 January 2011 - 07:27 PM
Well after a nice quiet Christmas its back to the car after 3 weeks.
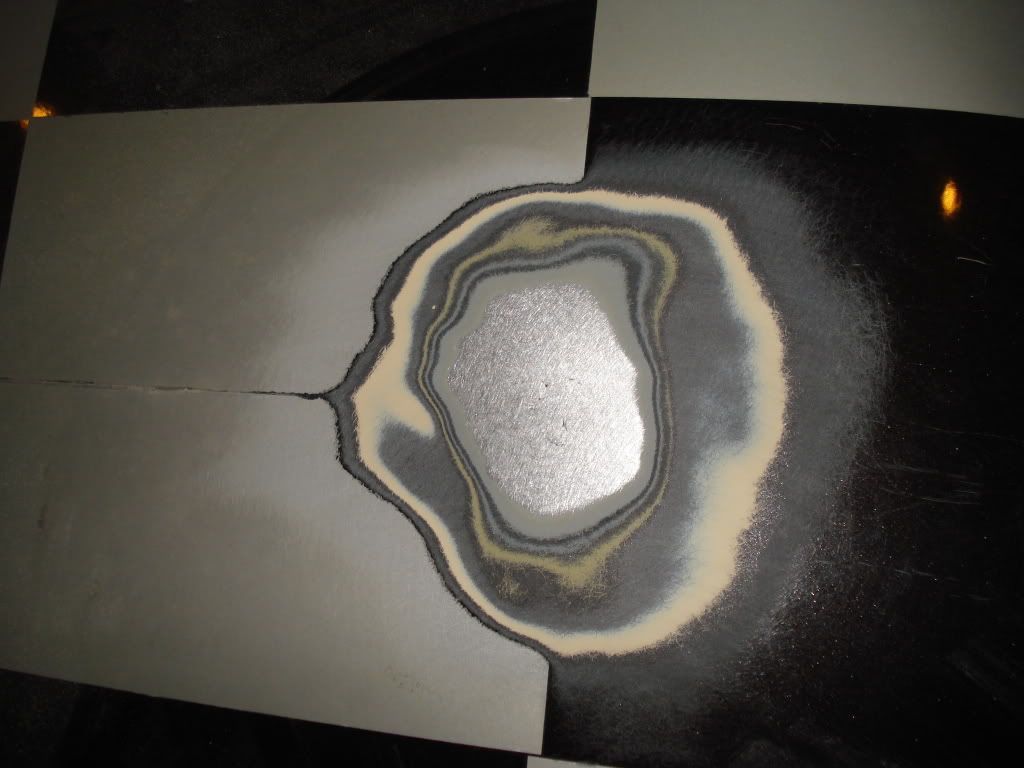
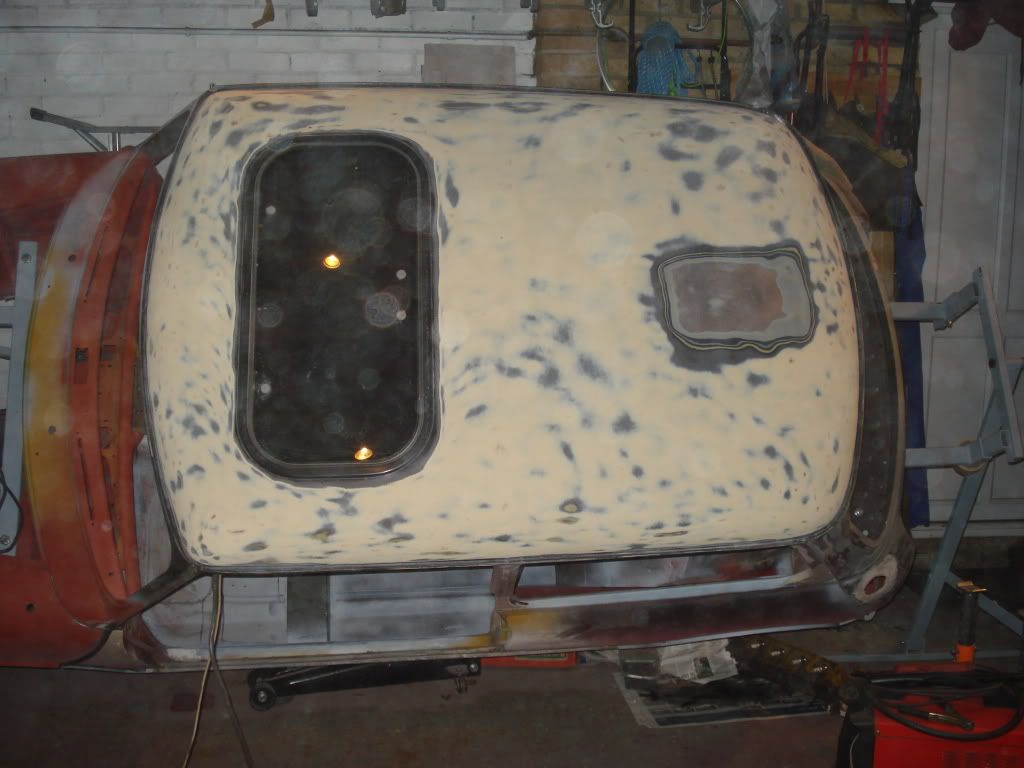
Scott has removed the sunroof and it looks like Stevie Wonder has cut the aperture still at least its hidden by the sunroof,
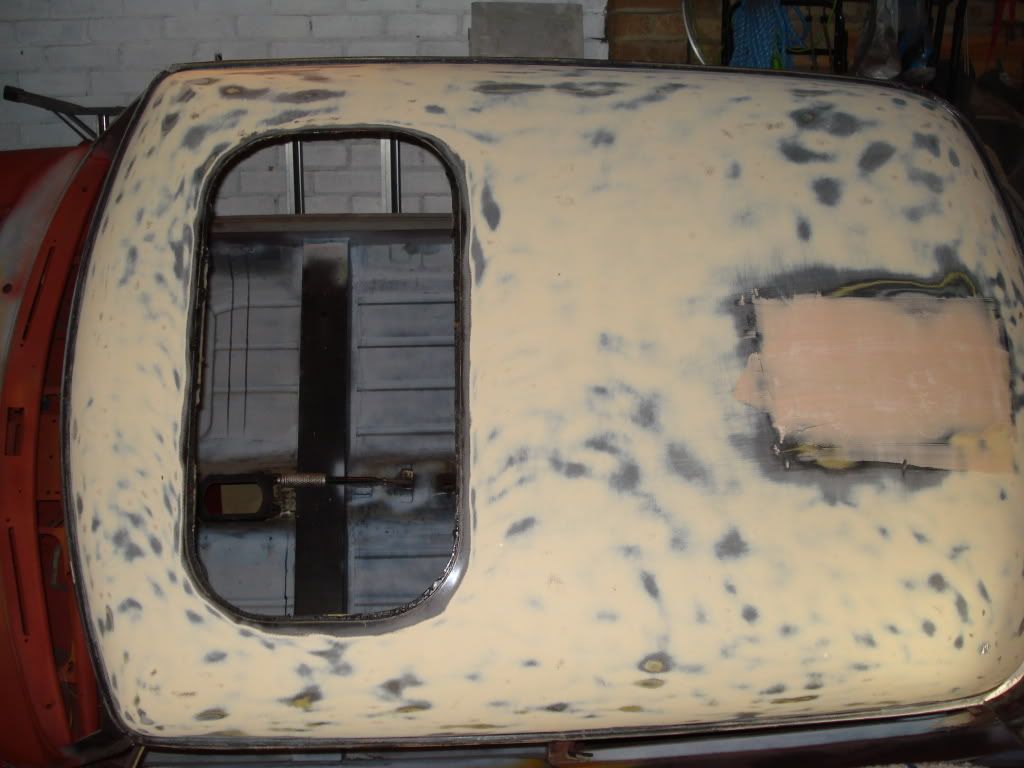
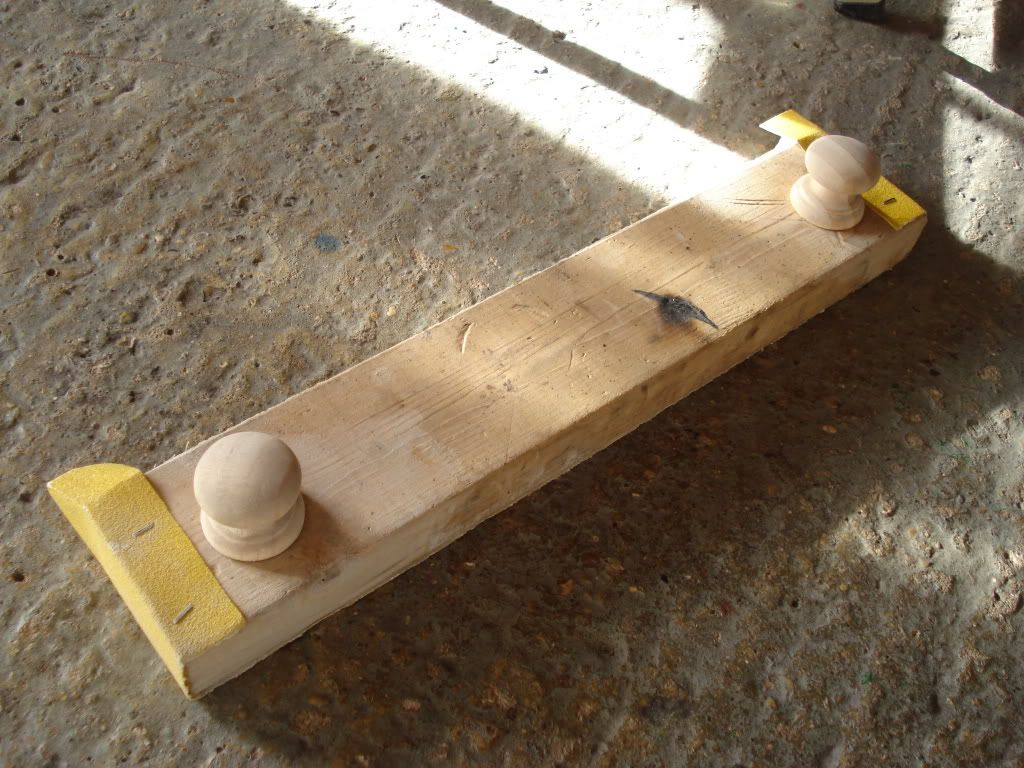
The filling has now been done and sanded down. I did make a sanding board to get a better finish due to the compound curve of the roof,
Sanding block
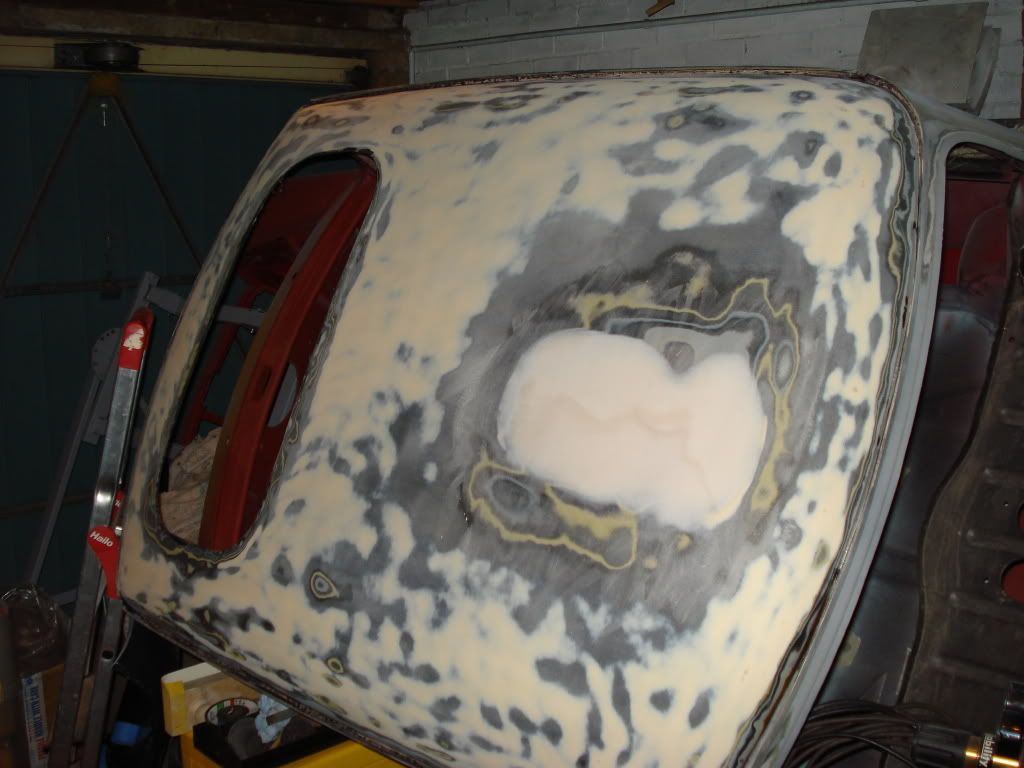
Roof sanded down including the guttering which was a right pain
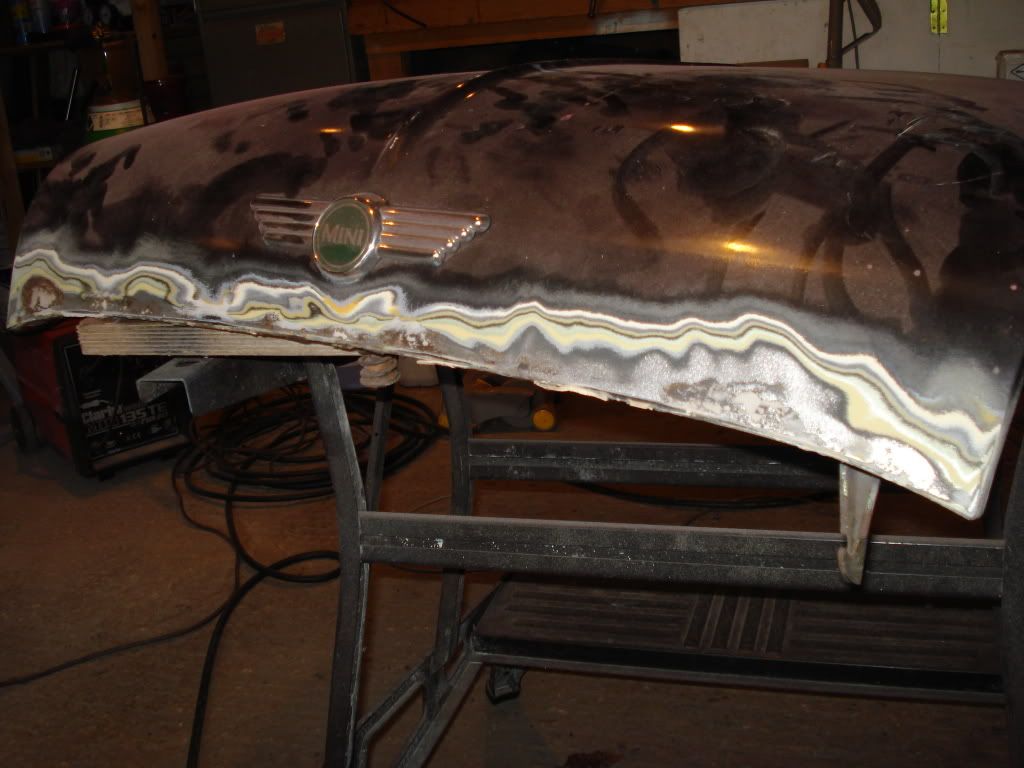
The new bonnet needed modifying as Scott wanted the old style look so off with the lip
Before
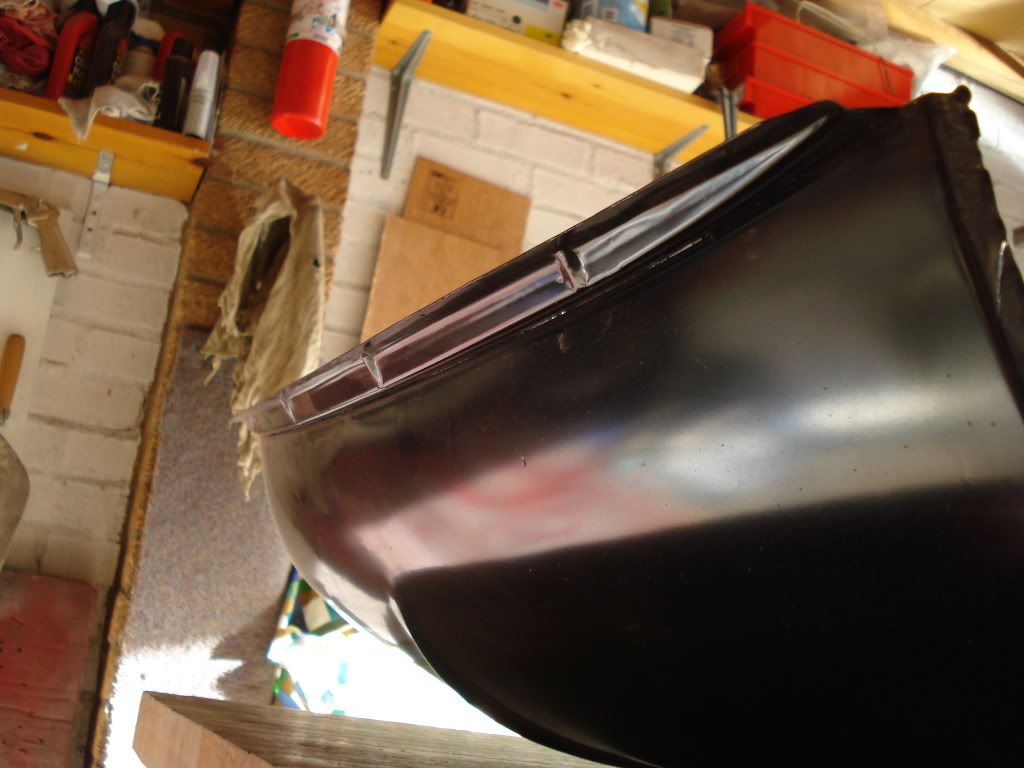
and after
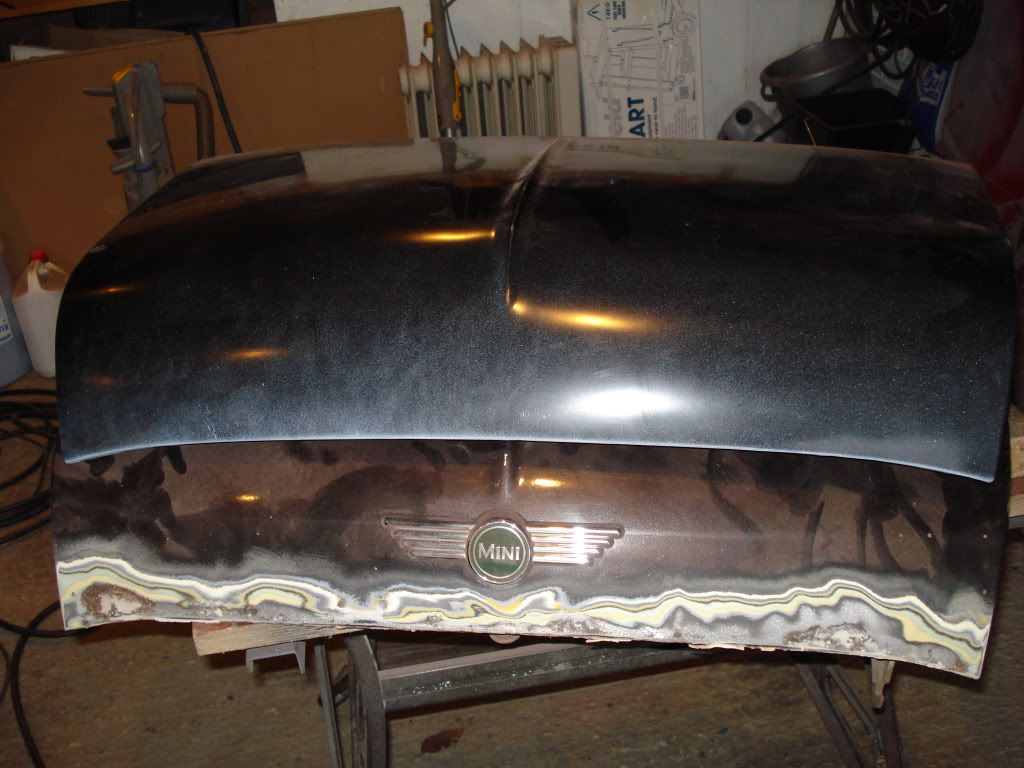
The old bonnet looked good from the outside but once the lip was off and the front sanded down it was a right tea bag so its off to the skip with it. Too much effort needed to repair it.
Once the car is off the spit the bonnet will be installed ready for gapping and shaping the front to make sure it follows the contour of the front panel.
Scott has removed the sunroof and it looks like Stevie Wonder has cut the aperture still at least its hidden by the sunroof,
The filling has now been done and sanded down. I did make a sanding board to get a better finish due to the compound curve of the roof,
Sanding block
Roof sanded down including the guttering which was a right pain
The new bonnet needed modifying as Scott wanted the old style look so off with the lip
Before
and after
The old bonnet looked good from the outside but once the lip was off and the front sanded down it was a right tea bag so its off to the skip with it. Too much effort needed to repair it.
Once the car is off the spit the bonnet will be installed ready for gapping and shaping the front to make sure it follows the contour of the front panel.


1 user(s) are reading this topic
0 members, 1 guests, 0 anonymous users


