Project Erm
#361

Posted 30 October 2010 - 07:41 PM
by the way I think your rear subframe front mounts are on the wrong way round,
JR
#362

Posted 31 October 2010 - 08:13 PM
Really interesting project, lots of tips which are going to help with what is turning into a winter rebuild of my mini
I noticed you use the Roloc pads for sanding. I have a small angle air die grinder and am struggling to work out what I need to buy to use them in my grinder.
Is it just a 1/4" dia shank that fits in the chuck and the disks click in, or do you need the pucka bodyshop air grinder?
None of the bumpkin stockists over here have a clue what I am talking about
Hi, i use the separate Roloc holder and then the discs. i use 3" 2" and 1" discs and their holders.
Try Cromwell tools they sell the holders on their website. http://www.cromwell.co.uk
Found the holders on the website, thanks for the help, I'll get some ordered.
Cheers
Kerrin
#363

Posted 31 October 2010 - 08:25 PM
Really interesting project, lots of tips which are going to help with what is turning into a winter rebuild of my mini
I noticed you use the Roloc pads for sanding. I have a small angle air die grinder and am struggling to work out what I need to buy to use them in my grinder.
Is it just a 1/4" dia shank that fits in the chuck and the disks click in, or do you need the pucka bodyshop air grinder?
None of the bumpkin stockists over here have a clue what I am talking about
Hi, i use the separate Roloc holder and then the discs. i use 3" 2" and 1" discs and their holders.
Try Cromwell tools they sell the holders on their website. http://www.cromwell.co.uk
Found the holders on the website, thanks for the help, I'll get some ordered.
Cheers
Kerrin
You're welcome Kerrin
Edited by sonikk4, 31 October 2010 - 08:26 PM.
#364

Posted 01 November 2010 - 05:36 PM
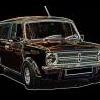
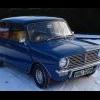
Lovely Clubby - looks like Tahiti Blue (same as my Estate is now).
by the way I think your rear subframe front mounts are on the wrong way round,
JR
Cheers JR, the paint is Teal Blue well that's according to the tin of paint in the boot.
Anyway after sorting Paddy out back to Erm's floor panels. Sorted the flutes out and then to the big grinding and polishing session
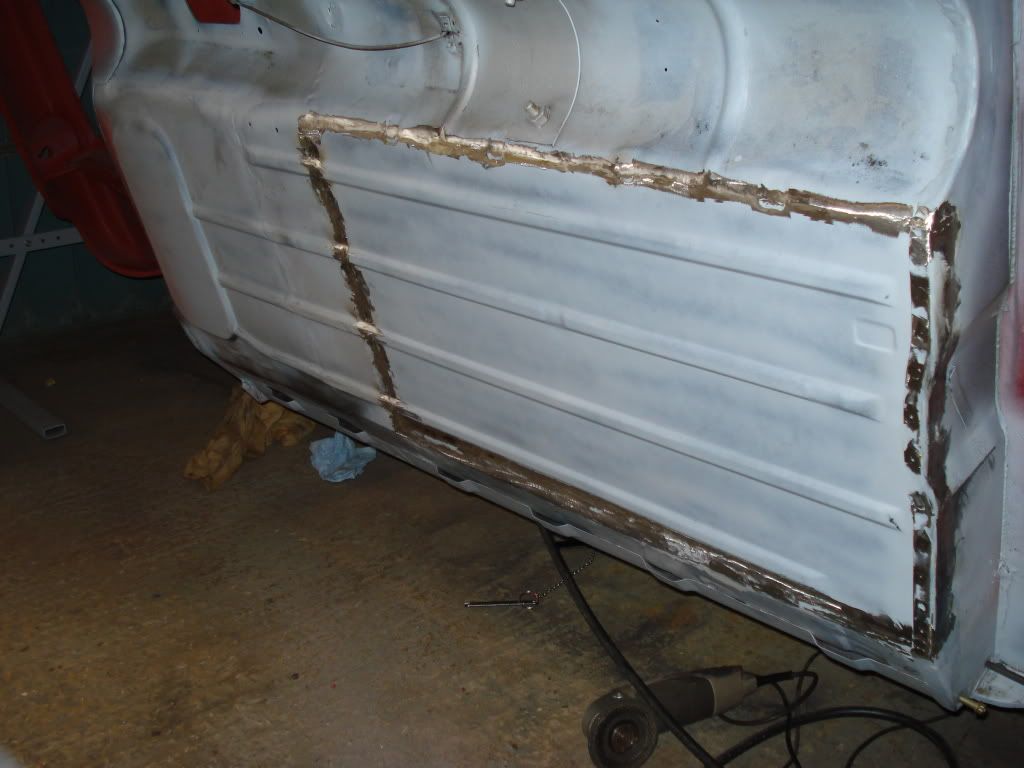
To finish it tomorrow i will fit the battery cable conduit (although this will be used for the fuel pipe as the brake line and battery cable will go inside the car), a bit of hammer work then a skim of filler some primer then onto sealing everything before several tins of stonechip. Then a dash of top coat before Erm goes back onto the axle stands so i can gap the bonnet and finish off the niff naff and trivia.
Had to put Paddy to bed
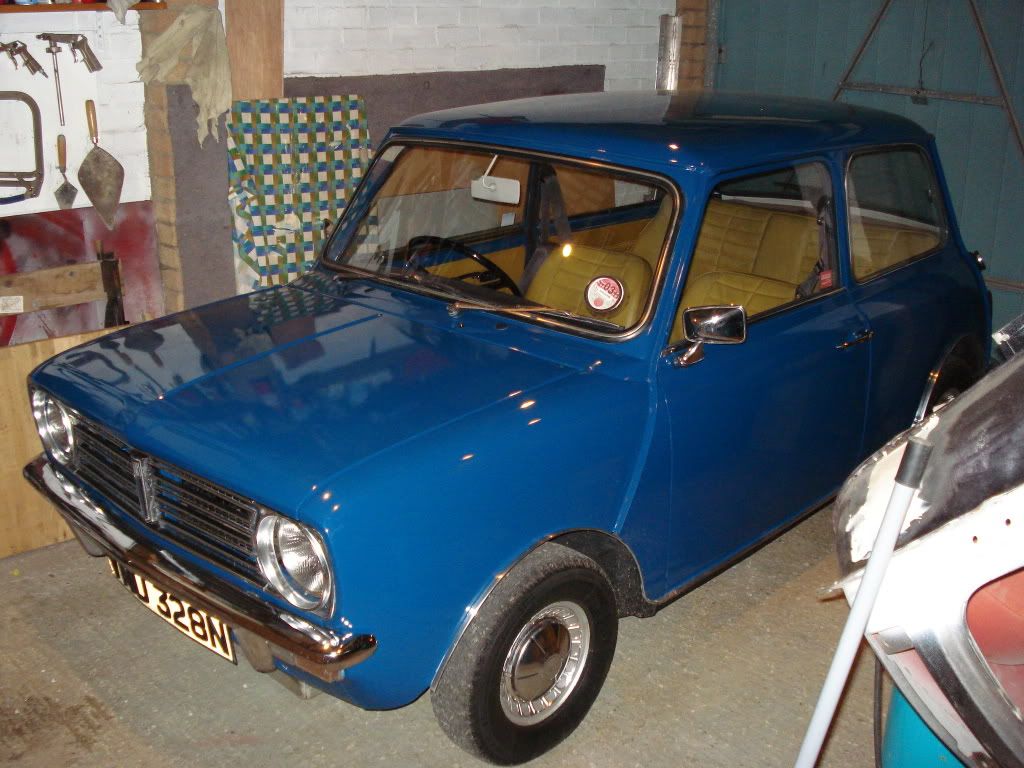
#365

Posted 02 November 2010 - 04:52 PM
Drilled and pinned in place the battery conduit
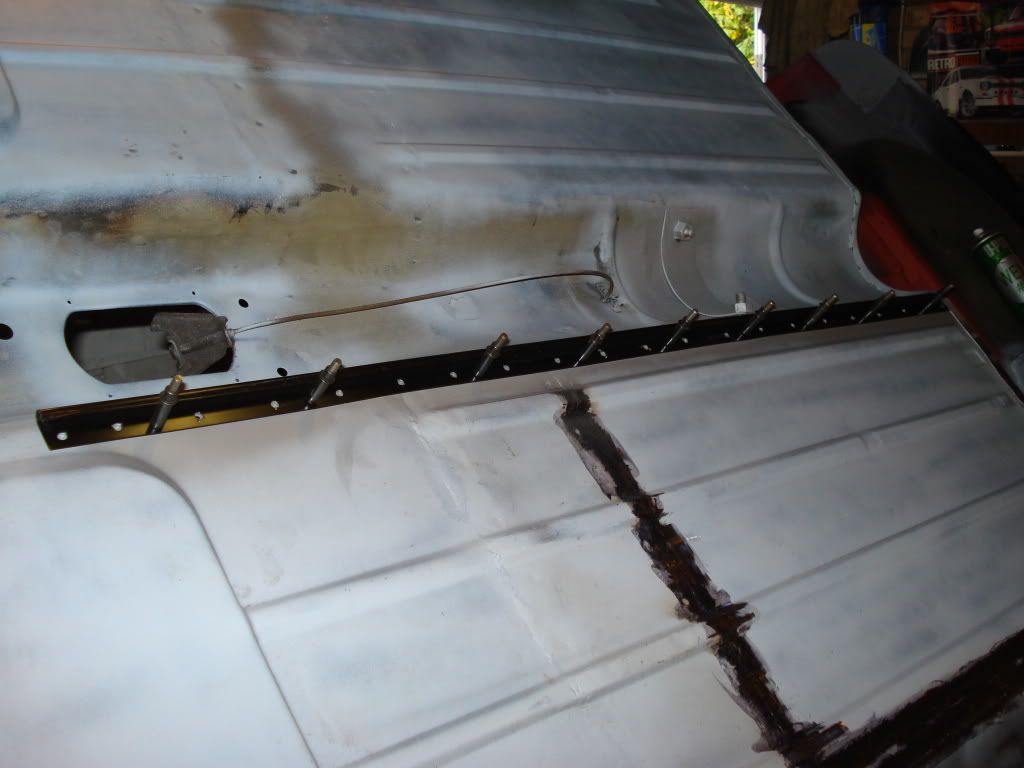
Welded in place
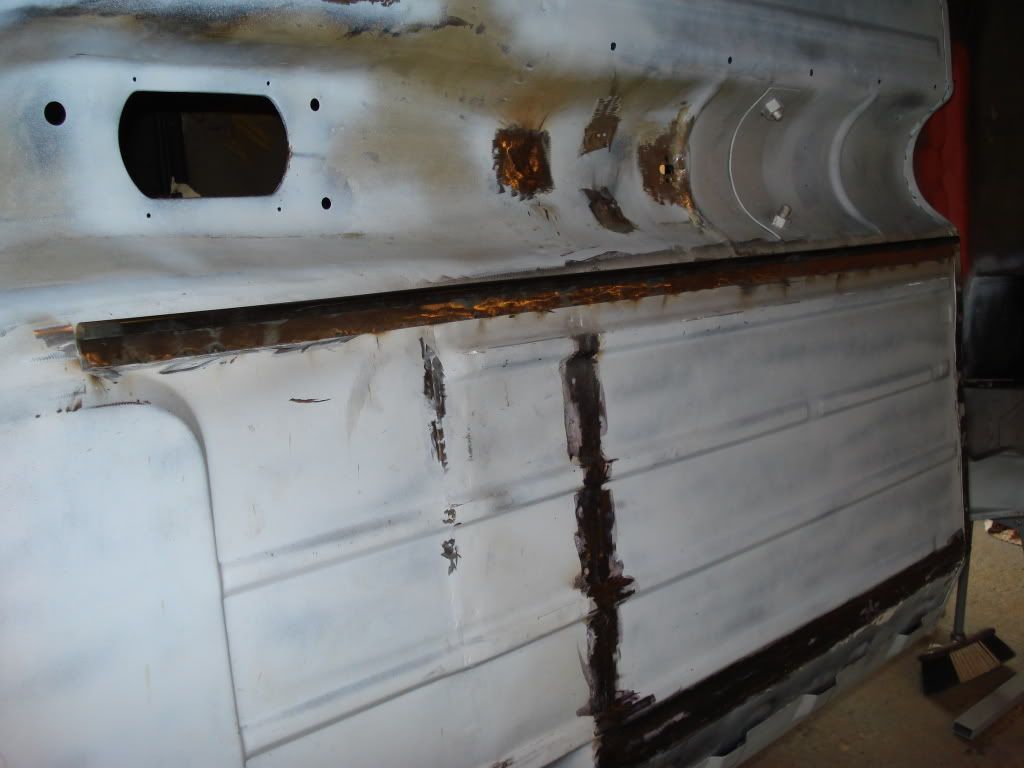
Marked out the stud locations for the internal P clips for the brake line and battery cable
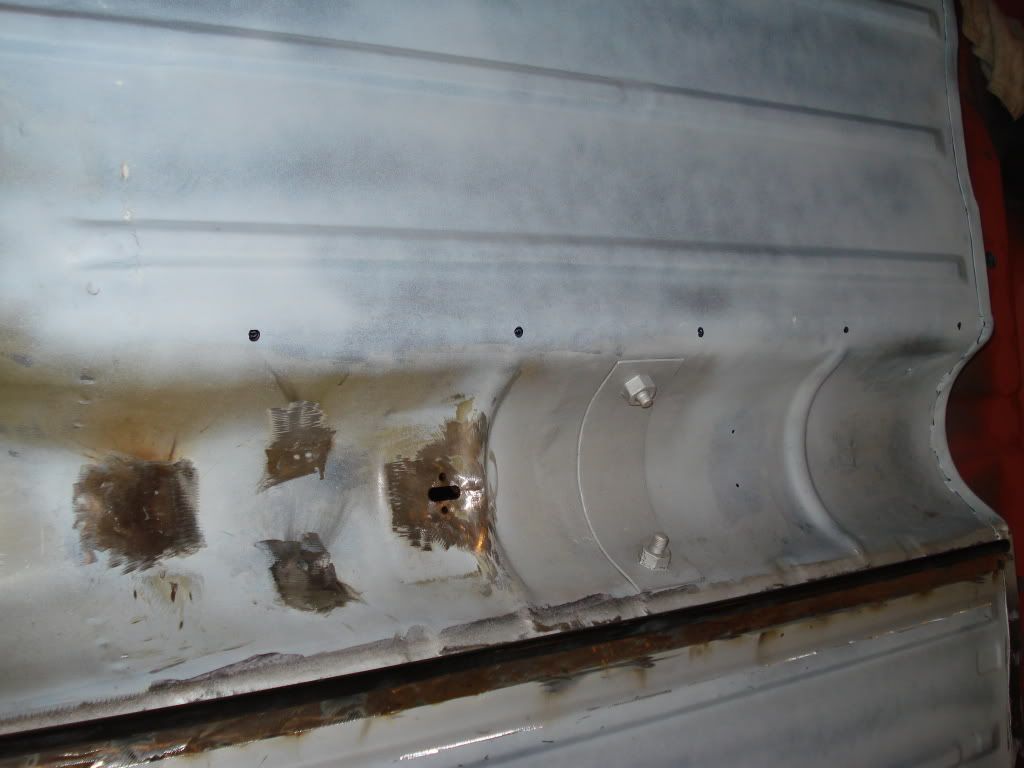
Studs installed
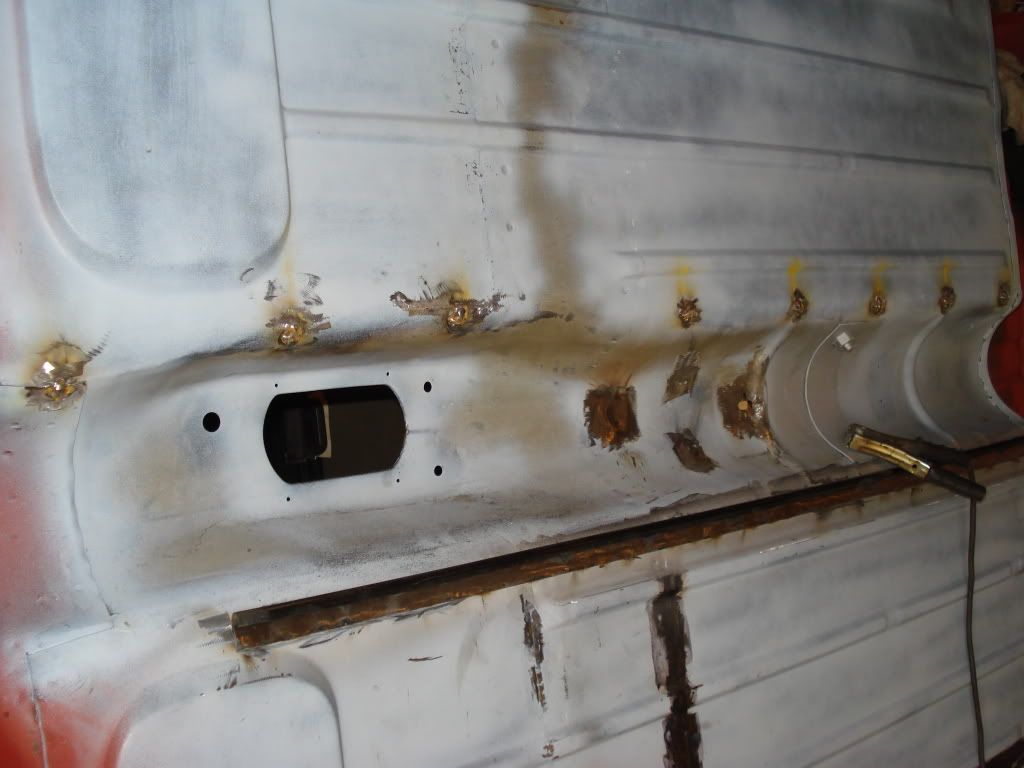
And what they will look like with the P clips installed
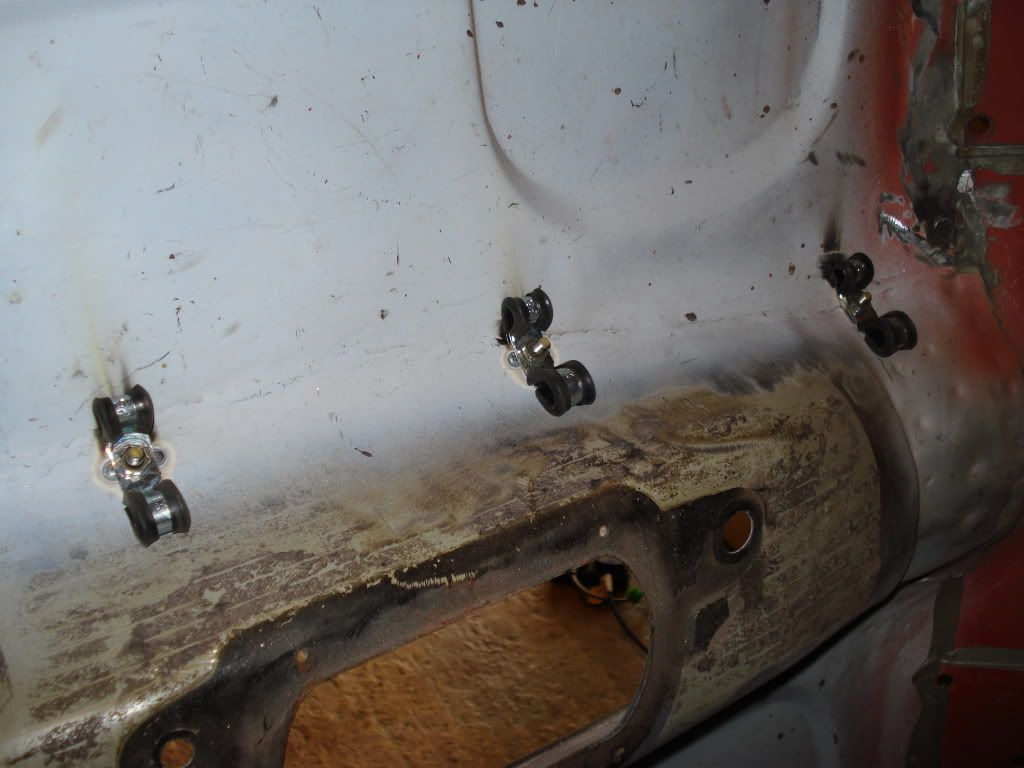
The hand brake mounts were nearly torn out (too many hand brake turns i think) so these were seam welded and polished back. Also the internal mounts have been re welded for good measure
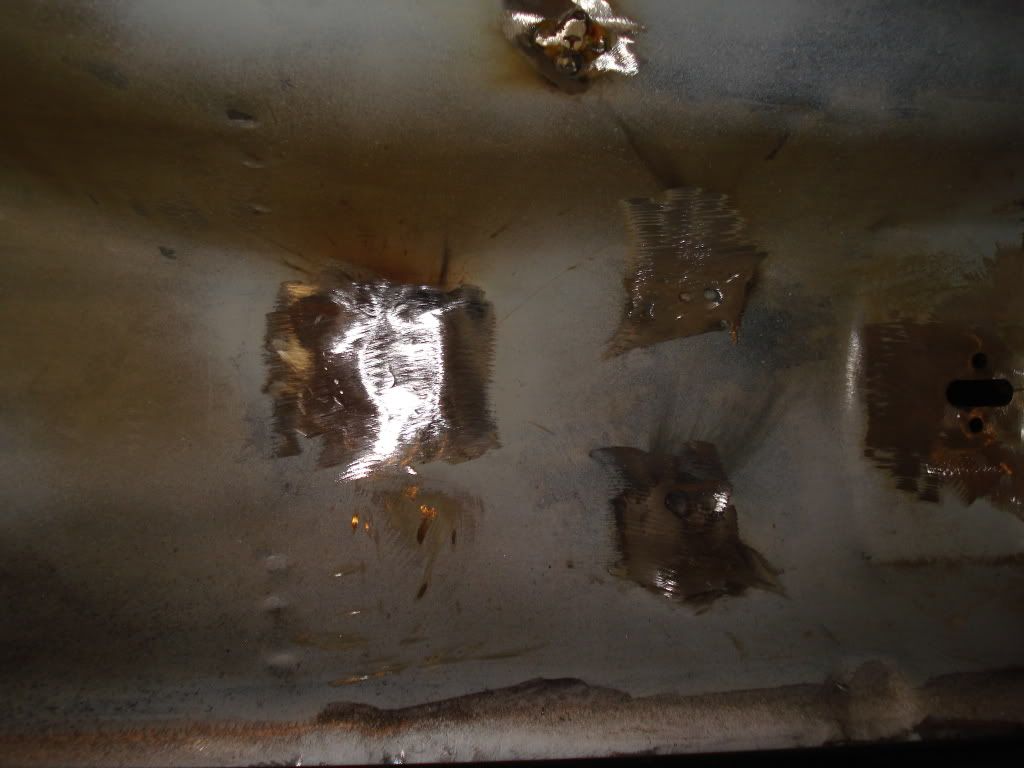
Tomorrow i WILL be sealing up the underside (i keep saying this but it never happens) and then maybe next week i will stonechip and paint.
Oh and Scott trying out the steering wheel for size in Paddy the clubbie (in the garage)
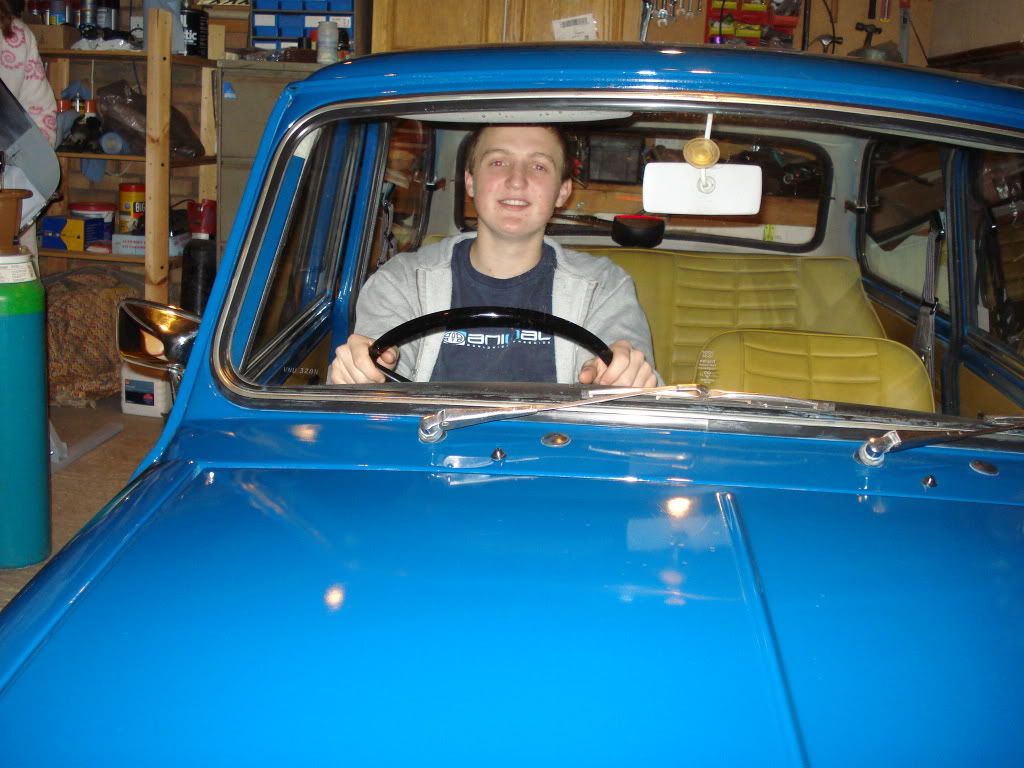
Edited by sonikk4, 02 November 2010 - 04:53 PM.
#366

Posted 02 November 2010 - 07:07 PM
I am just so impressed that anyone can be so skilled and so patient. I have never done anything like this. I did a 1965 LandRover years ago stick welding the chassis. Blew masses of holes and scared myself. Anne, my wife, gave me a 1989 Mini Sky in 2004 as a new project and it has sat in the garage since, waiting for me to get up the courage. I have read this post several times and Project Elliot. They have inspired me no end. So I have bought a welder a Clarke MIG135TE which seems to be what you use. What settings do you use on it? Sorry to bother as you seem to be the world's busiest person.
Good wishes, Hugh
#367

Posted 02 November 2010 - 07:59 PM
Hello Neil
I am just so impressed that anyone can be so skilled and so patient. I have never done anything like this. I did a 1965 LandRover years ago stick welding the chassis. Blew masses of holes and scared myself. Anne, my wife, gave me a 1989 Mini Sky in 2004 as a new project and it has sat in the garage since, waiting for me to get up the courage. I have read this post several times and Project Elliot. They have inspired me no end. So I have bought a welder a Clarke MIG135TE which seems to be what you use. What settings do you use on it? Sorry to bother as you seem to be the world's busiest person.
Good wishes, Hugh
Hi Hugh, cheers for the comments, i am being really pedantic with this build as i really don't want to have to go through all of this again in a year or so. I think between me and Deathrow we have covered most of the areas of rot you could find on a mini apart from the roof.
The settings i use are as follows
For seam welding and tacking on mini panels i normally use setting 2 and power setting min, wire speed 7. For plug welding i use setting 2 and max power setting, wire speed 9. These are my normal settings although i do play around with the settings occasionally. Also i do not have a specific setting for the gas flow i just a very gentle hiss which is more than enough.
The biggest thing here though is if you have no experience with MIG welding is the need for practise. Lots of it before you attack a car.There is a MIG welding website that does give very good info so worth looking for on Google.
I am purely self taught and have been doing this sort of thing since the early eighties as a hobby and side line but my trade as an aircraft engineer also helps especially with the fabrication side of things.
Once you start be methodical about what you do, try not to cut corners as this will bite you later. and be picky about what replacement panels if any that you get.
Pattern parts are ok but they tend to need work to make them fit well. Heritage panels are generally finished better but also may need some work to make them fit well. If you are lucky enough to lay your hands on OE panels then even better but they are rare but some still exist.
I would suggest buying a mixture of clamps if you do not have any plus but some zinc rich primer which is weld through. The other thing you will need is gas. There are numerous trains of thought on this but personally i use Argoshield Light from B.O.C on a yearly contract. Not the cheapest but its not a bad deal.
Hope this helps any other questions i can help with then pm me.
Regards
Neil
#368

Posted 03 November 2010 - 08:50 AM
Hugh
#369

Posted 03 November 2010 - 05:43 PM
The afternoon was a bit broken up due to Scott needing a lift to do his theory exam which he passed so well done and onto the hard bit now for him the practical.
Anyway back to Erm i have now seam sealed all of the floor pan and the back of the car externally just the front to do but this will take a bit more time, so glad i have got a spit as this makes a world of difference for access.
Scott sorted out Paddy's wiper issue by installing a new loom and wiper park switch, then replaced the coil with a nice shiney new one. So now Paddy is in rude health and i sorted his choke problem so now starts first time.
#370

Posted 04 November 2010 - 05:23 PM
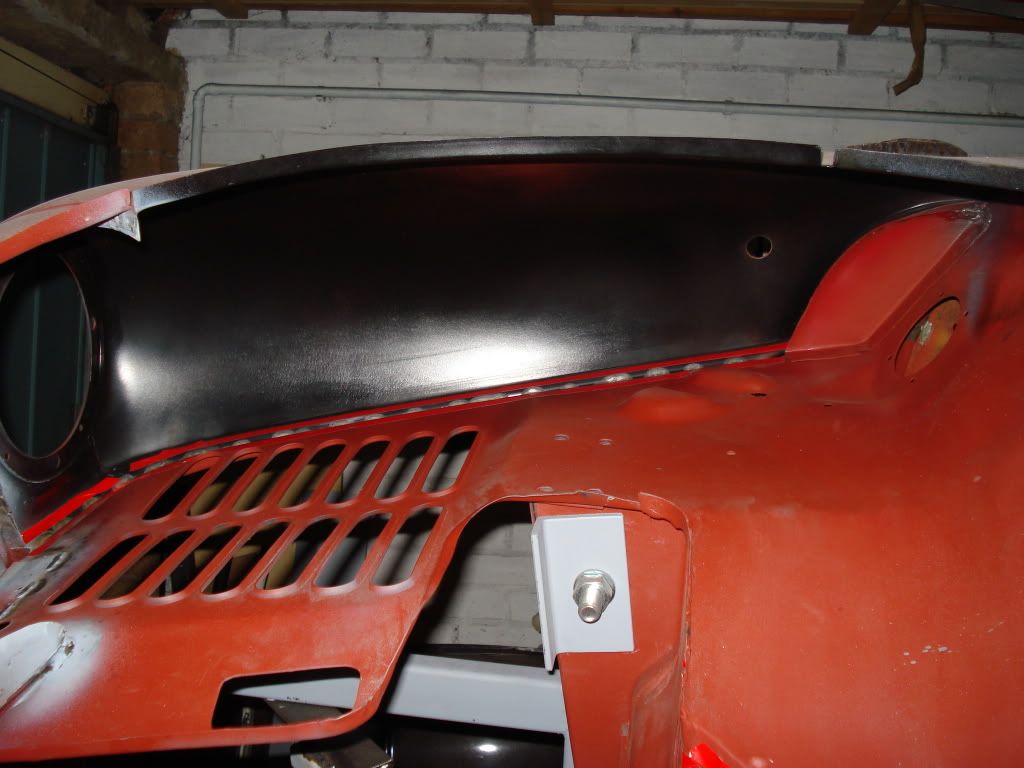
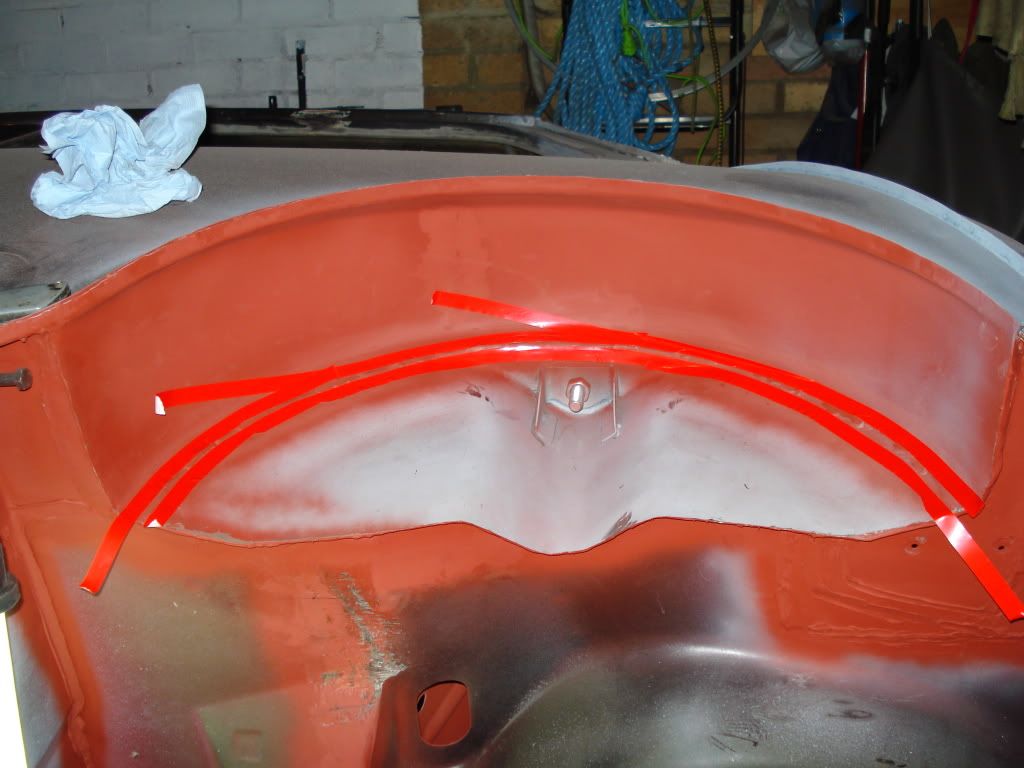
Just trying to get neat sealed joints as you can see in each arch in theory or am i being really picky, answers on a postcard.
However i did flash over the floor pan with red primer after a skim of filler. This will have at least a week before i stone chip providing i'm not working extra days.
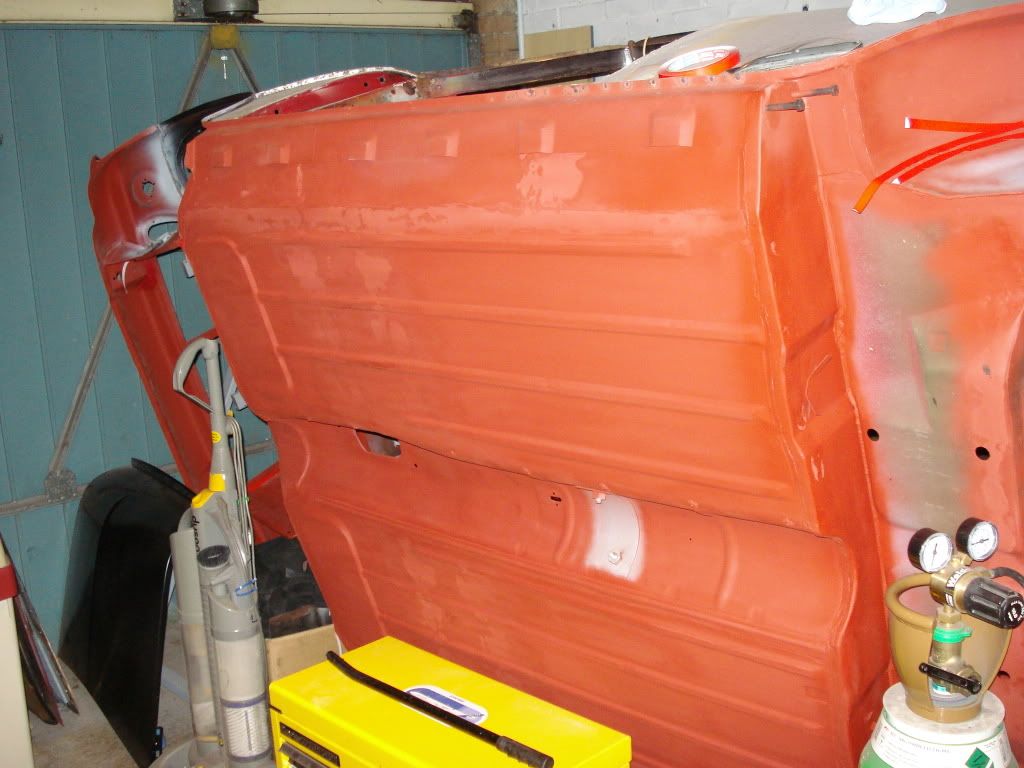
I will be sealing the centre seat belt mount before i stone chip though.
Edited by sonikk4, 04 November 2010 - 05:25 PM.
#371

Posted 04 November 2010 - 05:56 PM
Lovely Clubby - looks like Tahiti Blue (same as my Estate is now).
by the way I think your rear subframe front mounts are on the wrong way round,
JR
We do have a can of paint in the boot and it says Teal blue but i will have to check the paint code for the car. Wonder if its a bit of a blunder by the painter??
#372

Posted 04 November 2010 - 06:01 PM
#373

Posted 04 November 2010 - 07:28 PM
Lovely Clubby - looks like Tahiti Blue (same as my Estate is now).
by the way I think your rear subframe front mounts are on the wrong way round,
JR
We do have a can of paint in the boot and it says Teal blue but i will have to check the paint code for the car. Wonder if its a bit of a blunder by the painter??
I'd put a bit of the paint onto a test panel before going near the car with it - Teal Blue is a fair bit darker than Tahiti. I doubt you'll find a paint code on the car - they only came started putting it on in the 80s.
JR
#374

Posted 04 November 2010 - 07:33 PM
Lovely Clubby - looks like Tahiti Blue (same as my Estate is now).
by the way I think your rear subframe front mounts are on the wrong way round,
JR
We do have a can of paint in the boot and it says Teal blue but i will have to check the paint code for the car. Wonder if its a bit of a blunder by the painter??
I'd put a bit of the paint onto a test panel before going near the car with it - Teal Blue is a fair bit darker than Tahiti. I doubt you'll find a paint code on the car - they only came started putting it on in the 80s.
JR
What i mean is this is the paint that was left over from the respray so Teal blue is the colour of the car not Tahiti Blue. Now i need to find out if this is the original colour so you think that there is no paint code for this age of vehicle. Damn.
Edited by sonikk4, 04 November 2010 - 07:36 PM.
#375

Posted 10 November 2010 - 05:00 PM
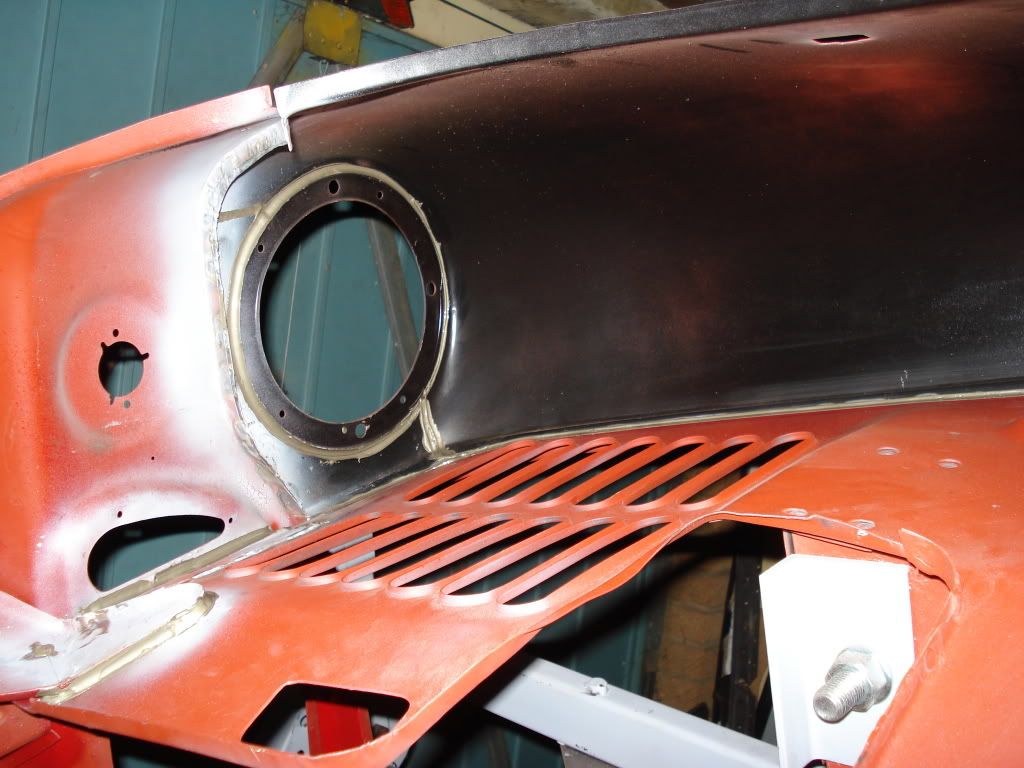
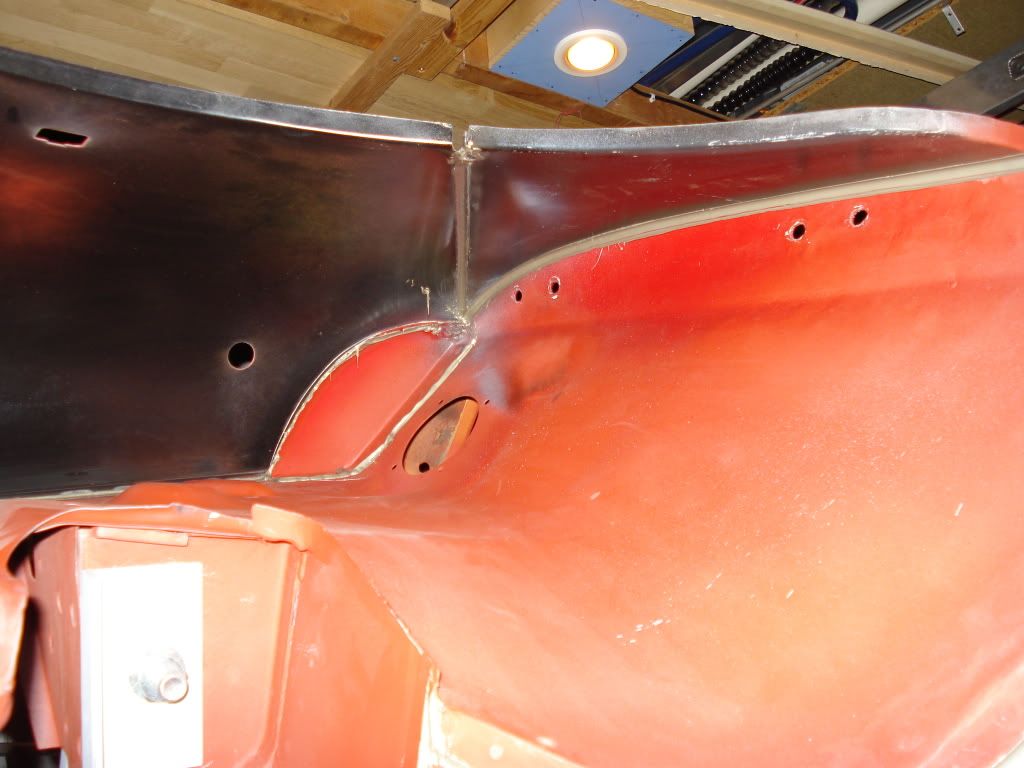
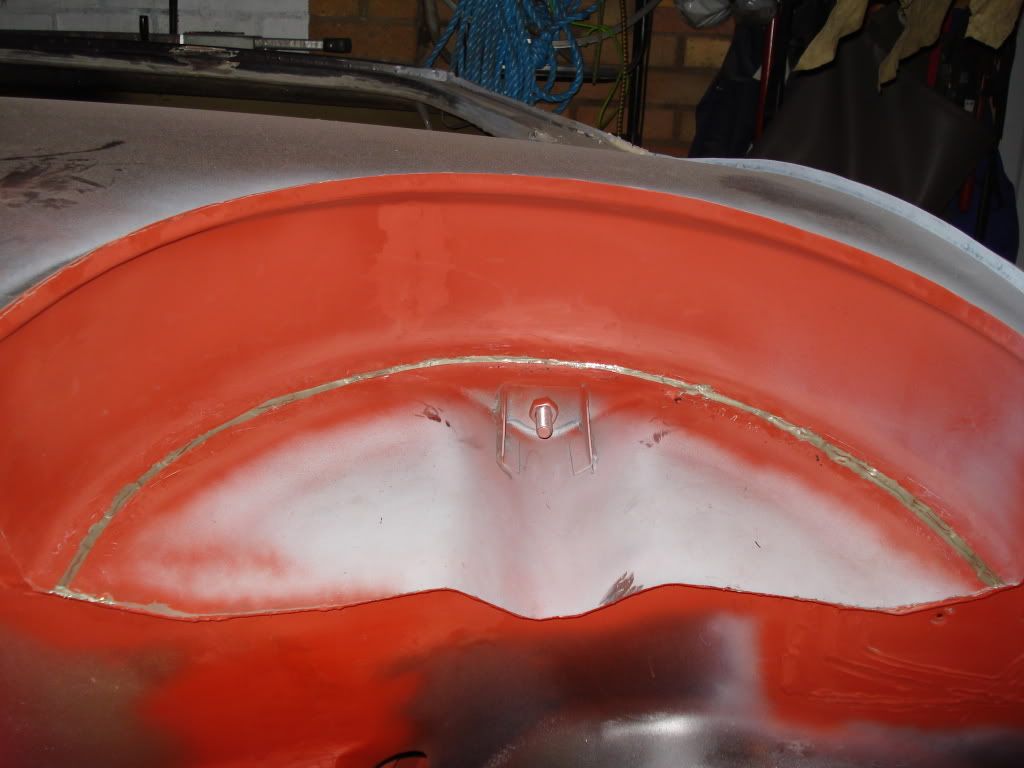
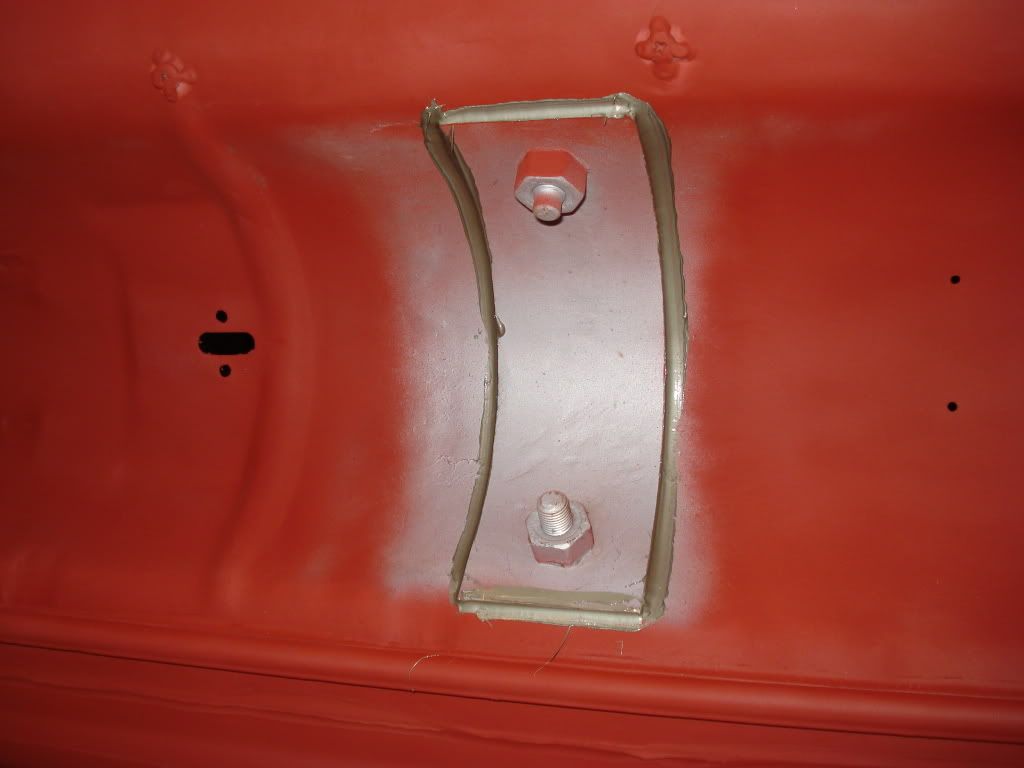
Happy with that so tomorrow i have just got to weld on the the bonnet stay support bracket and the small duct for the heater pipe then its stone chip time.
1 user(s) are reading this topic
0 members, 1 guests, 0 anonymous users


