Project Erm
#346

Posted 25 October 2010 - 09:53 AM
#347

Posted 25 October 2010 - 07:00 PM
Awesome! I tried your tip of using a wet rag and a flattened copper pipe to soak the heat away from the weld, and it went really well. Much easier to avoid blowing holes and much less distortion.
Glad it helped
#348

Posted 27 October 2010 - 08:41 PM
I noticed you use the Roloc pads for sanding. I have a small angle air die grinder and am struggling to work out what I need to buy to use them in my grinder.
Is it just a 1/4" dia shank that fits in the chuck and the disks click in, or do you need the pucka bodyshop air grinder?
None of the bumpkin stockists over here have a clue what I am talking about
#349

Posted 27 October 2010 - 08:48 PM
Really interesting project, lots of tips which are going to help with what is turning into a winter rebuild of my mini
I noticed you use the Roloc pads for sanding. I have a small angle air die grinder and am struggling to work out what I need to buy to use them in my grinder.
Is it just a 1/4" dia shank that fits in the chuck and the disks click in, or do you need the pucka bodyshop air grinder?
None of the bumpkin stockists over here have a clue what I am talking about
Hi, i use the separate Roloc holder and then the discs. i use 3" 2" and 1" discs and their holders.
Try Cromwell tools they sell the holders on their website. http://www.cromwell.co.uk
#350

Posted 27 October 2010 - 08:58 PM
Dan
#351

Posted 27 October 2010 - 09:09 PM
The same applies to copper pipe on the back of the area where you are welding. Although i do not use this particular process the process is as follows.
Take a section of standard central heating copper pipe and cut through it length wise. Flatten it out then clamp it behind the area to be welded. It will absorb the heat from the welding so there will be minimal distortion on flat panels.
This was recommended by another member of the forum (sorry cannot remember who it was but it was on his rebuild thread)
#352

Posted 27 October 2010 - 09:12 PM
thank you
Dan
#353

Posted 27 October 2010 - 09:25 PM
Seems to have some good advice here as well... Keep up the hard work
Matt
#354

Posted 28 October 2010 - 05:44 PM
Scott also built up the rear subframe enough for us to try out the fit on the car
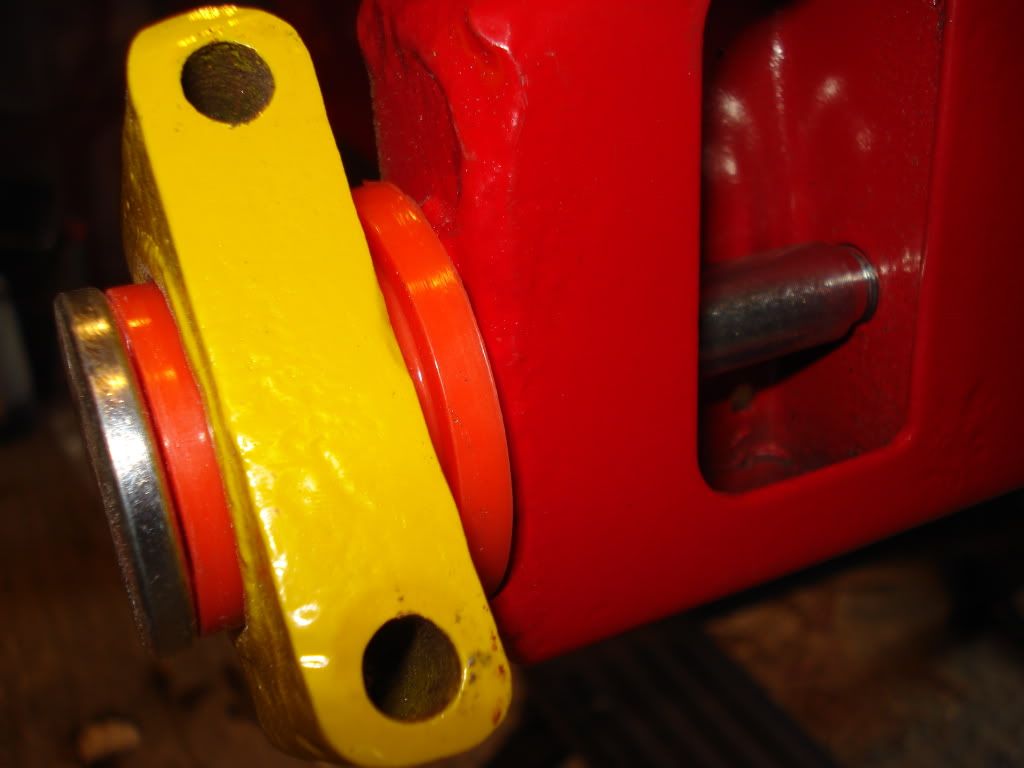
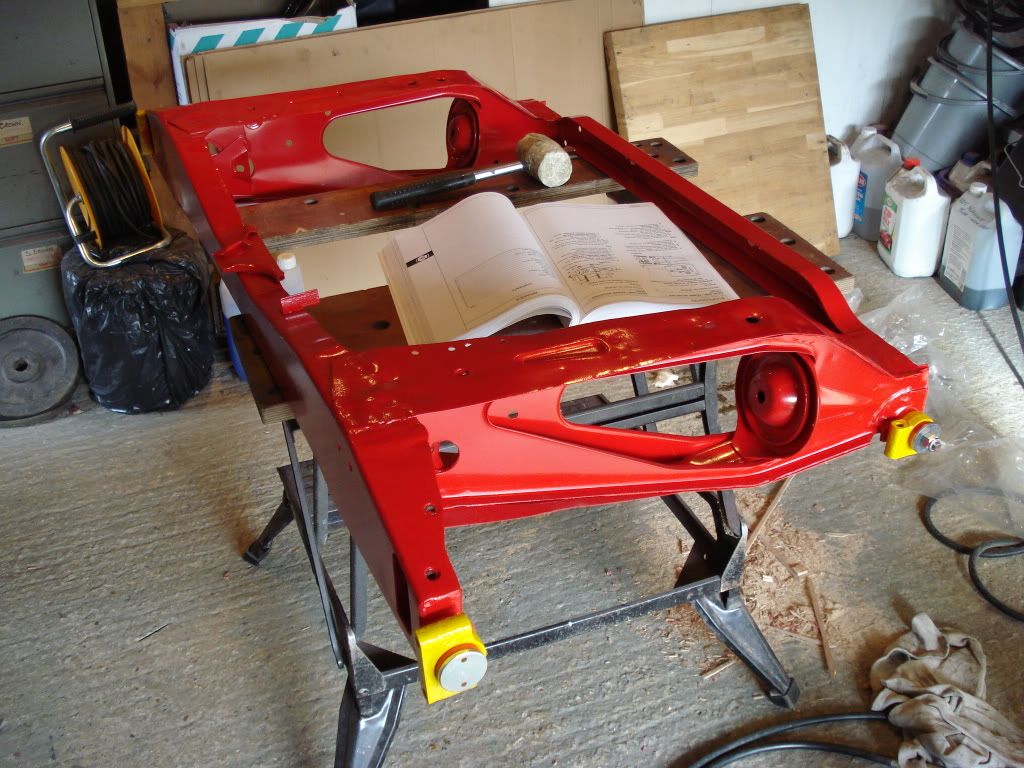
fitted in place
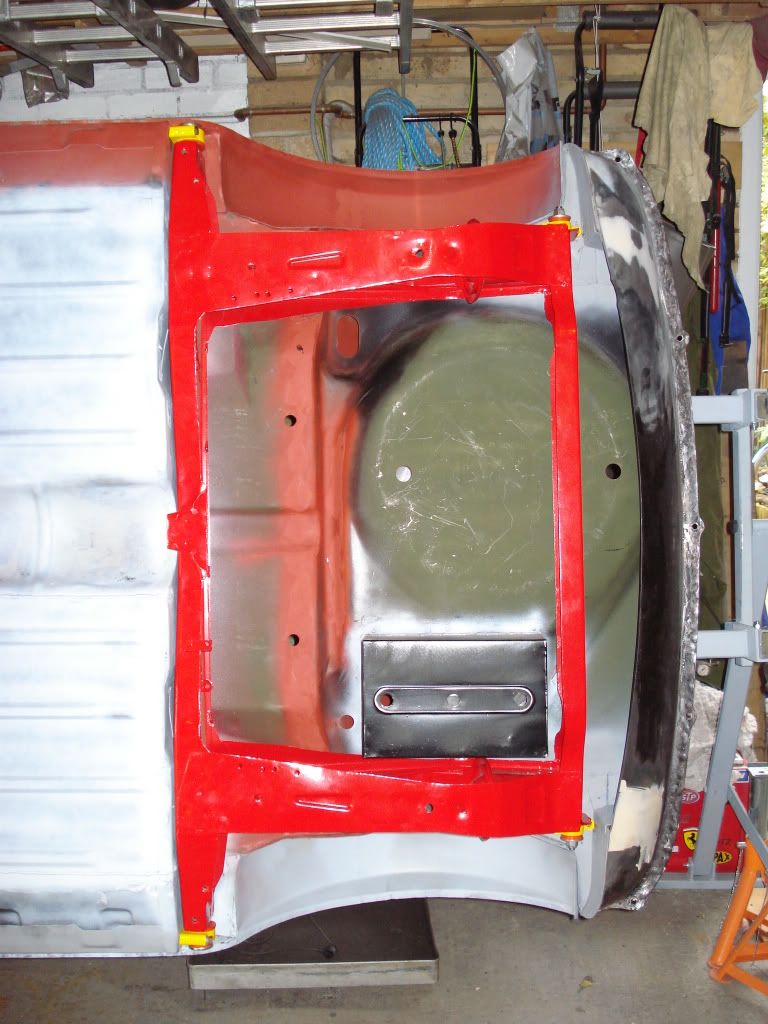
The poly bushes did not give us much flex so we had to fight to get the fwd mounts in place. Once in place there were a few issues with the replacement boot floor but a few tender taps of a panel beating hammer soon cured that particular problem.
The next was the rear mounts, these were not very close on the l/h side but the r/h side was pretty much on the button. The left hand side had an an issue when i fitted the inner arch so not a real problem. However once the front subbie is built up including the suspension and wheels are on then i will check the wheel centres to make sure Erm will not be crabbing down the road.
#355

Posted 28 October 2010 - 06:28 PM
Edited by scsracing, 28 October 2010 - 06:29 PM.
#356

Posted 30 October 2010 - 03:13 PM
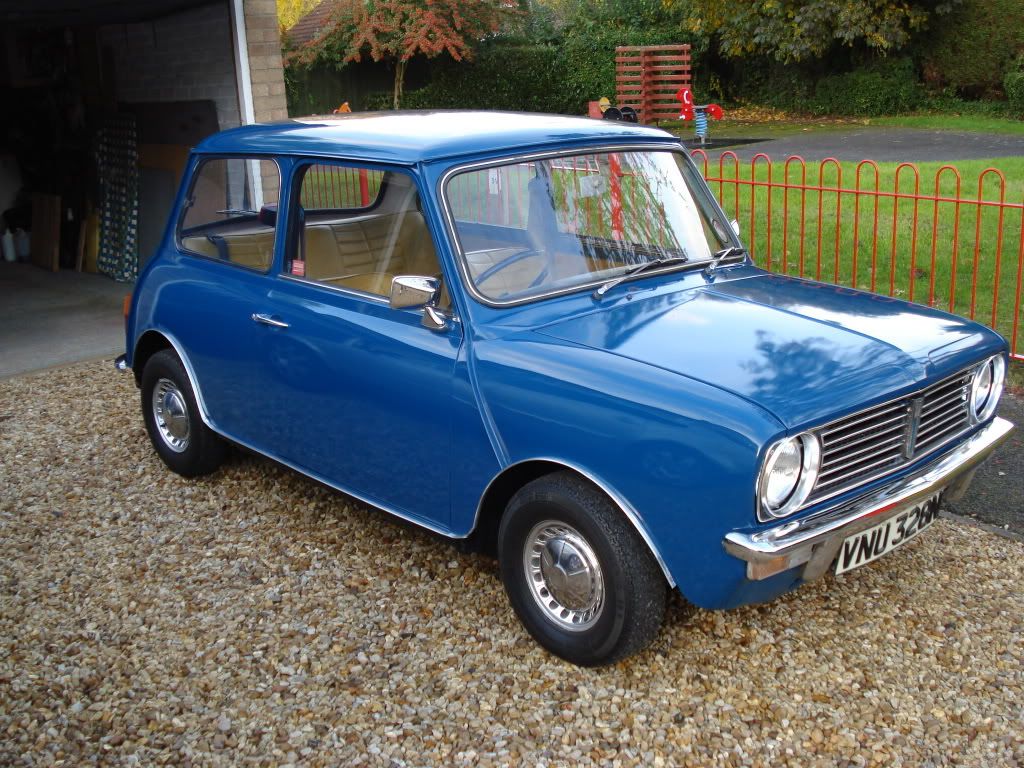
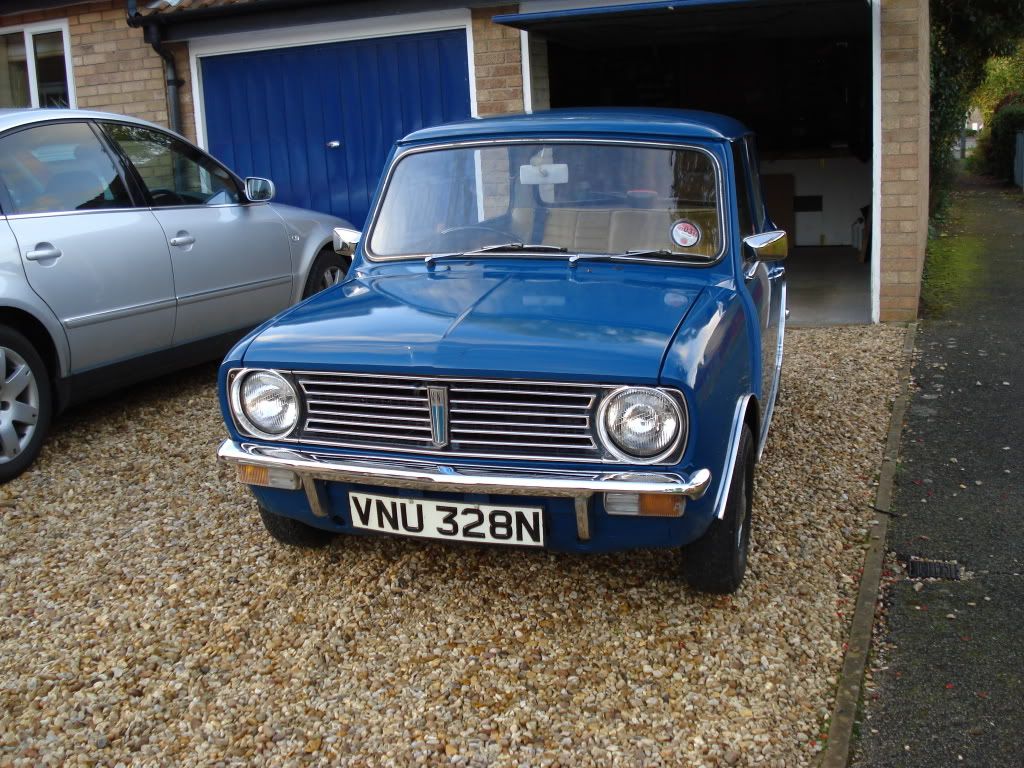
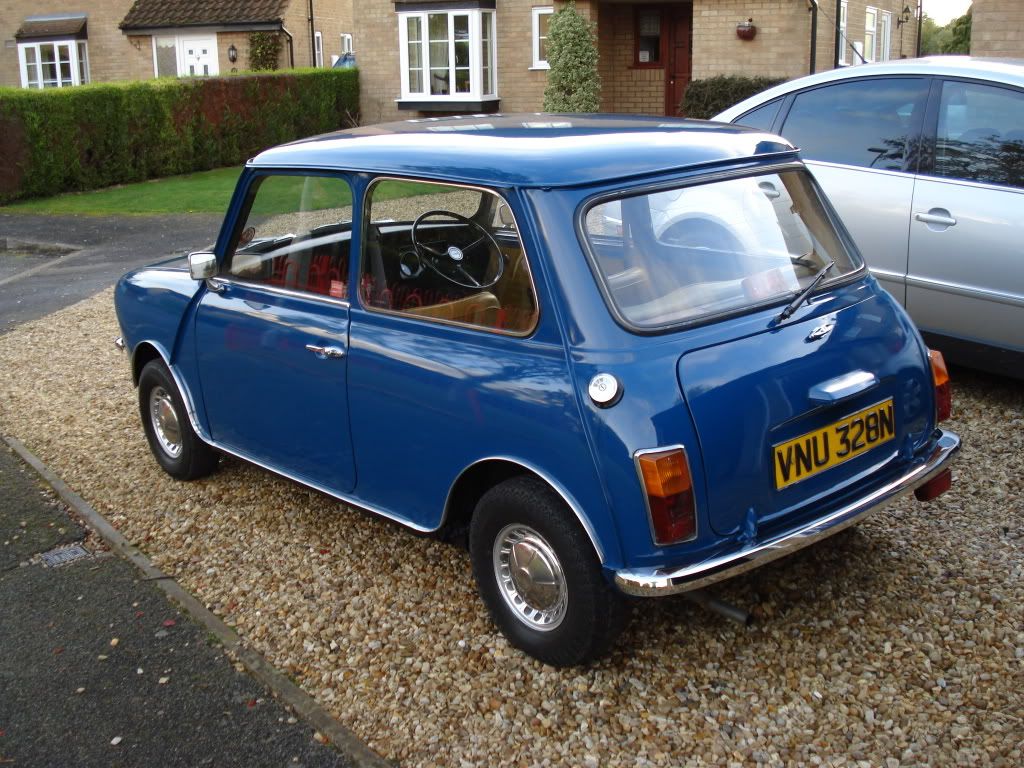
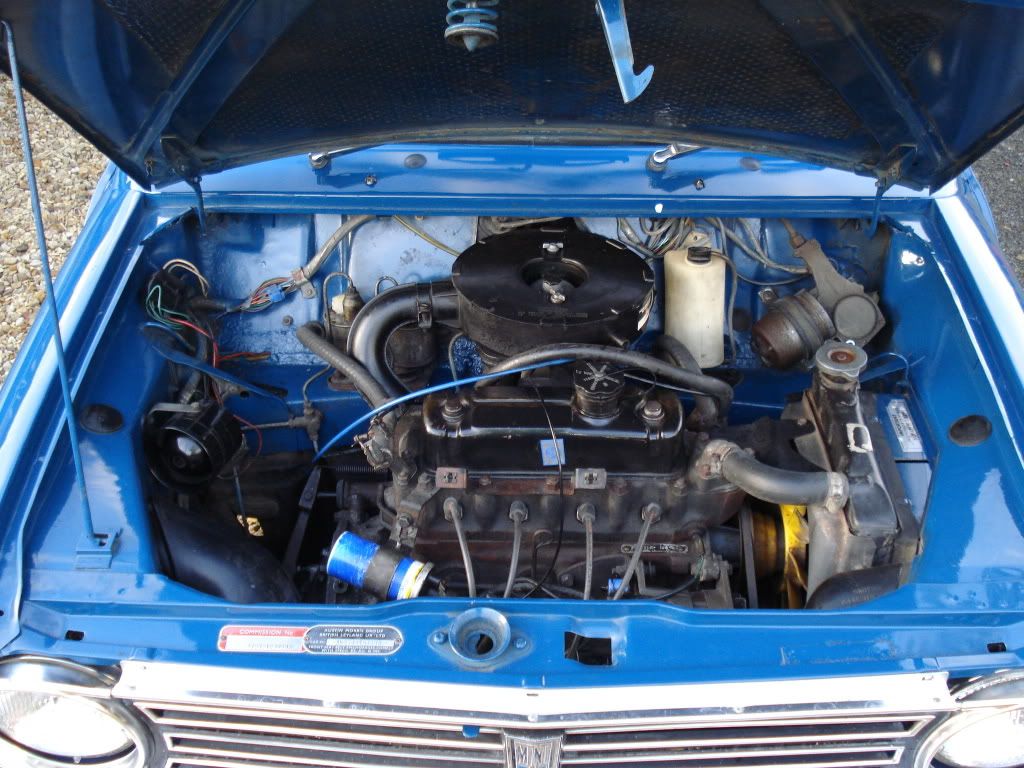
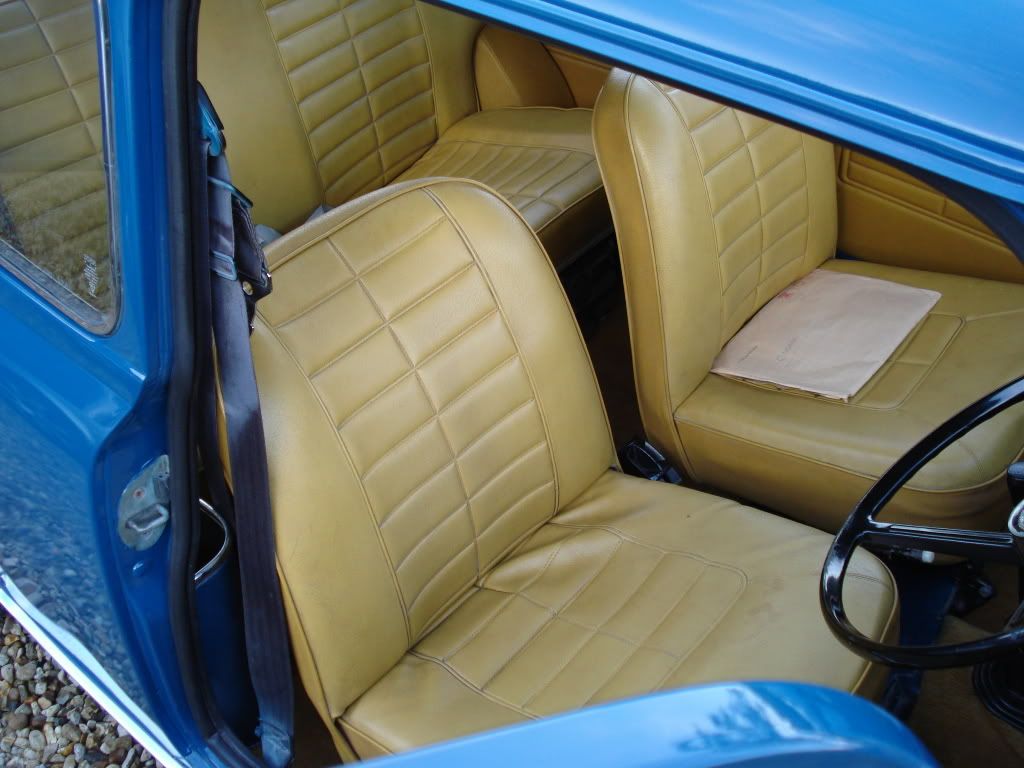
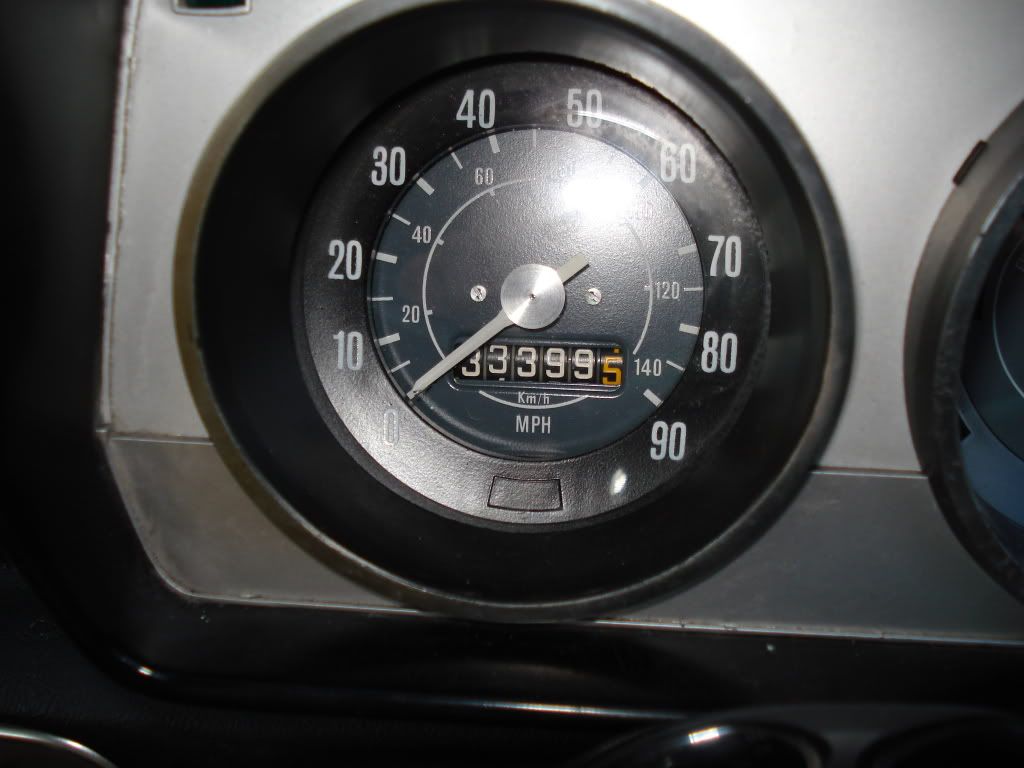
So apart from a few non serious issues he will become my daily driver. Once Erm is on the road then Dad will do his stuff with the boot floor (had a rear end shunt 10 years ago and the floor will be changed as the bodyshop did minimal work to straighten the back of the car out) replace the oversills the only good thing here was the old sills were cut off first so no nasties hiding. The inner sills are pristine inside. Sort out one Scuttle close out panel and then just go around the car making sure all is happy and totally rot free.
He is 36 years young so having some little dinks here and there is allowed. Dad will service the engine so hopefully he will do more than 65mph that he will only do at the moment.
I might have to change the front seats for something more comfy but the plan is to keep the interior and exterior as stock as possible and keep everything as he is totally original apart from a rear windscreen wiper installation.
#357

Posted 30 October 2010 - 04:01 PM
Very nice clubby, is it yours or is it your dads?
#358

Posted 30 October 2010 - 04:08 PM
#359

Posted 30 October 2010 - 05:17 PM

Very nice clubby, is it yours or is it your dads?
Mine at the moment as the idea of getting a second mini was to use it for a daily driver and sell it next year but i think i will be keeping this one,pretty sure its future is set as a Que car too with a r1 in the front
#360

Posted 30 October 2010 - 05:34 PM
2 user(s) are reading this topic
0 members, 2 guests, 0 anonymous users


