
Project Erm
#331

Posted 19 October 2010 - 12:41 PM
#332

Posted 19 October 2010 - 12:49 PM
#333

Posted 20 October 2010 - 04:39 PM
Tacked in place
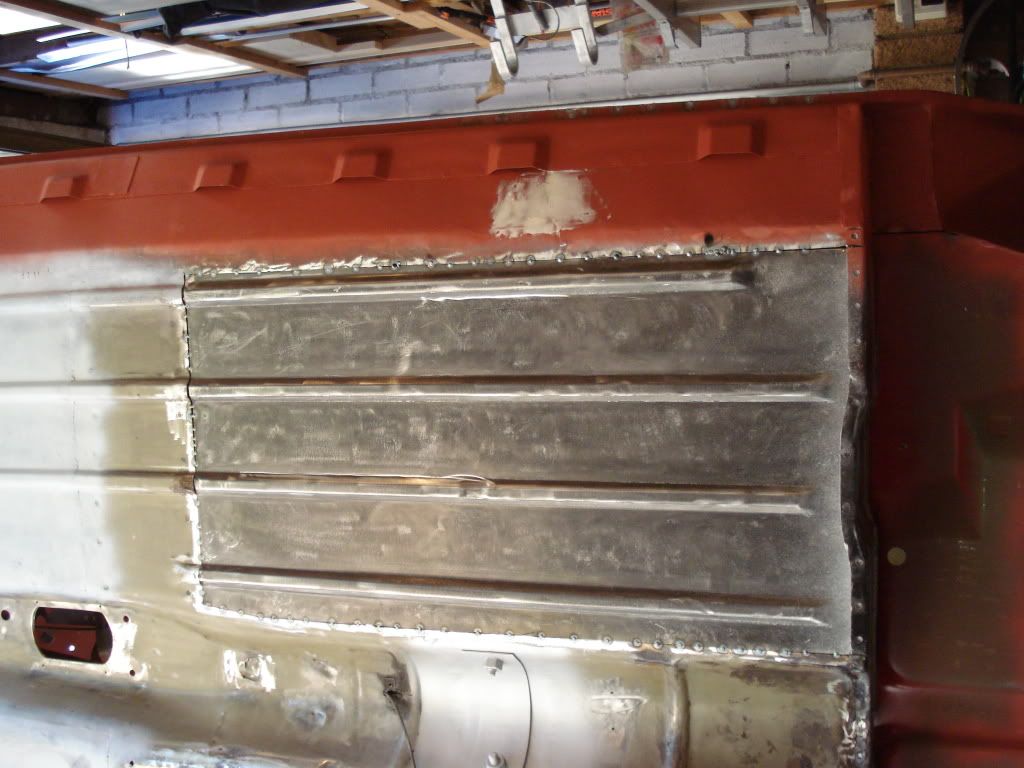
Welded in place (hundreds of tack welds to cut down on distortion)
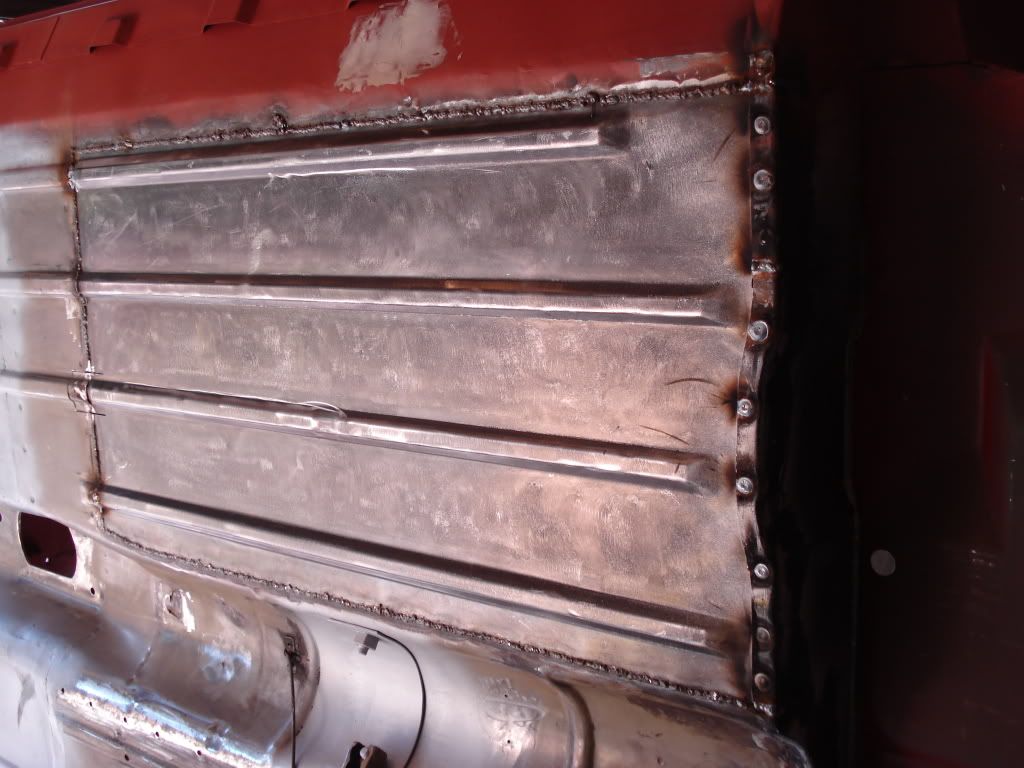
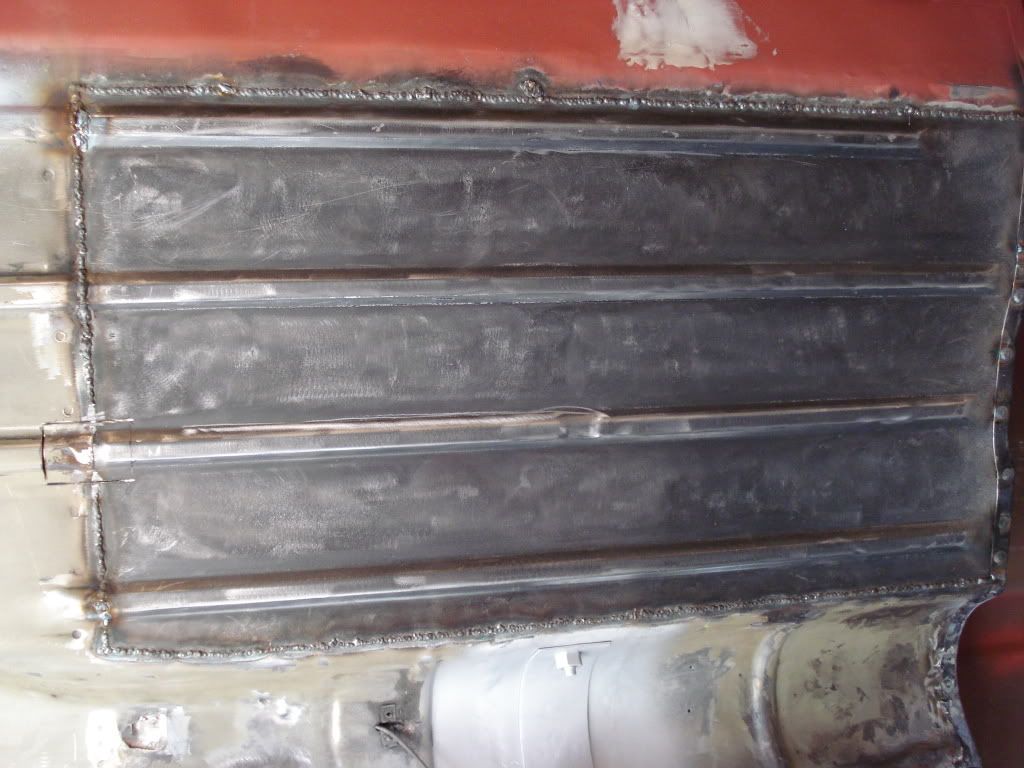
The repair panel was not quite long enough to cover this bit of rot so
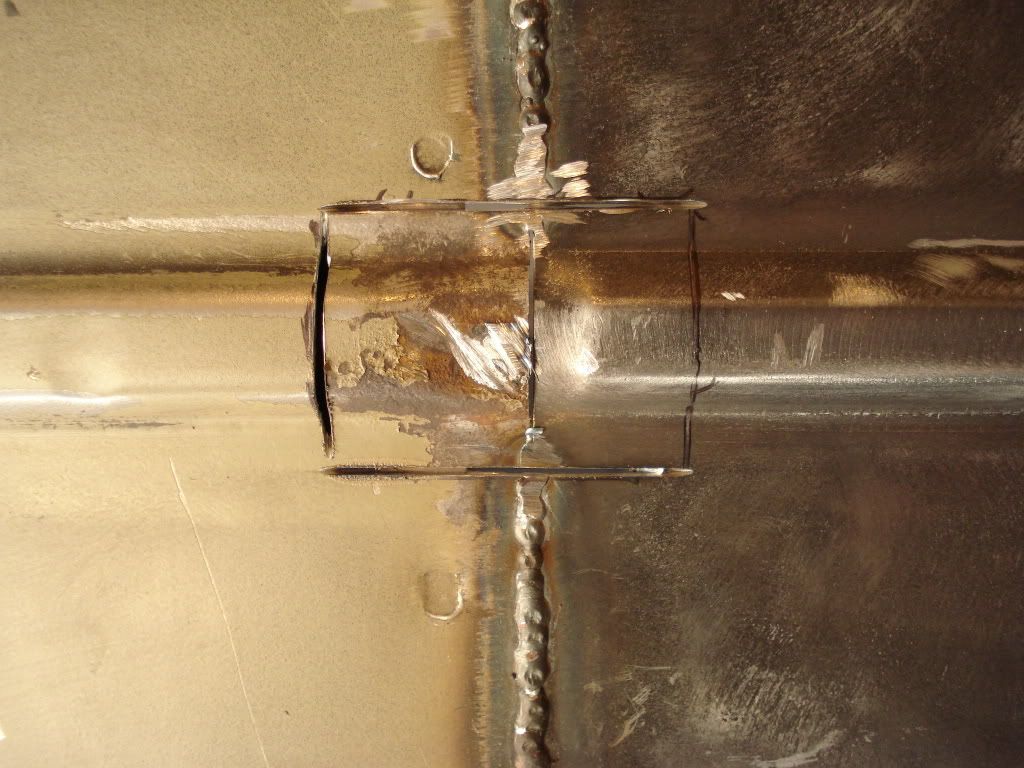
chopped it out
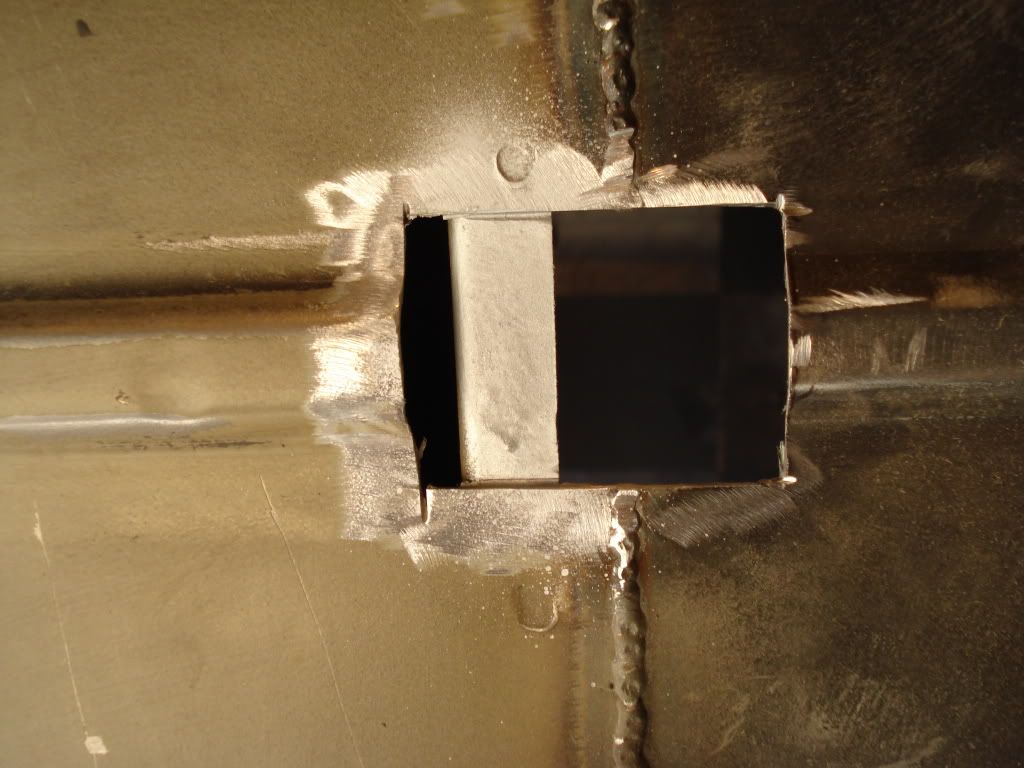
new piece of old floor
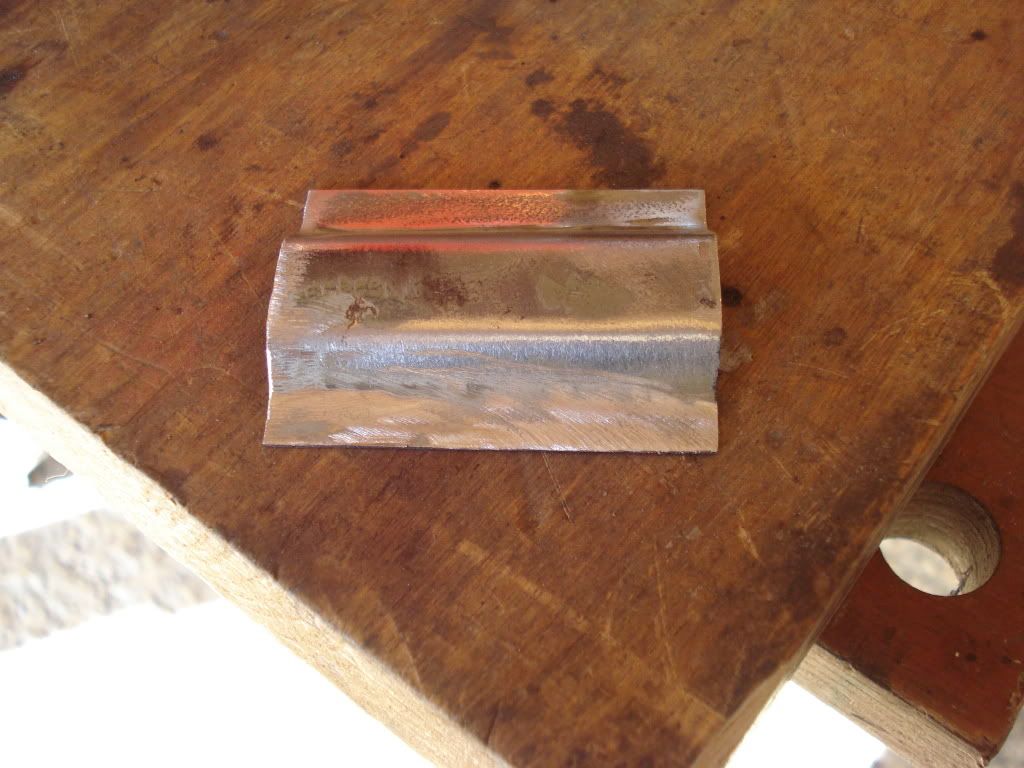
everything fitted and ground down
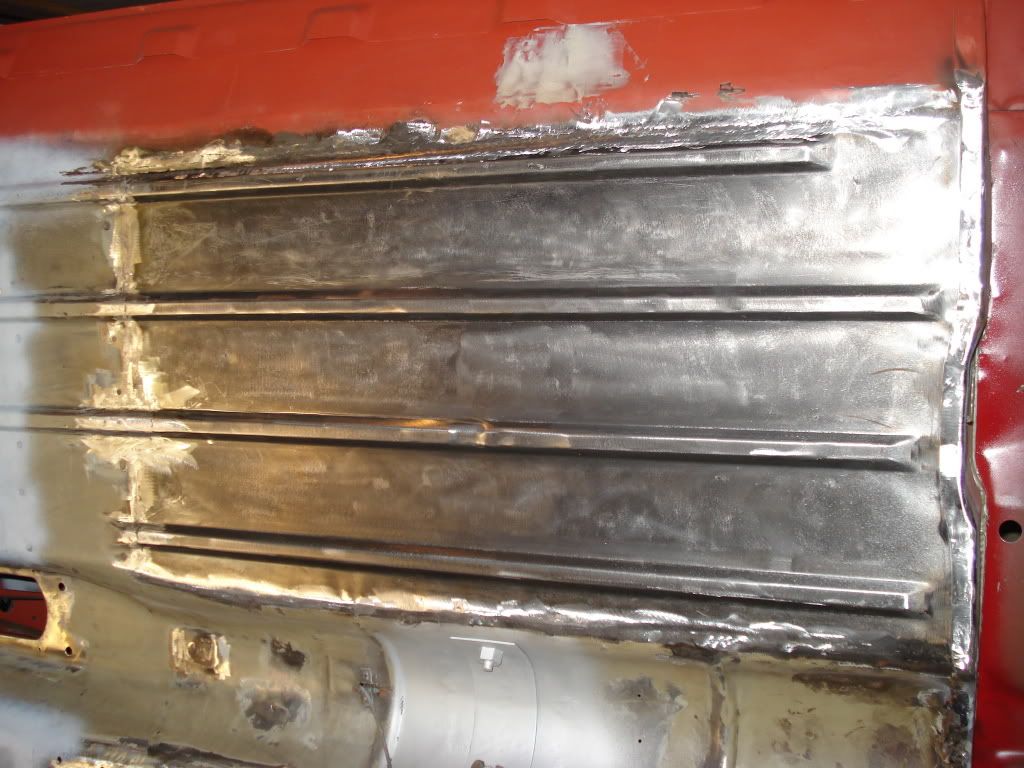
Just the inside to clean up then it will be onto the other side.
#334

Posted 20 October 2010 - 05:58 PM
#335

Posted 21 October 2010 - 03:09 PM
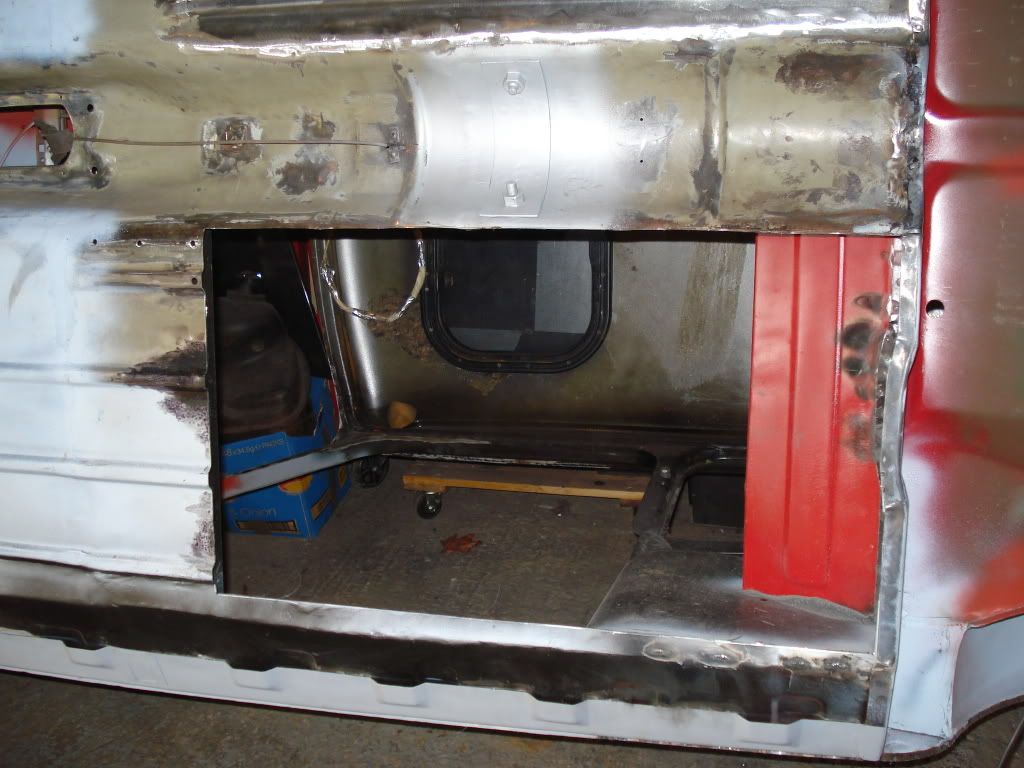
New one tacked in place
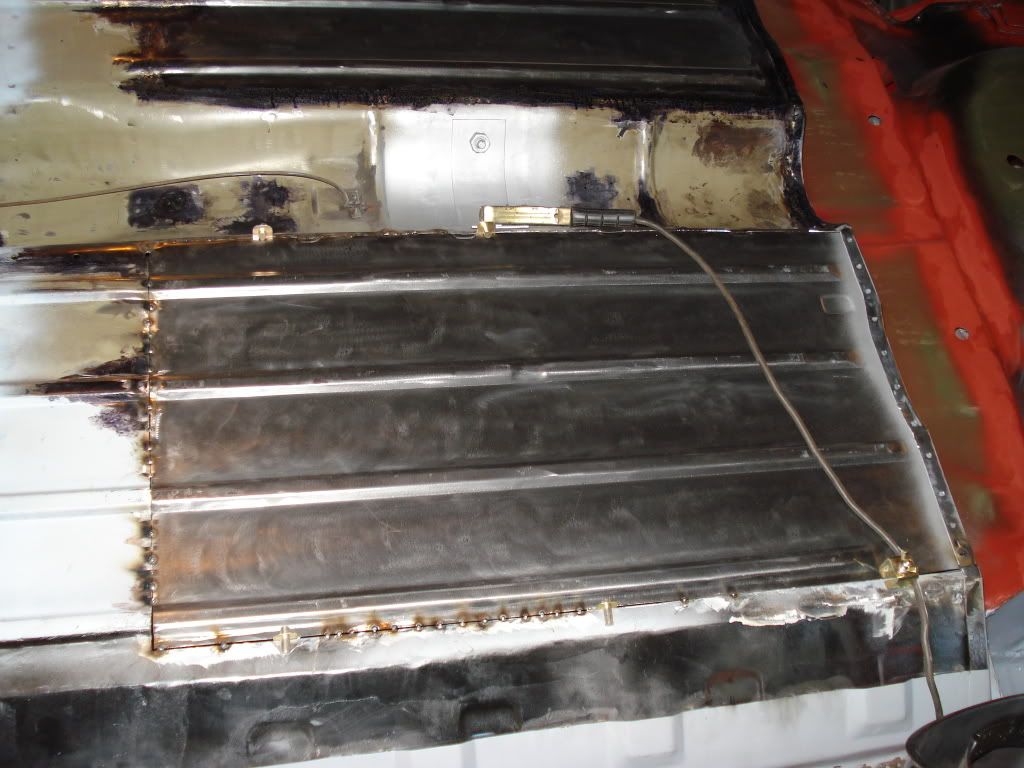
Mmm had to cut out an extra bit
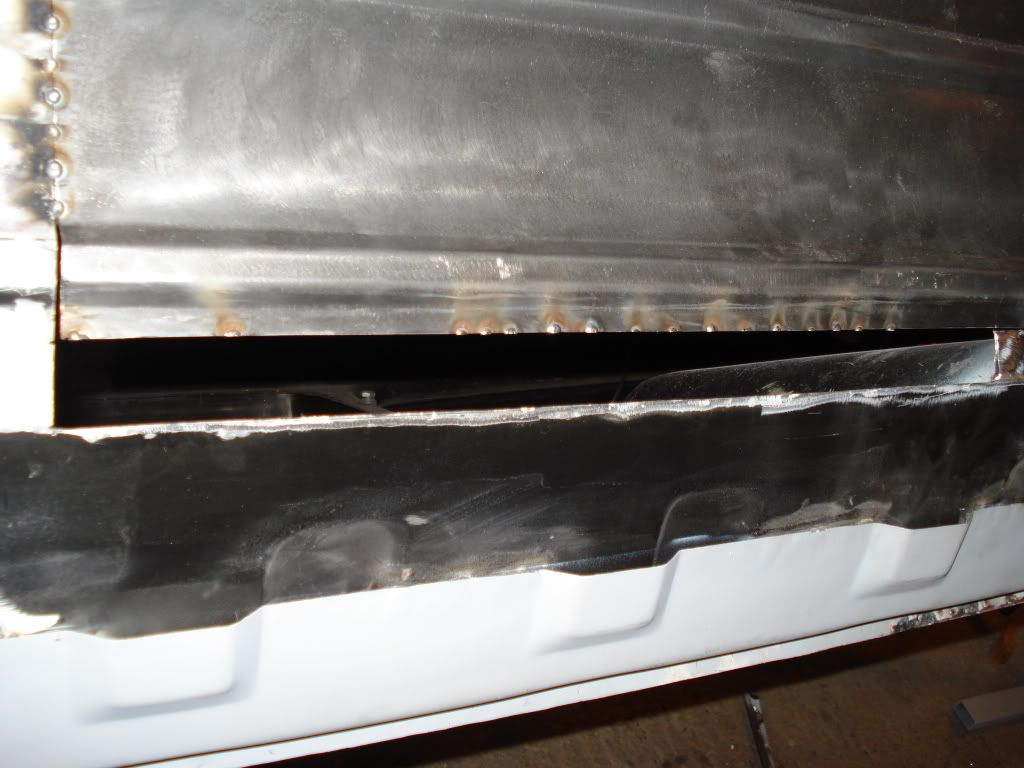
And this is why, i had previously cleaned it treated etc but it had to go especially with all the new metal being installed
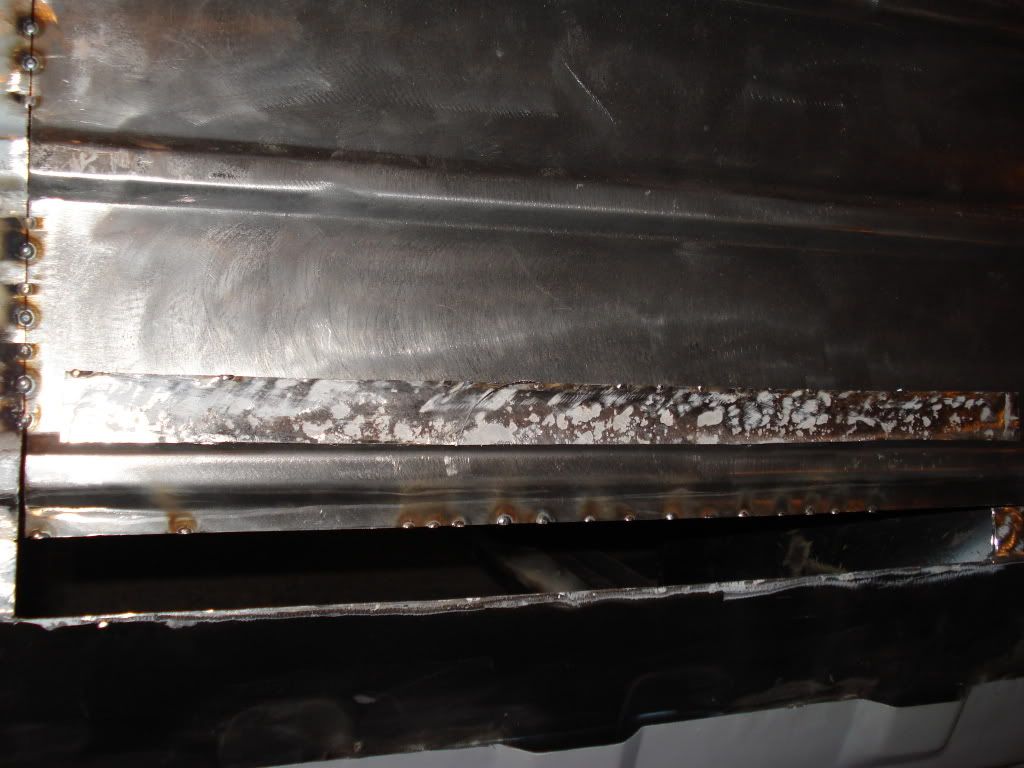
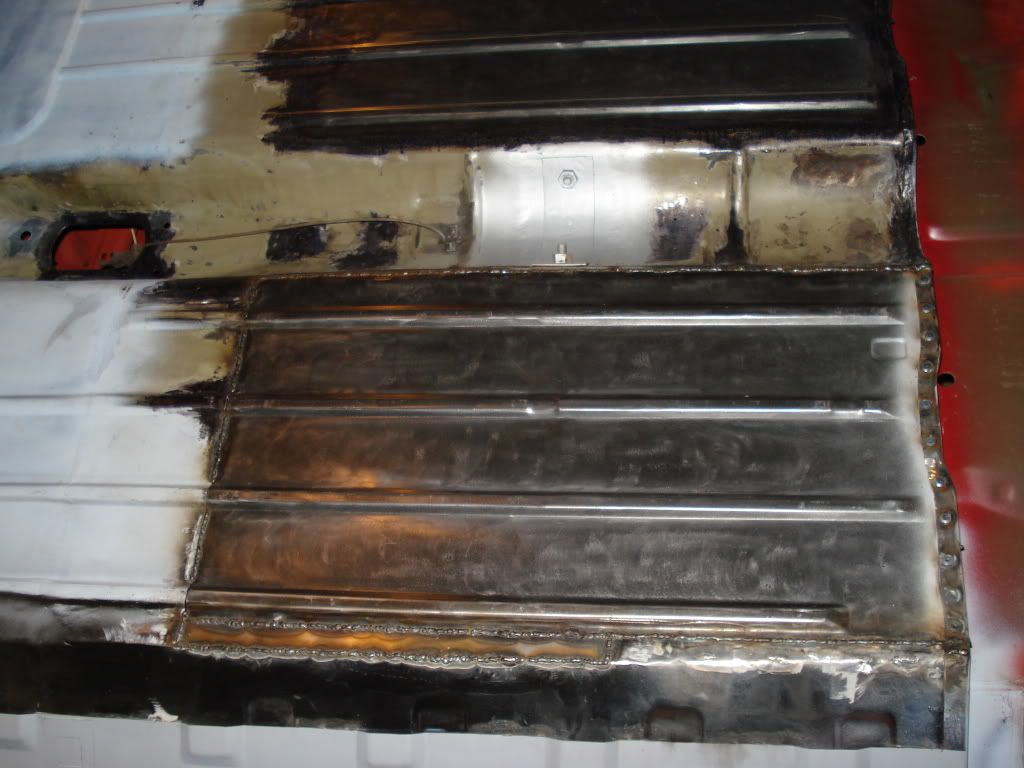
And all welded in apart from the flutes as these need a bit of hammer and block work to make them match
#336

Posted 21 October 2010 - 07:32 PM
Dan
#337

Posted 21 October 2010 - 07:34 PM
#338

Posted 22 October 2010 - 10:03 AM
Edited by jagman.2003, 22 October 2010 - 10:04 AM.
#339

Posted 22 October 2010 - 01:13 PM
Excellent work, very thorough. I've been using some of these pics as a guideline for mine, as it came a little lightweight on some of those hidden panels. I'm sure you must've answered this question before but how do you cut the old panel out so accurately?
Hi, the first thing to do is to decide just how much of the floor etc you need to change, in our case we did not need the inner sill section and not all of the tunnel curve.
Cut the panel to the size you need then offer it up to the old floor. I placed the new cut section of floor over the old and then rough marked its location. I had to lay the floor pan over the heel board so in theory the floor pan would be cut short length wise allowing me to trim extra off.
After checking the replacement floor flute's matched up to the original flute's i then marked out the cut lines and chopped the floor out slightly under sized.
Then it was a case of trimming everything back until i had a gap of approx 1mm on three sides. This gap is needed to get the intergrips in place.
Once its clamped in place then tack weld, check everything then i personally do lots of pulse welds instead of seam welds to minimize distortion, plus i use a damp rag to help cool the welds and local area down.
I only use the 1mm thick stainless steel cutting disc's now as they leave a very fine cut and they do cut quicker than the thicker type of cutting disc's.
Hope this helps
Neil
#340

Posted 22 October 2010 - 02:02 PM
where do you get the 1mm cutting discs from all they have at the local focus is the 3mm onesExcellent work, very thorough. I've been using some of these pics as a guideline for mine, as it came a little lightweight on some of those hidden panels. I'm sure you must've answered this question before but how do you cut the old panel out so accurately?
Hi, the first thing to do is to decide just how much of the floor etc you need to change, in our case we did not need the inner sill section and not all of the tunnel curve.
Cut the panel to the size you need then offer it up to the old floor. I placed the new cut section of floor over the old and then rough marked its location. I had to lay the floor pan over the heel board so in theory the floor pan would be cut short length wise allowing me to trim extra off.
After checking the replacement floor flute's matched up to the original flute's i then marked out the cut lines and chopped the floor out slightly under sized.
Then it was a case of trimming everything back until i had a gap of approx 1mm on three sides. This gap is needed to get the intergrips in place.
Once its clamped in place then tack weld, check everything then i personally do lots of pulse welds instead of seam welds to minimize distortion, plus i use a damp rag to help cool the welds and local area down.
I only use the 1mm thick stainless steel cutting disc's now as they leave a very fine cut and they do cut quicker than the thicker type of cutting disc's.
Hope this helps
Neil
#341

Posted 22 October 2010 - 04:33 PM
#342

Posted 23 October 2010 - 03:34 PM
thats perfect cheers mateI get mine from fleabay try this number 280512855421

#343

Posted 23 October 2010 - 03:34 PM
#344

Posted 23 October 2010 - 04:32 PM
still looking as good as ever , always enjoy reading the updates on this one .
Thank you,nice to know people enjoy the updates.
Anywhere here's a non ERM related update.Next weekend he will have a new garage mate(think her name is cubbie

Wont be any other updates this week as there is some minor house work to be done so hopefully will be getting it all blitzed this week
#345

Posted 23 October 2010 - 04:40 PM
2 user(s) are reading this topic
0 members, 2 guests, 0 anonymous users


