Project Erm
#316

Posted 15 October 2010 - 12:39 PM
#317

Posted 15 October 2010 - 03:44 PM
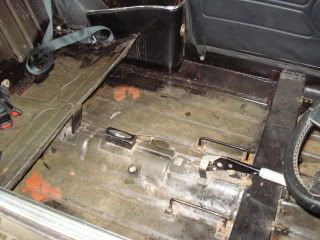
Well today has had its up (only one up) and lots of downs, first the up.
The spit works well
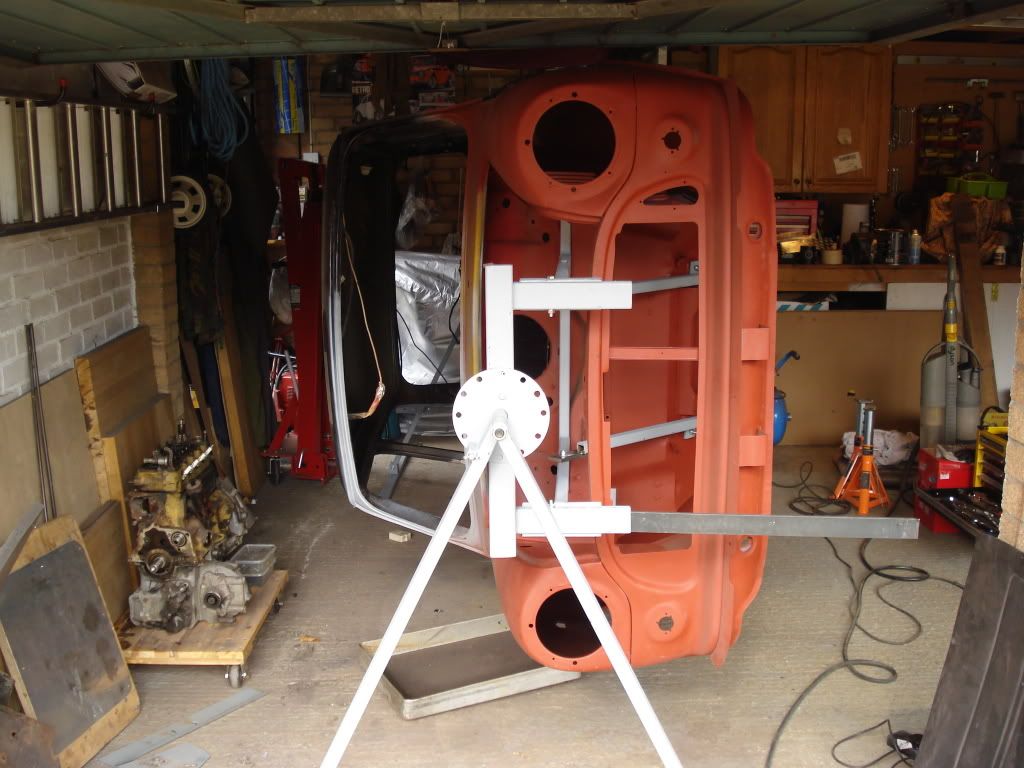
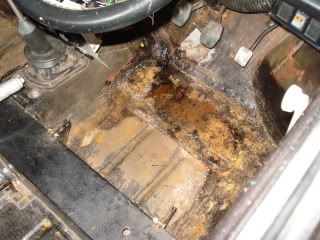
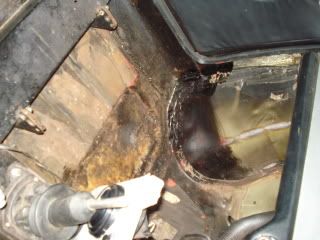
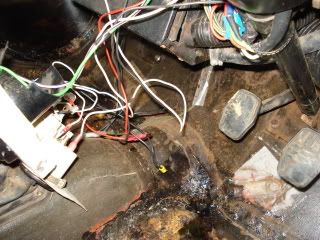
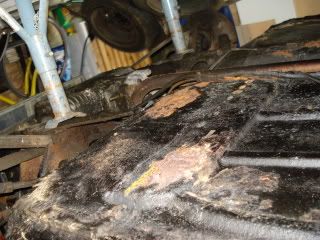
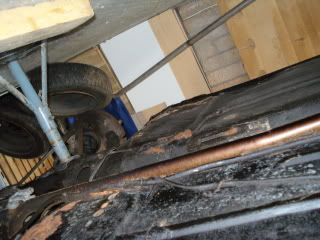
But it then showed the downs, all of the pipe tags are well rotten and its spread to the floor, gutted i though the floor was fine but once the crud was off it showed its true colours
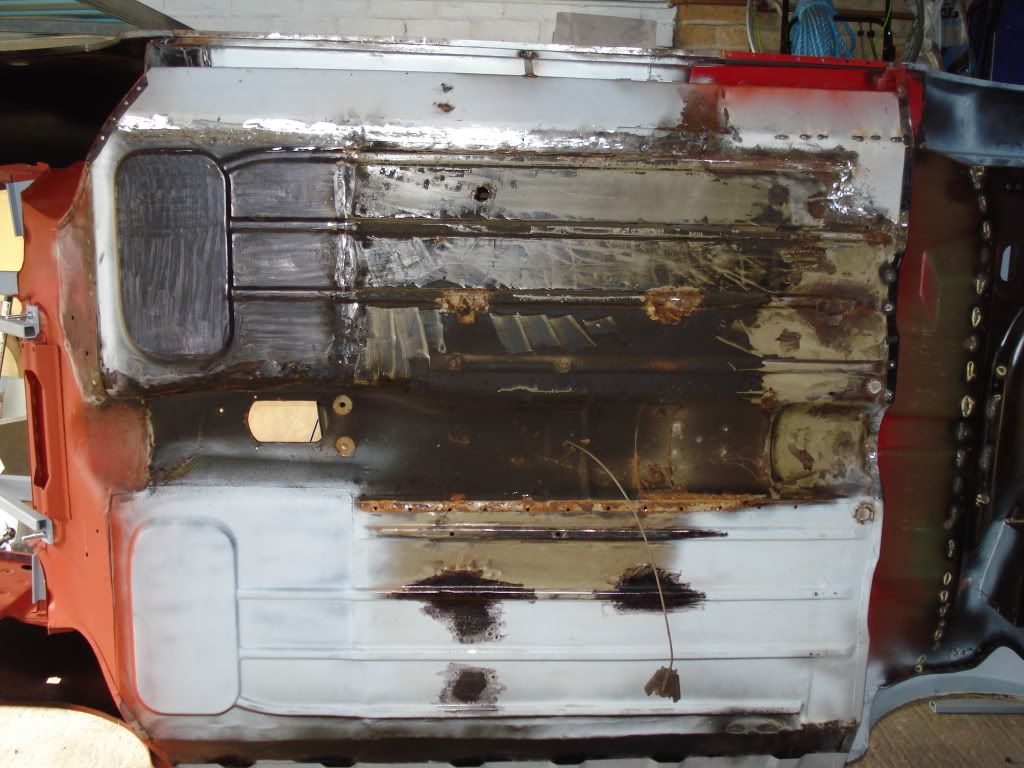
The worst one
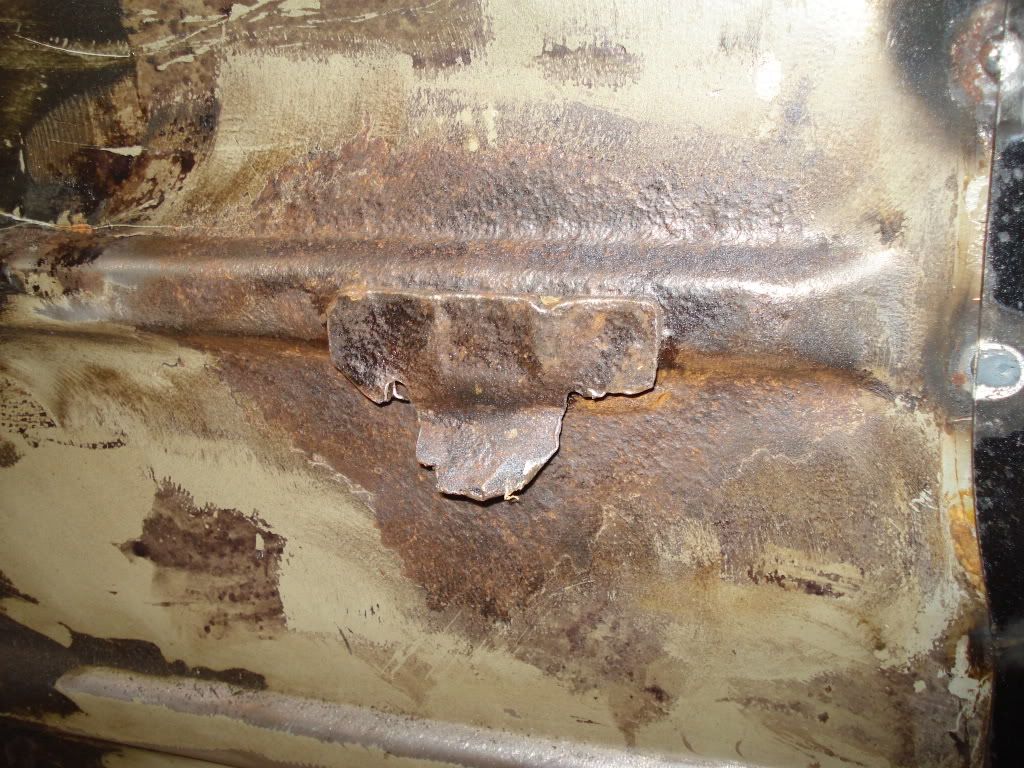
and the rest
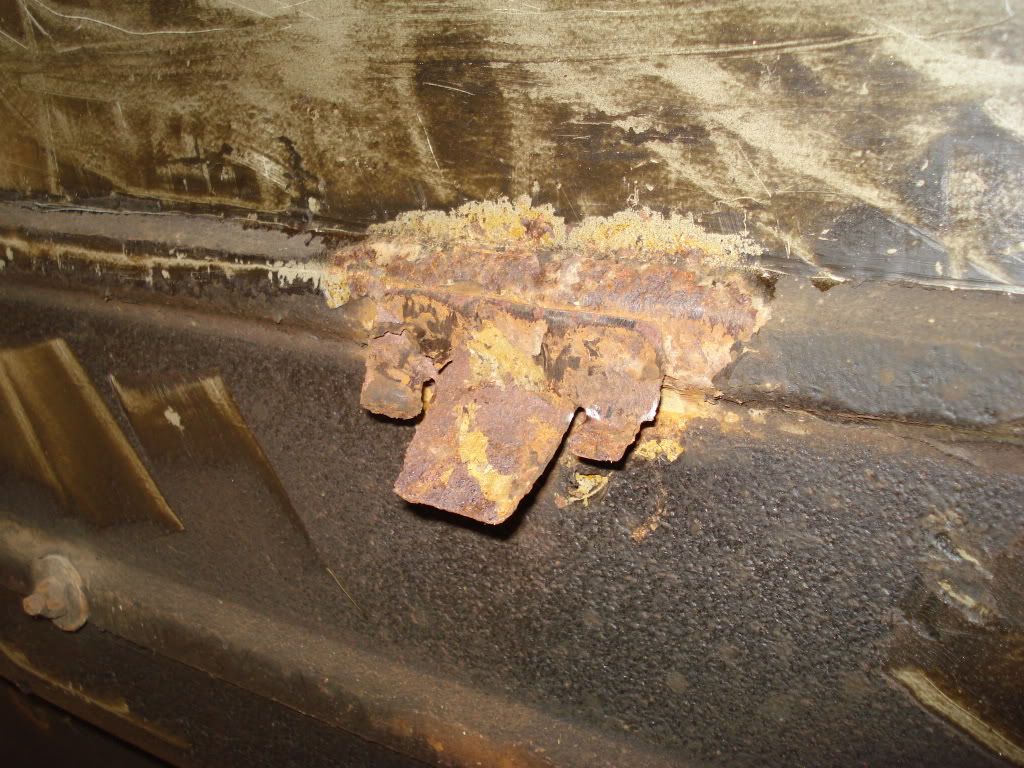
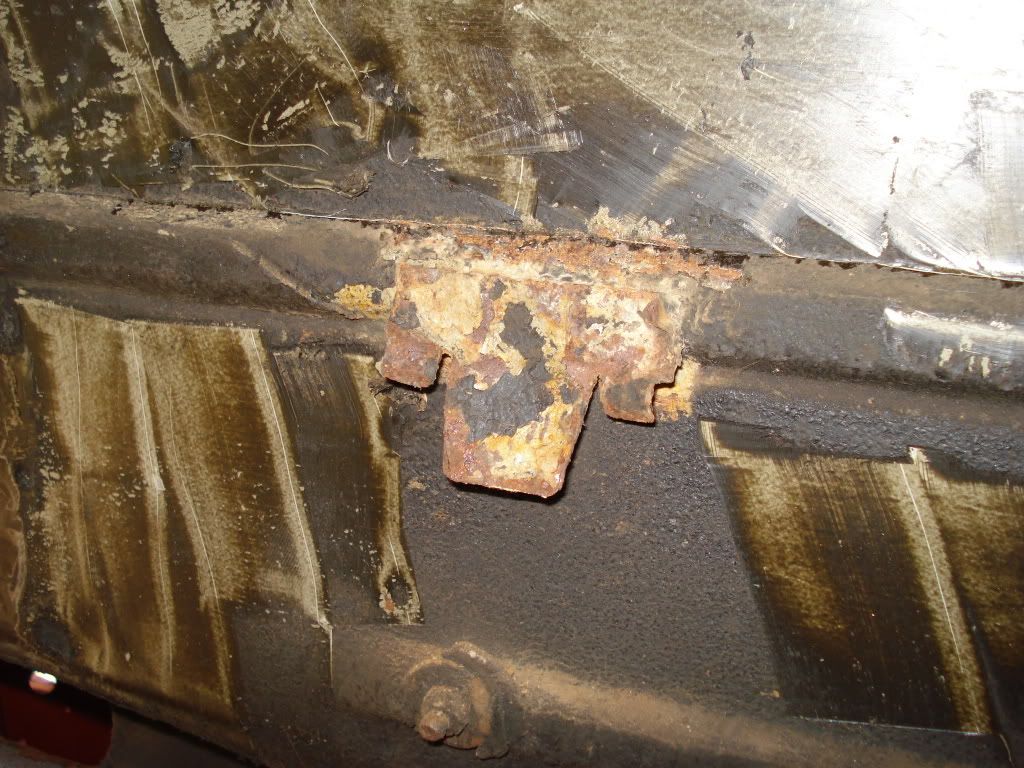
After all the effort i put into the front floor sections i really wished we had saved more money and bought a complete floor pan as it would have been worth it. However hindsight is a wonderful thing so two new rear floor sections are winging their way from minispares.
However Scott has thoroughly cleaned the floor ready for the next instalment. He also tried to get the flywheel off Erm's old engine but the bugger would not shift and we shagged our brand new puller by shearing off the the centre bolt head. BUGGER!!!!!!
So it would appear heat is needed so i have got a plumbers torch so hopefully when we get the replacement puller this will help the damned thing to shift.
Depending on when the replacement floors appear it will give me time to fit the outer sill and finish off all of the grinding and cleaning up ready for the big seal up. Then several tins of Tetra Schultz.
#318

Posted 16 October 2010 - 09:13 AM
With regards the flywheel, try leaving it with pressure applied for a while. I snapped the center bolt in my last puller, went inside to cry and kick the cat. Suddenly heard a large thud, find flywheel on drive. I have since heard a few people recomend winding a good amount of tension on and leaving for a while for it to creep off. Have been toying with a fancy hydraulic puller, but they are pretty dear.
#319

Posted 16 October 2010 - 03:14 PM
Amazing project, your attention to detail deserves medals.
With regards the flywheel, try leaving it with pressure applied for a while. I snapped the center bolt in my last puller, went inside to cry and kick the cat. Suddenly heard a large thud, find flywheel on drive. I have since heard a few people recomend winding a good amount of tension on and leaving for a while for it to creep off. Have been toying with a fancy hydraulic puller, but they are pretty dear.
Cheers for that, we have got a replacement puller now so we give the loading it up with tension a go then leaving it for a day and if that does not work then it will get a large dose of heat as well.
Some more welding today,
New sill drilled for plug welding and clamped in place
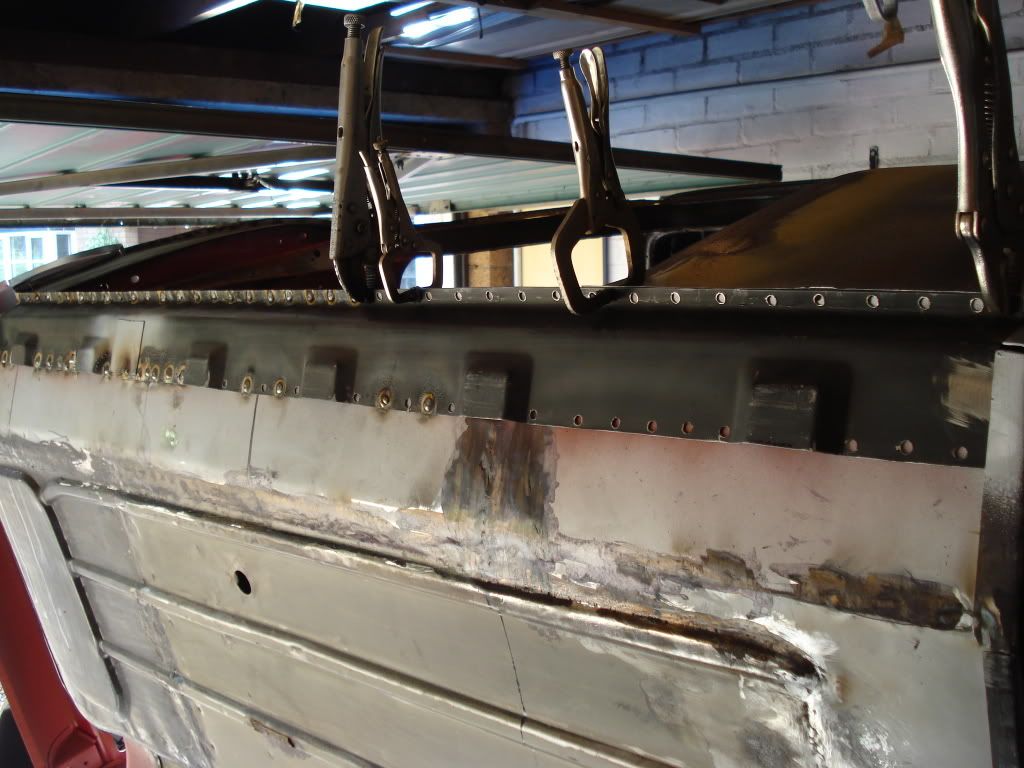
Plug welded
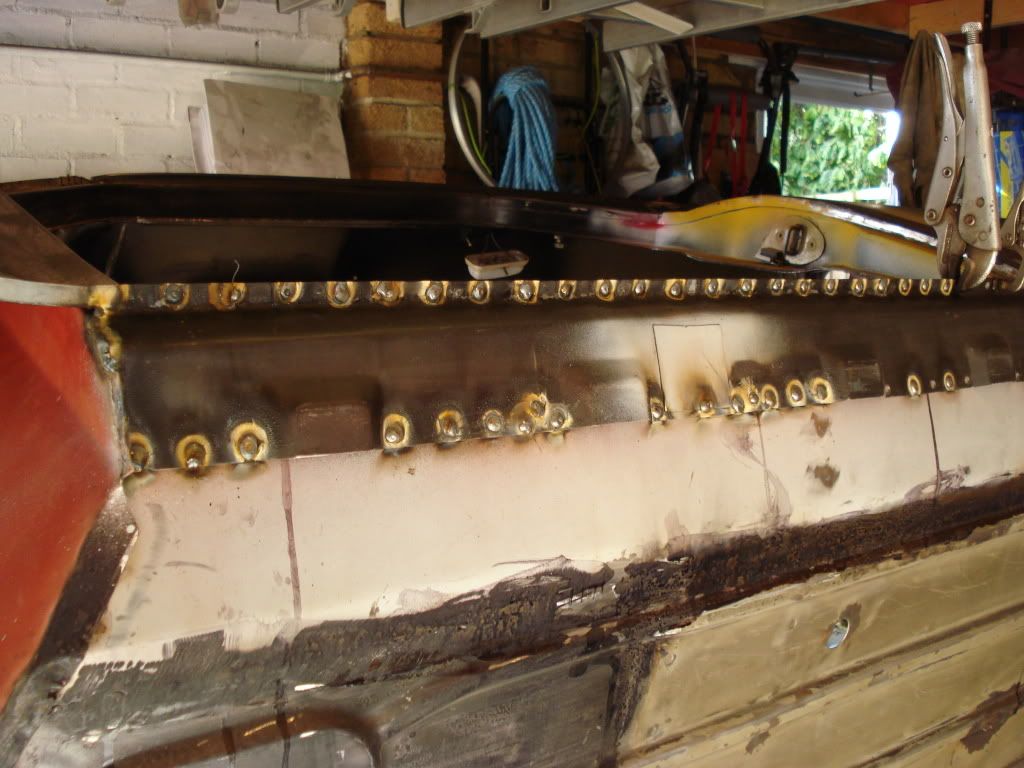
and ground down and polished
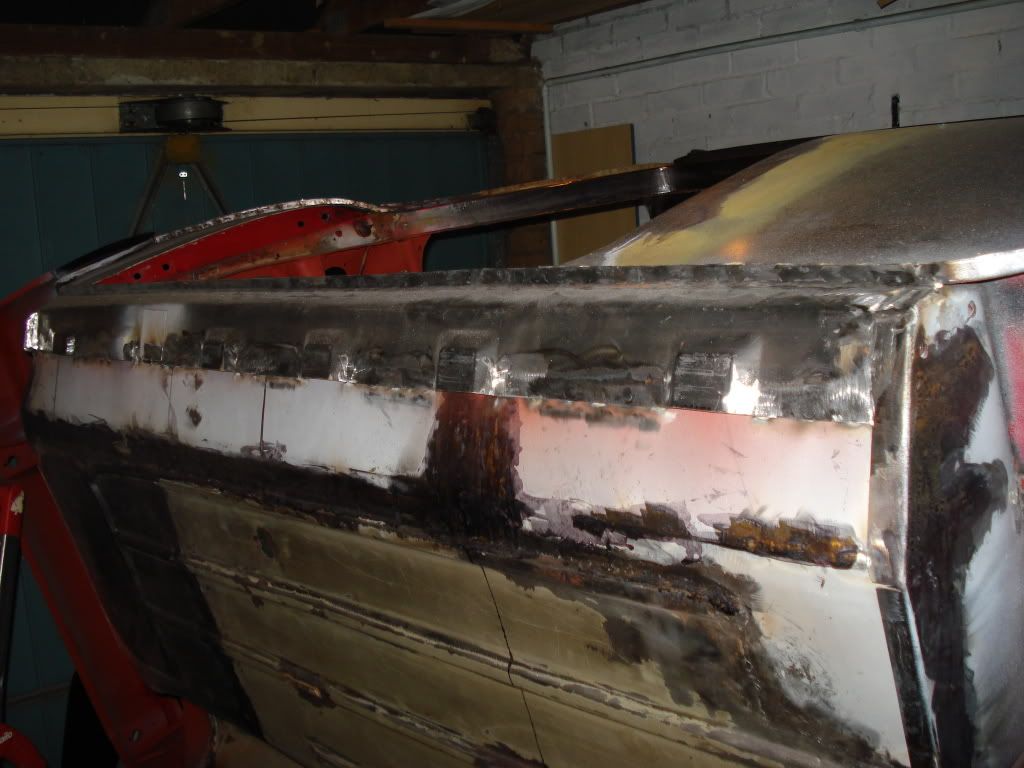
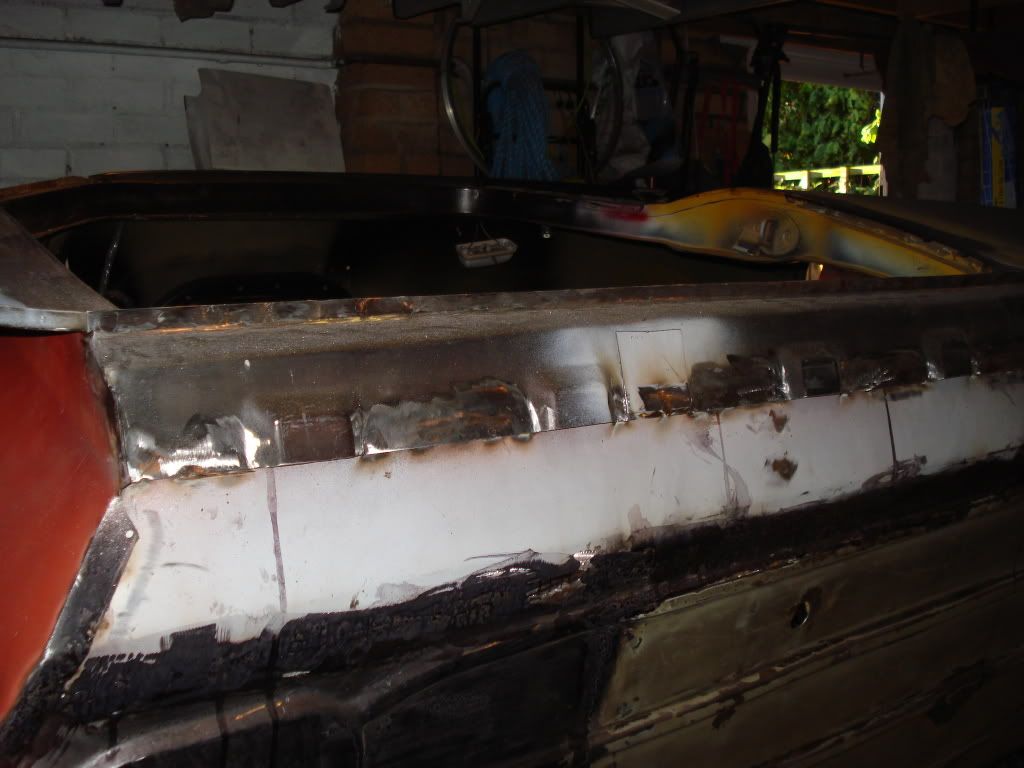
There are a few more plug welds to do on the rear quarter then that's it until the replacement the rear floor panels turn up.
#320

Posted 16 October 2010 - 03:57 PM
I have used one for the first time this week. I buggered it up by using the three bolts it came with; they were UNF i think and pulled straight out, 10mm worked though (verto).
At first it would not come off, so i slackened it off again, then gradually tightened and tapped the centre bolt every 1/8th turn. It still would not budge so I slackened again, and tourqed the 3 bolts up to the same ft/lb and repeated. Nothing. then suddenly a few minute later it went with a bang and it was off. I think getting the 3 bolts to the same torque helped alot.
Hope you get it off ok.
#321

Posted 17 October 2010 - 04:37 PM
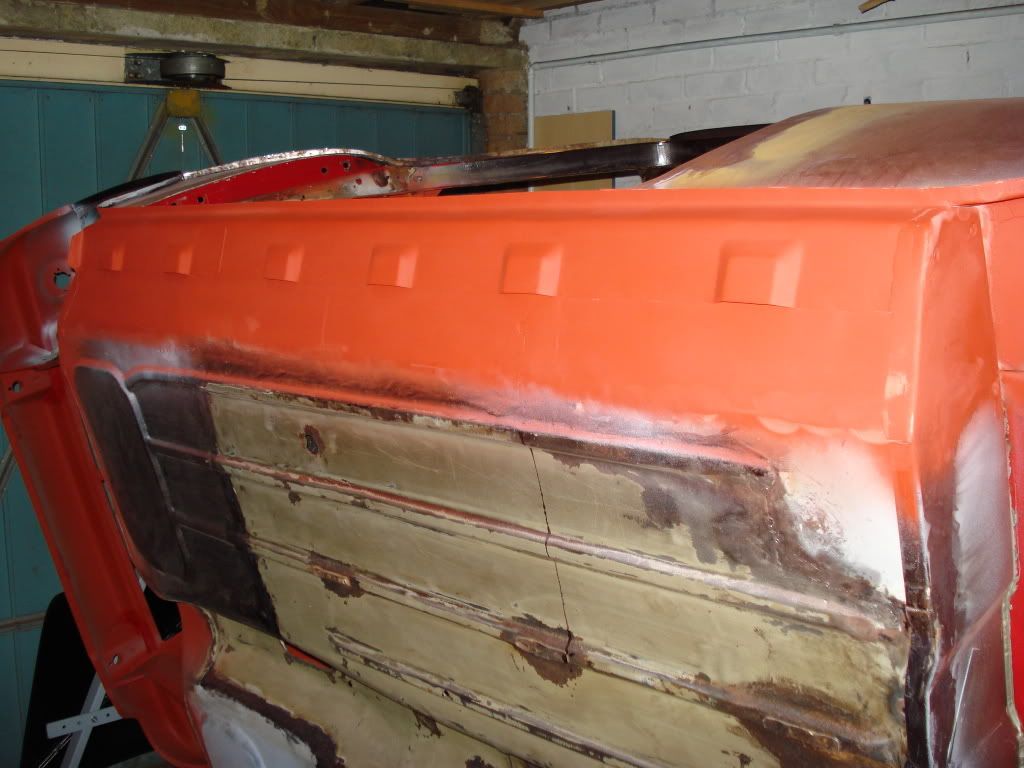
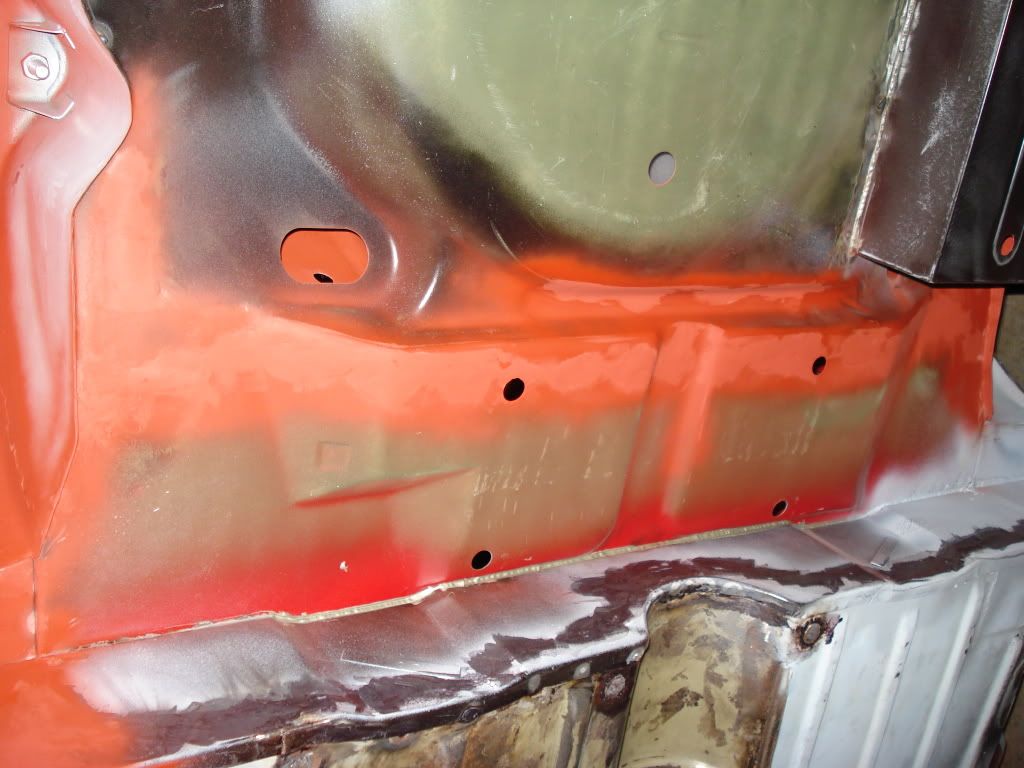
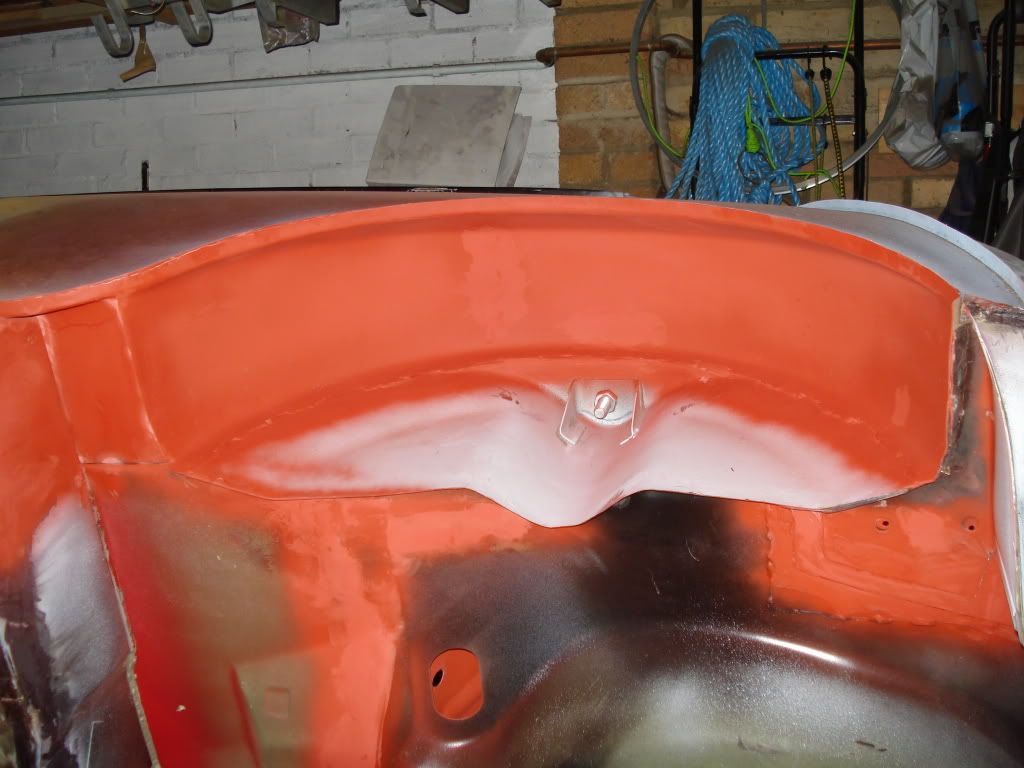
#322

Posted 17 October 2010 - 04:42 PM
Edited by daveeeeee, 17 October 2010 - 04:43 PM.
#323

Posted 18 October 2010 - 04:53 PM
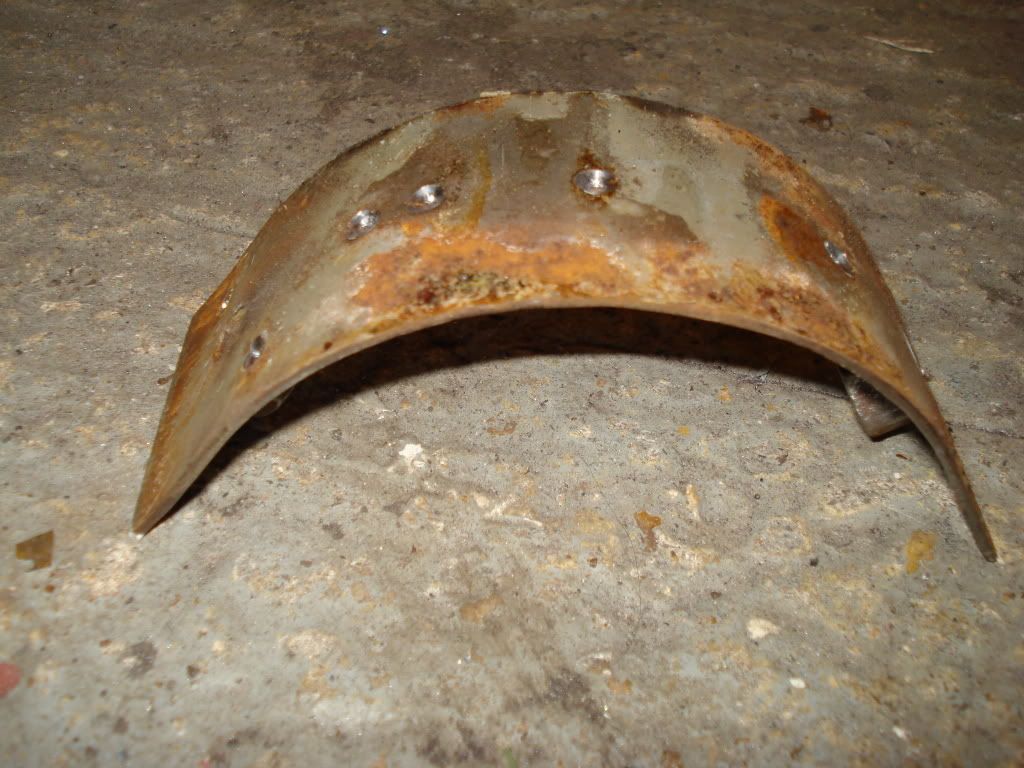
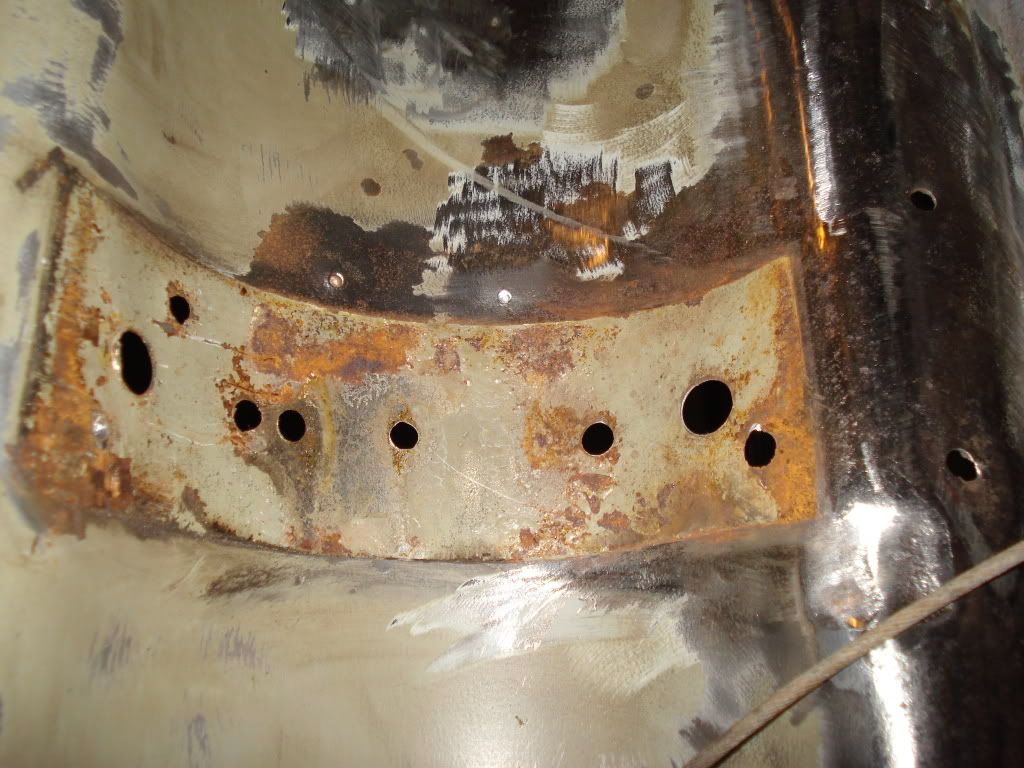
I've cut out the old damage and fitted a new section which needs to be ground down then i can refit the mount. The scarey thing is it was only held on with 7 spot welds and not big ones at that so its going to get a lot more just for added strength.
Tomorrow there is a good chance my garage will be home to two mini's but we won't know until tomorrow evening. We shall see
#324

Posted 18 October 2010 - 05:05 PM
joined the 130mph smiths club i see
at this rate youll be showing me yours before im coming up and showing mine with the progress being made
best of luck with the rest of it.
#325

Posted 18 October 2010 - 05:09 PM
im glad i came back on and seen this now, its looking better and better evry time i look. fab skills still dont cease to amaze me mate.
joined the 130mph smiths club i seehaha
at this rate youll be showing me yours before im coming up and showing mine with the progress being made
best of luck with the rest of it.
Cheers mate, its not that far off from paint now but i am going over everything now to make sure its all covered. I have got to revisit the r/h door to sort out the window frame gap problem but after doing the l/h one it should be straight forward i hope.
#326

Posted 18 October 2010 - 05:15 PM
im glad i came back on and seen this now, its looking better and better evry time i look. fab skills still dont cease to amaze me mate.
joined the 130mph smiths club i seehaha
at this rate youll be showing me yours before im coming up and showing mine with the progress being made
best of luck with the rest of it.
Cheers mate, its not that far off from paint now but i am going over everything now to make sure its all covered. I have got to revisit the r/h door to sort out the window frame gap problem but after doing the l/h one it should be straight forward i hope.
good news then, picked a colour yet?... maybe l2b next year in both of ours
#327

Posted 18 October 2010 - 05:46 PM
#328

Posted 19 October 2010 - 11:26 AM
Repair section
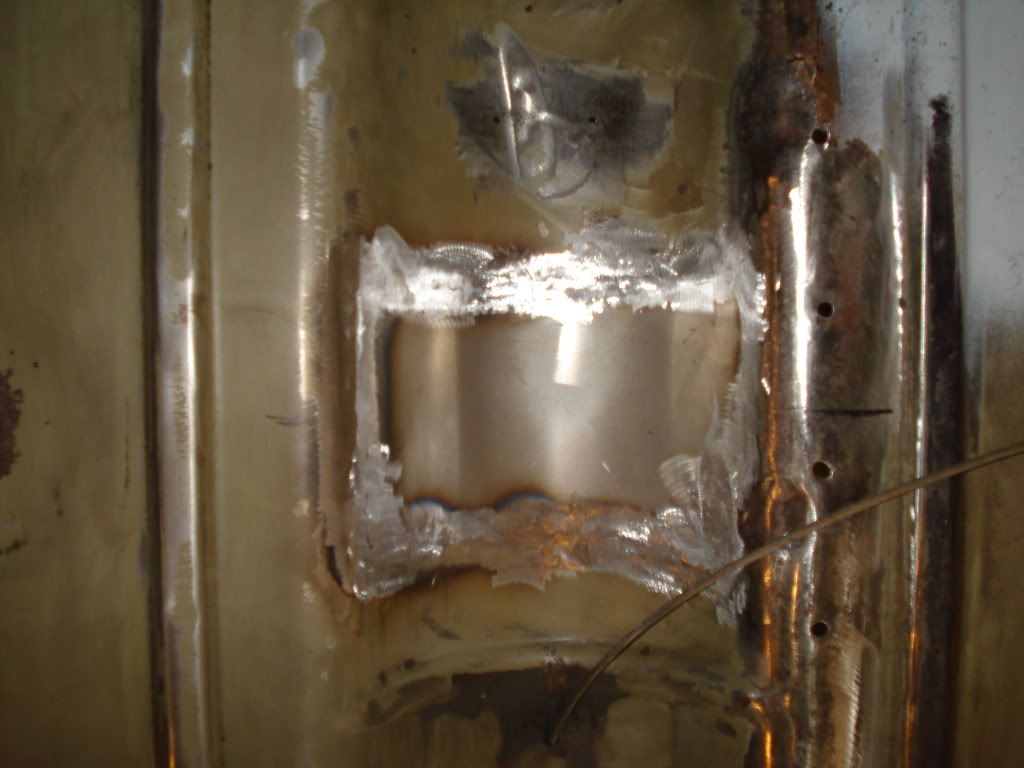
Seat belt mount fitted
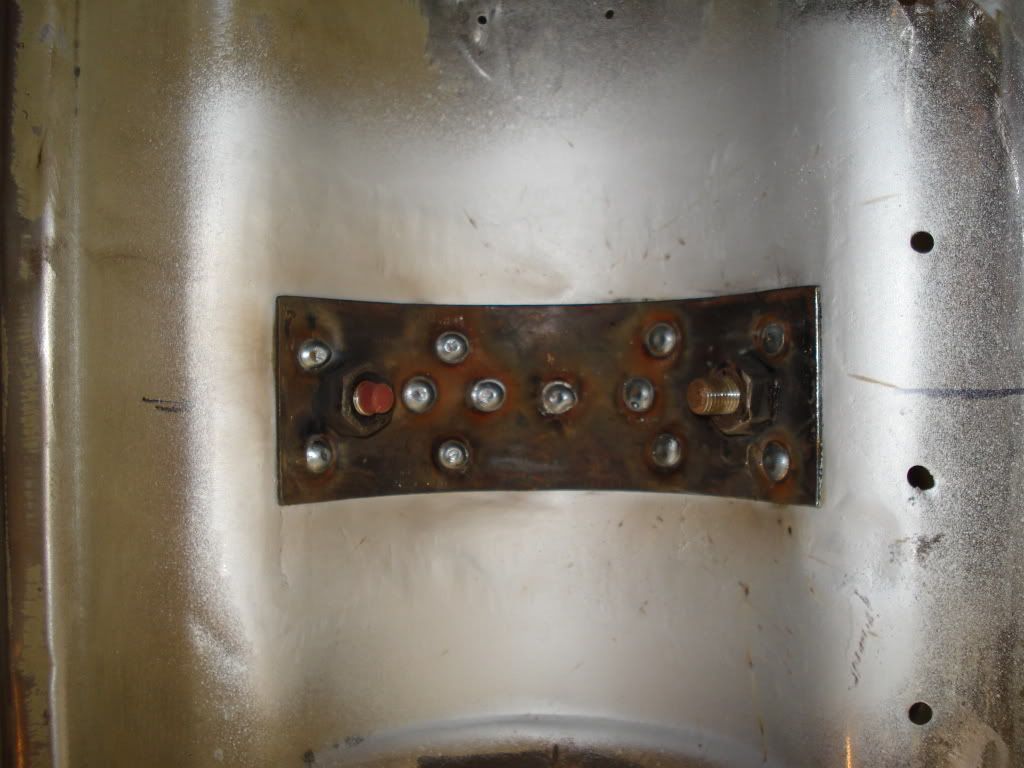
Cleaned up and primed
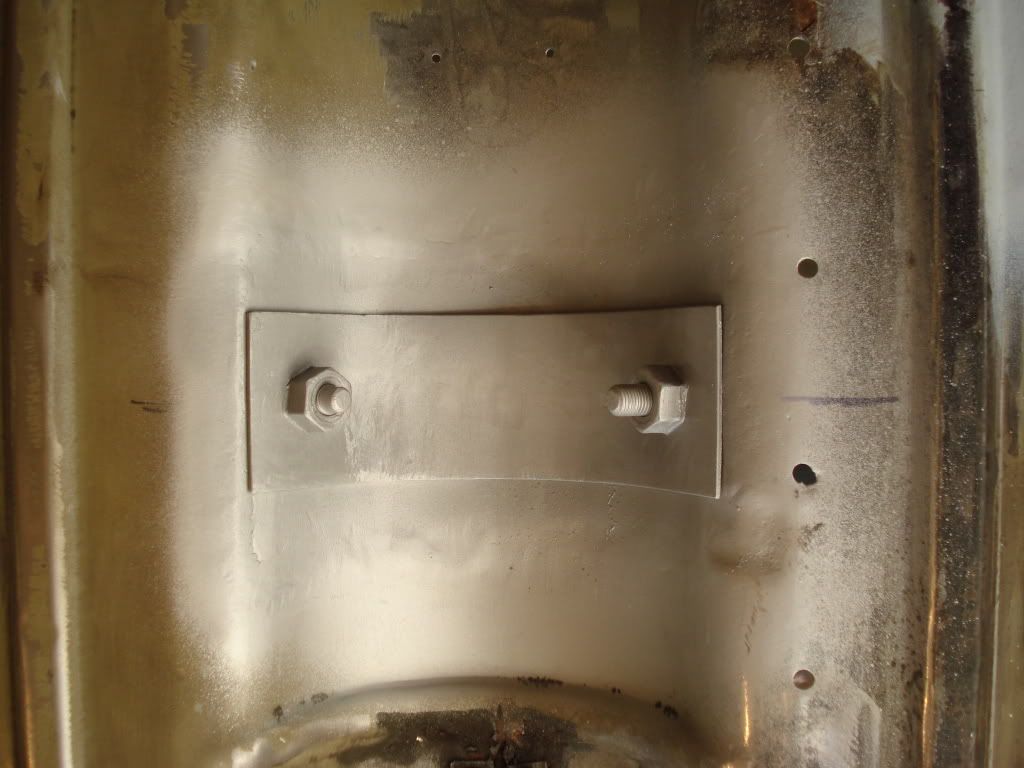
Then it was onto the rear floor replacement. The panels turned up today so first thing was to chop off the inner sill section, the front joggled section and the cut out area for the companion box.
That sorted then offered up a modified floor up to the old floor, marked out the cut line and zipped the old floor out
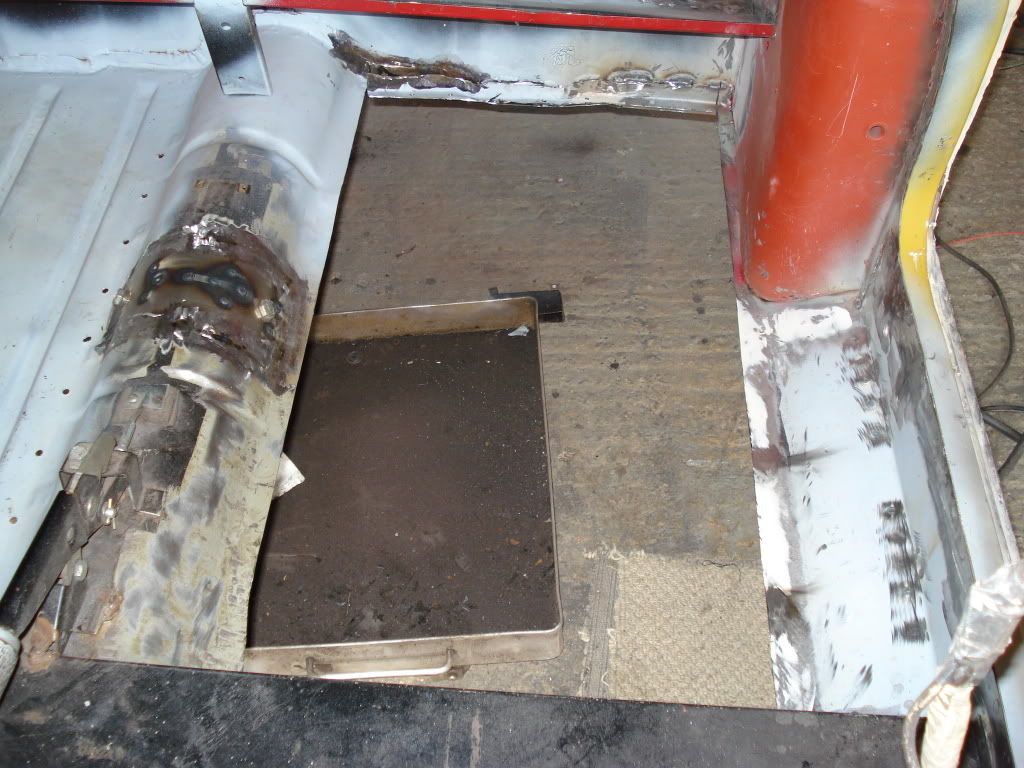
Hopefully will get the remaining rear lip off the rear heel board and then tack the new floor in place.
#329

Posted 19 October 2010 - 11:57 AM
Dan
#330

Posted 19 October 2010 - 12:02 PM
DAY TWO
Stripping down time(for the car)
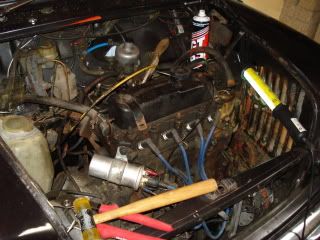
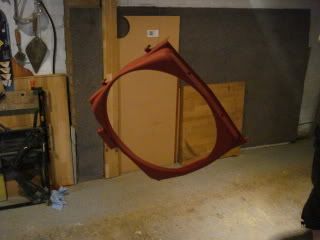
Alternator removed with radiator for clean up and paint
Interior out ,all looks good at the rear end bar some bad welds,handbrake cable snapped too
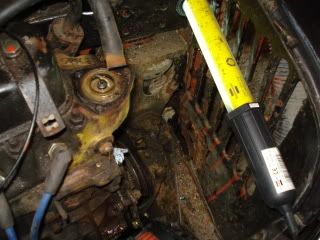
Heater matrix has been leaking so the front floor pan is corroded and needs to be replaced,centre console is a mess too,rev counter is at the bottomalong with a push start,also vents aren't connected and theres some unknown cables
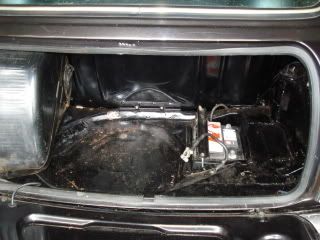
Boot looks ok bar some bad welds again
Radiator cover and alternator spindle sprayed now and since have been sprayed red.
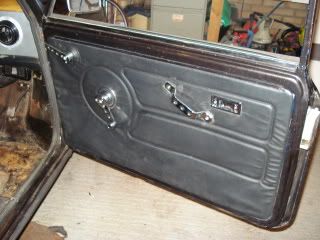
Some new interior door handles i got for £20
Got a new dash off of ebay(bargin),has all the dials for £68
http://cgi.ebay.co.u...IT#ht_500wt_975
And going to order some new bits now too
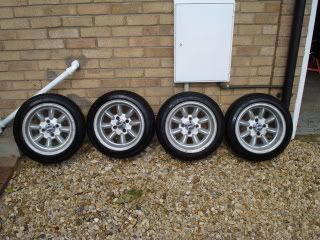
And heres the superlites i am selling for £200 if anyone is interested
Also got two better chrome bumpers for £15 and a new grill for £10.Also going to pick up a half leather interior next weekend for £75
Have you sold your wheels yet? are they 13"/7" and 4x100 fitment?
1 user(s) are reading this topic
0 members, 1 guests, 0 anonymous users


