Jump to content


Photo
- - - - -

Project Erm


  • Please log in to reply
834 replies to this topic

#271 scsracing

scsracing

    Mini Mad

  • Members
  • PipPipPipPip
  • 276 posts
  • Location: Eastbourne

Posted 27 September 2010 - 06:50 PM

This thread is a font of knowledge!

Where did you buy your roll-over jig from, if you don't mind me asking? And how do you rate it? Is it one of these?
http://cgi.ebay.co.u...=item230a5cb51b


We bought the roll over jig from that seller but it was a different type.If you don't want to spit it with a scaffolding pole then this is the type to go for.It requires no cutting of the rear bulkhead and bolts onto existing holes .

http://cgi.ebay.co.u...#ht_3421wt_1137

We haven't had chance to use it yet as we still require a little bracket for it so couldn't give an honest statement on how good it is.Although the build quality is solid and its pretty simple to build and fit even though at some points the instructions are a little unclear but common sense should guide you through.

If you buy one then you may have to wait a few days as the seller needs to build it for you. :-

Edited by scsracing, 27 September 2010 - 06:50 PM.


#272 scsracing

scsracing

    Mini Mad

  • Members
  • PipPipPipPip
  • 276 posts
  • Location: Eastbourne

Posted 27 September 2010 - 06:57 PM

I completely agree this has been a very good read and the right thing has been done from the starting point i.e everything being ripped out stripped off and destroyed :- :) the project is really coming along and it looks like such a good job i admire the skill and finesse undergone. good luck to future progress.


Thank you blue blood :thumbsup: .My dad is trying his hardest to do it to a high standard and he really appreciate's all the great comments he is getting about his work,plus getting this far it would be a shame to cut corners.Mean the main aim of the project has changed greatly since we started.Its gone from a touch up to full resto :dontgetit: .Hopefully by Christmas the car will have a shiny coat of paint on it and all the bits I seem to be hoarding around the house can go back into the car.

Edited by scsracing, 27 September 2010 - 06:58 PM.


#273 rich2

rich2

    Speeding Along Now

  • Members
  • PipPipPipPipPip
  • 351 posts

Posted 28 September 2010 - 09:46 AM

Righto. Thanks for the info. I think I will have to invest in one from them eventually, or try to a used one. I guess even though its quite pricey at £235, its a reasonable investment as they are in demand from plenty of mini restorers.

#274 sonikk4

sonikk4

    Twisted Paint Polisher!!!

  • Admin
  • PipPipPipPipPipPipPipPipPipPipPip
  • 15,970 posts
  • Name: Neil
  • Location: Oxfordshire

Posted 28 September 2010 - 01:25 PM

Righto. Thanks for the info. I think I will have to invest in one from them eventually, or try to a used one. I guess even though its quite pricey at £235, its a reasonable investment as they are in demand from plenty of mini restorers.


i would recommend picking it up if you can as it is expensive for delivery costs. Its all flat pack literally and i had no trouble fitting it in my Passat.

The chap who builds them is a Ford restorer so he knows his stuff. I have had a small problem assembling the front part of the spit and i believe its more down to the minor differences in minis but the solution is easy and Dave is sending me an extra piece of flat bar that will solve my particular issue.

All in all a thumbs up for what is quite a reasonable piece of kit plus by the looks of it only minor adjustments would be needed to make it fit a clubbie.

No doubt a mate of mine would like to borrow it in the near future for his mini project. :D :P

#275 Miniowner123

Miniowner123

    One Carb Or Two?

  • Members
  • PipPipPipPipPipPipPip
  • 987 posts
  • Location: Brighton

Posted 28 September 2010 - 03:57 PM

i bought the same one a while back, had a problem with the bits that bolt to the toeboard but after turning them round (different from instructions) found they fitted fine, also the design makes it easy to level if you have a garage thats a bit on the sloping side. also picked it up and fitted it in a ibiza hatchback with minimal effort

#276 sonikk4

sonikk4

    Twisted Paint Polisher!!!

  • Admin
  • PipPipPipPipPipPipPipPipPipPipPip
  • 15,970 posts
  • Name: Neil
  • Location: Oxfordshire

Posted 28 September 2010 - 04:58 PM

i bought the same one a while back, had a problem with the bits that bolt to the toeboard but after turning them round (different from instructions) found they fitted fine, also the design makes it easy to level if you have a garage thats a bit on the sloping side. also picked it up and fitted it in a ibiza hatchback with minimal effort


Thats the problem we have got but i will extend the flat plate and redrill the holes so very easy fix. Tried the other way but no joy.

#277 sonikk4

sonikk4

    Twisted Paint Polisher!!!

  • Admin
  • PipPipPipPipPipPipPipPipPipPipPip
  • 15,970 posts
  • Name: Neil
  • Location: Oxfordshire

Posted 30 September 2010 - 04:27 PM

Back to the l/h door again
rear flange replaced
Posted Image
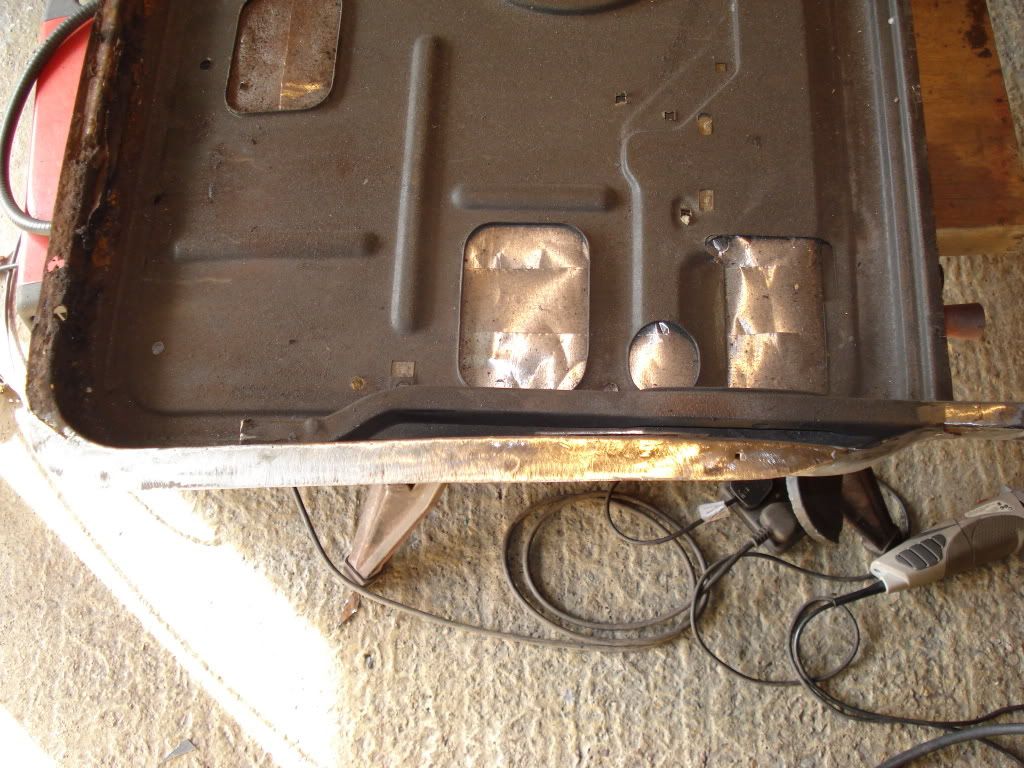
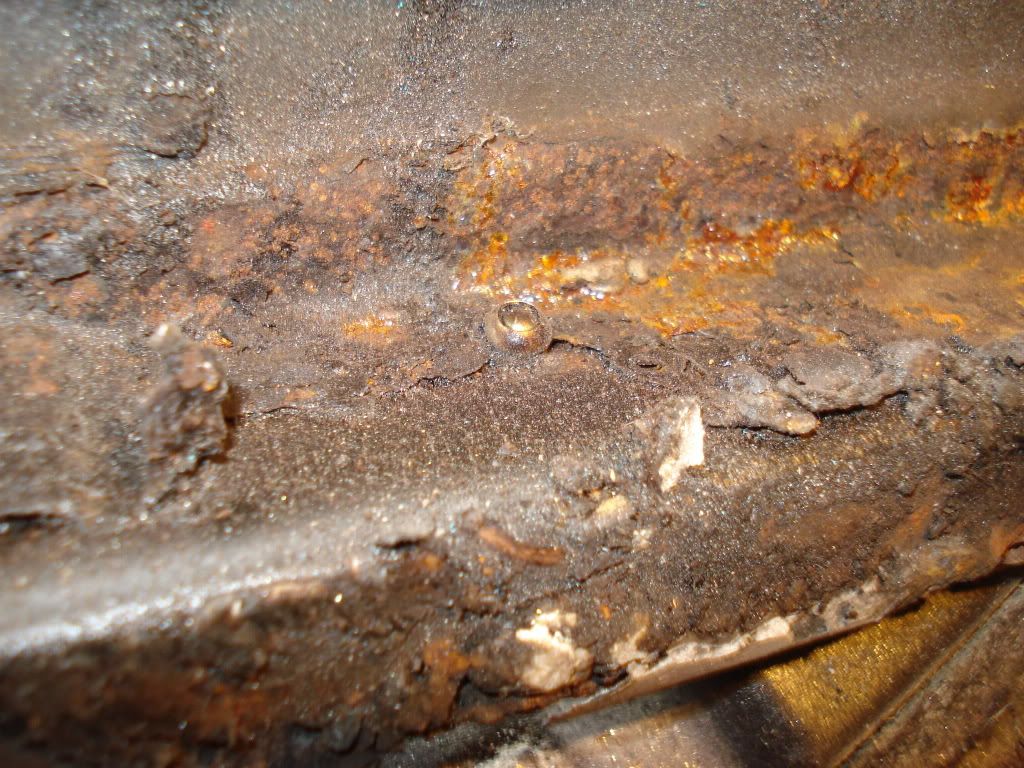
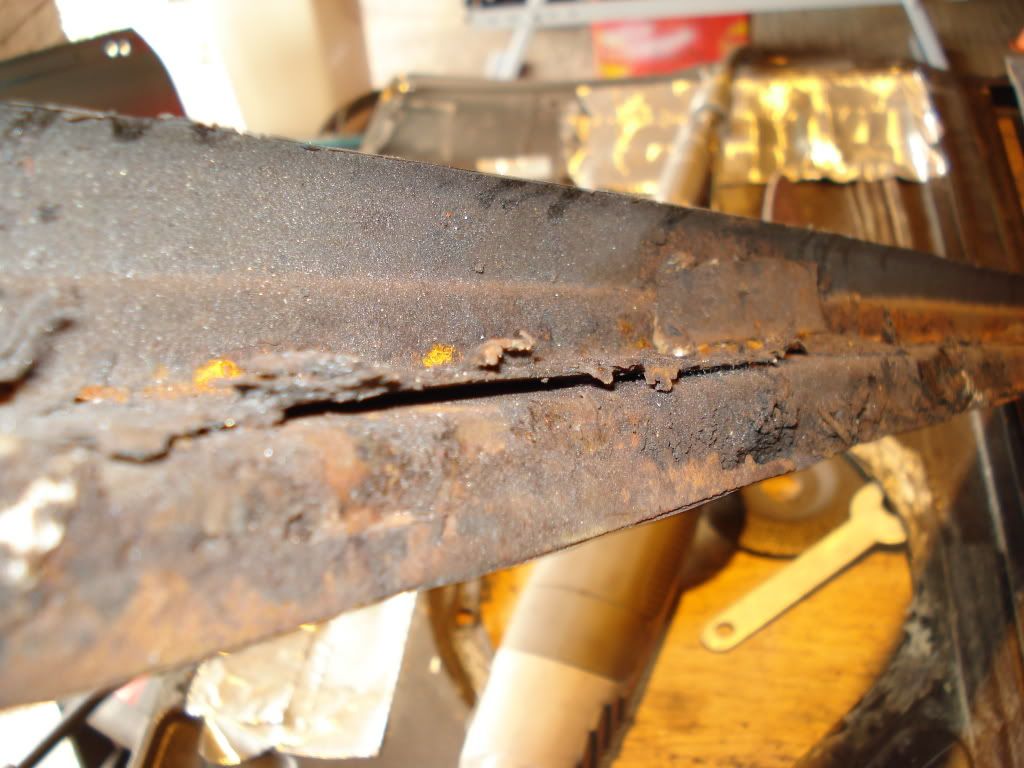
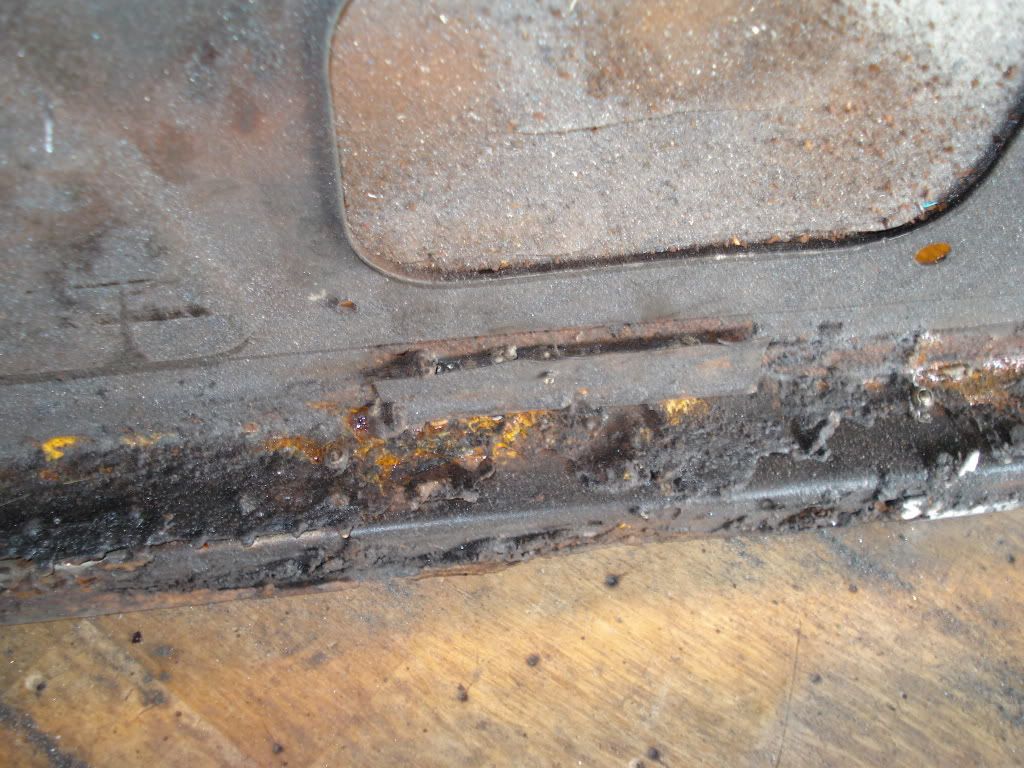
then onto the bottom flange, some piccies of the bodged repairs
Posted Image
Posted Image
Posted Image
not pretty and very nasty but its gone now
Posted Image
Just the end sections to replace, a good clean up and a lick of paint before the skin goes on. :(

#278 sonikk4

sonikk4

    Twisted Paint Polisher!!!

  • Admin
  • PipPipPipPipPipPipPipPipPipPipPip
  • 15,970 posts
  • Name: Neil
  • Location: Oxfordshire

Posted 01 October 2010 - 04:33 PM

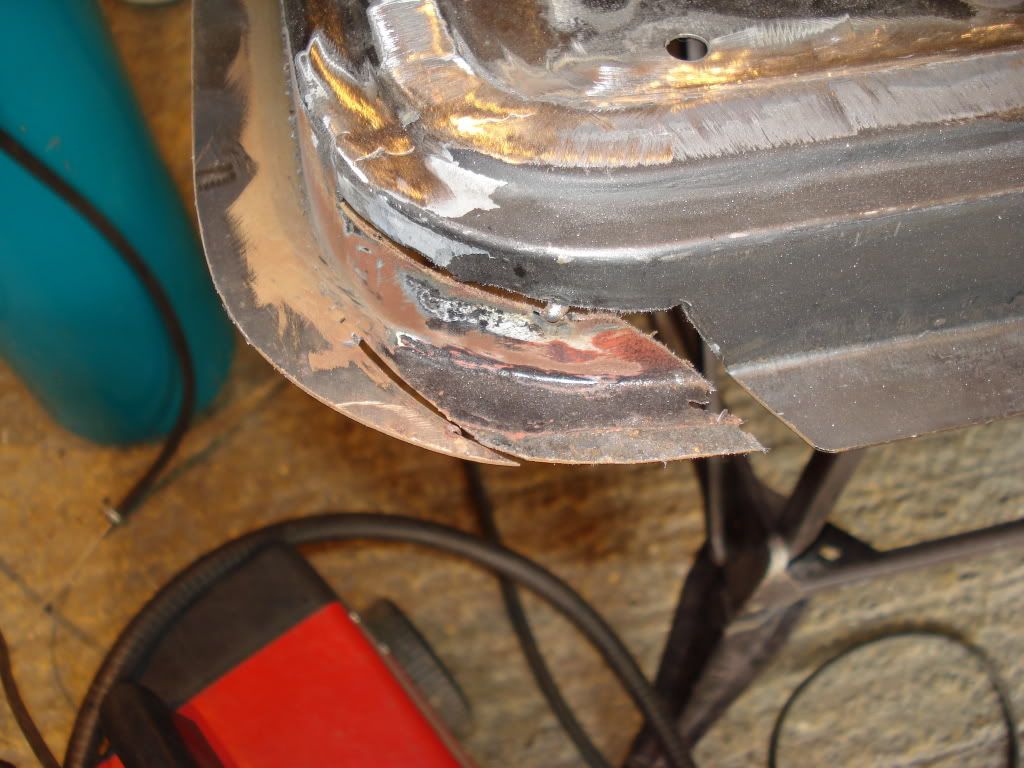
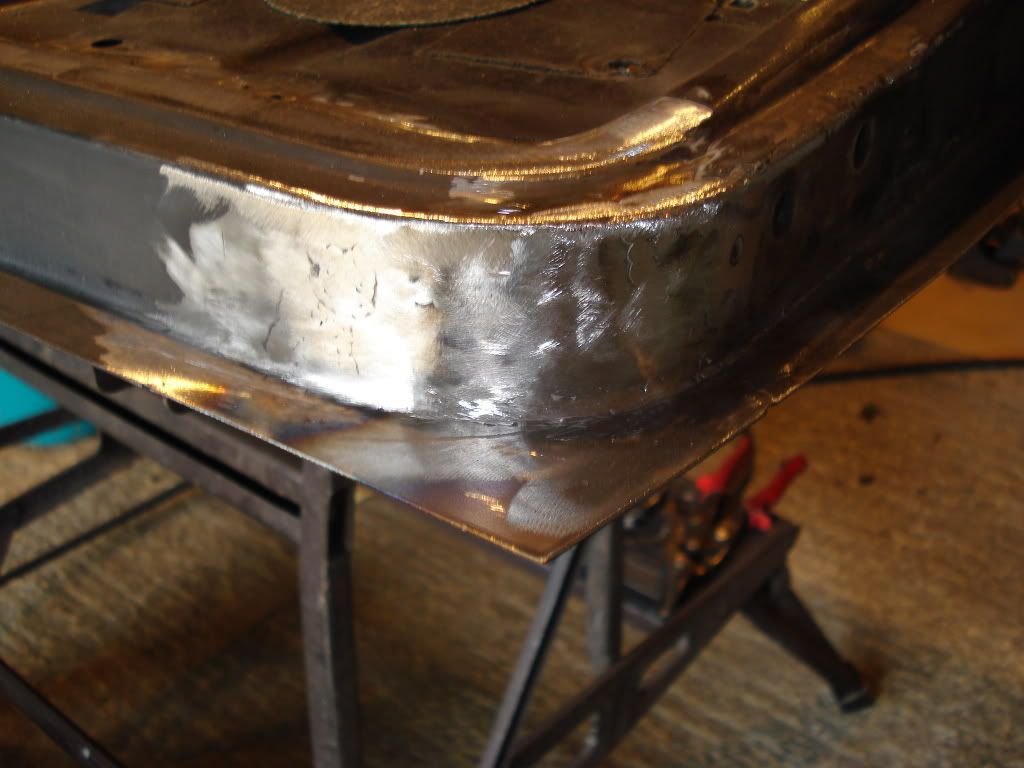
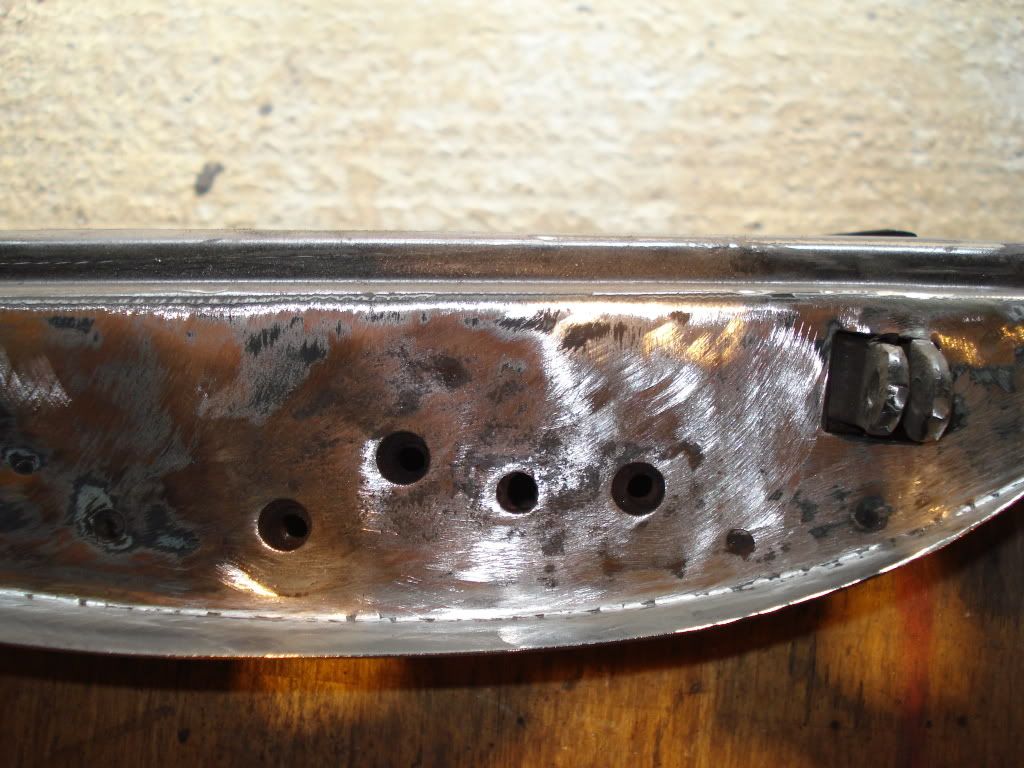
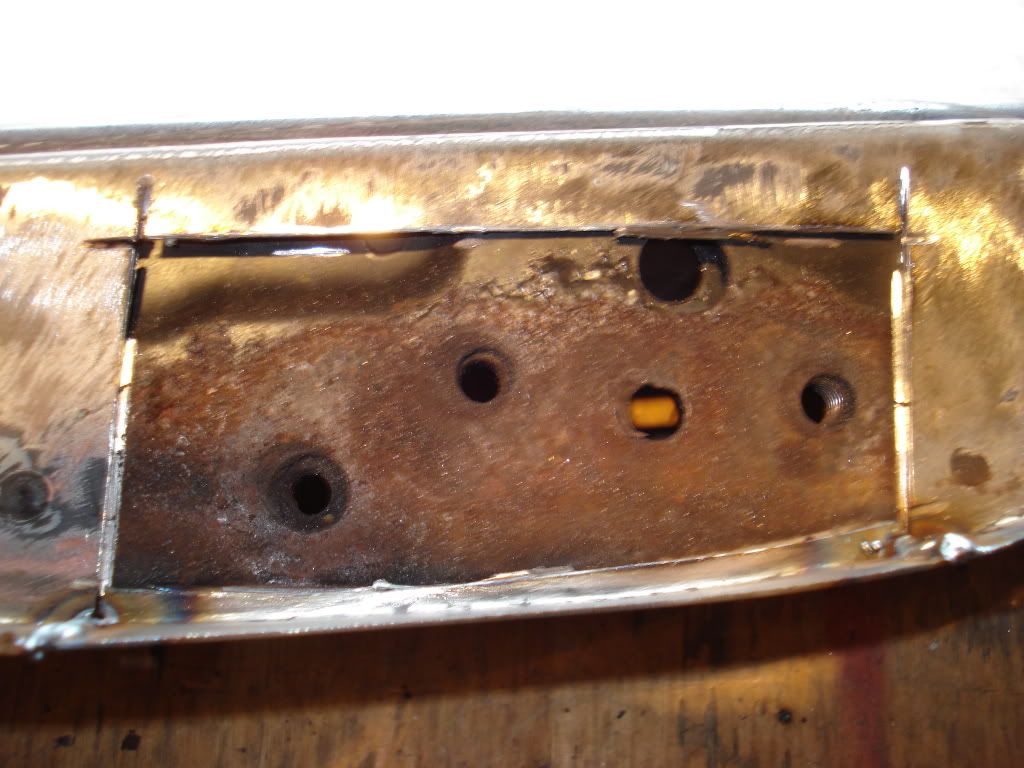
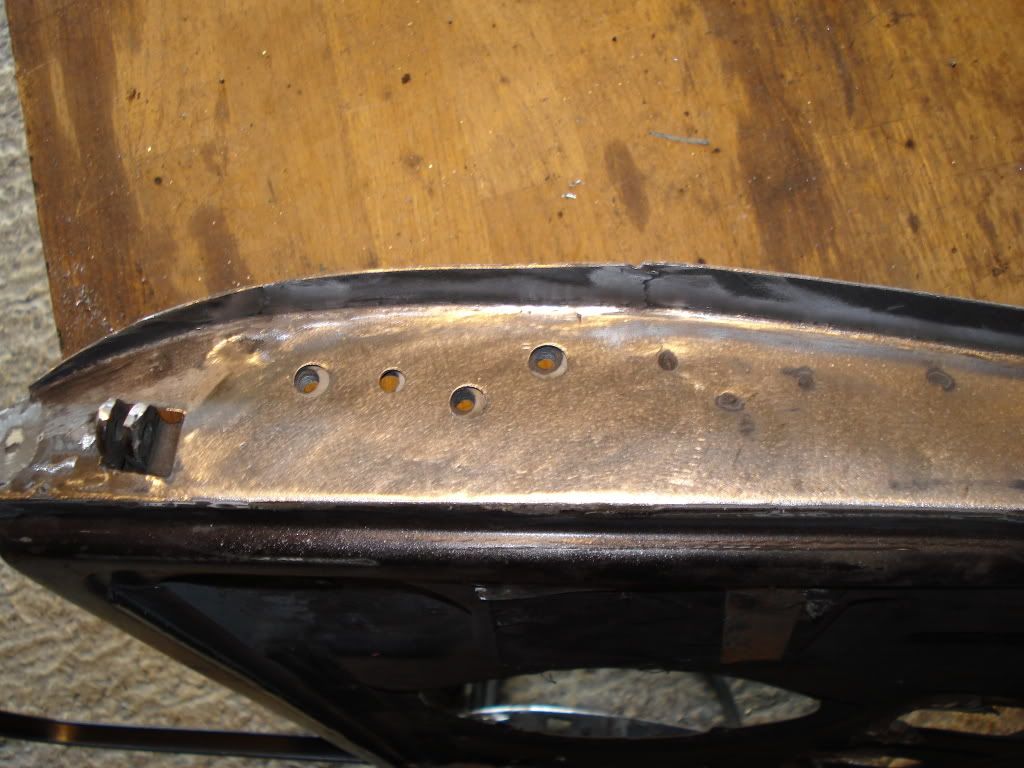
Today i have mainly been replacing the lower corners of the door frame.

They started looking a tad worse for wear
Posted Image
Posted Image

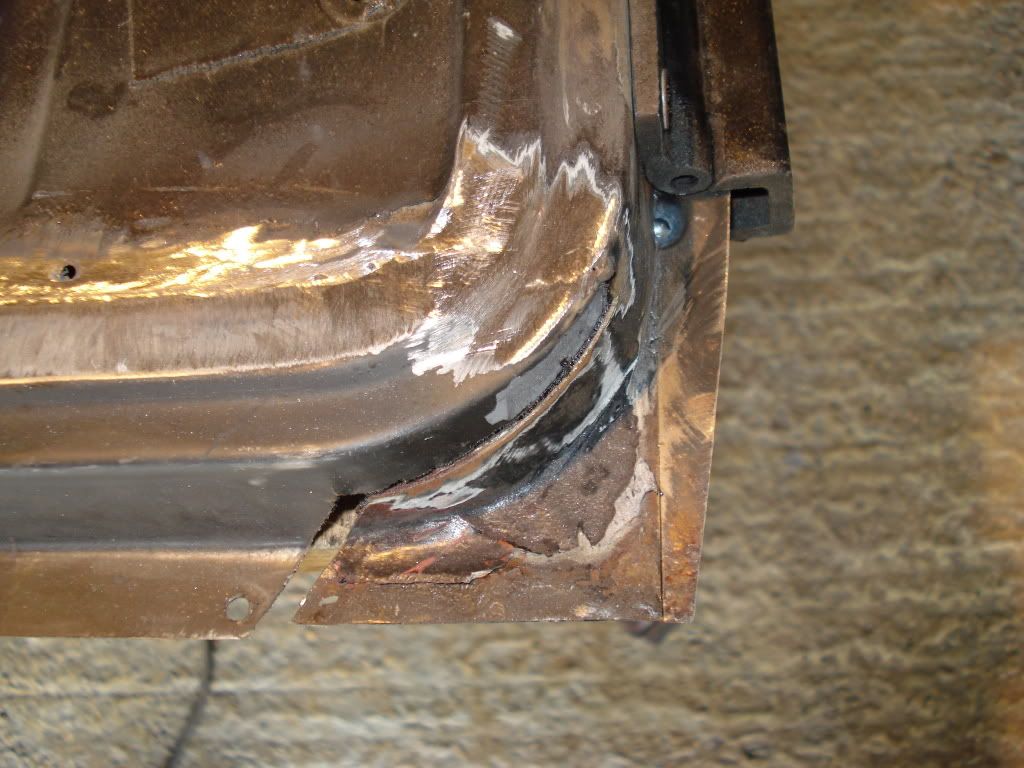
Then after a bit of fabrication they look like this
Posted Image
Posted Image

They took a lot longer than i thought but have come out really well so a skim of filler to finish off once the skin is fitted. I have tried the door frame in the hole and its a snug fit, too snug so a bit of trimming then hopefully all will be well when the skin is fitted. Just some more rust to cut out and replace and then I WILL fit the skin. The more i look the more rust i keep finding, what a bloody nightmare but better that than it breaking out once the car has got its new shiney coat on.

#279 sonikk4

sonikk4

    Twisted Paint Polisher!!!

  • Admin
  • PipPipPipPipPipPipPipPipPipPipPip
  • 15,970 posts
  • Name: Neil
  • Location: Oxfordshire

Posted 02 October 2010 - 05:00 PM

More door work done and getting bored with it now, the rust is never ending.

Found this under the door hinge looking a tad suspicious so it had to go
Posted Image
Found this under it
Posted Image
new plate made and fitted
Posted Image

One small bit left to do now and then i can mess around with the bottom repair panel i fitted the other day to straighten it out before i fit the skin.

#280 rich2

rich2

    Speeding Along Now

  • Members
  • PipPipPipPipPip
  • 351 posts

Posted 02 October 2010 - 06:58 PM

Excellent stuff as usual! I'm taking notes on your metal work! Quick question: I've just got myself a clarke mig welder and an argoshield cylinder from BOC. I need a regulator, and I noticed you have the same set up. I was wondering if you use a regulator with gauges, and if so, do you find it useful to have them? I noticed in one of your photos the gas tube from the back of the welder plugs straight into a larger tube to the regulator. Is it as simple as that? Sorry to keep on at you with the questions, but I'm new to all this and you seem to be an expert! :)

#281 sonikk4

sonikk4

    Twisted Paint Polisher!!!

  • Admin
  • PipPipPipPipPipPipPipPipPipPipPip
  • 15,970 posts
  • Name: Neil
  • Location: Oxfordshire

Posted 02 October 2010 - 07:15 PM

Excellent stuff as usual! I'm taking notes on your metal work! Quick question: I've just got myself a clarke mig welder and an argoshield cylinder from BOC. I need a regulator, and I noticed you have the same set up. I was wondering if you use a regulator with gauges, and if so, do you find it useful to have them? I noticed in one of your photos the gas tube from the back of the welder plugs straight into a larger tube to the regulator. Is it as simple as that? Sorry to keep on at you with the questions, but I'm new to all this and you seem to be an expert! :)


An expert no but i have been welding for a long time. To answer your question i bought my regulator from B.O.C it was about £45 or so, it shows the bottle contents and what pressure is going to the torch head. Now personally this is not really needed as you can gauge how much gas is coming out by listening to the end of the torch when you apply gentle pressure with the power supply off. I generally find a gentle hiss barely audible is sufficient to weld with.

The adapter you can see in the photos is a step up that comes with the welder allowing you to use a larger gauge tube to connect to the gas bottle. The larger bore pipe and fitting for the regulator i bought from a welding supplies shop a long time ago but B.O.C should be able to help you. The small bore nylon pipe is for those poxy disposable bottles and the adapter is to allow you to connect to be big refillable bottles from B.O.C.

Hope this helps

Neil

#282 sonikk4

sonikk4

    Twisted Paint Polisher!!!

  • Admin
  • PipPipPipPipPipPipPipPipPipPipPip
  • 15,970 posts
  • Name: Neil
  • Location: Oxfordshire

Posted 03 October 2010 - 01:36 PM

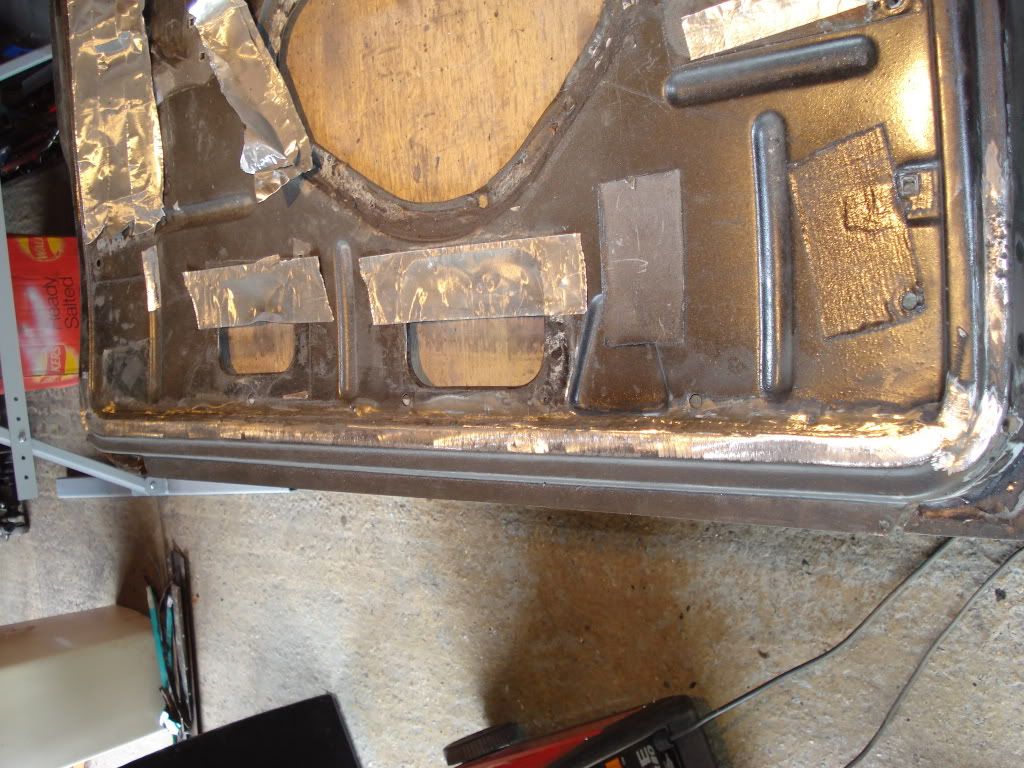
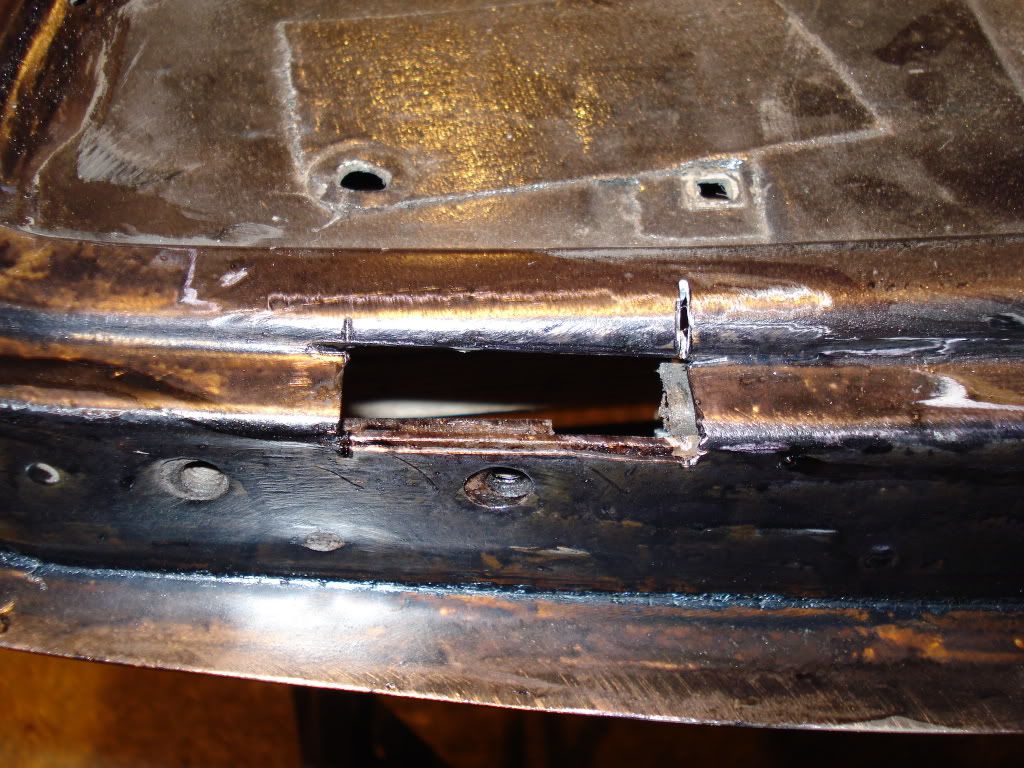
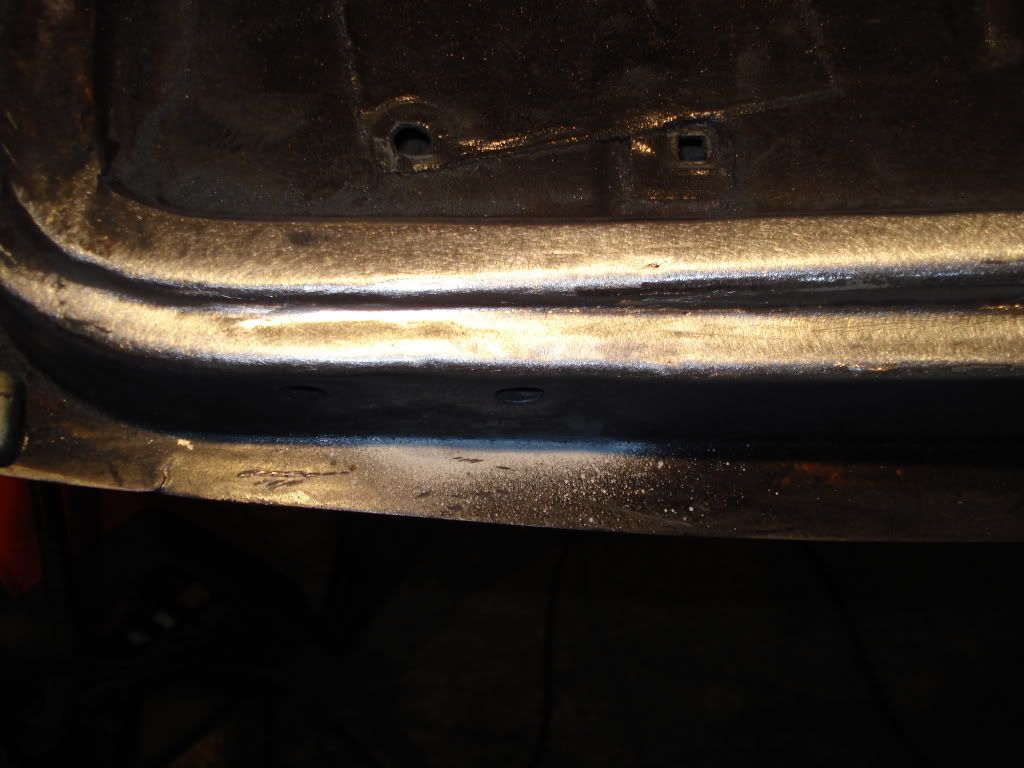
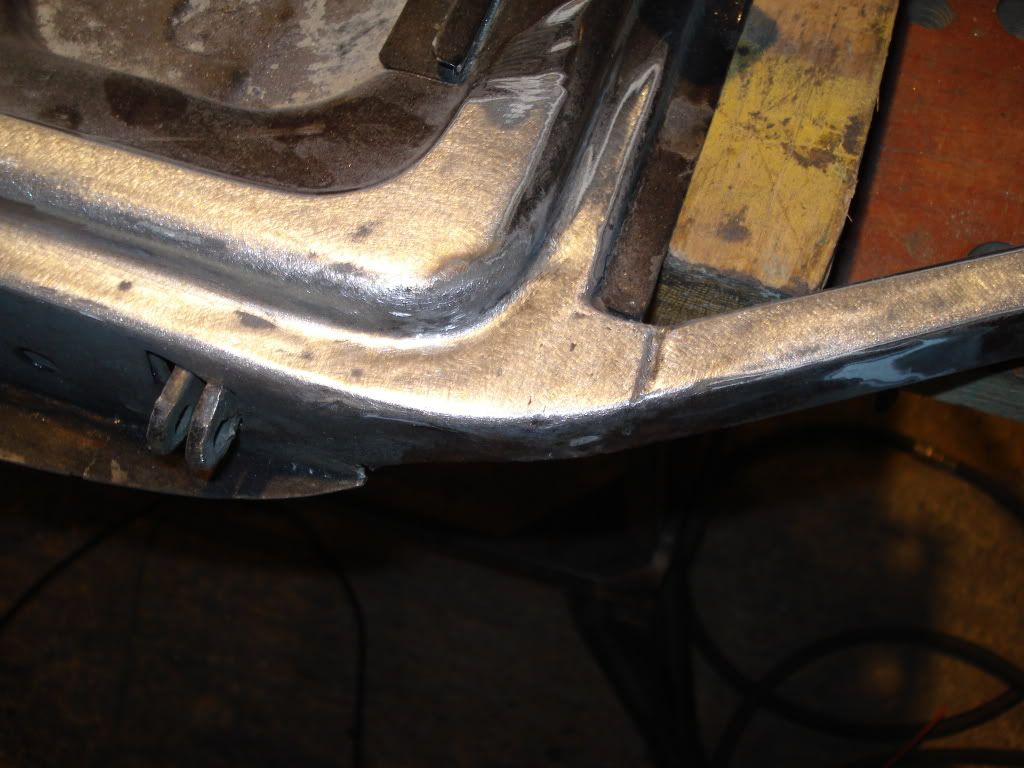
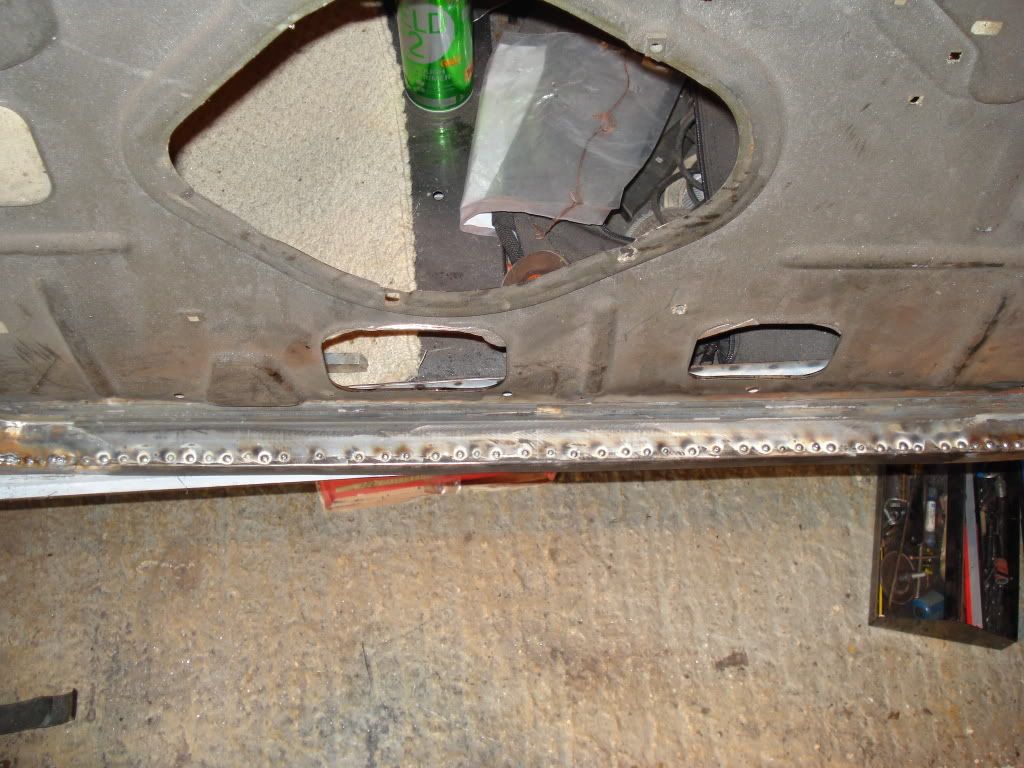
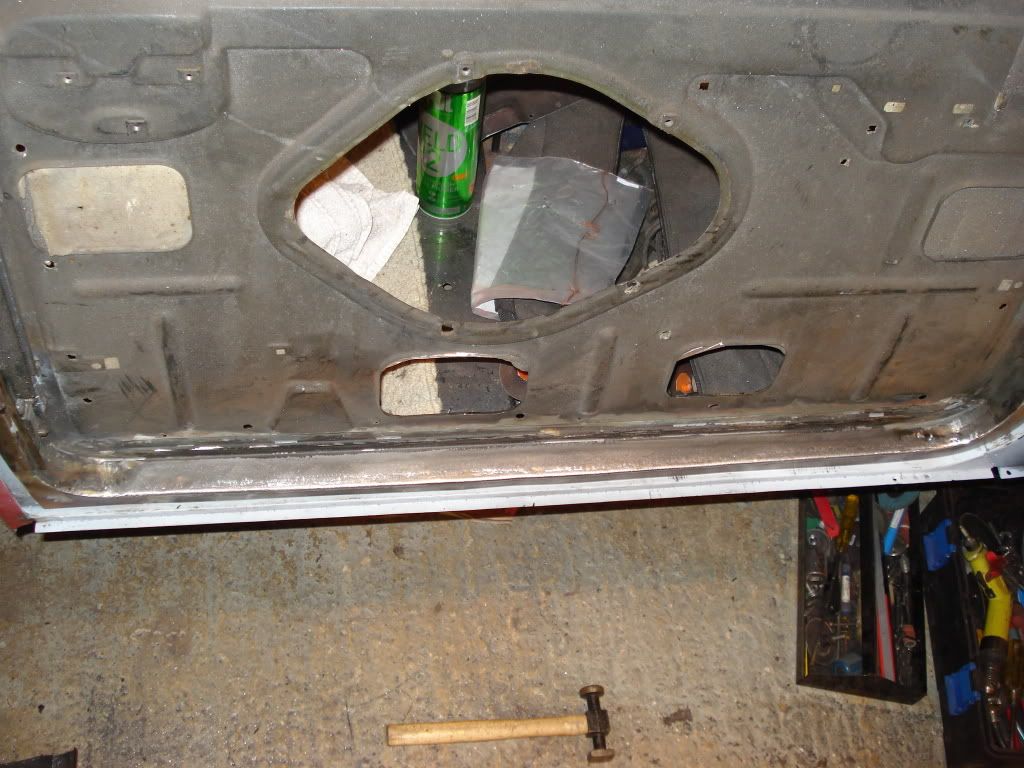
Another few hours on the door and its now ready for the new skin.
The last section of rust to be cut out
Posted Image
Now sorted
Posted Image
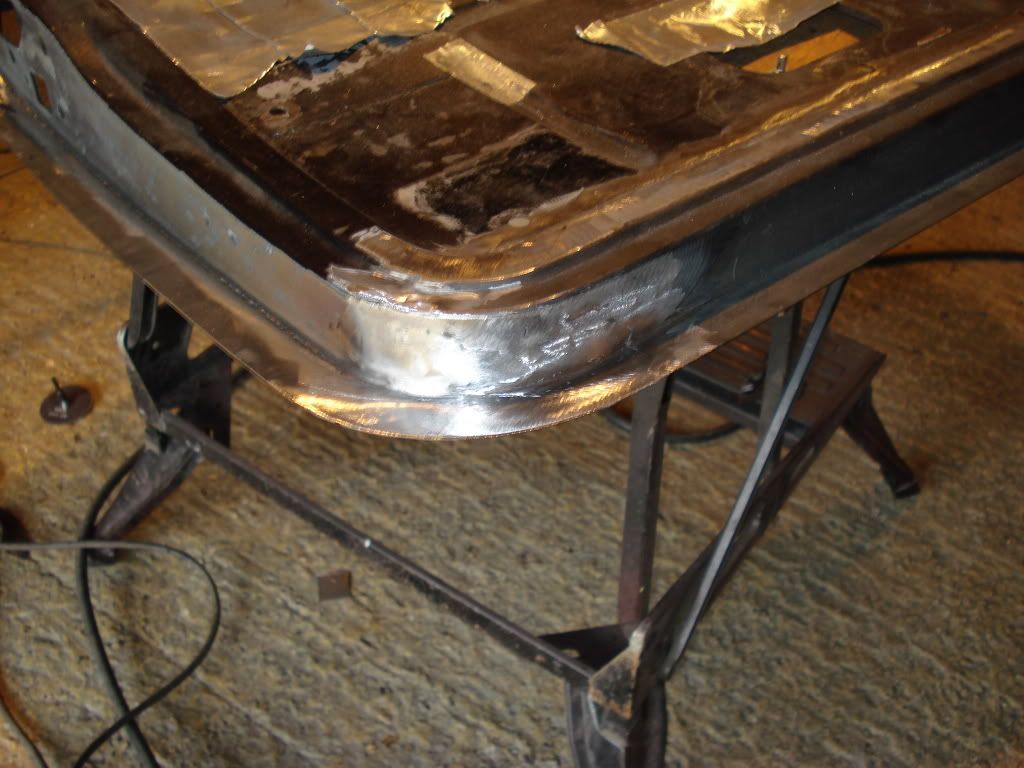
Front corner had some poor welding so it was ground back and re welded and the finished result
Posted Image
Much like the other door the bottom repair section had a large bow in it so it was sectioned twice to decrease it
Posted Image
and after it was fully welded and ground down
Posted Image
much better, this door has been a bit of a saga but it will be worth it in the end, the thought of rust breaking out again very quickly is enough reason to be thorough with it.
Back to work for a break but back on it again either Friday or Sat.

#283 daveeeeee

daveeeeee

    Super Mini Mad

  • Members
  • PipPipPipPipPipPip
  • 684 posts

Posted 03 October 2010 - 04:38 PM

you're not only a wizard with a welder but a grinder too. hats off!

#284 rich2

rich2

    Speeding Along Now

  • Members
  • PipPipPipPipPip
  • 351 posts

Posted 03 October 2010 - 05:14 PM

Very helpful! Thanks for the advice. Hopefully when I get this sorted I will be able to actually do some work. It feels like I've been spending loads of money lately and not making any progress to show for it!

#285 sonikk4

sonikk4

    Twisted Paint Polisher!!!

  • Admin
  • PipPipPipPipPipPipPipPipPipPipPip
  • 15,970 posts
  • Name: Neil
  • Location: Oxfordshire

Posted 03 October 2010 - 05:20 PM

you're not only a wizard with a welder but a grinder too. hats off!

>_< >_< Cheers for that.


Very helpful! Thanks for the advice. Hopefully when I get this sorted I will be able to actually do some work. It feels like I've been spending loads of money lately and not making any progress to show for it!


Don't worry it goes like that sometimes. Scott my son has spent so much money on Erm and apart from a car in a million pieces, the same with the engine and all the bits he's bought it's the same for him. He's sitting next to me now pricing up a SW5 camshaft kit for the engine so even more money!!!


4 user(s) are reading this topic

0 members, 4 guests, 0 anonymous users