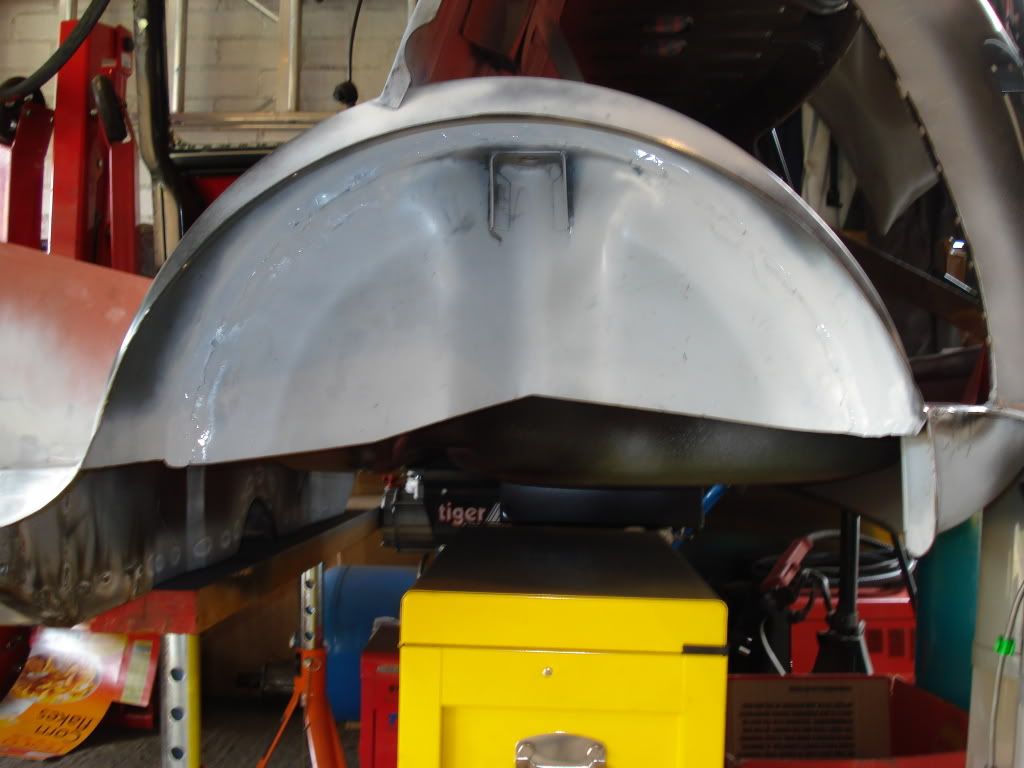
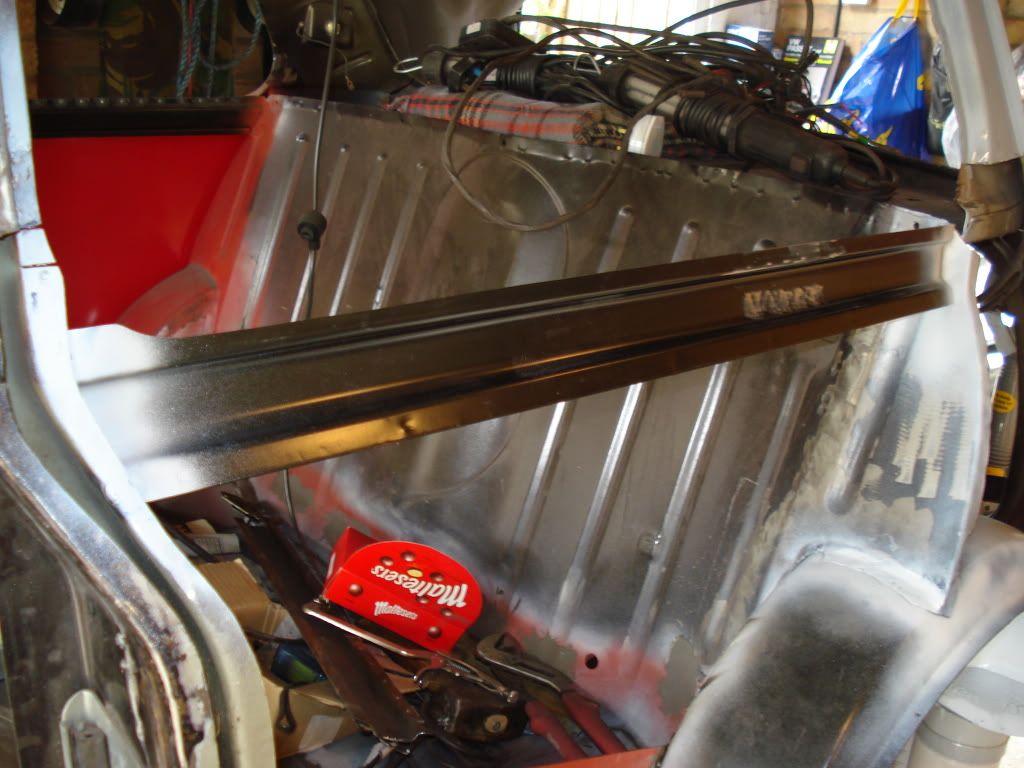
Project Erm
#241
Posted 03 September 2010 - 08:18 PM
Spent the best part of an hour carefully grinding out the old/new welds on the heelboard where i had attached the replacement sill section. Finally got the sill out and realised what a mess i had made of the floor repair i did in the rear corner the beginning of the rebuild. BUGGER!!! The metal was too thick and just looks wrong so its got to go.
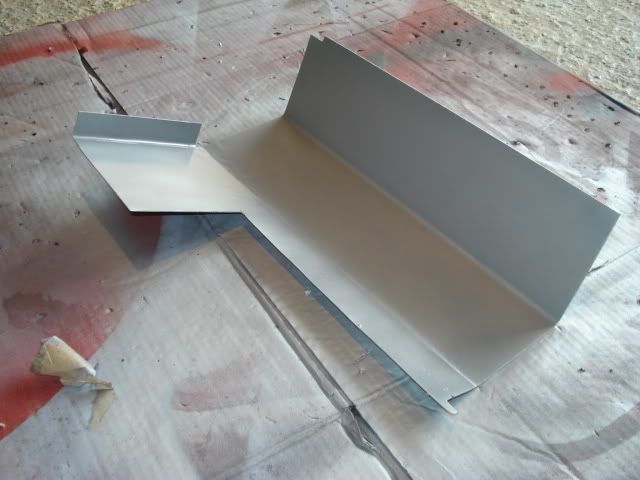
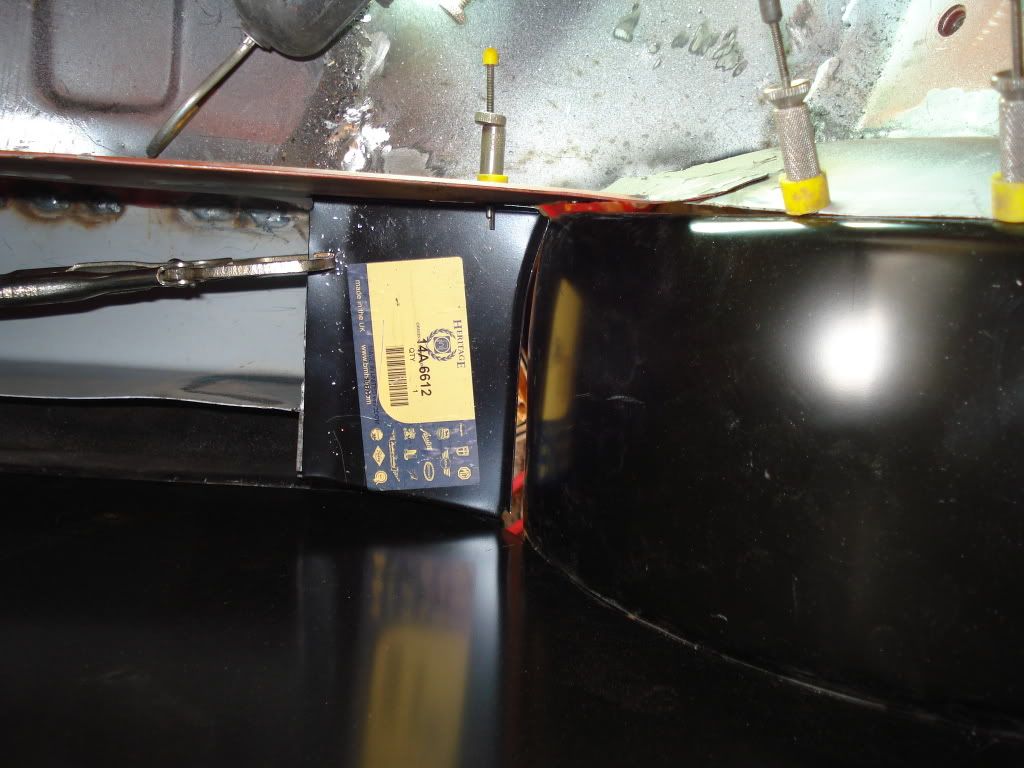
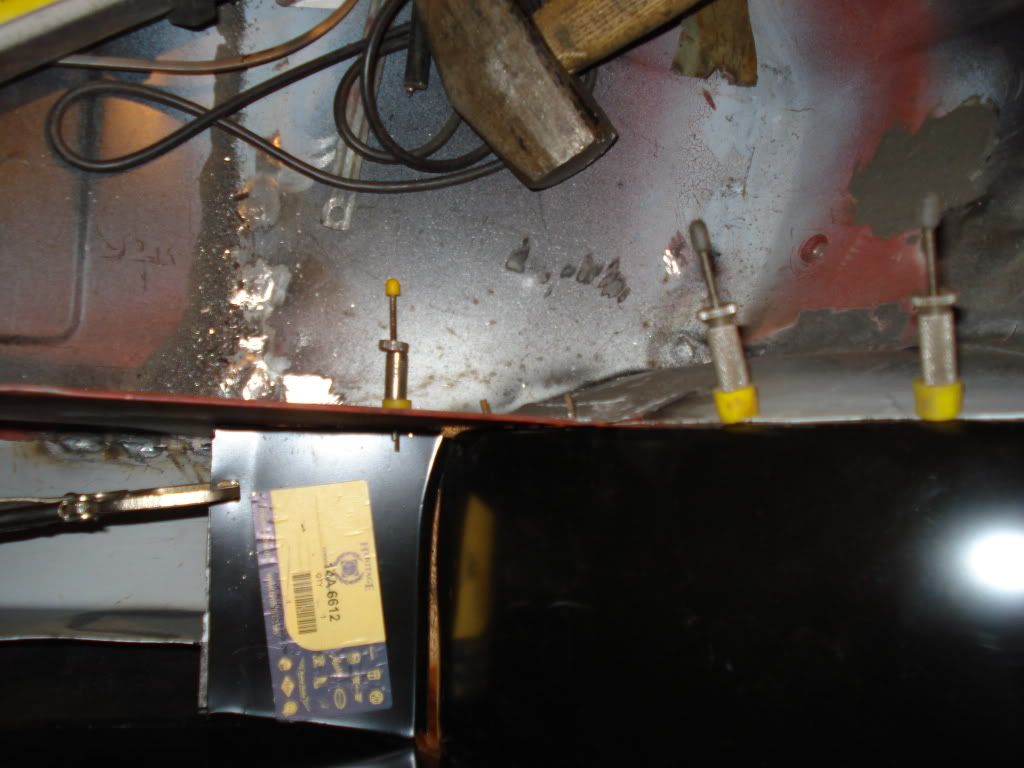
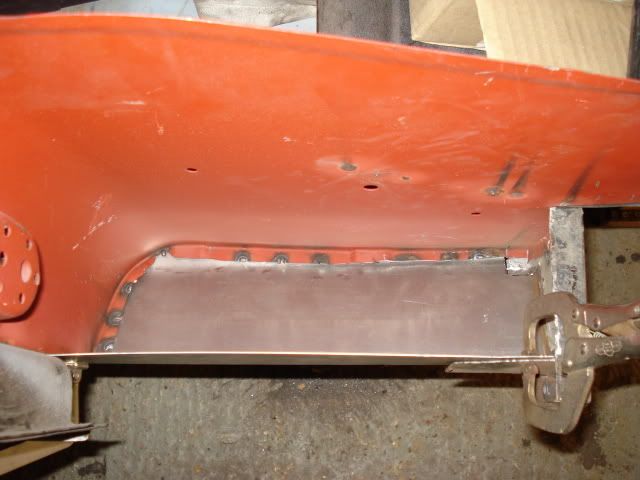
Managed to cut the new sill section to size but had to refold part of it to match the heelboard contour, bit of a difference compared to the front of the inner sill.
Clamped in place but still need final fettling
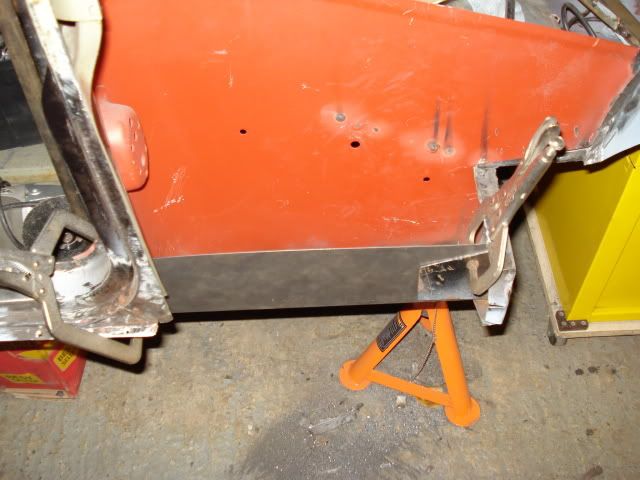
Companion box needs to be removed and moved down slightly as it is sitting high.
#242
Posted 03 September 2010 - 08:27 PM
I wish I had my rear quater out of the way to do this bit like you have, it's murder trying to do it with it in place.
#243
Posted 03 September 2010 - 08:34 PM
#244
Posted 03 September 2010 - 08:44 PM
Kinda wish I was replacing my rear quaters now, but no point now I've patched them up, something that can be done next time she needs work.
#245
Posted 03 September 2010 - 09:05 PM
Haha, if it makes you feel better when I was removing the pedal box, I couldn't work out why it wasn't budging so I leaned over to look down the master cylinder holes to see if anything was stopping it, forgot I'd jacked the car up and smacked my forehead on the scuttle edge. Had a nice little line in my forehead for a few weeks!
Kinda wish I was replacing my rear quaters now, but no point now I've patched them up, something that can be done next time she needs work.
You say that but we were going to leave the quarters and just do repairs like yours but when i pulled them off the amount of rot hidden was nasty. I would have been well hacked off if we had got it resprayed and the rust bled through again. To be honest its not a huge job to get them off and they are not hugely expensive even the heritage ones.
#246
Posted 04 September 2010 - 08:14 PM
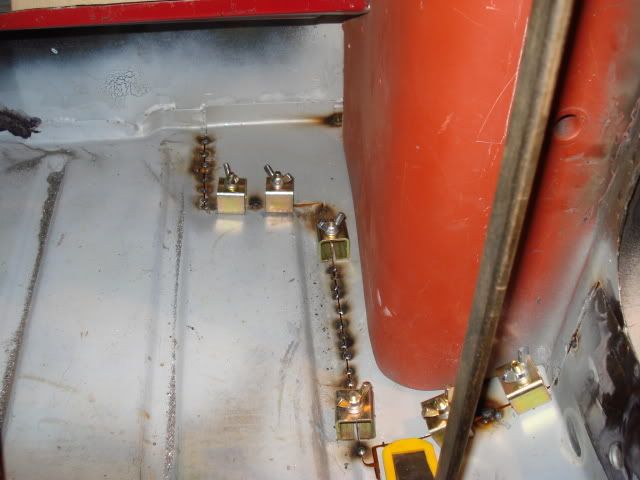
Tacked in place
It will be welded in properly tomorrow then all the small rusty sections will be replaced
#247
Posted 05 September 2010 - 06:29 PM
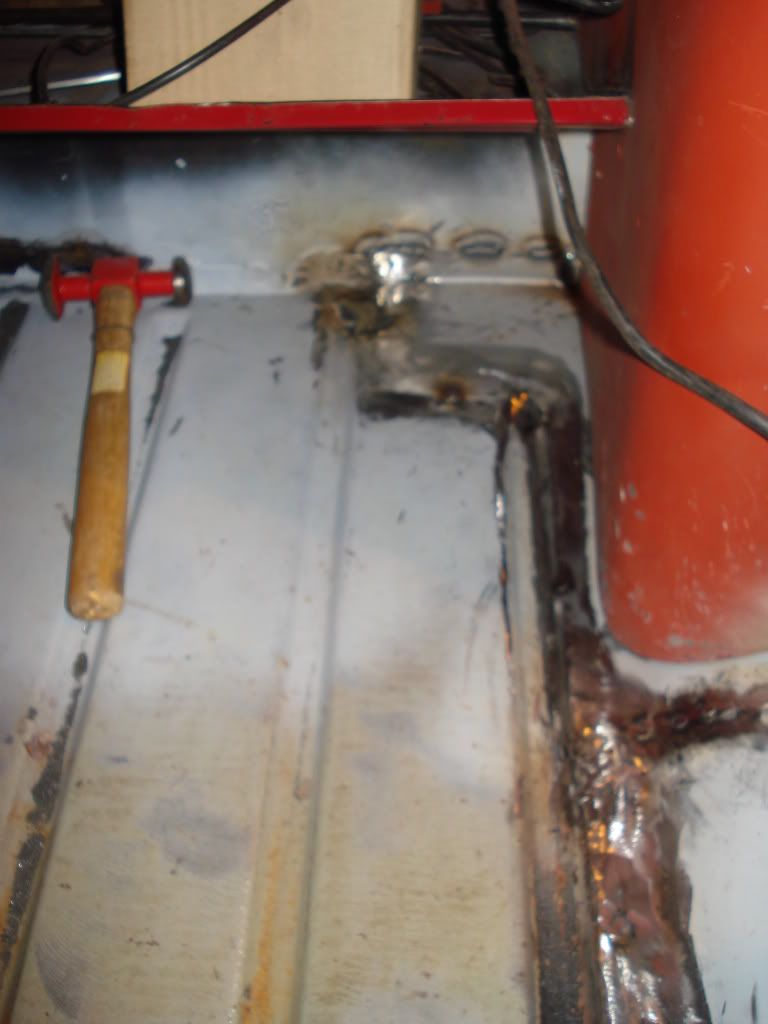
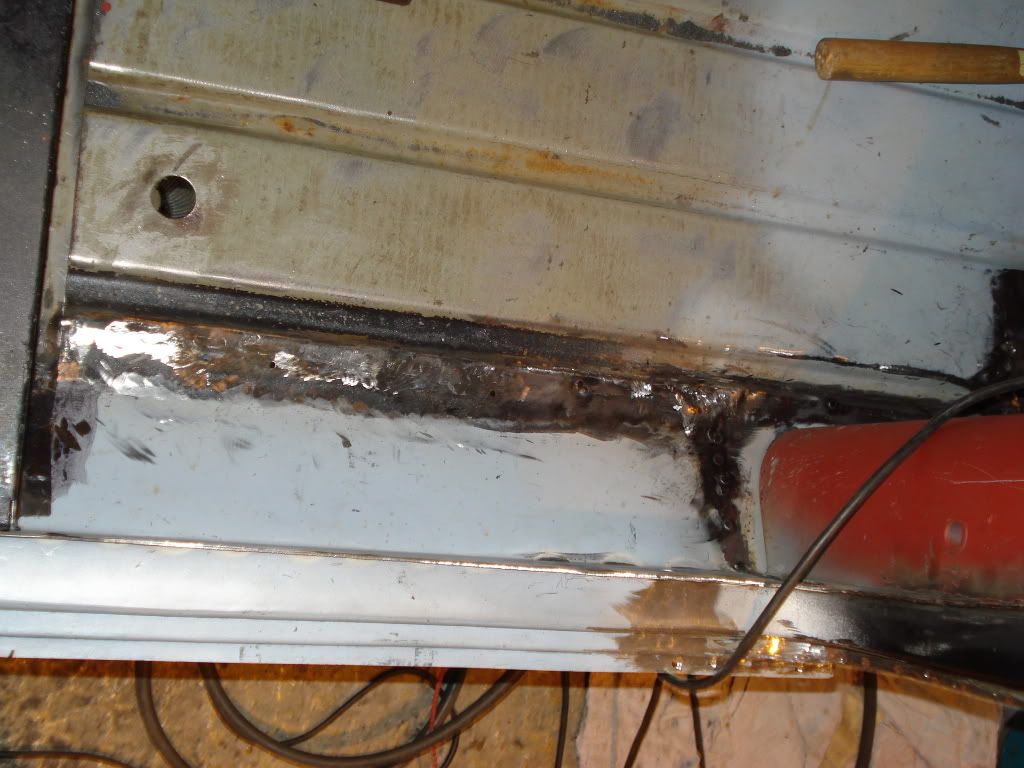
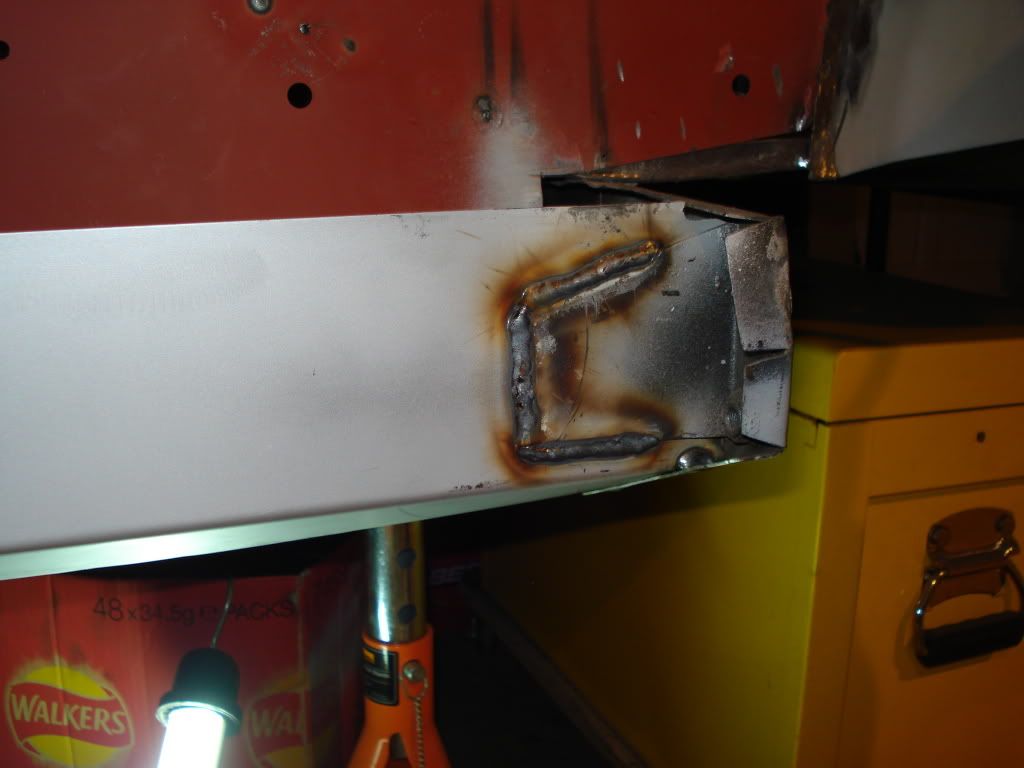
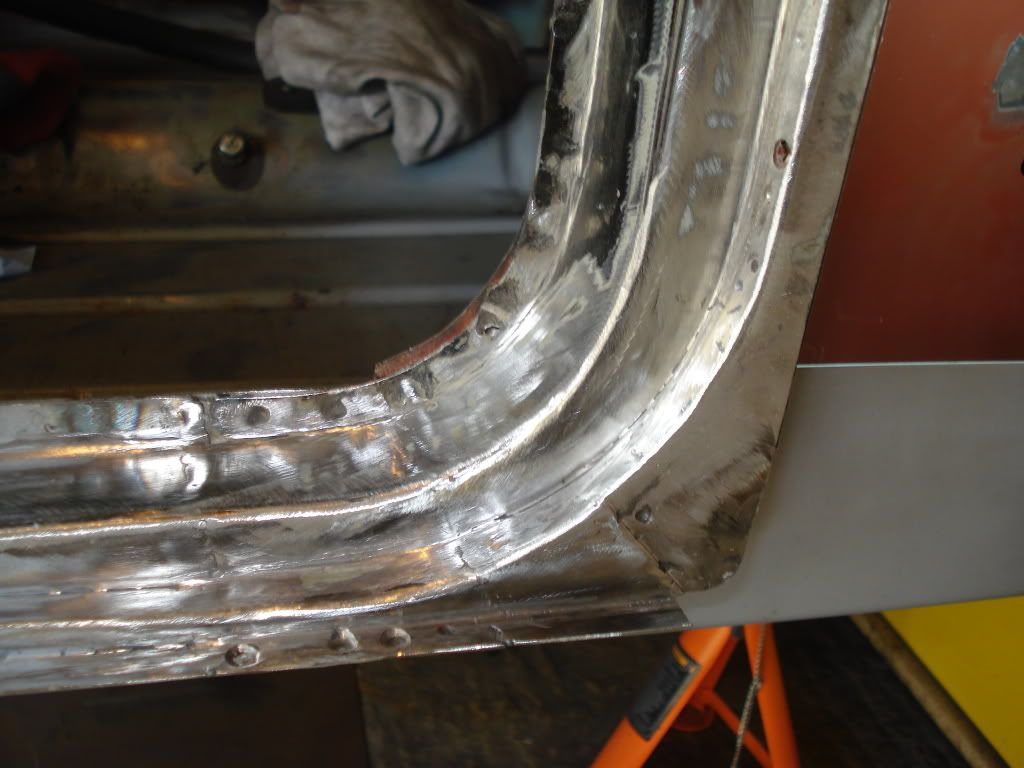
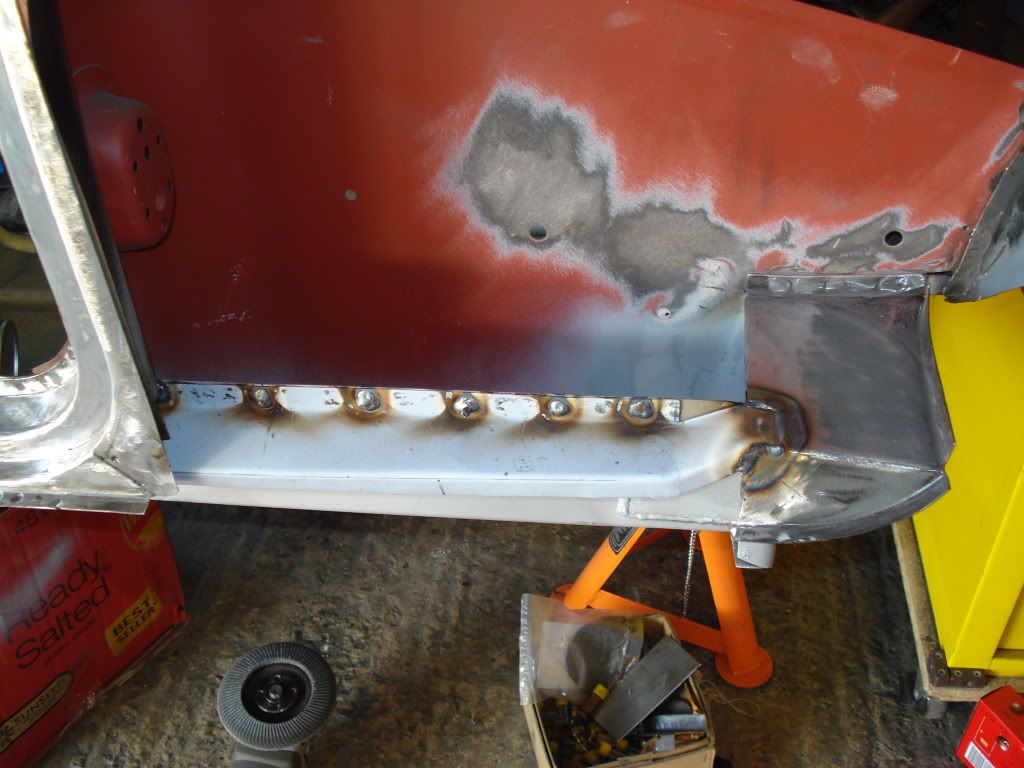
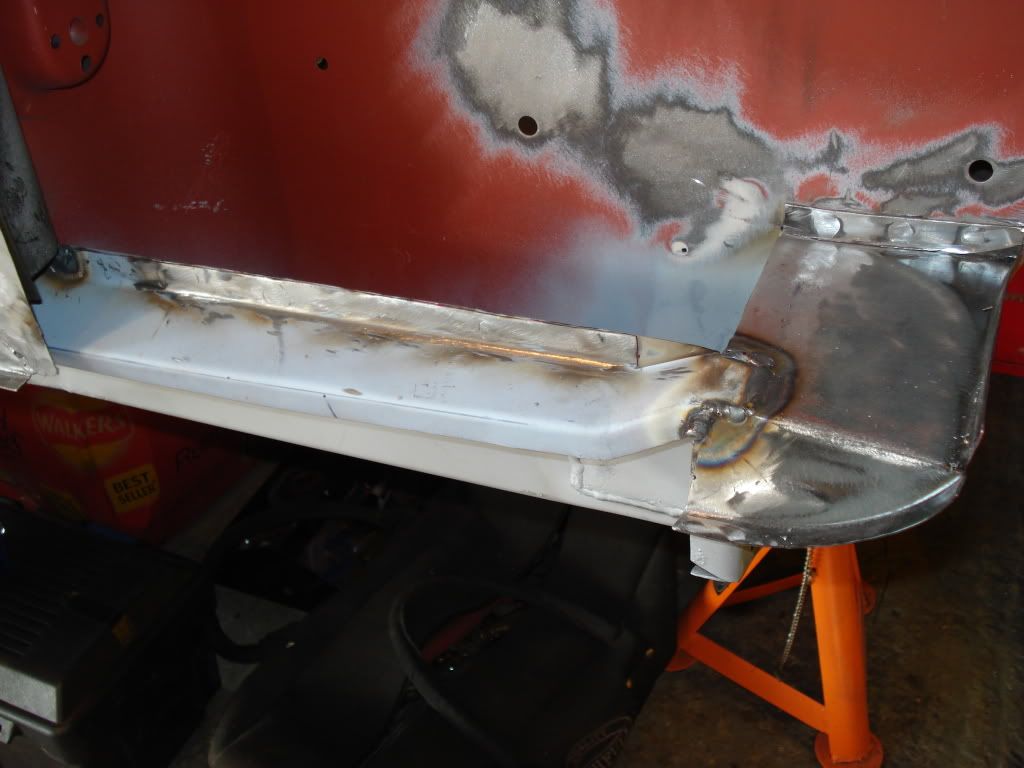
All of the fabricated inner sill welded in and ground down
Tied in to the the heel board
Sill to sill join
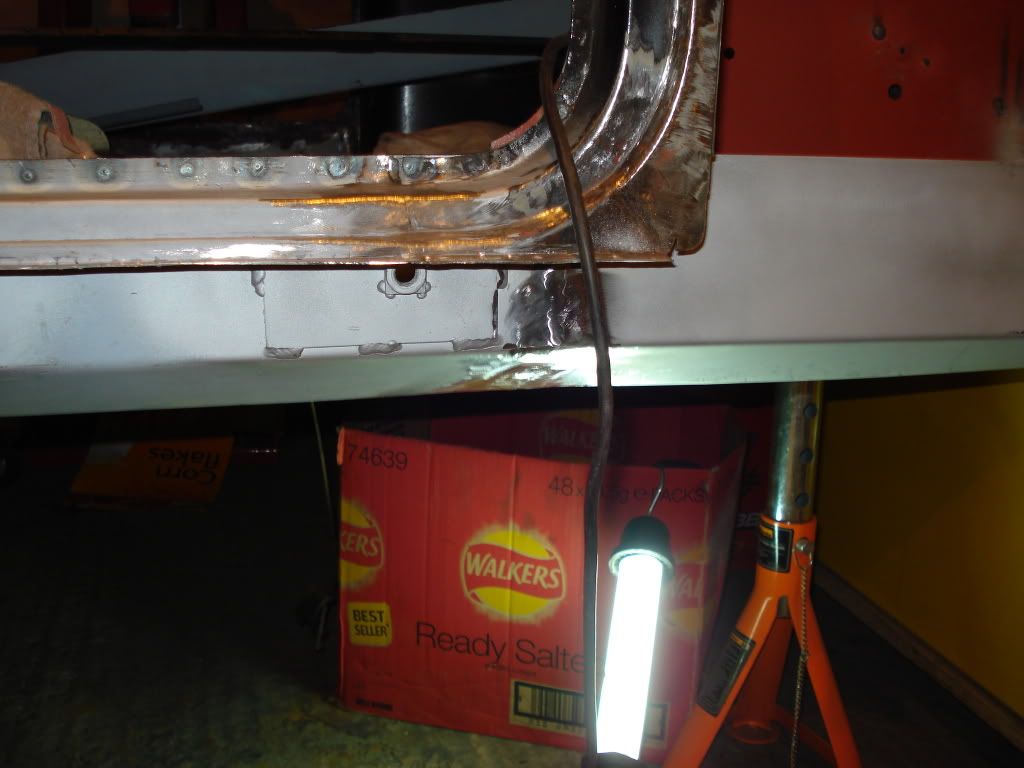
The curved section of the door cut out in the above picture will need to be replaced as it too crusty to save so a job for either tomorrow or tuesday.
#248
Posted 06 September 2010 - 12:23 AM
You really went to town on the heelboard to inner sill bracket, I think I shall do the same.
#249
Posted 06 September 2010 - 05:54 PM
Looking good sir!
You really went to town on the heelboard to inner sill bracket, I think I shall do the same.
Got to be done, strength is everything, i will properly seam weld all the way up the bracket before i finish off in that area.
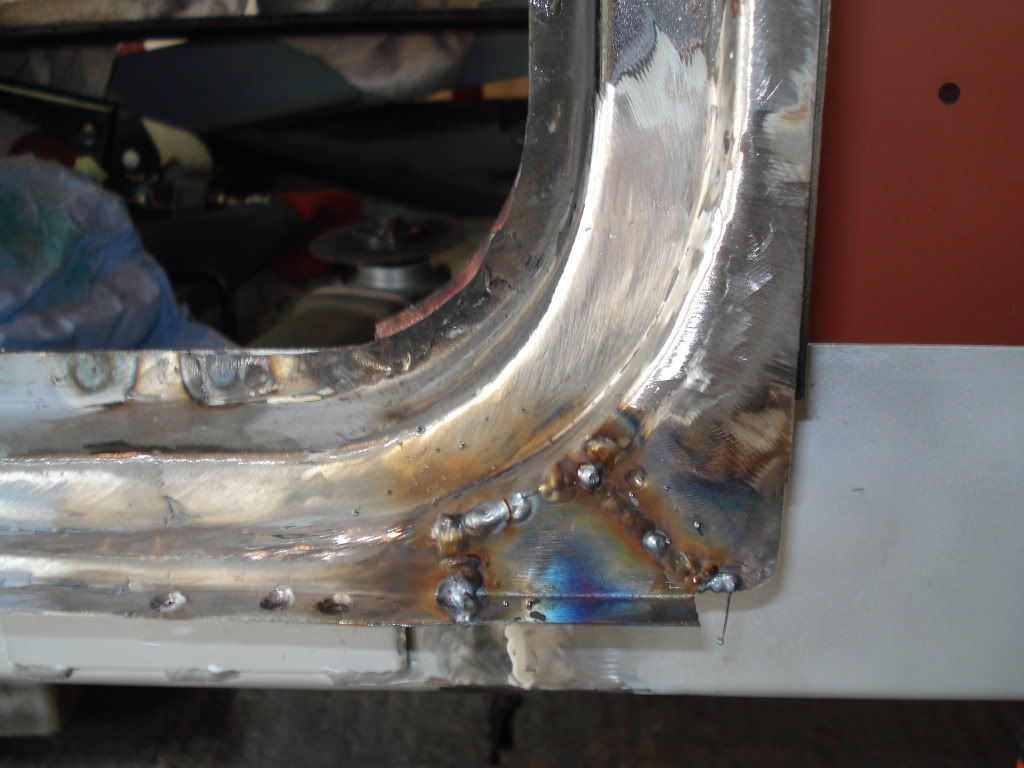
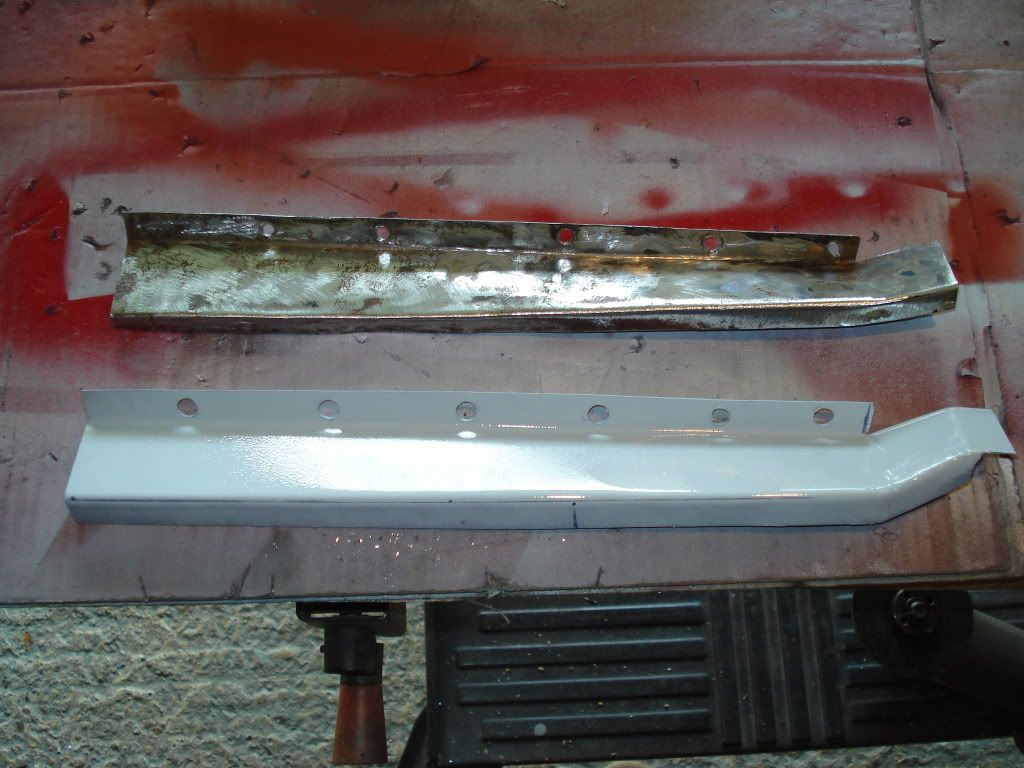
Well today it was time to de rust the lower corner of the door cut out, it didn't look too bad until i had cut the bits out and found pin holes of rust on both sides
I had also cut out a load of rust above this piece as well. After it was all ground down
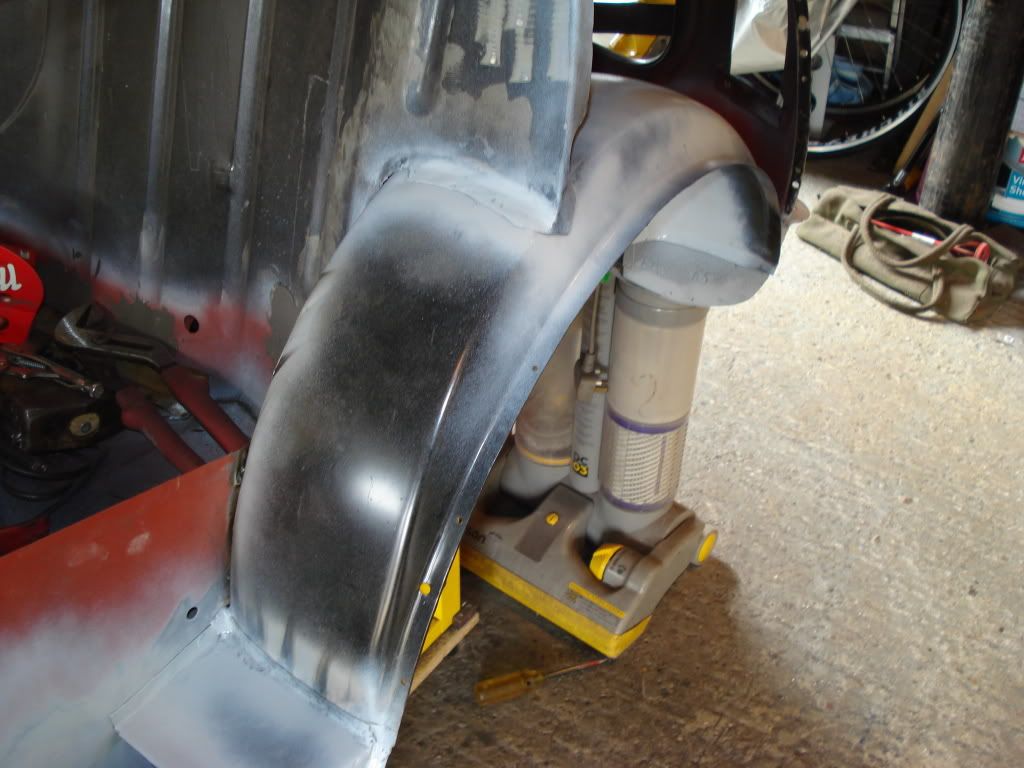
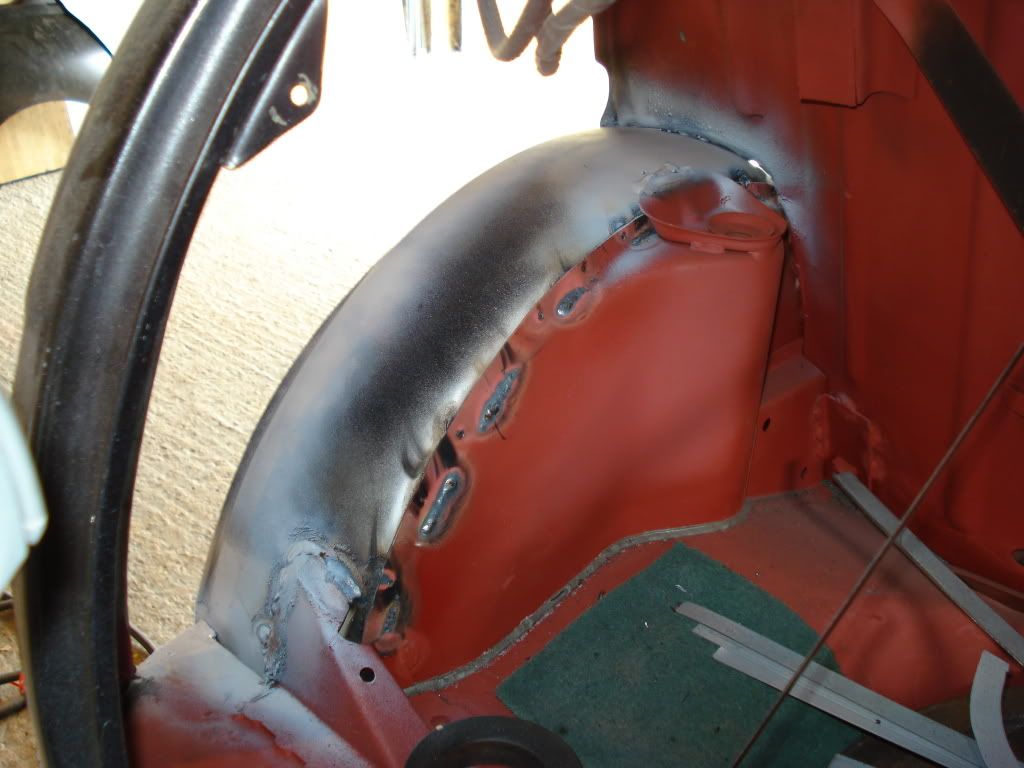
It came up really well so very happy, decided to trial fit all the other panels to see what was what. The outer section of the inner arch is a very poor fit but more to do with the car than the panel itself
Its too short at the front by 1/2 inch but this i can sort out and also the gap between the inner arch section and the outer section is now gone
traditional method of hammer large and skin pins sorted that problem. Just the 1/2 inch section to weld in then the gap between the close out panel and wheel arch will go as well.
#250
Posted 06 September 2010 - 05:58 PM
Top notch work as always
#251
Posted 06 September 2010 - 06:24 PM
What do you use to dress your welds? my sanding discs seem to be way to harsh.
Top notch work as always
Thanks for the comments.I use several different discs to grind down the welds, i use Zirconium flap discs P80 grit, 3 inch roloc discs and 1mm thick stainless steel cutting discs.
I start off with the flap disc to grind down most of the weld then lightly skim over with the 1mm cutting disc and finish off with the Roloc disc. Because of the tight radius's in the corners the cutting disc is ideally shaped to get in really tight and providing you are careful gives a good finish. The roloc discs finish the job off nicely and come in various grades. These i use in a high speed right angle air grinder so it does take a bit longer but very controllable.
Hope this helps.
#252
Posted 07 September 2010 - 06:38 PM
very happy with it so in it went after i had fitted the heel board close out panel
all ground down
Also sorted the 1/2" extension piece for the outer arch needed at the front of it so that will be fitted tomorrow then lashings of paint before i move onto replacing the waist rail and installing the rear quarter panel.
#253
Posted 08 September 2010 - 07:10 PM
Well happy with it all that remains is a final clean up and then paint lots of paint, also had time to fit the waist rail after repairing the tear on the bulkhead covered by rear of the rail
#254
Posted 08 September 2010 - 08:24 PM
#255
Posted 08 September 2010 - 08:34 PM
Its never ending as there is always something to do. I will be clamping the rear quarter on next week then put the door back in the hole before ripping it apart for a reskin and repair. Then its gapping to do on the l/h door and the bonnet. I think i need more arms and a lot more time off work.
Scott will be doing a lot of the mechanical rebuilding work with input from me where required. He's busy working to pay for everything so it will be nice for him to work on his car.
5 user(s) are reading this topic
0 members, 5 guests, 0 anonymous users