Project Erm
#226

Posted 13 August 2010 - 05:44 PM
If you rub/sand it off the you will lose the work the Kurust has done so back to square one.
#227

Posted 14 August 2010 - 09:52 PM
I tried the spot welder my mate rustled up for me but it was too bloody heavy and to be honest the results i was getting were not the best so back to plug welding.
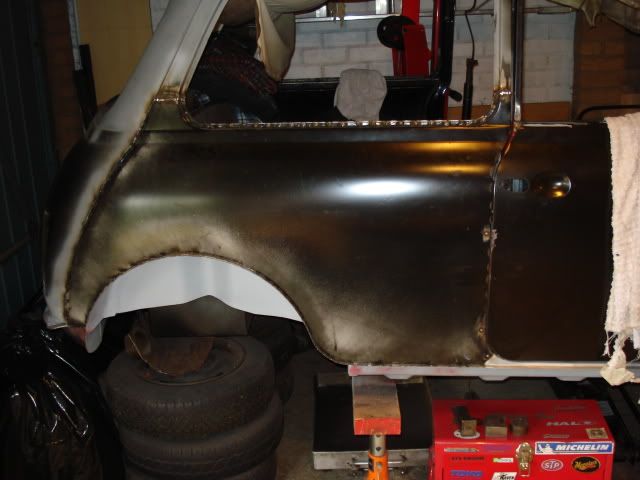
Poor picture as it makes the door look like its cocked over.
Just lots of grinding to do plus a few small repairs as well from the spot welder eating some metal.
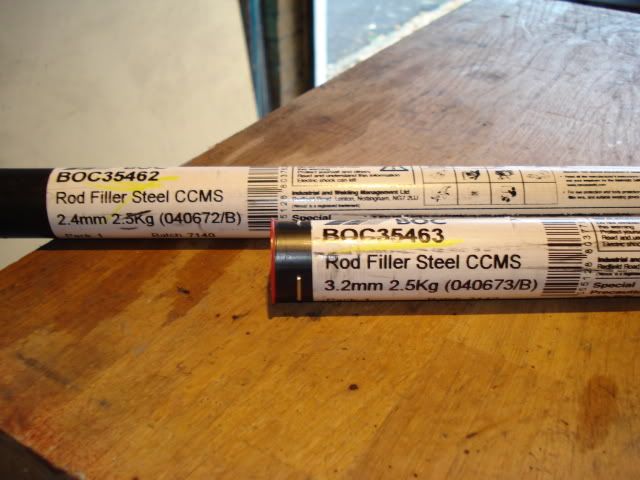
Got these from BOC today for £16 and perfect for getting those tight door gaps also may use them for sorting out the bonnet gaps as well.
#228

Posted 23 August 2010 - 08:47 PM
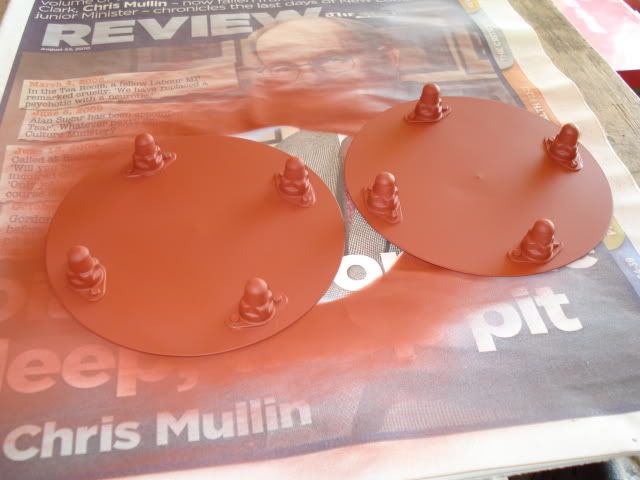
Primed
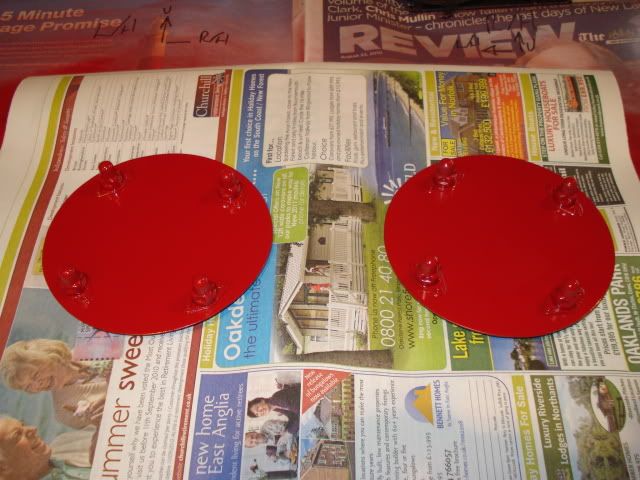
Top coated
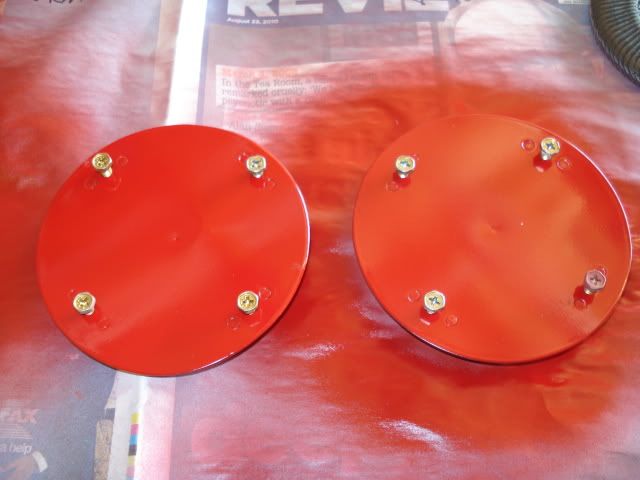
Then it was onto the poor door gaps, at the rear before
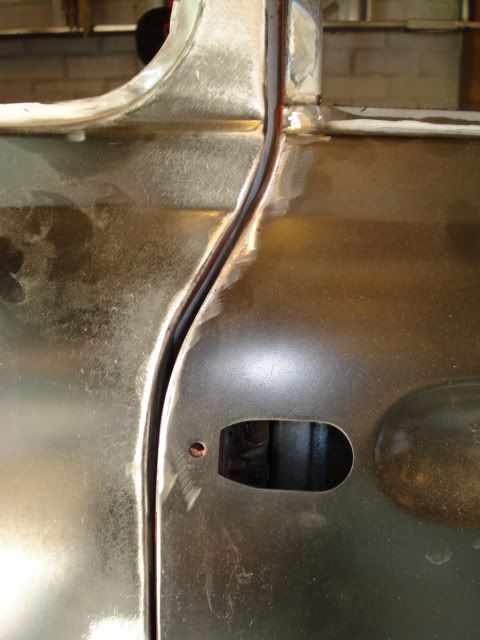
after
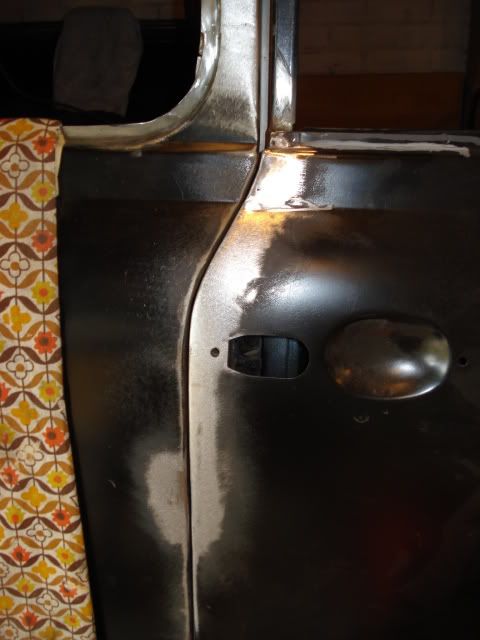
then onto the front before
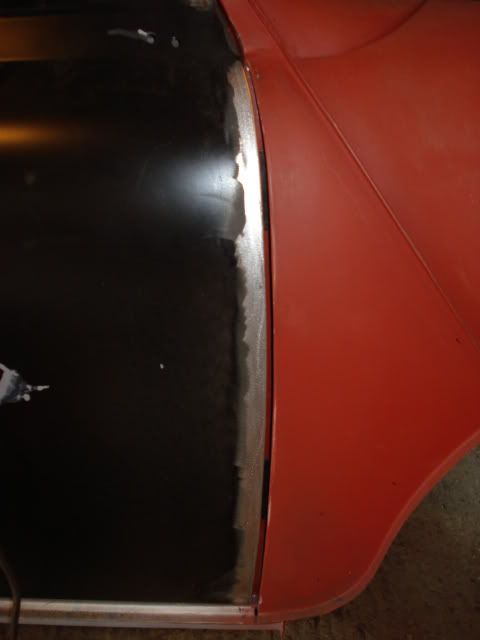
after although not finished
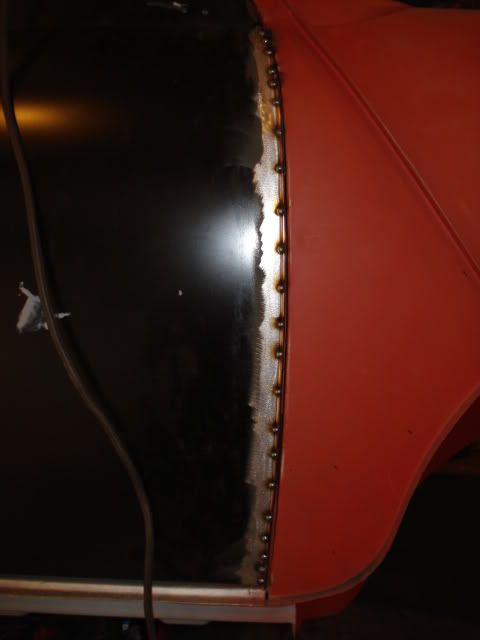
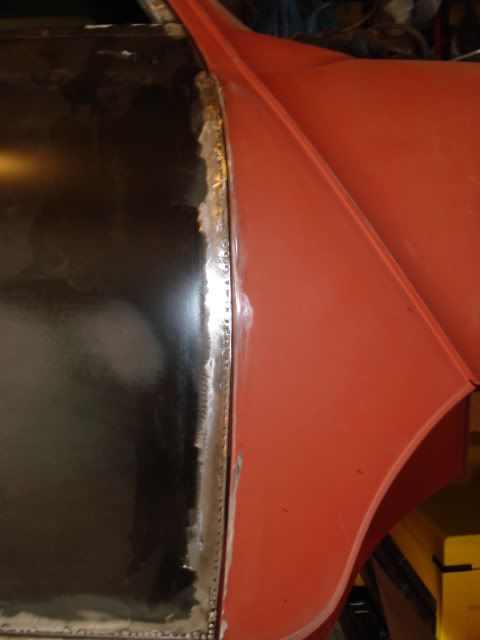
and then the bottom edge although still not finished
Scott was busy removing the old battery cable conduit
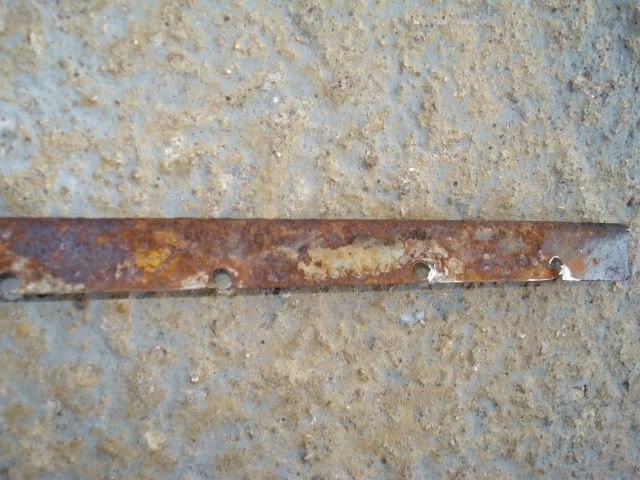
and the rust it left behind on the floor
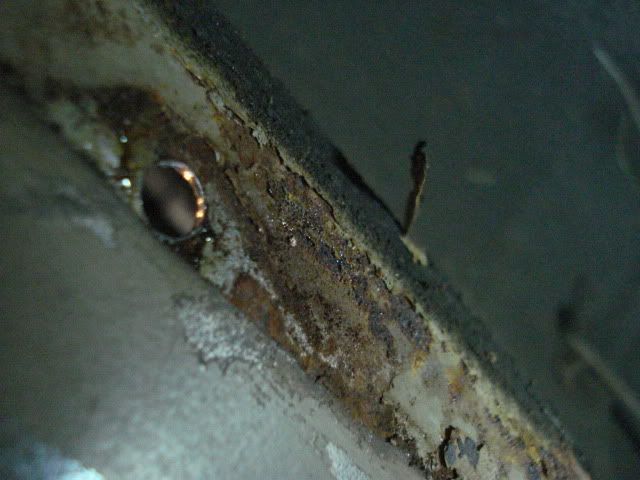
pretty scabby so had to go.
Edited by sonikk4, 23 August 2010 - 09:09 PM.
#229

Posted 23 August 2010 - 09:50 PM
Those fresh air blanking plates are really posh, how did you make them?
#230

Posted 24 August 2010 - 09:57 AM
The plates were etch primed before riveting the anchor nuts on the whole lot red primed then top coated. Probably a bit ott but what the hell i'm being fastidious with the rest of the car so why not here as well.
#231

Posted 29 August 2010 - 10:00 PM
I met your dad today at the car show whilst looking around my mini. Hope i didn't keep him talking too long! He was telling me about your project so i thought i'd better take a look and i must say i'm most impressed! After looking through your thread, i'm liking the fabrication work you've done on it and its given me some ideas for my current project.
Keep up the good work and i look forward to seeing how it turns out!
Scott
#232

Posted 30 August 2010 - 06:44 PM
Thanks for the heads up much appreciated and seeing your car has given us a few ideas.
Neil.
#233

Posted 30 August 2010 - 06:49 PM
Lesson learnt, tomorrow will be a big day for Erm as he is getting spun round so i can work on the l/h side. It will make a change as he has been in the same position for a year now.
#234

Posted 31 August 2010 - 07:23 PM
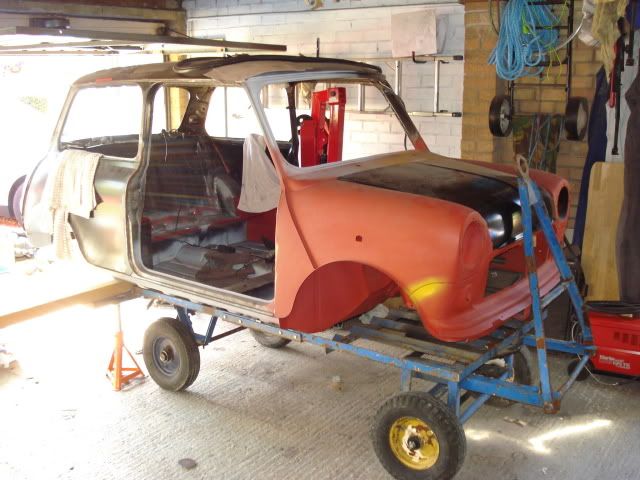
getting spun round
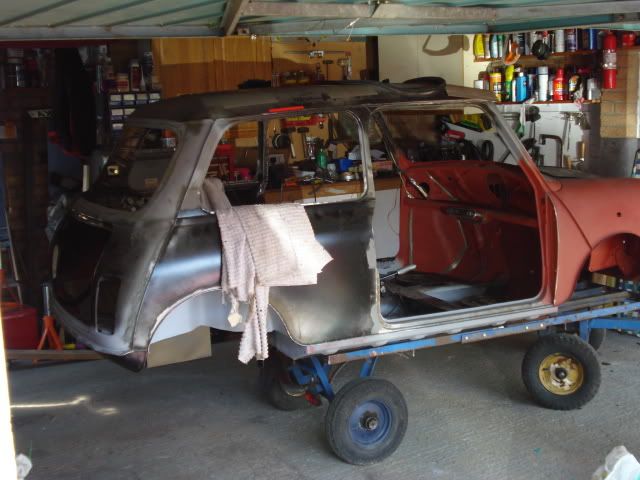
pointing the right way
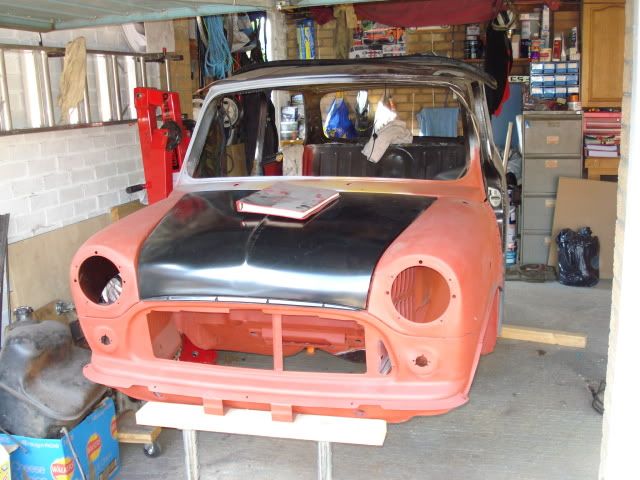
everything back in place
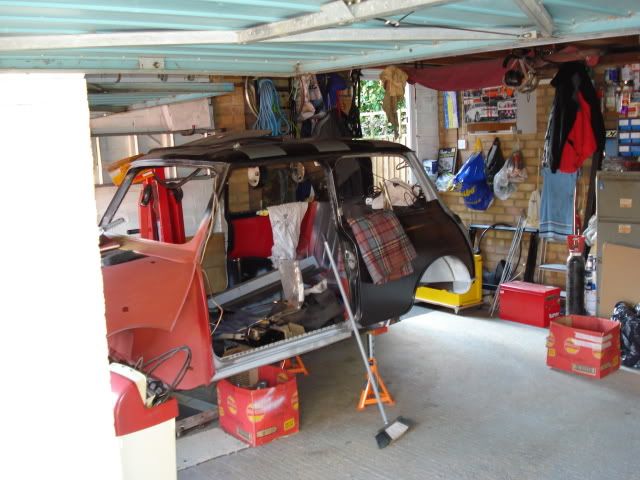
The trolley my dad got from work is heavier than Erm but made moving him really easy, it took some time to build the damn thing though as it was split in two then wheels, axles etc had to be taken off to get in his car so a large jigsaw puzzle but well worth it. My mum is not too happy though having it stuffed in the back of the garden.
Dad is a bit ******* off as two mystery dents have appeared in the car, one in the brand new floor pan and the other is in the rear panel not huge but still annoying so he will dress them out tomorrow.
So now just the rear part of the l/h inner sill to redo as dad is not happy with it then the outer sill, rear quarter panel, inner arch outer section and closing plate.
Its nearly there but not quite yet.
#235

Posted 31 August 2010 - 08:32 PM
Hi Scott, i'm Scott!
I met your dad today at the car show whilst looking around my mini. Hope i didn't keep him talking too long! He was telling me about your project so i thought i'd better take a look and i must say i'm most impressed! After looking through your thread, i'm liking the fabrication work you've done on it and its given me some ideas for my current project.
Keep up the good work and i look forward to seeing how it turns out!
Scott
Hi Scott
My dad mentioned about your car and the chat he had with you.Thanks for spending the time looking at the project hoping it get it done slightly faster than yours though as if i took three years I don't think my mum would be to happy.Do you have any photos of your car online as it would be nice to see some more in depth one than just the ones dad took at the show.
#236

Posted 01 September 2010 - 07:19 PM
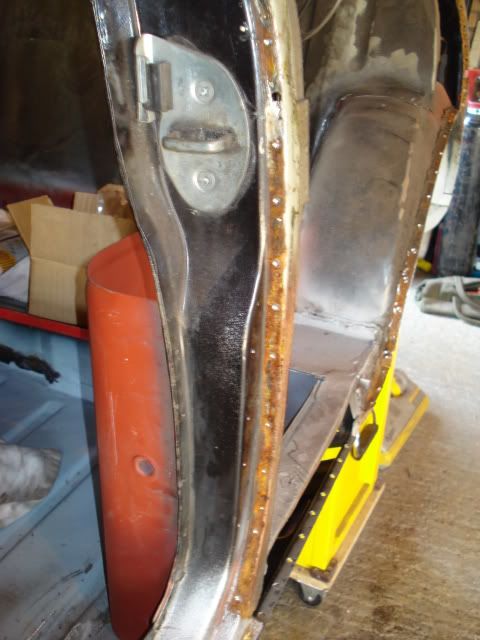
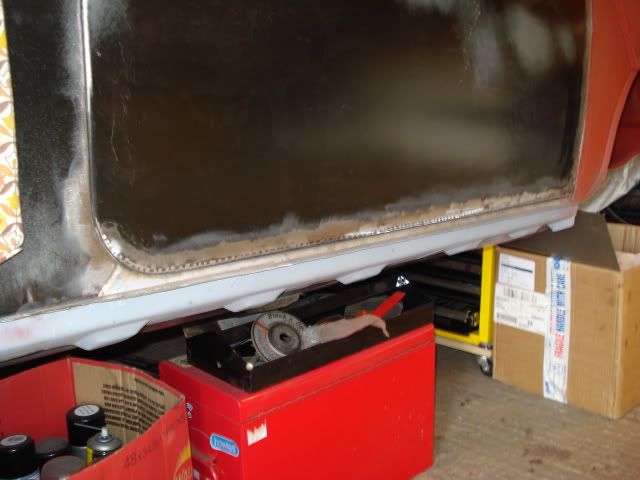
Rusty lips everywhere
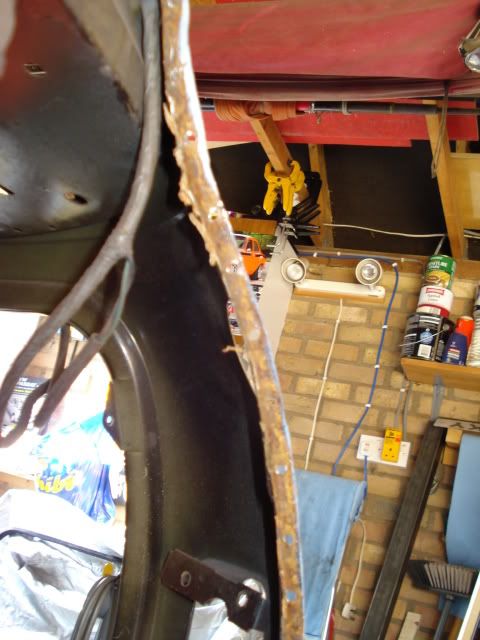
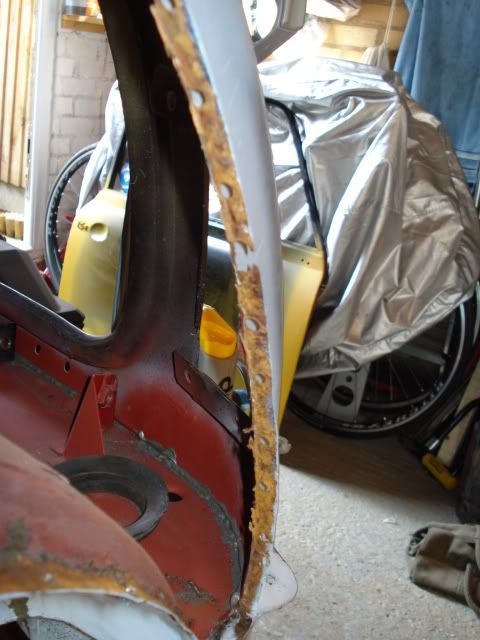
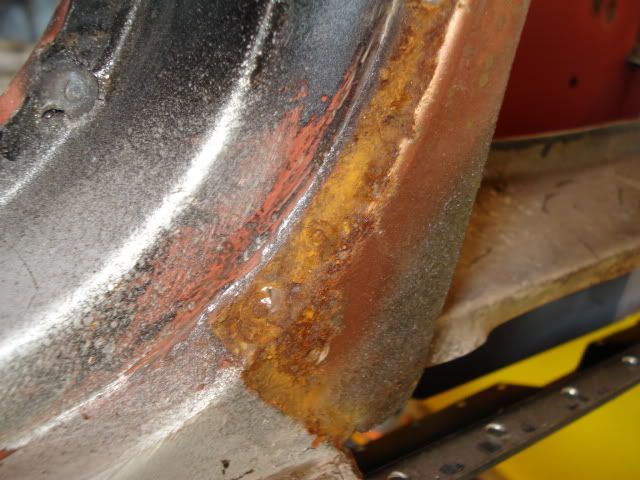
More rust on the side brace
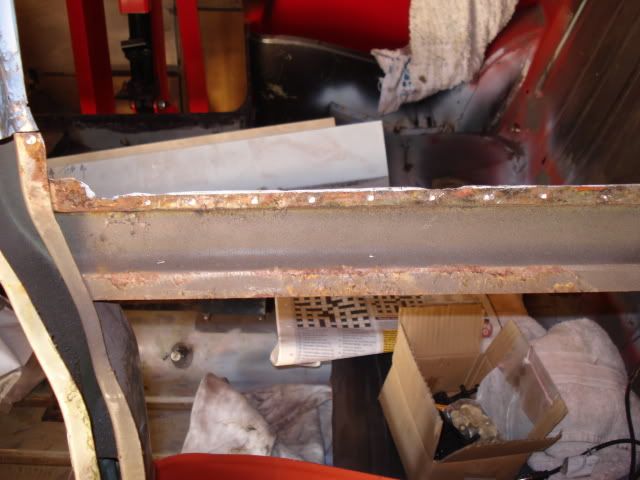
Badly bodged closing plate lip
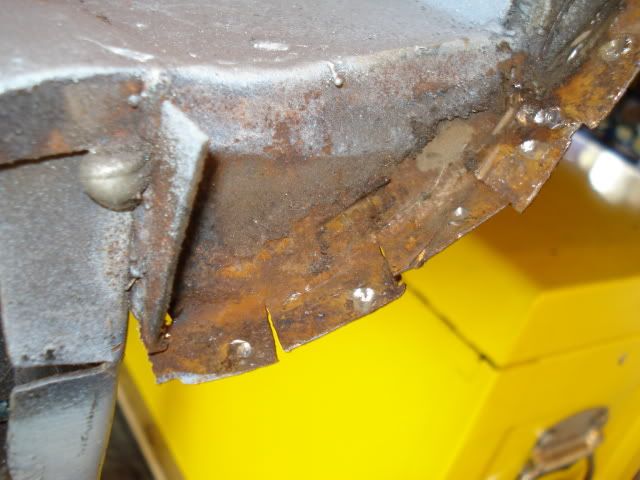
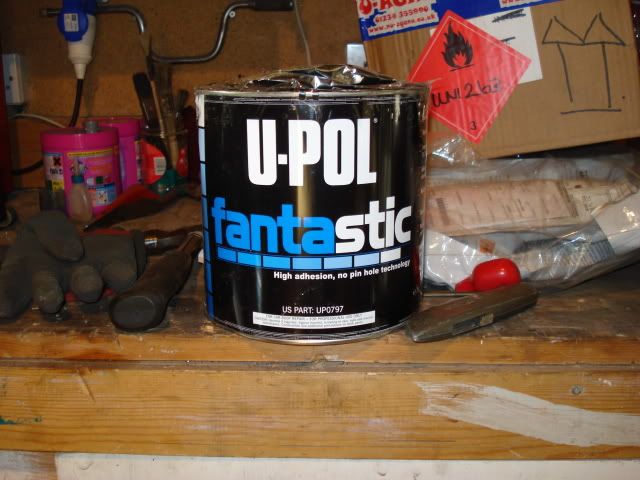
and a nice 3kg tin of Upol's finest
More welding to come
#237

Posted 01 September 2010 - 07:33 PM
#238

Posted 01 September 2010 - 09:04 PM
#239

Posted 01 September 2010 - 09:52 PM
Thing is at least i know this shell inside out and where any possible faults may appear in the future (They bloody well better not)
#240

Posted 02 September 2010 - 07:14 PM
Before
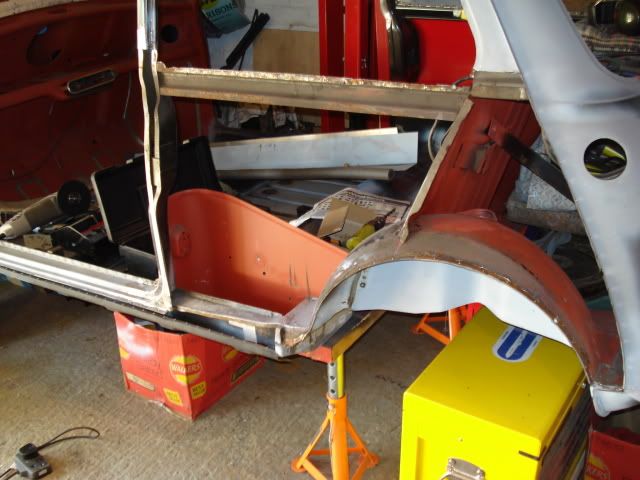
After
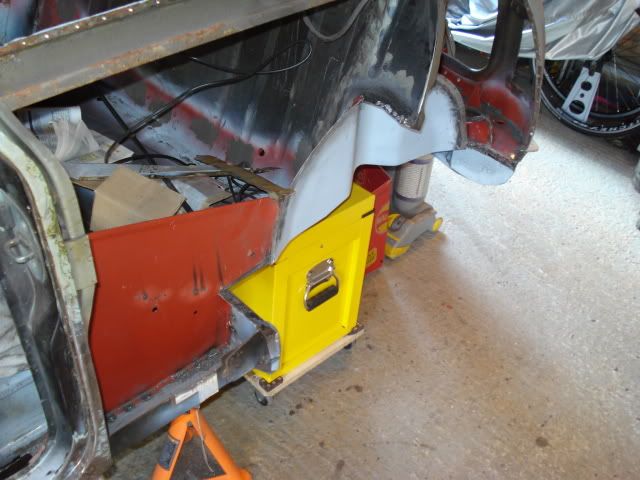
Next job will be to remove the brace bar and the old/new section of inner sill i fitted at the beginning of the year, i fitted this before i thought about making the inner sill section under the companion box.
I have made a new section to match the fwd inner sill section i made and fitted a while ago.
2 user(s) are reading this topic
0 members, 2 guests, 0 anonymous users


