
Project Erm
#196

Posted 14 July 2010 - 04:34 PM
#197

Posted 14 July 2010 - 05:14 PM
#198

Posted 14 July 2010 - 05:35 PM
#199

Posted 14 July 2010 - 05:54 PM
are you using a spray gun to apply your paint at the minute or is is all done with rattle cans?
look forward to more updates.
#200

Posted 14 July 2010 - 07:58 PM
Looking great, at this rate you are going to finish well before me.
Mmm i think not, i am having trouble with the doors at the moment, the lower repair section i used curved the lower skin far too much so when i fitted the door frame into the cutout it looked poo, really bad gaps as well so working on those with shims etc before i fit the skin. The remaining bad gaps will be filled by welding welding rods for TIG welders on the door skin edges so the gaps will be spot on.
fantastic work guys, cant remember how many times i have read right through this for inspiration.
are you using a spray gun to apply your paint at the minute or is is all done with rattle cans?
look forward to more updates.
Cheers for the comments, rattle cans are the weapons of choice at the moment as its all hidden. The primer has still been flatted first before top coat on the rear quarters as this could be seen. Not too bothered about the door skin inner surface though but i thrown a lot of paint onto it. Once fitted it will be pumped with Waxoyl again.
Bloody new compressor turned its toes up today by blowing out a piece of the pressure controller body (either poor casting or somebody over tightened the union.) Its been sent back for repair or replacement so old faithful will be brought back into play.
Edited by sonikk4, 15 July 2010 - 03:21 PM.
#201

Posted 15 July 2010 - 03:25 PM
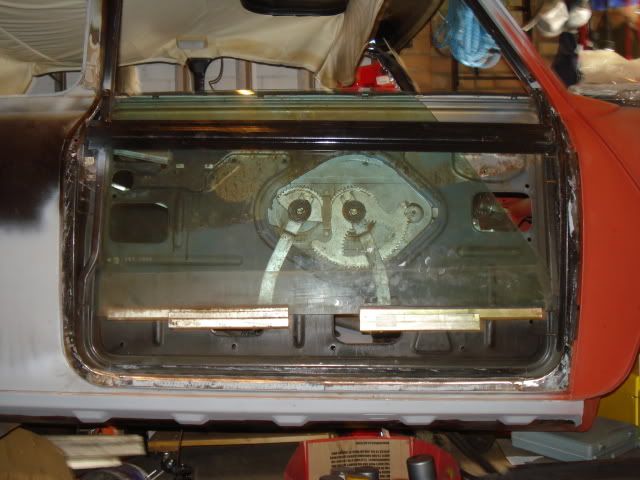
Fettled and sectioned repair to the bottom of the door frame.
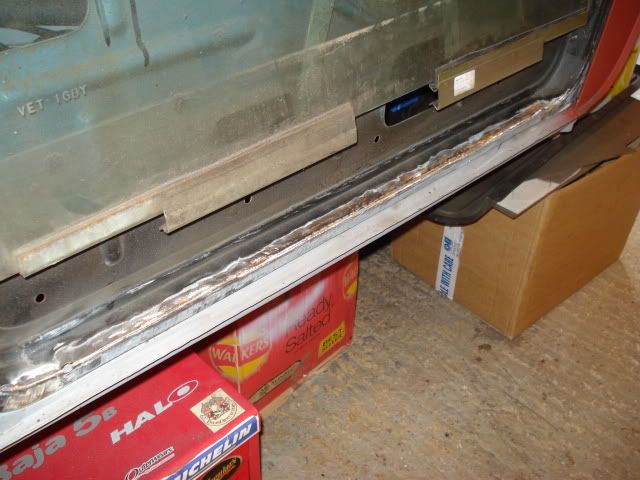
#202

Posted 21 July 2010 - 07:11 PM
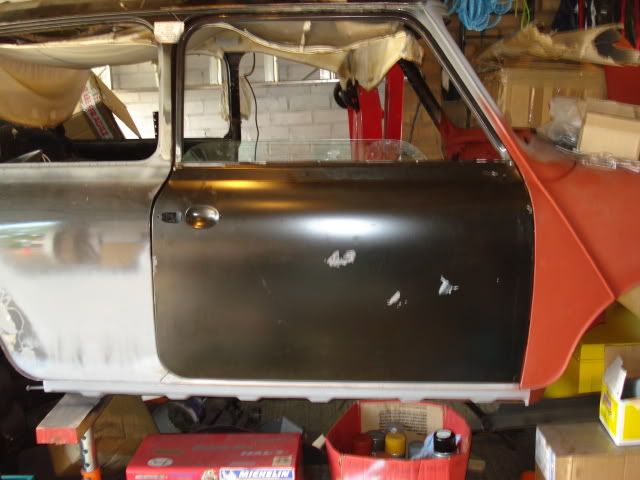
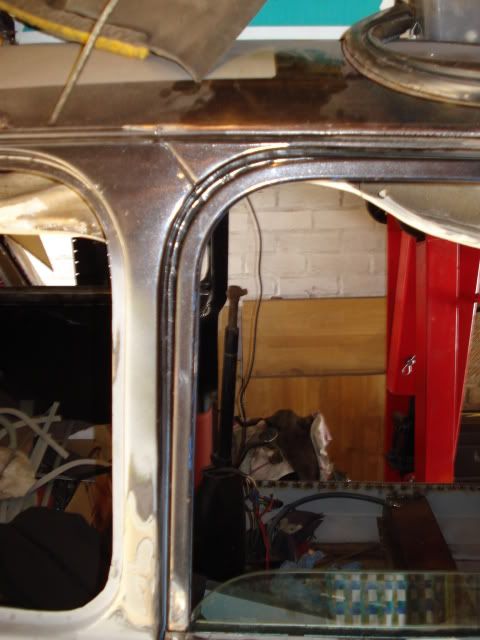
Not too happy with some of the gaps though, everything at the front lines up remarkably well but the back is cack so will need to use some welding filler rods to fill the gaps.
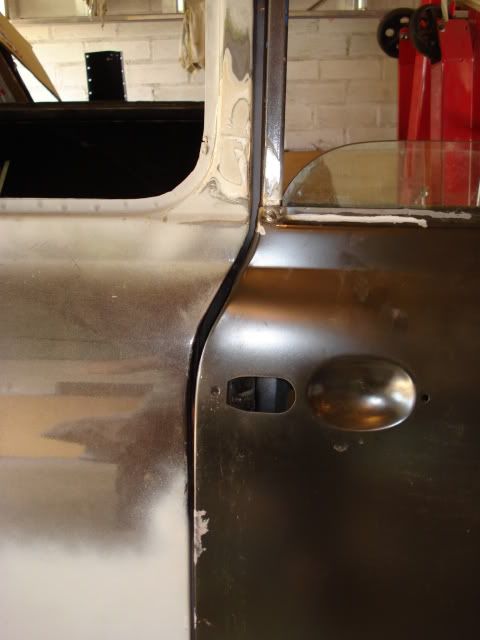
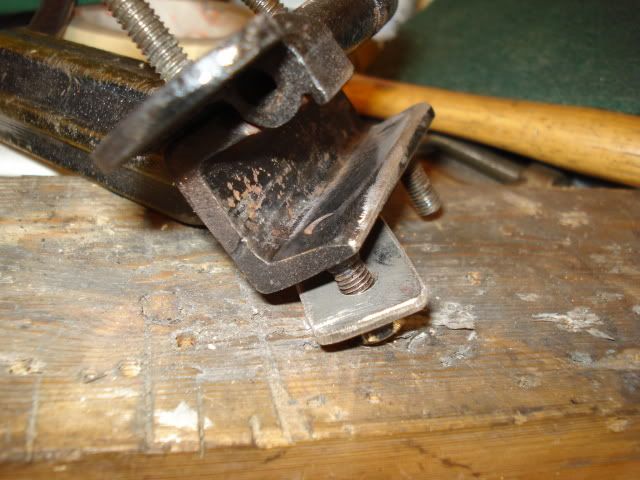
Also had to fettle the hinges as well as they would not fully open once fitted to the door
Once i replace the r/h rear quarter hopefully i can sort out the rear lower gap somewhat although some additional welding will be needed. Some more pondering time will be needed to come up with the final solution for the window frame gap.
#203

Posted 22 July 2010 - 06:41 PM
#204

Posted 22 July 2010 - 06:44 PM
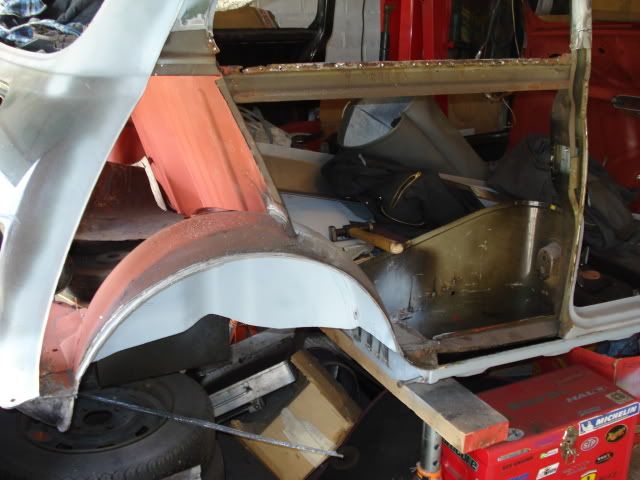
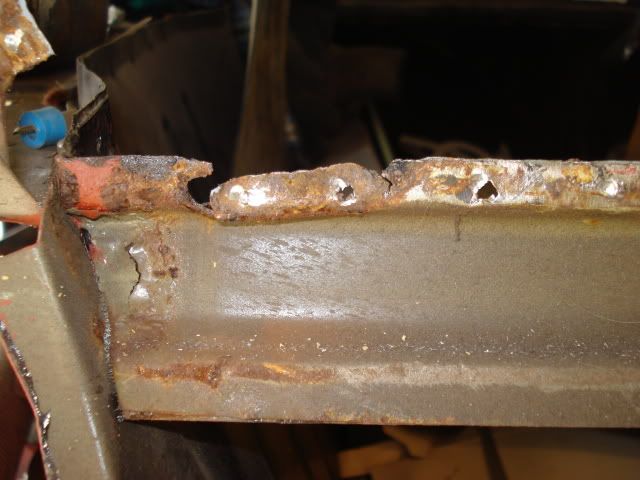
Found more rust covered by the recently fitted quarter by the previous owner
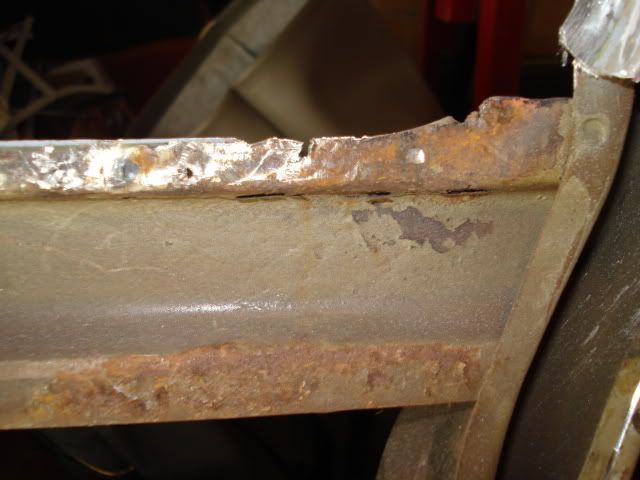
New quarter pinned in place
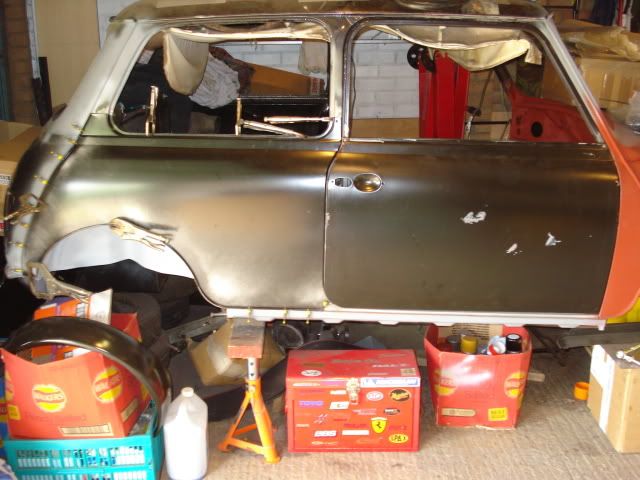
Started to reduce the large panel gap
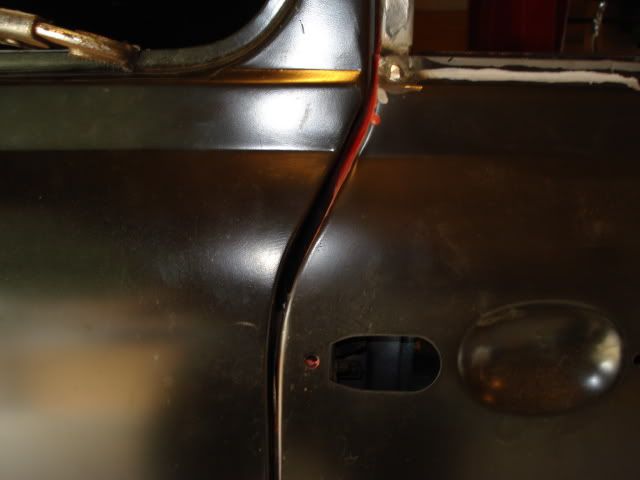
With a bit more levering and hammer work i might be able to reduce it even more, i will need to chop around the quarter panel a bit more to get it to clear the bottom of the door radius.
Edited by sonikk4, 22 July 2010 - 06:49 PM.
#205

Posted 22 July 2010 - 08:26 PM
what was the problem you had with the hinges and how did you fix it?
Sorry missed your question, basically the upper after market hinges Scott bought fouled on the edge of the door which did not let the door open fully. By chamfering the edge allowed the correct clearance and the door to open fully.
This may have had something to do with the new door skin but the skin was a really good fit so probably not.
#206

Posted 23 July 2010 - 06:19 AM
Looks quality, what tires are they?
Hi the tyres are Falken FK-07E's size 165/70 R10's and they have gone on 6 x 10 Minator rims.
im running the same wheels and tyre's
and was your door steps Herriage ones or not?
thanks stevee
#207

Posted 23 July 2010 - 06:39 PM
Every one i had bought needed to be cut about to make them fit so after failing to get them right i made my own. As an Aircraft engineer i do sheet metal repairs so i made my own up including the l/h inner sill.
Never thought about the Heritage steps but as my son is buying all the panels then it does get expensive so making them was a cheaper option.
#208

Posted 23 July 2010 - 07:40 PM
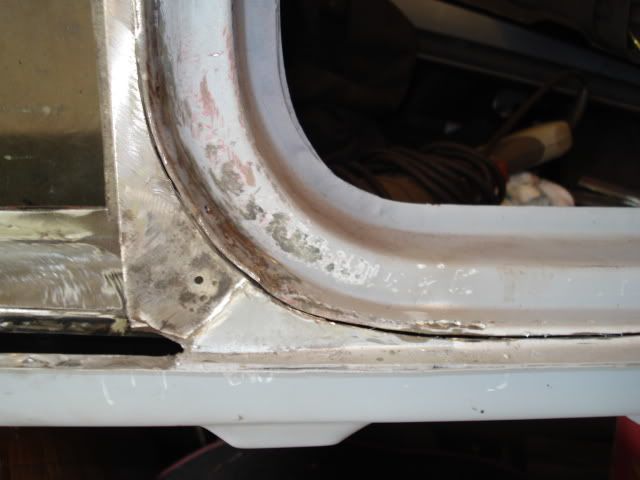
and i then did a similar thing to our brand new Heritage quarter (bugger) and now the gap is much better
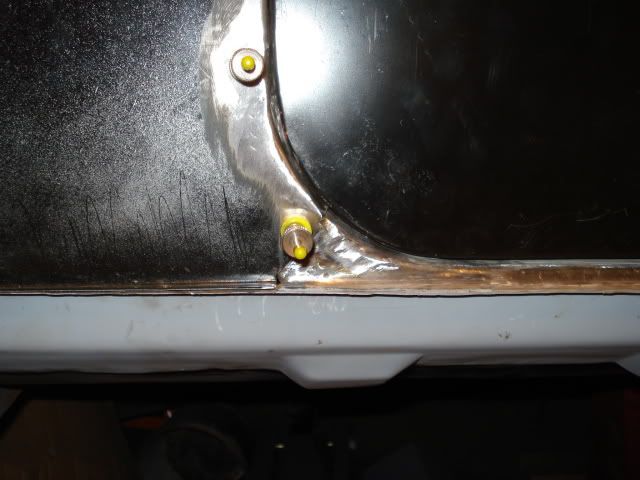
The gap still runs out going up so more material will be need to be welded to even it up.
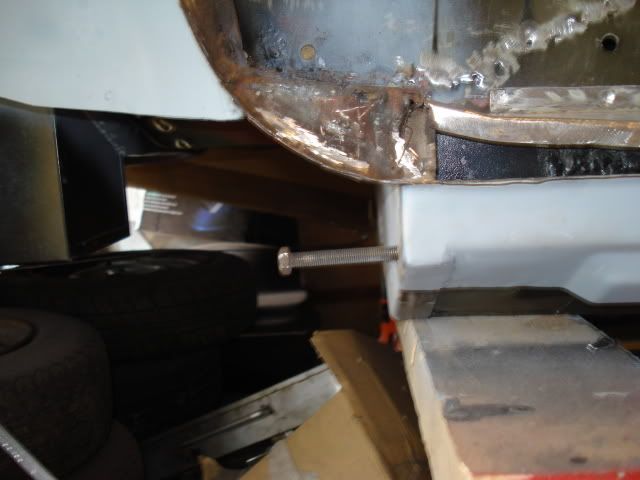
Noticed one of the subframe bolts is at an angle so the captive nut had to come off and be repositioned but did notice whoever welded it on at the factory had fitted the nut too high so the bolt was catching on the edge or the hole. So much for trying bolts in the holes before selling it.
#209

Posted 23 July 2010 - 08:11 PM
on another note, do you have any more pics of the way the sill fits with the heelboard and the front flitch? or any advice on fitting? as i am coming to that stage with mine. pm if you like.
vaughn
#210

Posted 23 July 2010 - 08:56 PM
impressive work, shame about having to fettle the heritage parts mind...you have a great attention to detail.
on another note, do you have any more pics of the way the sill fits with the heelboard and the front flitch? or any advice on fitting? as i am coming to that stage with mine. pm if you like.
vaughn
Are you on about the outer sill or the inner?? for the inner sill at the heelboard end the inner sill fits inside the heelboard flange and you can either spot weld it or seam weld. At the other end it is shaped to follow the contour of the flitch and this i spot welded although you can seam weld if you want.
The outer sill is straight forward but depending on what manufacturer you get them from. If they are Heritage then they come with drains holes in each end so its up to you whether you leave them or weld them up. Other companies sills don't come with them so no problem there. I would advise you to weld up the jacking point if you are not going to use them. (you can see where i filled it in the photo)
The heelboard end i personally cut the sill flush with the heelboard flange and seam weld, the other end i spot weld to the flange of the flitch panel and then spot weld the rest of the sill.
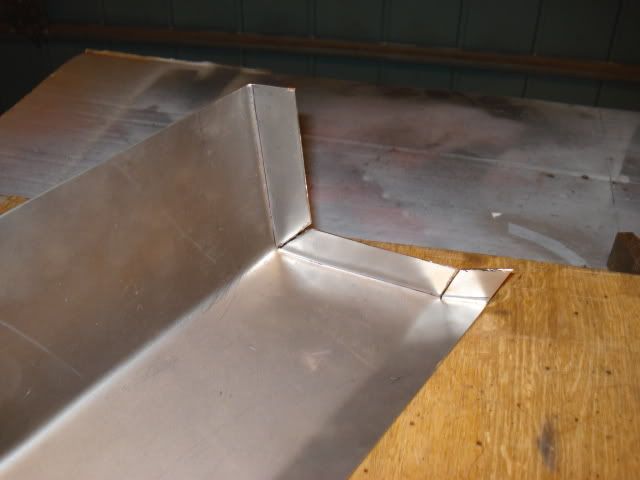
Flitch panel end
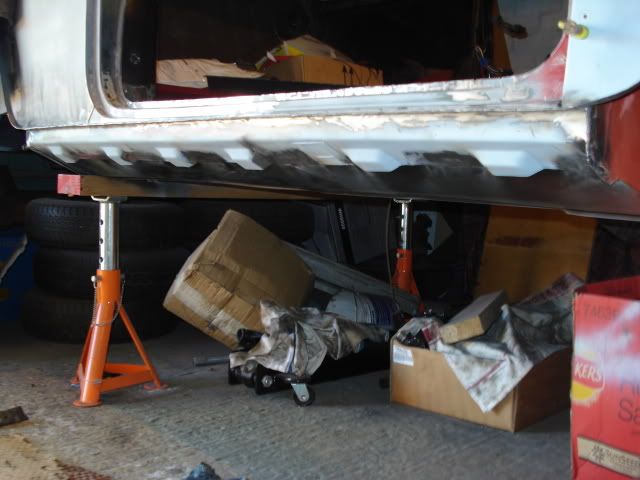
Sill fitted.
Hope this helps
Edited by sonikk4, 23 July 2010 - 08:59 PM.
1 user(s) are reading this topic
0 members, 1 guests, 0 anonymous users


