Jump to content


Photo
- - - - -

Timken Front Taper Wheel Bearings ?


  • Please log in to reply
13 replies to this topic

#1 pod51

pod51

    Stage One Kit Fitted

  • Noobies
  • PipPipPip
  • 63 posts

Posted 30 August 2009 - 08:50 AM

Model: Mayfair
Year: 1985
Description of problem (please be as in depth as possible):

Ok so I decided to have a go at replacing my swivel hubs and bearings.

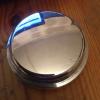
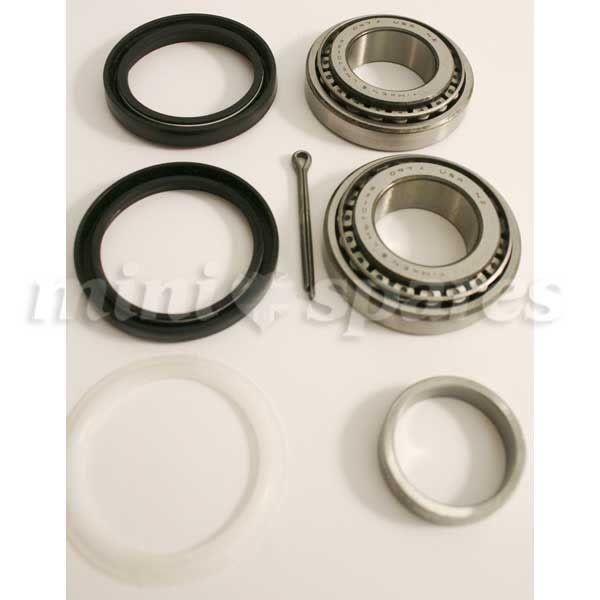
Got the Timken Taper Bearing Kit x 2 from Minispares and new front hubs x 2 , included in the bearing kit is what I explain as a plastic insert thingy. I can't quite work out where the plastic insert thingy goes in the bearing assembly so could someone explain where it it used in the bearing assembly before I end up with a plastic thingy leftover (as per any flat pack furniture I ever build) .

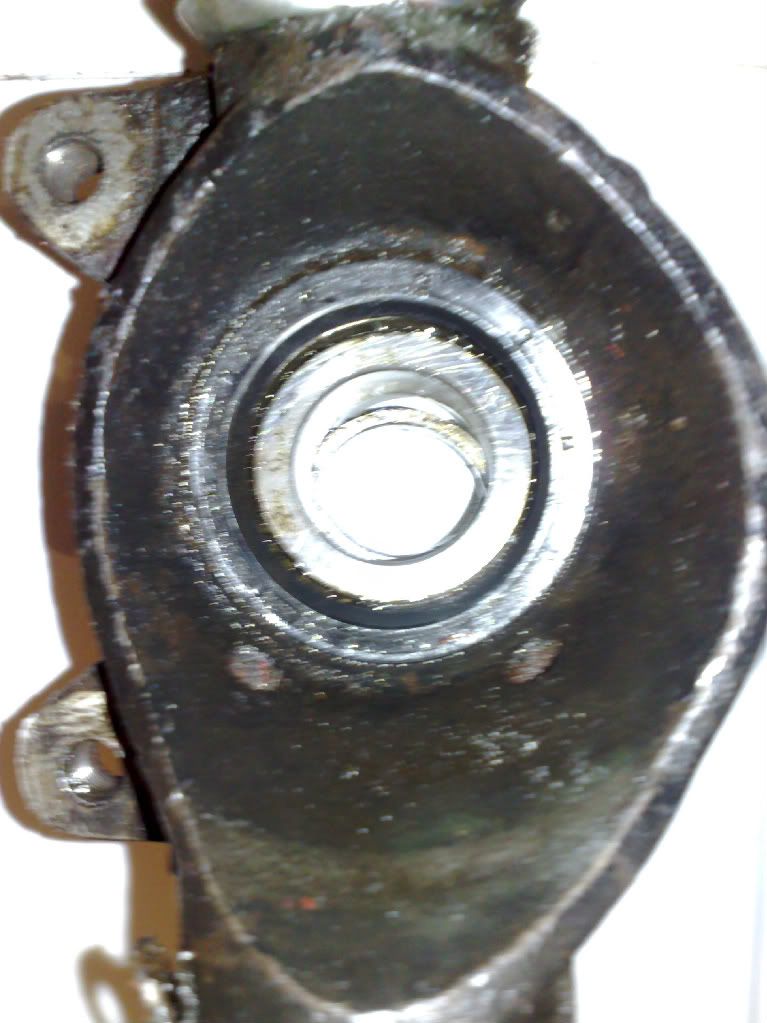
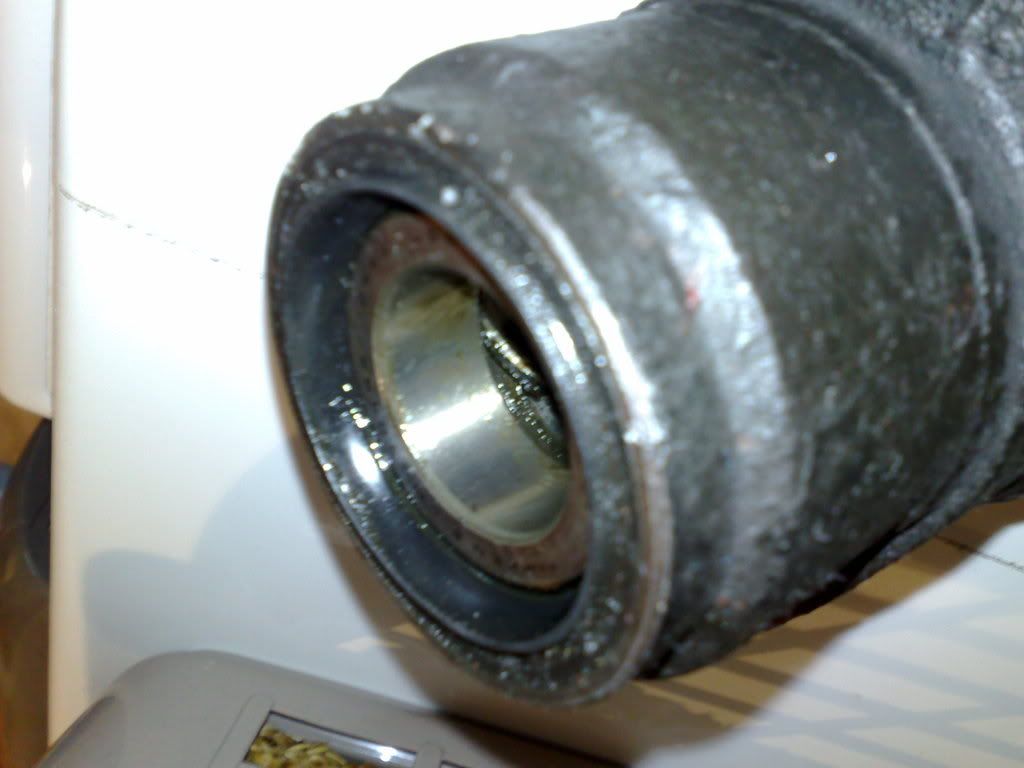
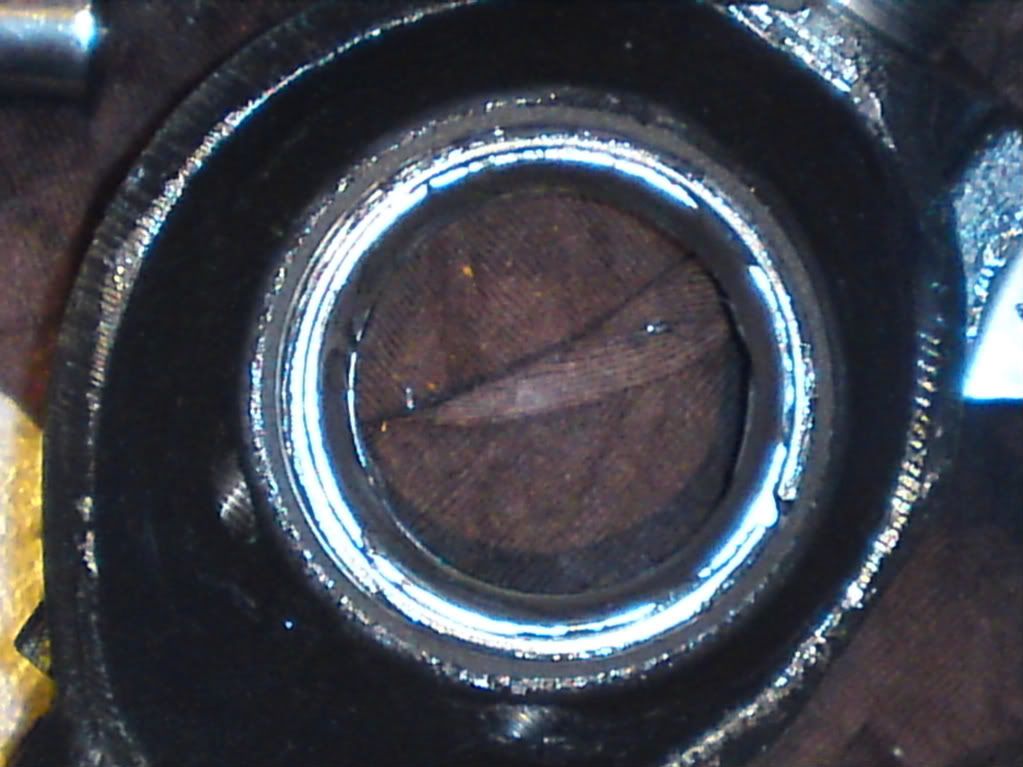
I have taken the old hubs off but can't see where if at all the plastic insert thingy may have been used, the old hubs are completely knackered and the bearings just flap about in the hub.


Its the bottom left item in this image :D

Posted Image

Any non-standard parts that might be involved with the problem?
Vauxhall Conversion, 13 x 7 Alloys, One Cackhanded but determined Mini Owner

Edited by pod51, 30 August 2009 - 08:53 AM.


#2 Willcox

Willcox

    Mini Mad

  • Just Joined
  • PipPipPipPip
  • 123 posts
  • Location: Paulton

Posted 30 August 2009 - 08:54 AM

it goes on top of the back oil seal (the one with the raised lip) so the drive shaft will be up against it, if you have a haynes manual it shows you in there, i hope this help

Edited by Willcox, 30 August 2009 - 08:55 AM.


#3 bmcecosse

bmcecosse

    Crazy About Mini's

  • Members
  • PipPipPipPipPipPipPipPipPipPip
  • 9,699 posts
  • Local Club: http://www.srps.org.uk/

Posted 30 August 2009 - 09:59 AM

Yep - it's there to keep water/muck away from the rear seal - some put a smear of silicon on it - to make it even more effective! Rear seal by the way should be put on 'backwards' - to keep muck out, rather than grease in !

#4 Sprocket

Sprocket

    Great on Injection faults

  • Members
  • PipPipPipPipPipPipPipPipPipPip
  • 7,266 posts
  • Location: Warrington
  • Local Club: Manchester Minis

Posted 30 August 2009 - 10:11 AM

Rear seal by the way should be put on 'backwards' - to keep muck out, rather than grease in !


Woh woh woh!!!!!......

The read seal should go in with the 'open' face, where the spring is, towards the bearings and grease. The rear seal is different to the front as it has a raised lip that is designed to fit inside the groove of the plastic shield!!! the rear seal does not go on any other way!!!!!

Do not under any circumstance fit the rear or the front seals with the 'open' face outwards, it should always be facing inwards

The plastic shield is a nice tight fit on the cv joint. push it on with the flat face facing the seal, so that the groove will sit over the raised lip on the rear seal. Only push it on a little way and apply a light smear of grease. When the CV joint is pushed home with the drive flange fitted and the nut tightened the shield will now be in the correct position to protect the seal and have a little lubrication as well.

#5 MRA

MRA

    Previously known as 'mra-minis.co.uk'.

  • Banned
  • PipPipPipPipPipPipPipPipPipPip
  • 7,607 posts
  • Location: Due to move again....

Posted 30 August 2009 - 10:25 AM

Yep - it's there to keep water/muck away from the rear seal - some put a smear of silicon on it - to make it even more effective! Rear seal by the way should be put on 'backwards' - to keep muck out, rather than grease in !


Sorry but it should not be put in backwards................ BOTH seals should be spring intowards the bearing, these seals are a highly engineered item and as such are specifically designed for the task, incorrect fitment will cause all sorts of issues and ultimately bearing failure :D

The seal and the "clear" plastic ring will fit together, take a look at these parts and it all becomes obvious :) with the "clear" plastic ring on the inboard side of the hub against the larger part of the CV joint :)

Look in the Haynes manual it is all in there if you look....

#6 pod51

pod51

    Stage One Kit Fitted

  • Noobies
  • PipPipPip
  • 63 posts

Posted 30 August 2009 - 10:41 AM

Not going to lie to you all but I have never ever done any car maintenance beyond using a sponge and a bucket of water. Attempting to do the swivel hubs and bearings is a daunting task for me but I am determined to do it and get it right, I do however struggle with manuals like the Haynes manuals because I just can't seem to get past the terminology etc.

So pictures for me speak a thousand words.

Here's a couple of pics of the hub that I have removed, correct me if I am wrong but they seem to have had the bearing improperly installed or at least how I understand they should be installed.

Posted Image
Posted Image

The lipped seal that the plastic ring should fit on is facing outwards rather than on the opposing side facing into the CV joint.

Remember this is one of the hubs I have removed to replace with the hubs I am going to assemble.

#7 Sprocket

Sprocket

    Great on Injection faults

  • Members
  • PipPipPipPipPipPipPipPipPipPip
  • 7,266 posts
  • Location: Warrington
  • Local Club: Manchester Minis

Posted 30 August 2009 - 10:45 AM

Yes, the seals are in the wrong sides

#8 MRA

MRA

    Previously known as 'mra-minis.co.uk'.

  • Banned
  • PipPipPipPipPipPipPipPipPipPip
  • 7,607 posts
  • Location: Due to move again....

Posted 30 August 2009 - 11:22 AM

When you fit the new OUTER section of the bearing (the large part) firstly DO NOT MIX THE PARTS UP and secondly gently drift them in to position using a piece of brass or copper, as the softer material will distort and not damage the bearing.... do both of the larger parts (don't mix the bits up.... VERY important that bit) fully grease the 1st bearing and install, then install the correct seal the correct way around, now from the other side (ie inside or outside - make sure that the bearing doesn't fall out) fit the spacer and then the second bearing (greased up first) then the second seal and the plastic ring (which will fall off if left)

Also to note on the inside edge of the inner sealthere should be a plastic or metal split ring spacer about 5mm deep by about 2 to 3mm thick reuse this part from the old hubs if you have it...... if not then don't press in the inner seal all the way just to the point that the hub tapers.

ALso to note check that your CV's have no wear on the bearing surface as this will cause your hub assembly to be loose no matter how tight you tighten it, it will always be loose :D THe Haynes manual also states using a flat washer to tighten the assembly if you search on this forum you should find quite a lot about it's benefits and how to use it :)

#9 Willcox

Willcox

    Mini Mad

  • Just Joined
  • PipPipPipPip
  • 123 posts
  • Location: Paulton

Posted 30 August 2009 - 01:41 PM

this might just make things ten times easier is pictures speak louder than words :D
mini wheel bearing video
im sure the guys who did this are on this forum
hope it helps

#10 MRA

MRA

    Previously known as 'mra-minis.co.uk'.

  • Banned
  • PipPipPipPipPipPipPipPipPipPip
  • 7,607 posts
  • Location: Due to move again....

Posted 30 August 2009 - 02:19 PM

THree things from the video above.....

1) do NOT use a steel drift as it can damage the bearing outer... as both are hardened parts minute chips of either part will find them selves in the bearing area... :D
2) Try to avoid grease on the inner part of the bearing.... where the CV joint fits this area needs to be kept clean
3) Becareful what brush you use as the bristles can get caught between the cage and rollers, this can induce a higher load on initial run up, which can cause localised damage which will spread.

But apart from that it is a very easy to follow and factual video.

#11 pod51

pod51

    Stage One Kit Fitted

  • Noobies
  • PipPipPip
  • 63 posts

Posted 30 August 2009 - 09:32 PM

Also to note on the inside edge of the inner sealthere should be a plastic or metal split ring spacer about 5mm deep by about 2 to 3mm thick reuse this part from the old hubs if you have it...... if not then don't press in the inner seal all the way just to the point that the hub tapers.


Ok got the new hub assembly made up to the point that I am sure of myself. I now have a metal split ring spacer from the old hub that I am presuming goes over the top of the new bearing race and inbetween the seal and bearing. Then on top of the (CV Joint side) lipped seal the little plastic ring goes into place and I hold it in place with a very very fine layer of grease just to make it tacky enough to stay in situ.


All assembled minus the lipped seal, Notice the metal split ring spacer.

Posted Image


Oh and I have watched that Video so many times now that I reckon I could guess the street that the guy lives in just by listening to his voice and accent, there was no mention of a metal split ring spacer in that video so that left me a bit confused.

Just looking for confirmation that I am right in the position of the split ring spacer and then I can finish of the ball joints and be ready for daylight tomorrow to fit everything.

Edited by pod51, 30 August 2009 - 09:39 PM.


#12 Dan

Dan

    On Sabbatical

  • TMF+ Member
  • PipPipPipPipPipPipPipPipPipPipPip
  • 21,354 posts

Posted 30 August 2009 - 09:40 PM

The seal spacer was deleted by Rover many years ago. If you haven't stripped and replaced a LOT of these over the years, or read a lot of information from places like this then you might not ever know it existed because it doesn't come in the new kits. If you have one, use it. If not just press the seal in until it's flush with the hub face as Martin says above. I've never seen a metal spacer, only plastic ones.

#13 Sprocket

Sprocket

    Great on Injection faults

  • Members
  • PipPipPipPipPipPipPipPipPipPip
  • 7,266 posts
  • Location: Warrington
  • Local Club: Manchester Minis

Posted 31 August 2009 - 01:29 AM

The seal spacer was deleted by Rover many years ago. If you haven't stripped and replaced a LOT of these over the years, or read a lot of information from places like this then you might not ever know it existed because it doesn't come in the new kits. If you have one, use it. If not just press the seal in until it's flush with the hub face as Martin says above. I've never seen a metal spacer, only plastic ones.


I have factory fit metal seal spacers on my 1995 Mini >_<

http://www.minispare...=...R S WHEEL...

#14 pod51

pod51

    Stage One Kit Fitted

  • Noobies
  • PipPipPip
  • 63 posts

Posted 31 August 2009 - 02:18 PM

Just wanted to say thanks to everyone that replied to my questions >_<

Have fitted the N/S swivel hub and bearings and everything seems to be running a lot smoother, just got the O/S to fit and all will be well (Ran out of shims). Will then fit the new track rod ends and the steering rack gaiters and get myself to Kwik Fit to get the tracking sorted.

Anyone know the geometry settings for 13x7's just in case I get asked ??


1 user(s) are reading this topic

0 members, 1 guests, 0 anonymous users