Thanks mate. If you're thinking of building up a 1380 i would highly recommend getting hold of the 1380 engine build dvd. He explains everything step by step and it made the whole process a lot easier for me. As long as you have the tools, patience and some mechanical knowledge you will be fine.


1979 Austin Mini 1000 Restoration
Started by
Bash Master
, Aug 13 2009 07:20 PM
157 replies to this topic
#91

Bash Master
-
- TMF+ Member
-

- 150 posts
Mini Mad
- Location: Blackpool, Lancashire
Posted 01 September 2011 - 08:45 AM
#92
Bash Master
-
- TMF+ Member
-
- 150 posts
Mini Mad
- Location: Blackpool, Lancashire
Posted 11 September 2011 - 09:20 PM
Few more updates.
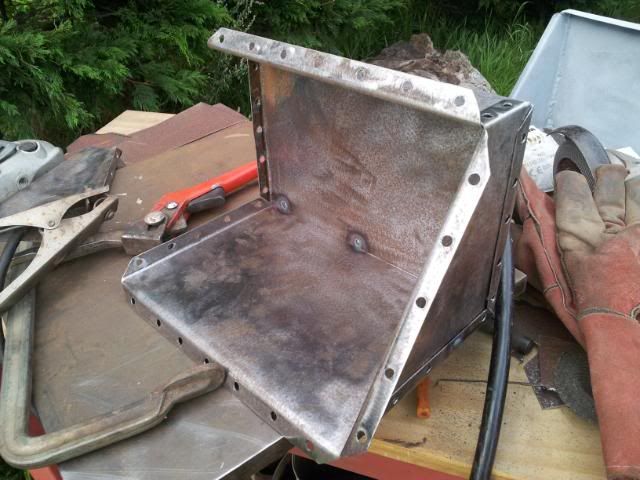
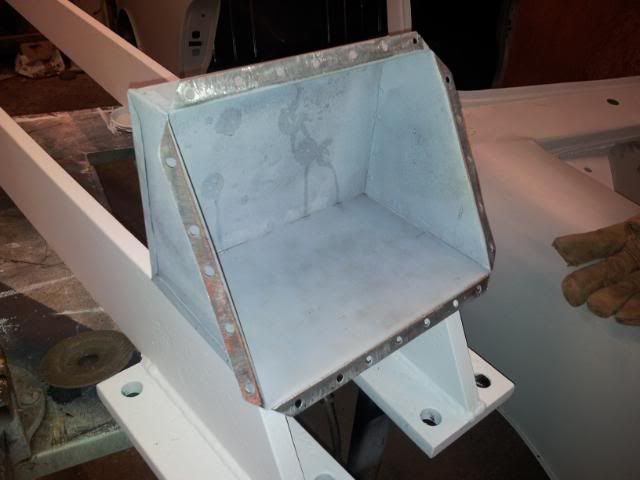
I have made and fitted a bulkhead box to house a dellorto 45. It took 2 attempts to make the box right, the first one was too small and because i seam welded it together it warped due to the heat Attempt number 2 i made a lot deeper and i plug welded this one together instead - much better!
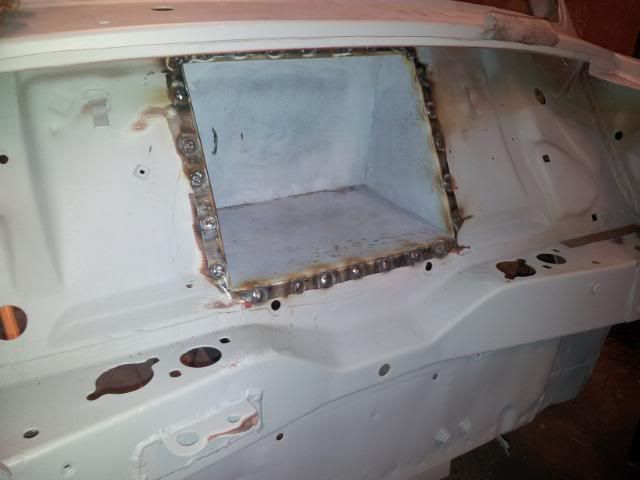
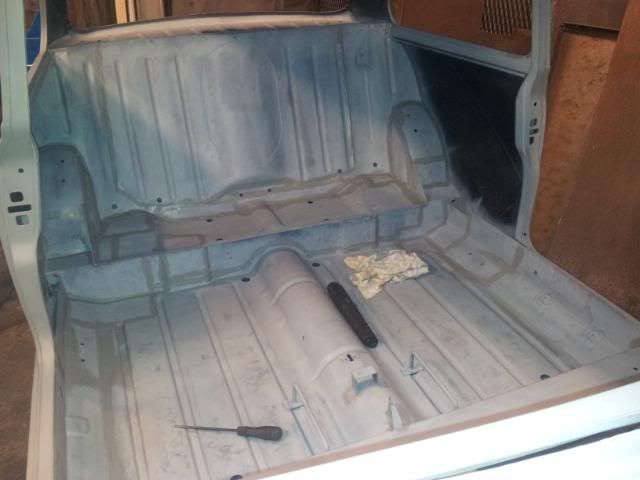
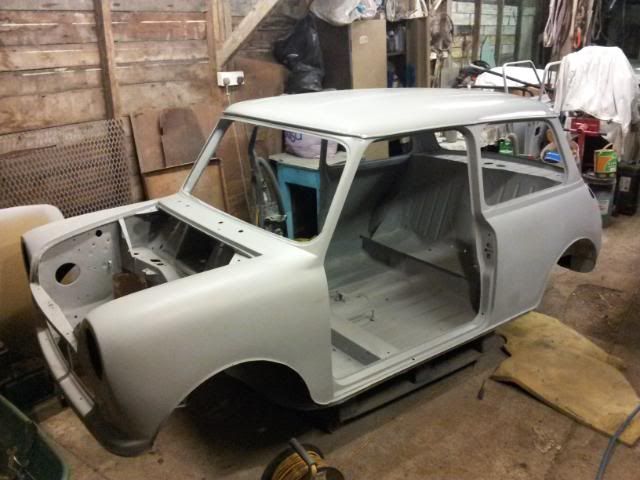
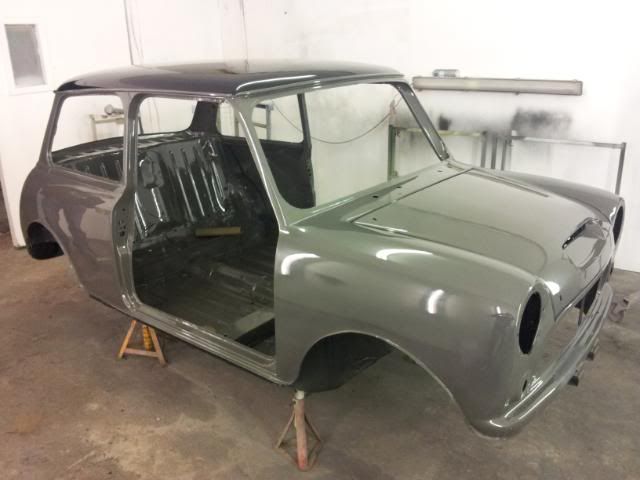
I thought it was best to paint the inside of the shell properly, so yet again, i undid all the work i had done in the past by stripping the old hammerite black paint off everything and then i coated the whole inside with plenty of etch primer followed by seam sealer on the joints and a nice coat of high build primer. Looks much better now.
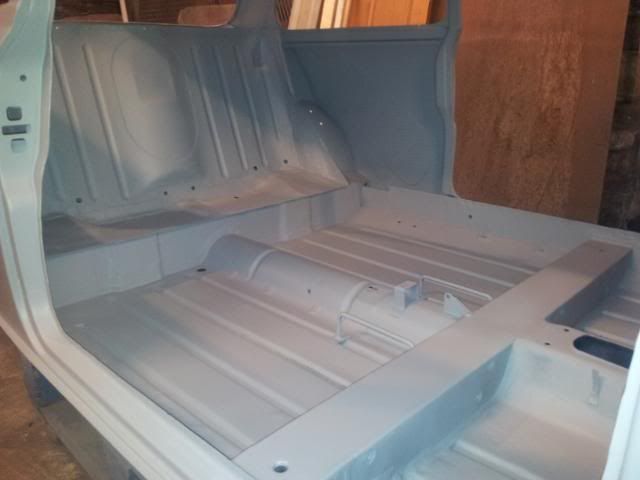
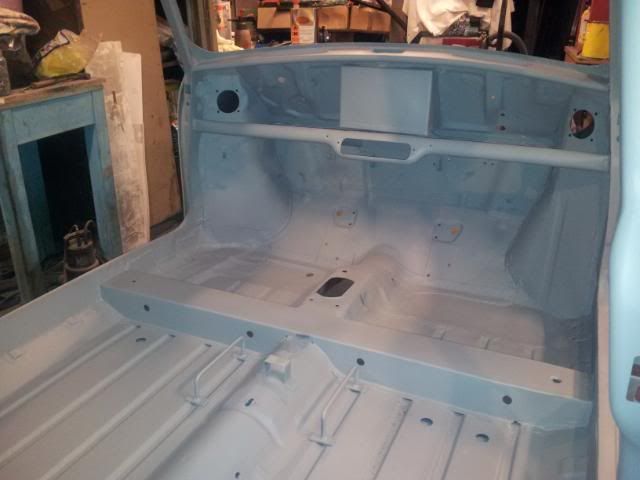
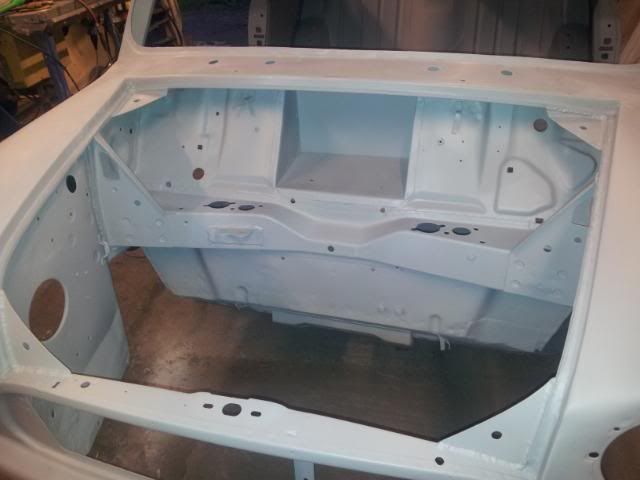

I have made and fitted a bulkhead box to house a dellorto 45. It took 2 attempts to make the box right, the first one was too small and because i seam welded it together it warped due to the heat
Attempt number 2 i made a lot deeper and i plug welded this one together instead - much better!I thought it was best to paint the inside of the shell properly, so yet again, i undid all the work i had done in the past by stripping the old hammerite black paint off everything and then i coated the whole inside with plenty of etch primer followed by seam sealer on the joints and a nice coat of high build primer. Looks much better now.
#93
MJWarren
-

- Members
-
- 705 posts
One Carb Or Two?
- Local Club: DCMOC
Posted 17 September 2011 - 09:04 AM
 IMG_0497.jpg 76.21K
7 downloads
IMG_0497.jpg 76.21K
7 downloadshere you go mate
The build is looking great! did the cage go in alright?
Edited by MJWarren, 17 September 2011 - 09:09 AM.
#94
Bash Master
-
- TMF+ Member
-
- 150 posts
Mini Mad
- Location: Blackpool, Lancashire
Posted 17 September 2011 - 12:05 PM
Thanks for that Matt
Some of the feet had to be shortened on the cage but it all sits in there fine now.
Some of the feet had to be shortened on the cage but it all sits in there fine now.
#95
hughJ
-

- Members
-
- 727 posts
Soldiering Along
- Location: Highlands, Scotland
Posted 17 September 2011 - 06:07 PM
That looks really nice!
Hugh
Hugh
#96
Bash Master
-
- TMF+ Member
-
- 150 posts
Mini Mad
- Location: Blackpool, Lancashire
Posted 29 September 2011 - 08:31 PM
Not updated this in a while, have a few things to report.
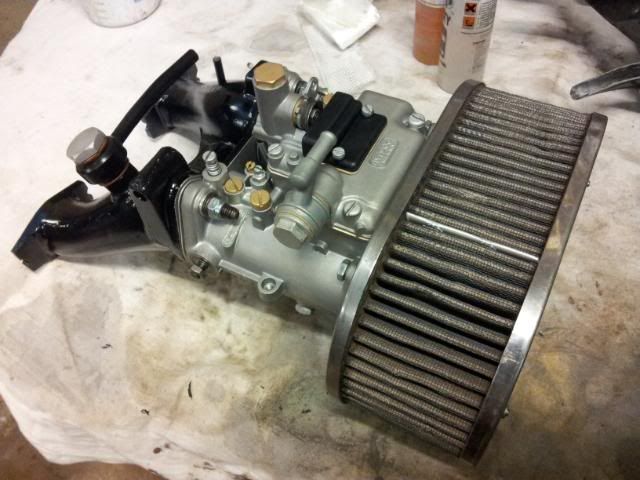
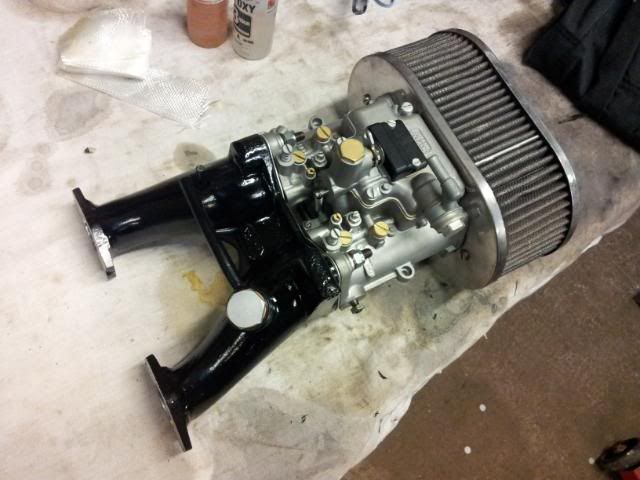
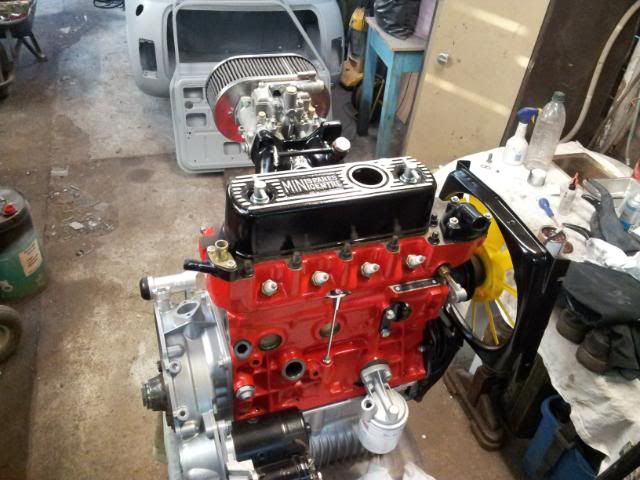
I bought a dellorto 45 carb a couple of weeks back and have been refurbishing it recently. I took it to work and got it bead blasted and it came up really nice. It was thoroughly cleaned inside and out to remove any glass beads and then the gaskets, bearings and throttle shaft were replaced. I then smoothing out the ports on the inlet manifold and gave it a coat of gloss black. Just needs a throttle linkage and it's ready to fit. It was advertised as being jetted for a 1380 but have yet to find any setups to compare it with so have left it as is until rolling road. Looks ace fitted to my engine
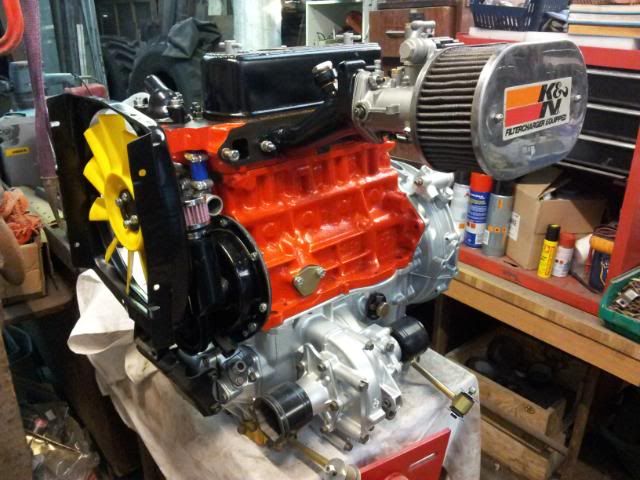
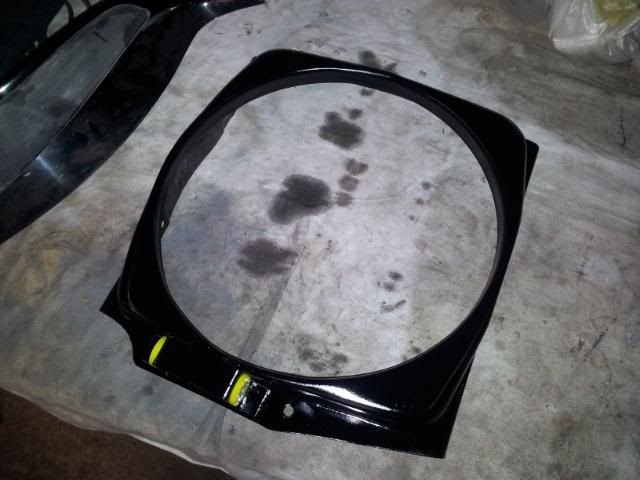
Whilst i was bead blasting the carb i also did the radiator cowl as well. It was then given a coat of etch primer followed by primer, gloss black and laquer. Fitted some poly bushes to the bottom too.
As for the shell, i have ordered a Curley fibreglass roof skin and should have that in a few weeks. In the mean time i will be flatting the final layer of high build primer. It's getting very close to paint now, i think it should be in the body shop late next month if all goes well
I bought a dellorto 45 carb a couple of weeks back and have been refurbishing it recently. I took it to work and got it bead blasted and it came up really nice. It was thoroughly cleaned inside and out to remove any glass beads and then the gaskets, bearings and throttle shaft were replaced. I then smoothing out the ports on the inlet manifold and gave it a coat of gloss black. Just needs a throttle linkage and it's ready to fit. It was advertised as being jetted for a 1380 but have yet to find any setups to compare it with so have left it as is until rolling road. Looks ace fitted to my engine
Whilst i was bead blasting the carb i also did the radiator cowl as well. It was then given a coat of etch primer followed by primer, gloss black and laquer. Fitted some poly bushes to the bottom too.
As for the shell, i have ordered a Curley fibreglass roof skin and should have that in a few weeks. In the mean time i will be flatting the final layer of high build primer. It's getting very close to paint now, i think it should be in the body shop late next month if all goes well
#97
Zeemax Adventure
-

- TMF+ Member
-
- 301 posts
Speeding Along Now
- Location: Llandudno
Posted 30 September 2011 - 08:40 AM
Great Job. Body and engine look fab. Its reaching the exciting stage now
#98
Bash Master
-
- TMF+ Member
-
- 150 posts
Mini Mad
- Location: Blackpool, Lancashire
Posted 30 September 2011 - 08:51 AM
Great Job. Body and engine look fab. Its reaching the exciting stage now
Thanks mate, can't wait for the day i drive it out of the workshop. Still a long way to go yet though!
#99
Bash Master
-
- TMF+ Member
-
- 150 posts
Mini Mad
- Location: Blackpool, Lancashire
Posted 08 November 2011 - 08:11 PM
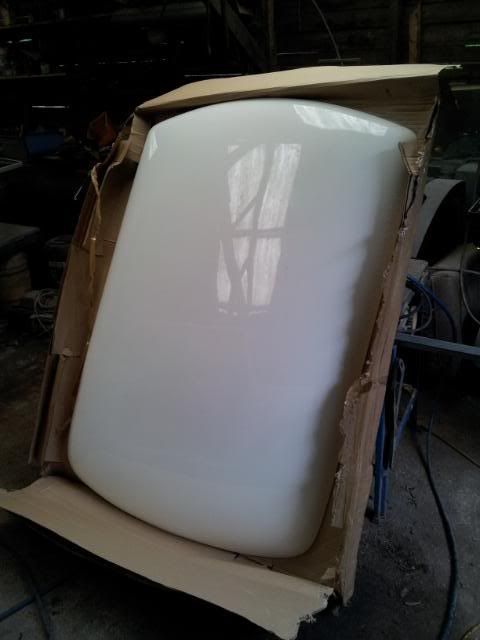
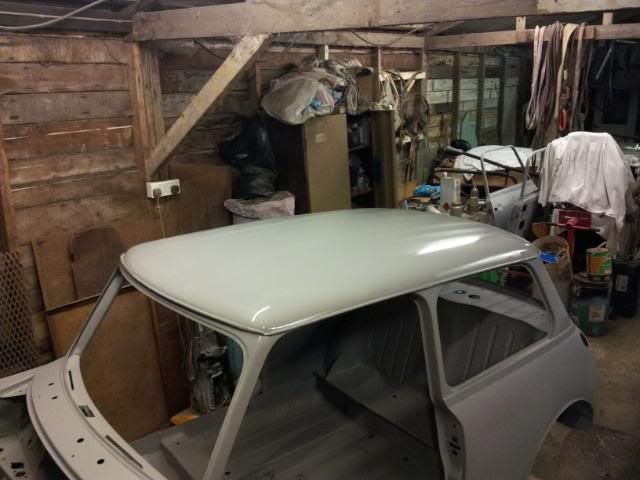
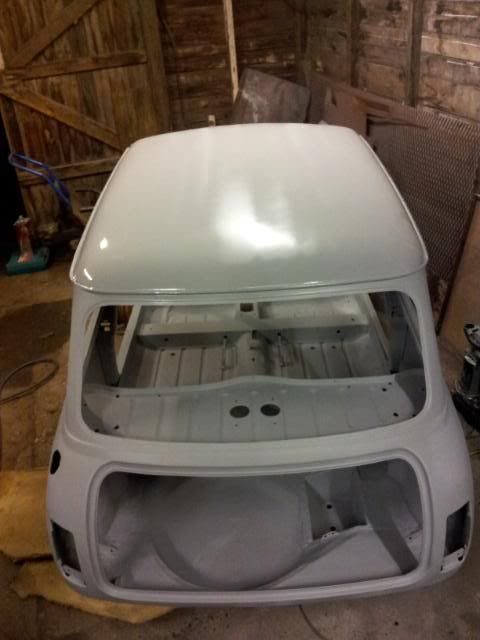
Not updated in a while now. My Curley fibreglass roof skin turned up the other week so i have been spending my time fitting and prepping it for paint.
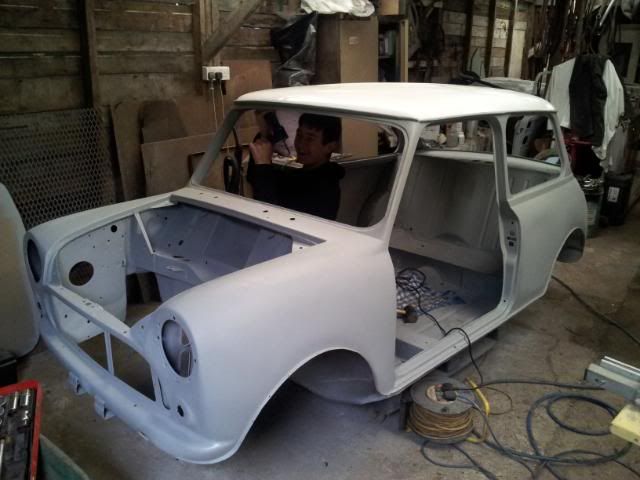
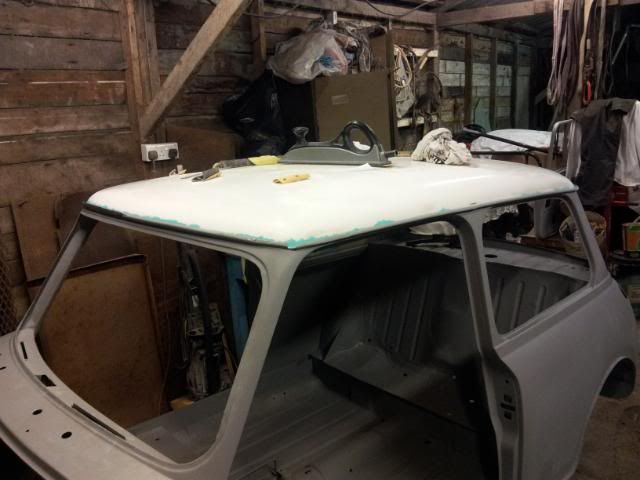
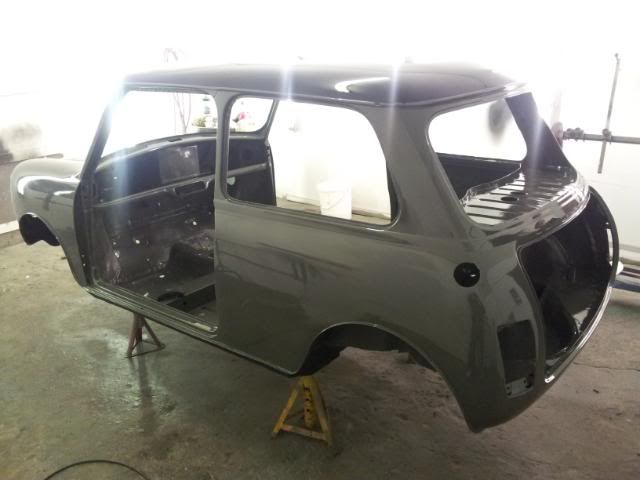
I decided it would be best to cut out most of the old roof in the end. I cut it out using a jig saw leaving a strip all the way around the edge for the fibreglass skin to bond to. Then went and bought loads of clamps from machine mart to secure the roof skin whilst the glue set.
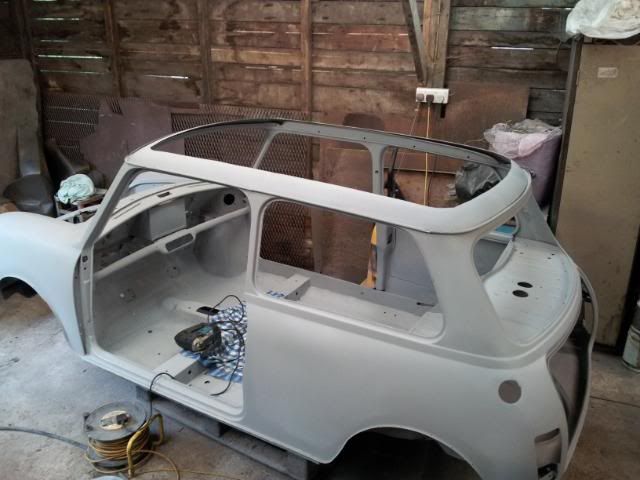
Even had my brother help me out!
Other than that i have finished flatting the doors, bonnet, boot lid and wheel arches. It is almost ready for paint now, not long to go. If anyone knows of a good body shop with a good reputation in or around the blackpool area then please let me know as i haven't got any idea who i should use.
I decided it would be best to cut out most of the old roof in the end. I cut it out using a jig saw leaving a strip all the way around the edge for the fibreglass skin to bond to. Then went and bought loads of clamps from machine mart to secure the roof skin whilst the glue set.
Even had my brother help me out!
Other than that i have finished flatting the doors, bonnet, boot lid and wheel arches. It is almost ready for paint now, not long to go. If anyone knows of a good body shop with a good reputation in or around the blackpool area then please let me know as i haven't got any idea who i should use.
#100
Bash Master
-
- TMF+ Member
-
- 150 posts
Mini Mad
- Location: Blackpool, Lancashire
Posted 11 December 2011 - 10:56 PM
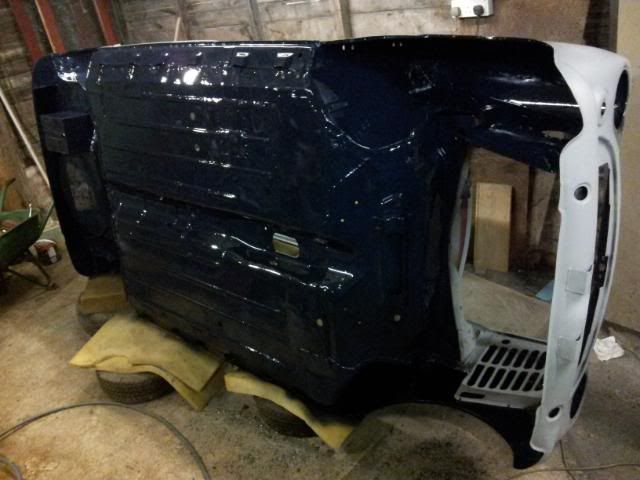
Big day today...
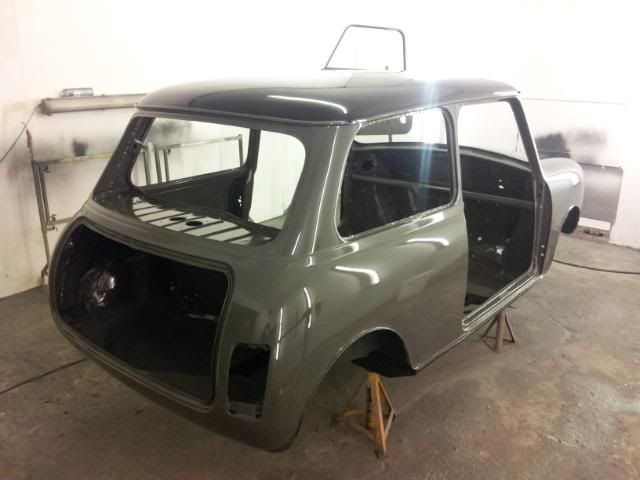
I went into the body shop to see how it was going and couldn't believe it was my mini, it looks totally different now! The guys at Autospray in Blackpool have done a brilliant job on it and i am very impressed. They are going to flat the paintwork over the next couple of days and then i can get it back in my workshop. Really excited now, i can finally bolt bits back onto it!
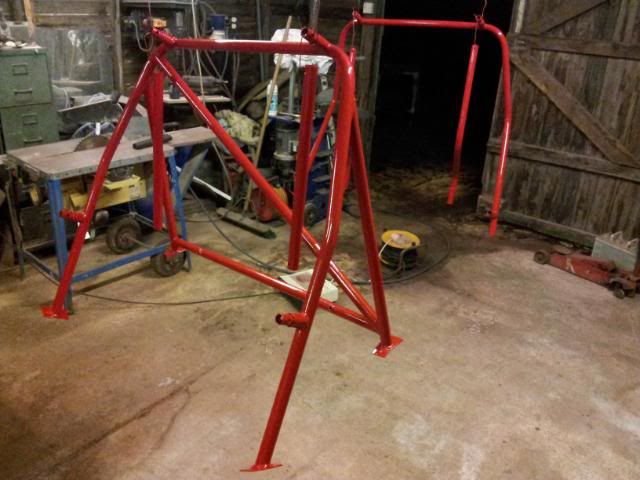
Whilst the body was away i sprayed the rollcage which has turned out very nice. As you can see i welded in a harness bar.
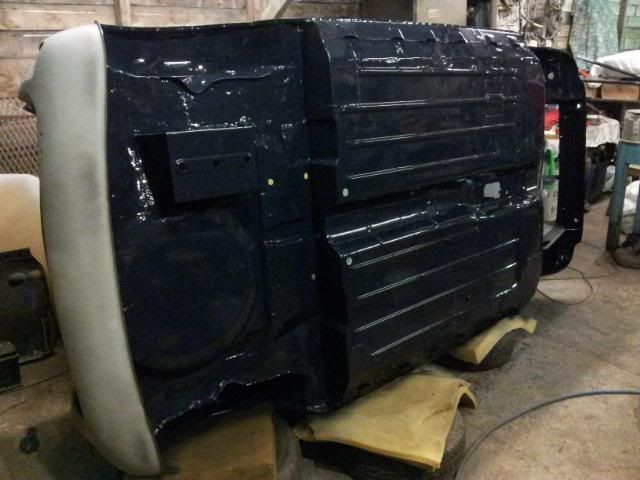
The pics below show it before it went in for paint. I turned it onto its side and using a scraper and a wire wheel on the angle grinder i removed all of the hammerite so i could protect the underside properly. I then kurusted any pitted areas followed by etch primer, stone chip and then a thick rubbery anti corrosion paint that they use on oil rigs (so i am told). Note to self, don't ever use hammerite on cars again, it chips too easily.
I went into the body shop to see how it was going and couldn't believe it was my mini, it looks totally different now! The guys at Autospray in Blackpool have done a brilliant job on it and i am very impressed. They are going to flat the paintwork over the next couple of days and then i can get it back in my workshop. Really excited now, i can finally bolt bits back onto it!
Whilst the body was away i sprayed the rollcage which has turned out very nice. As you can see i welded in a harness bar.
The pics below show it before it went in for paint. I turned it onto its side and using a scraper and a wire wheel on the angle grinder i removed all of the hammerite so i could protect the underside properly. I then kurusted any pitted areas followed by etch primer, stone chip and then a thick rubbery anti corrosion paint that they use on oil rigs (so i am told). Note to self, don't ever use hammerite on cars again, it chips too easily.
#101
minimuk
-

- Members
-
- 1,946 posts
Camshaft & Stage Two Head
- Location: Midlands
Posted 12 December 2011 - 01:37 AM
looking good,...nice roof job and lovely green color what is the name and code for that one?
#102
Bash Master
-
- TMF+ Member
-
- 150 posts
Mini Mad
- Location: Blackpool, Lancashire
Posted 12 December 2011 - 09:42 AM
Cheers mate
It's actually Yukon grey. I was going to paint it old english white but changed my mind as you don't see that many grey minis around. It will be very unique when it's finished.
It's actually Yukon grey. I was going to paint it old english white but changed my mind as you don't see that many grey minis around. It will be very unique when it's finished.
#103
TA2DMAC
-

- Members
-
- 755 posts
One Carb Or Two?
- Location: Detroit
- Local Club: Michigan MINI Motorin Club
Posted 12 December 2011 - 10:17 AM
Wow, looking good
#104
MJWarren
-
- Members
-
- 705 posts
One Carb Or Two?
- Local Club: DCMOC
Posted 12 December 2011 - 10:47 AM
That mini looks lovely! So does the cage !! Transformed it since I had it! Might be a struggle to get it in with the harness bar though! Have you chopped the rear bins out?
Matt
Matt
#105
Bash Master
-
- TMF+ Member
-
- 150 posts
Mini Mad
- Location: Blackpool, Lancashire
Posted 12 December 2011 - 10:59 AM
Thanks Matt, yeah the bins are gone so it makes fitting the cage a lot easier. Just needs a ratchet strap to bring the two central posts together. It won't be easy fitting it without scratching the lovely paint tough!


2 user(s) are reading this topic
0 members, 2 guests, 0 anonymous users


