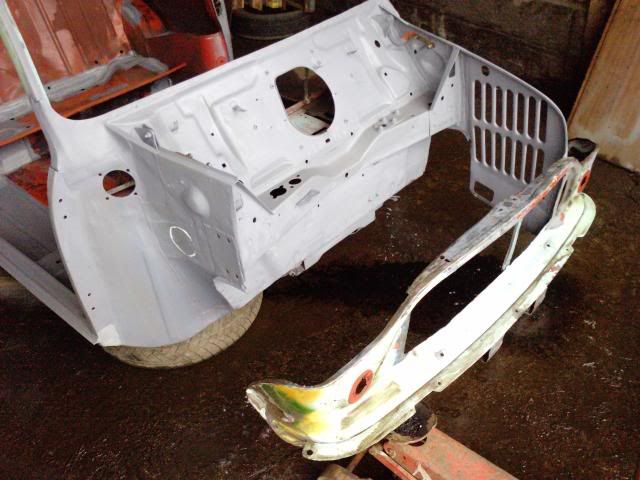
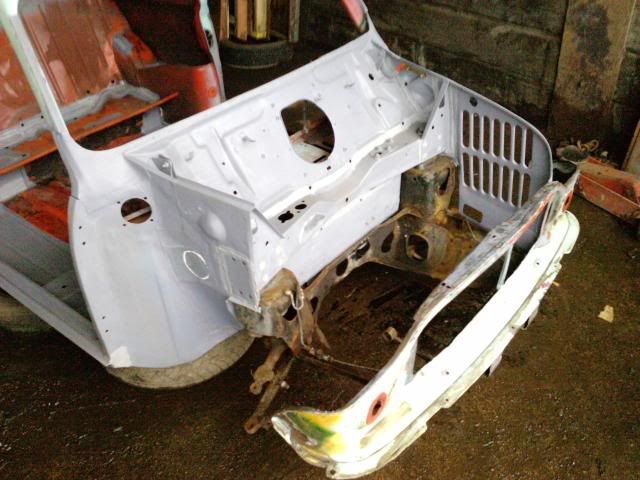
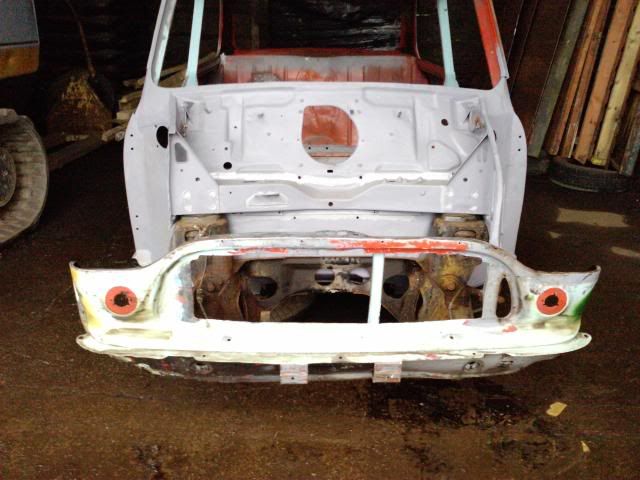
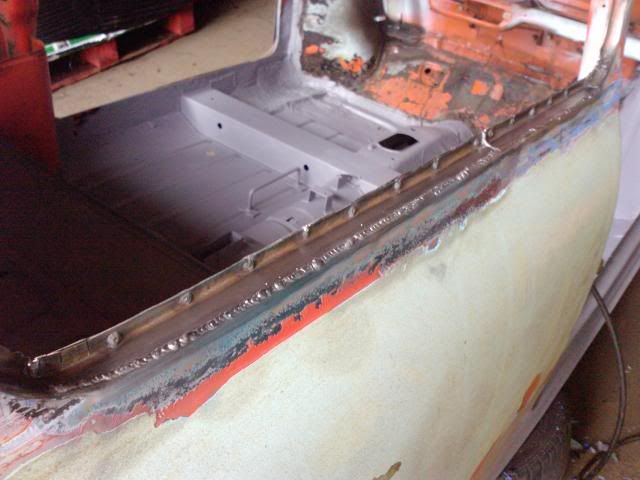
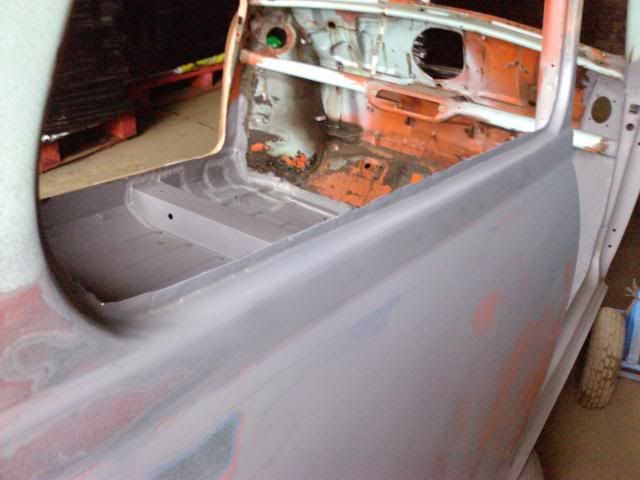
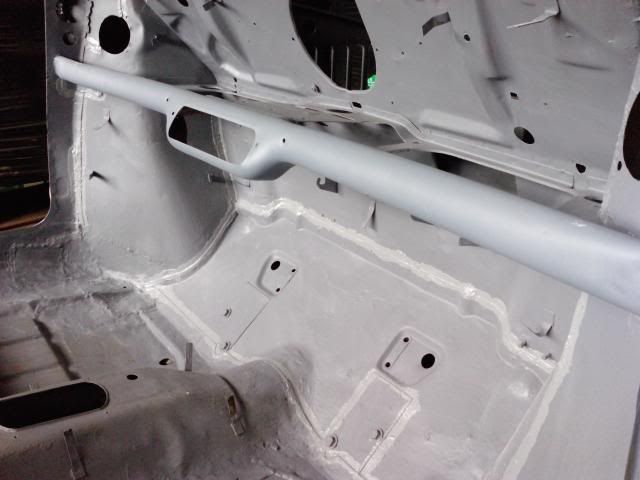
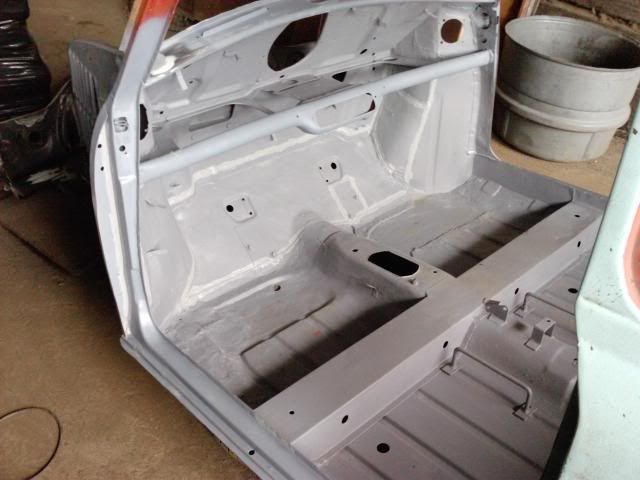
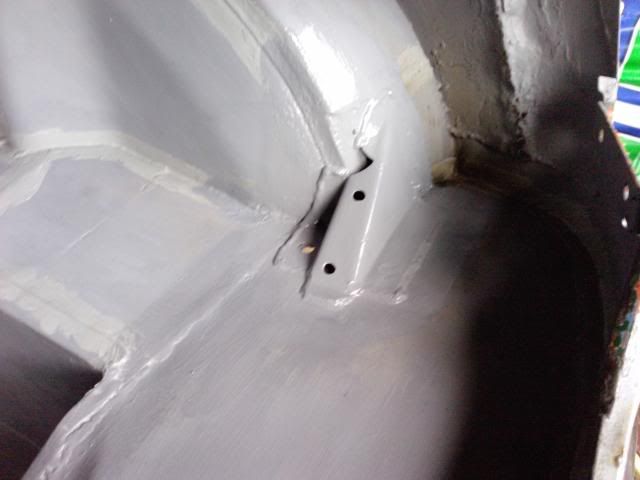
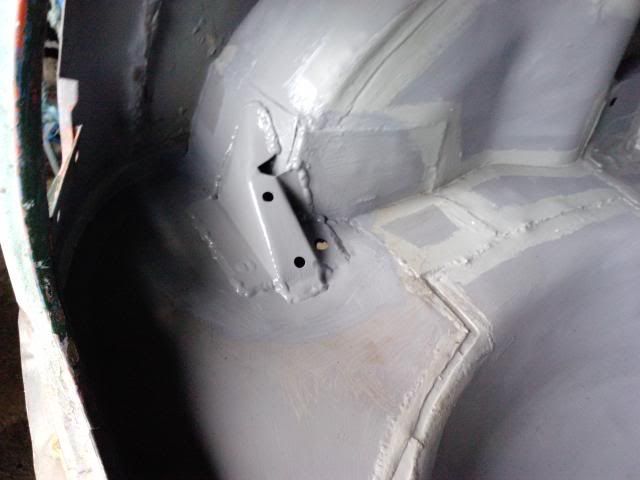
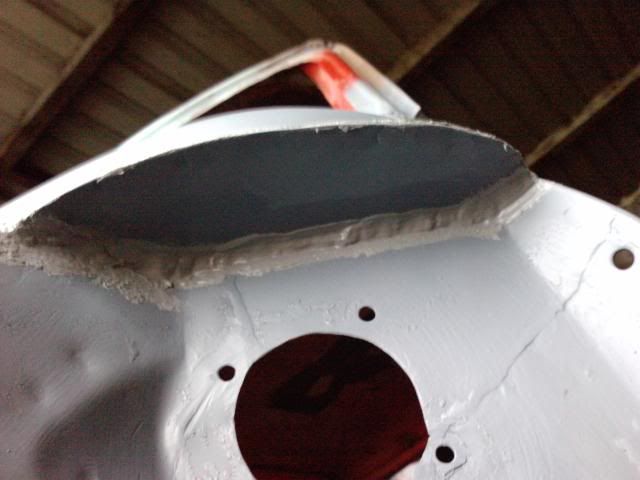
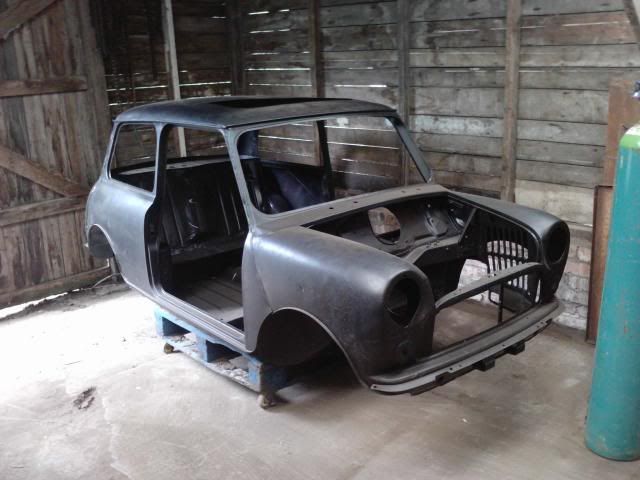
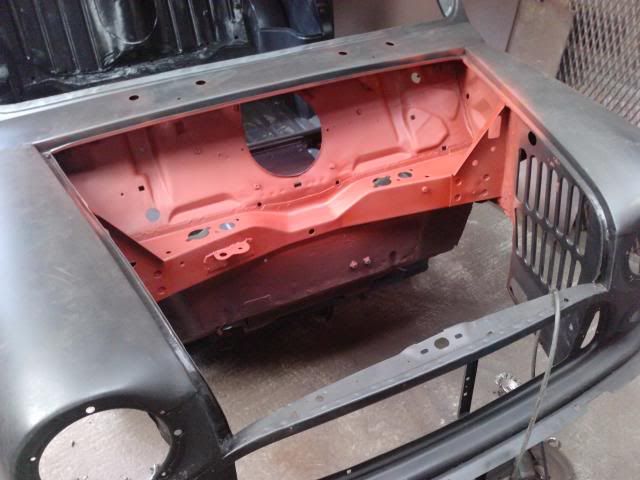
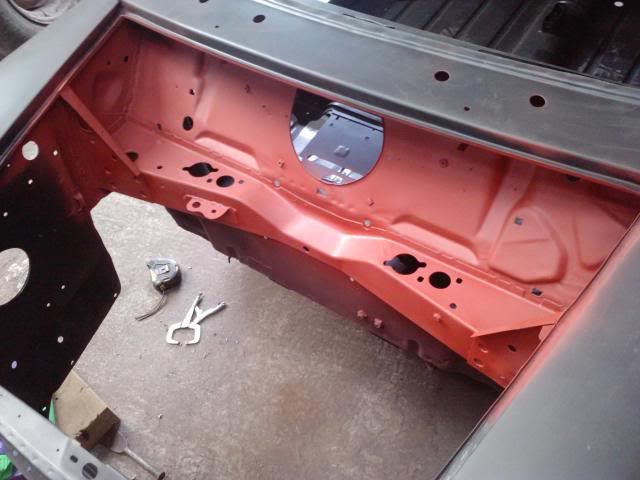
so, the most recent progress, cut out the old inner wing, grey oxide primed the front end and seam sealed it. then fitted the front subframe.


Mini Mad

Posted 23 January 2010 - 05:39 PM
Mini Mad
Posted 31 January 2010 - 10:43 PM
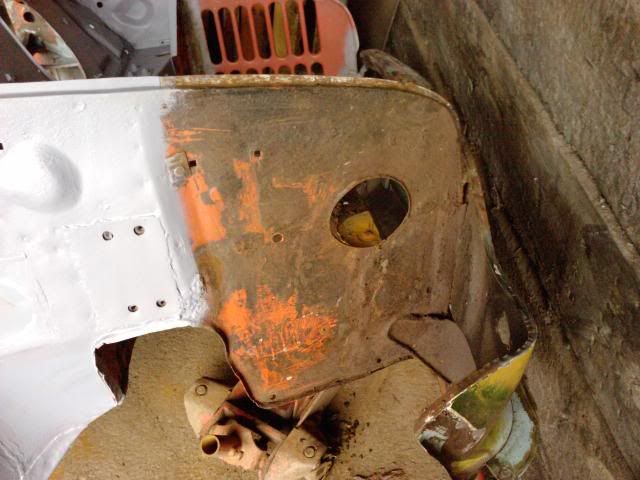
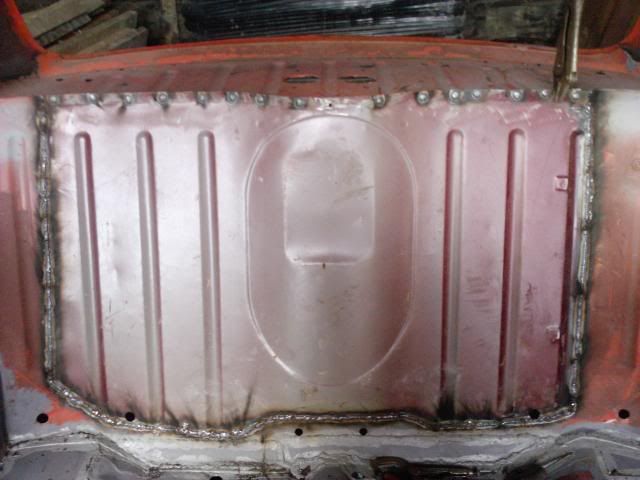
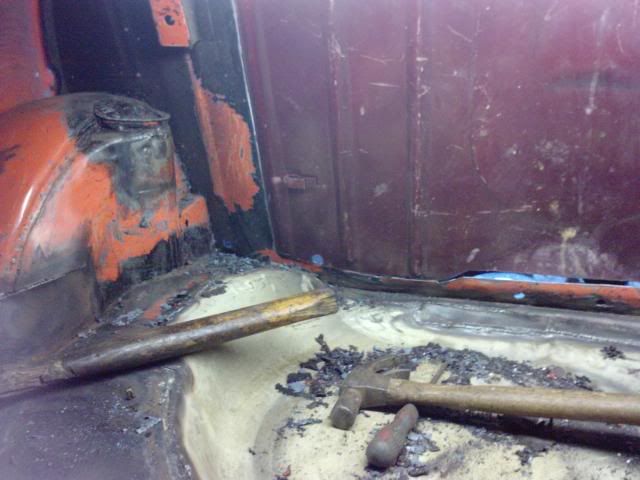
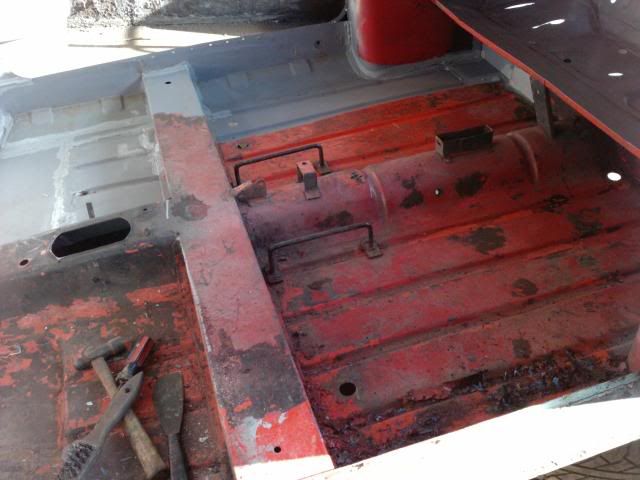
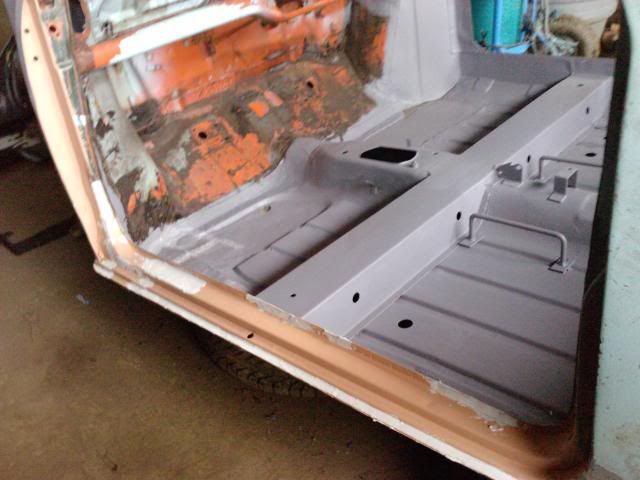
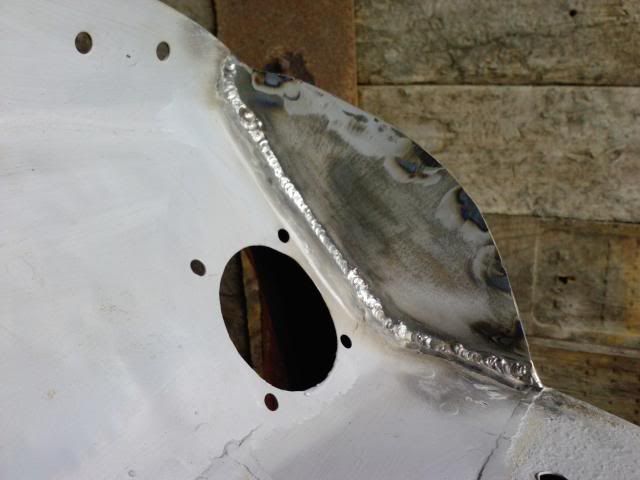
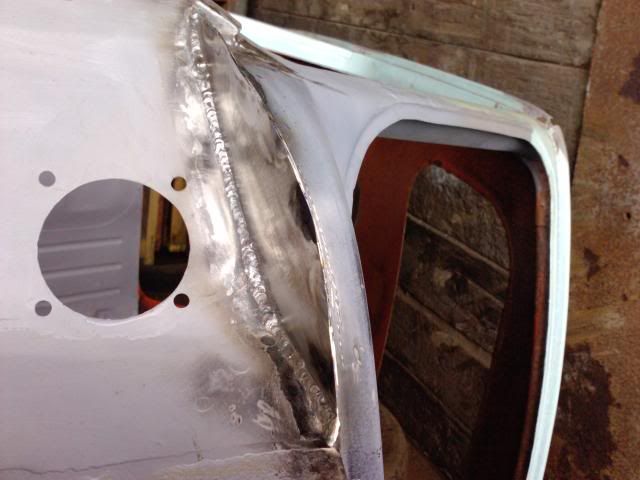
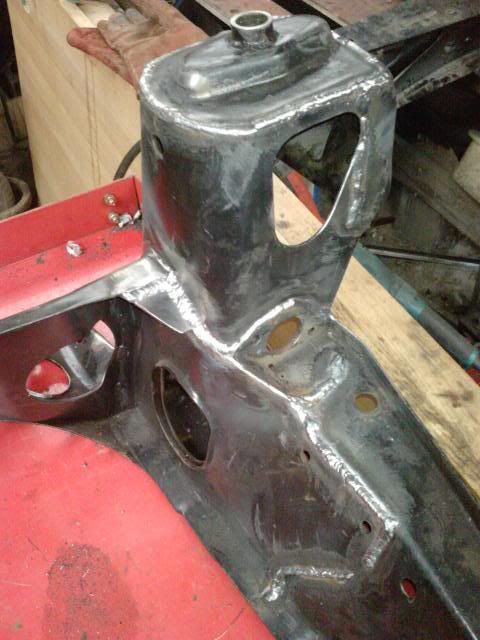
 . it took a while to weld the replacement panel in.
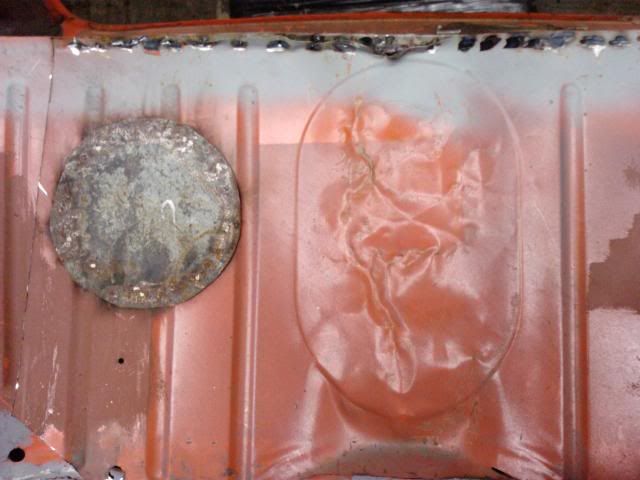

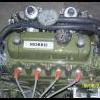
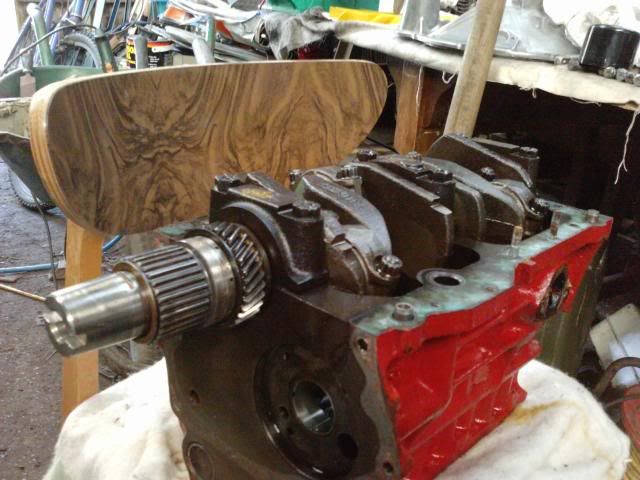
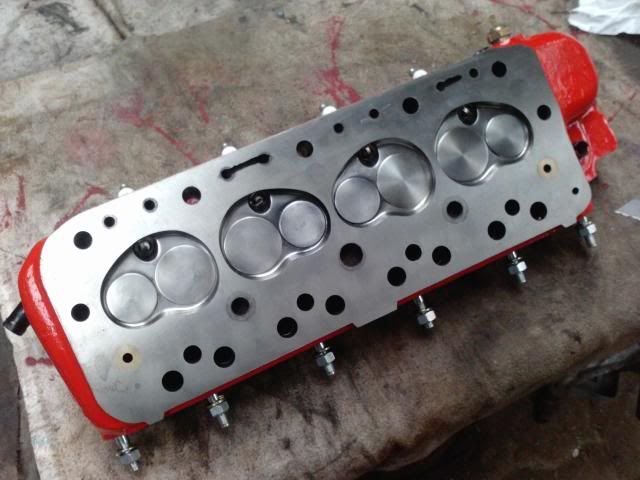
Camshaft & Stage Two Head
Posted 01 February 2010 - 02:41 AM
Up Into Fourth

Posted 01 February 2010 - 06:22 PM
Mini Mad
Posted 18 March 2010 - 06:26 PM
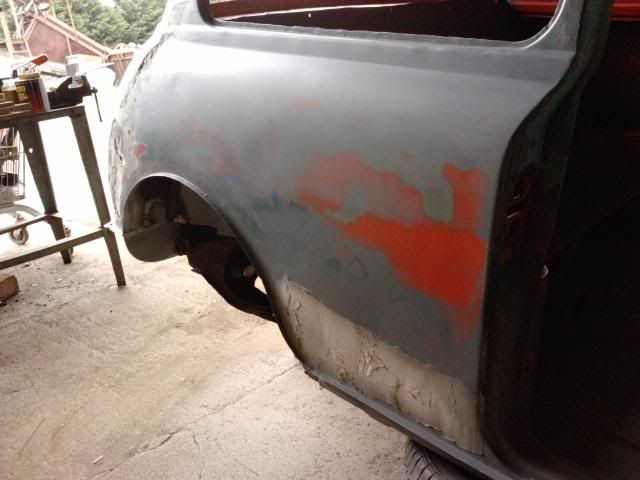
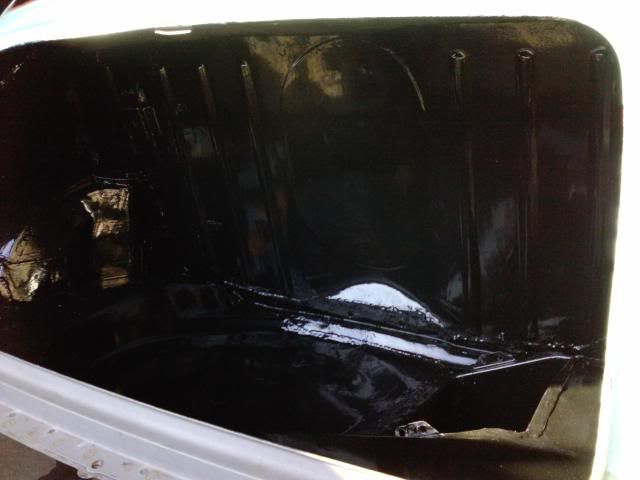
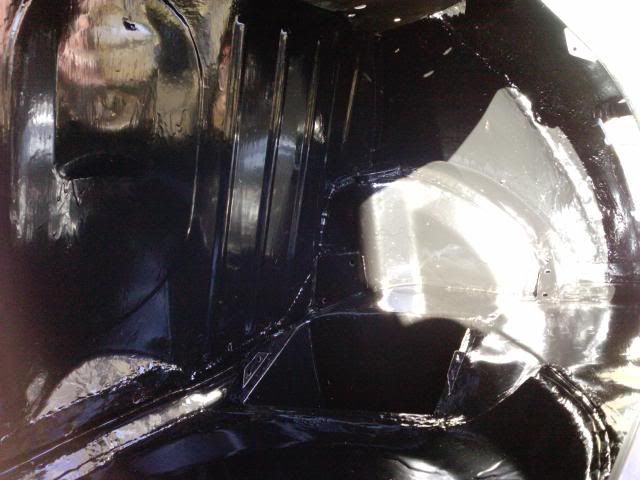
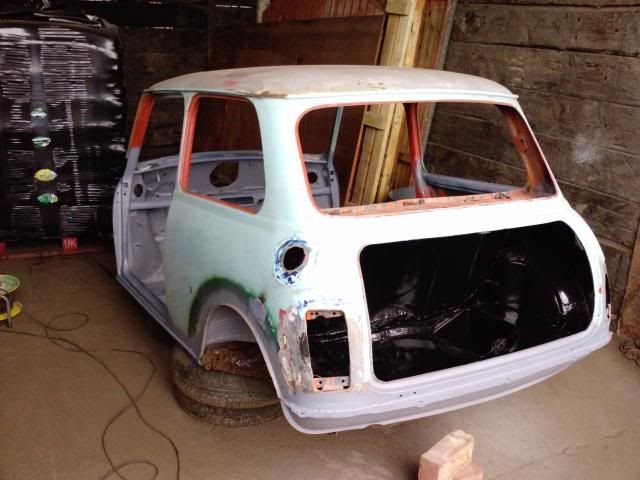
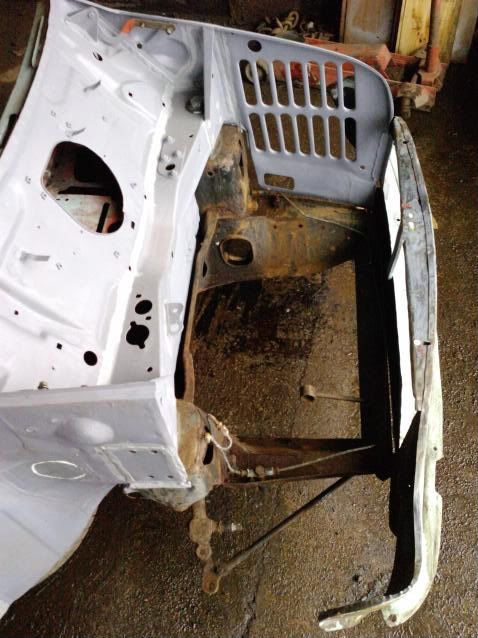
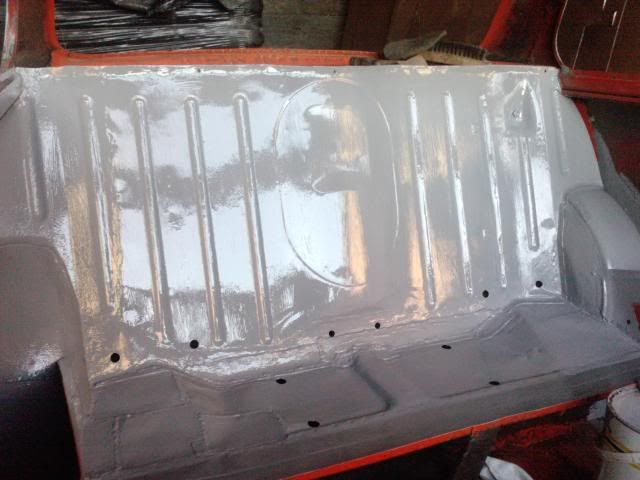
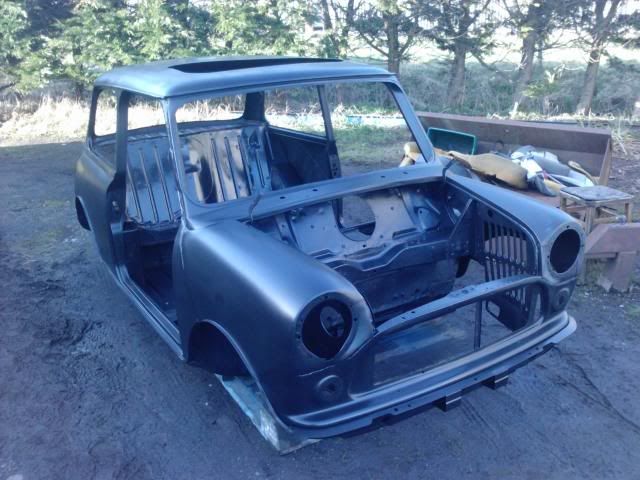
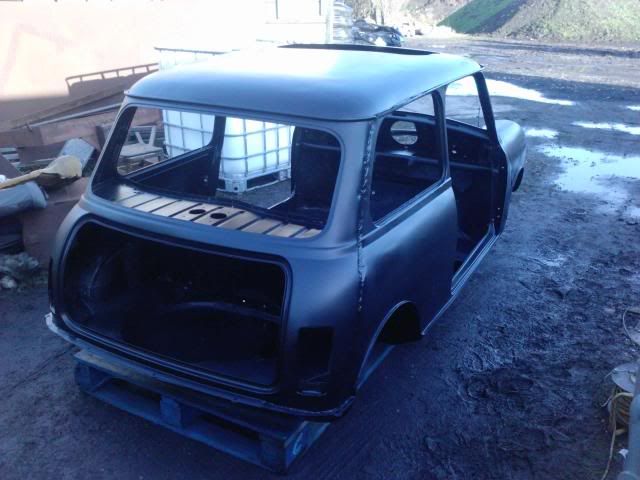
 after that it's all about stripping away the many, many different layers of paint and flatting ready for primer.
Crazy About Mini's

Posted 18 March 2010 - 06:34 PM
One Carb Or Two?

Posted 18 March 2010 - 06:44 PM
Mini Mad
Posted 18 March 2010 - 10:24 PM
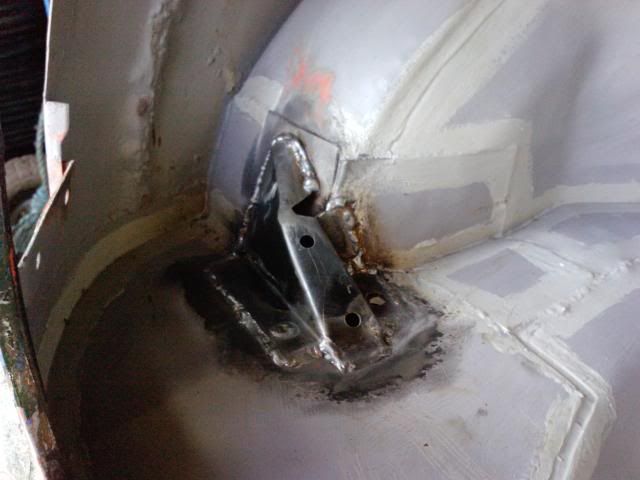
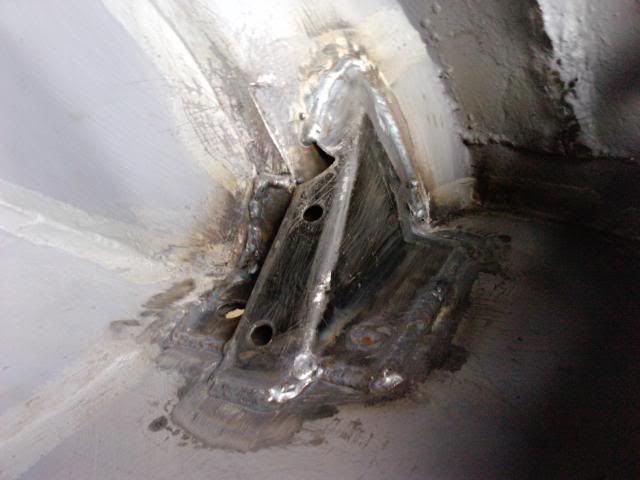
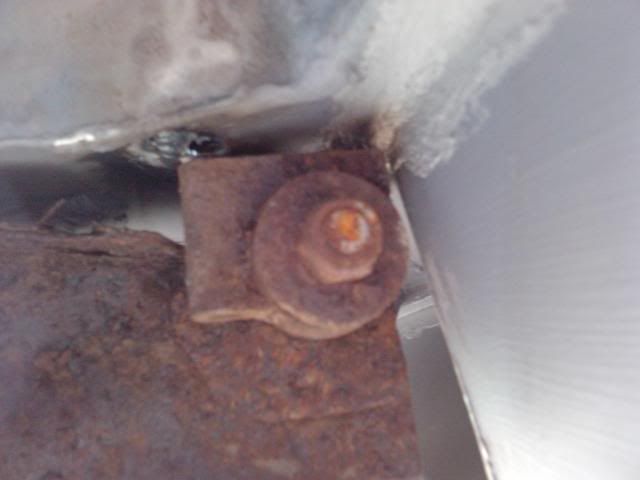
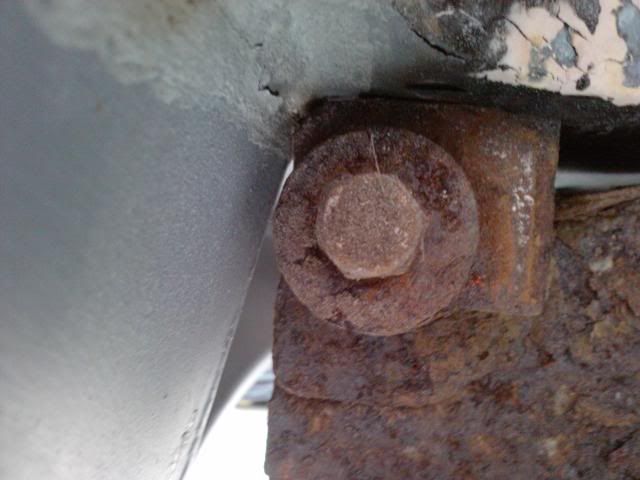
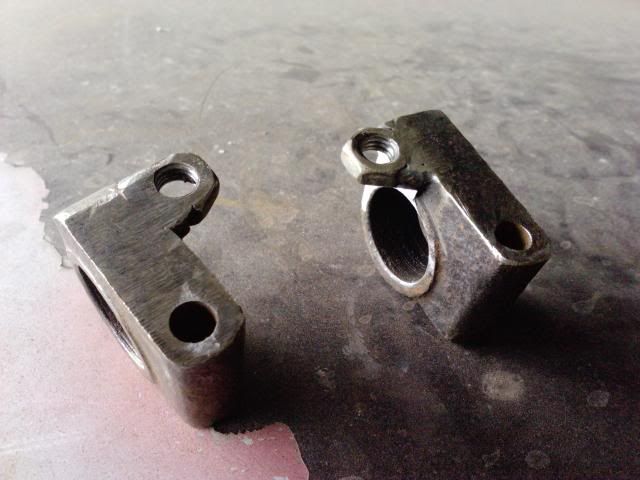
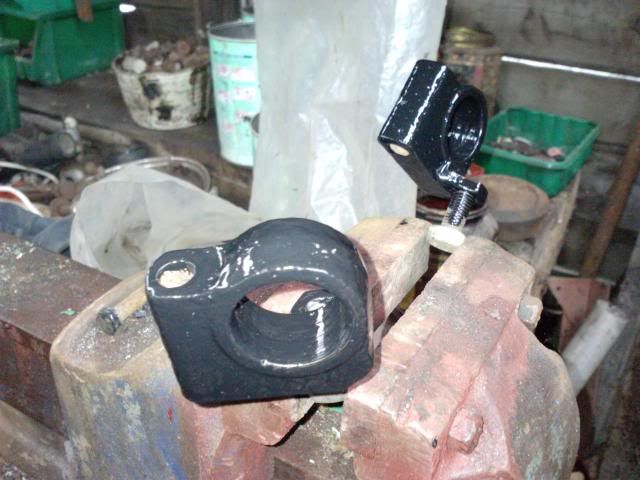
I really would not rely on one bolt in each rear subframe mounting - the trunions will rotate around that bold and the subframe will move about, probably snapping the front mounting bolts. I also doubt any MoT tester worth his job would pass the car with missing mounting bolts in such a key area.
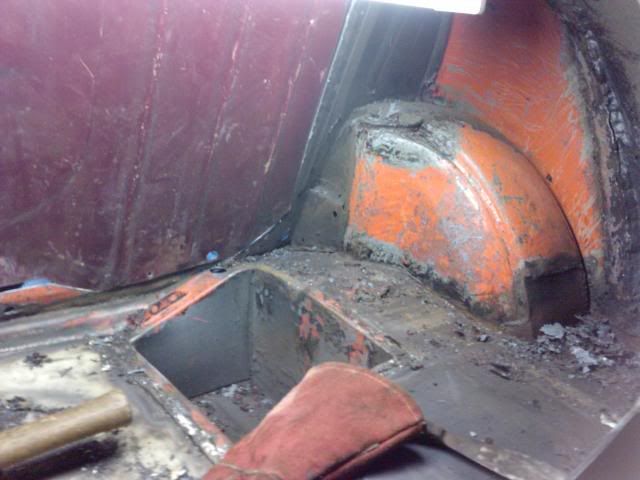
 i'll get some decent photos up of the problem tomorrow.
Crazy About Mini's
Posted 19 March 2010 - 08:53 AM
One Carb Or Two?
Posted 19 March 2010 - 08:59 PM
Mini Mad
Posted 19 March 2010 - 10:19 PM
what the f were them lights good build though

Mini Mad
Posted 22 March 2010 - 07:28 PM

Mini Mad
Posted 12 February 2011 - 07:31 PM
Mini Mad
Posted 29 May 2011 - 09:04 PM

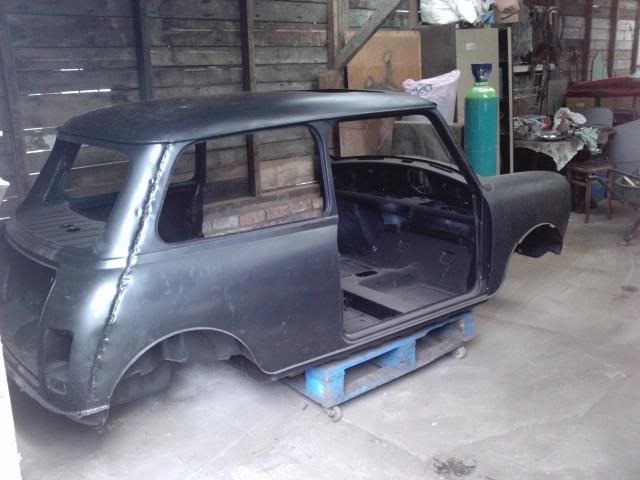

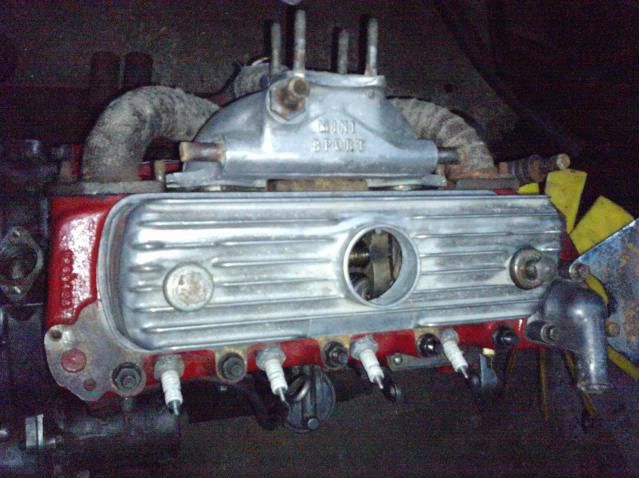
 here's a taster
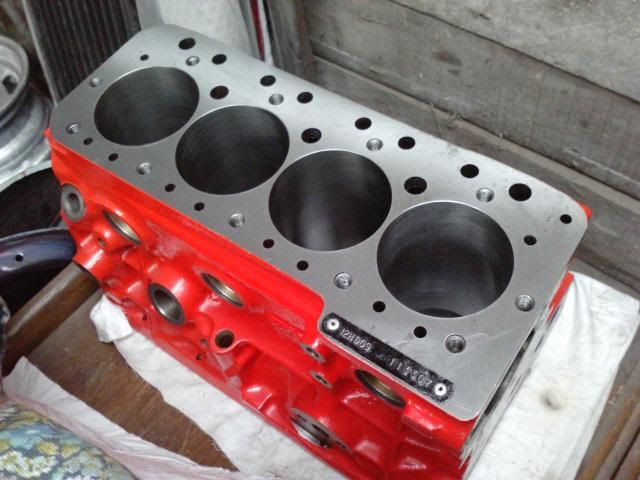
Up Into Fourth

Posted 29 May 2011 - 09:16 PM


0 members, 3 guests, 0 anonymous users


