Can't believe i've not seen this earlier,
Awesome work, looks amazing aswell and its not even painted haha.
Keep updating us.
Cheers
Louis

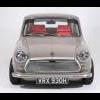
Type R Mini Van
Started by
v-tec van
, Jun 24 2009 10:10 AM
179 replies to this topic
#92

rustandoil
-

- Members
-

- 317 posts
Speeding Along Now
- Location: Cotswolds
Posted 16 November 2011 - 06:03 AM
I have just re-read your whole project thread  lots of good work and skills on this van
  it certainly looks like you are making good progress, those arches look fantastic.................
Colour?
Martin
lots of good work and skills on this van it certainly looks like you are making good progress, those arches look fantastic.................Colour?
Martin
#93
v-tec van
-
- Noobies
-
- 97 posts
Stage One Kit Fitted
Posted 16 November 2011 - 03:26 PM
I have just re-read your whole project thread
Colour?
Martin
Hi Martin
Thanks for the comments.
ill keep the colour a supprise but expect somthing bright

Chris
P.s Thanks for the other comments people.
#94
SAL 821X
-

- Members
-
- 1,890 posts
Camshaft & Stage Two Head
- Location: Hinckley
- Local Club: Leicester Mini Owners Club
Posted 16 November 2011 - 04:12 PM
Hi Chris,
Found your thread at last....
Geez the work gone into it is stunning I wish I had the engineering knowledge of yourself.
My van will also be bright it just has to be done.
Cheers
Matt
Found your thread at last....
Geez the work gone into it is stunning I wish I had the engineering knowledge of yourself.
My van will also be bright it just has to be done.
Cheers
Matt
#95
Alburglar
-
- Members
-
- 3,331 posts
Das Pingu's
- Location: Dover Kent
- Local Club: Kentish Mini Club
Posted 17 November 2011 - 12:03 AM
Is the exhaust tunnel extension, just to hide handbrake cable and wires etc?
#96
v-tec van
-
- Noobies
-
- 97 posts
Stage One Kit Fitted
Posted 17 January 2012 - 03:21 PM
Update time.........
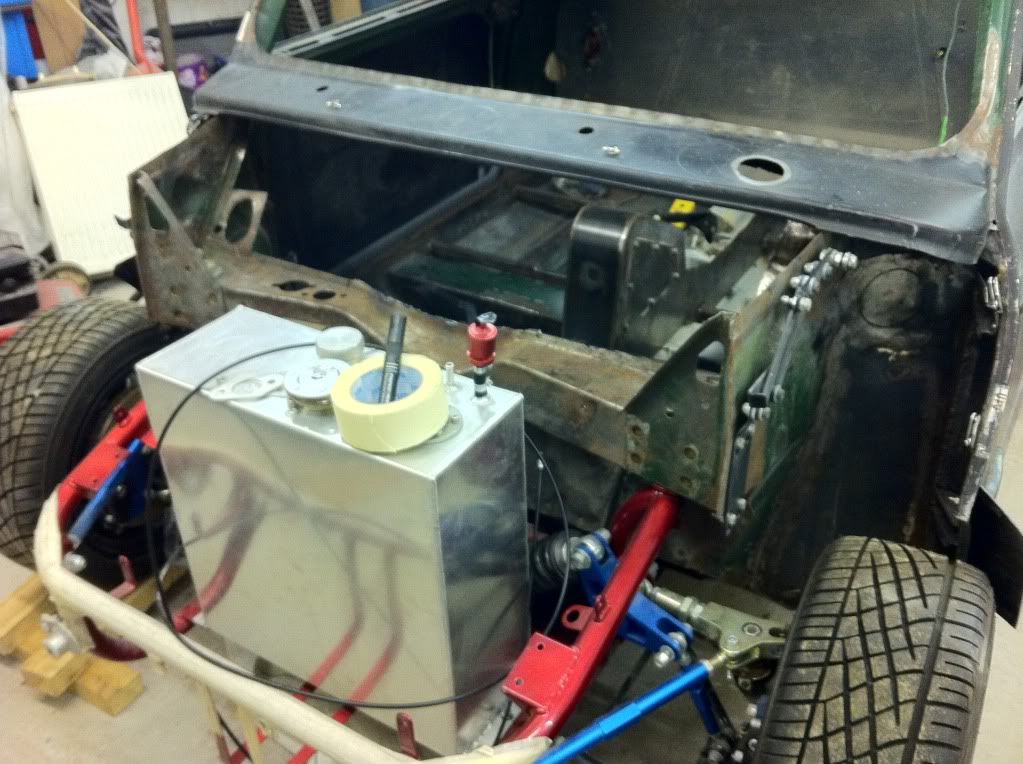
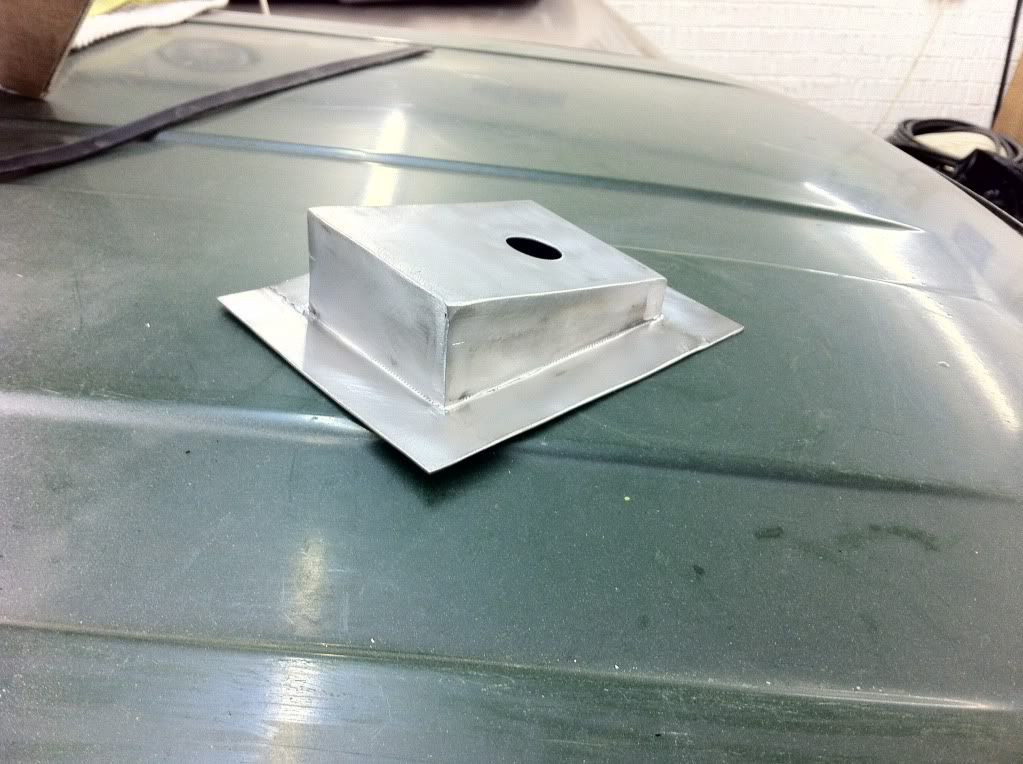
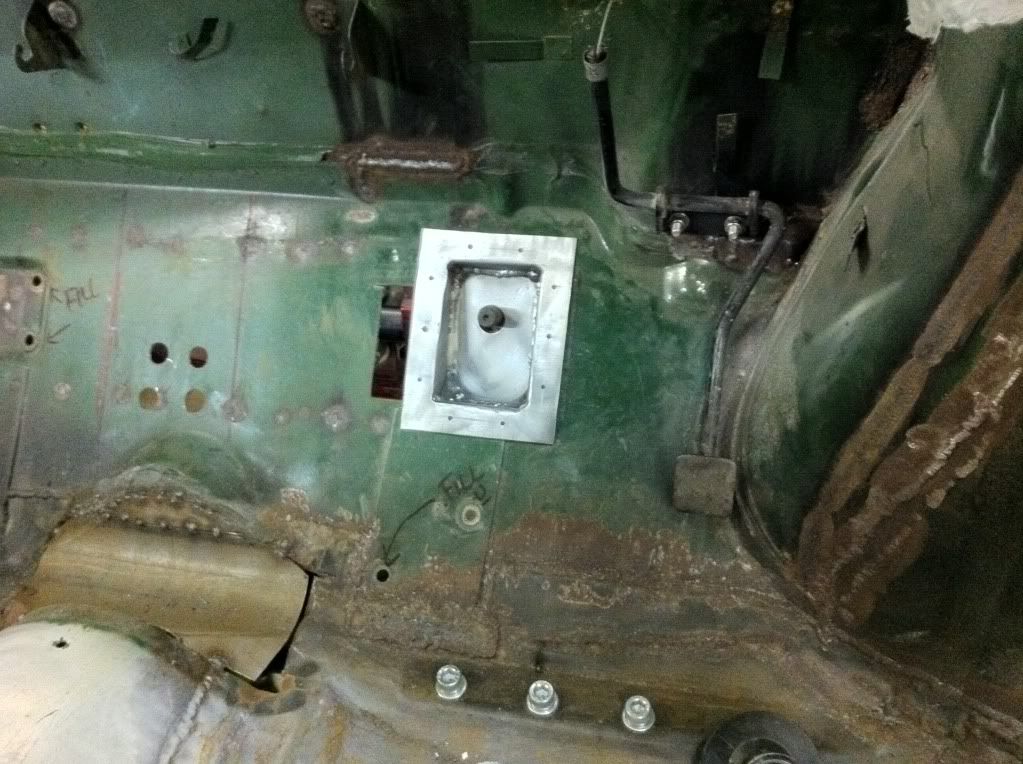
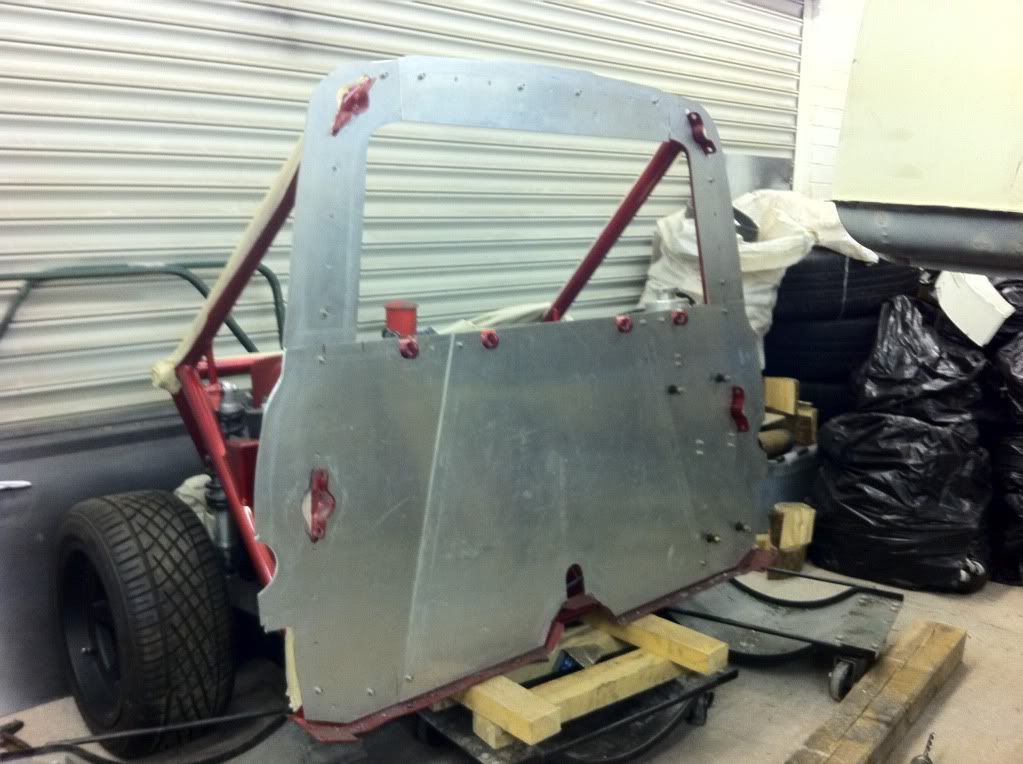
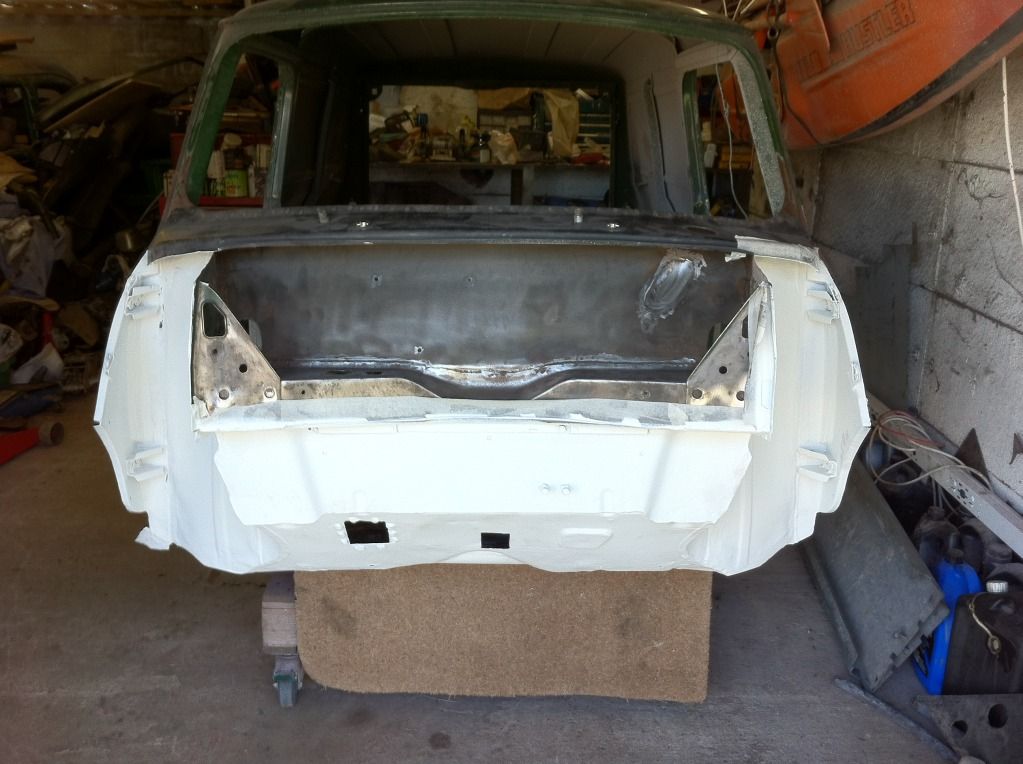
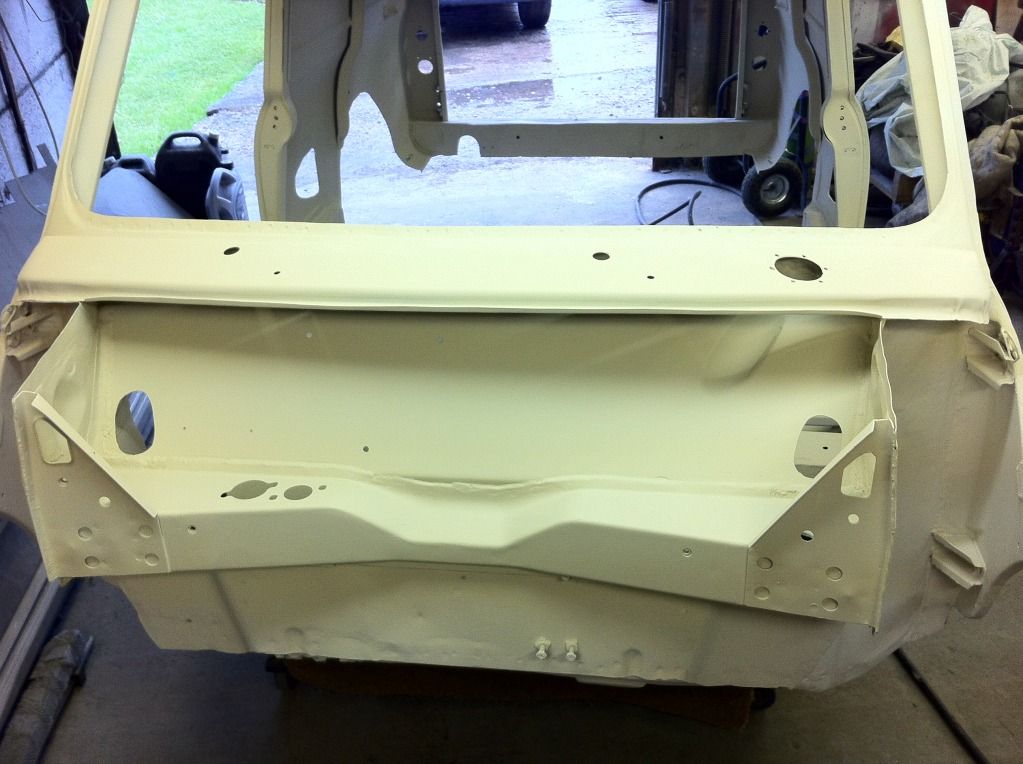
In the time since the last update i decided to do what i should have done in the first place, to replace the front bulkhead with a flat sheet of steel. I originally welded up the holes but was never happy with it, so as this would be the last chance to change it before paint prep starts i did . This then meant the wiper motor would need re-mounting . The cut out in the tunnel is so the fuel filler hose fits without rubbing .
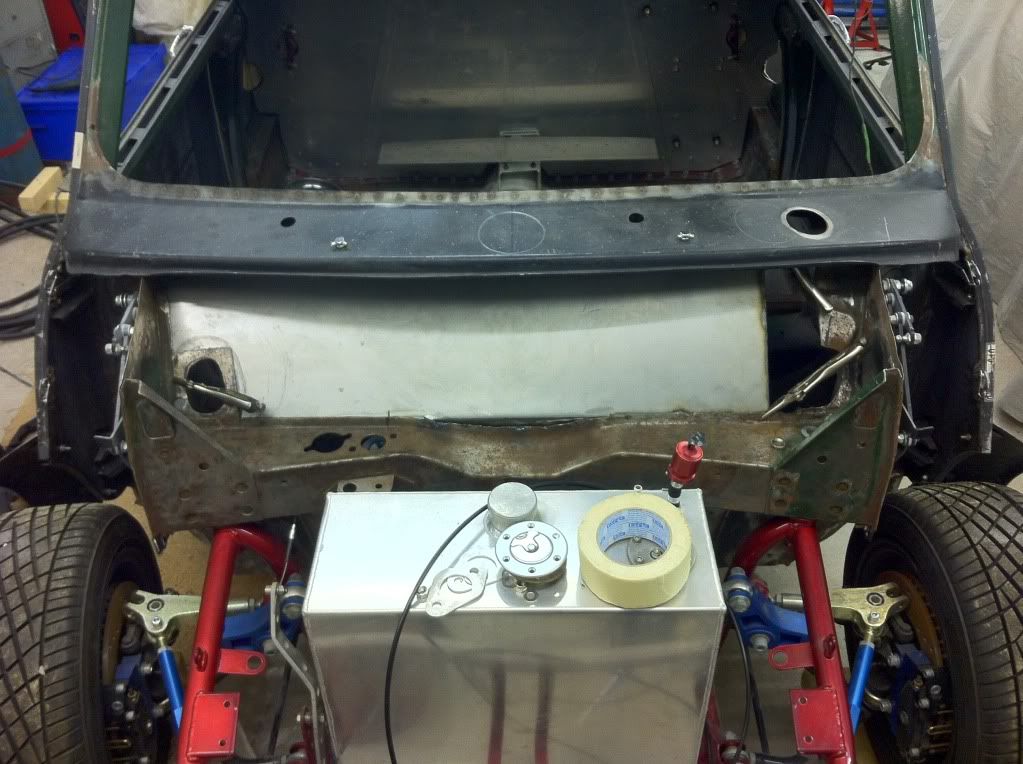
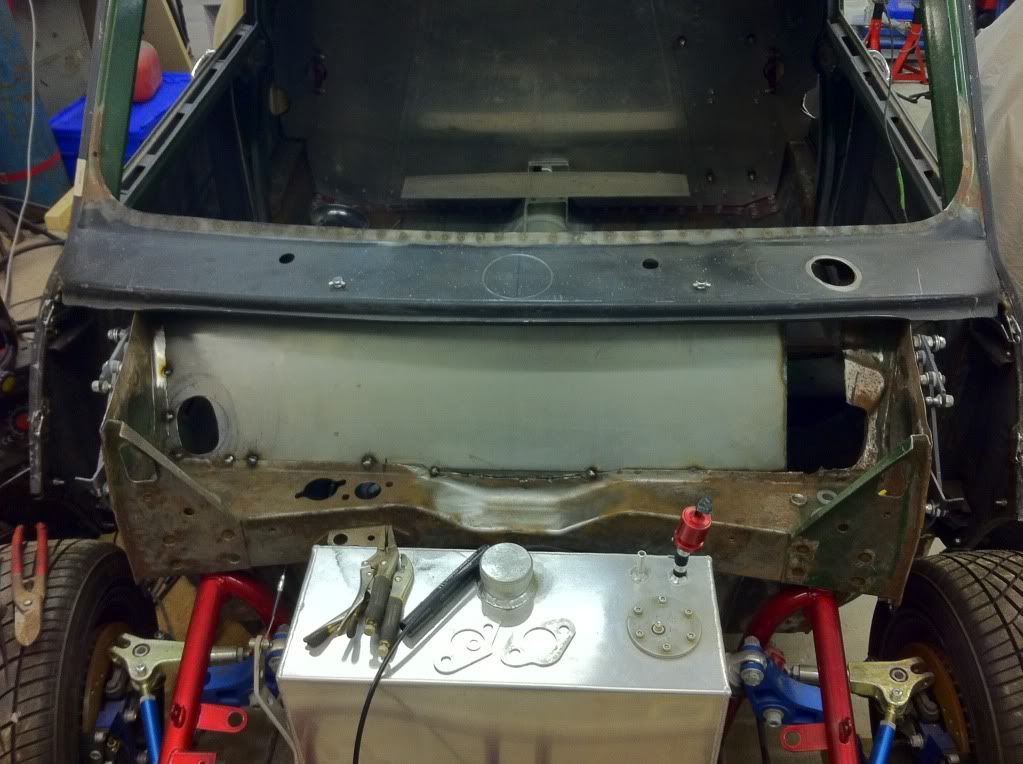
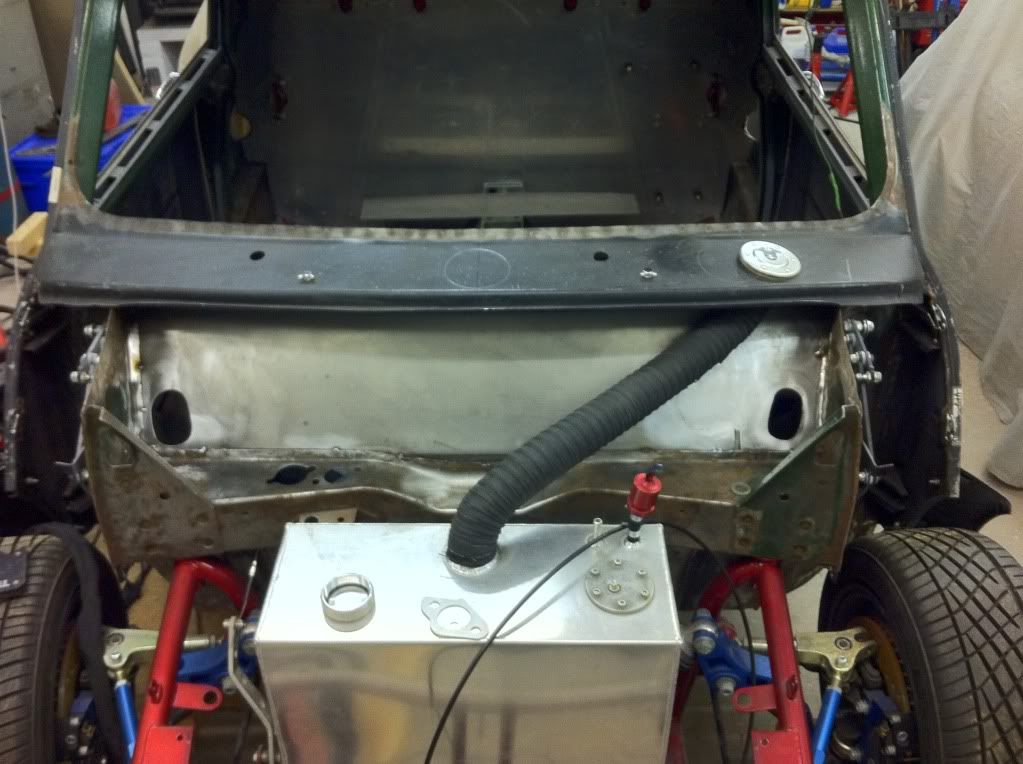
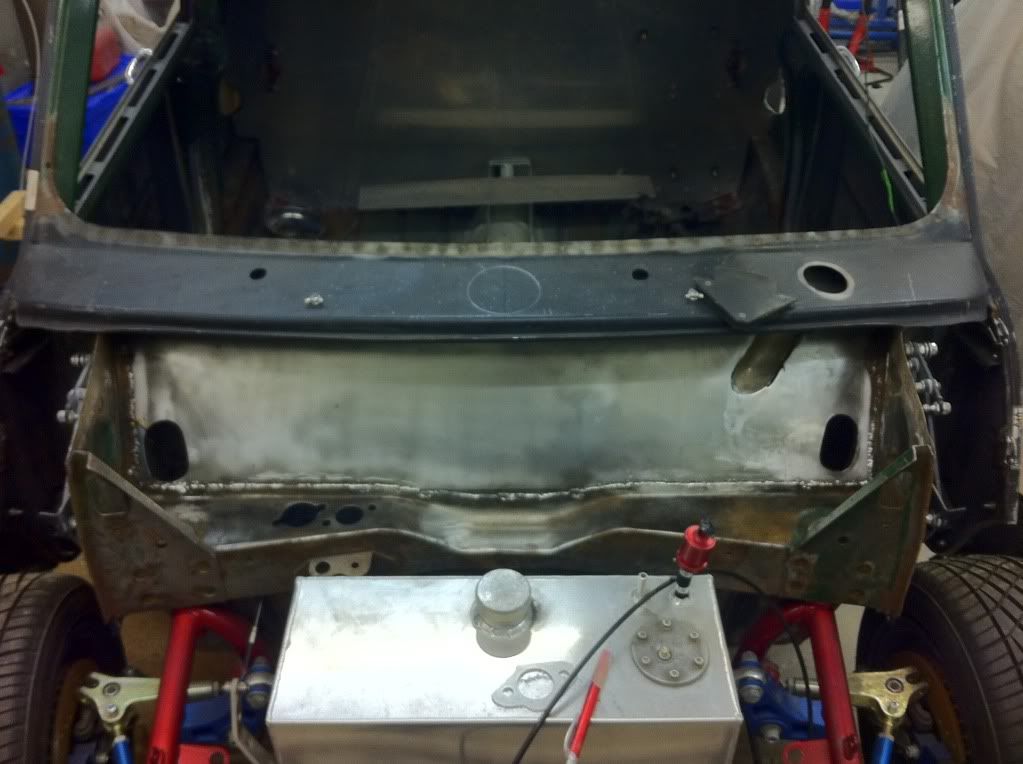
i think it would have been a "wish i had changed that" part of the car if i hadn`t changed it.
Ive been doing all the small bits and bobs that have been left throughout the build ( more was left than i remember ) which has taken longer than i thought .
seat supports
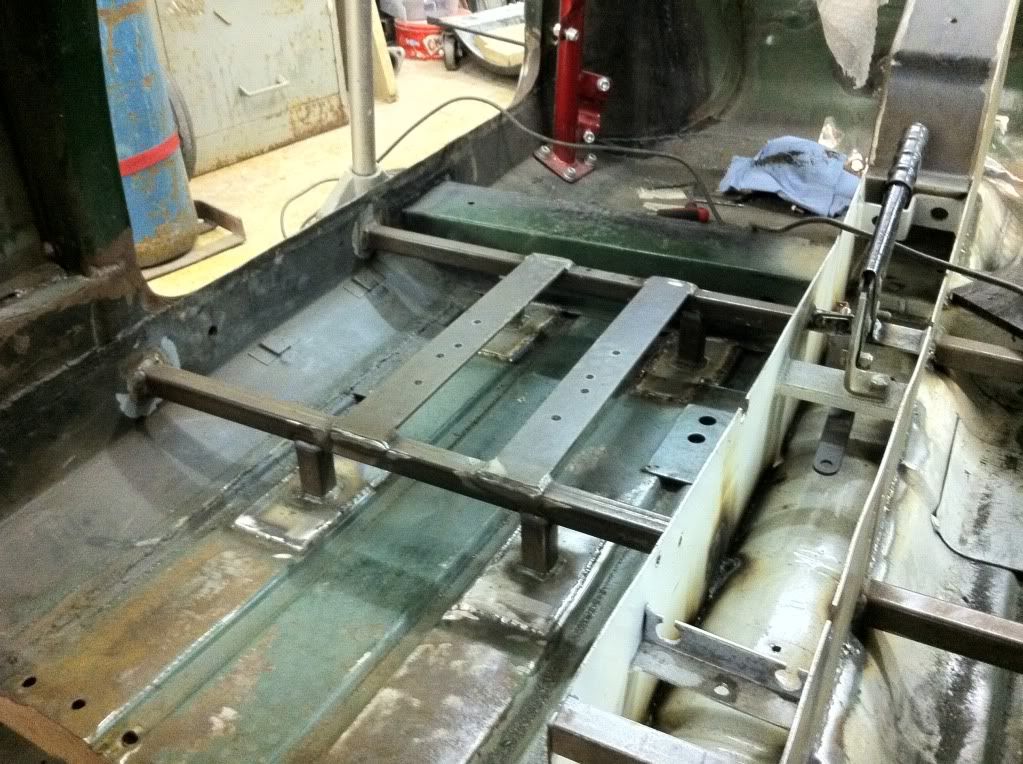
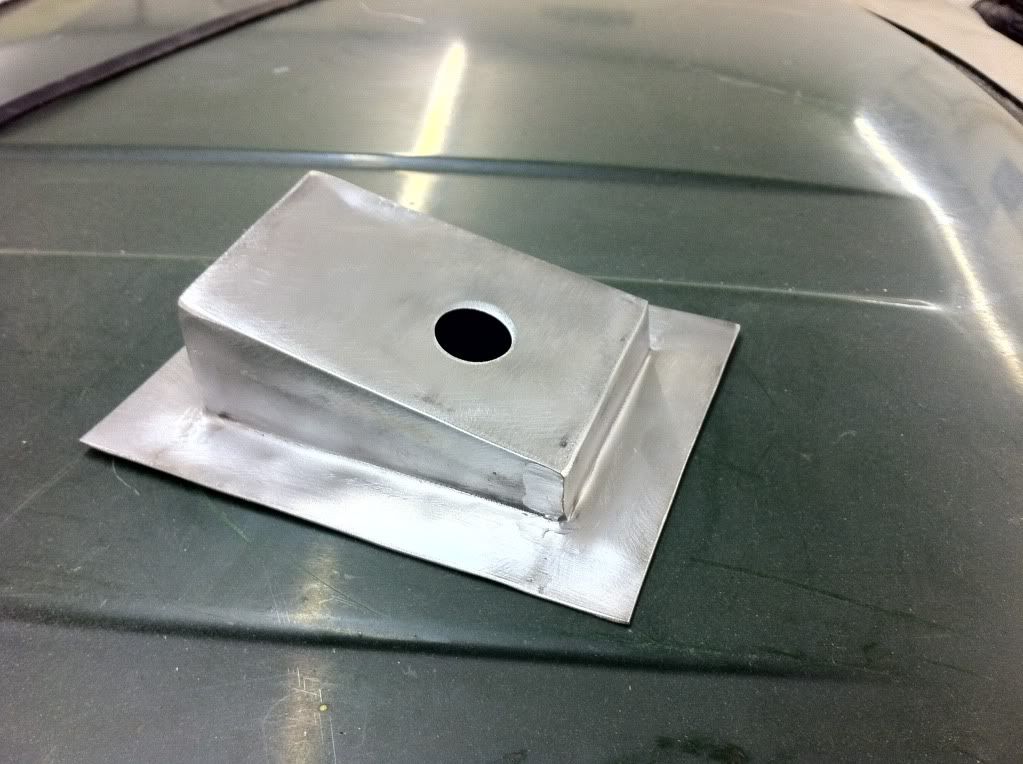
Pedal box support
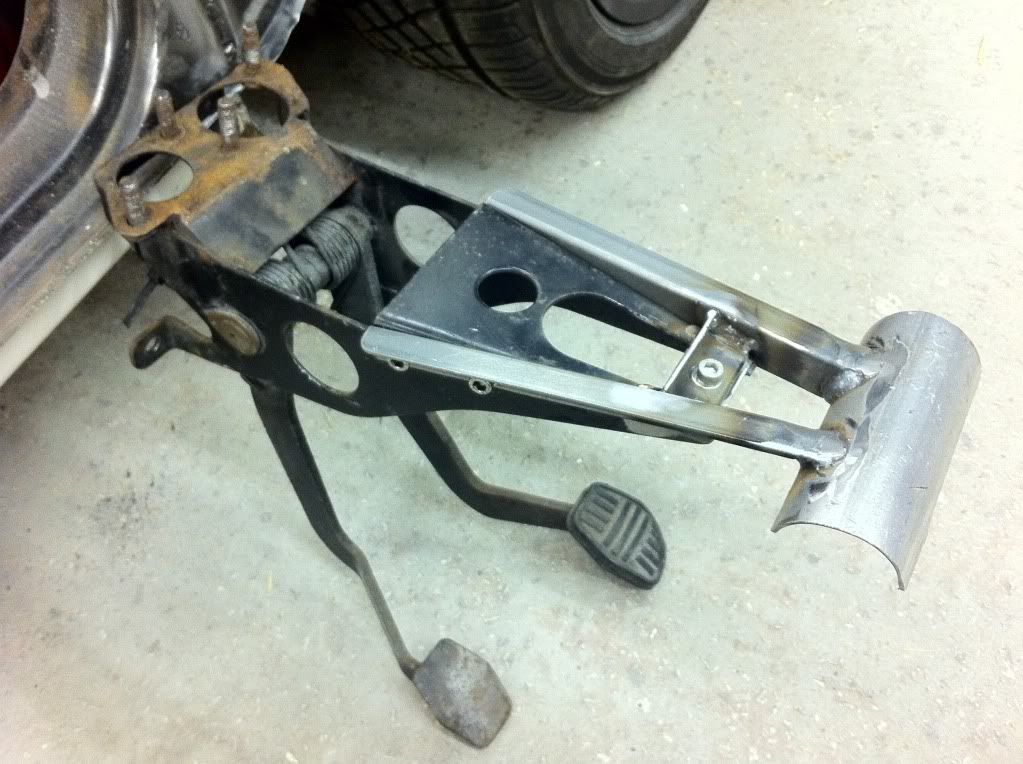
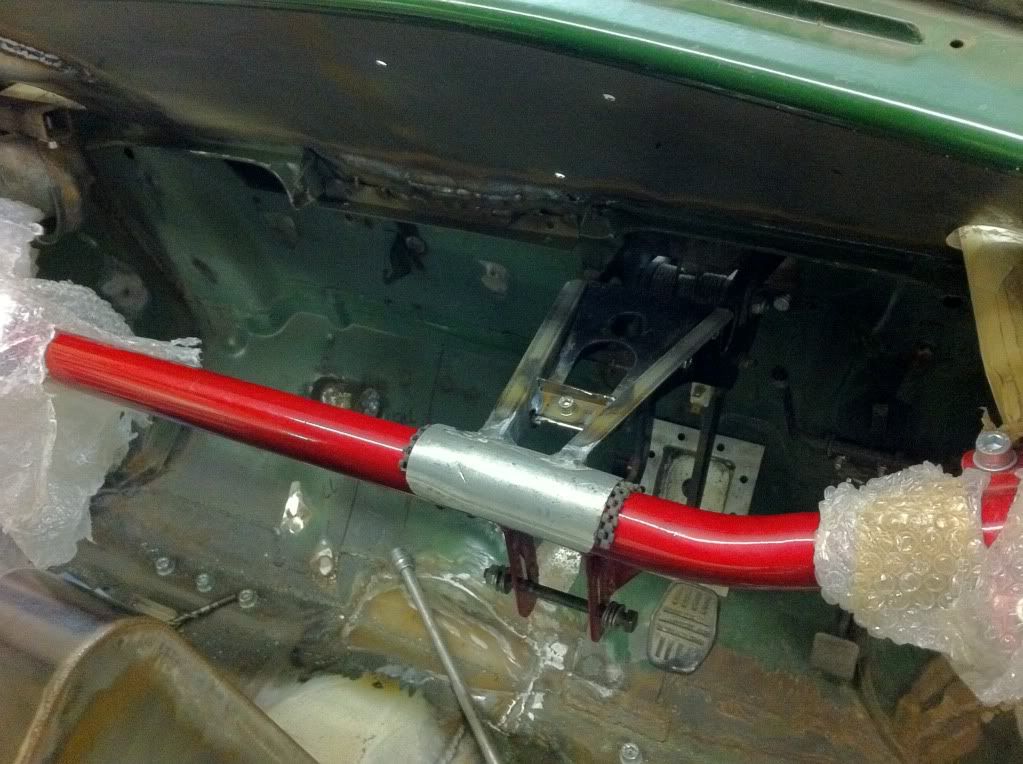
a cover to go around the bottom of the steering column ( a tweeked stolen design off the forum )
)
I took delivery of a quaiffe lsd this week from CPL Racing so i think i have all the main parts now for the engine/gearbox.
I need to spot-weld my outer A panels on, then i can start properly on paint prep...........
cheers
Chris
In the time since the last update i decided to do what i should have done in the first place, to replace the front bulkhead with a flat sheet of steel. I originally welded up the holes but was never happy with it, so as this would be the last chance to change it before paint prep starts i did . This then meant the wiper motor would need re-mounting . The cut out in the tunnel is so the fuel filler hose fits without rubbing .
i think it would have been a "wish i had changed that" part of the car if i hadn`t changed it.
Ive been doing all the small bits and bobs that have been left throughout the build ( more was left than i remember
) which has taken longer than i thought .seat supports
Pedal box support
a cover to go around the bottom of the steering column ( a tweeked stolen design off the forum
)I took delivery of a quaiffe lsd this week from CPL Racing so i think i have all the main parts now for the engine/gearbox.
I need to spot-weld my outer A panels on, then i can start properly on paint prep...........
cheers
Chris
Edited by v-tec van, 17 January 2012 - 03:22 PM.
#97
cptkirk
-
- Members
-
- 1,799 posts
Camshaft & Stage Two Head
- Location: West Sussex
- Local Club: B.M.C. + Chiminiclub
Posted 17 January 2012 - 04:48 PM
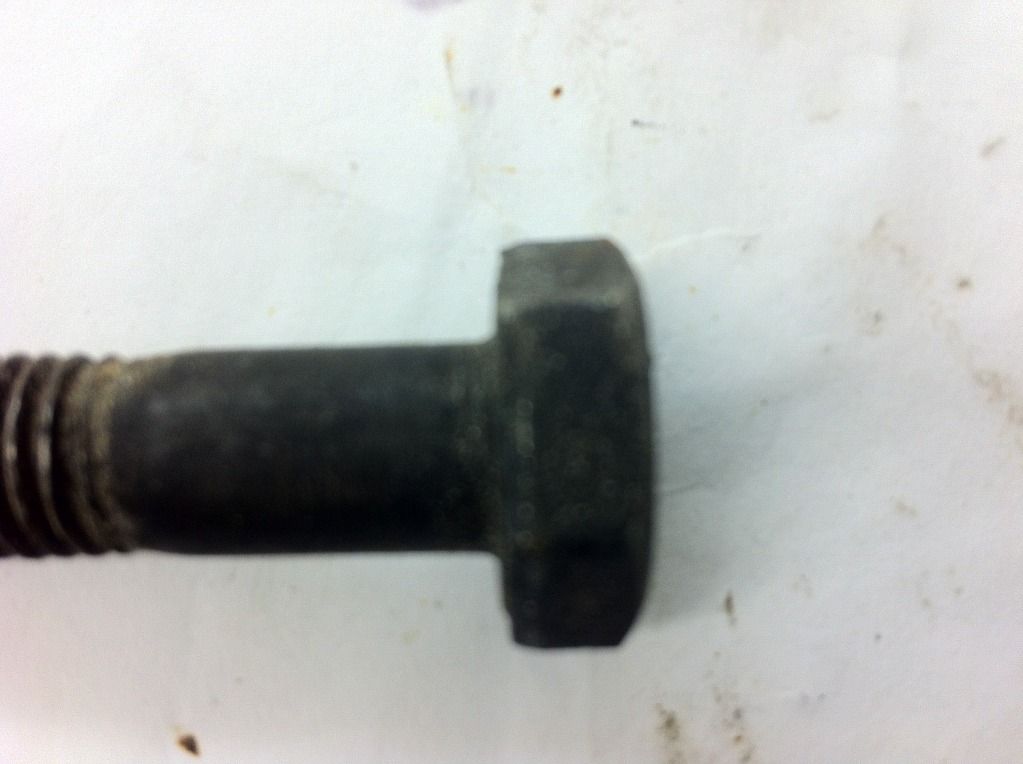
They say imitation is the sincerest form of flattery - the part looks smart, I take it its deep towards the feet to allow for the pinch bolt to be inserted?
All looking really good, you cant beat the first few weeks of the year to get your head into a project. Looking forward to more.
All looking really good, you cant beat the first few weeks of the year to get your head into a project. Looking forward to more.
Edited by cptkirk, 17 January 2012 - 04:49 PM.
#98
v-tec van
-
- Noobies
-
- 97 posts
Stage One Kit Fitted
Posted 17 January 2012 - 05:54 PM
I take it its deep towards the feet to allow for the pinch bolt to be inserted?
Correct Andy ... Hope you dont mind others using ideas from your build...
Edited by v-tec van, 17 January 2012 - 05:54 PM.
#99
cptkirk
-
- Members
-
- 1,799 posts
Camshaft & Stage Two Head
- Location: West Sussex
- Local Club: B.M.C. + Chiminiclub
Posted 18 January 2012 - 08:51 AM
I take it its deep towards the feet to allow for the pinch bolt to be inserted?
Correct Andy ... Hope you dont mind others using ideas from your build...
Not at all, just as long as it doesnt look like a carbon copy then I am fine with it......
#100
v-tec van
-
- Noobies
-
- 97 posts
Stage One Kit Fitted
Posted 27 January 2012 - 03:21 PM
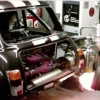
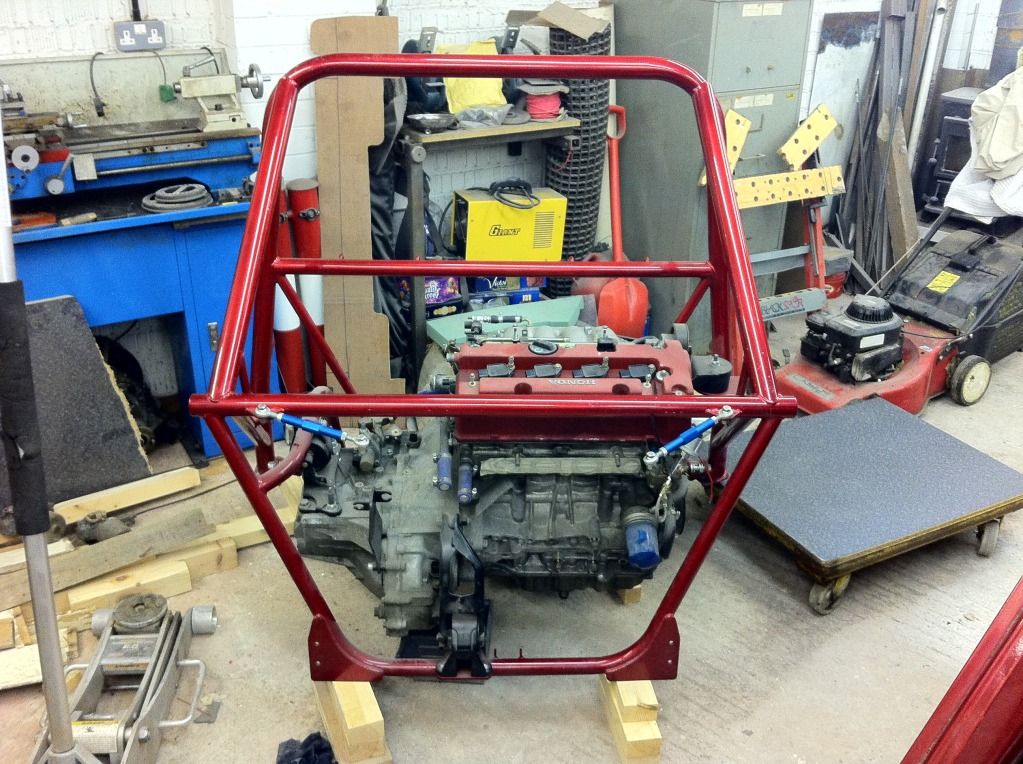
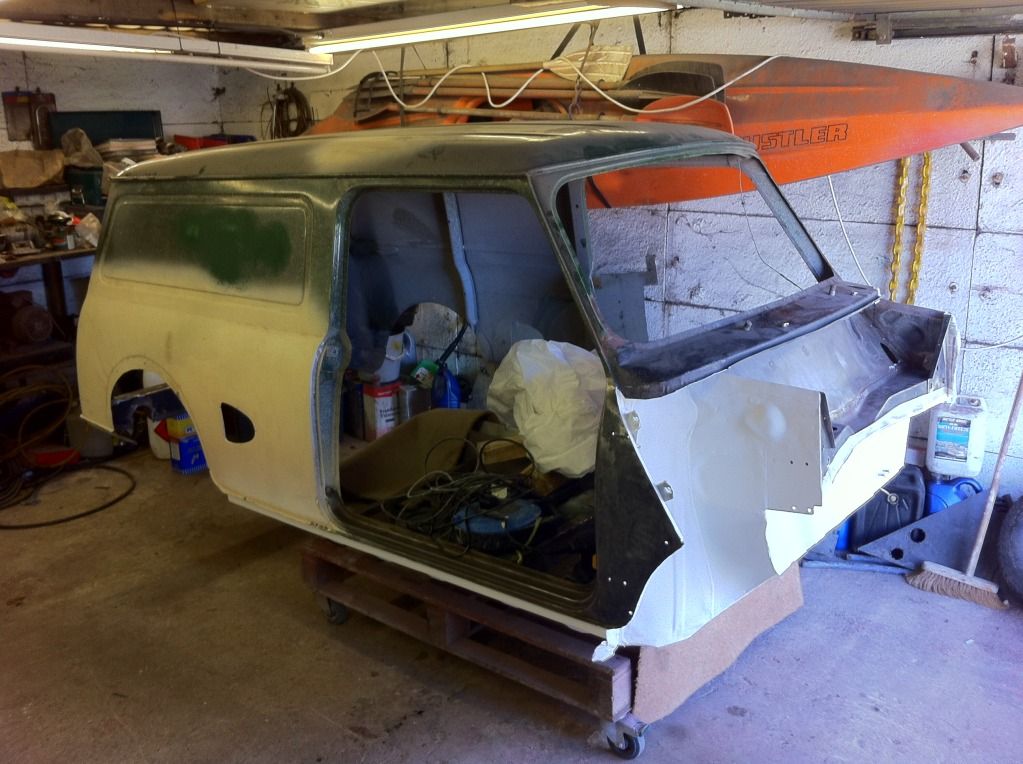
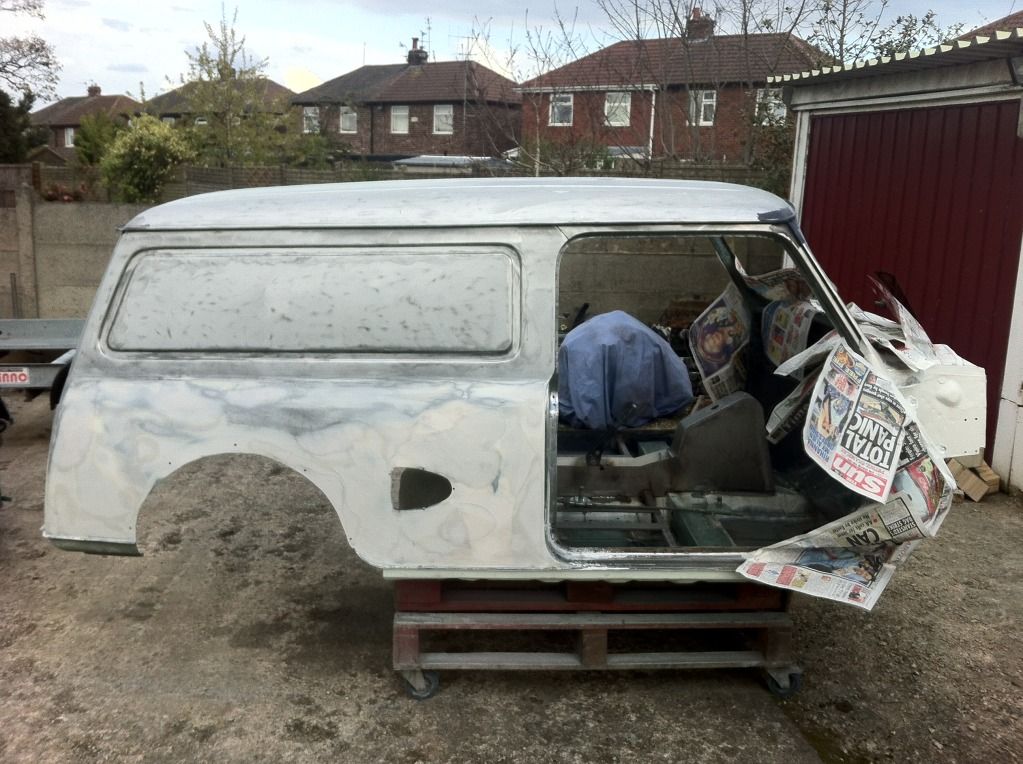
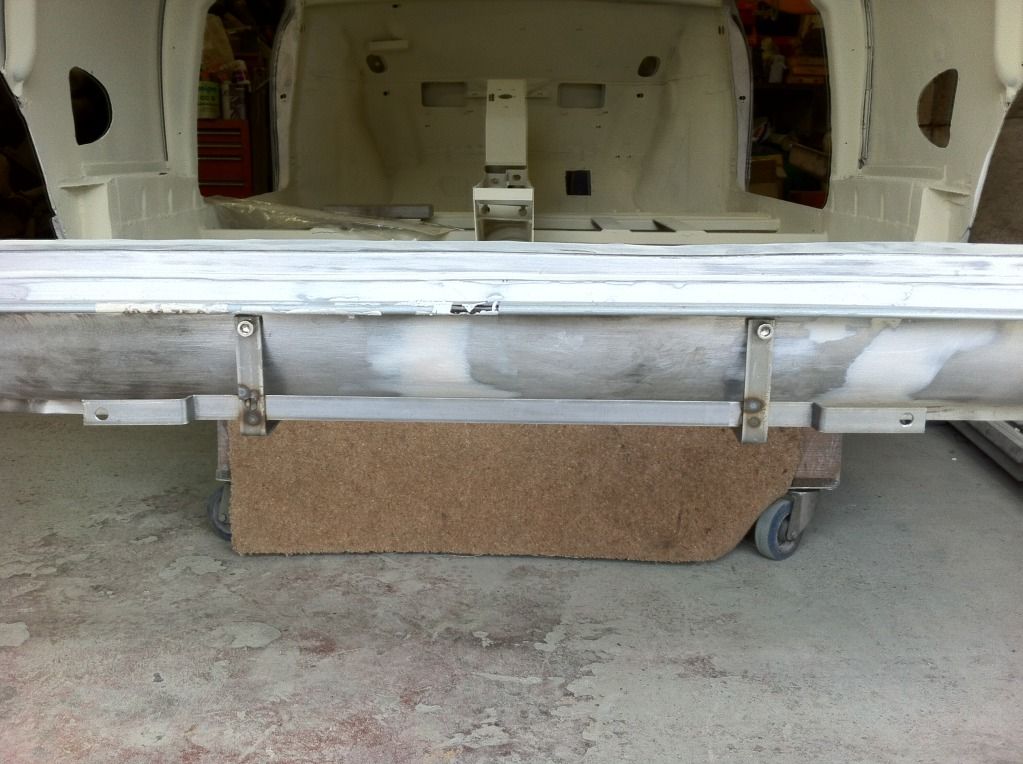
I feel like im going backwards i have a picture of the car looking like this from the 12/08/2009 

Amongst other little jobs i keep finding ive fettled the rear bulkhead to fit better. I just need to sort some perspex out for it now
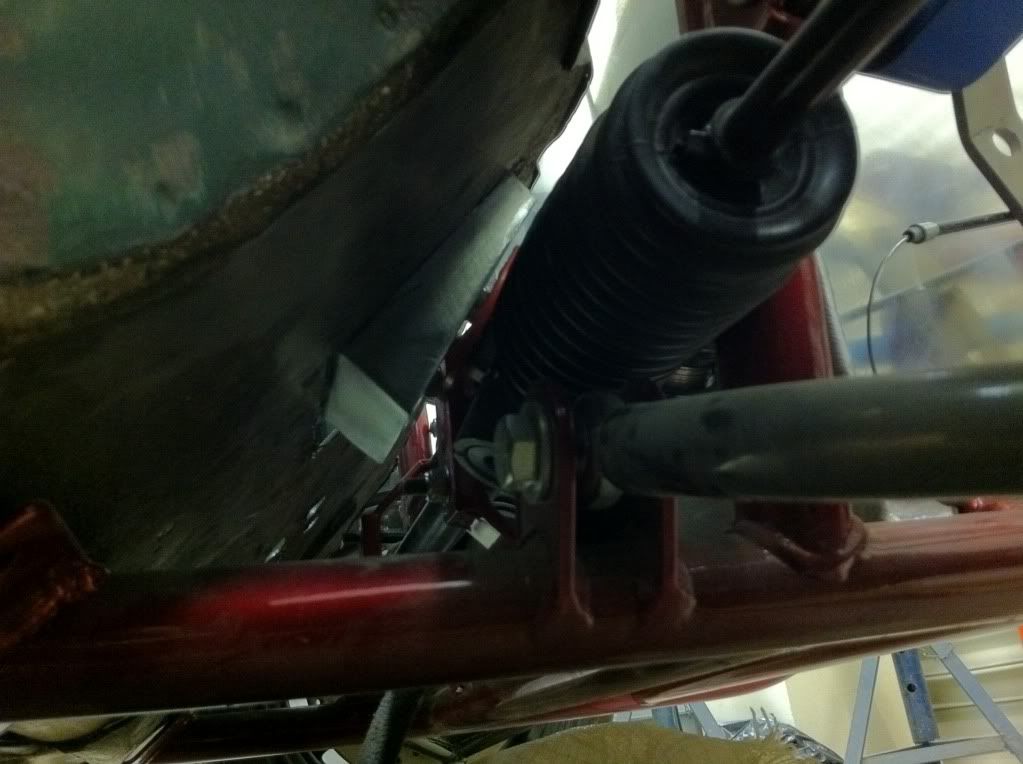
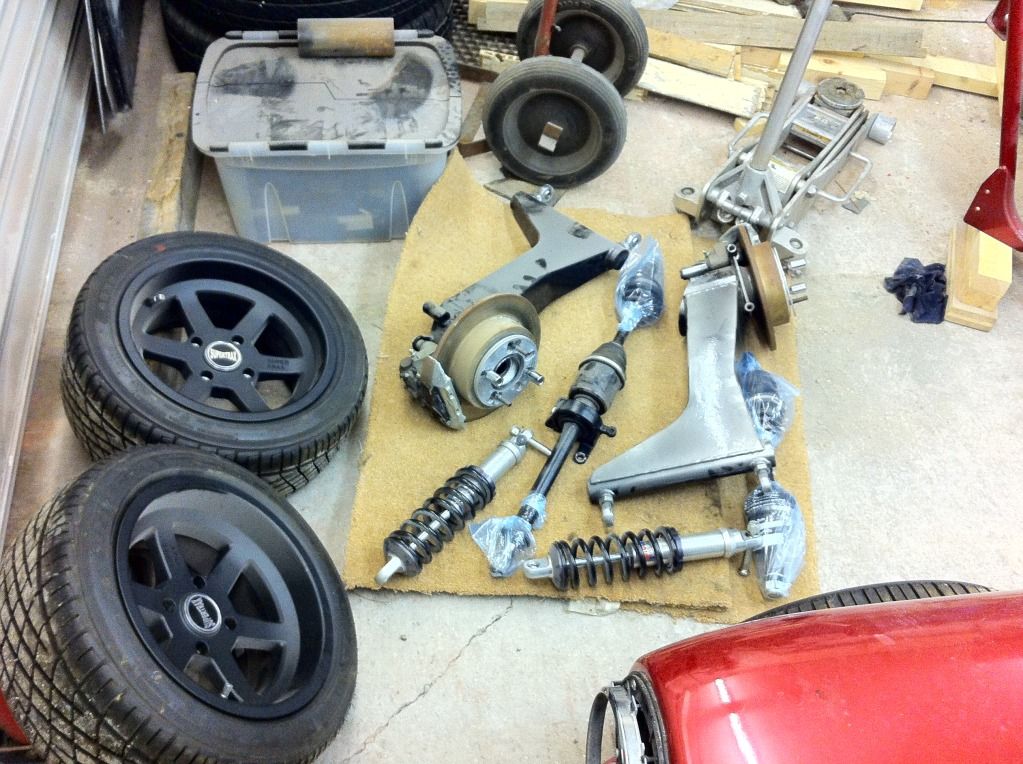
Im off to the garage now to remove the front subframe and start stripping all the paint from underneath. I painted the underside in rust treatment then a couple of coats of white stonechip way back in 2009 ( see older posts ) not realising how much welding was left to do. So now most of it has either caught fire or flaked off .
.
Chris
Amongst other little jobs i keep finding ive fettled the rear bulkhead to fit better. I just need to sort some perspex out for it now
Im off to the garage now to remove the front subframe and start stripping all the paint from underneath. I painted the underside in rust treatment then a couple of coats of white stonechip way back in 2009 ( see older posts ) not realising how much welding was left to do. So now most of it has either caught fire or flaked off
.Chris
#101
v-tec van
-
- Noobies
-
- 97 posts
Stage One Kit Fitted
Posted 02 August 2012 - 03:38 PM
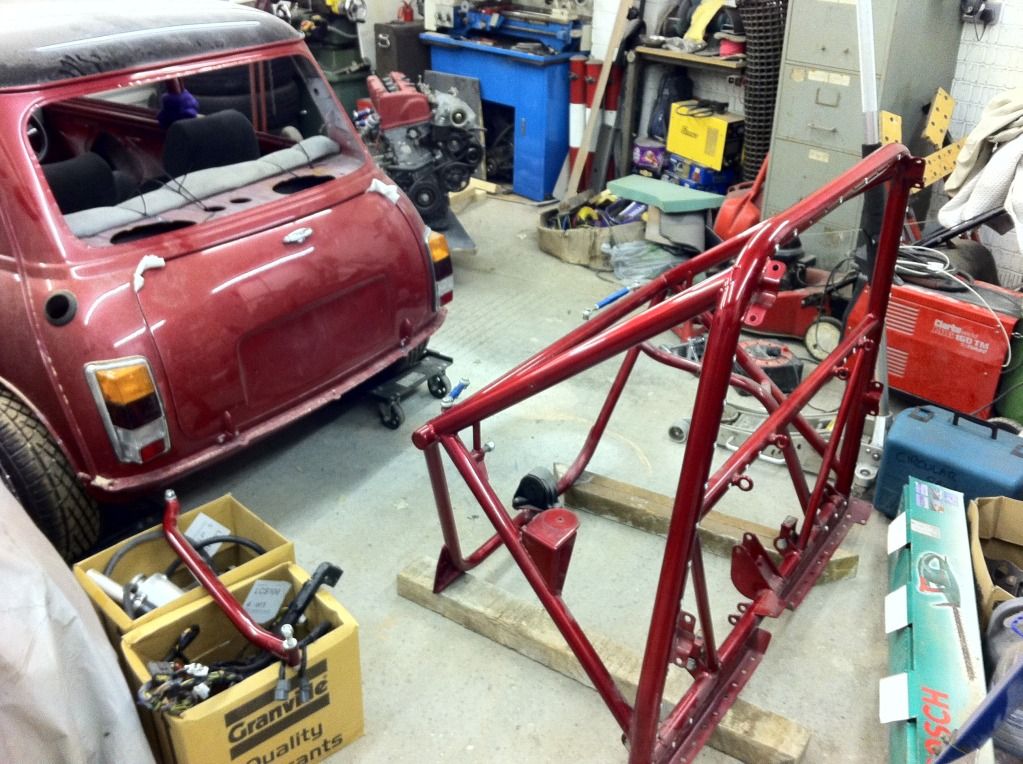
Hi all ive got another long overdue update showing whats been happening over the last 6 months..
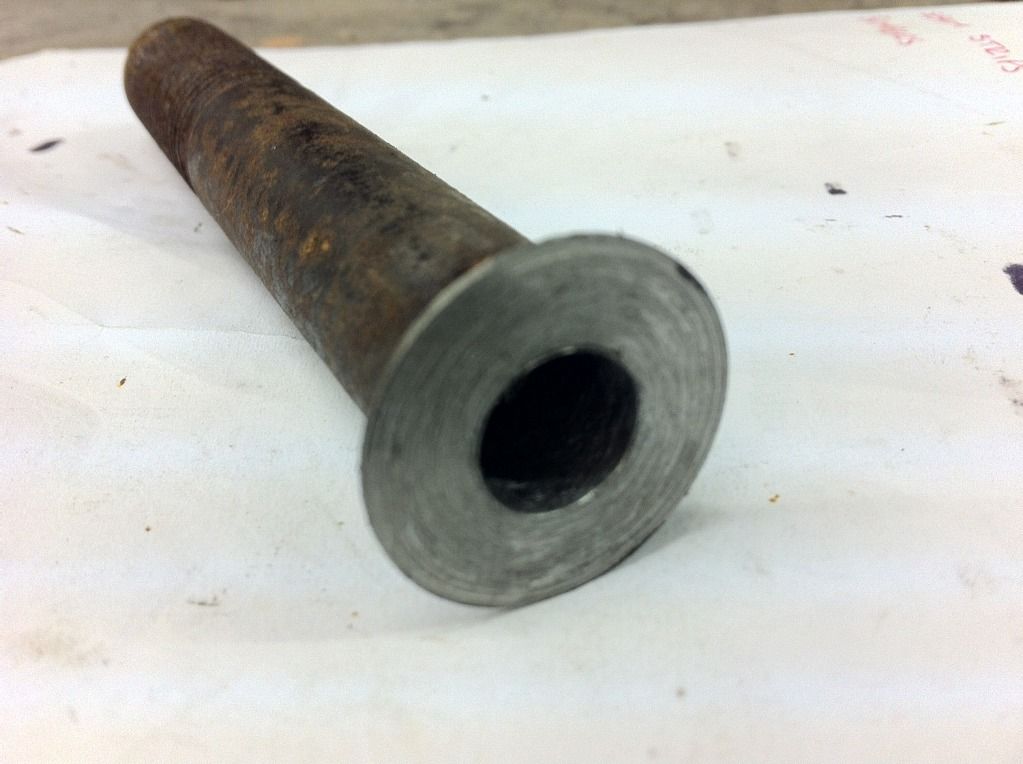
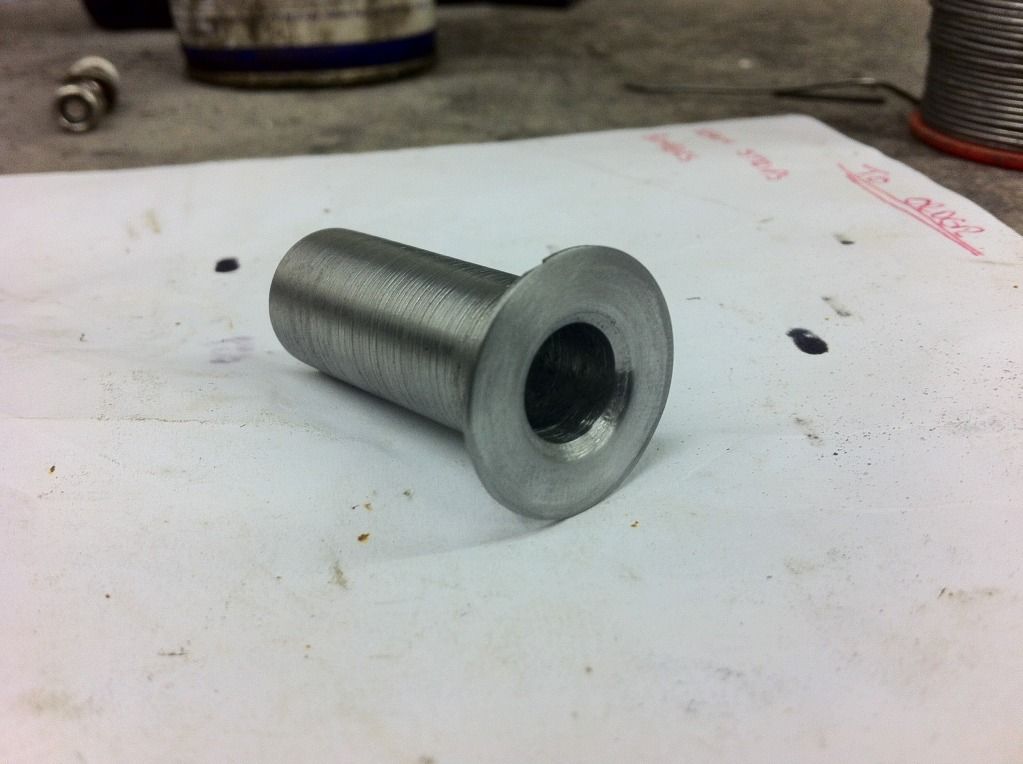
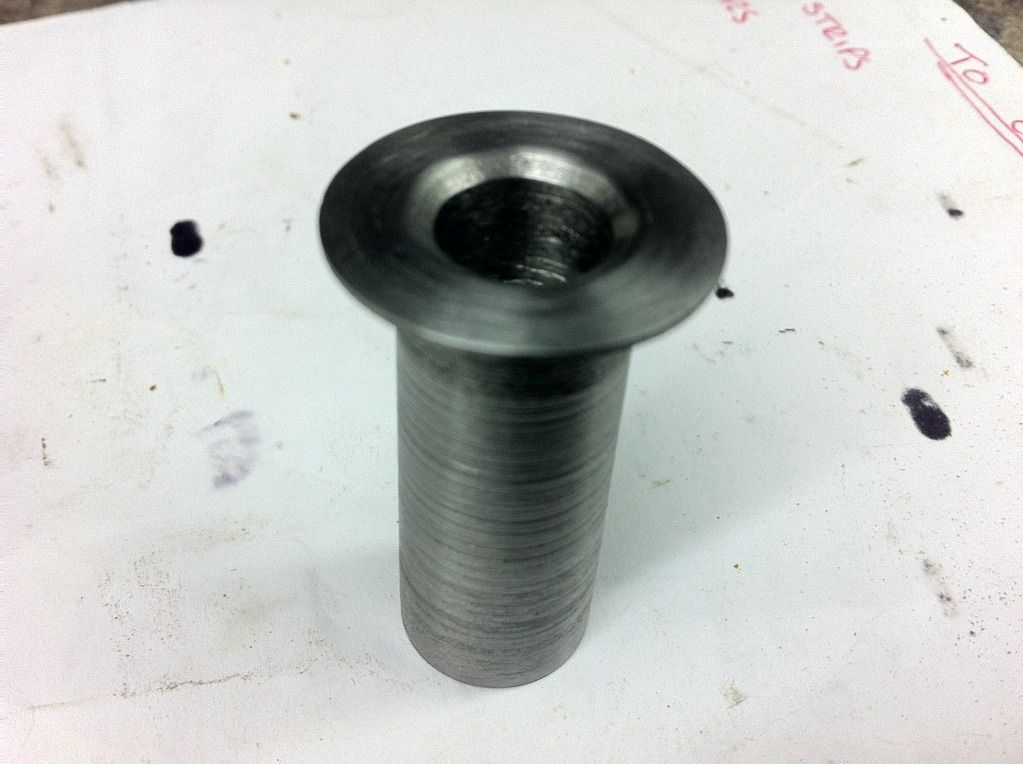
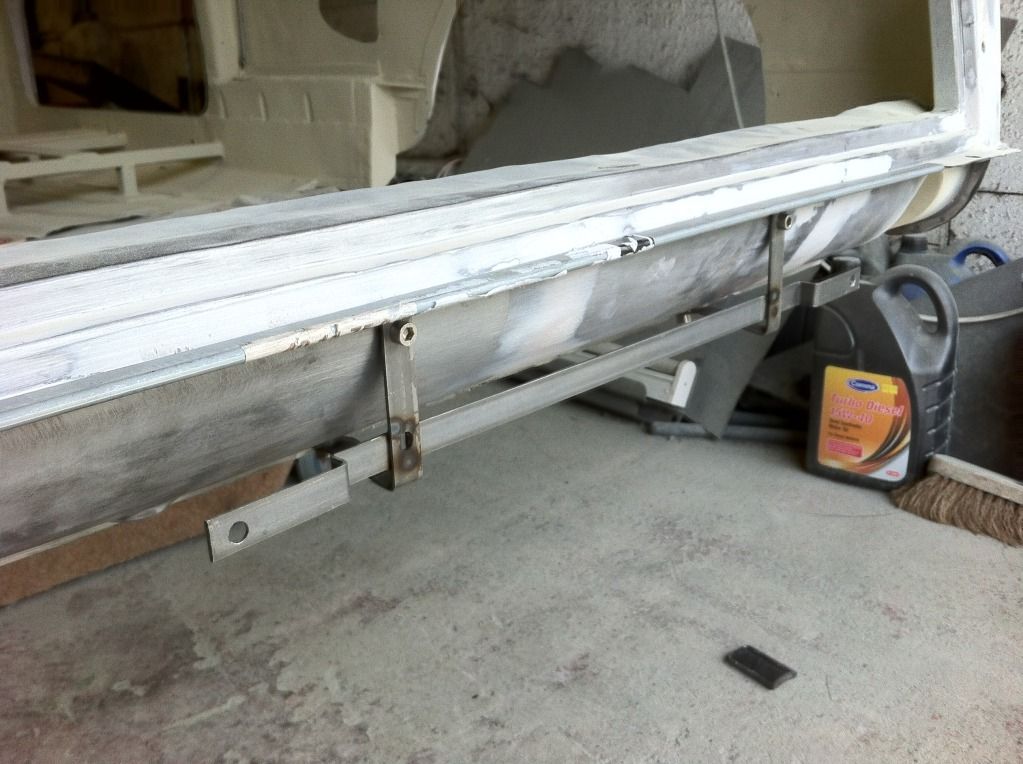
This is the bottom locating hole on the rear valance/boot floor for the bar that holds the rear doors closed.( you can just see the bar in the last pic ) My first proper go on the lathe

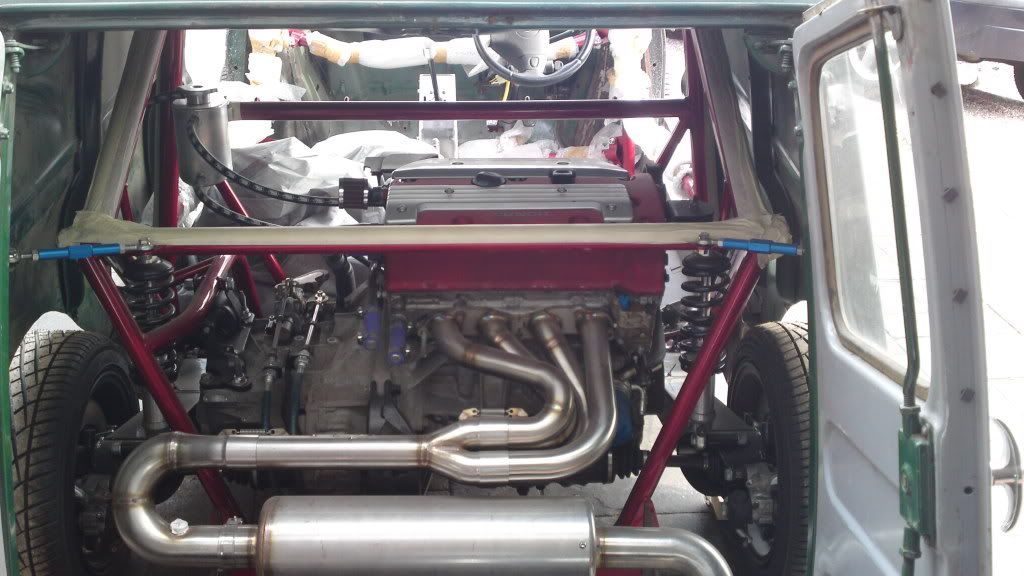
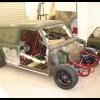
Next the engine was removed from the frame
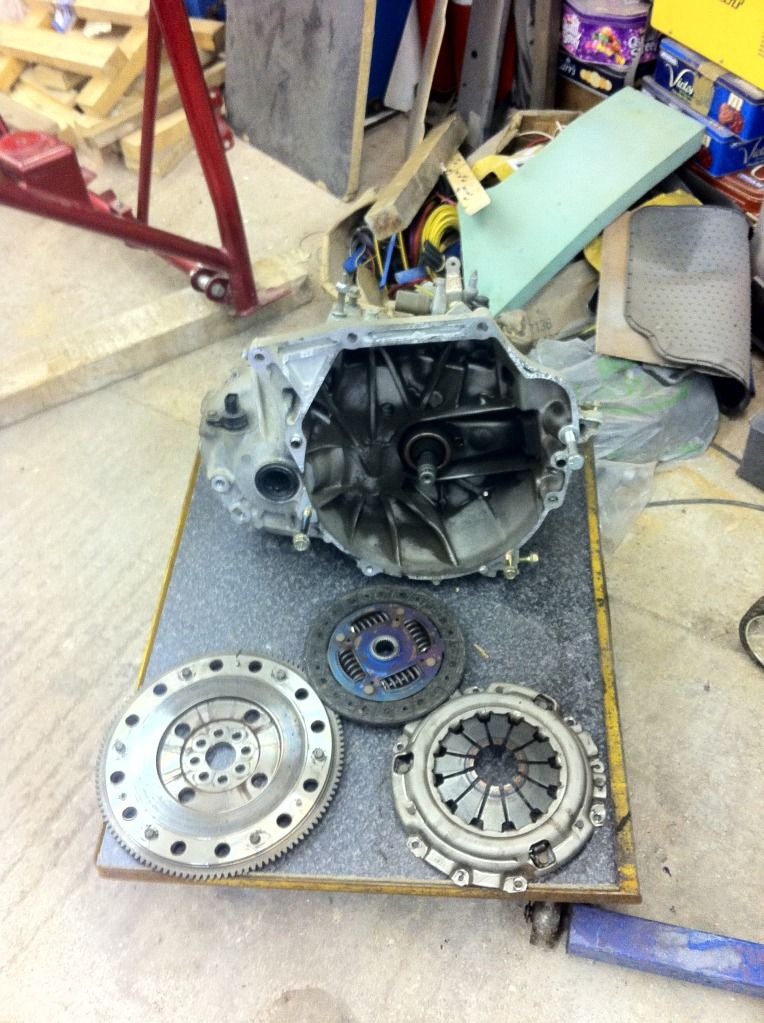
the gearbox was then sent off for the quaife lsd and new final drive to be fitted. the gearbox is back and ready to go on.
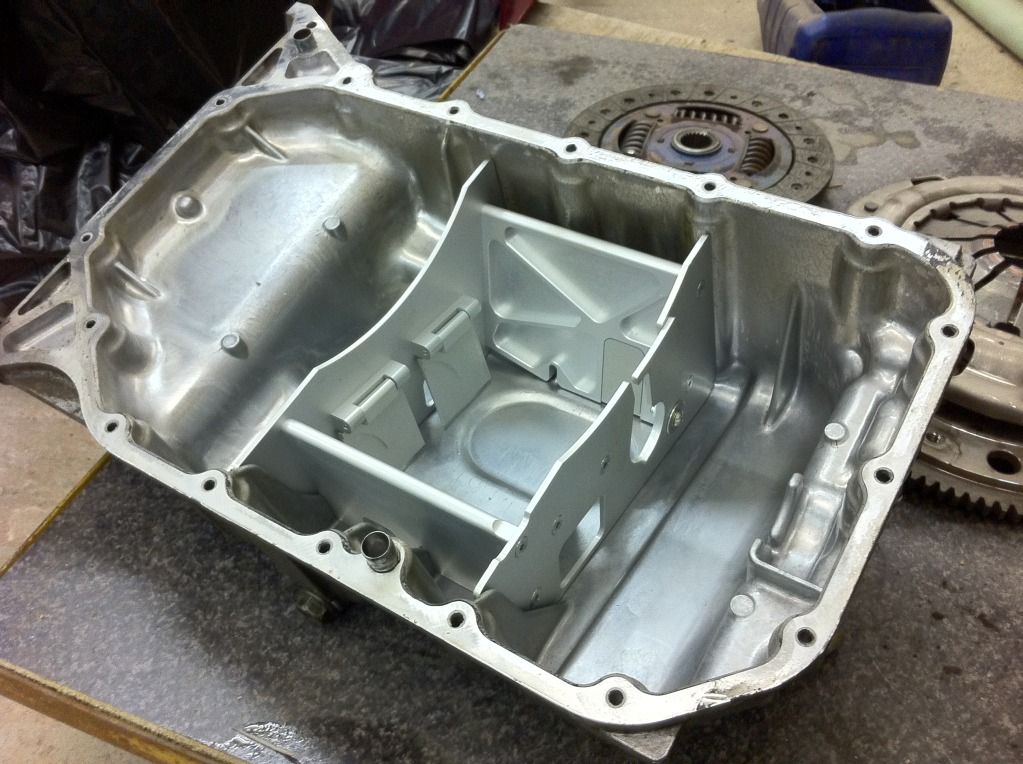
while the box is off and its easier to move ive put the sump baffle in

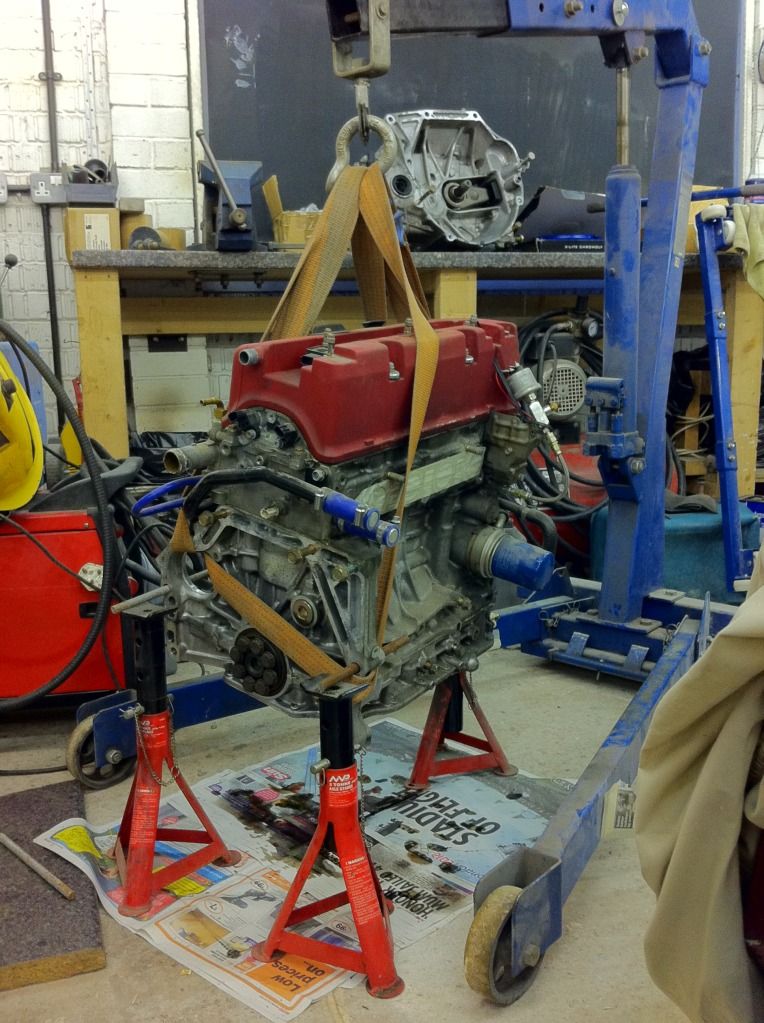
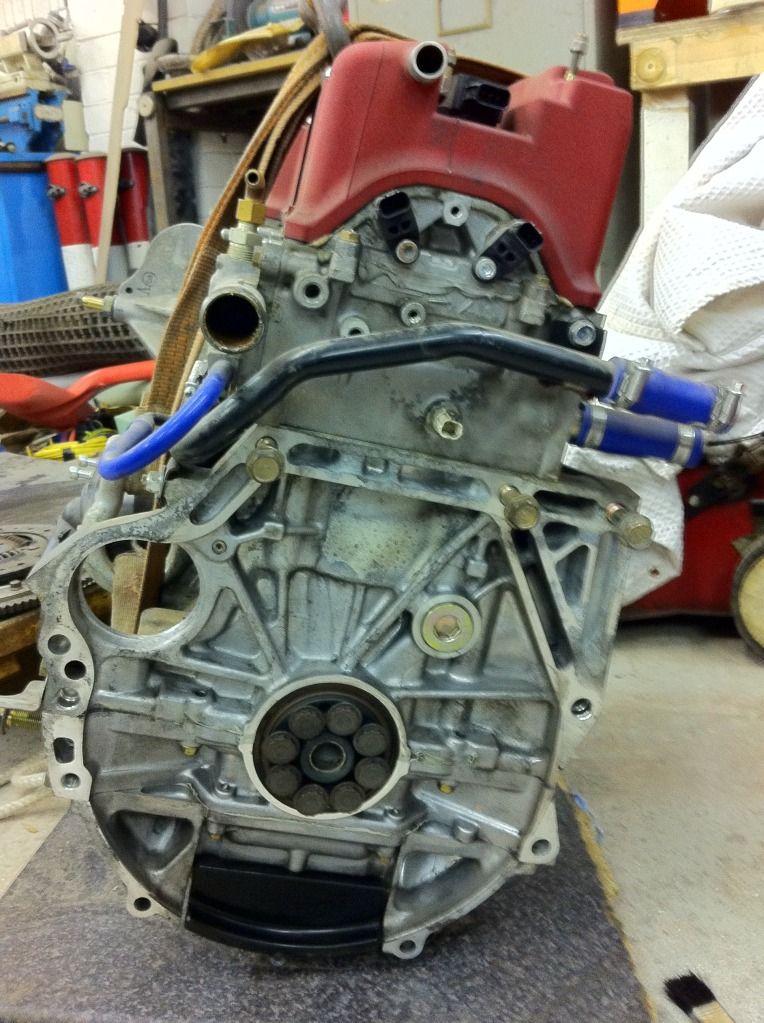
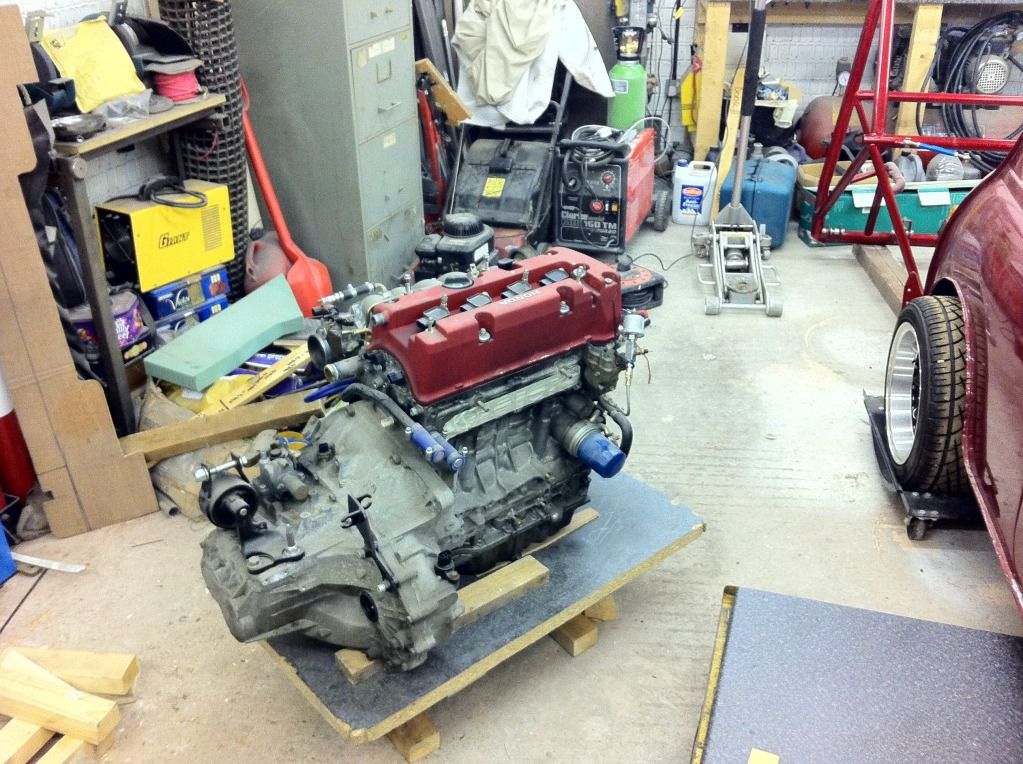
this is how the engine is at the minute. while its in bits i think im going to put a new timing chain and tensioner on.
This is the bottom locating hole on the rear valance/boot floor for the bar that holds the rear doors closed.( you can just see the bar in the last pic ) My first proper go on the lathe
Next the engine was removed from the frame
the gearbox was then sent off for the quaife lsd and new final drive to be fitted. the gearbox is back and ready to go on.
while the box is off and its easier to move ive put the sump baffle in
this is how the engine is at the minute. while its in bits i think im going to put a new timing chain and tensioner on.
#102
v-tec van
-
- Noobies
-
- 97 posts
Stage One Kit Fitted
Posted 02 August 2012 - 04:09 PM
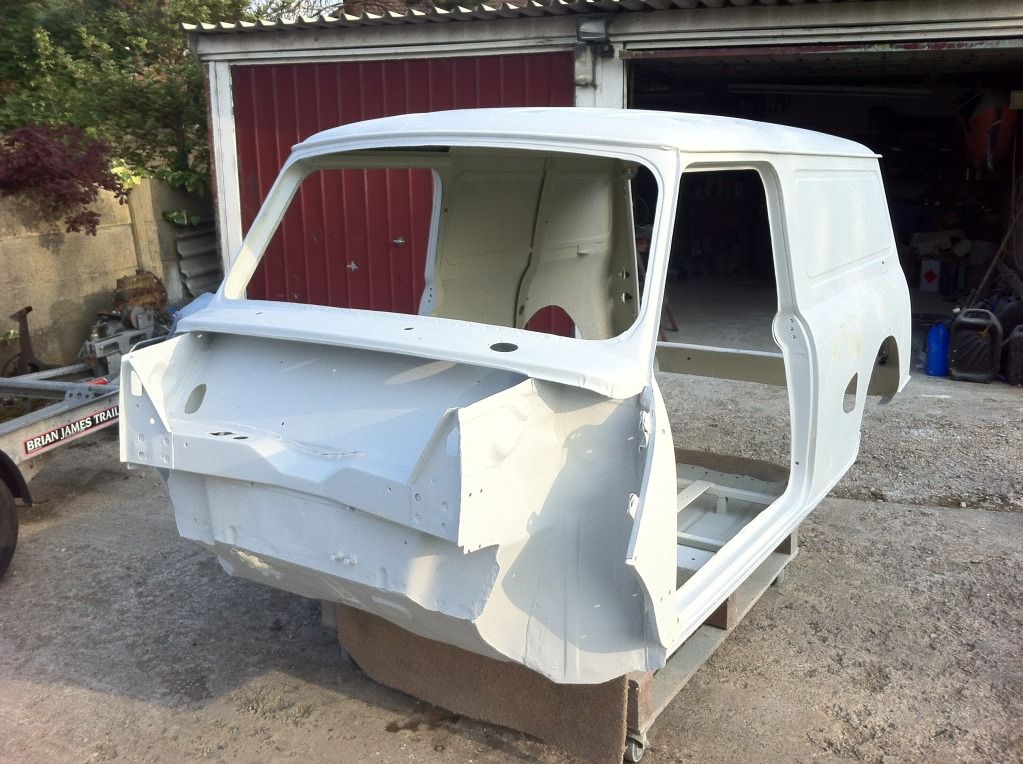
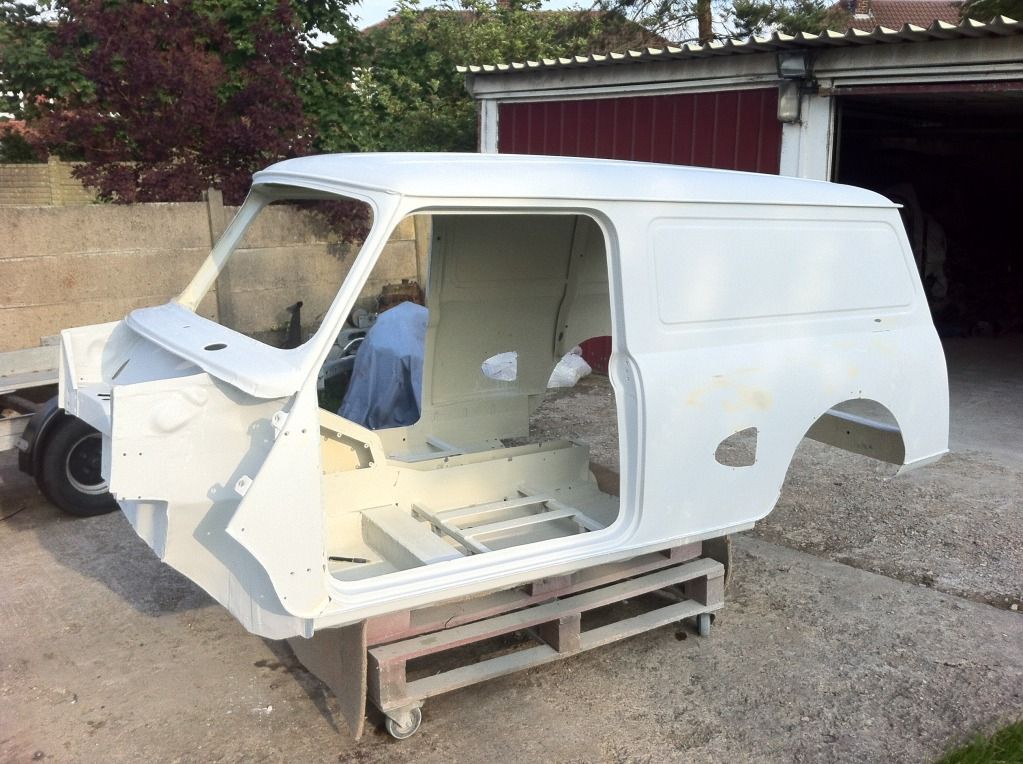
The body was taken to my dads in April to be prepped for paint

first it was stripped back to bare metal
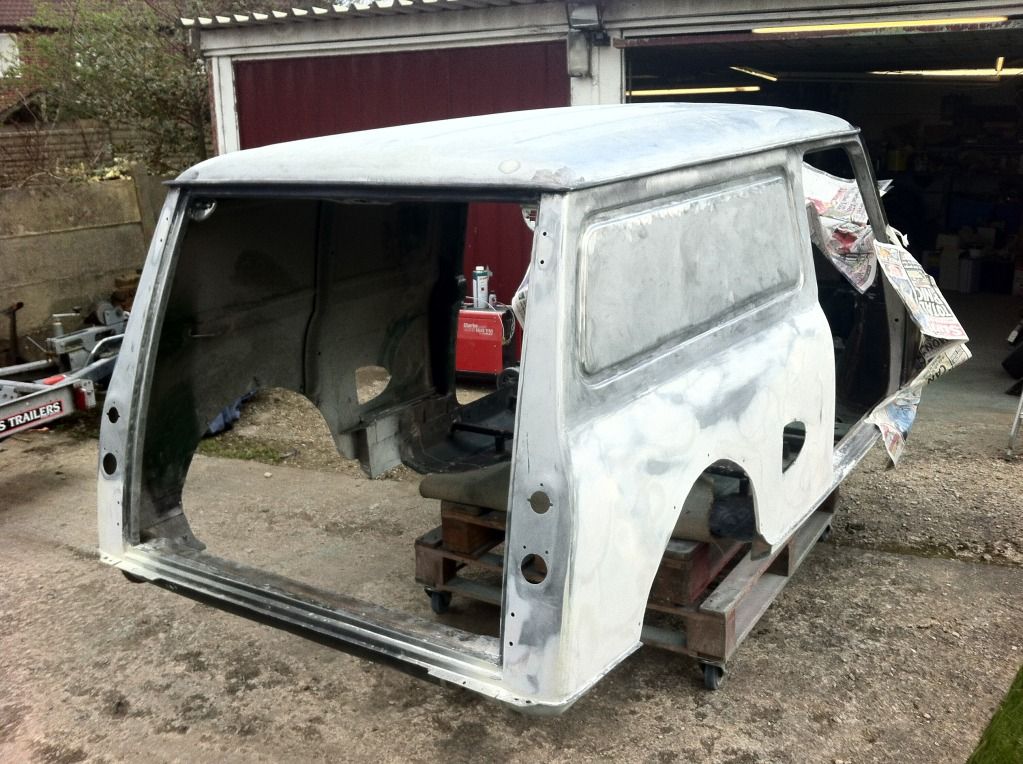
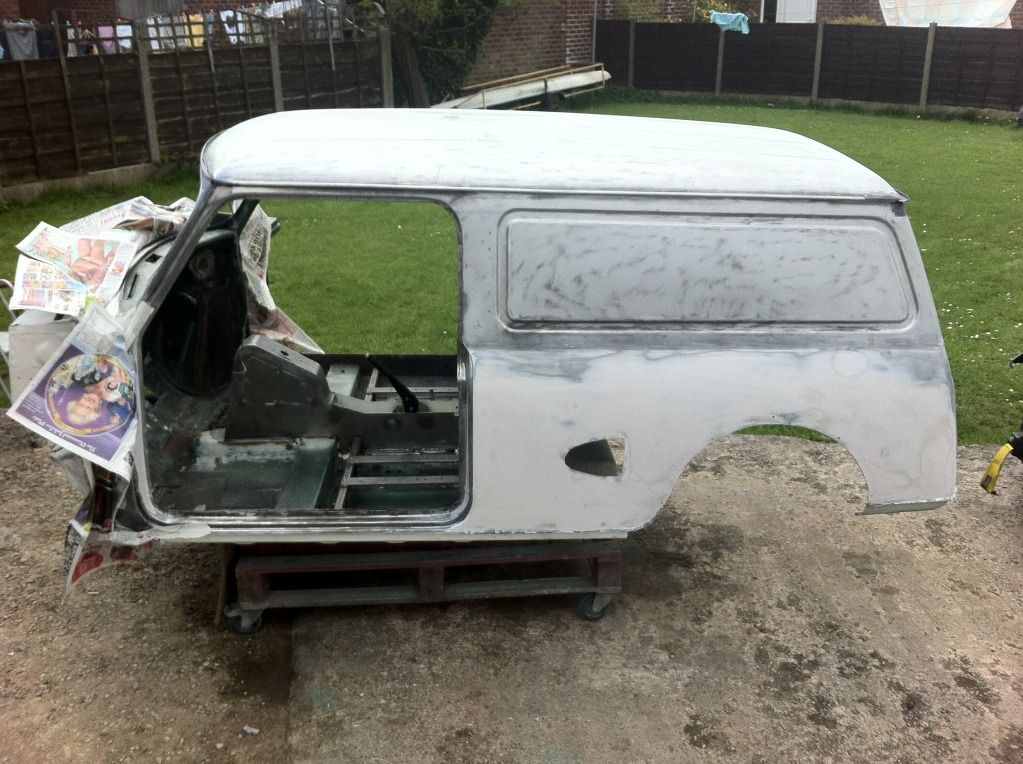

then etch primed
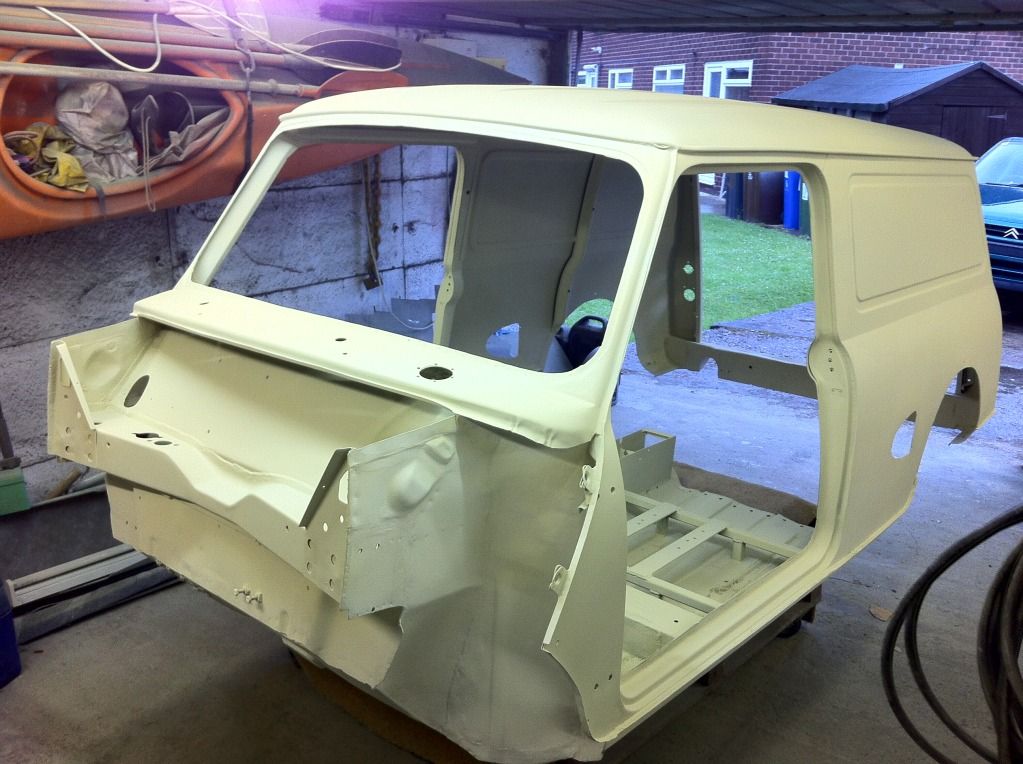
then primed
rear number plate bracket
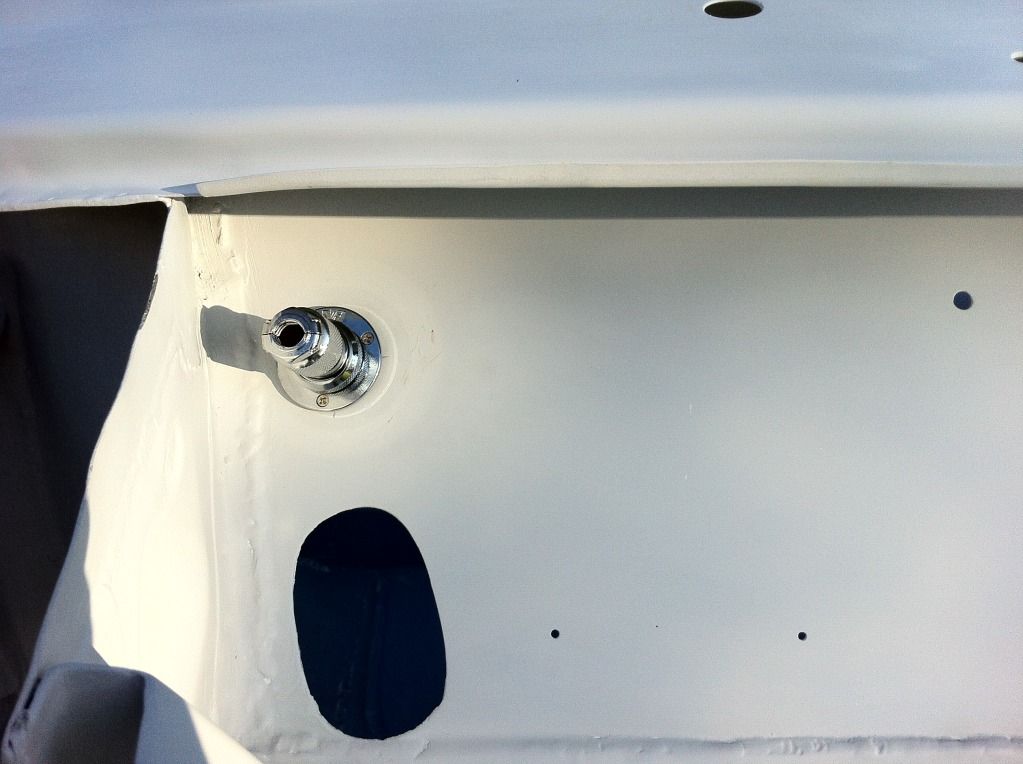
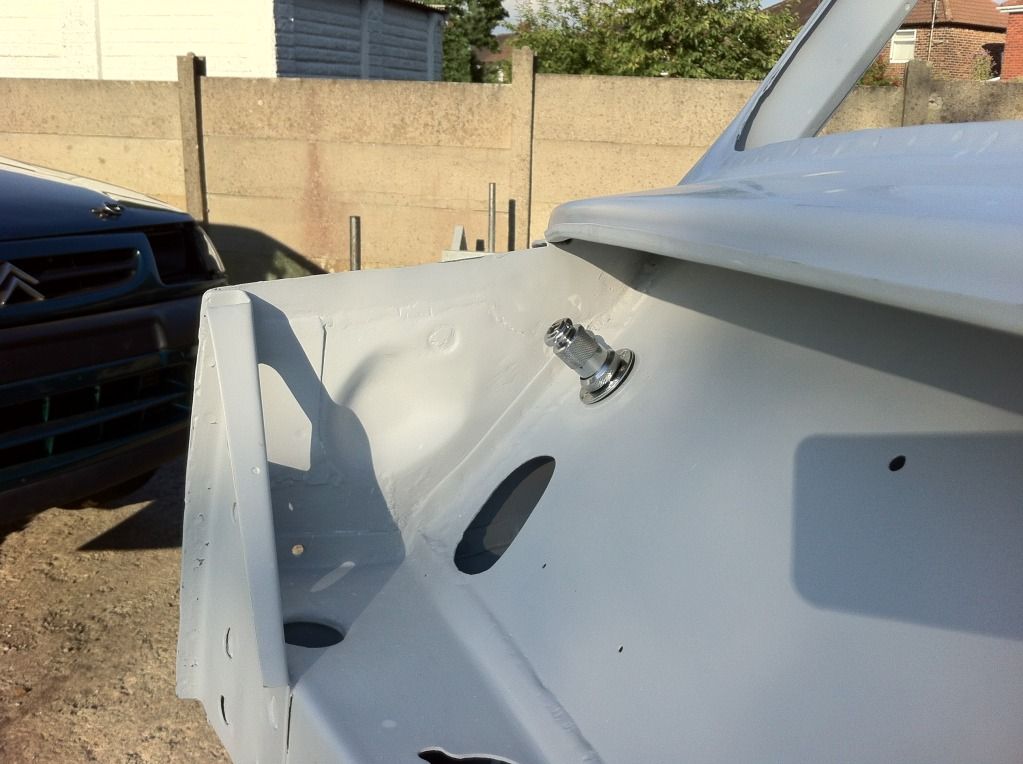
i put a plug on the front bulk head to make it easier to disconnect the wires for the headlights / indicators when the front is removed

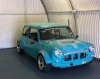
The painter came to have a look last weekend and is happy with what has been done so its off to the painters on THURSDAY
We decided with the painter to just have the inside painted first, then ill get it back and put the frame in and get it on wheels then it will go back to the painters to have the outside done.
Cheers
Chris
first it was stripped back to bare metal
then etch primed
then primed
rear number plate bracket
i put a plug on the front bulk head to make it easier to disconnect the wires for the headlights / indicators when the front is removed
The painter came to have a look last weekend and is happy with what has been done so its off to the painters on THURSDAY
We decided with the painter to just have the inside painted first, then ill get it back and put the frame in and get it on wheels then it will go back to the painters to have the outside done.
Cheers
Chris
#103
SAL 821X
-
- Members
-
- 1,890 posts
Camshaft & Stage Two Head
- Location: Hinckley
- Local Club: Leicester Mini Owners Club
Posted 03 August 2012 - 08:53 AM
Wow almost forgotten about this.
Some great progress made really starting to steam along now Chris.
Matt
Some great progress made really starting to steam along now Chris.
Matt
#104
cptkirk
-
- Members
-
- 1,799 posts
Camshaft & Stage Two Head
- Location: West Sussex
- Local Club: B.M.C. + Chiminiclub
Posted 09 August 2012 - 03:16 PM
SKILLS........
#105
miniQ
-
- Members
-
- 497 posts
Speeding Along Now
- Location: Manchester
Posted 10 August 2012 - 12:17 AM


1 user(s) are reading this topic
0 members, 1 guests, 0 anonymous users


