Jump to content


Photo

How Do I Replace A Complete Floor Pan


  • Please log in to reply
14 replies to this topic

#1 mini.cooper998

mini.cooper998

    Super Mini Mad

  • Members
  • PipPipPipPipPipPip
  • 685 posts
  • Local Club: looking

Posted 22 June 2009 - 08:30 PM

hi all,

for the past couple of weeks ive been struggling with the instalation of a complete floor pan

bought a complete wide floor from minisport

Posted Image

and have been trying to fit it

to start with my heelboard has spung and secondly i cant get it to fit flush to the front bulkhead panel or the heal board

has anyone done a complete floor pan and if so how did you clamp it into place and how did you gaurantee all panels where square on completion

also how did you get the panel to sit flush to the exsiting panels before welding (did you screw or rivet parts of it)

anyone with a good photo diary of the install would be most appreciated and any tips would be great

thanks in advance all

Posted Image

#2 Ashdesign

Ashdesign

    Mini Mad

  • Noobies
  • PipPipPipPip
  • 127 posts

Posted 23 June 2009 - 09:51 AM

Don't know if I can help, and the photos I have don't show enough to help you, but I have done this to two cars lately and had no issues whatsoever.

One thing I suggest, and maybe you've already done so, (can't see from the pics) is to fully assemble the floor first. That is, attach the centre crossmember (where the seats fit), attach all the seatbelt fixings, and preferably attach a new heelboard. Both our cars needed a new heelboard anyway.

This gives a lot more strength to the panel and it seems to find it's own place. With regard to holding it in place, we used jacks to push it up from underneath, but I note that yours seems to be on it' side.

#3 mini.cooper998

mini.cooper998

    Super Mini Mad

  • Members
  • PipPipPipPipPipPip
  • 685 posts
  • Local Club: looking

Posted 23 June 2009 - 06:29 PM

thanks for the reply,

the car is on its side but i could jack it into position using the seat base at the back and the dash rail at the front

any pictures of the clamping proceadure would be most appreciated

thanks

andy

#4 ANON

ANON

    More Jammy than a Jammy dodger.

  • Traders
  • PipPipPipPipPipPipPipPipPip
  • 2,682 posts
  • Location: my house
  • Local Club: pony

Posted 23 June 2009 - 08:57 PM

we welded the heel board in place first, car was upside down, had to bolt the front floor lip to the toe board but with just one bolt it pulled inline ok.
took a bit of jiggling around to get the heel board true.

looks like the bar you've got going from the doorsteps will stop the inner sill getting high enough and look out for the front top corners of the inner sills fouling on the inner door pillars.


just noticed you aren't that far from me, if you would of asked the question last week you could of popped over to watch when we put ours in

Edited by ANON, 23 June 2009 - 08:59 PM.


#5 Frog

Frog

    Speeding Along Now

  • Traders
  • PipPipPipPipPip
  • 492 posts
  • Location: Swindon
  • Local Club: Blakehill Mini's

Posted 23 June 2009 - 09:10 PM

Did you frame out the floor before you cut the old floor away, it looks like you put a bar from one side to the other but not a frame in. Could be that the shell has moved & gone out of shape. Might need a few friends to help get it into position then force the shell so it all lines up only has to move by a couple of mm to cause all sorts of hassle.

#6 mini.cooper998

mini.cooper998

    Super Mini Mad

  • Members
  • PipPipPipPipPipPip
  • 685 posts
  • Local Club: looking

Posted 24 June 2009 - 08:09 PM

cheers anon fancy nipping round and doing mine can pay for help

andy

#7 ANON

ANON

    More Jammy than a Jammy dodger.

  • Traders
  • PipPipPipPipPipPipPipPipPip
  • 2,682 posts
  • Location: my house
  • Local Club: pony

Posted 24 June 2009 - 09:06 PM

am up the wall for the next couple of weeks sorry.
if you're ever over towards the wirral you can pop in and have a look if you need any pointers.

#8 mini.cooper998

mini.cooper998

    Super Mini Mad

  • Members
  • PipPipPipPipPipPip
  • 685 posts
  • Local Club: looking

Posted 28 June 2009 - 07:38 PM

will buy a new heel board (rear subframe mount panel) as this looks the best way (also rear healboard has been patched previously)

but how do you make sure it goes back in square and in line with the front one

dont want it to crab or stear round in circles

thanks

andy

#9 guywithvan

guywithvan

    One Carb Or Two?

  • Members
  • PipPipPipPipPipPipPip
  • 1,081 posts
  • Local Club: MedwayMiniClub

Posted 28 June 2009 - 07:59 PM

once i figure the best way to word it i'll be back with a essay for you,well a long reply!is it a saloon/van/estate or pick-up?

#10 mini.cooper998

mini.cooper998

    Super Mini Mad

  • Members
  • PipPipPipPipPipPip
  • 685 posts
  • Local Club: looking

Posted 28 June 2009 - 08:13 PM

its a saloon

war and peace sounds good i like to know the far end of everyting technical

im planning on using it for trackdays so want it to be bang on streight

thanks again

andy

ps where is best to buy a heelboard from and why do minisport do two one at £47 and one at £88

#11 guywithvan

guywithvan

    One Carb Or Two?

  • Members
  • PipPipPipPipPipPipPip
  • 1,081 posts
  • Local Club: MedwayMiniClub

Posted 28 June 2009 - 09:07 PM

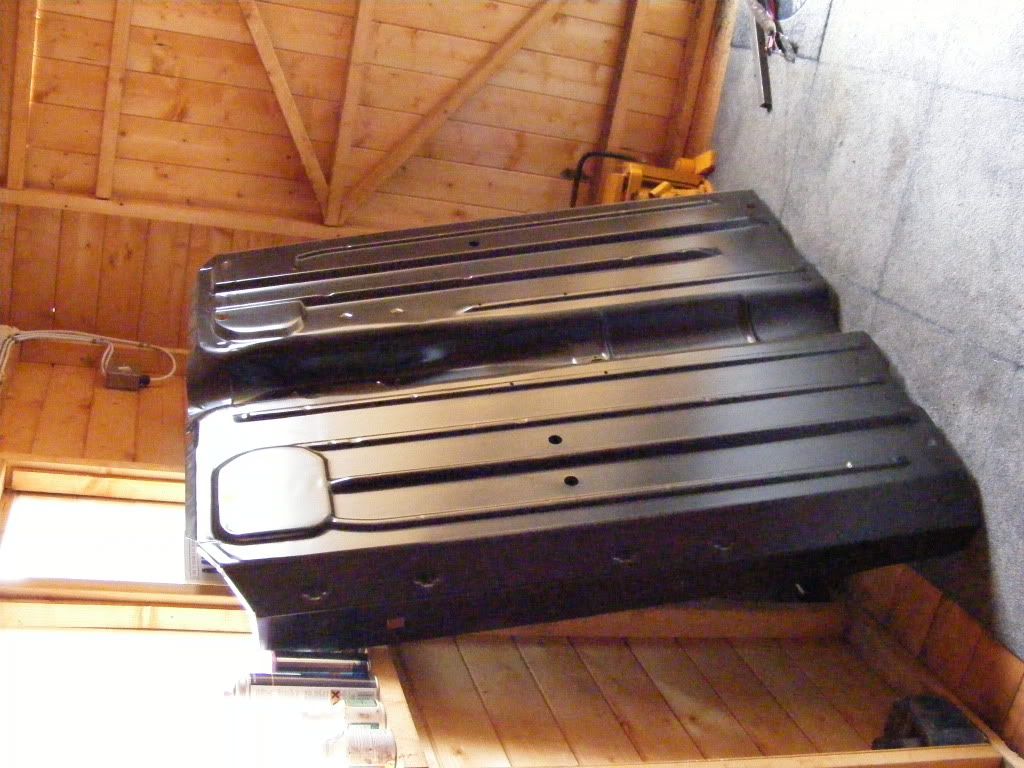
right looking at your above pic's you have a saloon,i notice you have the floor completly removed including inner/outer cill's and you have a 1" box section bracing between the door step's,this will have to be moved to a different location i'd put it about 100mm higher and between the B pillars.or tack some box section in the door frames then come through the car paralell to where the crossmember would be,you need to give yourself pleanty of room to get access to weld the inner cill to doorstep and front of floorpan to toe board.

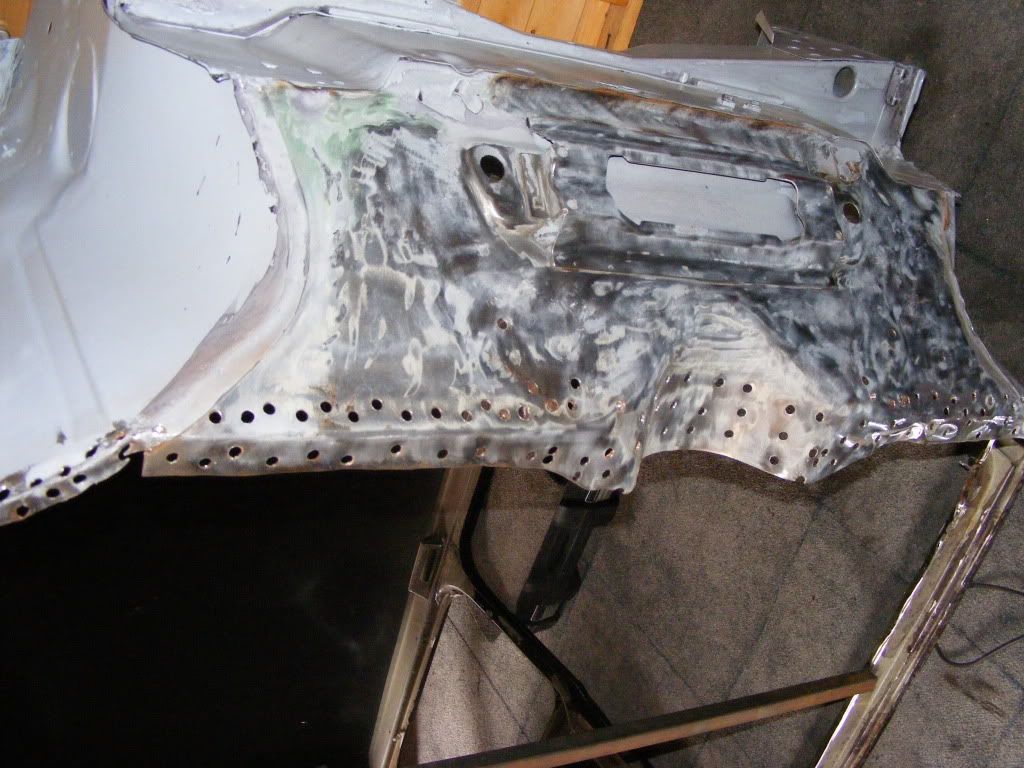
when you get the rear heelboard (subframe mounting panel) i'd weld this to the floor pan personally,although it may be easier to bolt your subby onto it then attach to the car with the rear mounts and something supporting the front i;e trolly jack or axel stands,it'll be easier access to weld with the floor out and using the subby to line it up makes sense,although it will make it harder to get the floorpan in later on.

now you need to mark centre point's within the car and on the new floorpan up front on the heelboard go centre of the hole for steering column to the other one lh/rh drive find your centre and mark it just above the lip on the tunnel.at the rear on my van i used the hole's where the damper's mount in the wheel arches obviously on a saloon you'll have to find somewhere similar to work from.depending how much metal you have height should'nt be a problem as you still have doorsteps and original toeboard,at the rear the bottom of the seat base.

once you have the heel board on the floorpan mark it's center going off the bolt holes for subby,this should match the centre of the exhaust tunnel on the new floorpan,if you have floor pan including inner cills measure off these at the front/rear and mark centre line on the tunnel.

now,get your car right way up and high enough to slide floorpan underneath from the side will be easier if you have room,and you might want to get your hands on a "pallet truck" as thats what i used to jack the floor up to the right height.

either use trestles or large axel stands to support the body, i would suggest in the rear arches and on the baulkhead crossmember(where tower bolts go)

get the car as level as you can width/length,this is hard because of it's curves! use the baulkhead crossmember at the front for side to side,and turrets on rear arches ,for lenghways i'd use your existing doorsteps.

getting the floorpan in


front first onto the start of the exhaust tunnel,floorpan goes over and upto the ridge on toeboard.the front quarters are a pain and will need carefull lining up your centre lines and common sense will help.clamp the front or use some pop rivets to hold in place once your happy.

now lift the back,if you can use a pallet truck you should'nt have to lift much just a inch or so each end,again use your centre lines and tempoary fix in place with clamps or rivets.

if your floor comes with inner/outer cills ignore them to a point as there will prob be a bit of excess on the panels,clamp your inner/outer cill's to the doorstep in a couple places o/s and n/s then get your tape out and start measuring!

as the car should be nigh on level(from previos levelling the car),if you put a bubble across the seat crossmember and the floor is in pretty well this should be level too.

once happy with all measurements do enough plug welds to hold it in place but come out again if needed,this gives you the oppotunity to check as you go and worse case secnario refit if you find something wrong.


^^^^^^^ this is just my opinion of how to do it maybe not the correct way,i could add a lot more but without standing infront of your car and pointing things out/explaining in person this is as much as i can say,it's all trial and error personal preferance and how particular you want your car dead straight.

there is a guide somewhere in the haynes manual which explains suspending plumb weights from alocated points on front and rear subframes,marking the ground below with chalk and average measurments to follow as a guide to check your car is square and true.if i find anything usefull to add i'll let you know

guy

#12 guywithvan

guywithvan

    One Carb Or Two?

  • Members
  • PipPipPipPipPipPipPip
  • 1,081 posts
  • Local Club: MedwayMiniClub

Posted 28 June 2009 - 09:20 PM

right a quick one for you,if you can have a look in the haynes restoration manual by lindsey porter(available in halfords) on page 147 there is a detailed diagram and explaination how to check your cars geometry between front and rear subframes,

#13 guywithvan

guywithvan

    One Carb Or Two?

  • Members
  • PipPipPipPipPipPipPip
  • 1,081 posts
  • Local Club: MedwayMiniClub

Posted 28 June 2009 - 09:26 PM

its a saloon

war and peace sounds good i like to know the far end of everyting technical

im planning on using it for trackdays so want it to be bang on streight

thanks again

andy

ps where is best to buy a heelboard from and why do minisport do two one at £47 and one at £88


m-machine come well reccomended and do a mk1-4 heelboard at £42 going by a old catalouge, give them a call on 01325 381300 you'll be suprised they might be able to give some good advise on getting your floor in too

reason for edit-what year is your mini? as your floorpan looks like a later type not that it should make any difference belongs yours is a mk3 onwards

Edited by guywithvan, 28 June 2009 - 09:35 PM.


#14 mini.cooper998

mini.cooper998

    Super Mini Mad

  • Members
  • PipPipPipPipPipPip
  • 685 posts
  • Local Club: looking

Posted 29 June 2009 - 06:55 PM

cheers for the help. sounds a very practical way of fitting (suits me best) cant do with this theoretical cack

i have the lindsay porter manual and will check this tonight

again thanks for the help

as regards floor and heelboard, the new later floorpan as you spotted is different from my mk3 shell one of the lumps in the healboard doesnt line up with the floor pan turns out they were different. so a new heelboard will sort that out perfectly.

also found a jigging drawing with all the centres and measurements on here so should be ok now

thanks too all

AGAIN

#15 ANON

ANON

    More Jammy than a Jammy dodger.

  • Traders
  • PipPipPipPipPipPipPipPipPip
  • 2,682 posts
  • Location: my house
  • Local Club: pony

Posted 30 June 2009 - 09:32 PM

ours lined up quite easy once i realised the bar that butted upto the old heel board had moved!!

the confident/living to regret it later bit is the only measurements i took were from a corner on the heel board to the rear seam and the seam on the rear of the rear wheel arch. the small lip on the front of the inner sill will give you a good idea of how close you are.


1 user(s) are reading this topic

0 members, 1 guests, 0 anonymous users