If you remember at the end of the last episode I said the rear radius arms were next.... Well, here goes.
Not the most interesting of updates but my experiences may help someone.
Firstly, unless you happen to be an engineering whizz, or have a pal with all the kit at work (that's me), or just simply want to be able to say "I did that" (that's me as well), I would suggest that it is much easier and possibly cheaper (if you have to buy the tools), to buy exchange arms.
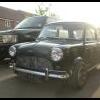
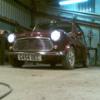
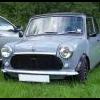
The befores!

I thought I might be able to get away with this one, bit of wet & dry you know!!!!!!


The picture doesn't really show just how bad it was. The other side looked almost new but I wasn't going to do just one.

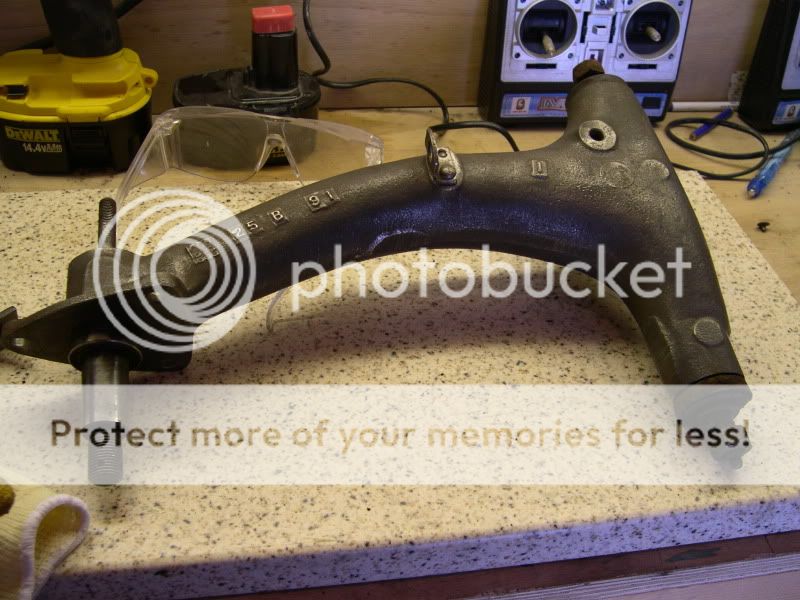
Getting the old bearings out was a bit of a pain. The needle bearing on the inner came out okay but the bronze bush had to be cut with a hacksaw blade and then pulled out in pieces.

After trying very unsuccessfully to pull the bush in using a threaded rod I enlisted the help of my pal and took them off to his place of work.
We turned down the old (best) shaft so that the new bush fitted over.

Then after putting in the plastic grease guard and fitting the needle bearing, we packed it up with big thick washers and pulled the bush into place. Using the old shaft with the bearing in place meant the bush pulled in nice and straight. (no pics of this bit sorry)
Once fitted we needed to ream the bush to size.
Re worked the old shaft once again to give a point.

Then with a borrowed 13/16 reamer we assembled the arm on the lathe before spinning up and using the tool carriage to gently push the arm accross the reamer.

Once cleaned out and after a slight bit of fettling the new pins fitted a treat.

All in all a fairly straightforward mornings work but as I said at the beginning, without the correct equipment it would have been a near impossible job to do well.
Next up, we're back on wheels, that's right wheels!!!!
Thanks for looking
Steve