**The moose is good, spoke to her last week - working lots apparently and very busy - as per

The Rise And Fall Of Sir Reginald!
#46

Posted 16 June 2009 - 10:10 PM
**The moose is good, spoke to her last week - working lots apparently and very busy - as per
#47

Posted 17 June 2009 - 07:10 PM

And in its final resting place (sorry about the flash on the camera)

My fog lamp cluster is now complete (the small 3 switch under the dash next to the drivers side door. I have the fog lamp on the right as usual - then my headlamp switch relocated from the main dash to the middle of this cluster - then on the right is a currently 'unassigned' switch with a green led inside

#48

Posted 19 June 2009 - 11:23 AM
New leads arrived last week - have now fitted them - They're NOS leads with snap on caps made by Getes (some company in norway that were good) so i've fitted them up - you can also just about see the heatshrink on the fuse box connections. Really tidied things up. Loosened the radiator bracket today so that i can go about fitting a new fanbelt later in the week when i fit my alternator up too.

Took the front and rear bumpers off, also removed the boot lid light, these have now been re-sprayed and are drying off at the moment - took the oppurtunity to inspect the rear valance - looks like it's had a corner section repaired at somepoint but looks to have been done well. Rear valance is now stone chipped that can be painted over, It will get colour coded once my paint arrives.
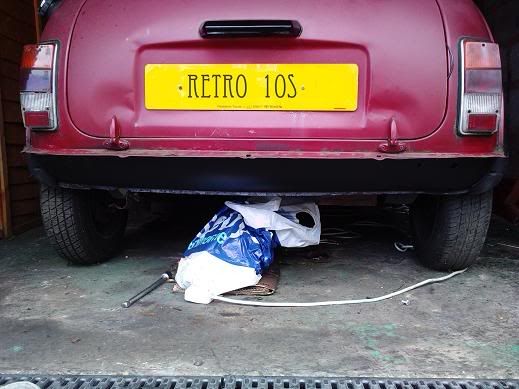
Put a deposit down on some W&P arches yesterday
#49

Posted 24 June 2009 - 02:24 PM
Since the car's looking pretty ratty at the moment - And a little while yet until the New Secret paint gets bought - I thought I'd have a little fun With it looking how it is now - So i have embraced the 'Rat Look' And since anything i do to it now is going to be temporary - it doesn't matter really what i choose to do
This is where lots of Paper - craft scalpels and masking tape comes into play:
Step 1:
Pick a nice Decal you like, (I was torn between one of the Hoodride images or the Piston Heads logo) and blow it up to the desired size -I ended up getting a little version, putting it on a grid and then Enlargening it by hand with a pencil.
I then cut it out:
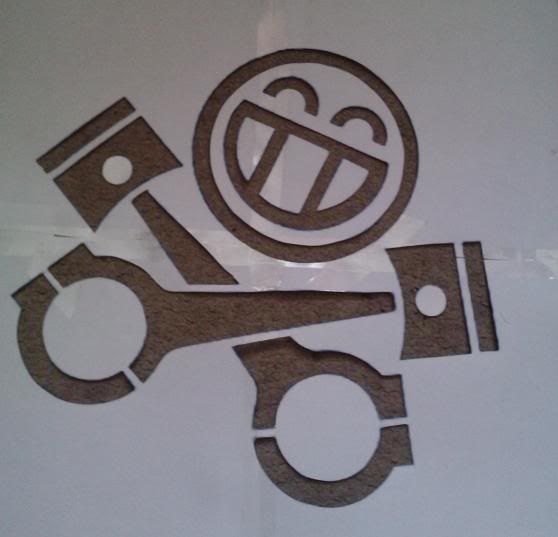
Step2:
Stick it to the 'little bit Rusty' Bonnet of your choice with masking tape - once it was on i had to chop it up a bit and re stick it down due to the curves on the bonnet distorting the design:
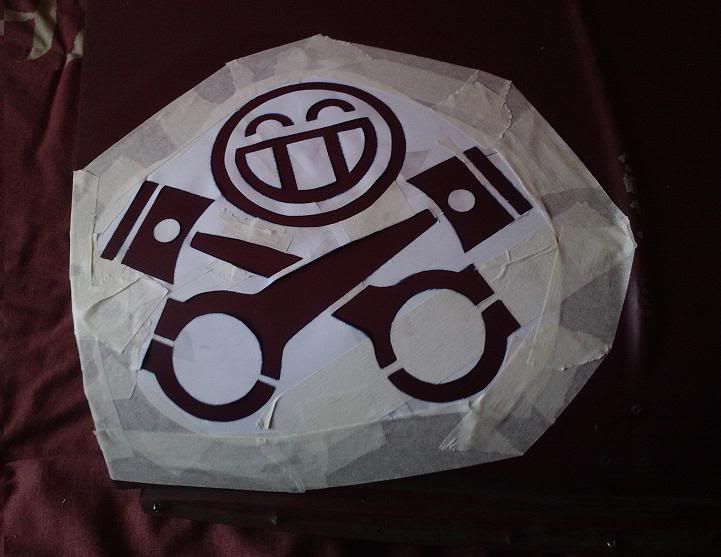
Step 3:
Go out and buy some Rattle can satin back paint.
Well I'm on step 3 at the moment....
**Must stress - this is only temporary - It will be sprayed over once my New paint is ordered.
#50

Posted 24 June 2009 - 08:41 PM
#51

Posted 24 June 2009 - 09:04 PM
#52

Posted 24 June 2009 - 11:10 PM
#53

Posted 25 June 2009 - 11:54 AM
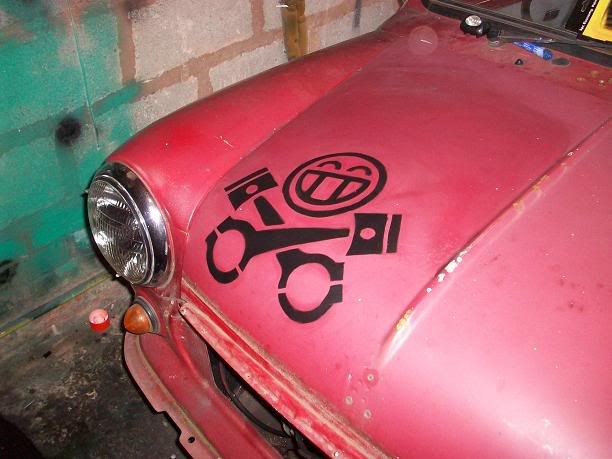
I've also just taken off the bumpers and bootlight housing again - Since i found the satin black paint I'e decided it's only right to spray the trim up the way it would have left the factory, rather than a gloss finish - and the satin finish looks really nice against the battered old paint too
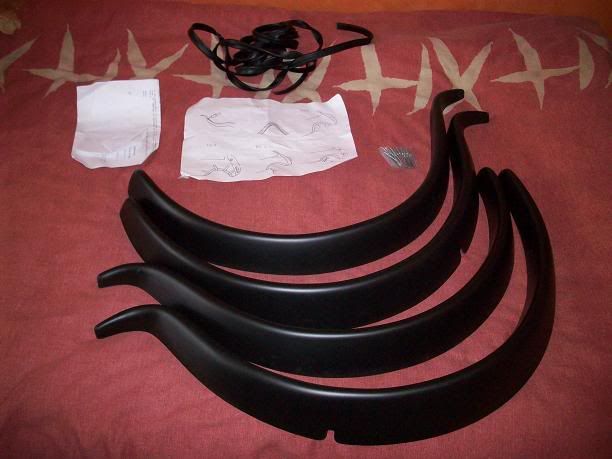
Wood and Picket arches arried today, they're brand new and came with all the rivets, arch trim and fixing instructions needed. They wont be fitted to the car until The paint comes etc as they wont be needed - So whilst the car is on its standard 12" steels - the standard arches will stay.
#54

Posted 25 June 2009 - 12:28 PM
#55

Posted 25 June 2009 - 12:33 PM
#56

Posted 25 June 2009 - 12:59 PM
black stencil on a consumed red paint..a bit of punk look on this bonnet
Edited by jaydee, 25 June 2009 - 01:00 PM.
#57

Posted 25 June 2009 - 07:00 PM
#58

Posted 25 June 2009 - 08:58 PM
Can I rob it for the Club logo? - if not no worries
But yes, you can be what you asked via PM
#59

Posted 25 June 2009 - 09:14 PM
#60

Posted 25 June 2009 - 09:21 PM
I wonder what the "Secret Paint" could be??????????????
Did you ever get a gearbox stabiliser mount bracket?
I'm almost certain I saw 1 in my garage tonight!!
1 user(s) are reading this topic
0 members, 1 guests, 0 anonymous users


