"project Cosworth" - Ford Sierra Cosworth 4x4
#481

Posted 12 March 2013 - 01:48 PM
But I'm going to stick with them, get it running and then see about adapting it.
I chose it to be wide to help minimise cost and to use standard sierra parts. I thought this would speed up the build but it's still taking ages!
The wheels were chosen to help get the biggest brakes possible. Yes I could have got smaller or a better offset wheel but then using milk bottle top size brakes in a 380bhp motor might cause issues.
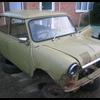
As for the arches, I have contacted zcars and others but they aren't big enough. I've bought arches 3 times over (caterham, 6r4 and escort bubble arches) trying to get some that fit - none do.
I've learnt so much doing this and it will get done.
It won't be to everyone's liking but It be to mine.
#482

Posted 12 March 2013 - 02:24 PM
#483

Posted 13 March 2013 - 07:51 AM
#485

Posted 13 March 2013 - 02:38 PM
#487

Posted 14 March 2013 - 07:21 PM
 whitemini.jpg 63.32K
95 downloads
#488

Posted 14 March 2013 - 07:27 PM
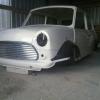
Very cool project, I just did a quick 2 minute shop of your car for ******* and giggles. Not sure how you tame those arches. But maybe something along these lines, taper, and blend into a side skirt? Basically use your imagination!
whitemini.jpg 63.32K 95 downloads
looks a bit like a pre war car with running boards on acid!
#489

Posted 14 March 2013 - 07:30 PM
#490

Posted 14 March 2013 - 08:53 PM
#491

Posted 17 March 2013 - 05:41 PM
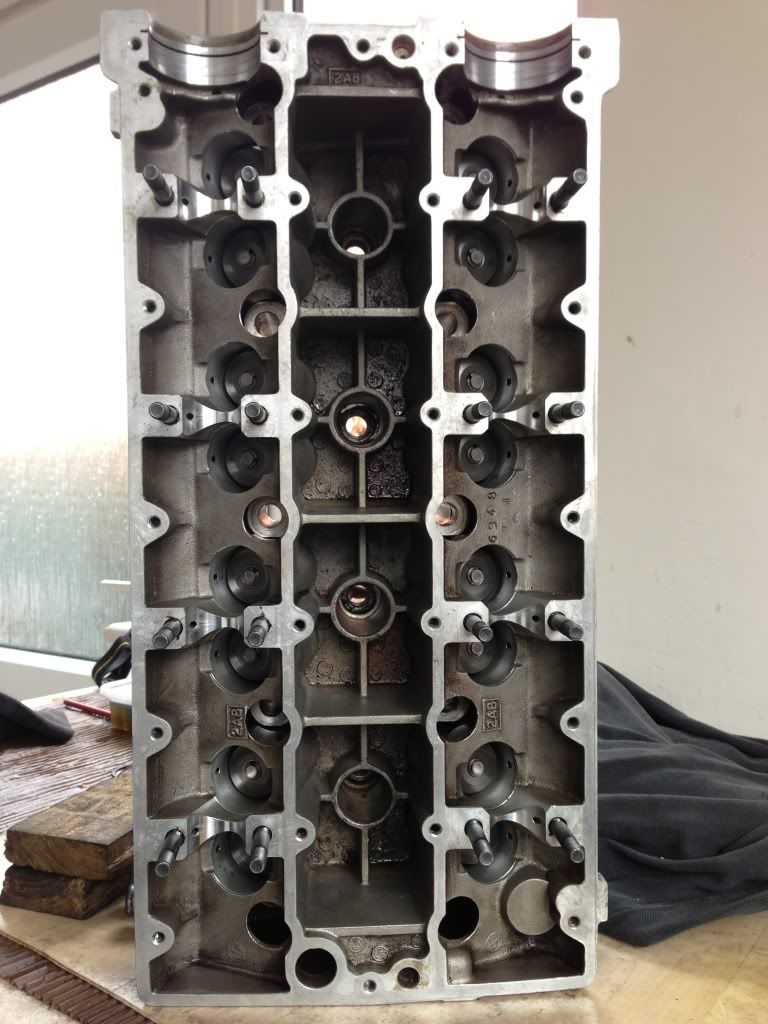
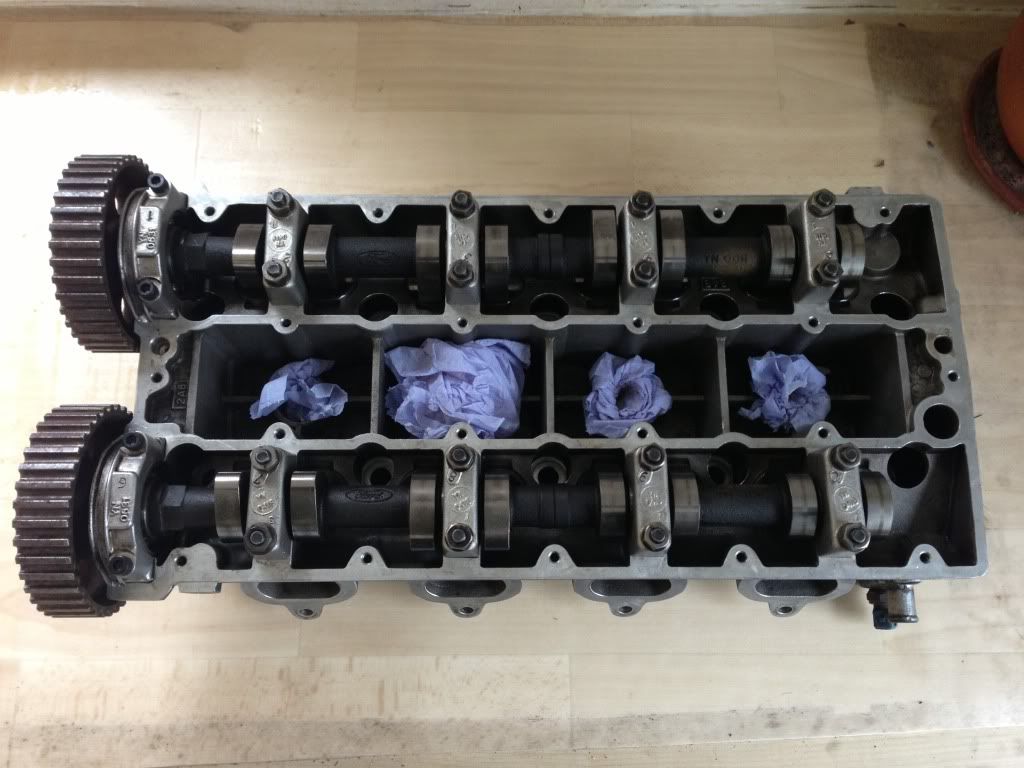
Anyhow the head has been looking at me in pieces for ages. So I got my act together and put it back together.
New inlet valve stem seals fitted
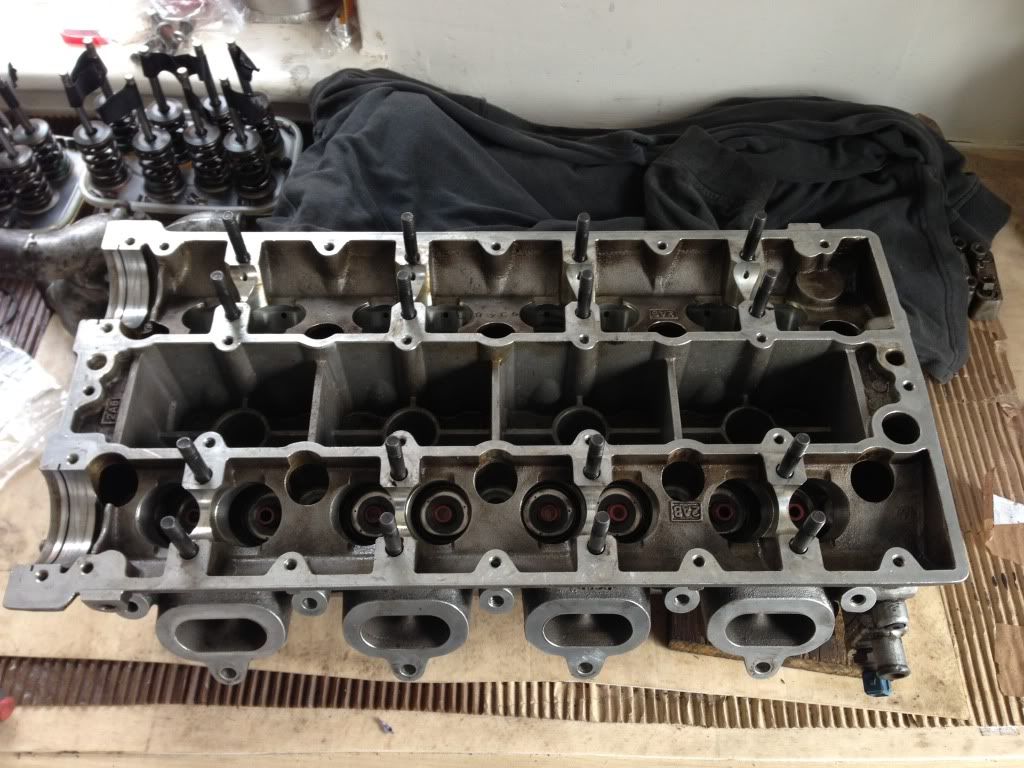
New exhaust valve stem seals fitted along with all the exhaust studs now fitted
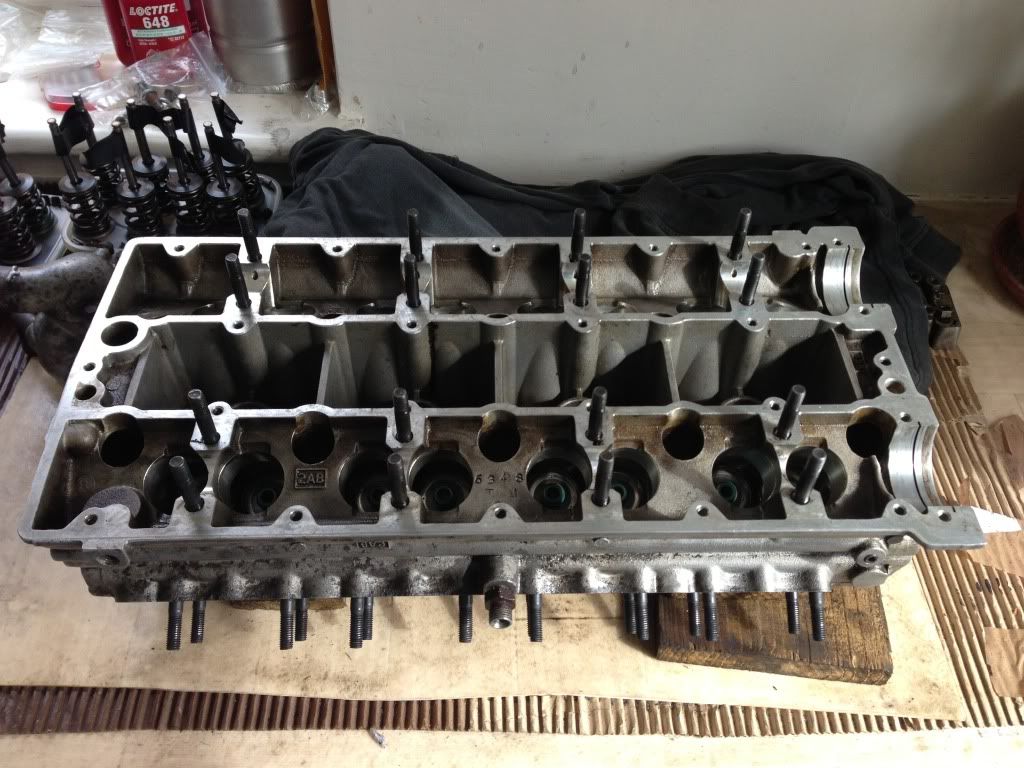
Valve springs in. (I decided not to go with double valve springs in the end)
Cams in and finished
Next the bottom end rebuild
#492

Posted 17 March 2013 - 06:28 PM
#493

Posted 17 March 2013 - 06:31 PM
#494

Posted 30 March 2013 - 07:21 PM
So I got it upside down after removing the dip stick and I'm attacking it from the bottom up.
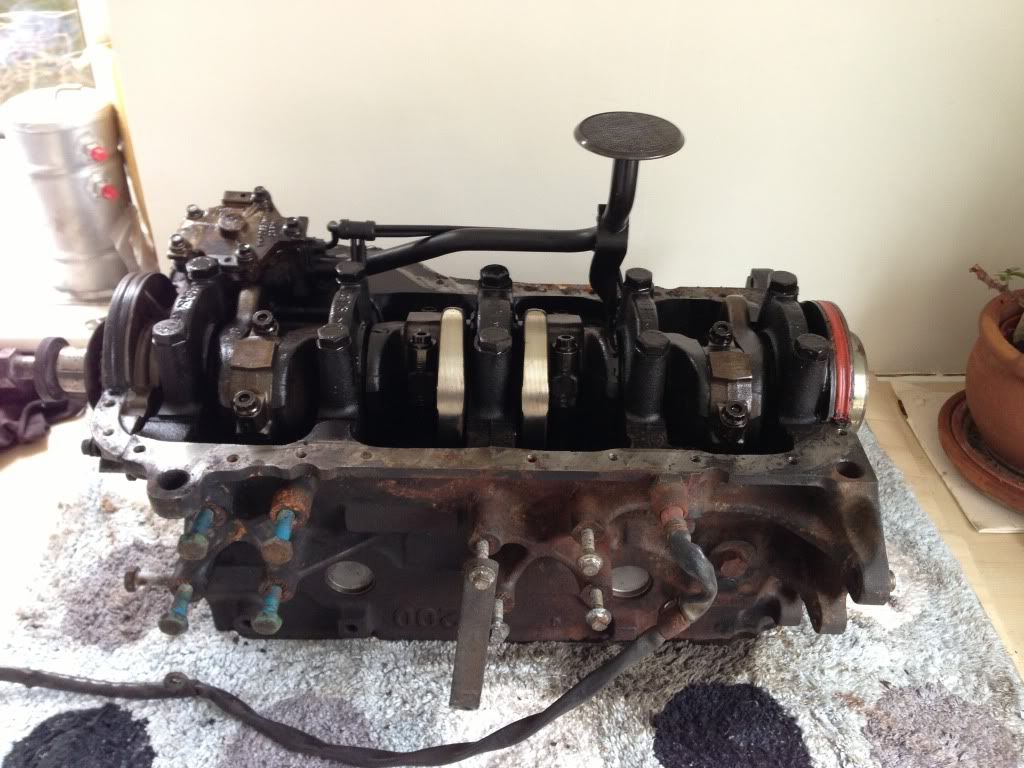
I've got a whole set of lightened pulleys so I new the small inner crank cog needed to come off.
2 days later, fabricating some little thin pullers and hitting it with a lump hammer and its off
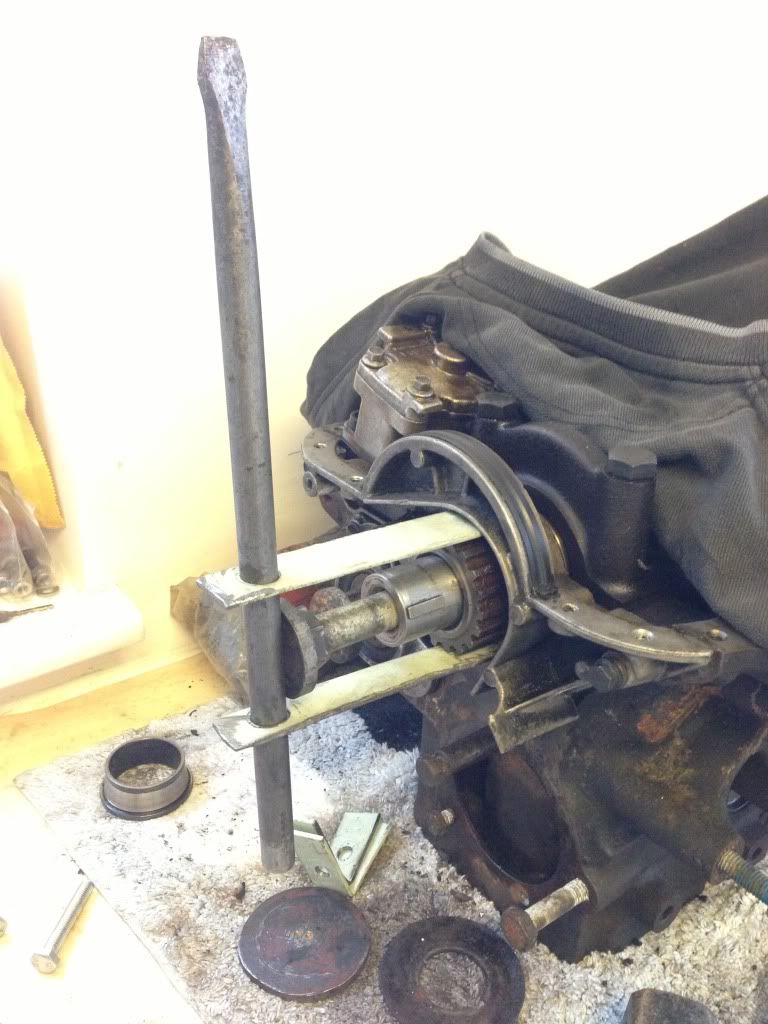
Basically I ending up hitting the big vertical rod.
Needless to say it was on abit tight!
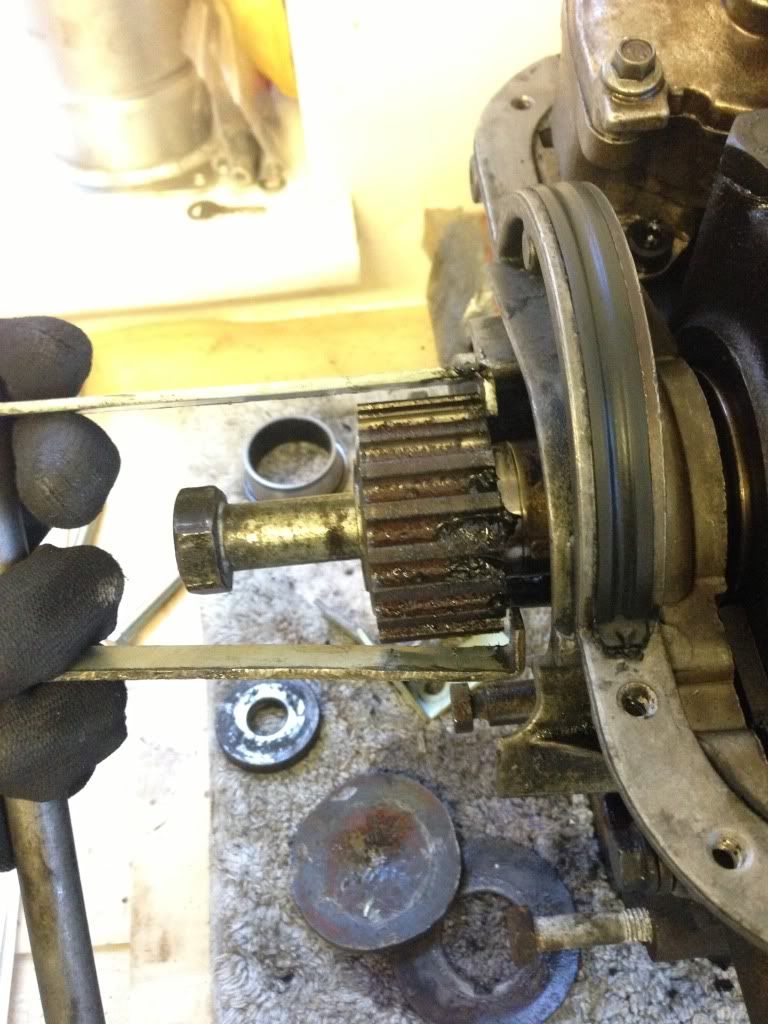
Now I need to order new front seals and gasket.
Then the arp rod bolts, big wing sump, light weight pulleys can be fitted.
After that I will lift it back down before to gets too heavy and start bolting everything together.
#495

Posted 31 March 2013 - 03:09 PM
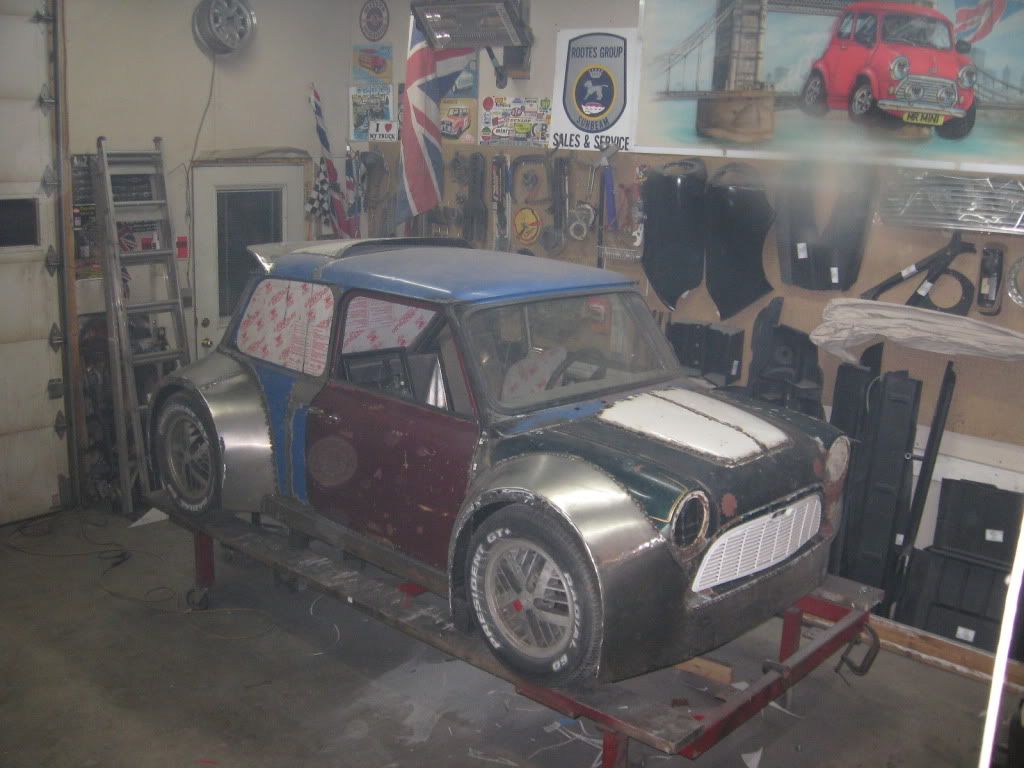
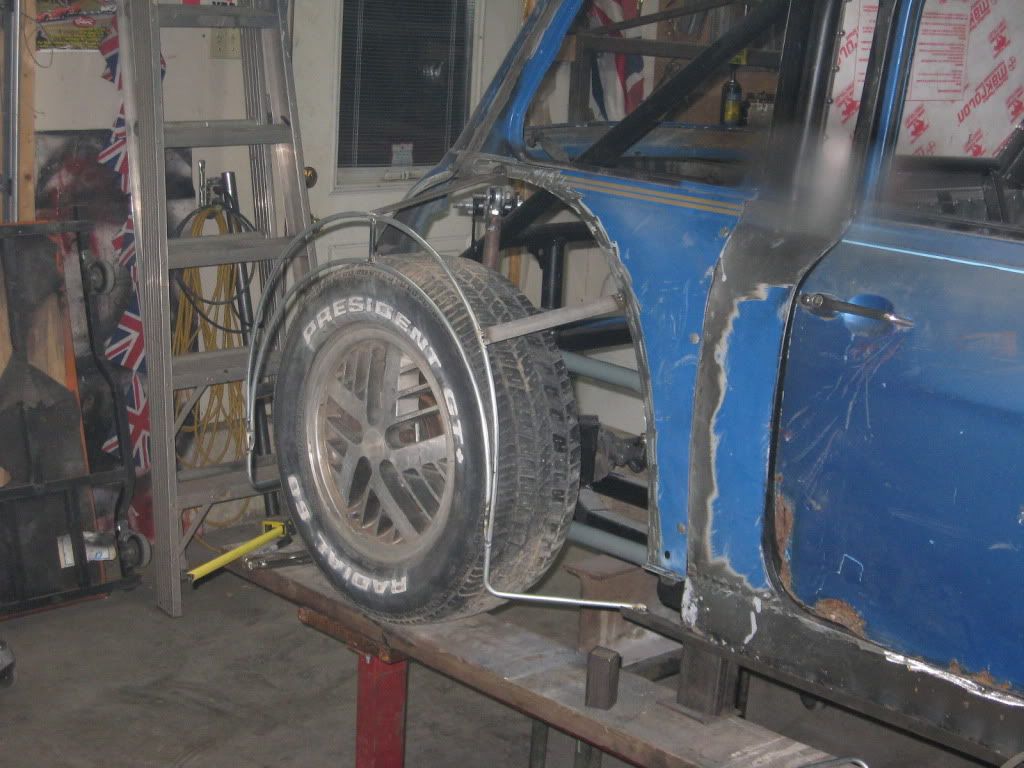
But getting back to the arches, if you do ones like these they mightn't look as wide!
If you bring them further up the body it should make them look bit narrower, I think!
Simple to make and nice nd strong!:)
2 user(s) are reading this topic
0 members, 2 guests, 0 anonymous users


