"project Cosworth" - Ford Sierra Cosworth 4x4
#436

Posted 02 September 2012 - 04:42 PM
#437

Posted 10 October 2012 - 07:26 PM
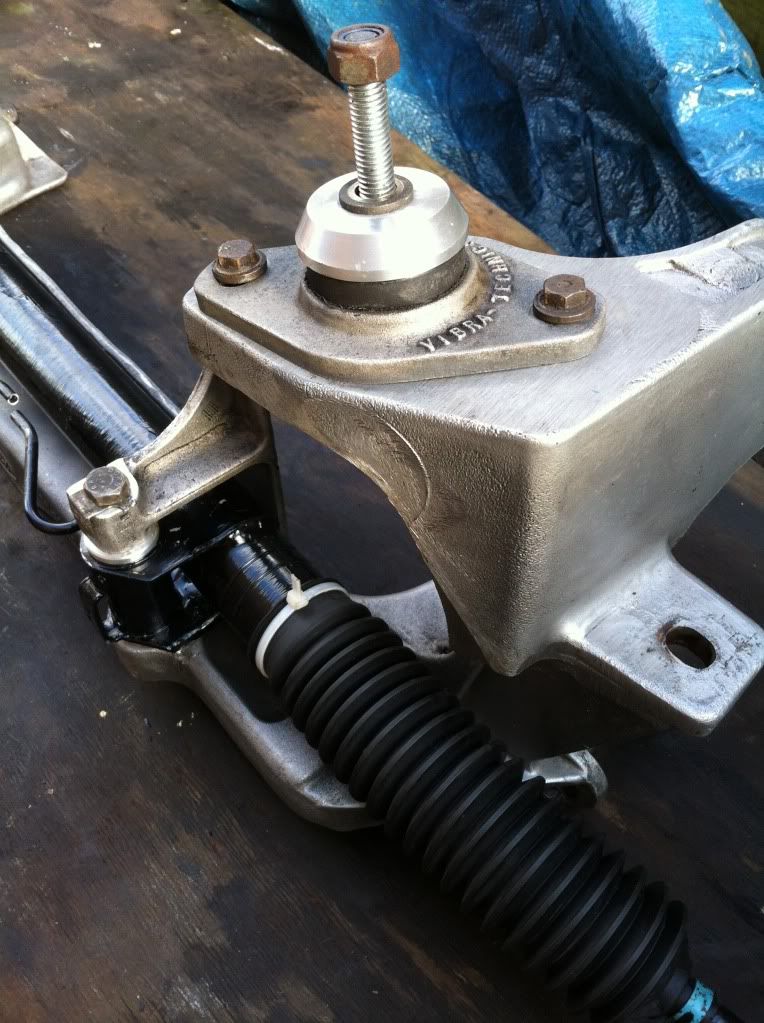
Steering rack rebuilt on cleaned engine cradle and uprated engine mounts fitted
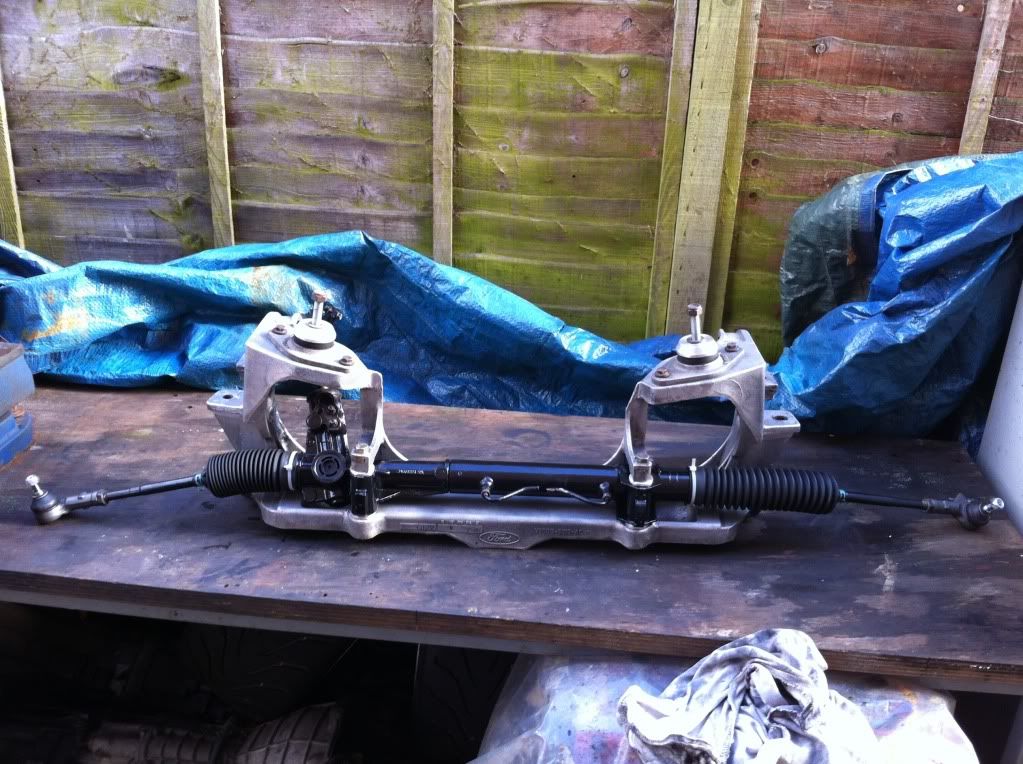
Note the solid steering mounts!
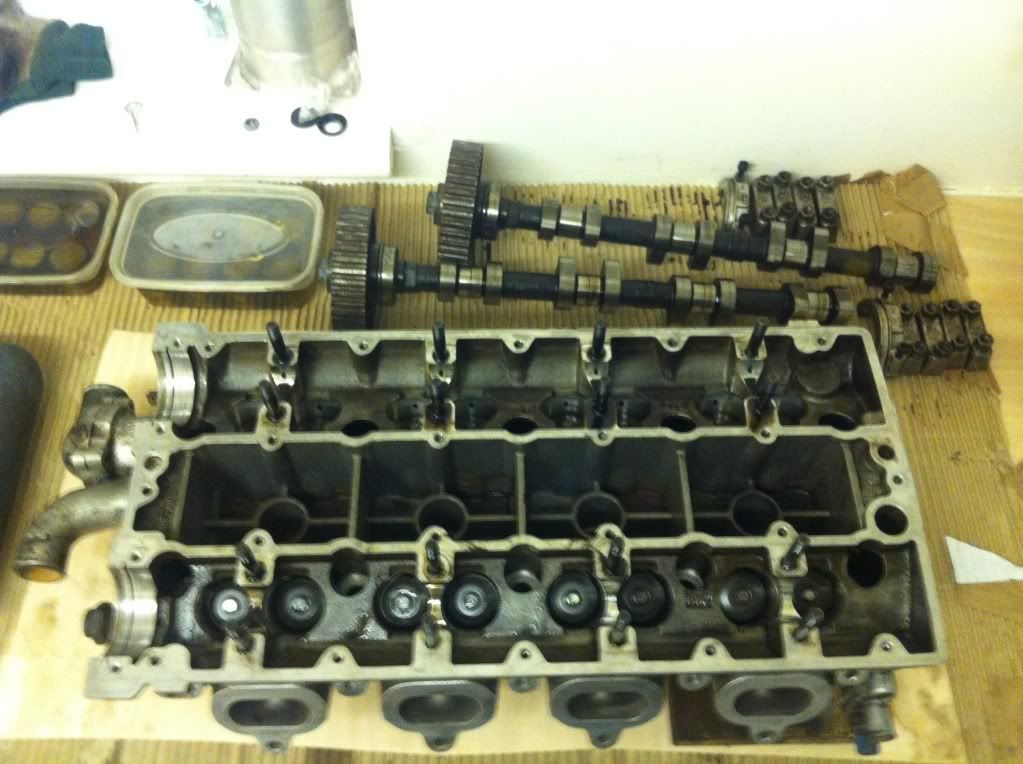
The engine is next on the hit list. Ive been ripping it to bits, cleaning it up and refitting it with better uprated parts... bigger turbo, injectors, tubular manifold, ARP bolts..... all the bits I have been stock piling are finally being used. Anyhow the pictures:
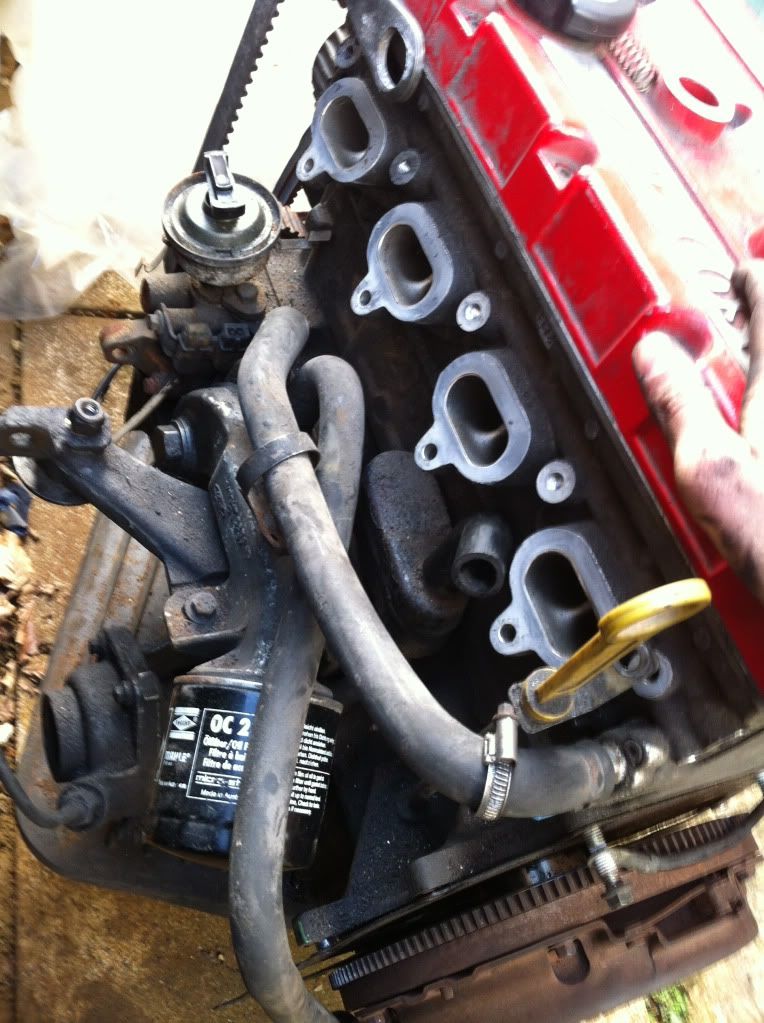
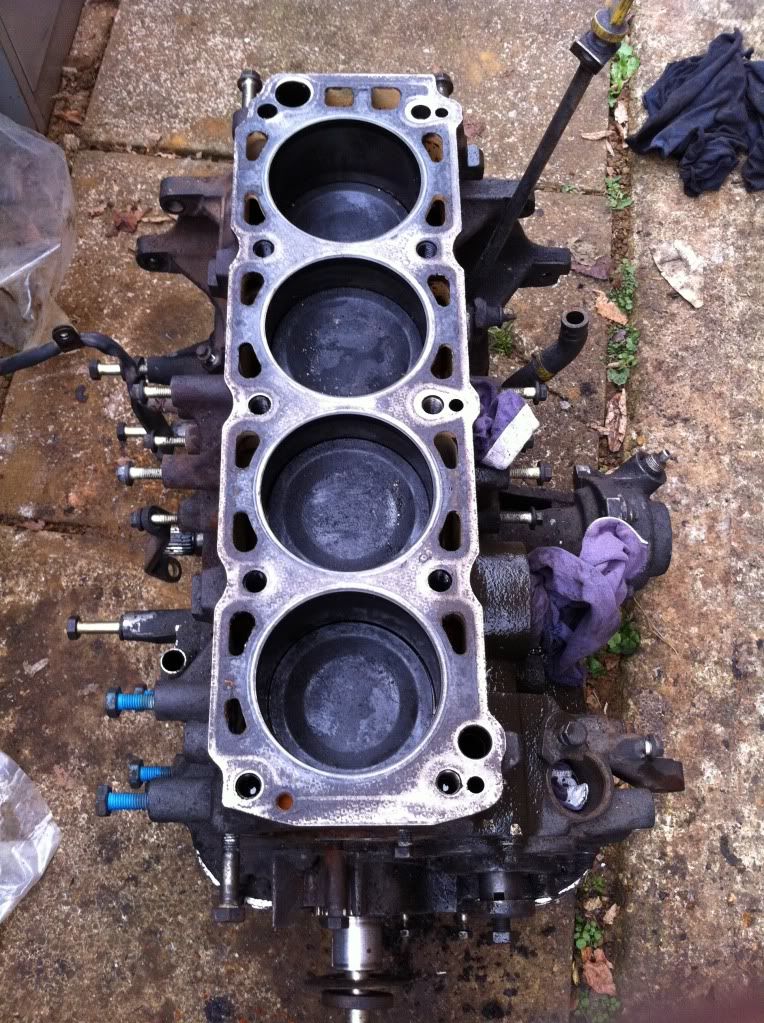
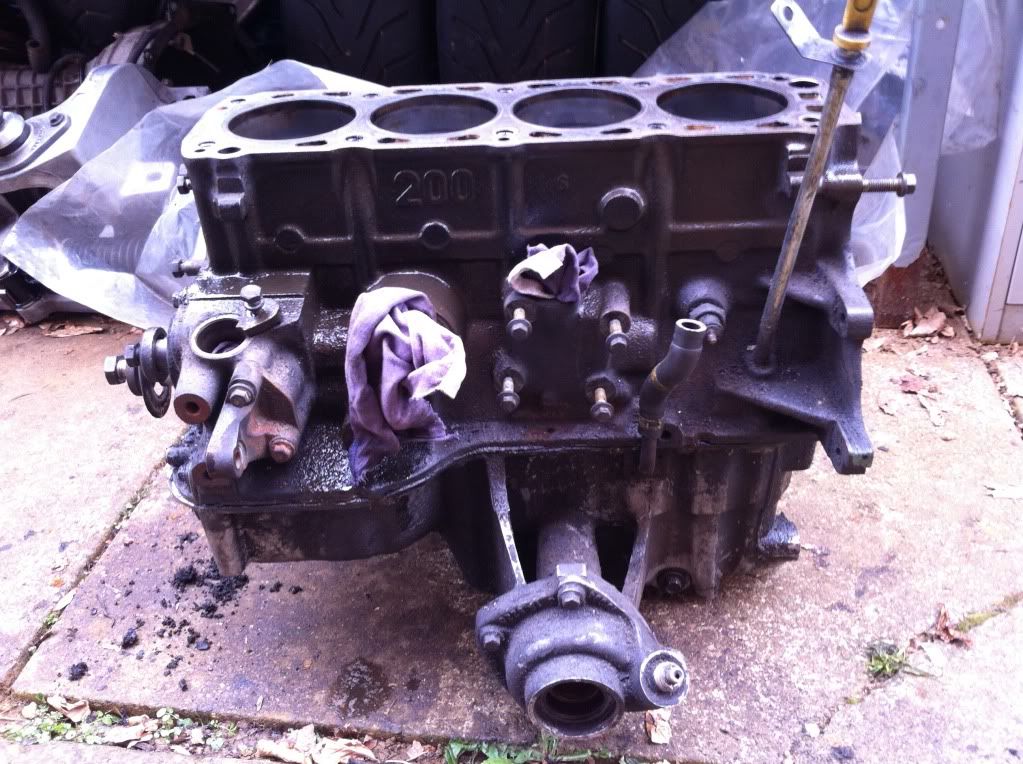
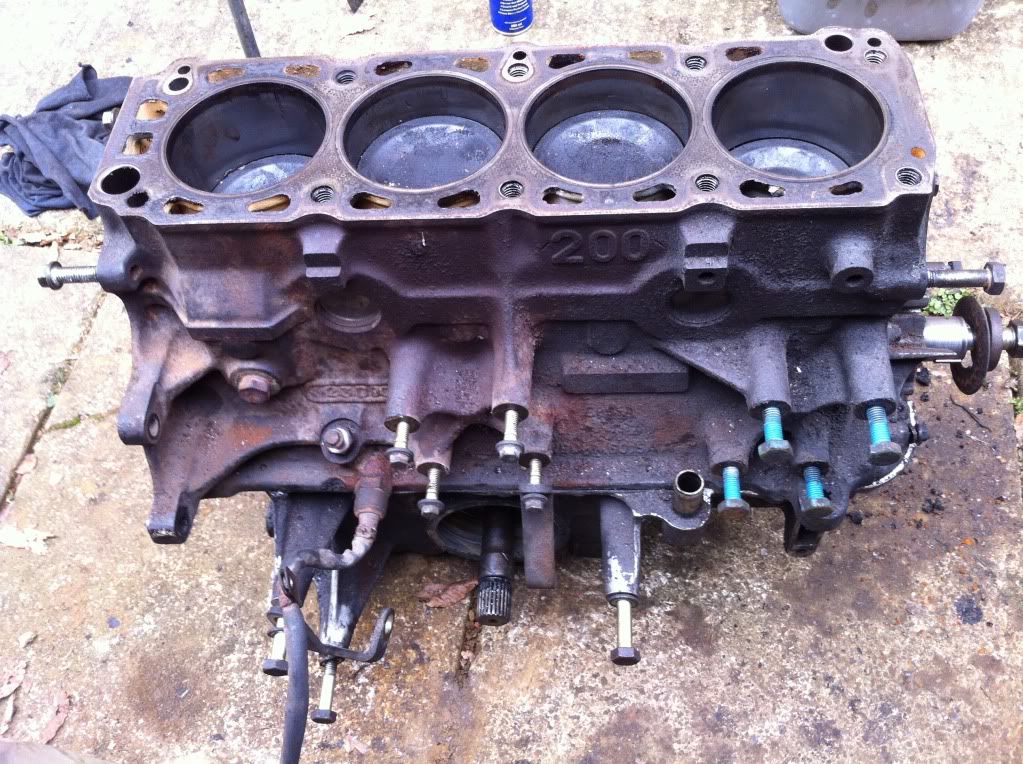
Head off and half cleaned, not how many of those bloody exhaust studs either are broken or came out with the nut! It extracts the urine!
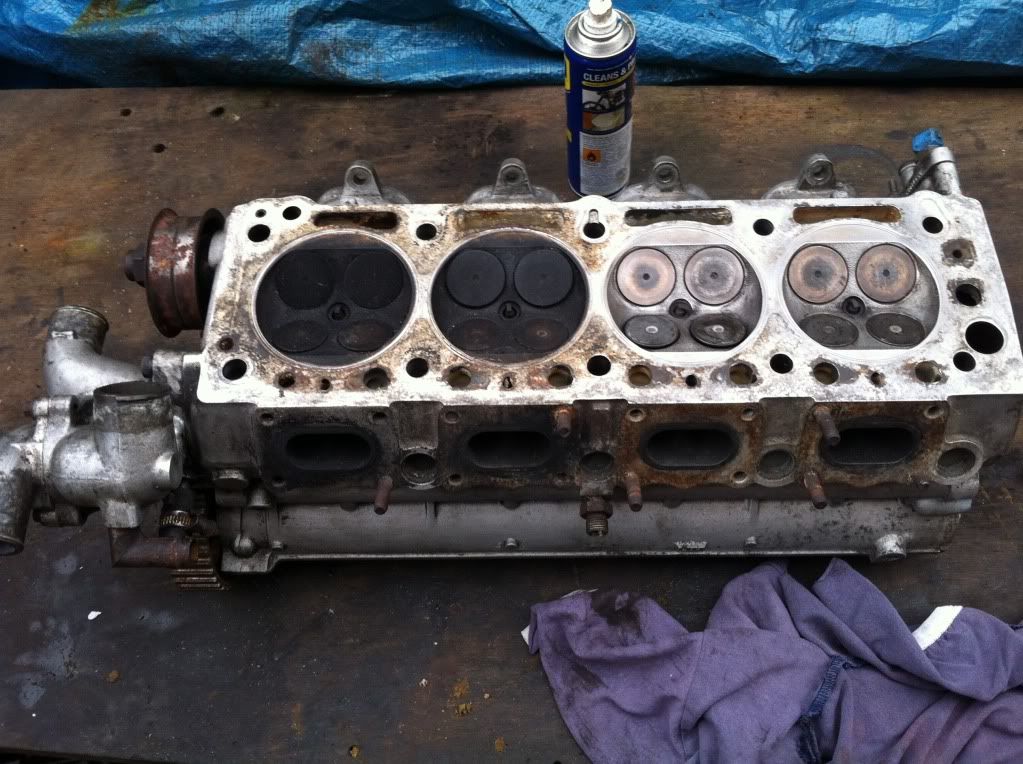
Finally after searching for a 1" socket and a 27mm spanner I can get rebuilding (after more cleaning)
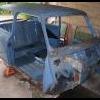
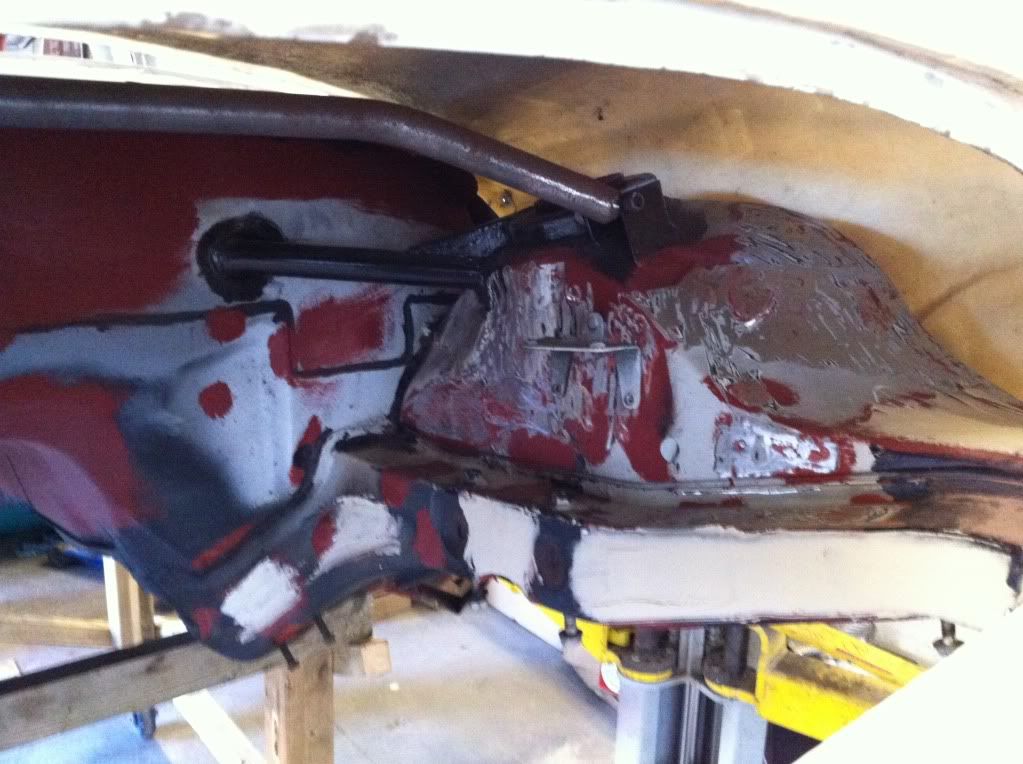
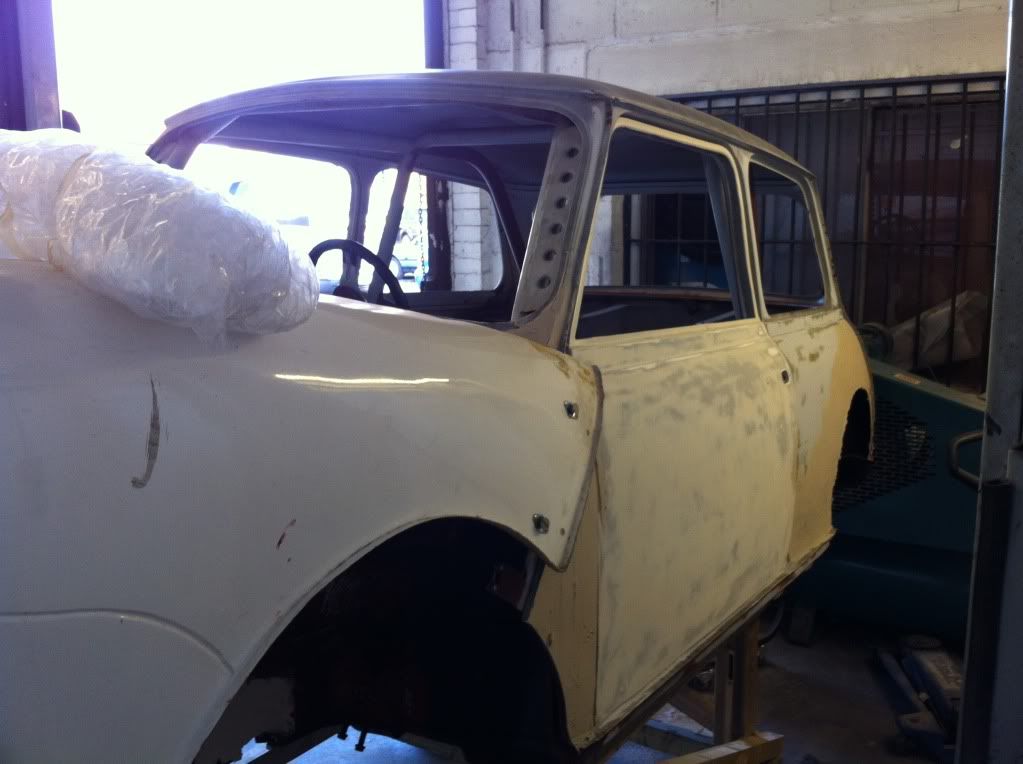
Oh yeah bodyshop photos:
Skimmed engine bay
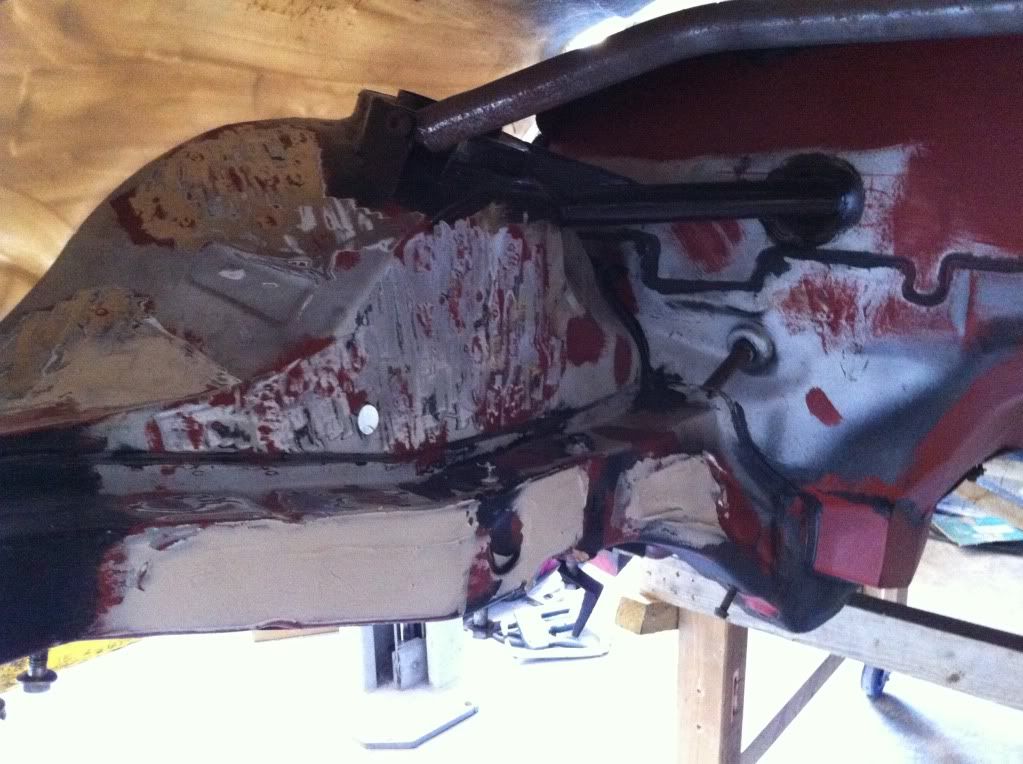
Both sides hiding those nasty welding deformations on both rear quarters
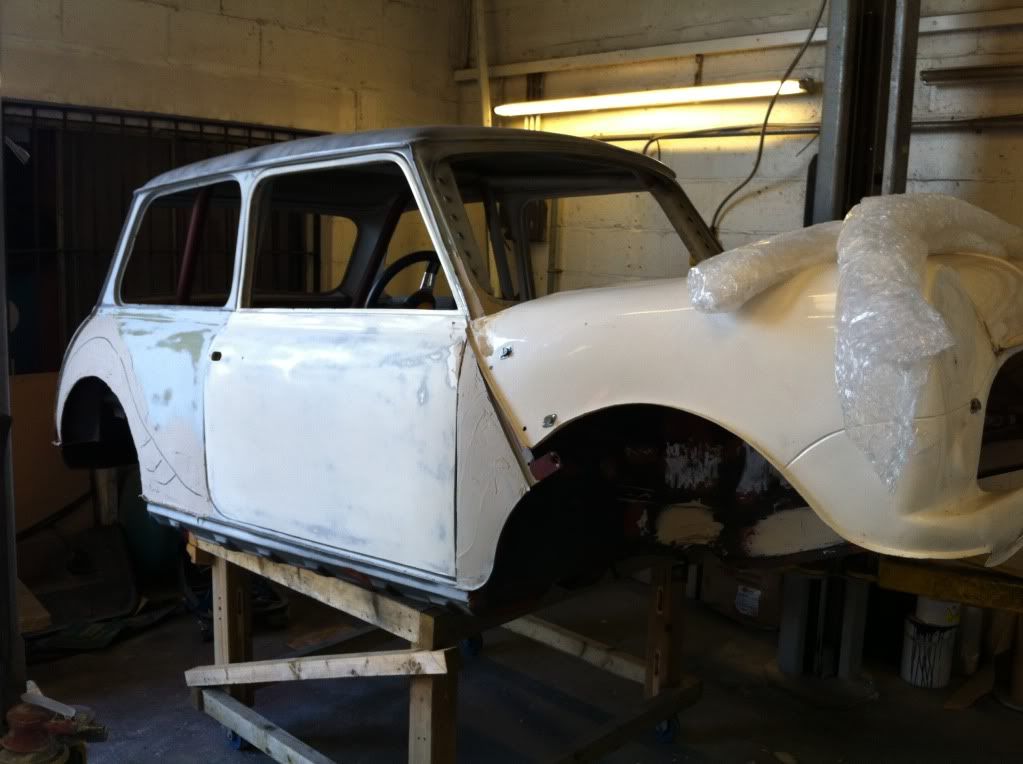
Oh and a sneak preview of the arches:
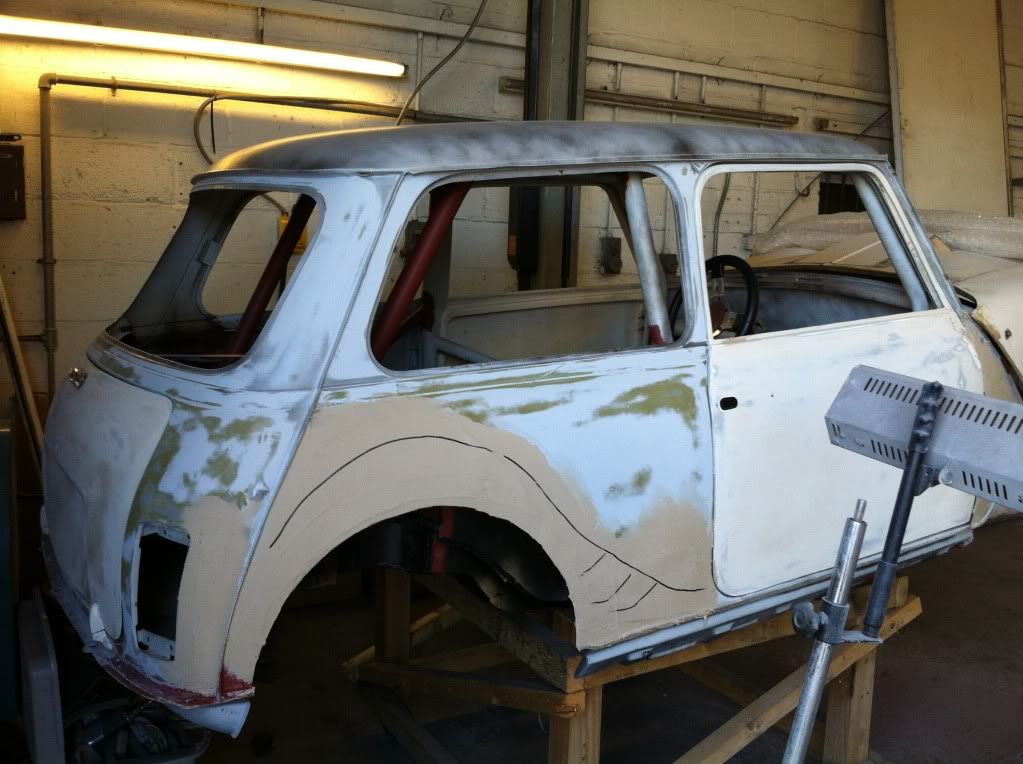
Lots of things still to do, but more little jobs, but im felling things are getting there
Edited by kmol468, 10 October 2012 - 07:29 PM.
#438

Posted 11 October 2012 - 07:17 PM
#439

Posted 14 October 2012 - 06:02 PM
#440

Posted 18 October 2012 - 08:01 PM
#441

Posted 19 October 2012 - 02:24 PM
Put the socket on the spring and give it a good sharp hit. As the spring compresses the collets should pop out and the valve will be released from the spring. I've done engines this way and it does save time. It will get you moving along while waiting for a valve spring compressor to turn up in the post or until you can go out and buy one.
You will need a valve spring compressor for reassembly though.
#442

Posted 19 October 2012 - 11:05 PM
#443

Posted 30 October 2012 - 05:11 PM
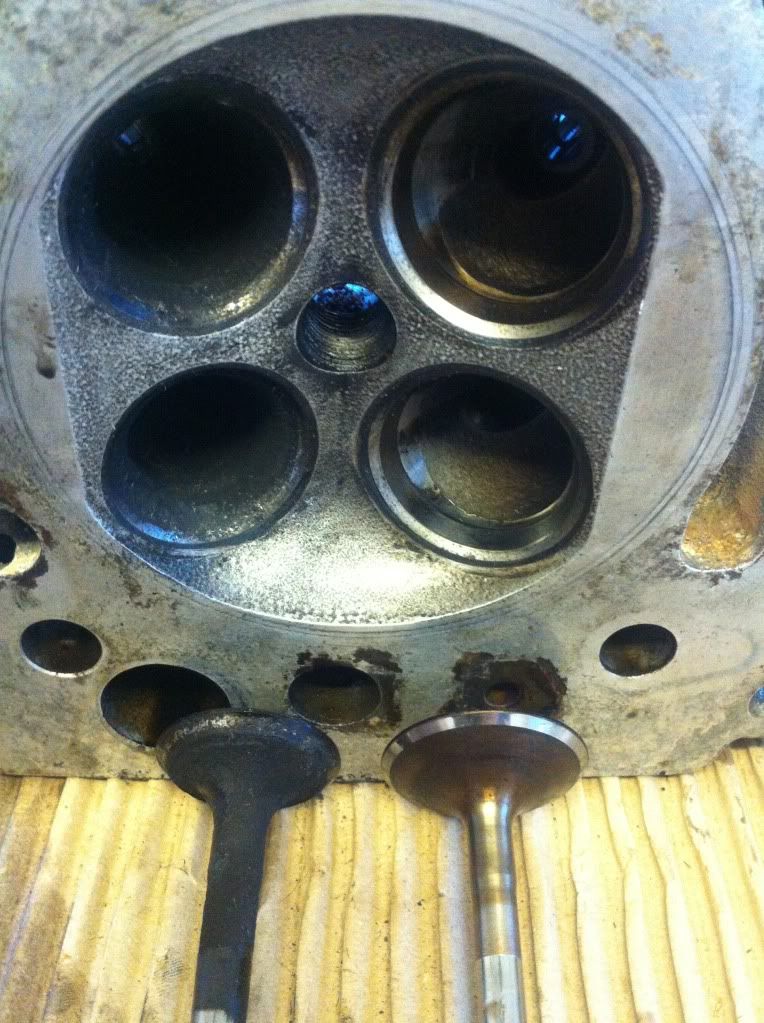
I have managed to get all the valves out and the stem seals. (thanks for the handy tip MJWJ, it came in useful)
Im going to replace the valve stem seals as the engine is in pieces and now is the best time to do it. Also at the time of purchase it was abit smokey, so ive dug out the new seals and placed them to one side ready for fitment.
Upon removal all the inlet valves and valve seats look in good condition although the complete exhaust side look pretty appalling. I know they are the exhaust side and will get clogged but I think a good clean and re-seat is in order. Take a look....
#444

Posted 30 October 2012 - 05:37 PM
Might be worth changing the valve guides and getting the seats recut if it was smokey and they don't come good from being relapped!
Good to see an update though, watching with interest.
#445

Posted 31 October 2012 - 12:19 PM
Just check where your tappets go back in that you haven't left any burs. I did once and couldn't figure out why the tappet wouldn't go down. I had to massage the head with a needle file in the end.
#446

Posted 14 January 2013 - 03:35 PM
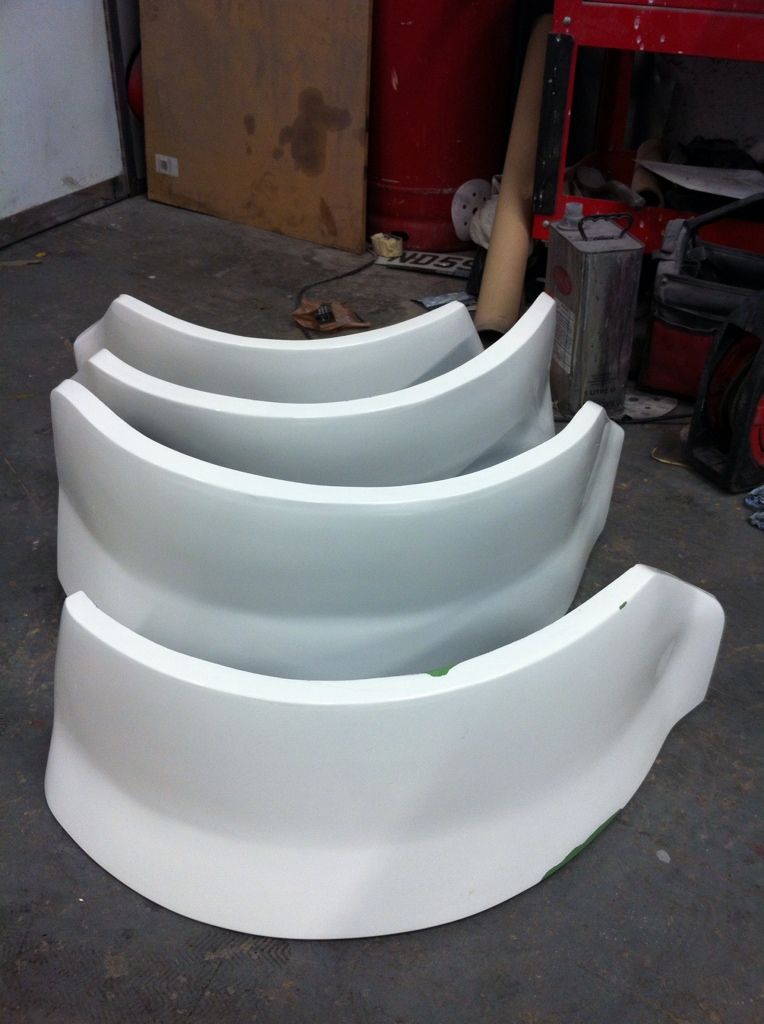
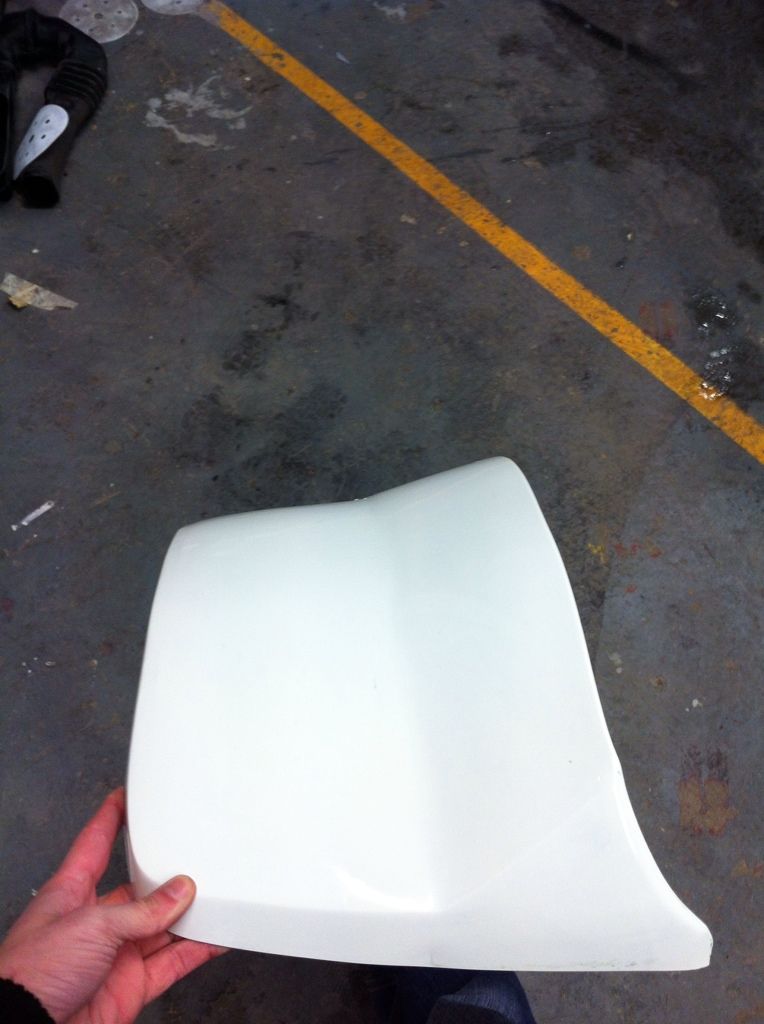
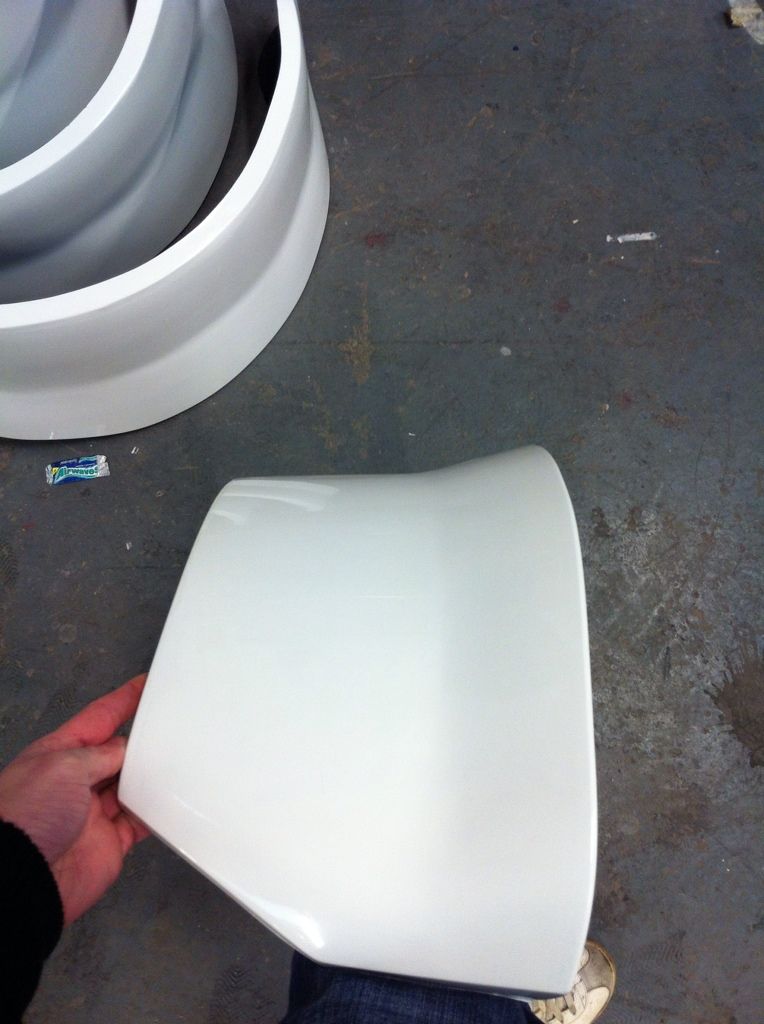
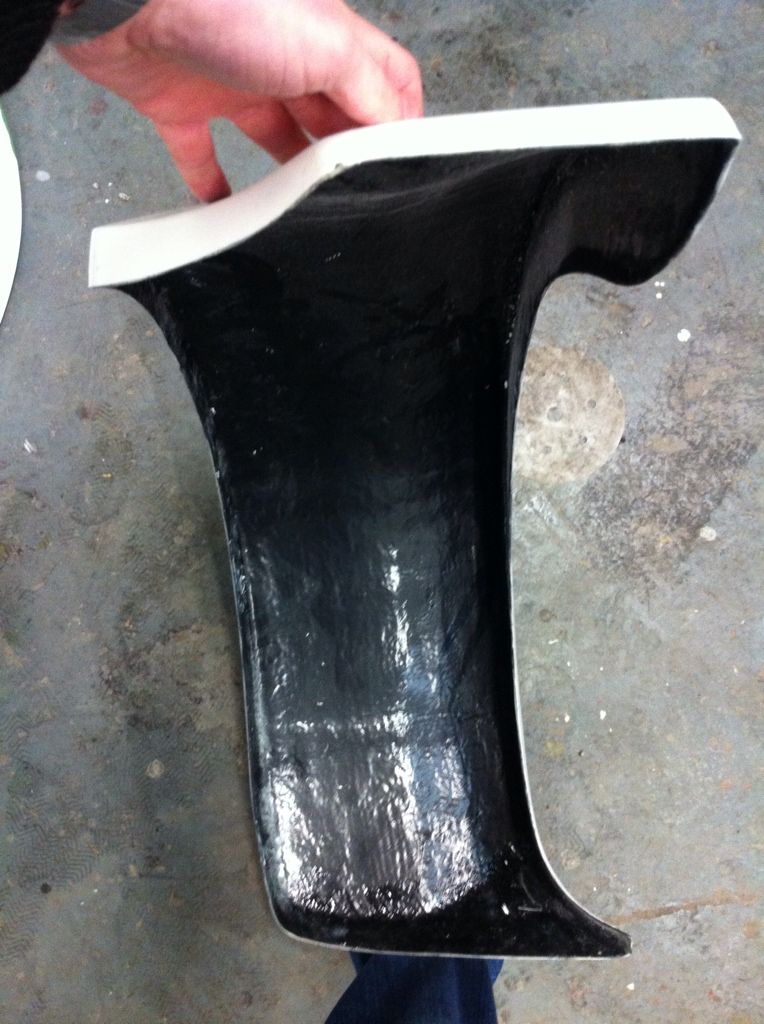
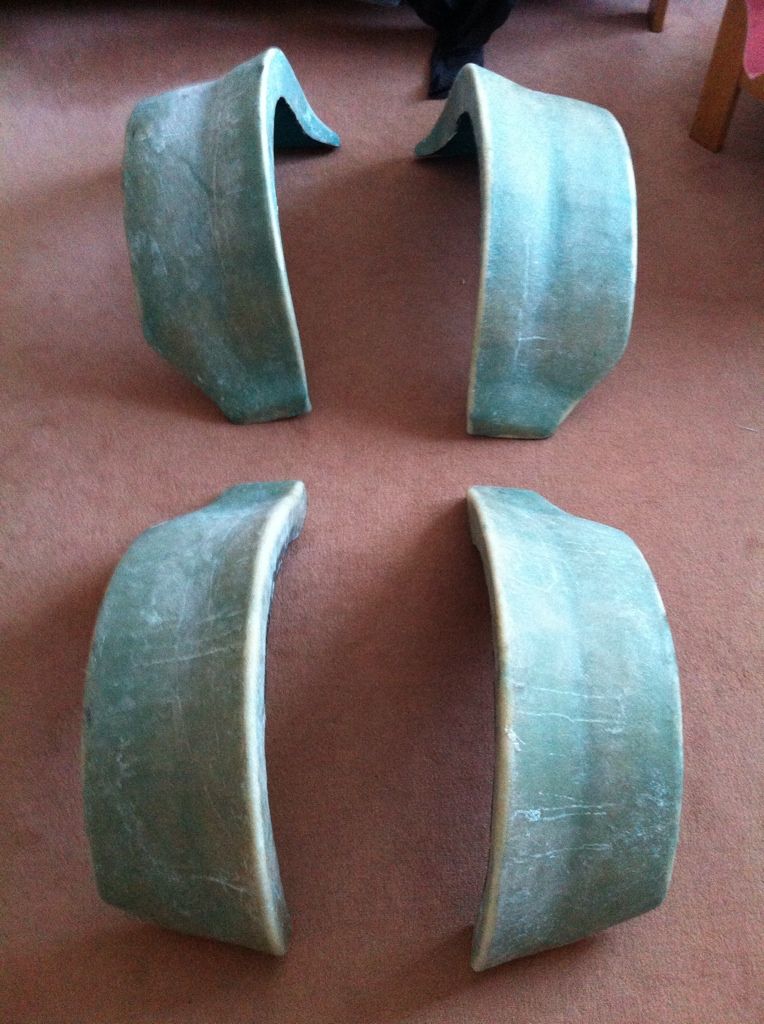
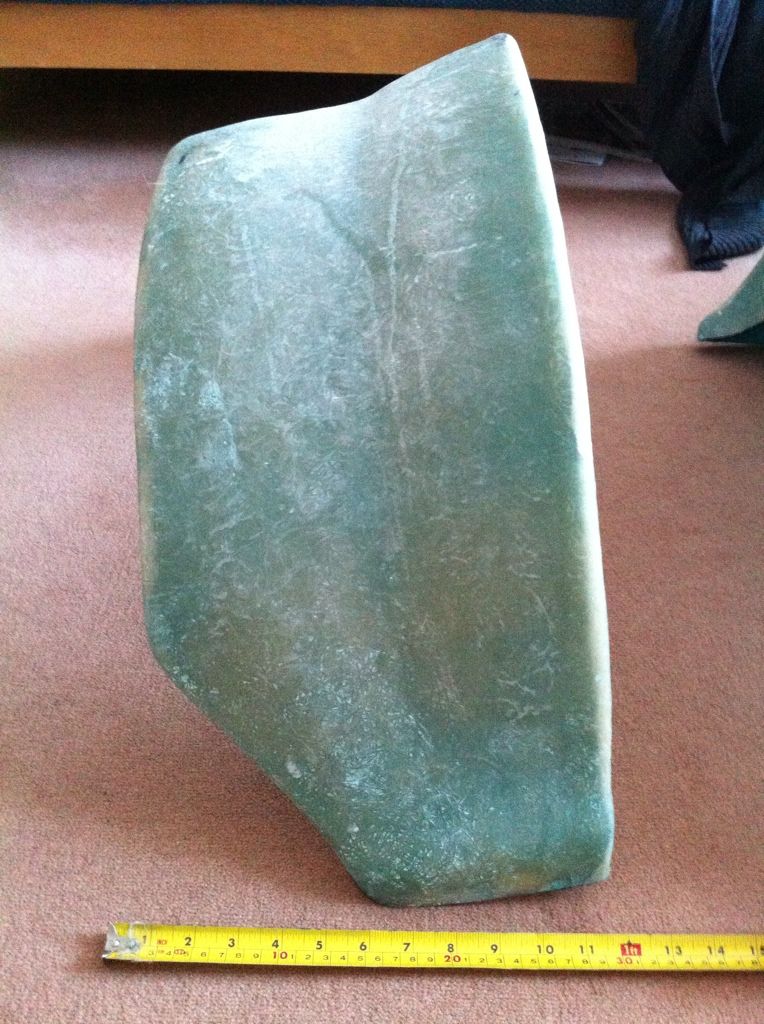
They might not be the norm for mini arches but they couldnt be straight as the width of them would result in them starting near the rear window level!
So to cover the wheels they have got the initial mini wheel arch bulge and then they extend with a slight taper to them. The last picture shows the arches with some reference of width.
Now just a lick of paint and I will be pleased.
#447

Posted 14 January 2013 - 04:31 PM
looking good, can't wait to see the end result, been following this since day one!
#448

Posted 24 January 2013 - 04:12 PM
#449

Posted 26 January 2013 - 03:17 PM
They are a tad wide! Lol
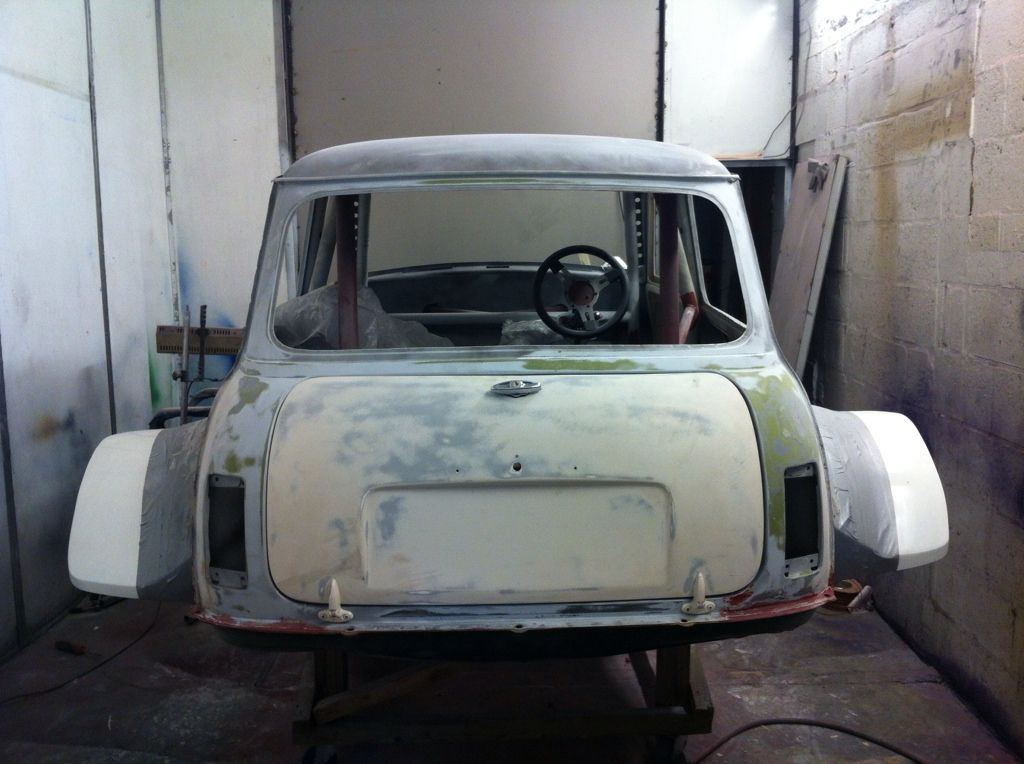
Oh as a shameless plug, if anyone wants some uber wide arches made, just get in touch.
#450

Posted 26 January 2013 - 03:22 PM
Sorry couldnt resist
1 user(s) are reading this topic
0 members, 1 guests, 0 anonymous users


