Jump to content


Photo
- - - - -

Red Mayfair, First Mini!


  • Please log in to reply
260 replies to this topic

#1 daveeeeee

daveeeeee

    Super Mini Mad

  • Members
  • PipPipPipPipPipPip
  • 684 posts

Posted 05 April 2009 - 10:54 PM

Hi everyone,

I bought an Austin Mini Mayfair off of a friend at my last place of work for £300. It's MOT had just expired, so I swapped out rear wheel cylinders and bled the brakes, then raced off (just a stage 1 kit) to have it MOT tested. Unfortunately it failed because the rear subframe was corroded beyond reasonable repair, also the dip beams weren't working but that was only because the relay had disconnected itself under it's own weight! (found hanging under my steering wheel =)

I bought a non genuine subframe, tried fitting it to the car only to find more rust around the subframe mounts (hand went through the wheel arch) which I didn't think would pass an MOT. I got myself a welder and here are my efforts to date.

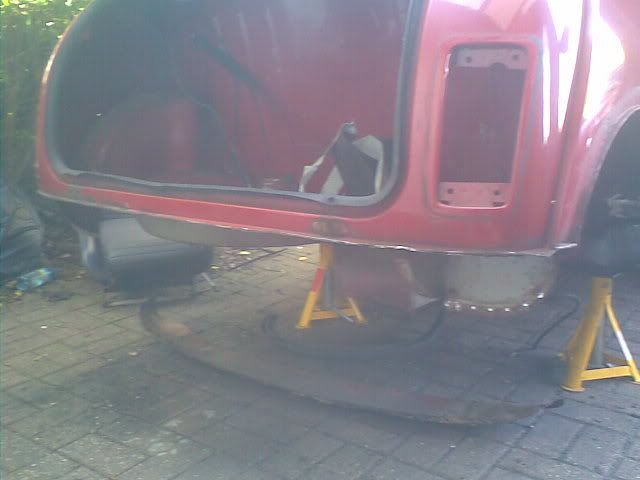
Off with the rear valance
Posted Image

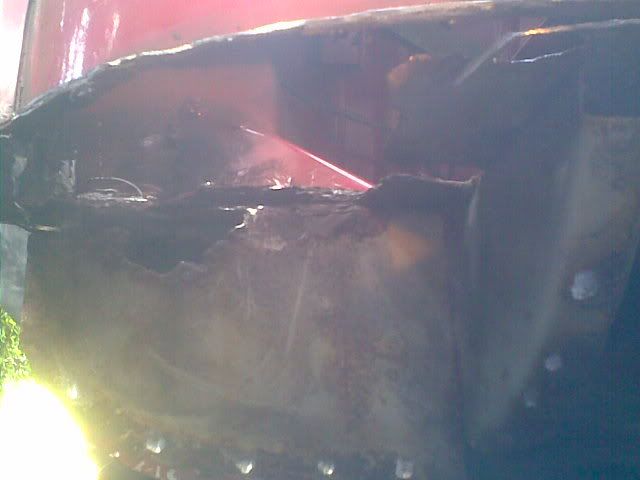
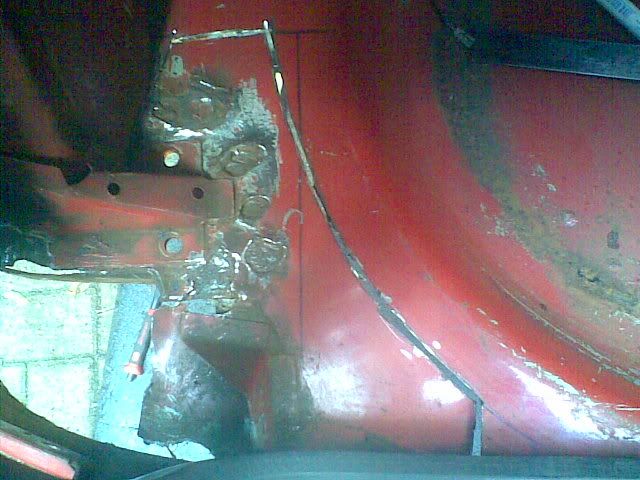
Tapping small bumps of rust with my die grinder, persuaded it explode all over the place, and leave nice big holes in the floor panel. So cut it out.
Posted Image
Posted Image

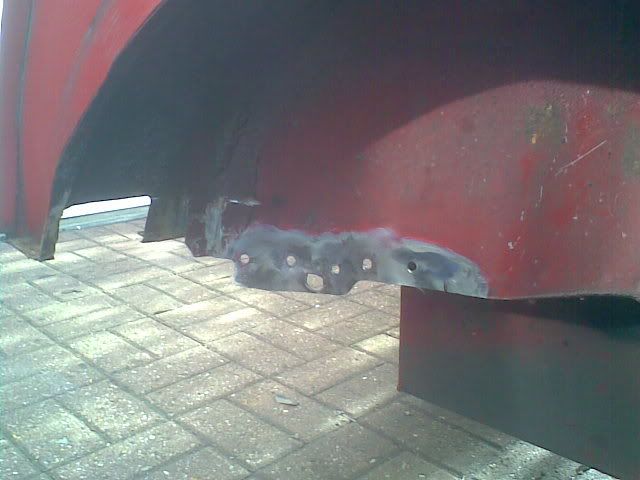
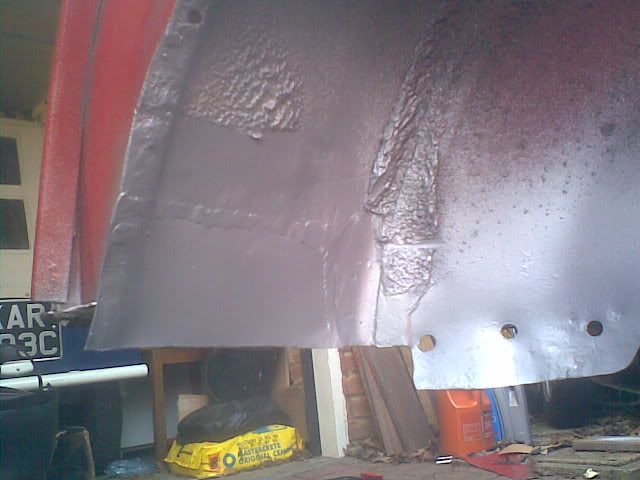
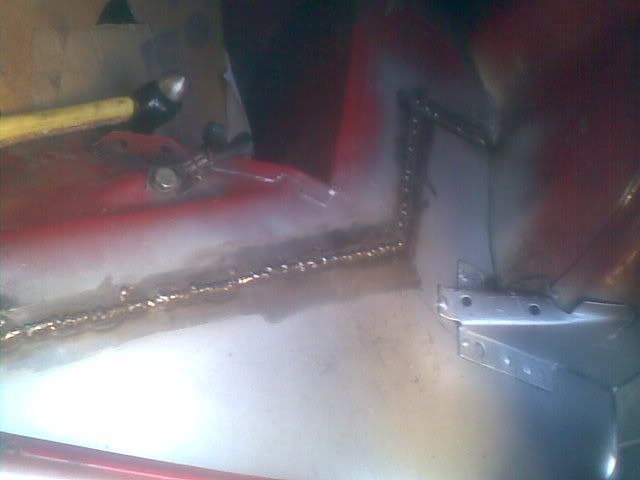
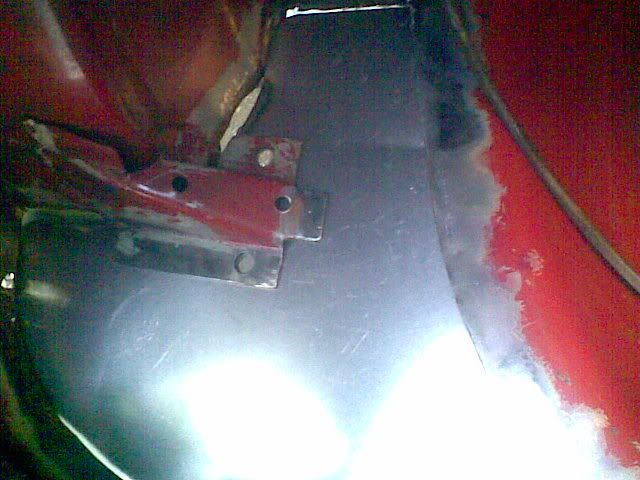
Removed valance closing panel, repaired the wheel arch and made up some floor, learnt a few lessons here, cut straight lines it's easier to make new panels, and later on got lots of heat distortion around the seam weld from rushing it!
Posted Image

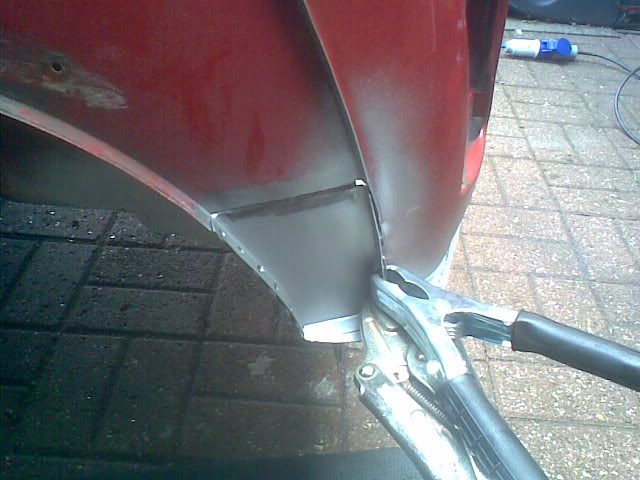
Had a go at some exterior bodywork with this small repair panel, needs a tad of filler, havent got a pic of it welded and grinded yet sorry. It made me buy a joggler though, awesome tool.
Posted Image

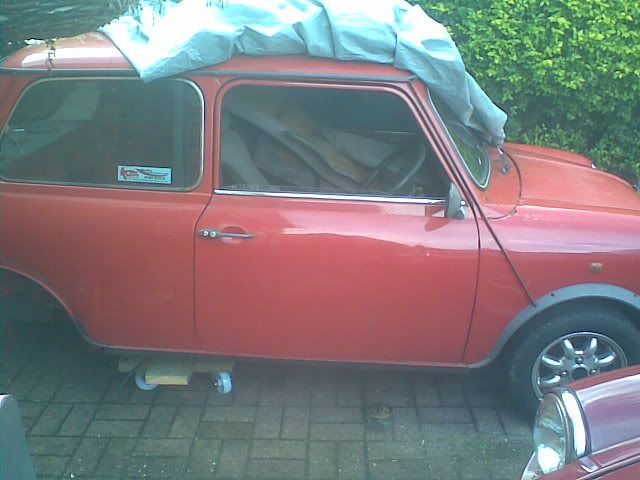
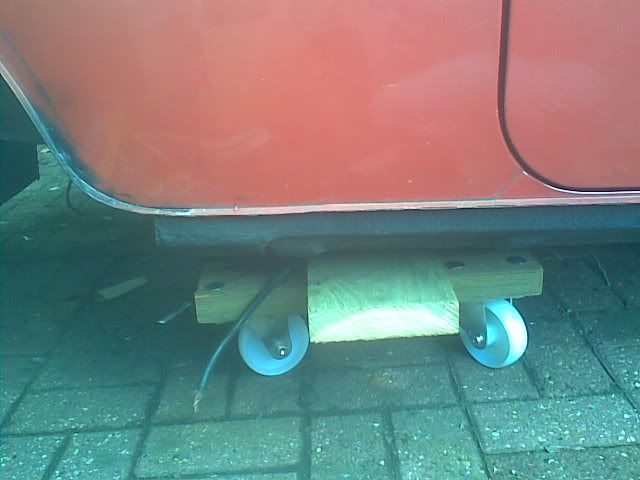
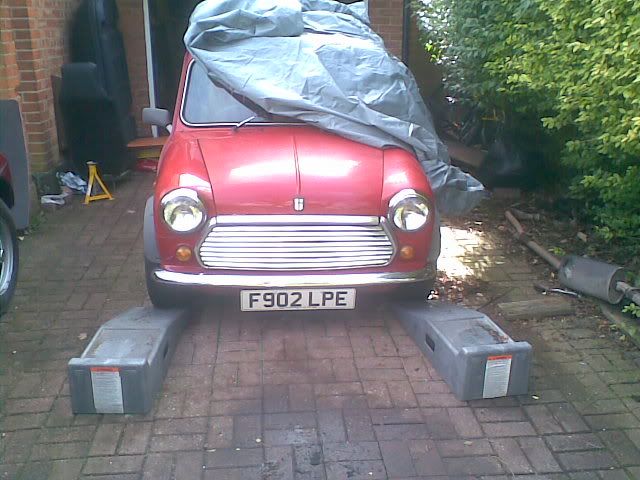
Dad had to get his moke out of the garage for an MOT, so had to get the car off of the ramps and stands so it was mobile, bought some castors and used some spare decking to roll it around on.
Posted Image
Posted Image
Posted Image

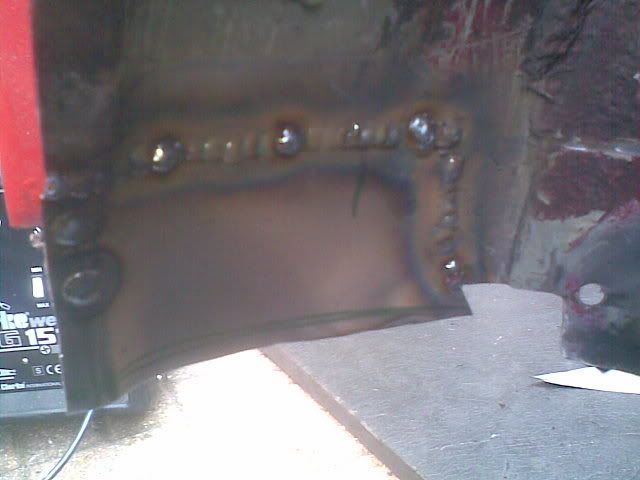
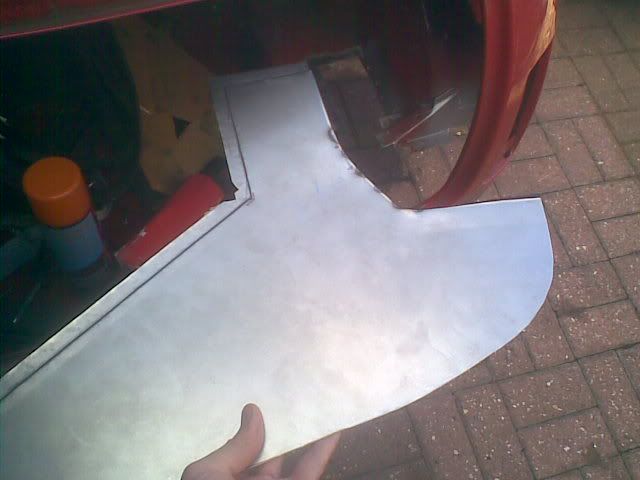
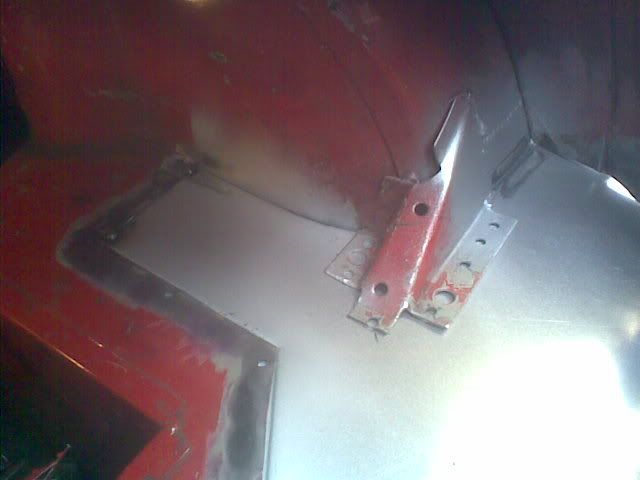
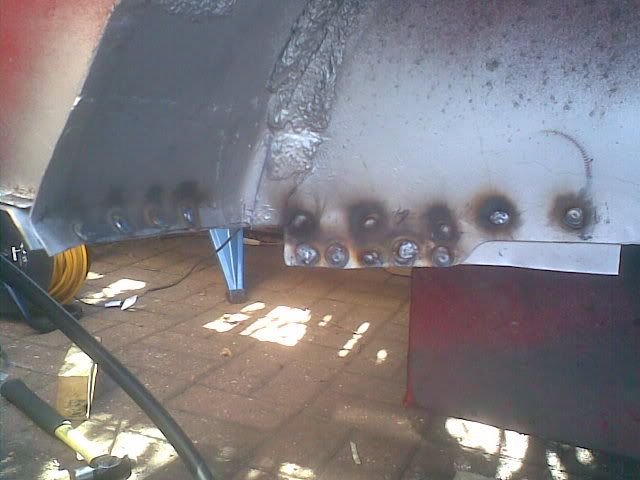
Next up was the boot floor on the offside, straight lines this time and I had a joggler. Removed the bad stuff, did a quick repair to the wheel arch then made myself a panel, plug welded and seam welded.
Posted Image
Posted Image
Posted Image
Posted Image
Posted Image
Posted Image
All sooty from the zinc rich primer, got some acid etch to use instead at some point. Had trouble with wind on a couple of these too lol.
Posted Image
Posted Image

Thanks for looking! Comments welcome, I'll try to keep this up to date and share all the f ups and triumphs ;)

Edited by daveeeeee, 15 September 2010 - 09:21 PM.


#2 Mini-Mad-Craig

Mini-Mad-Craig

    Crazy About Metro's

  • Members
  • PipPipPipPipPipPipPipPipPipPip
  • 9,298 posts
  • Location: Travelling in a fried out Kombi

Posted 05 April 2009 - 11:23 PM

Excellent!

#3 miniadventure

miniadventure

    One Carb Or Two?

  • TMF+ Member
  • PipPipPipPipPipPipPip
  • 724 posts

Posted 06 April 2009 - 08:34 AM

Keep up the good work. Any rust on the front of the car!

#4 daveeeeee

daveeeeee

    Super Mini Mad

  • Members
  • PipPipPipPipPipPip
  • 684 posts

Posted 06 April 2009 - 08:58 AM

Thanks guys.

Yeah there's rust on the bottom corner of one of the A panels.
The offside wing is pulling up from the scuttle, gaping hole! But I believe a flip-front will solve that problem =)
Floors are holy at the front.
Door frames and skins are fairly awful too!
Sills are fine externally but there's lots of rust down in the bottom of the door pockets so hope to get them off at some point.

I'd like to do a flat boot floor some time too as the wheel well is like a seive.

#5 Down&Out

Down&Out

    The King Of Retro Cool

  • Traders
  • PipPipPipPipPipPipPipPipPip
  • 4,847 posts
  • Location: -

Posted 06 April 2009 - 09:45 AM

thats some rather posh welding :lol:. good work.

#6 analogue_radio

analogue_radio

    Up Into Fourth

  • TMF+ Member
  • PipPipPipPipPipPipPipPipPip
  • 4,897 posts
  • Location: Melton Mowbray, UK.

Posted 06 April 2009 - 09:55 AM

Some really nice work there mate!

#7 daveeeeee

daveeeeee

    Super Mini Mad

  • Members
  • PipPipPipPipPipPip
  • 684 posts

Posted 15 April 2009 - 12:42 AM

Had a disappointing day today, bought a non geniune subframe for this ages ago, put it up to the car today, bolted it to the heelboard, rear holes were no where near.

I had made special efforts not to move the rear mounting bracket off of the wheel arch, so measured up the car/subframe to some diagrams I found, and the non genuine subframe is 3/4" too long.

So now I'm trying to aquire a cheap geniune (used) subframe to avoid more headaches!


On a positive note, valance closing assembly panel thing on the o/s only needs a lil bashing to fit, chuffed, will weld that on asap!

Edited by daveeeeee, 15 April 2009 - 12:46 AM.


#8 Down&Out

Down&Out

    The King Of Retro Cool

  • Traders
  • PipPipPipPipPipPipPipPipPip
  • 4,847 posts
  • Location: -

Posted 15 April 2009 - 10:26 AM

ahh now you've said that a non genuine subframe could be an iffy fit. i think its best i mock mine up!

#9 daveeeeee

daveeeeee

    Super Mini Mad

  • Members
  • PipPipPipPipPipPip
  • 684 posts

Posted 15 April 2009 - 09:25 PM

Good luck with it Knebworth! Your car may well require modification =p I want the dimensions of my car to stay standard haha.

#10 Down&Out

Down&Out

    The King Of Retro Cool

  • Traders
  • PipPipPipPipPipPipPipPipPip
  • 4,847 posts
  • Location: -

Posted 15 April 2009 - 10:53 PM

Good luck with it Knebworth! Your car may well require modification =p I want the dimensions of my car to stay standard haha.

haha cheers mister :withstupid:. ive got another subframe, but id rather fit the new one and i beleive the other one i have is non gen too :). nonetheless, thanks for the luck :P

#11 Boycie

Boycie

    Camshaft & Stage Two Head

  • Members
  • PipPipPipPipPipPipPipPip
  • 1,978 posts
  • Location: Kent/ East Sussex border

Posted 16 April 2009 - 05:49 AM

Nice work. Is it your first go at welding? because it's looking good. Half the battle is cutting out the rot/ knowing what to remove and you're doing it very neatly :)

#12 daveeeeee

daveeeeee

    Super Mini Mad

  • Members
  • PipPipPipPipPipPip
  • 684 posts

Posted 16 April 2009 - 10:41 AM

This is my first car welding, I did give myself some practice off the car first! It takes forever to clean it all up, take it all apart. I'm aquiring all the right tools and skills now though so things will improve/get faster!

Thanks for the interest guys

#13 rosco454

rosco454

    One Carb Or Two?

  • Members
  • PipPipPipPipPipPipPip
  • 908 posts

Posted 16 April 2009 - 11:04 AM

Hi,

First of all fair play for doing it outside as it doesnt make things any easier.

As boycie says your welding is looking good,best way to do it is have a practice away from the car as you say.Are you using a gasless welder or just trying to shelter yourself from the wind?

What are the rest of your plans for it bar the flip front and boot floor?

If you keep an eye on my build thread il be taking the front off mine in the next couple of weeks so keep watch and you can see how not to do it!


Cheers Ross.

#14 daveeeeee

daveeeeee

    Super Mini Mad

  • Members
  • PipPipPipPipPipPip
  • 684 posts

Posted 16 April 2009 - 03:14 PM

Ha thanks Ross, using a gas welder - welding between gusts of wind haha! It was actually quite sheltered inside the boot but had a bit of trouble in the wheel arch.

As for other plans, going for the stripped out look inside, but will probably keep it habitable. Probably use lots of sheet aluminium to tidy things up.

Both the sills need looking at, might replace the heel board at some point. Work in progress!


Let me know when you do the front, although I will be checking regularly =) Good luck

Dave

#15 daveeeeee

daveeeeee

    Super Mini Mad

  • Members
  • PipPipPipPipPipPip
  • 684 posts

Posted 18 April 2009 - 09:50 PM

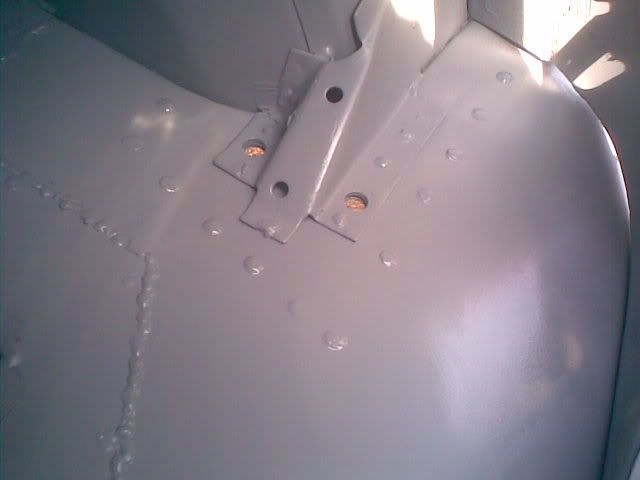
Update! I've welded on the other valance closing panel today, I'm really pleased with it, so much tidier than the last one.

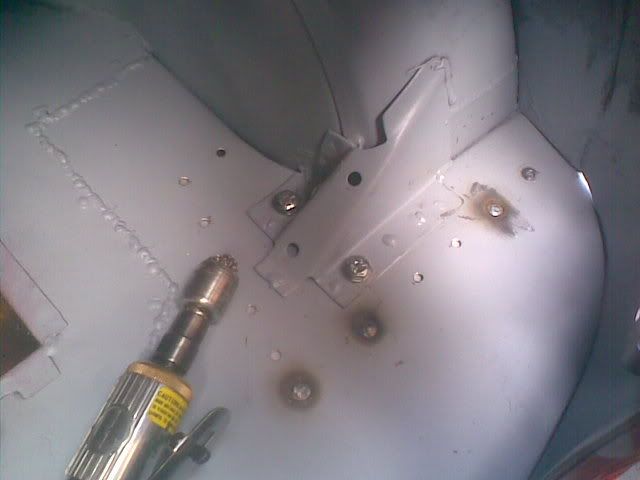
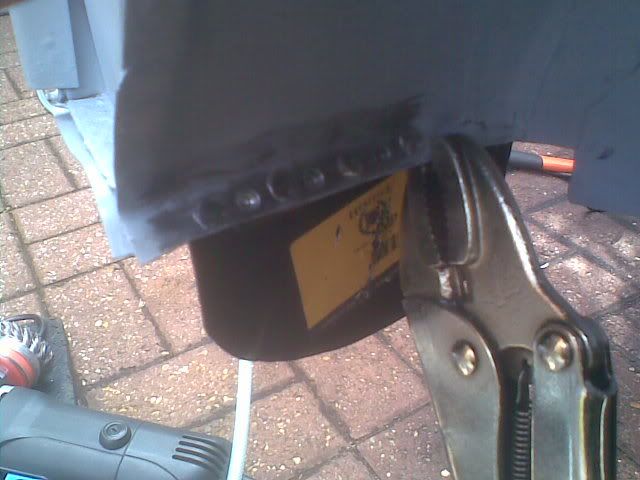
have a die grinder with a wire cup in it, the wire has worn right down from running the RPM too high haha, but its now perfect for pushing into 5mm holes to clean up the panel behind for plug welds =)
Posted Image
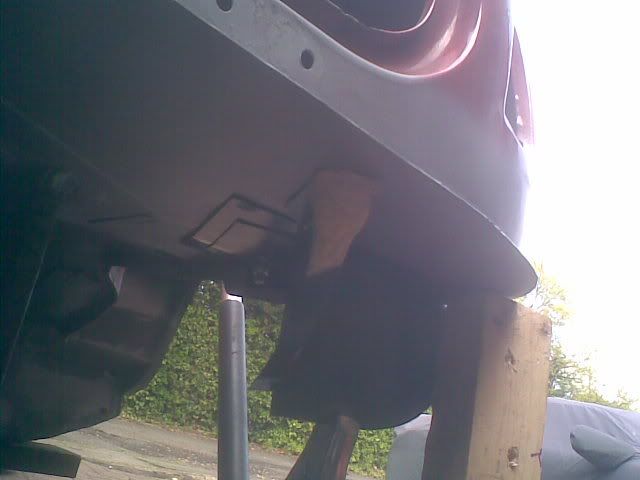
got lazy trying to bend everything to fit perfectly, so just got a block of wood on the jack and pushed up the panel to make sure i didnt have a gap before welding
Posted Image
Posted Image
etch primer looks so nice =)
Posted Image
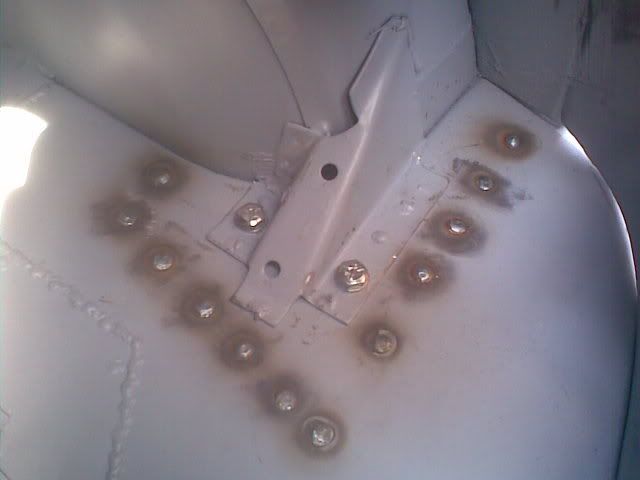
had to plug through both the wheel arch and the floor, but now i know it's solid >_< it was really windy today so i ended up hiding under the car cover whilst welding in the wheel arch haha.
Posted Image

Been thinking about my rear valance, I'd like to have a fibreglass one on there when I've got the cash. For now though I think I might just weld the back panel to the floor, and rivet the steel valance on that I've already got. Maybe that's too much fuss *shrug*. At least that way it'd be easy to go fibreglass later.

I'm going for a smooth bum with a bumper over the top, might buy a pair of black gel coat fibreglass bumpers.

Thanks for looking/reading


1 user(s) are reading this topic

0 members, 1 guests, 0 anonymous users