Mgb Gt
Started by
panelbeaterpeter
, Jan 25 2009 10:54 PM
241 replies to this topic
#91
Posted 02 September 2009 - 08:11 PM
Had enough with the bodywork over the weekend, so decided to rebuild the heater. It sits in the back of the engine bay, so is really visible, and it looked manky, so I sand blasted the cae, and repainted it.
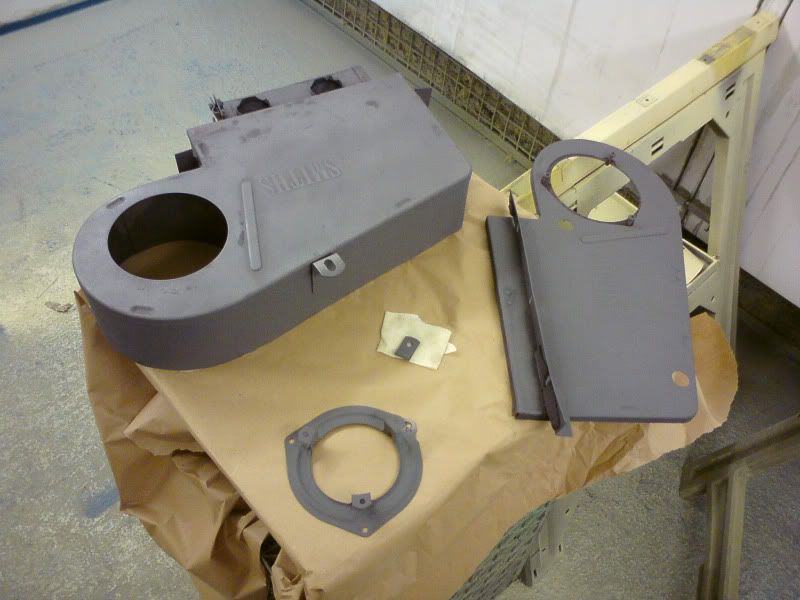
The motor was screwed, but they're £72 new luckily I found one on eBay for £16 so was happy about that! Also bought a decal kit for it so it'll look like a new un. My OCD really is going into overdrive now
#92
Posted 02 September 2009 - 08:27 PM
Peter, how could you not see that blemish in the picture?
Just on the bottom left of the reversed "Smiths" in the second picture
Hehe got you, great work
Just on the bottom left of the reversed "Smiths" in the second picture
Hehe got you, great work
Edited by GreaseMonkey, 02 September 2009 - 08:28 PM.
#93
Posted 02 September 2009 - 08:36 PM
WHY YOU LIL.. I did actually check.. 
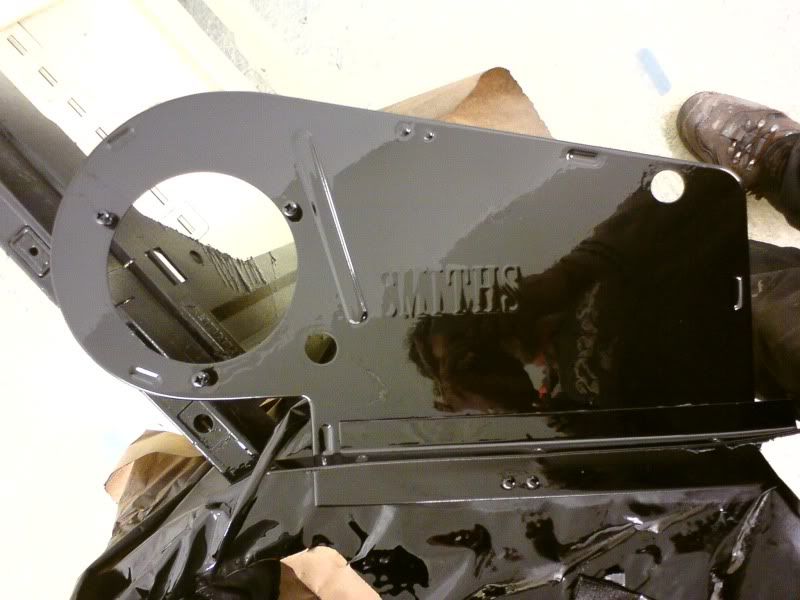
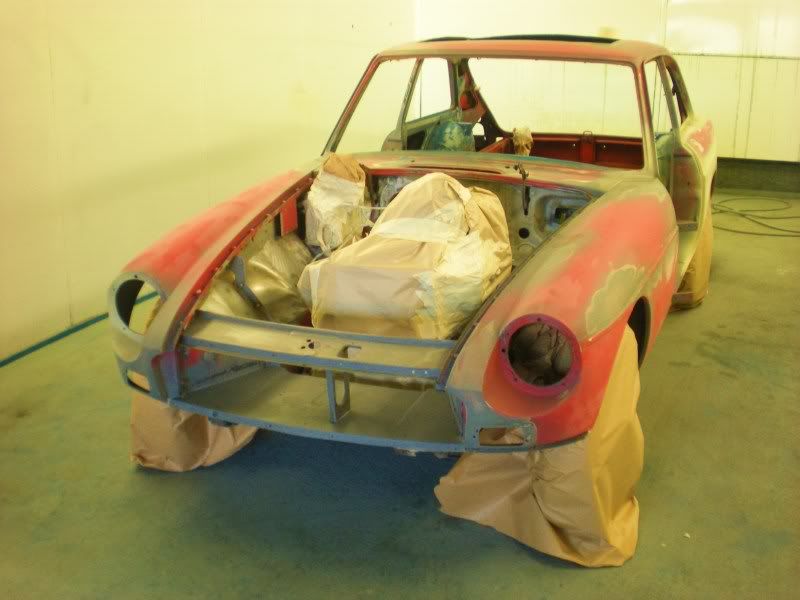
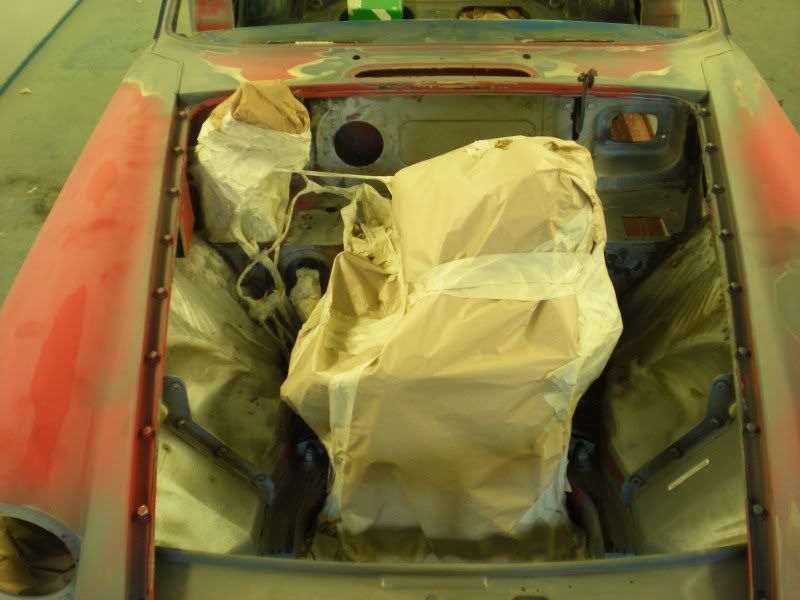
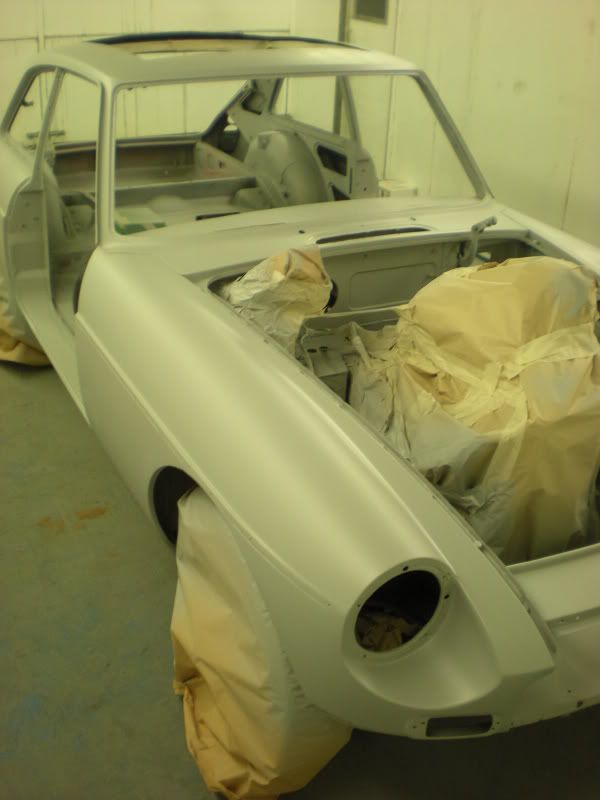
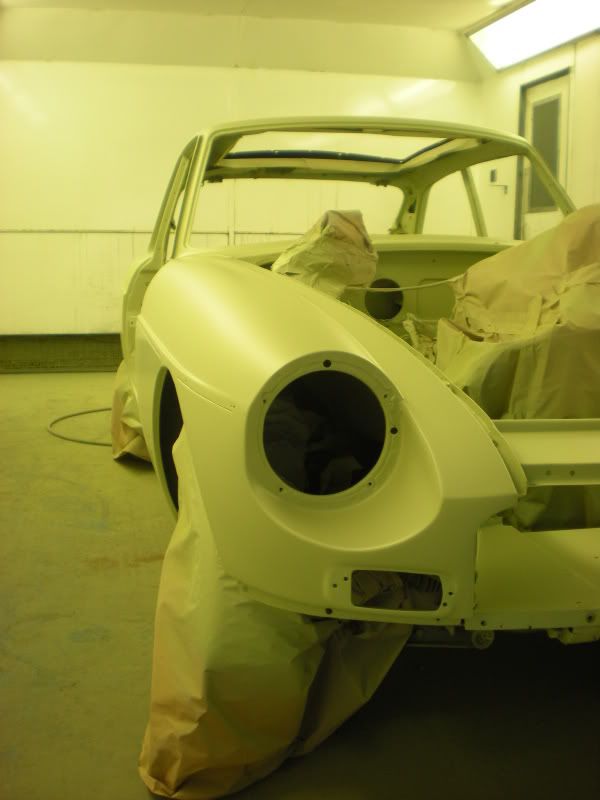
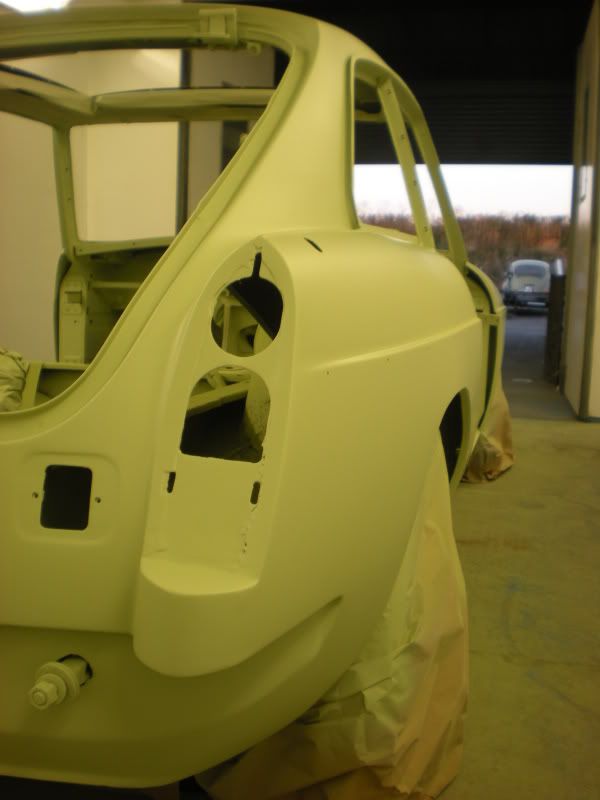
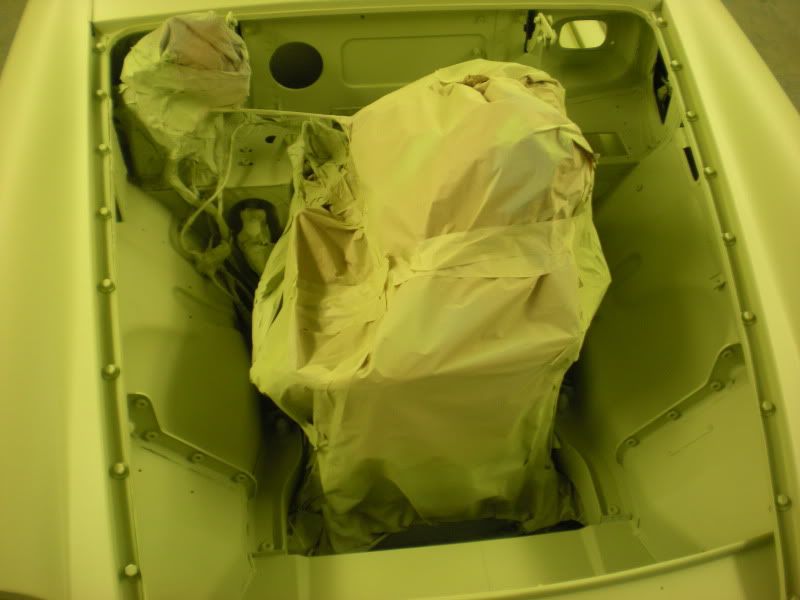
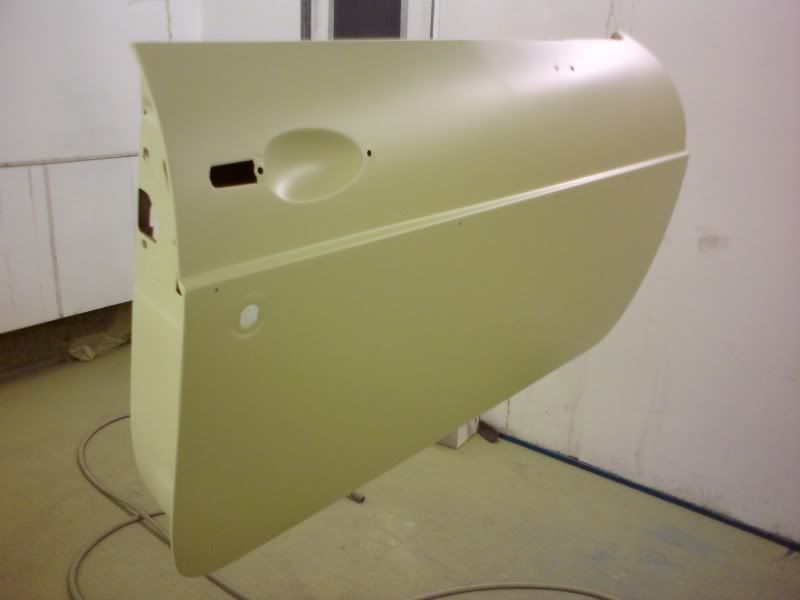
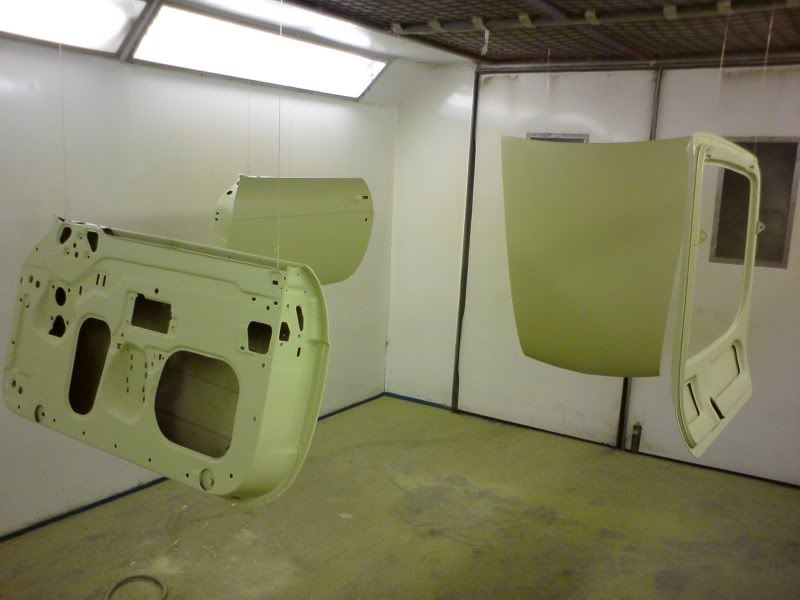
Saying that, the finish looks a bit heavy in the pics, just because it's cellulose, when it dries it goes nice and flat. Honest..
#94
Posted 04 September 2009 - 06:05 PM
Quality work as usual Peter! You work like a ninja though, so fast but with the upmost accuracy!
You always inspire me to try and push my skills further .
Keep it up .
You always inspire me to try and push my skills further .
Keep it up .
#95
Posted 05 September 2009 - 11:31 AM
Pics look good! Nice work!
#96
Posted 11 September 2009 - 09:19 PM
Oh look, it appears to be update O clock. The bodywork is finished!!
repaired and etched the front valance
And decided to sandblast the engine bay..
Sandblasting works so well, and it's very satisfying seeing the rust dissapear before your eyes! Messy though,
I have sand in places I didn't know I had places.
I have also sandblasted the radiator, and various brackets and plates from in the engine bay, ready for priming and painting black, pics soon!
Will be getting her in primer tomorrow
#97
Posted 11 September 2009 - 09:28 PM
Hey hey weeble ankles did you see what I went around the Nurburgring in?
The owner is on here and did the work on it all himself, will send you his details if you want them, hook you two up woohoo!
As ever with you, cracking project, is going to look amazing
The owner is on here and did the work on it all himself, will send you his details if you want them, hook you two up woohoo!
As ever with you, cracking project, is going to look amazing
#98
Posted 11 September 2009 - 09:46 PM
Hello weevil wrists. Awesome! lucky you! Looks nice. Earlier than mine though. Cheers me dears!
#99
Posted 11 September 2009 - 10:42 PM
You're such a wizard with body work.
What sort of tools do you use for sanding down filler?
How do you get a consistent radius on edges?
Cheers
What sort of tools do you use for sanding down filler?
How do you get a consistent radius on edges?
Cheers
#100
Posted 12 September 2009 - 09:10 AM
Haha I don't think I've been called that before! I just use blocks, a medium length one, about 6" long, and a long one for larger areas, about 16". I use 80 grit abranet abrasive for shaping, and 180 for finishing off. For edges and profiles I use alot of guide coat. If you spray a light coat of aerosol over the edge, you can really easily see the shape emerging, and correct it as neccesary. It always makes it easier if you have the right filler, on my own stuff I use Upol fantastic, great stuff, you don't get pinholes, and it's fine enough not to need to use stopper afterwards.
#101
Posted 12 September 2009 - 08:43 PM
And she's primed!
Refitted body ID tag
In the booth masked up
With a coat of anti corrosive primer
Primed
Awesome sunset on the way home..
I'll be priming the panels monday night.
Refitted body ID tag
In the booth masked up
With a coat of anti corrosive primer
Primed
Awesome sunset on the way home..
I'll be priming the panels monday night.
#102
Posted 12 September 2009 - 11:08 PM
Looks great.
Guess I just need to get the right sandpaper, and a bucket of patience
#103
Posted 14 September 2009 - 09:45 PM
Little update..
Primed the panels tonight.
#104
Posted 14 September 2009 - 09:52 PM
Wow, you ought to be exhibiting abstract sculpture at the Arnolfini gallery -- you'd make a fortune
#105
Posted 14 September 2009 - 09:57 PM
When you plan to be nailing it back together Pete? I've been putting off attacking that large pile of trim you brought up but I suppose its timew to get it sorted
1 user(s) are reading this topic
0 members, 1 guests, 0 anonymous users