Edited by kcchan, 19 January 2013 - 11:03 PM.

Project 'lesbian Rose'
#271

Posted 19 January 2013 - 11:02 PM
#272

Posted 04 February 2013 - 09:18 PM
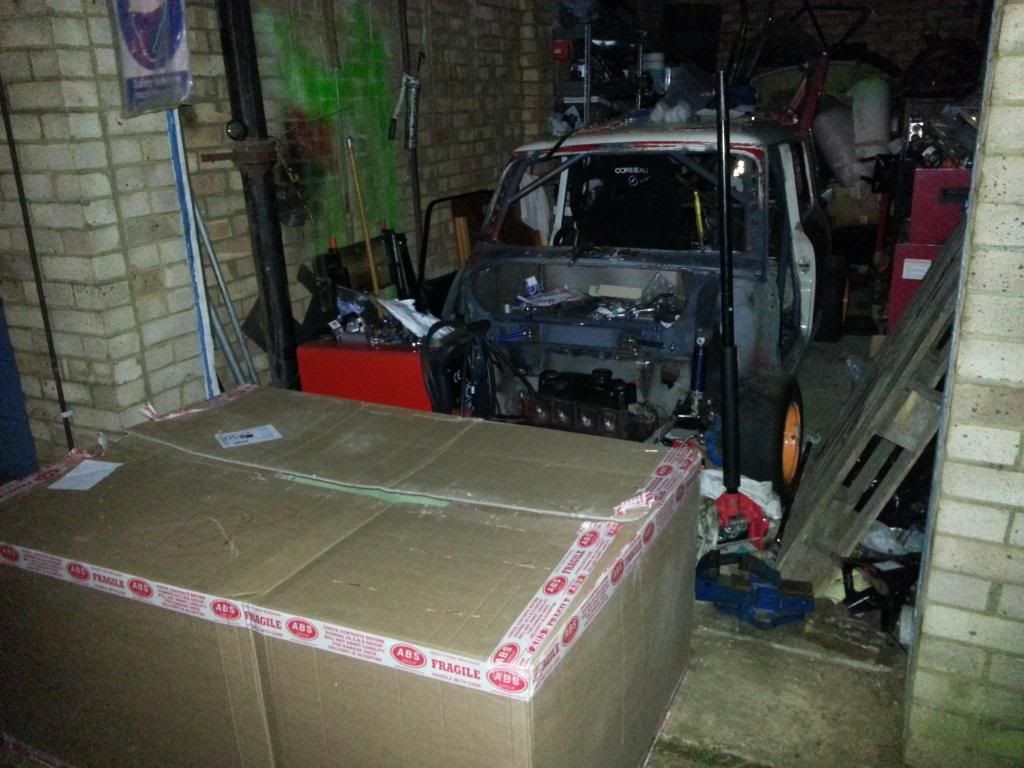
this small box of bits turned up the other day...
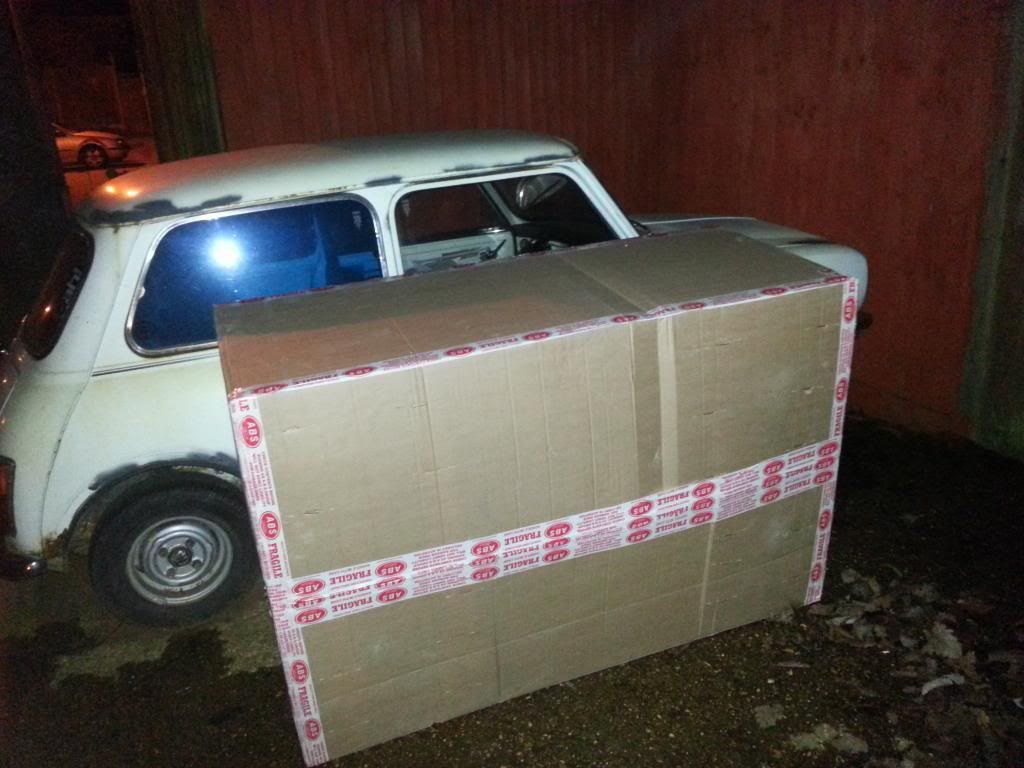
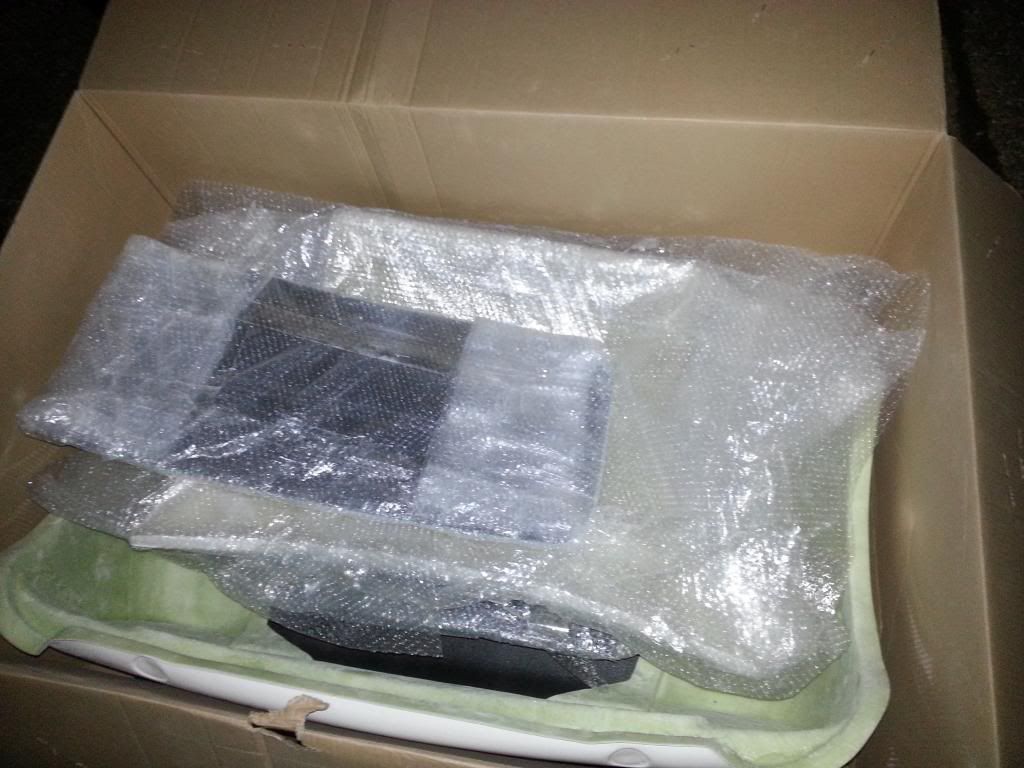
contains my new FG standard length front end, bonnet, boot floor, wide miglia arches,and CF boot lid.
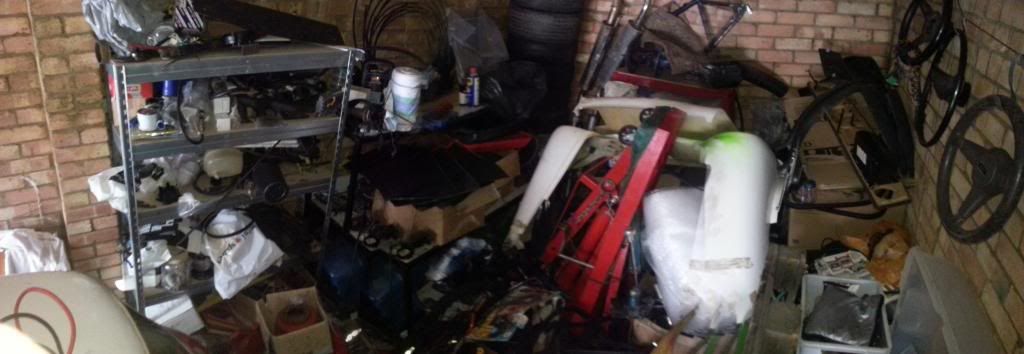
think i might need to have a sort out in the garage and sell unneeded parts to make some more space. its a bit packed.
this is the view behind the car
this doesn't show the boxes of engine parts etc sat on the floor behind the car
was fun trying to fit this lot in
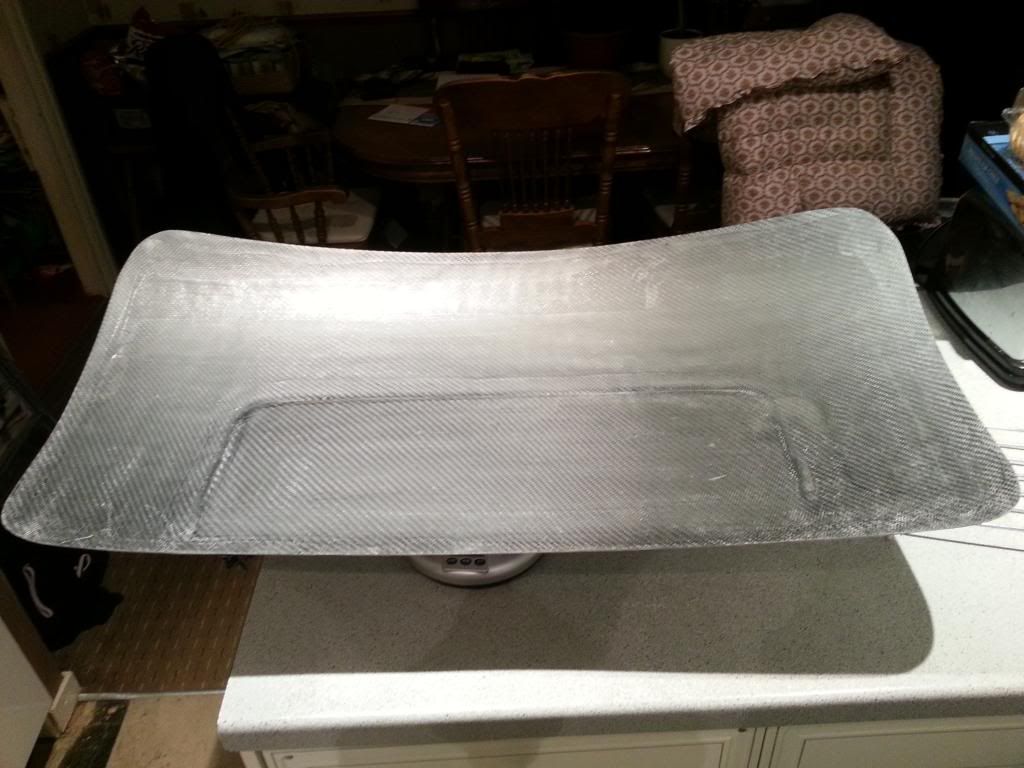
weighed the boot lid, was around 1100g so about 3kg lighter than original
these arrived today
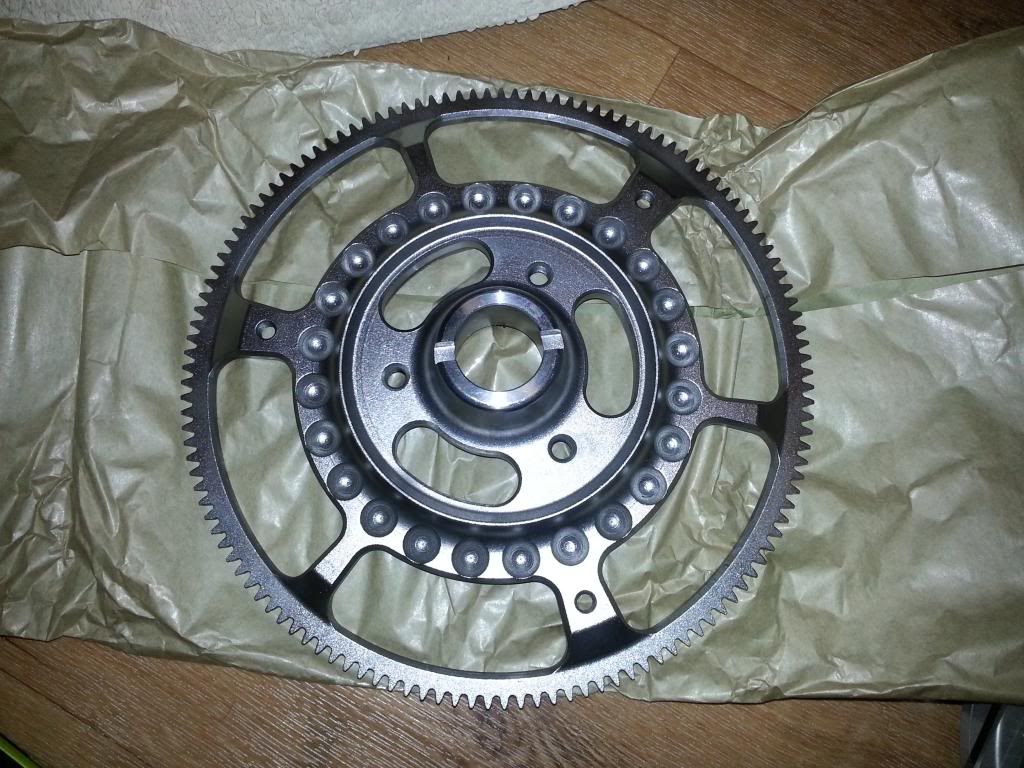
weighed the old verto flywheel on the bathroom scales
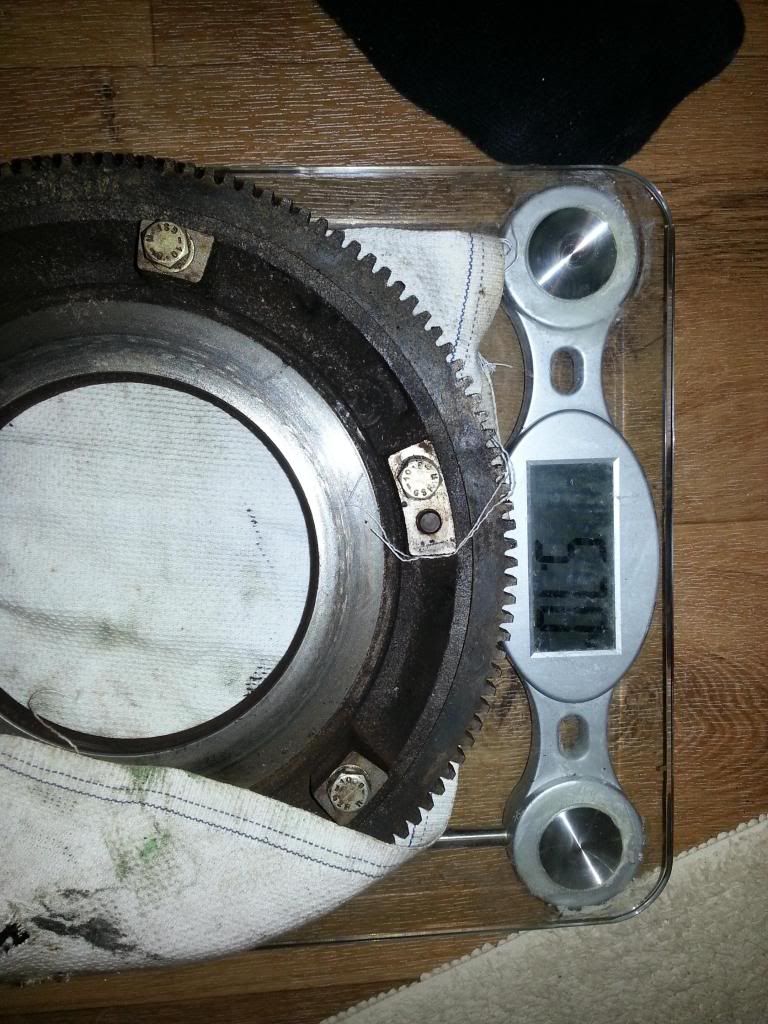
5.7kg
it wouldn't recognise the ultra light flywheel
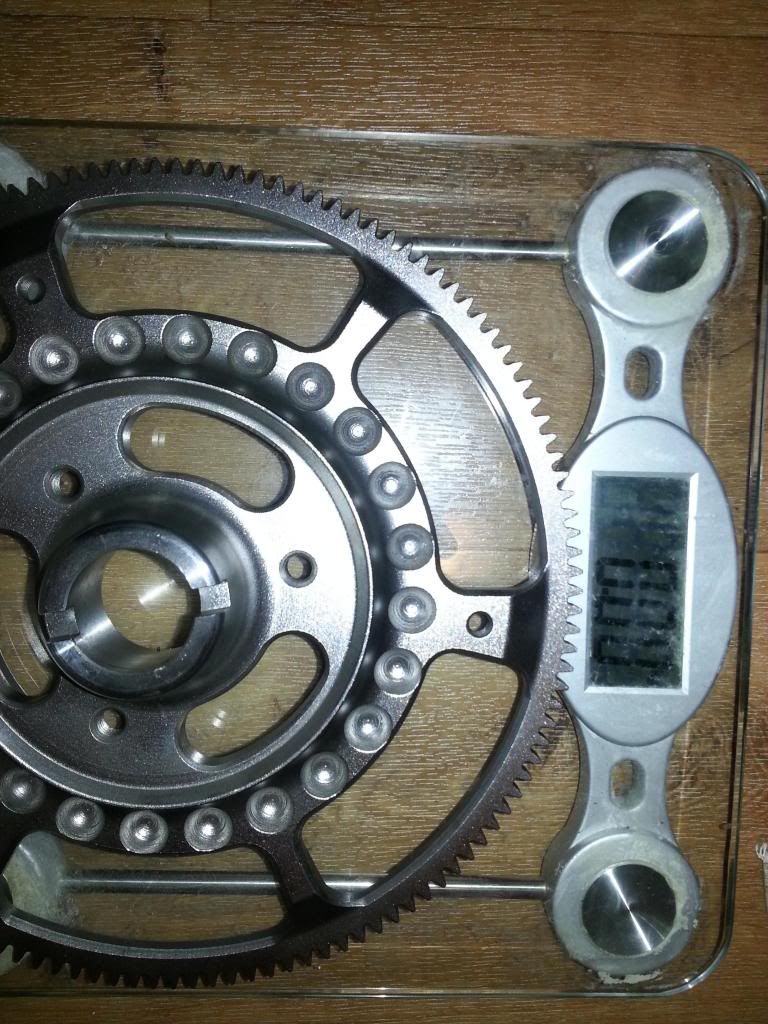
so had to use kitchen scales
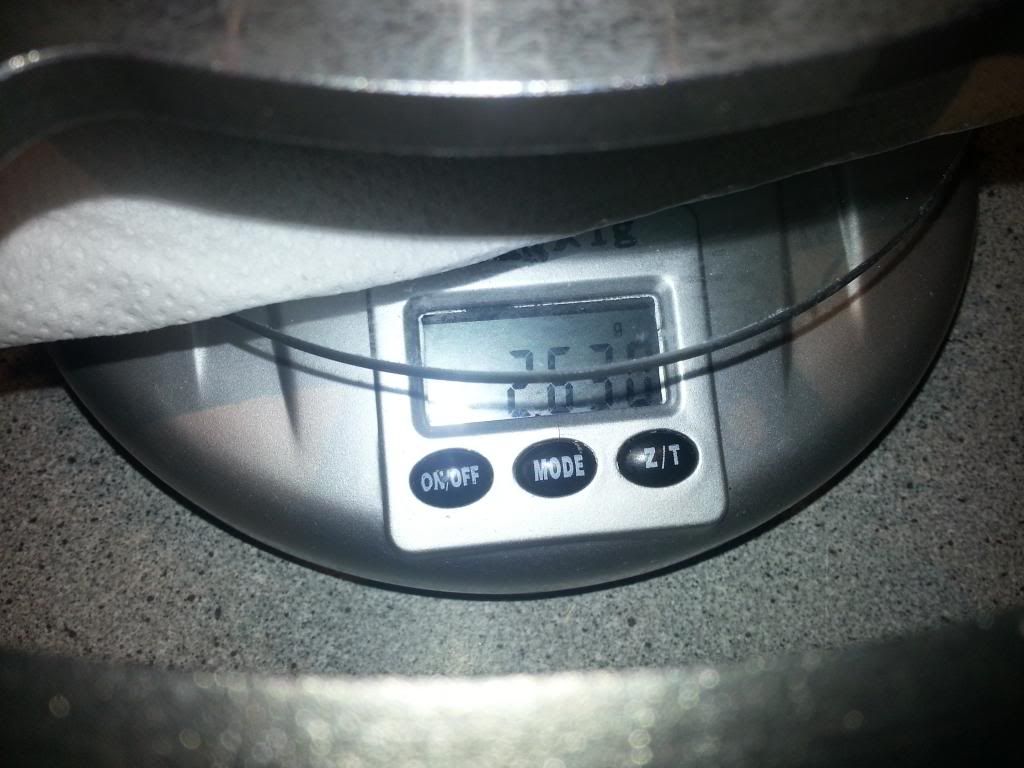
2.6kg
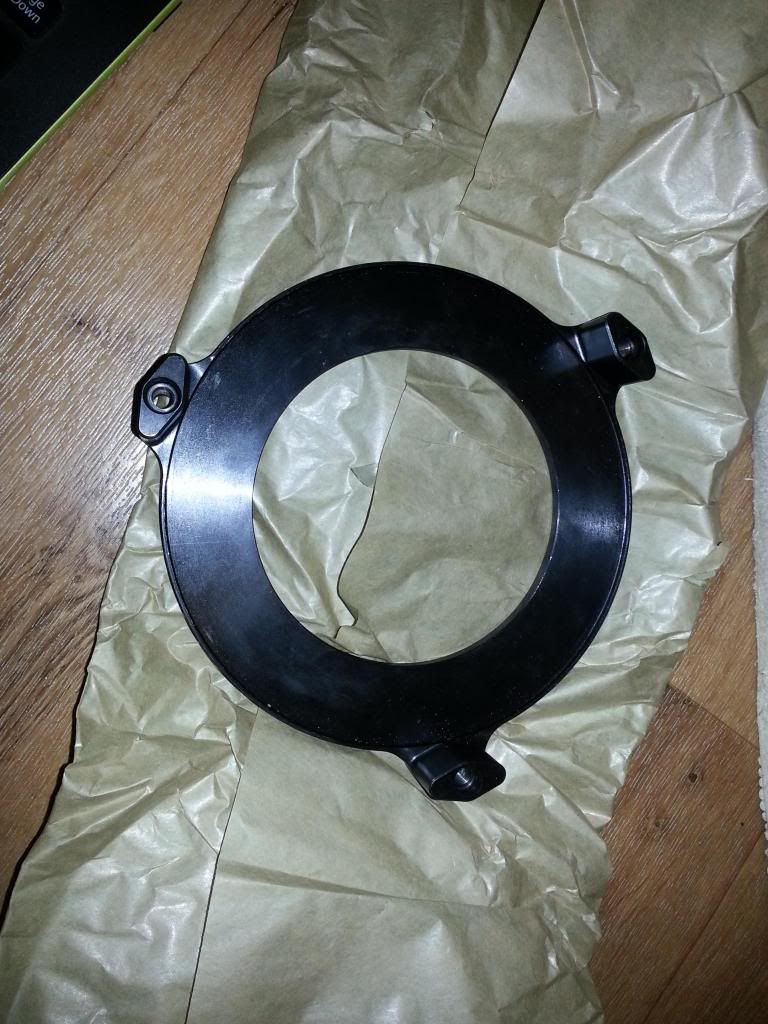
backplate
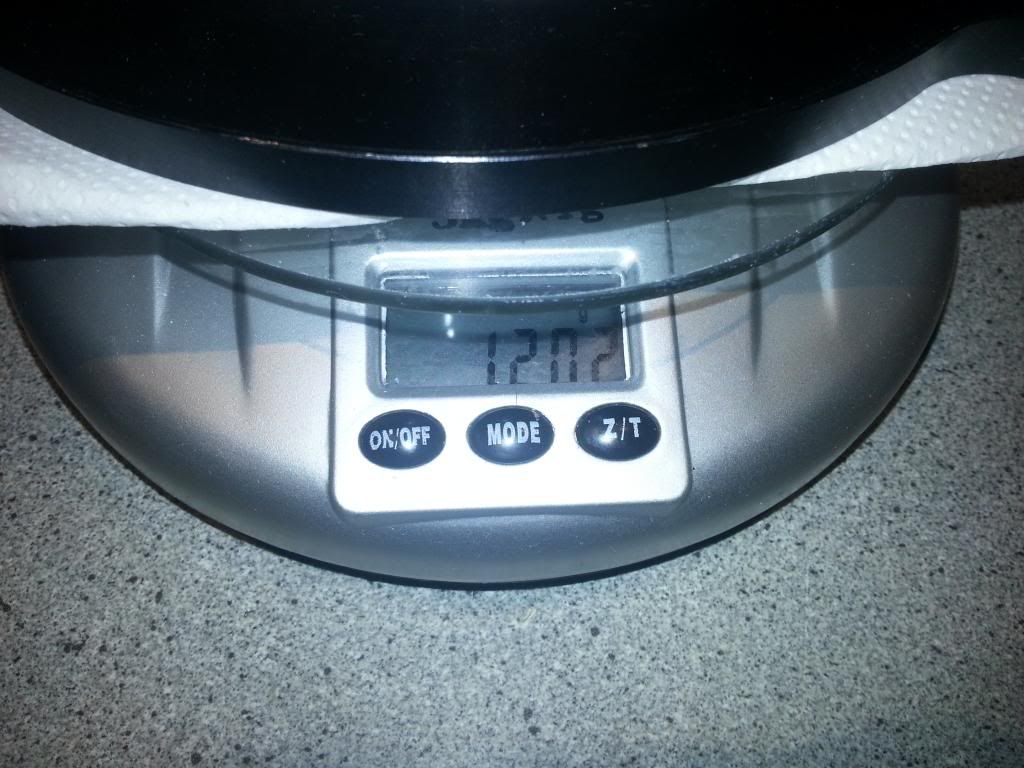
1.2kg
could of had a lighter 7075 aerospace alloy backplate with en24 face but decided to go all steel as i'll be using it more than odd track days so wanted to last longer/peace of mind whilst abusing it.
Edited by evil ewok, 04 February 2013 - 09:20 PM.
#273

Posted 09 February 2013 - 09:54 PM
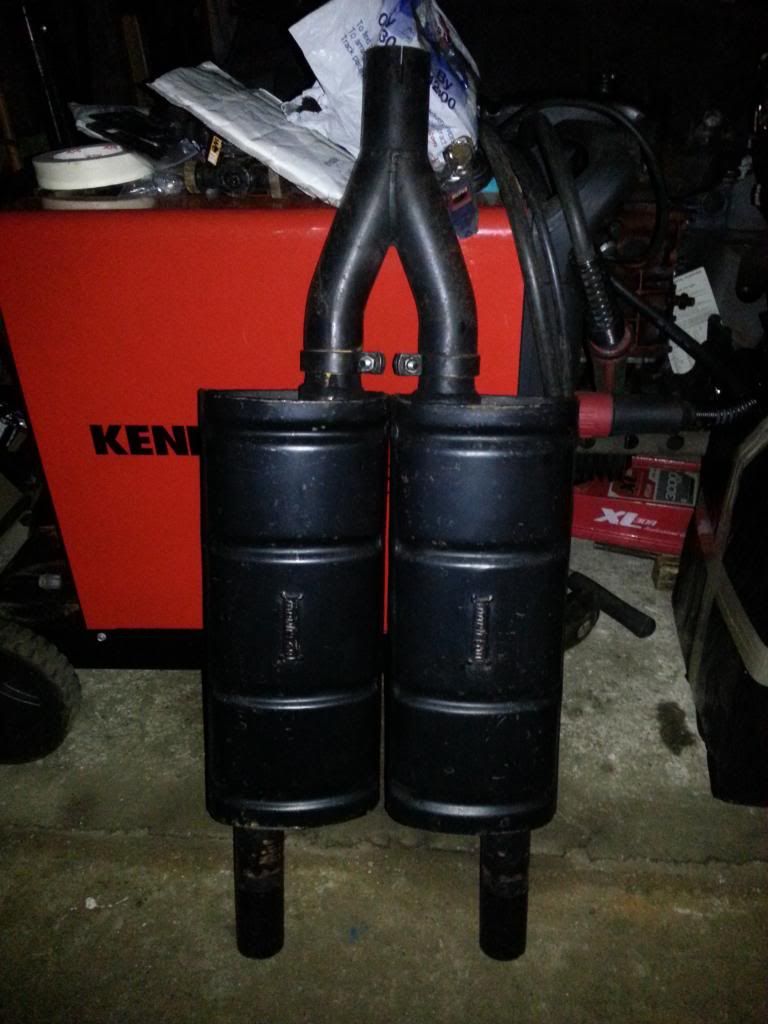
maniflow miglia exhaust, 2" pipe race version.
Edited by evil ewok, 02 March 2013 - 07:55 PM.
#274

Posted 11 February 2013 - 05:50 PM
#275

Posted 11 February 2013 - 06:11 PM
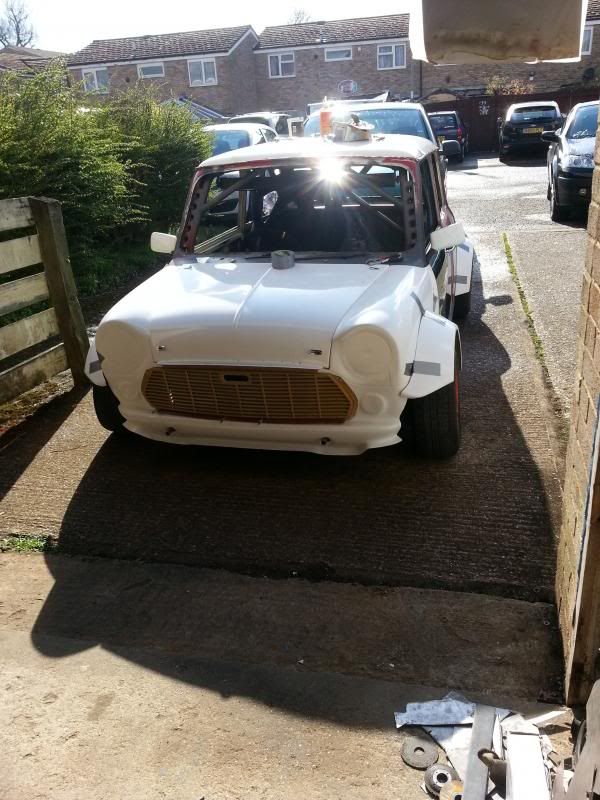
got a little bit done over the weekend. started trimming the front and arches to fit.
tapped the rear arch on
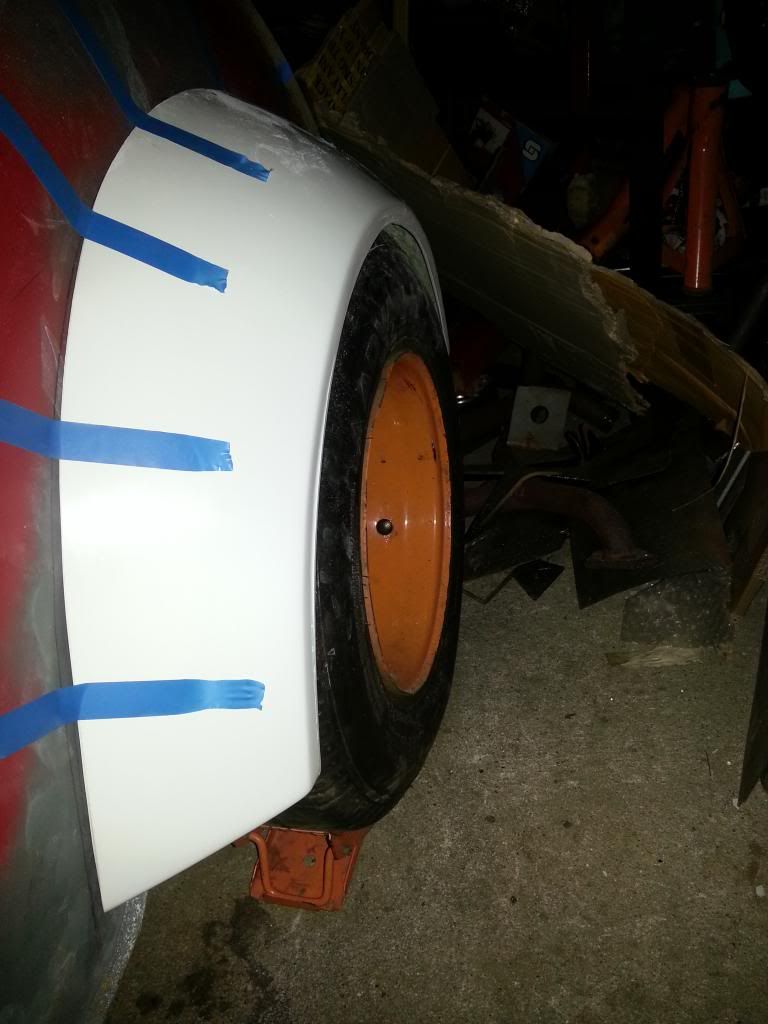
photo doesn't show it too well but the arch covers the tread, just but the side wall still sticks out. my concern is on bumps the tyres going to hit the arch.
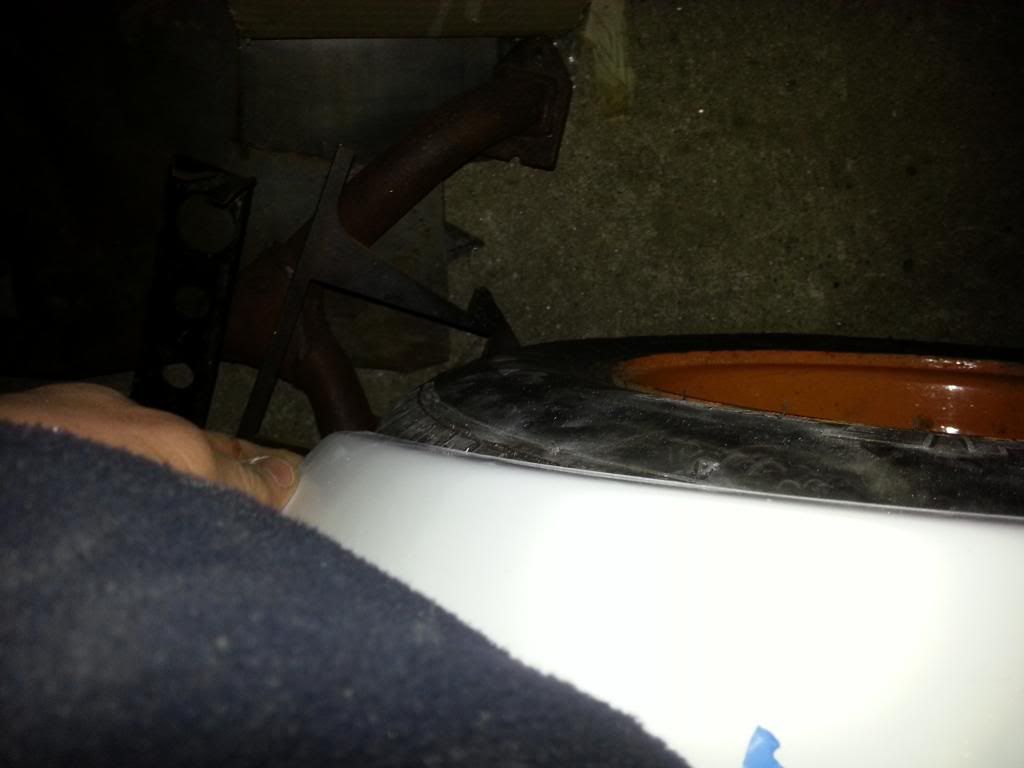
had to chop around 2" out of the arch to fit over the wheel as its sitting quite low.
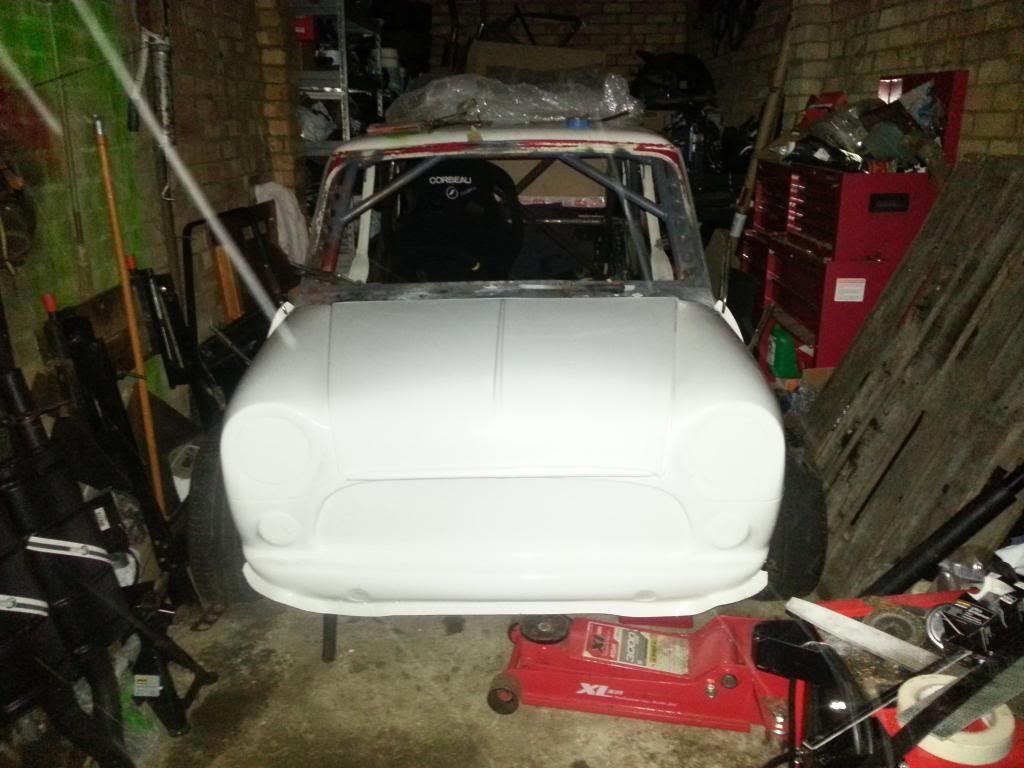
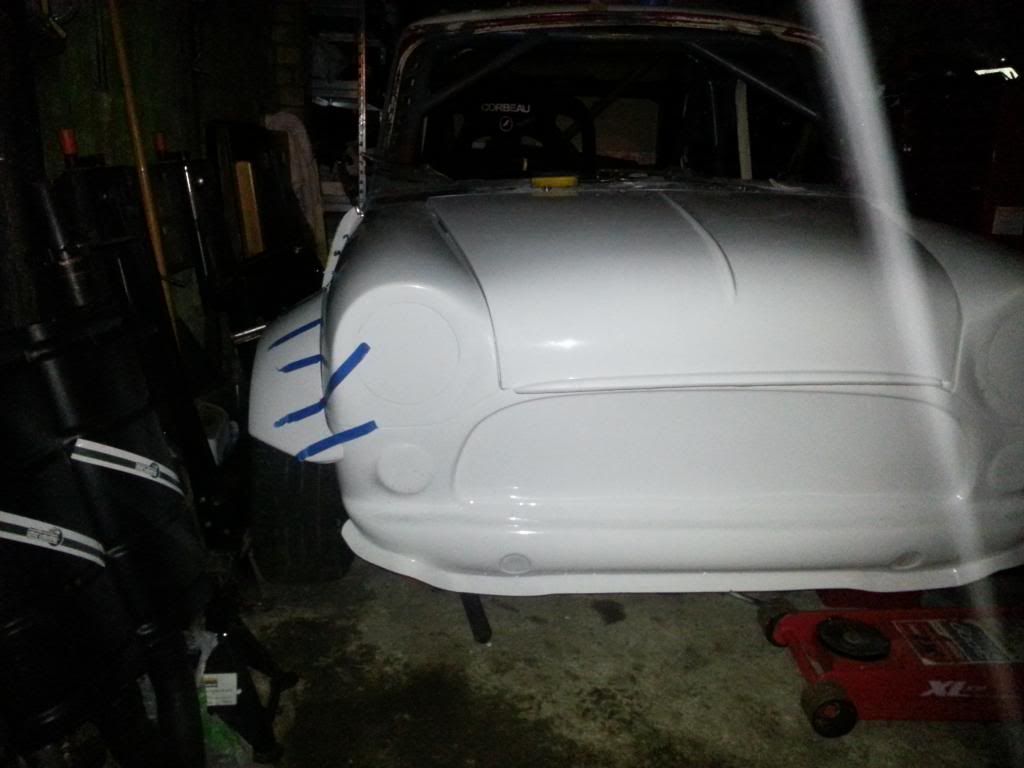
looking a bit more mini like
just a little bit of tyre sticking out.....
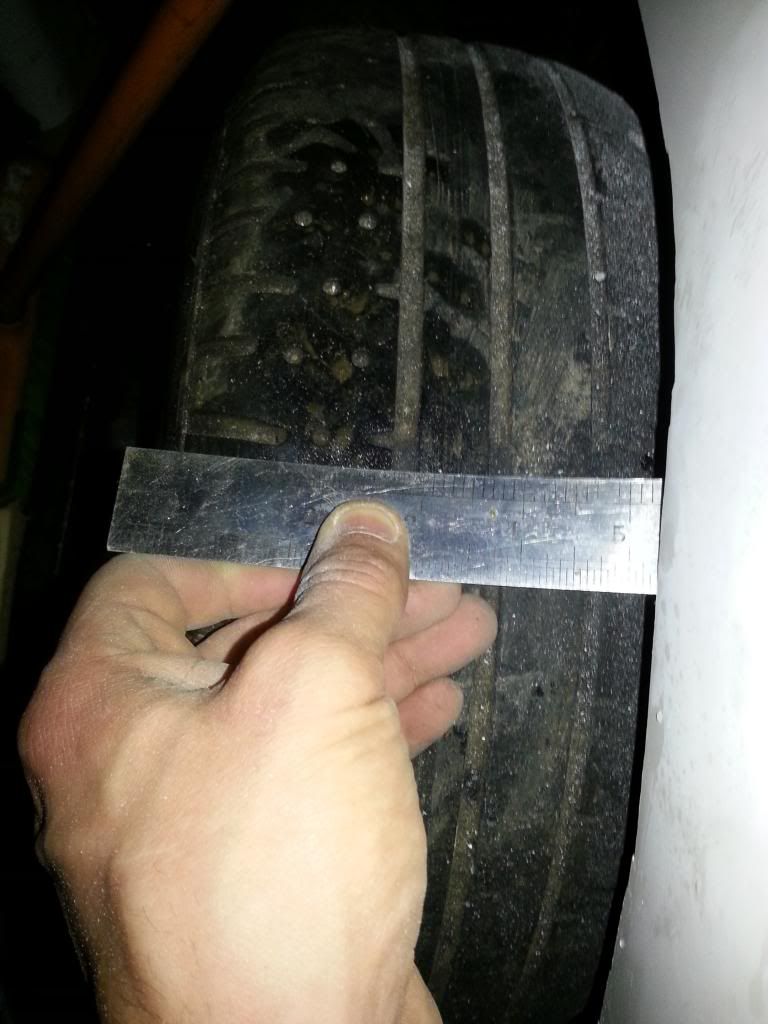
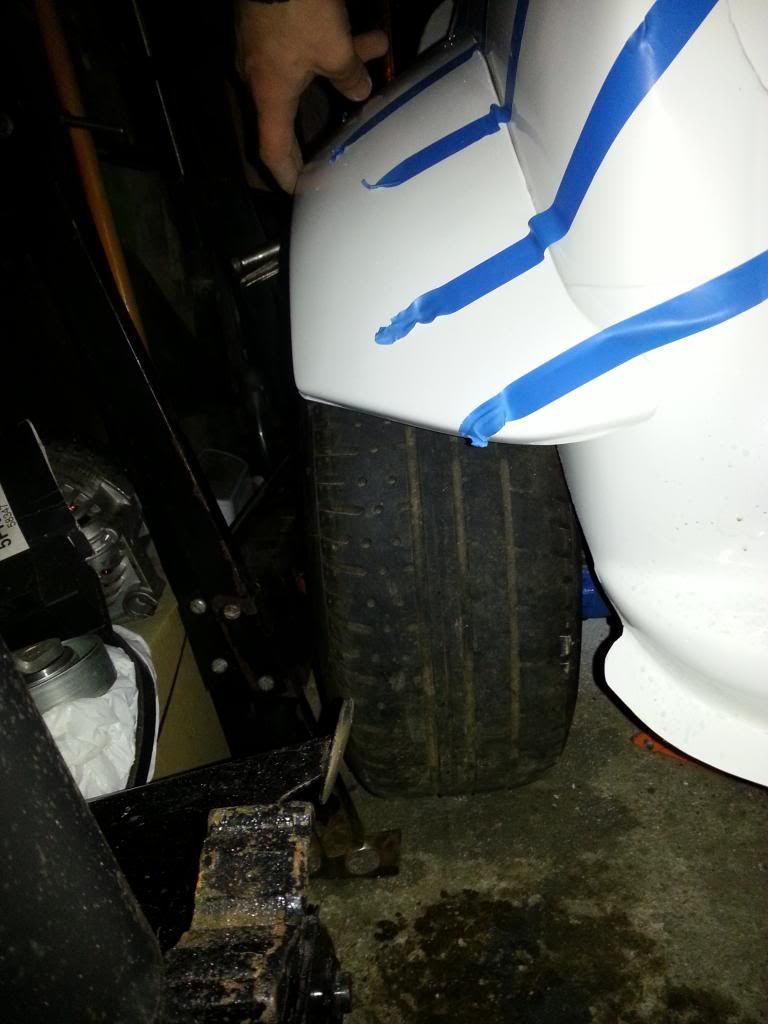
front arch isn't quite wide enough either. front wheels have quite a bit of camber at the minute so this poke will only get worse once set up!
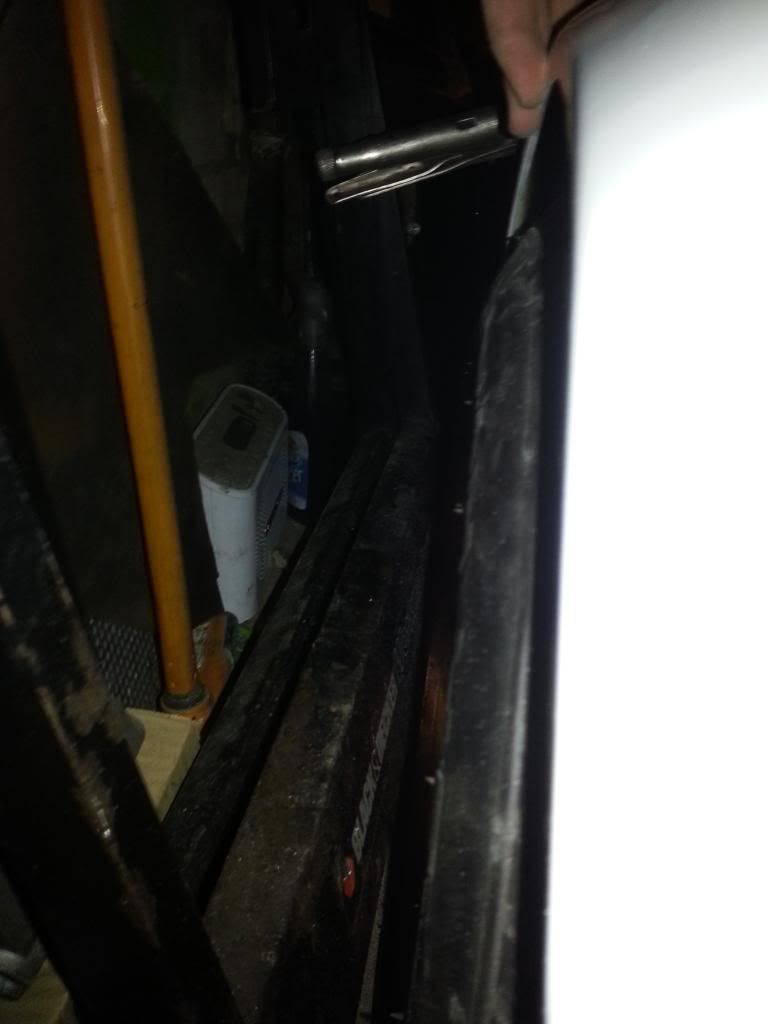
think i'll have to find someone to extend them by 1/2 - 3/4"
as you can see, still got a long way to go!
Edited by evil ewok, 11 February 2013 - 06:12 PM.
#276

Posted 11 February 2013 - 06:42 PM
- +90mm front and bonnet
- standard fuel tank
- cooper carb? front seats
- rebuilt garret T25 turbo
- nissan pulsar gti-r plenum
- bailey single piston BOV
- adjustable boost pressure valve
- boost gauge
- GSXR (600?) ITBs, spaced for k series but pretty sure they'd also fit zetec
- plenum back plate (just need to get it cut at work)
- K&N induction kit from MG ZR, have samco hose reducer to fit on GTI-R plenum
- 998 block
- maybe some dunlop D1 repros, 5 x 10 (from midland wheels)
- 1.4 k series, 14k4f 103bhp version, with gearbox/inner pots and new linkage
- k seriesspare head and inlets
#277

Posted 18 February 2013 - 10:59 PM
this turned up the other day.
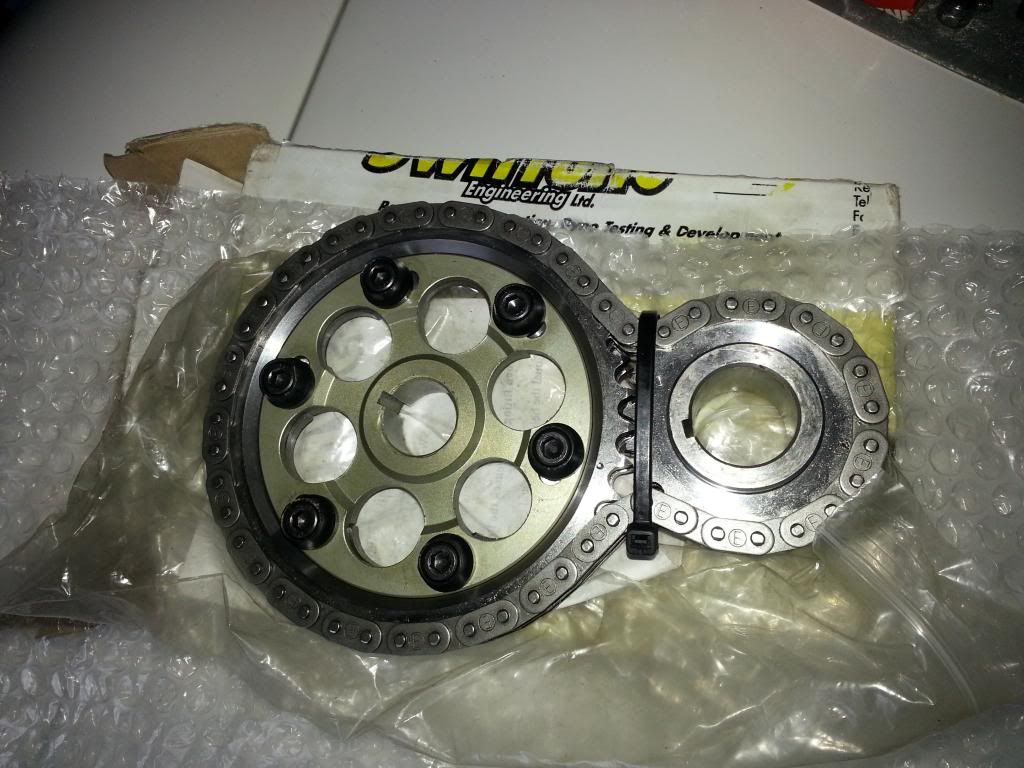
swiftune alloy/steel vernier duplex gear set. bloke had done less than 50 mile before replacing it with the alloy/alloy one to save an extra 200g
also got a bit of time on it yesterday so pulled out the angle grinder and welder again.
boot mounts
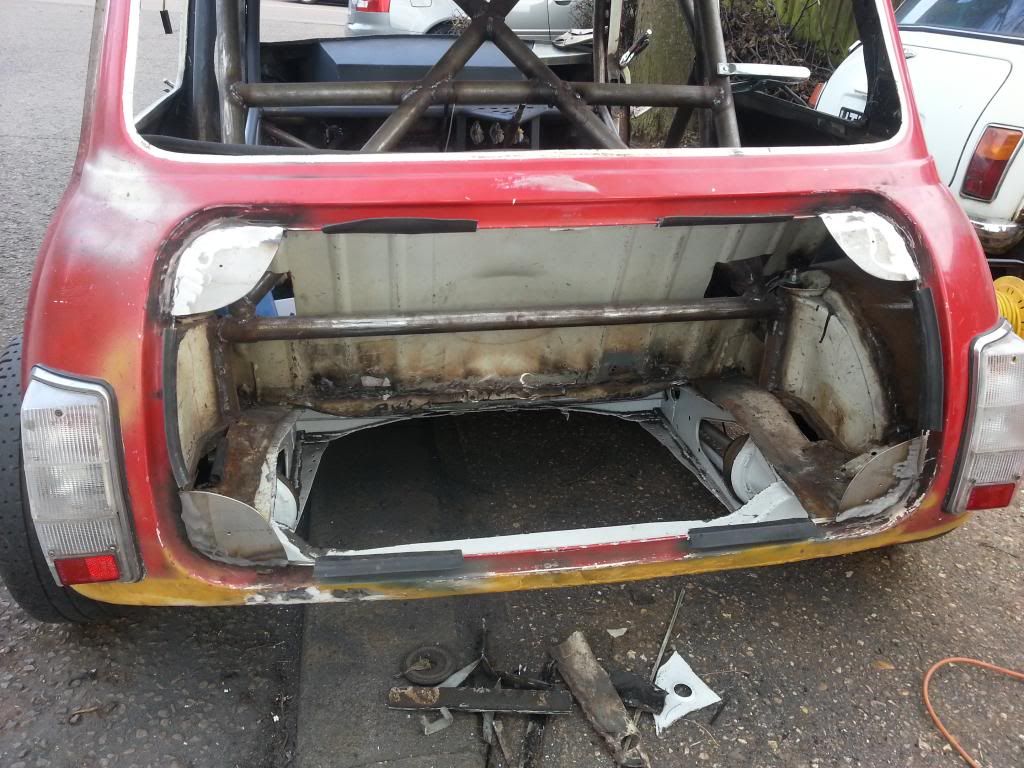
will probably trim them down a bit once i have mount pins fitted
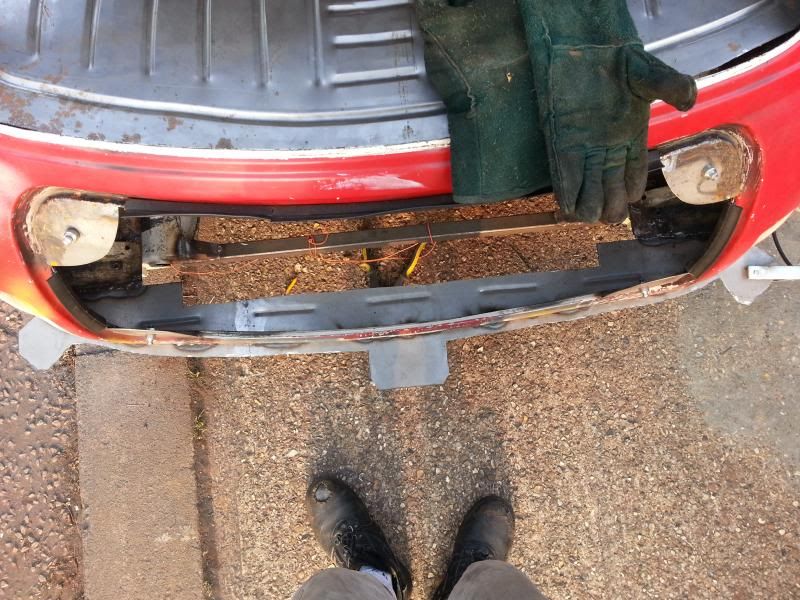
got the floor cut out for the fg replacement
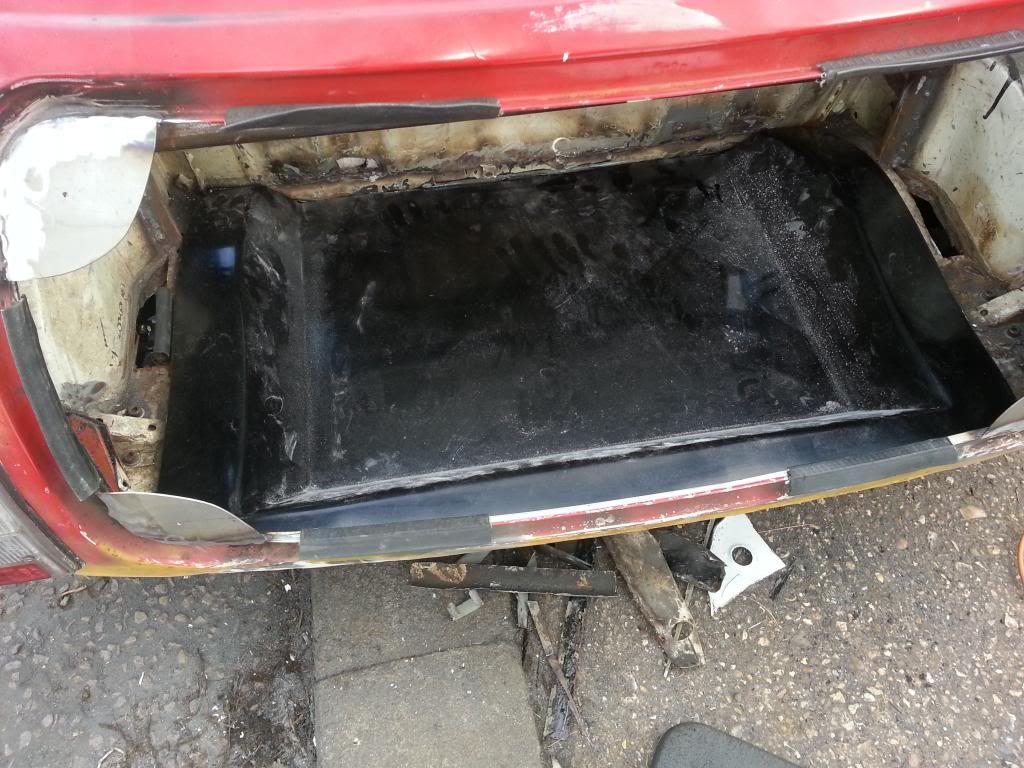
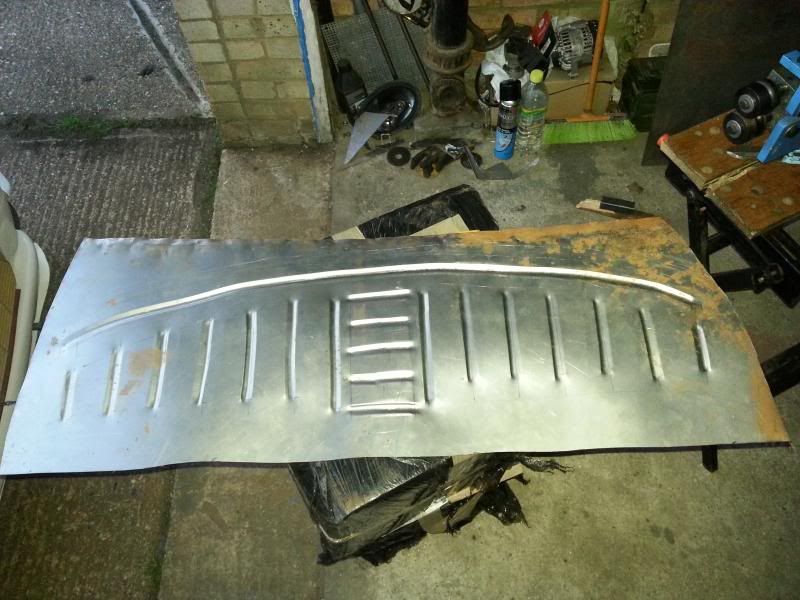
not fixed it down fully as the metal floor remaining is bit of a mess so want to replace it with new metal, adding a bumper lip again. may use my bead roller to put in some strengthening swages whilst i'm at it.
boot lid fitted with clecos for now
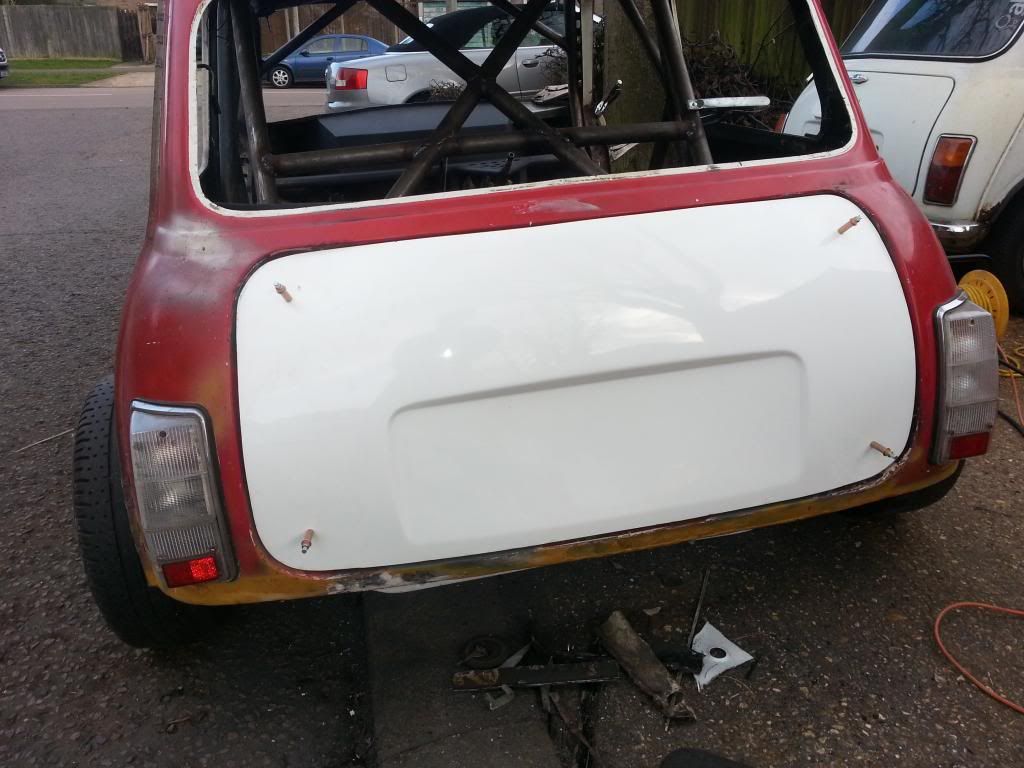
still needs a little trimming
the car ground to a halt on a drop kerb pushing it back to my garage. turns out a bolt was hanging through on of the drain holes in the front floor
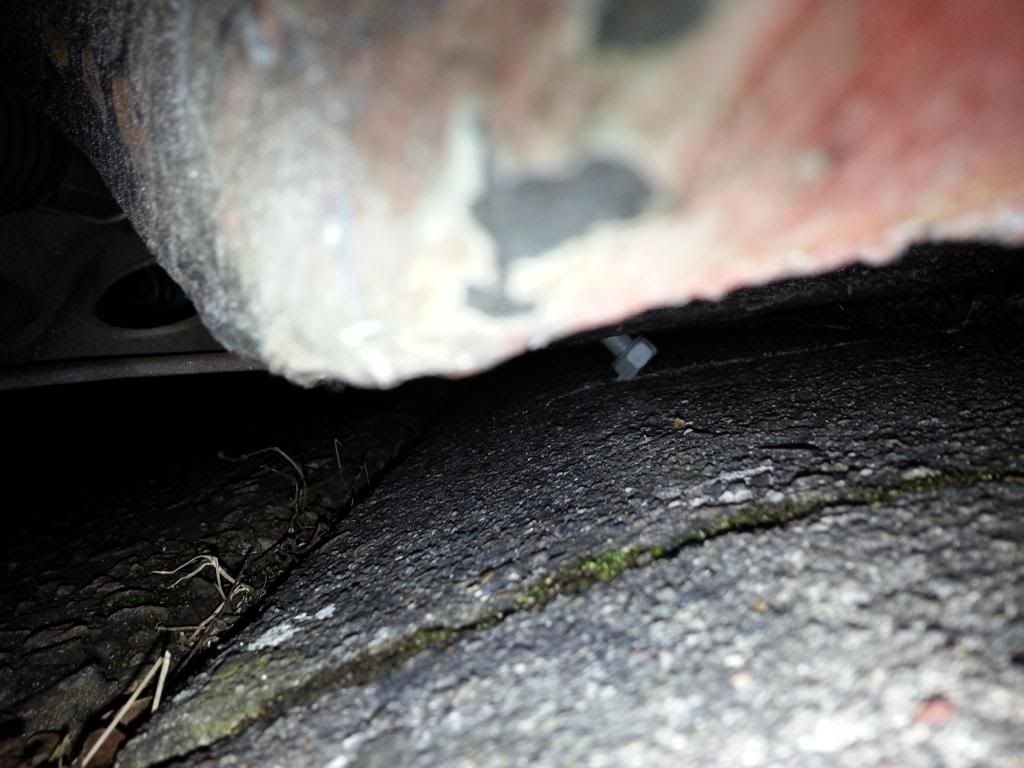
think i may need to lift it up a bit....
#278

Posted 01 April 2013 - 07:52 PM
turned up some mounting pins for the boot as the originals had to sit on 5 washers to get the right height.
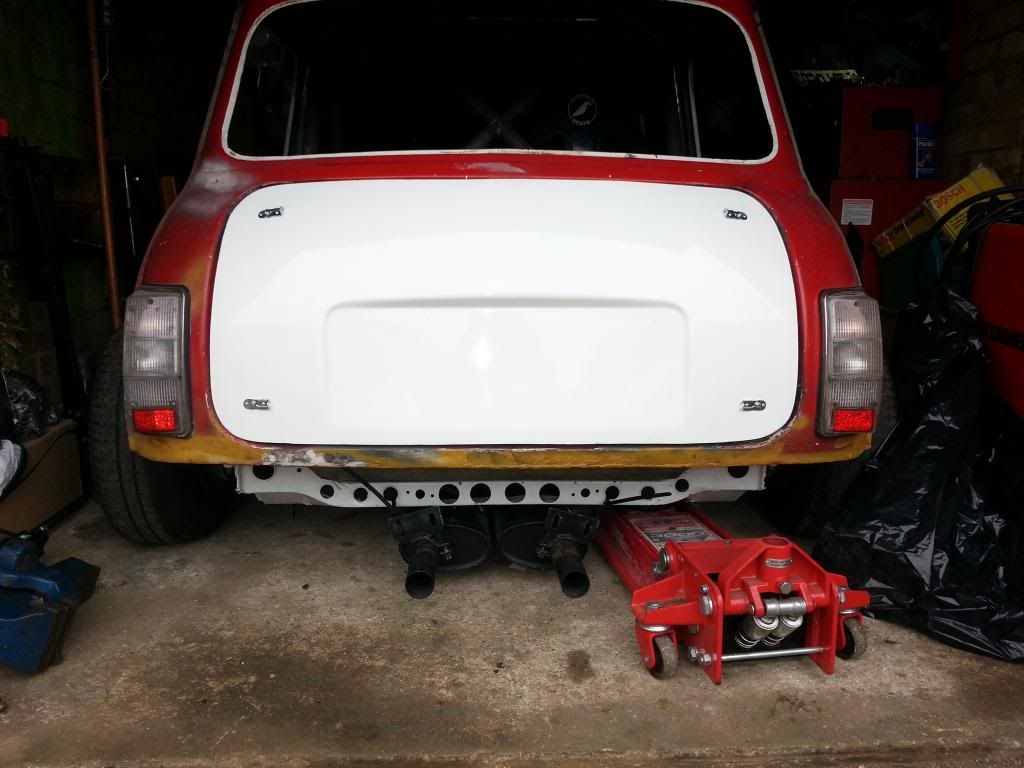
also mounted the miglia back boxes with the front exhaust mount and had to use cable ties for rear mount as theres quite a large gap between the mounts and subframe crossmember. are they usually solid mounted or use the rubber bobbin type mounts?
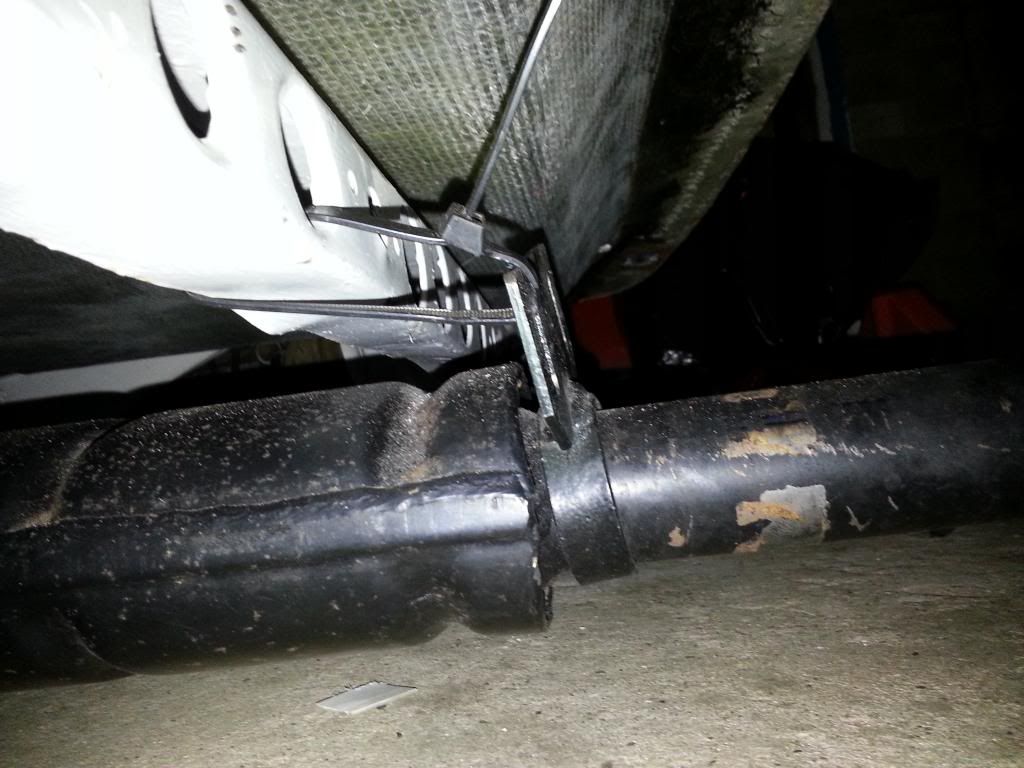
has anyone got pics of the miglia exhausts fitted to help out?
FG bumpers turned up
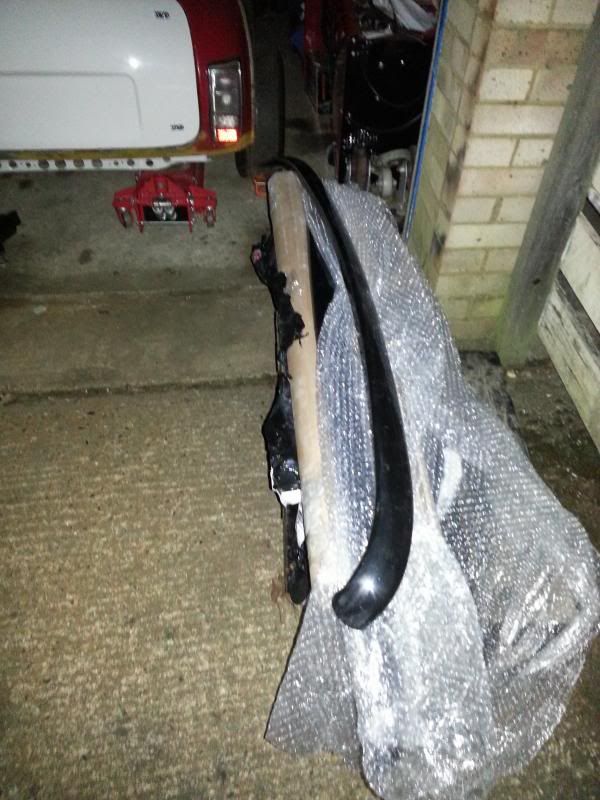
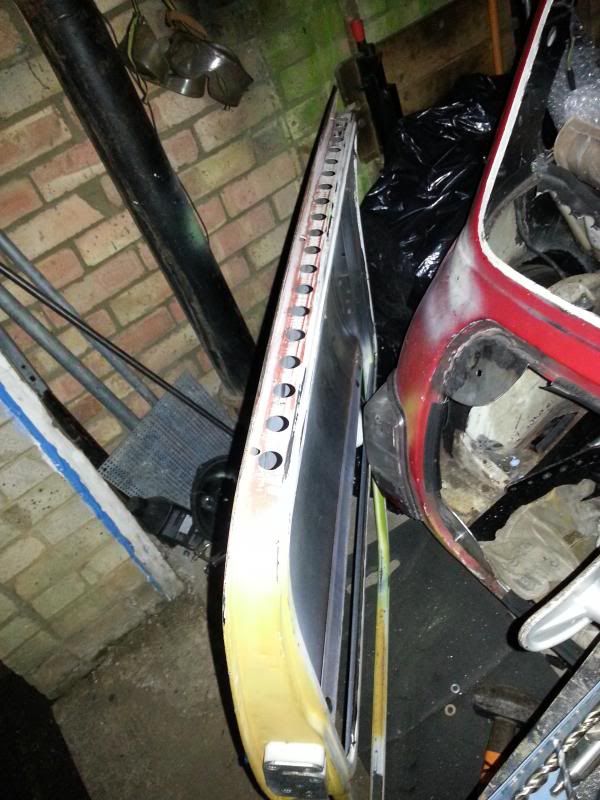
added some lightening/drainage holes to the door bottom
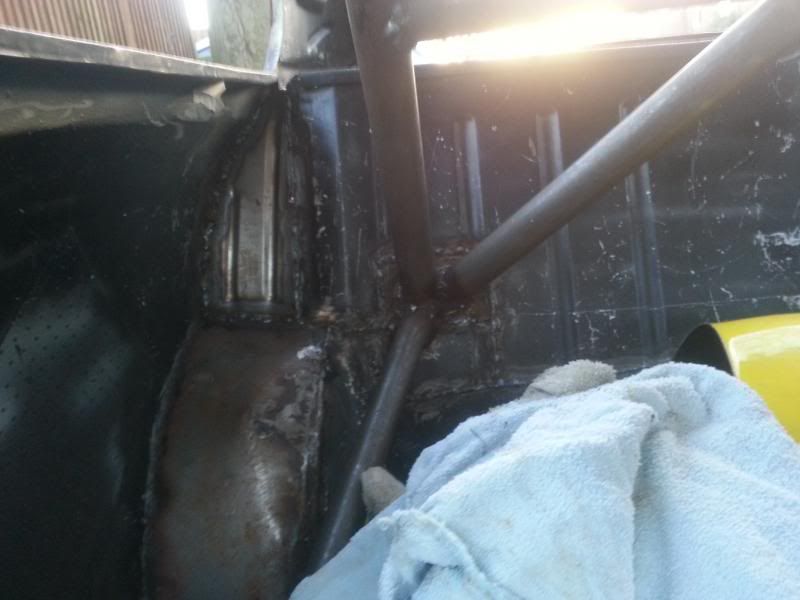
been working on tidying up the bulkhead area.was inspired by endaf owens builds again.
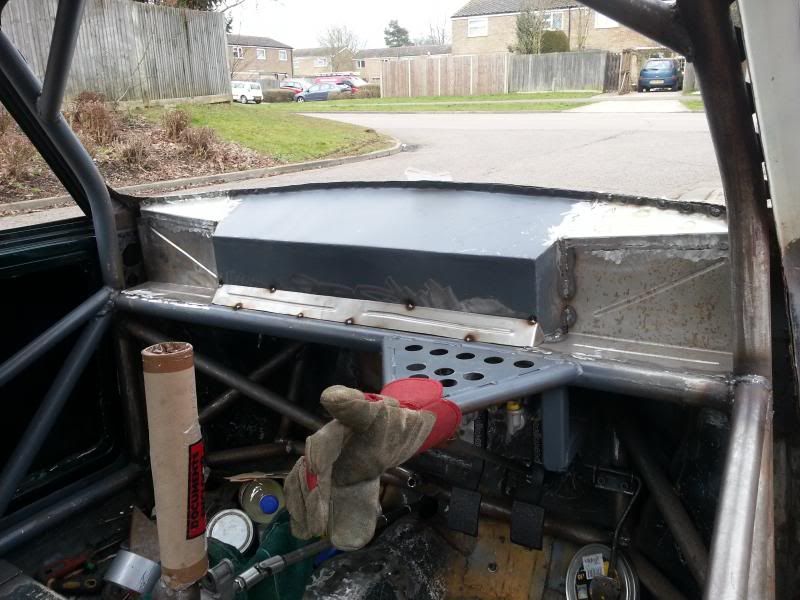
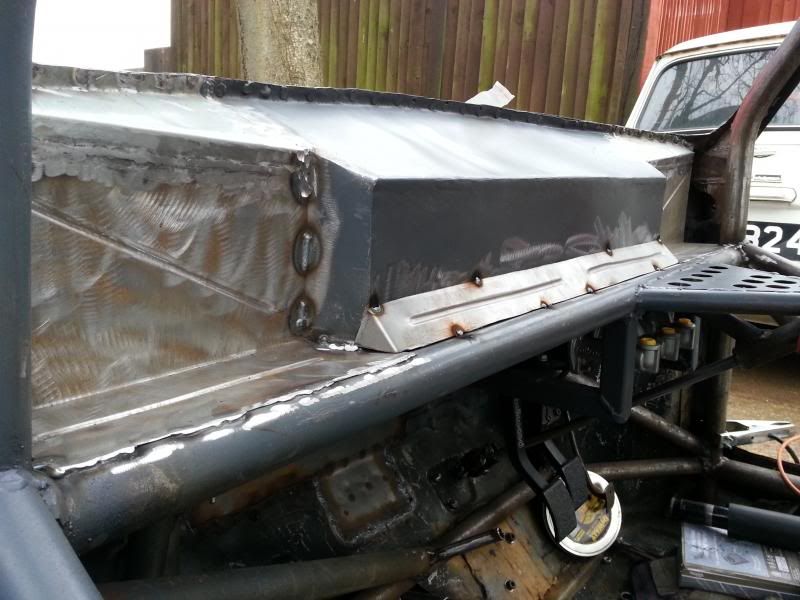
tacked the centre piece in then remembered i need to remake it as the swage lines are not straight
made some end pieces
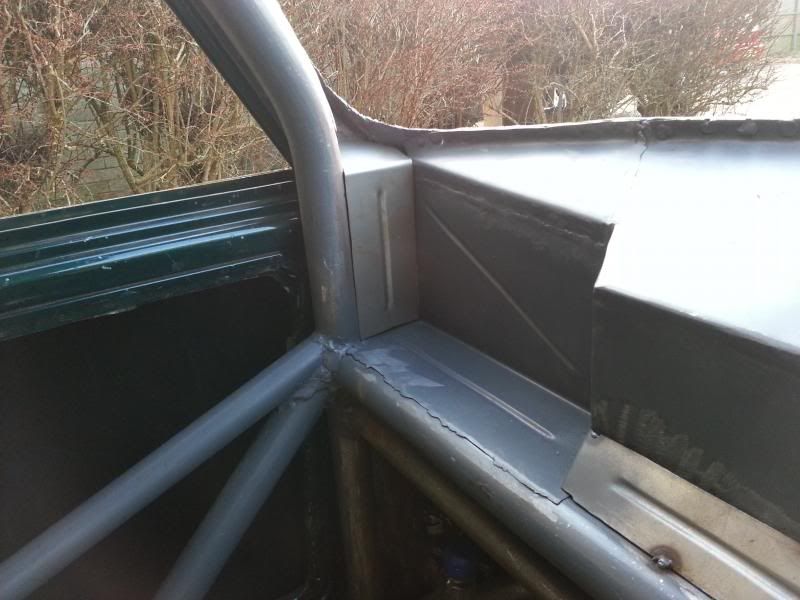
not sure whether to make some pieces to go between the cage and door frame to close off that gap? what do people think?
not really showing anything, just like this pic
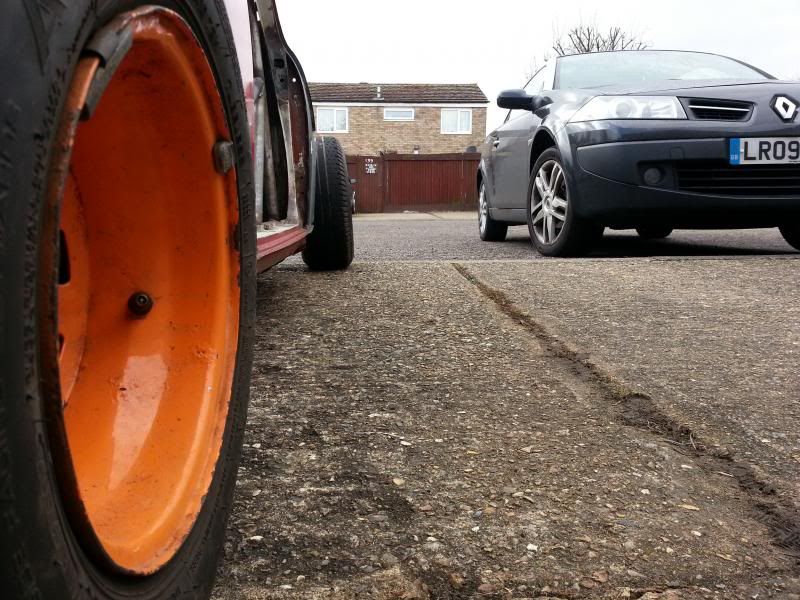
think i may need to take out some of the camber though
going to be getting my miglia arches extended soon by a mate. he's going to add extensions, take a mould then make a new set from carbon and a bit of kevlar in places that are more prone to being knocked. will hopefully be free as well
#279

Posted 08 April 2013 - 11:41 PM
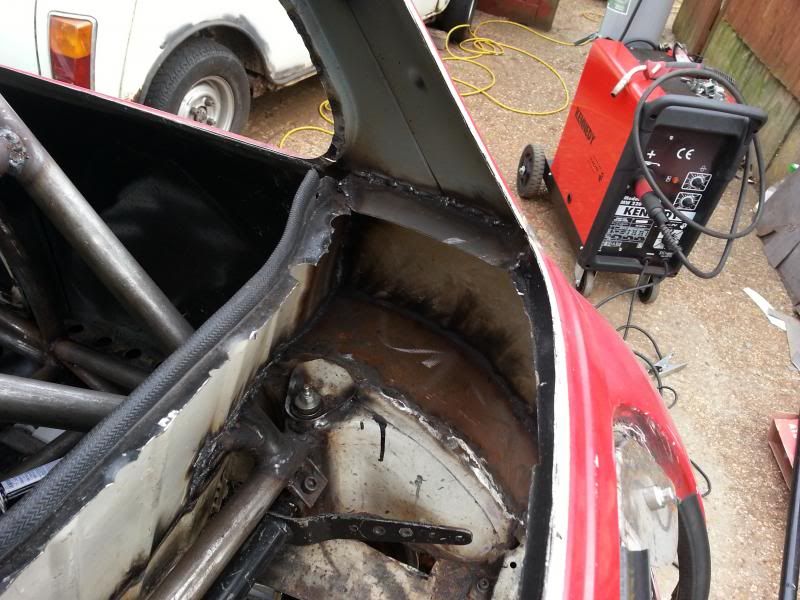
re-done the ARB mounts so they are easier to get to , without access panels in the rear seat.
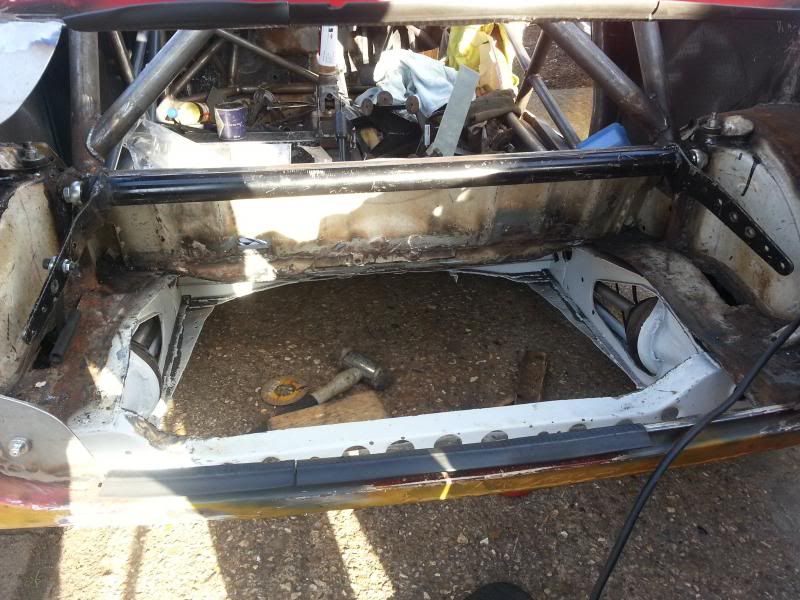
finished re-tubbing the other rear arch, all welds are now ground down but didn't think that was worth another pic
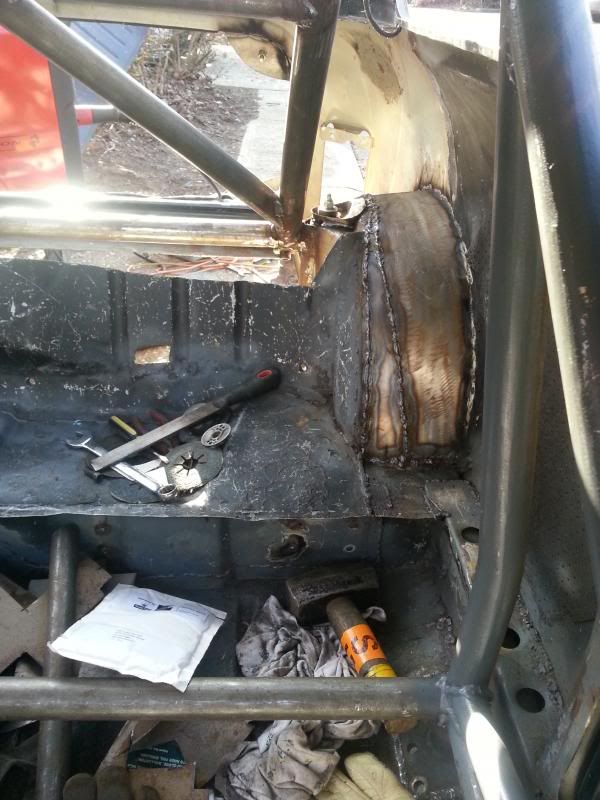
both of the handbrake mounts are now done
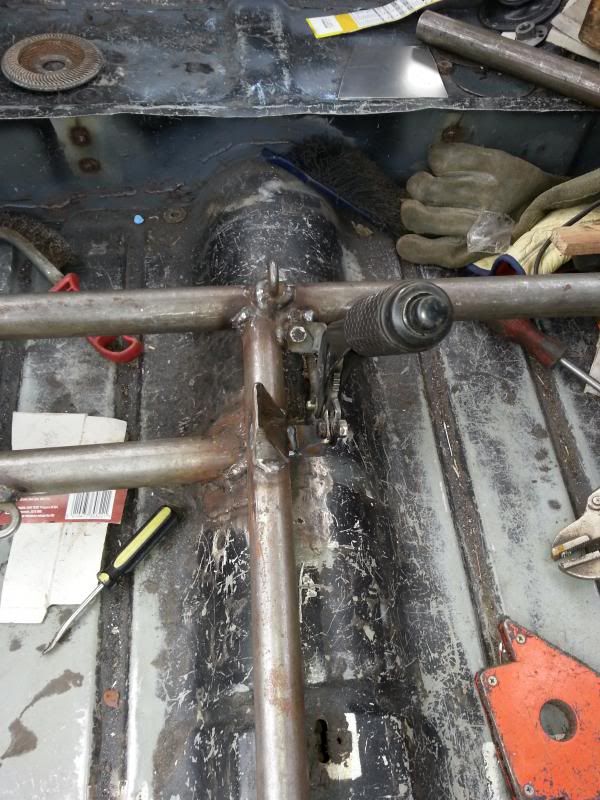
working on the last bits of the cage.
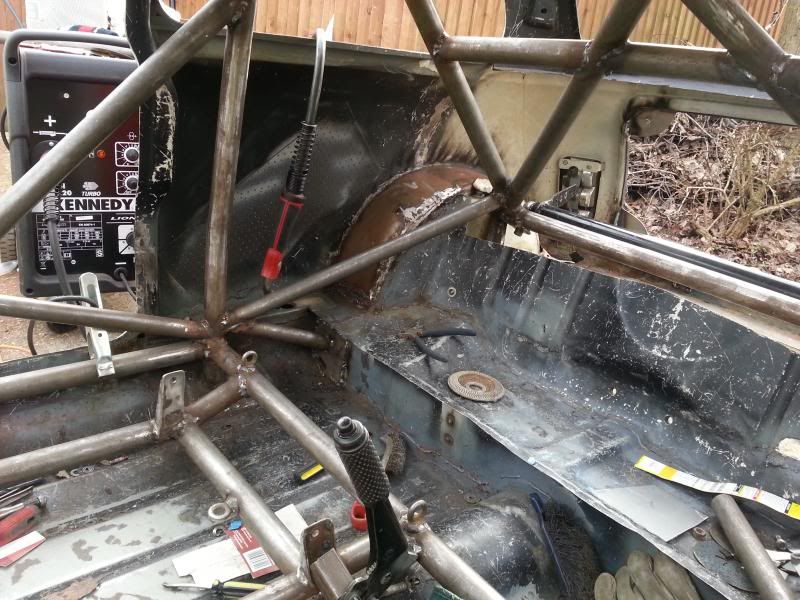
just need to do the same on the other side now then i think that may be the end of the cage work then and the back seat can go back in.
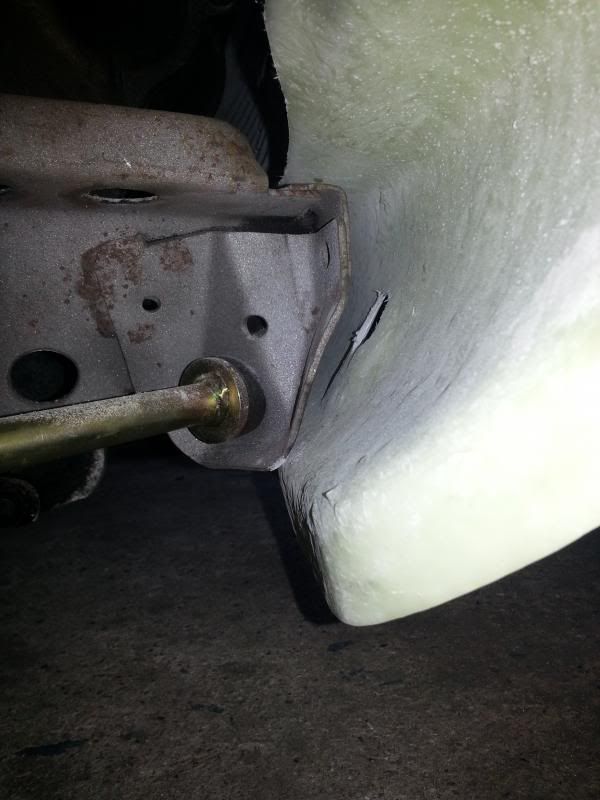
got the A panel mounts for the fg front done. not sure it it looks right or if it slopes down too much? (been a while since i've been close to a mini with a front on haha)
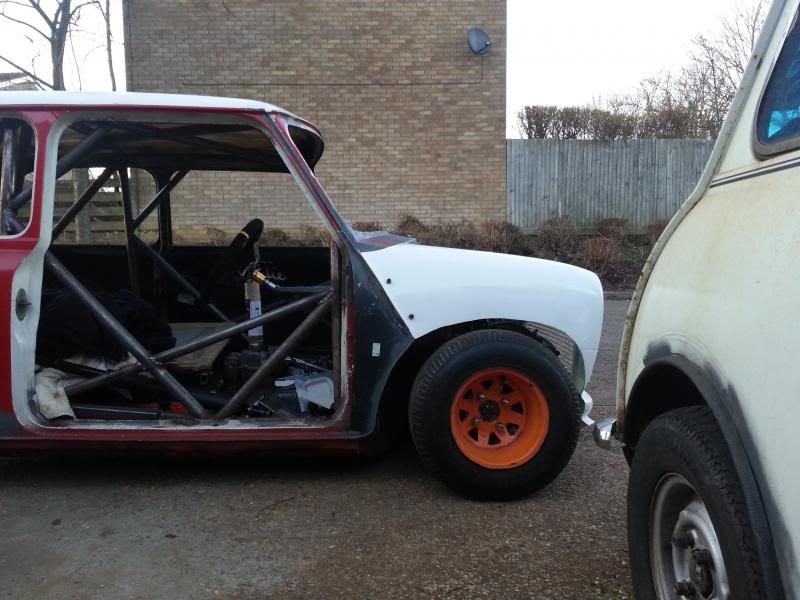
it seems to sit a bit close to the the subframe
#280

Posted 09 April 2013 - 12:24 AM
#281

Posted 14 April 2013 - 09:46 PM
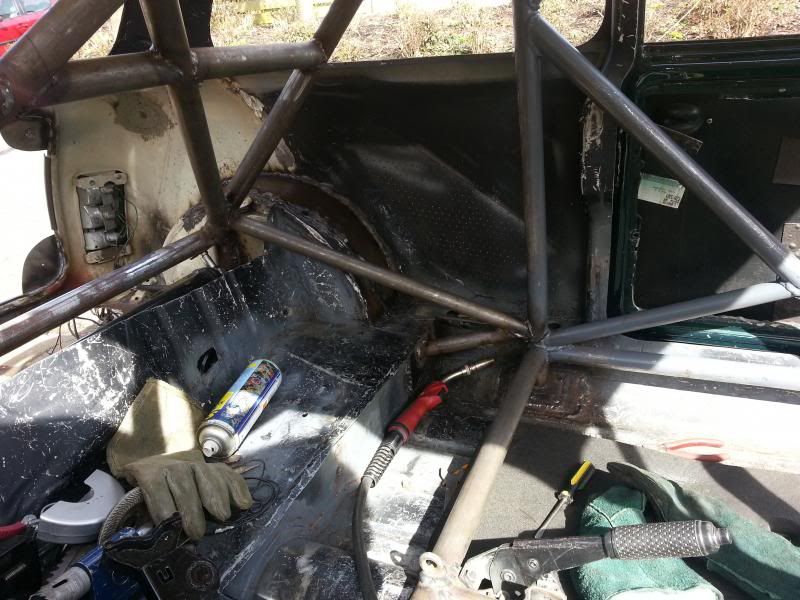
started putting the rear seat back in
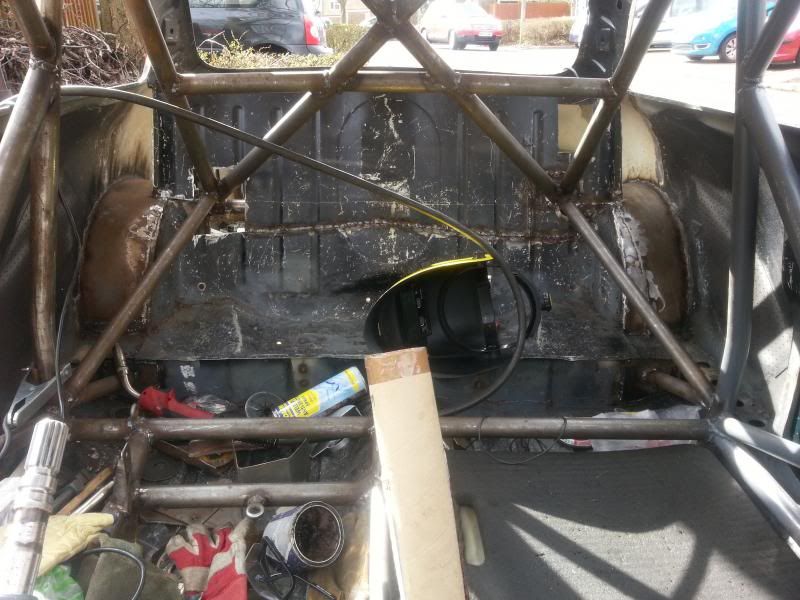
fully seam welded the joint. cut out the fuel tank strap nut and will make a swaged flat piece to fill in the hole
and started patching in around the cage. one side down, one to go.
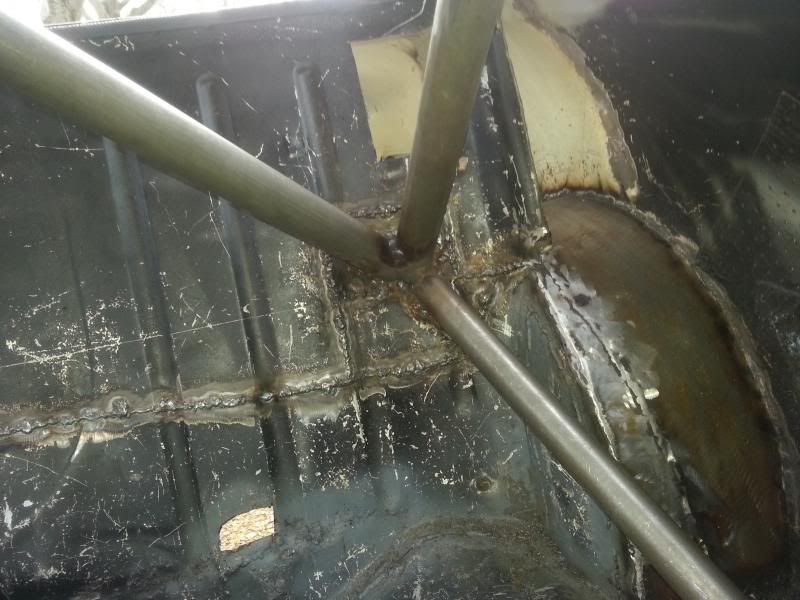
still need to grind down all the welds and make end closing panels
#282

Posted 05 May 2013 - 11:42 PM
small update (partially as i deleted photos before transferring them to the laptap)
rear seat ends now filled in with swaged panels
the other small holes and section where the fuel tank strap nut used to be have also been patched in. majority of the welds fettled down.
found a bit of titanium in my garage i got from work a while ago so made a clutch foot rest to replace the steel one
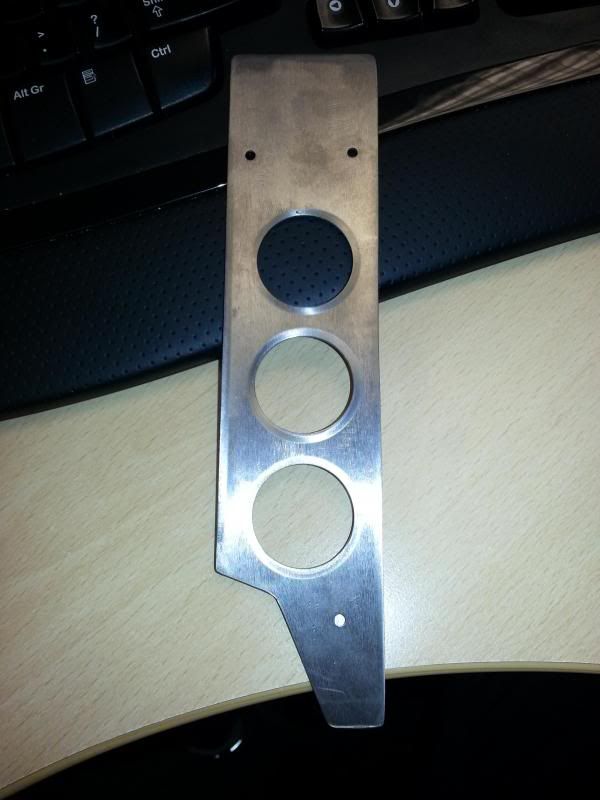
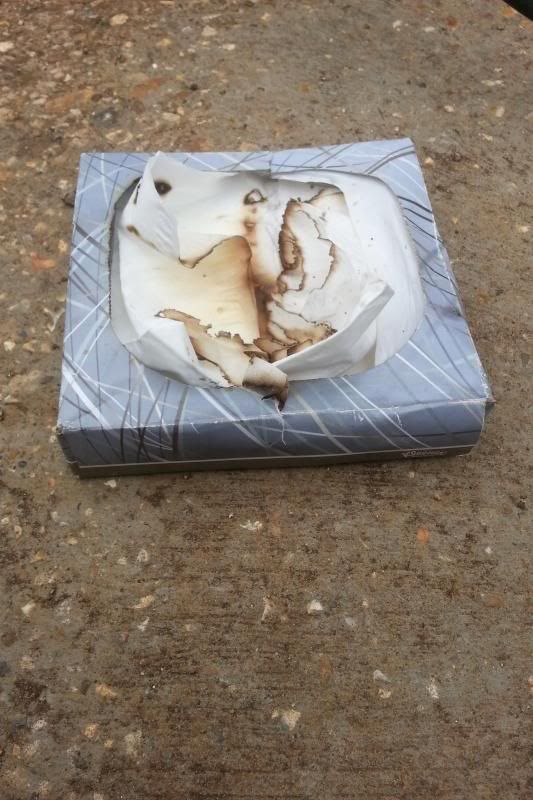
whilst tacking in the switch pod mount tube i set alight a box of tissues i forgot were in the car from when i was ill before
first i knew of it was when my legs were getting a little warm.
bolted and duct taped on as many parts as i could so the end didn't seem so far away for a little morale boost.
cut out the c pillar rear seat belt mounts panels and put in the ends of the parcel shelf. now once i make the centre section the boot compartment will be completely sealed off from the drivers compartment.
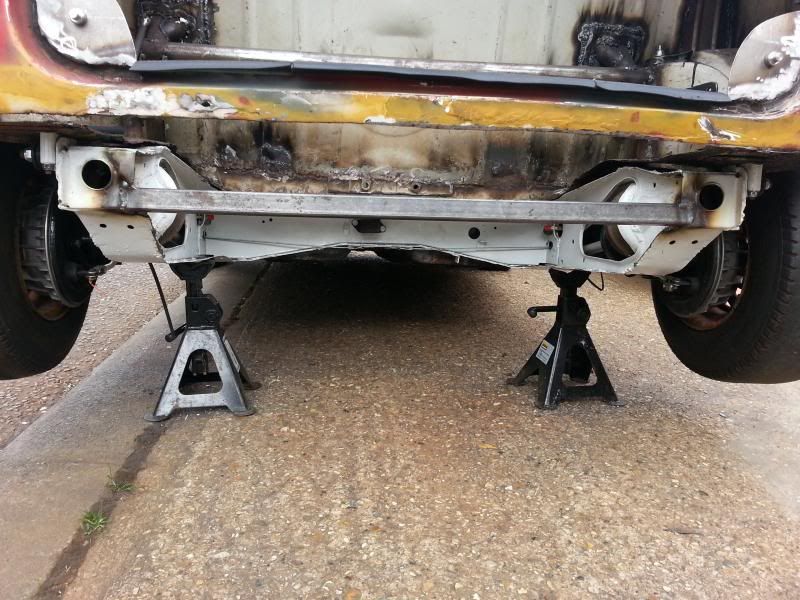
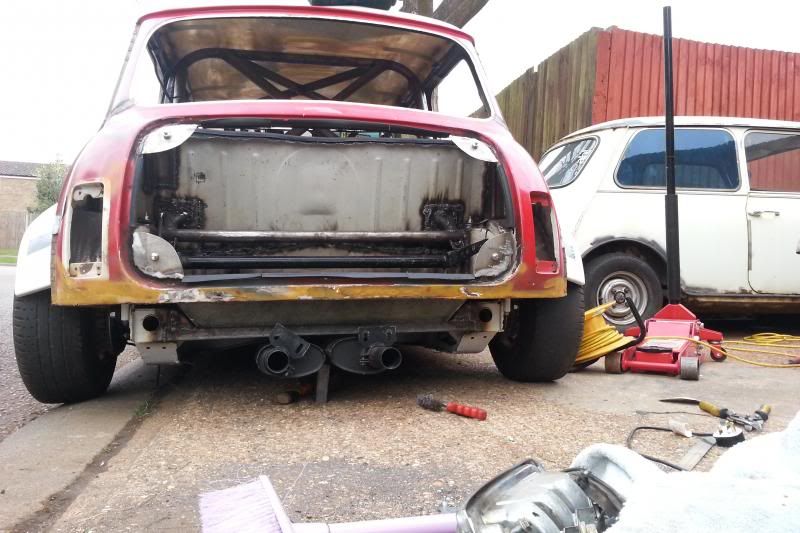
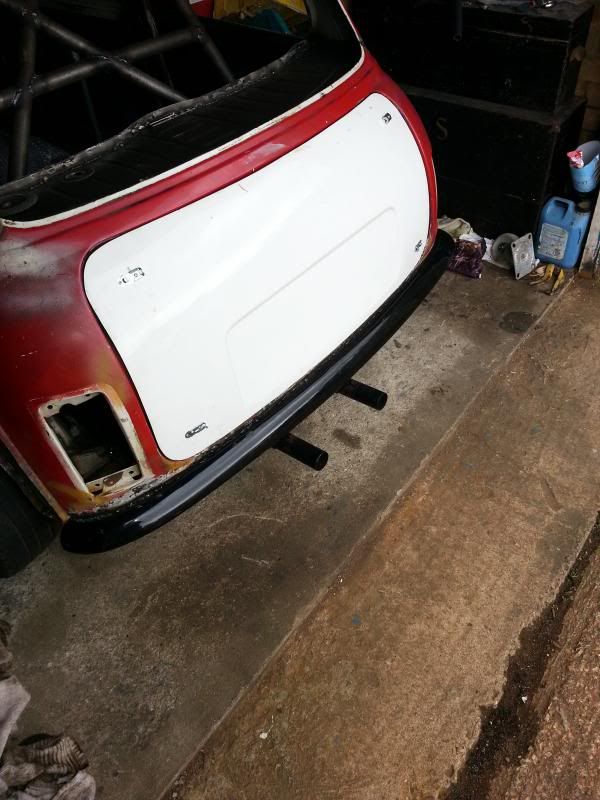
modified the rear subframe to lift the exhausts higher for more ground clearance
hopefully in the next day or 2 i'll have the boot floor rebuilt and the parcel shelf made up (possibly welded in as well)
#283

Posted 09 May 2013 - 09:03 PM
made up the parcel shelf the other day
the lines aren't straight (especially the long one) but being a bit dodgy it matches in with the rest of the car haha
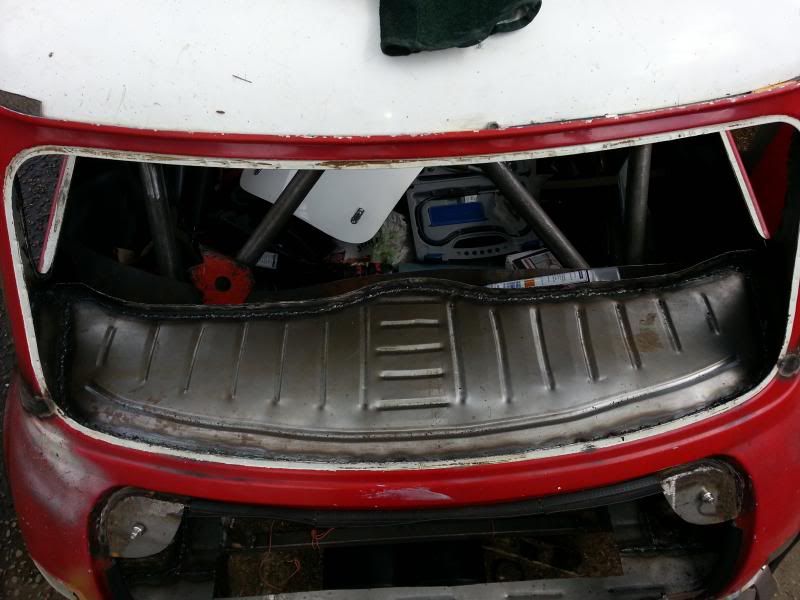
back piece of the boot floor in with tabs for bumper mounts
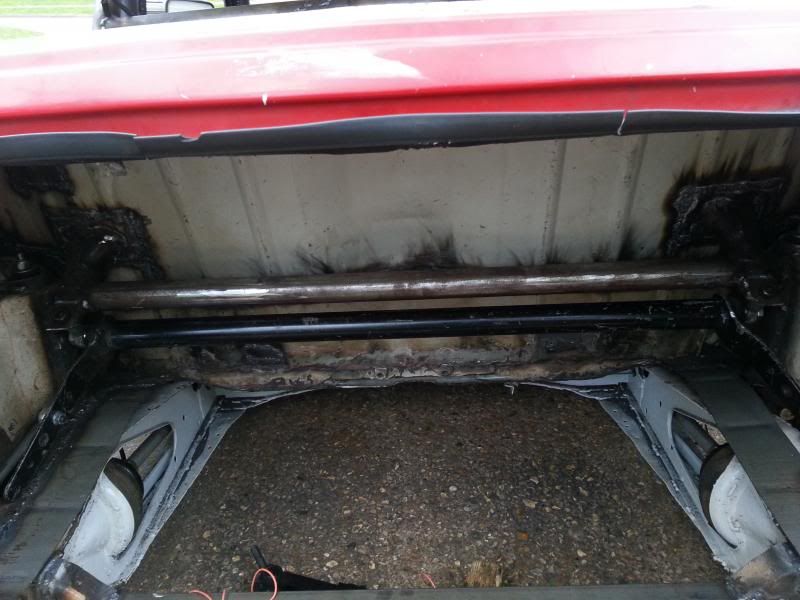
boot floor side pieces in and ARB mounts changed again (3rd time lucky) to lift it higher for more fuel tank room.
parcel shelf trimmed and welded in place
took about 3 times as long as it should of as having to work in between rain showers
rear bumper mounted
#284

Posted 11 May 2013 - 06:33 PM
bit more done today but had to cut the day short as it decided to thunder storm and hail
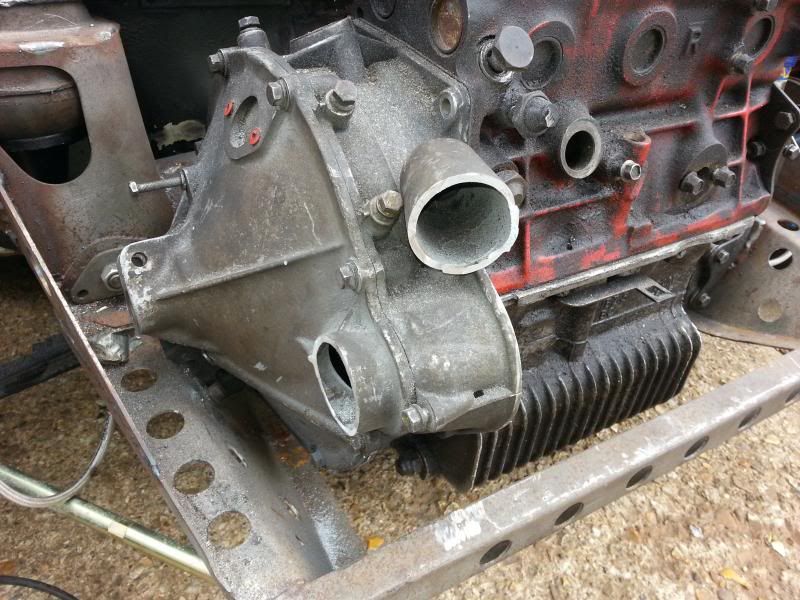
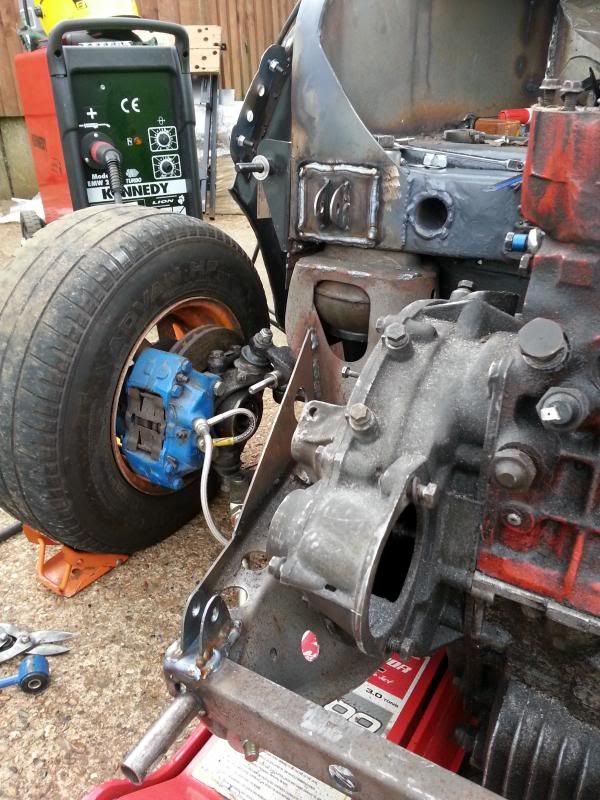
attacked the 'wok' with an angle grinder as it was in the way for the brace bars and eventually the ram air scoop
may take it into work and see if they can weld a bit of ali onto the opening just to cover the flywheel/starter a bit. then drill holes to lighten it.....
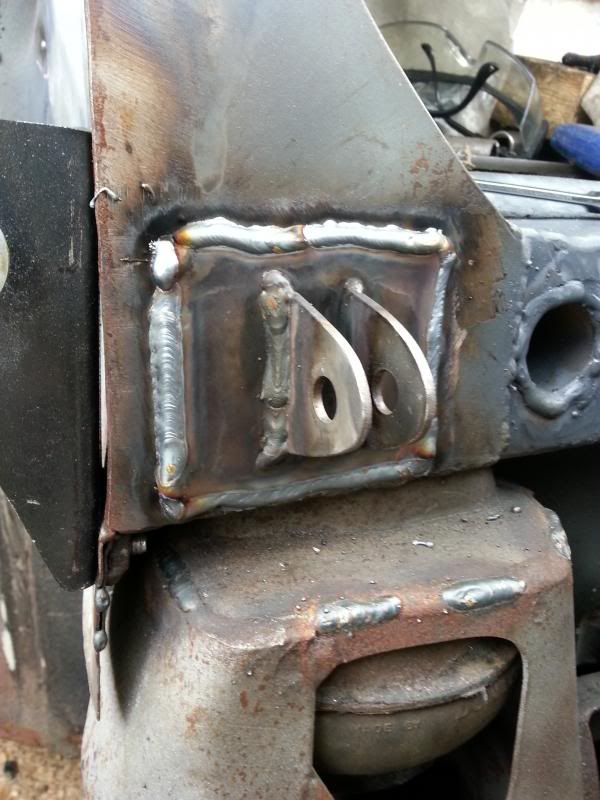
then made up the brace bar mounts
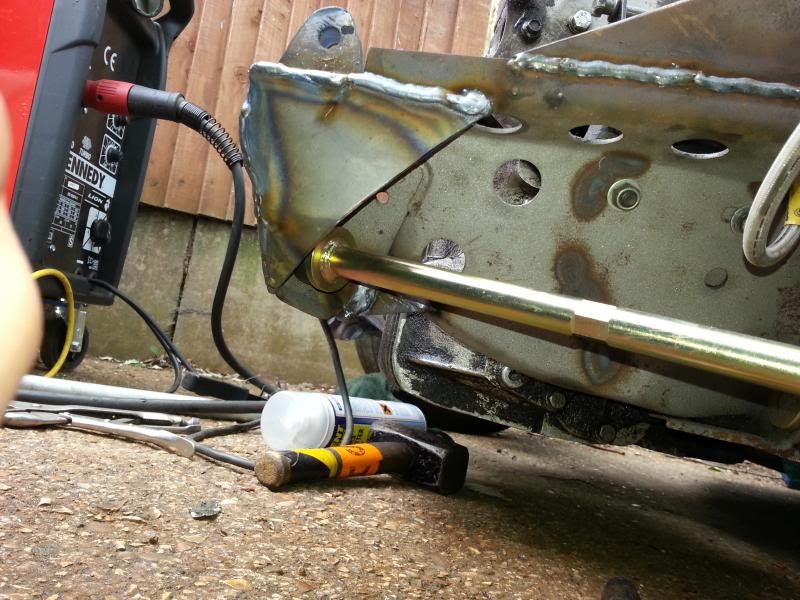
started using 1mm wire on thicker metal, finding it gives much better penetration and the bead sits flatter
also gusseted the tie bar mounts both inside and outside (you can just see the little one on the inside
#285

Posted 11 May 2013 - 06:42 PM
Excellent work, That welding looks very nice. ![]()
7 user(s) are reading this topic
0 members, 5 guests, 0 anonymous users
-
Bing (2)


