Jump to content


Photo
- - - - -

Project 'lesbian Rose'


  • Please log in to reply
347 replies to this topic

#256 evil ewok

evil ewok

    Speeding Along Now

  • Members
  • PipPipPipPipPip
  • 354 posts
  • Location: Stevenage
  • Local Club: A's of Herts

Posted 29 October 2012 - 07:06 PM

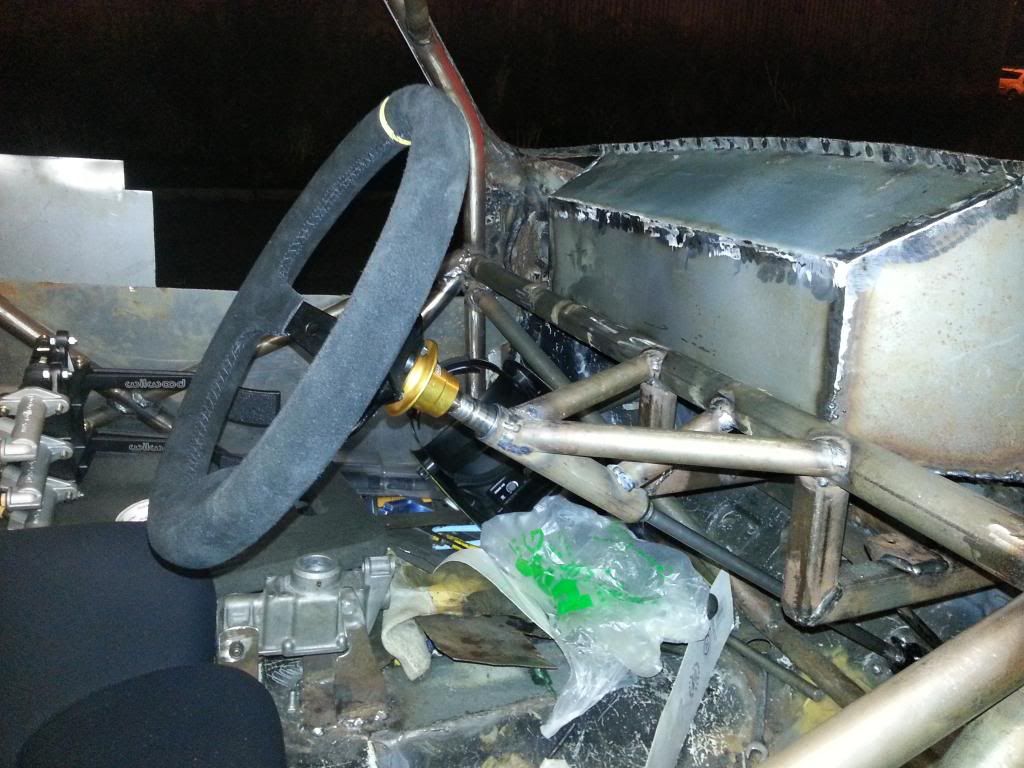
the steering wheel is immense mad to get one like it for the giggles haha :lol: !!

Nathan


It looks massive but its only a 350mm (14" wheel) which is will help make steering a bit nicer with the deep dish wheels. had a 10" mountney before with the 13x6's and it was really heavy steering when going slower.

Damn, I clicked on this thread as I thought it'd be about something a bit saucier!

sorry to disappoint you haha

got the pedal box mounts all seam welded in over the weekend, nothing really worth a picture though.

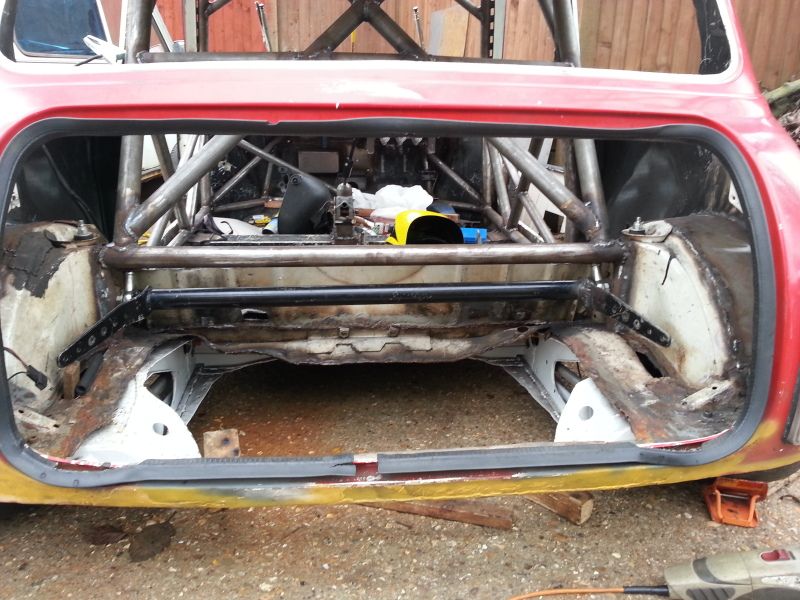
Also got the rear ARB in, just need to sort drop link lengths and make some up along with radius arm drop link mounts.
Posted Image

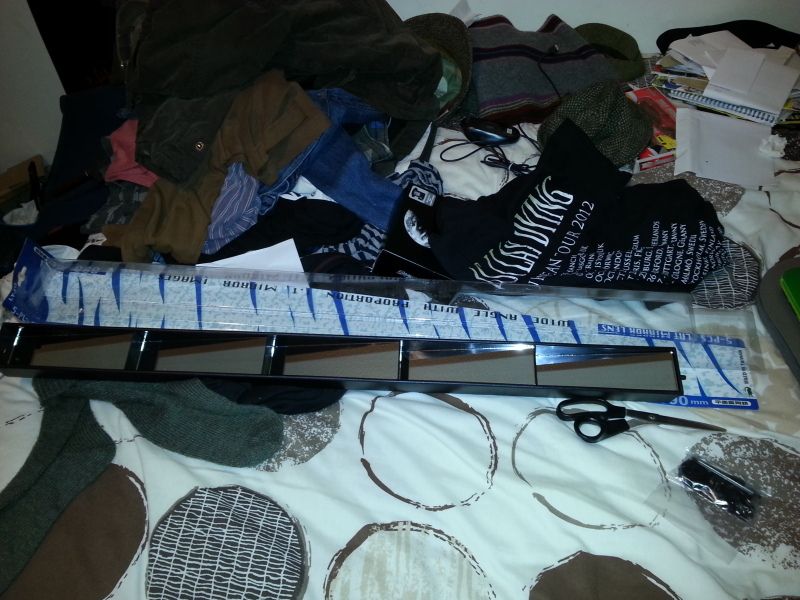
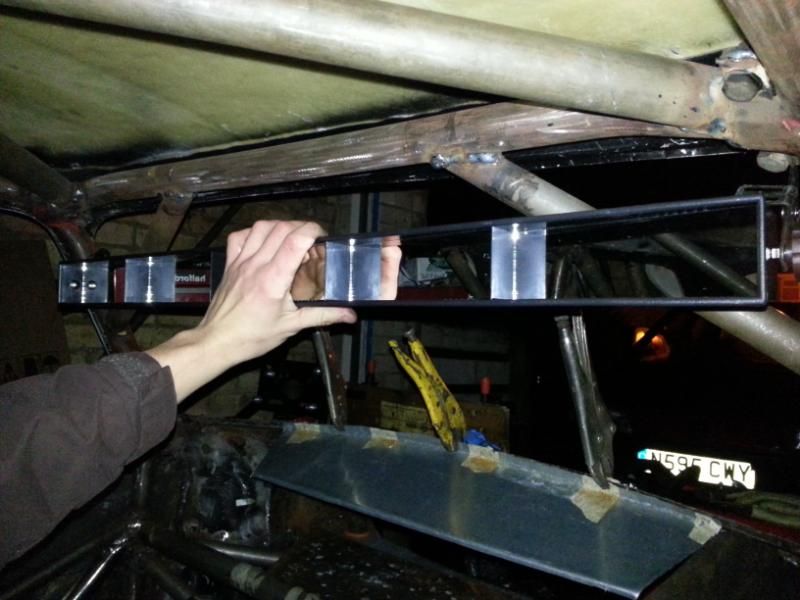
and this turned up today
Posted Image

should help a bit to see whilst strapped in to the corbeau revolution with a 5/6 point harness!

Edited by evil ewok, 18 January 2013 - 08:41 PM.


#257 scotty_1987

scotty_1987

    One Carb Or Two?

  • Members
  • PipPipPipPipPipPipPip
  • 874 posts
  • Location: Dublin, Ireland
  • Local Club: MiniBallers

Posted 29 October 2012 - 11:07 PM

ah i know itd probably be a bit much for a mini but it looks class... :shifty: !!


Nathan

#258 evil ewok

evil ewok

    Speeding Along Now

  • Members
  • PipPipPipPipPip
  • 354 posts
  • Location: Stevenage
  • Local Club: A's of Herts

Posted 03 November 2012 - 06:56 PM

do you think its big enough?
Posted Image
hopefully might get round to fitting it tomorrow

opened up the internal diameter of some 1 1/4" cds to fit the needle bearings for the steering column mount
Posted Image

Posted Image

didn't get as much time on it today as kept waiting to see if the black clouds were going to open up and rain before pushing the mini up to the house. once i did get to start i managed to get a little bit done
Posted Image

Posted Image

Posted Image
will try and seam weld it tomorrow

#259 evil ewok

evil ewok

    Speeding Along Now

  • Members
  • PipPipPipPipPip
  • 354 posts
  • Location: Stevenage
  • Local Club: A's of Herts

Posted 25 November 2012 - 09:30 PM

small update, been doing a few odd bits as when i can

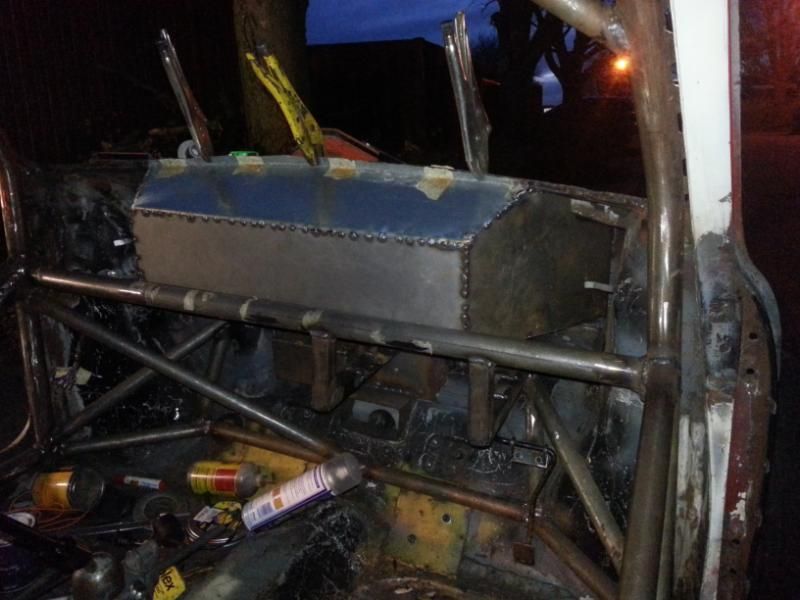
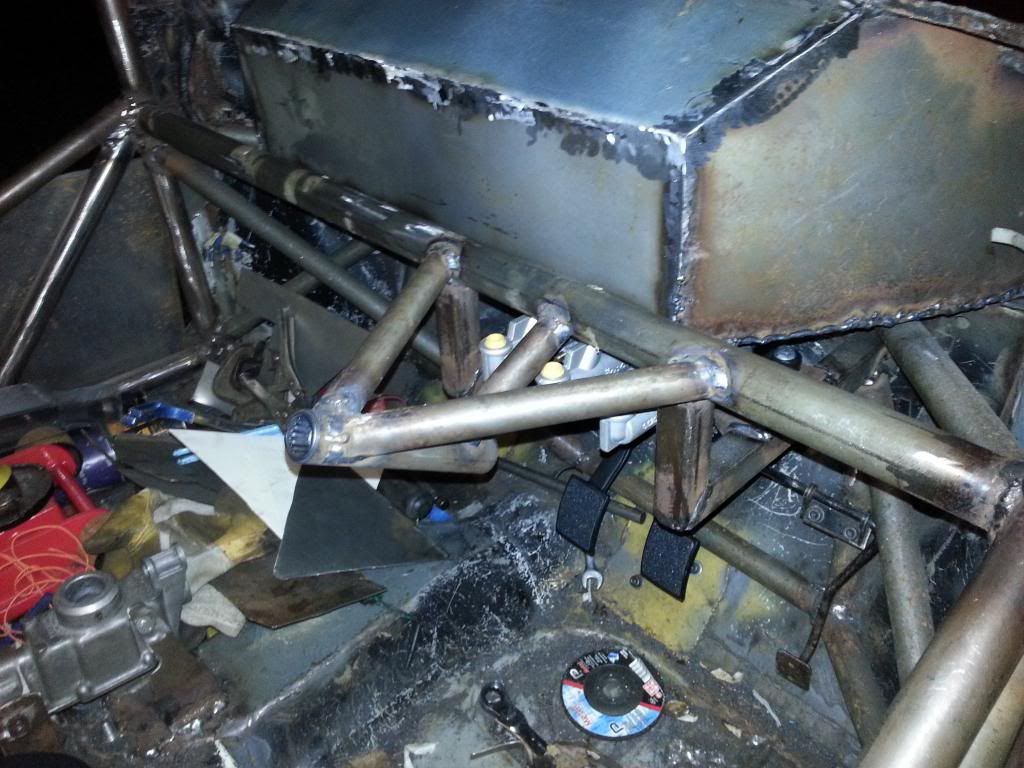
seam welded the bulkhead box

started making a gear knob at work
Posted Image

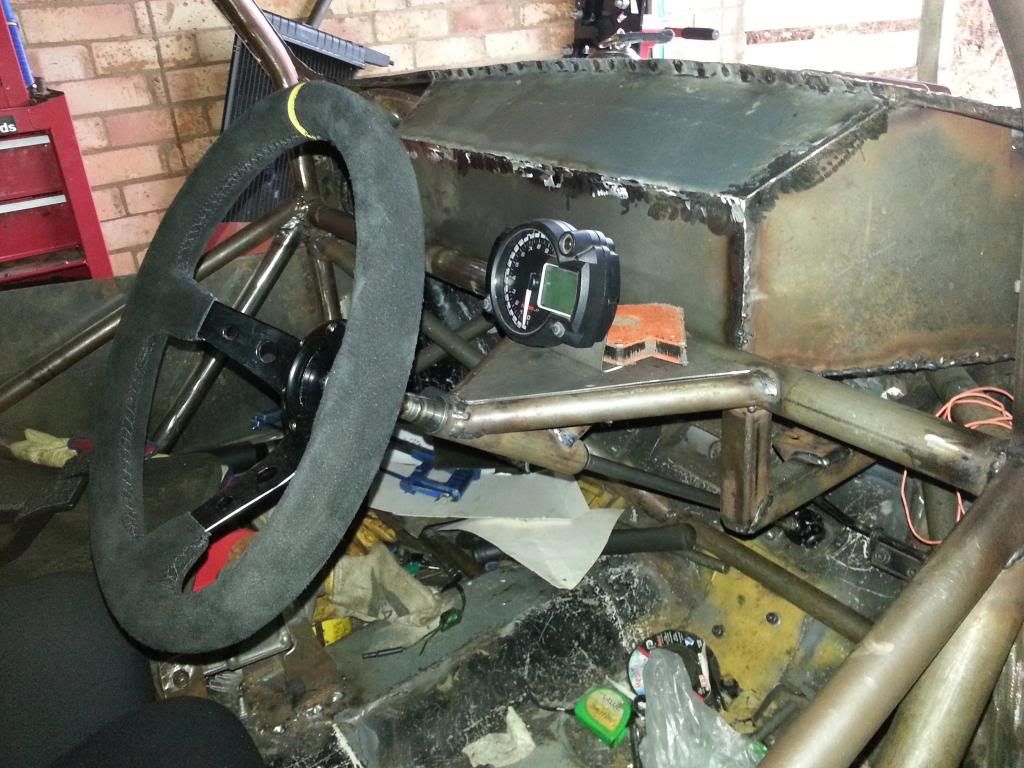
made steering column mount
Posted Image

Posted Image

cut out a 2mm plate to go top of column mount (still need to cut lightening holes in it) the digidash will be mounted on to this with a bolt on mount incase i change the digi dash.
Posted Image
a stack dash would look 10 times better but funds don't allow :(

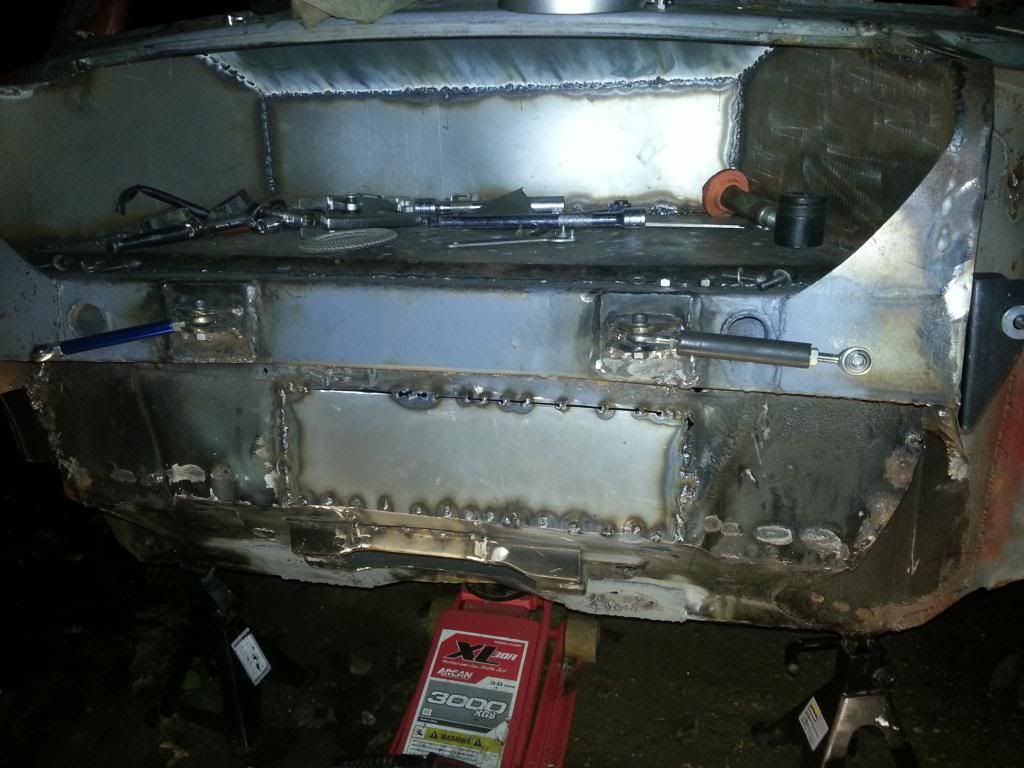
cut out the bulkhead (again) to remove the box from the k series gear linkage and the k series linkage tunnel
Posted Image
rebuilt the steering rack mount piece as was removed a section fro the linkage tunnel. still need to finish welding and then fettle the welds.

also made mounts for the force racing spherical rod end engine steadies

Edited by evil ewok, 25 November 2012 - 09:32 PM.


#260 evil ewok

evil ewok

    Speeding Along Now

  • Members
  • PipPipPipPipPip
  • 354 posts
  • Location: Stevenage
  • Local Club: A's of Herts

Posted 02 December 2012 - 09:07 PM

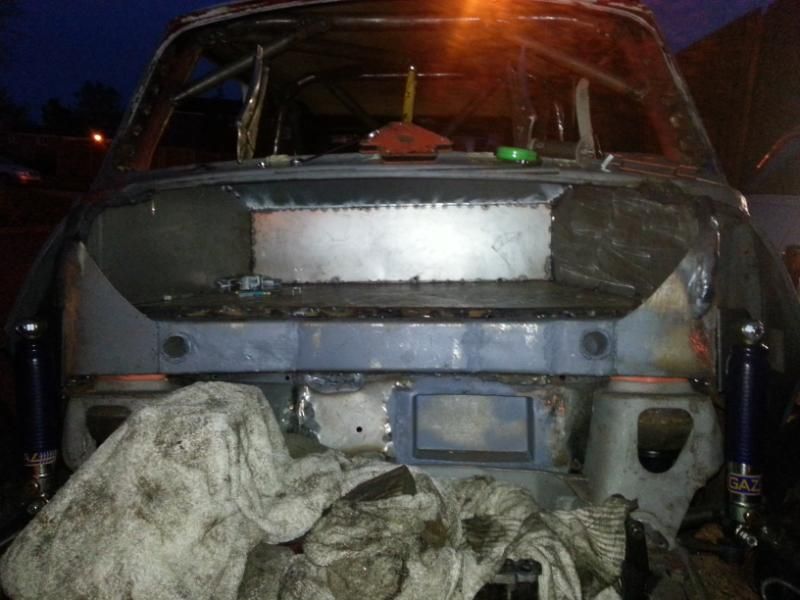
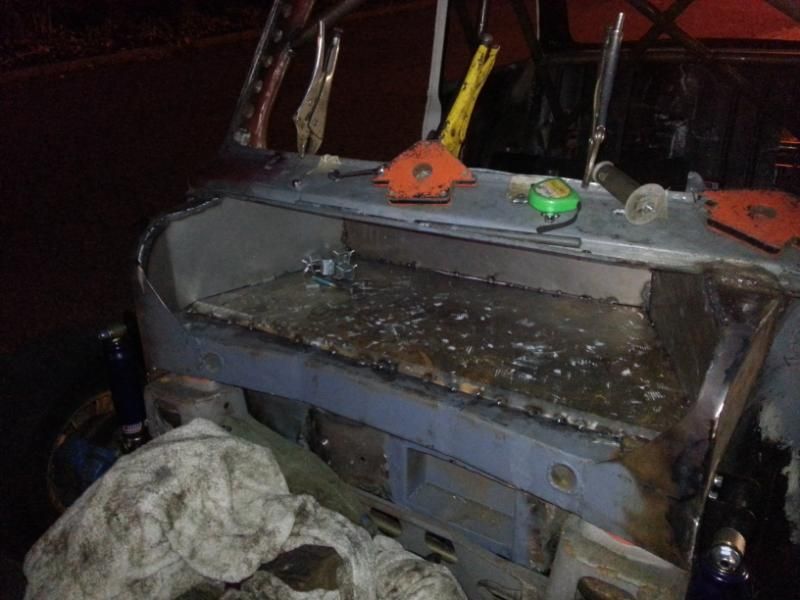
bulkhead is all seam welded now

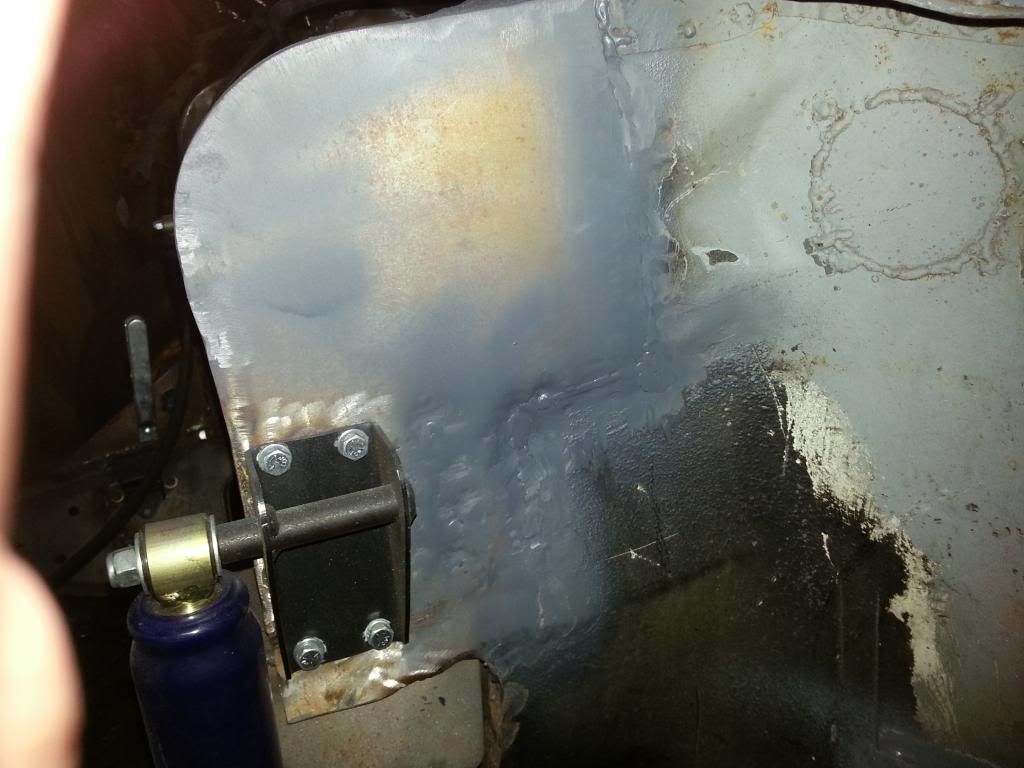
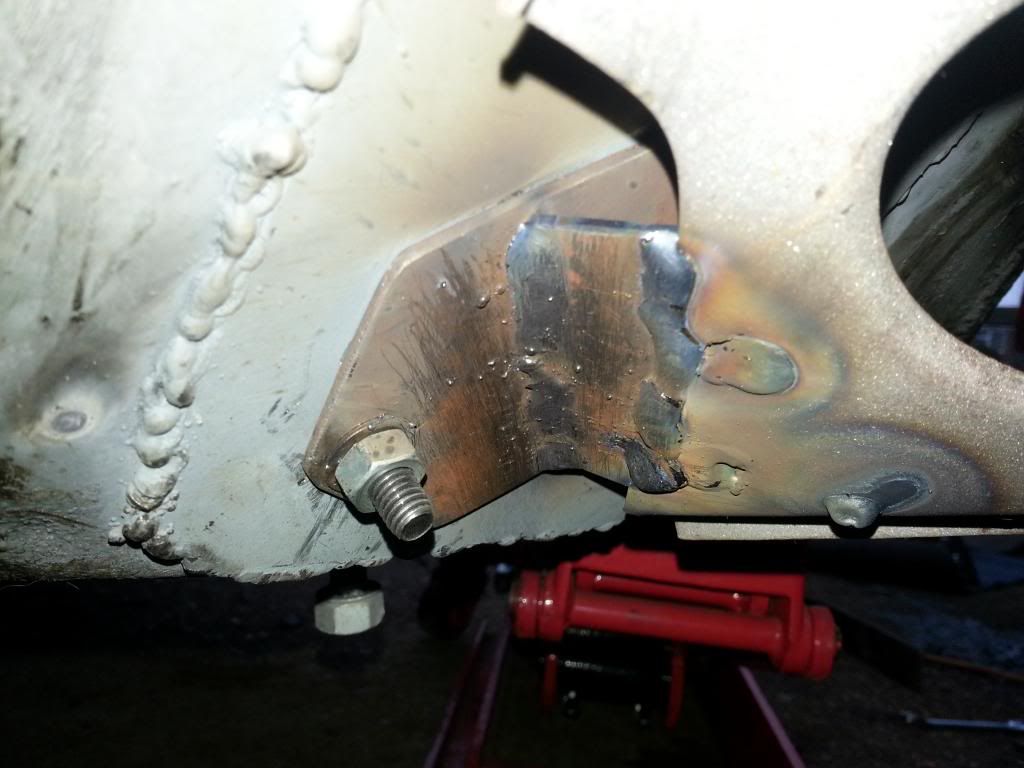
made some solid lower mounts for the front subframe as i've now mounted it without bushes to lift subframe up like the miglia's do therefore standard mounts no longer fit

Posted Image
still need to add a gusset

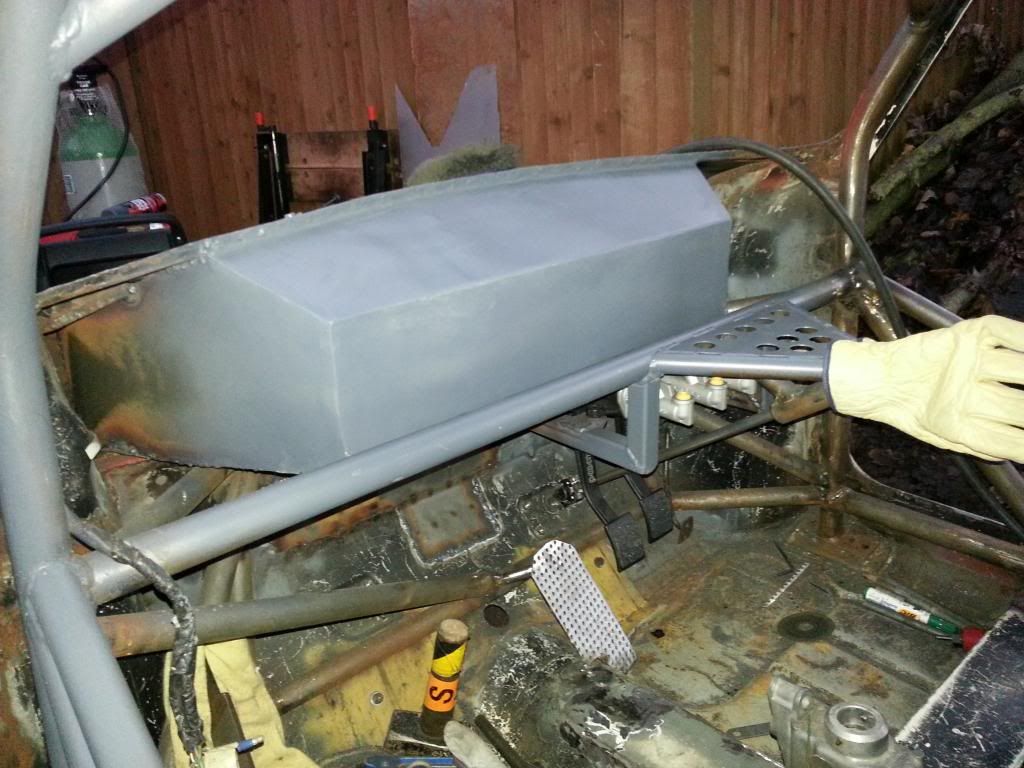
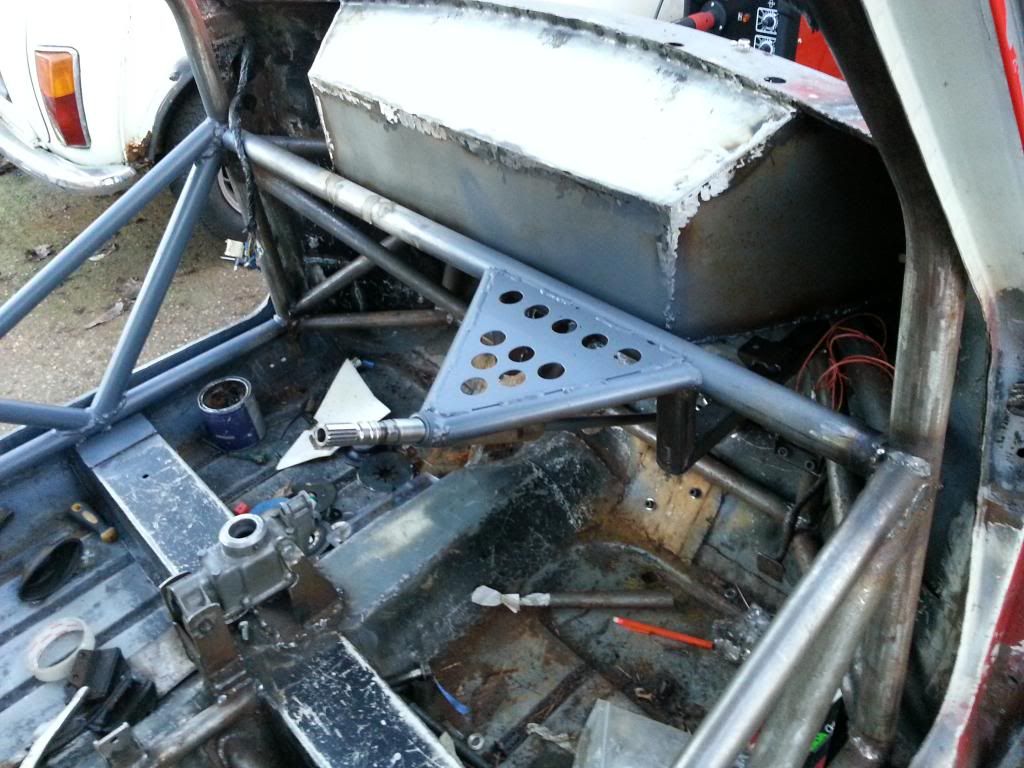
cut some holes in the plate for the steering column mount plate and stitch welded in place
Posted Image
the missing line of holes is where the digidash bracket will be mounted

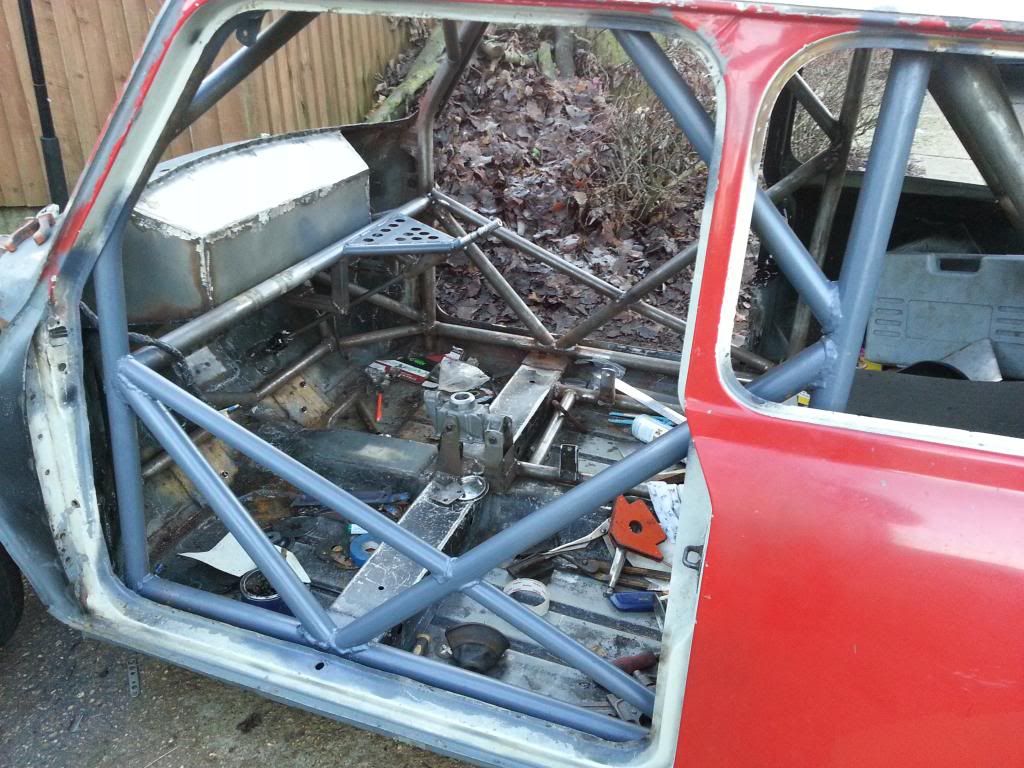
found a can of primer so decided to attack the inside. looks a bit better when all in one colour
Posted Image
trying to decide on a colour for the interior and quite like the grey/silver look.
i think the original white and rose pink going on the outside may be a little bright/blinding in bright sun if i do the inside the same, not sure what colours go with pink though?

also nearly finished my gear knob at work, just got to drill and tap it.

Edited by evil ewok, 18 January 2013 - 08:43 PM.


#261 mini93

mini93

    He's just too casual!

  • Members
  • PipPipPipPipPipPipPipPipPipPip
  • 8,615 posts
  • Location: Warwick
  • Local Club: Medievil minis of Warwickshire

Posted 02 December 2012 - 11:18 PM

Some cool bits of fab' going on here, ill keep my nose in for sure :)

#262 evil ewok

evil ewok

    Speeding Along Now

  • Members
  • PipPipPipPipPip
  • 354 posts
  • Location: Stevenage
  • Local Club: A's of Herts

Posted 18 January 2013 - 09:12 PM

been a while since my last update. unfortunately not made any major progress on the car but been making a few bits at work. anyway here's a few little bits.

had a tidy up of welds on the bulkhead and inner wing areas. once finished of the seams should blend in fairly well hopefully
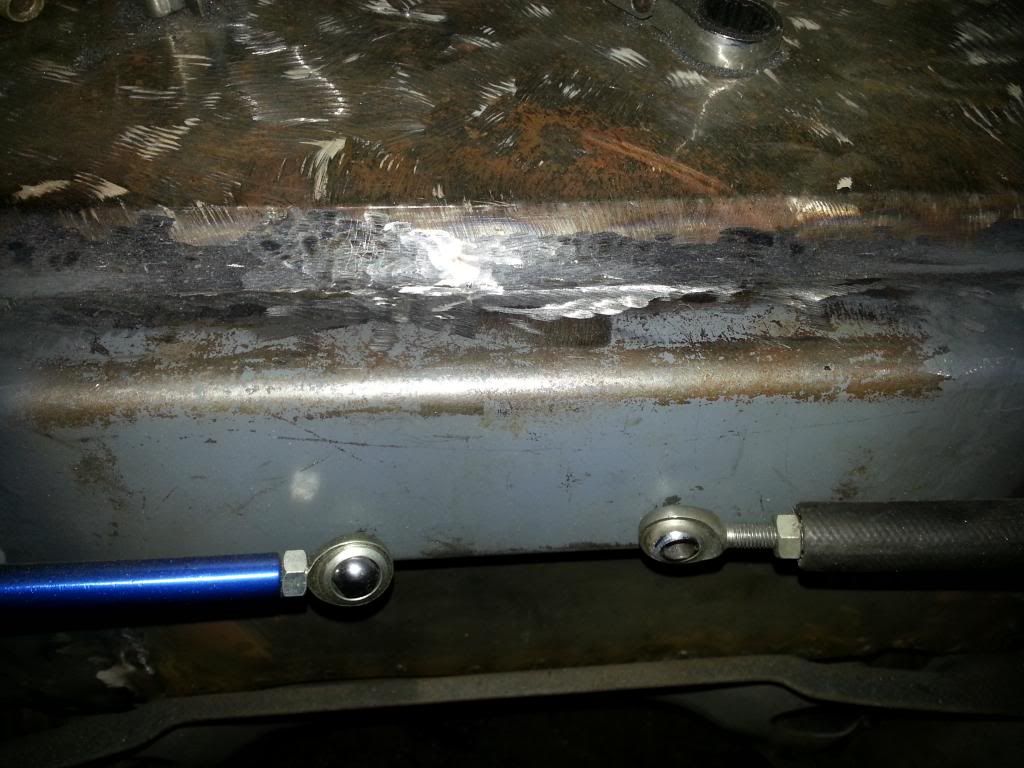
Posted Image

Posted Image

Posted Image
as you can see i also quickly knocked up a foot rest. not entirely happy with it so replacing it with a Ti one when weather allows.

also been seaming and stitch welding hte front subframe for strength.

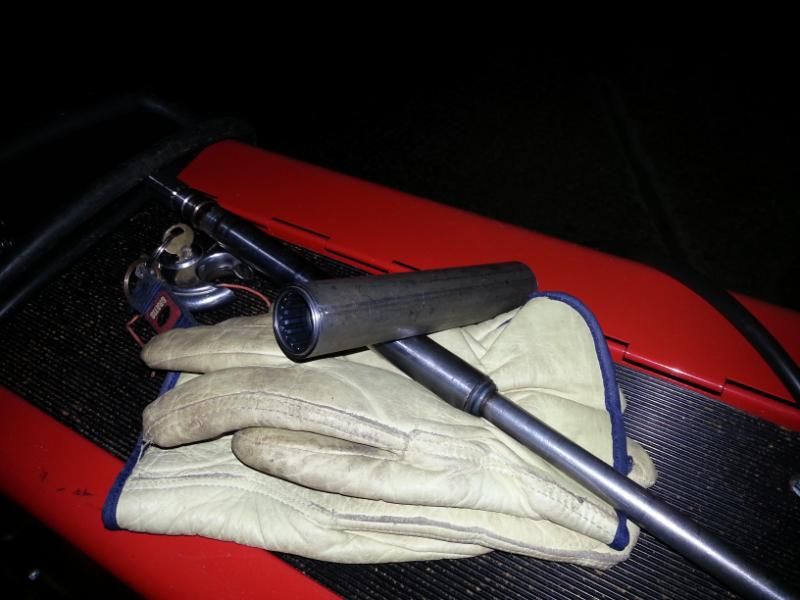
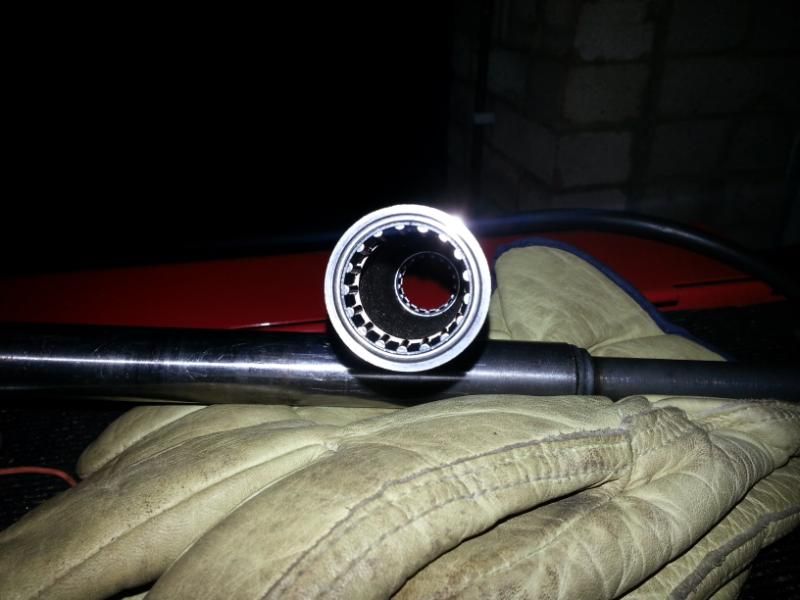
dropped my gear linkage to gearbox connecting sleeve thingy down the drain a while a go so had a new one made up at work from nimonic steel
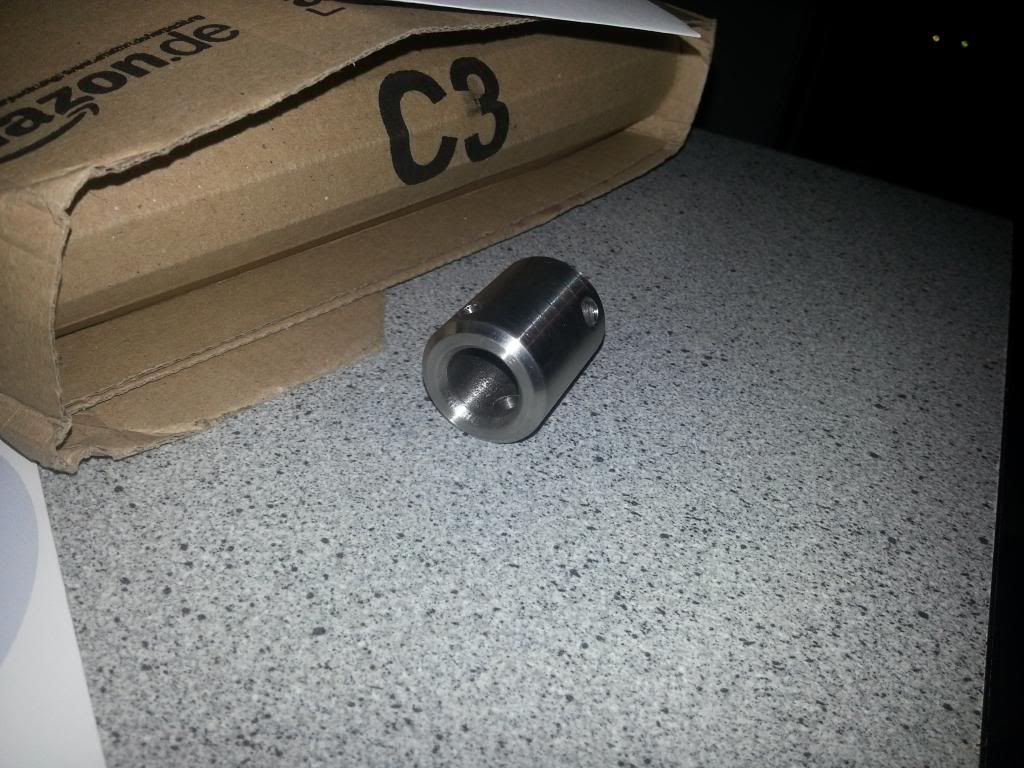
Posted Image

been modifying the gear linkage rods
Posted Image
uj's have been drilled and tapped as well but no pics

started rubbing down chrome parts for painting when i couldn't do much else because of bad weather
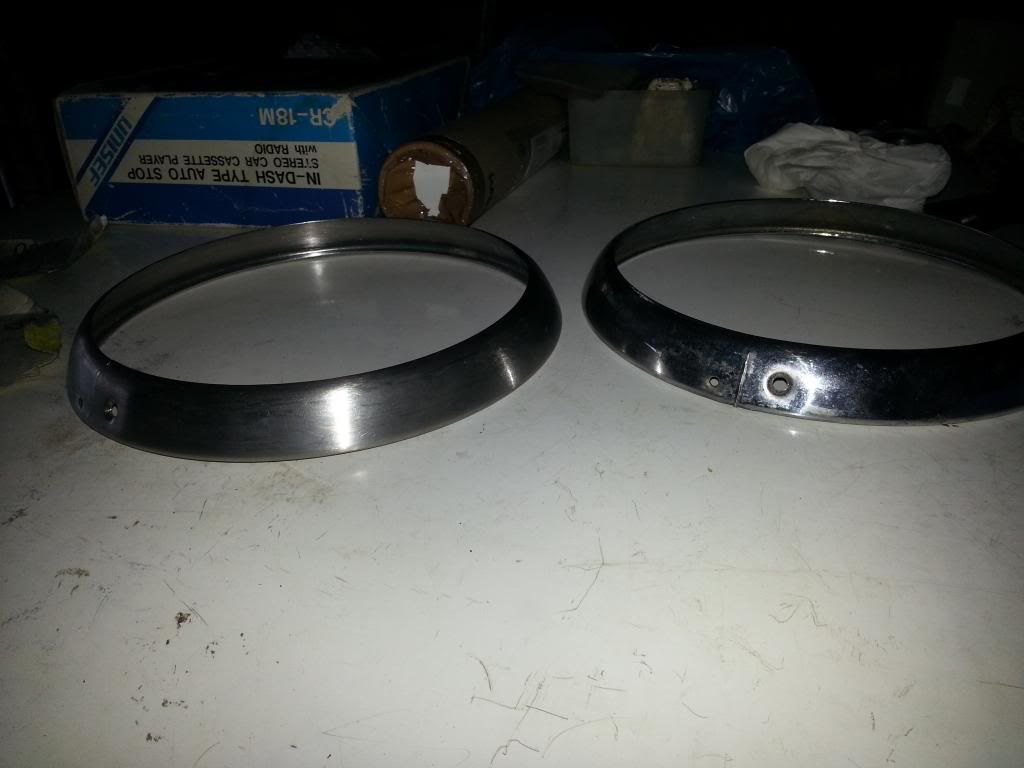
Posted Image

been lightening the subframe, only half way through this though
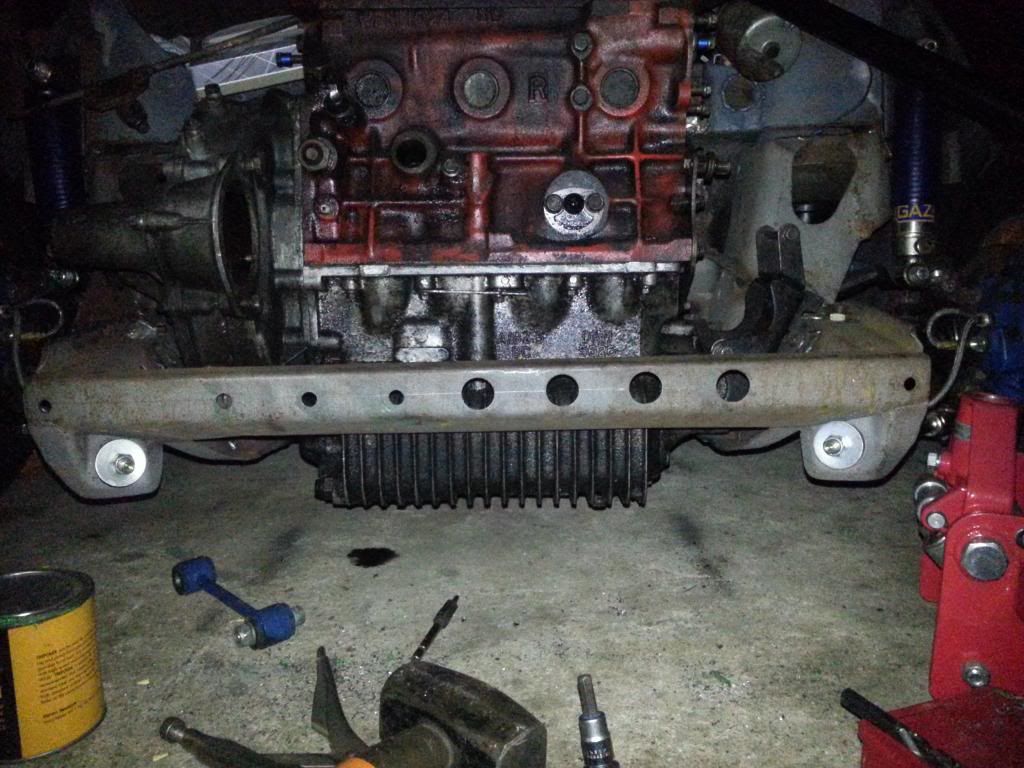
Posted Image

here's most of the internal linkage in place
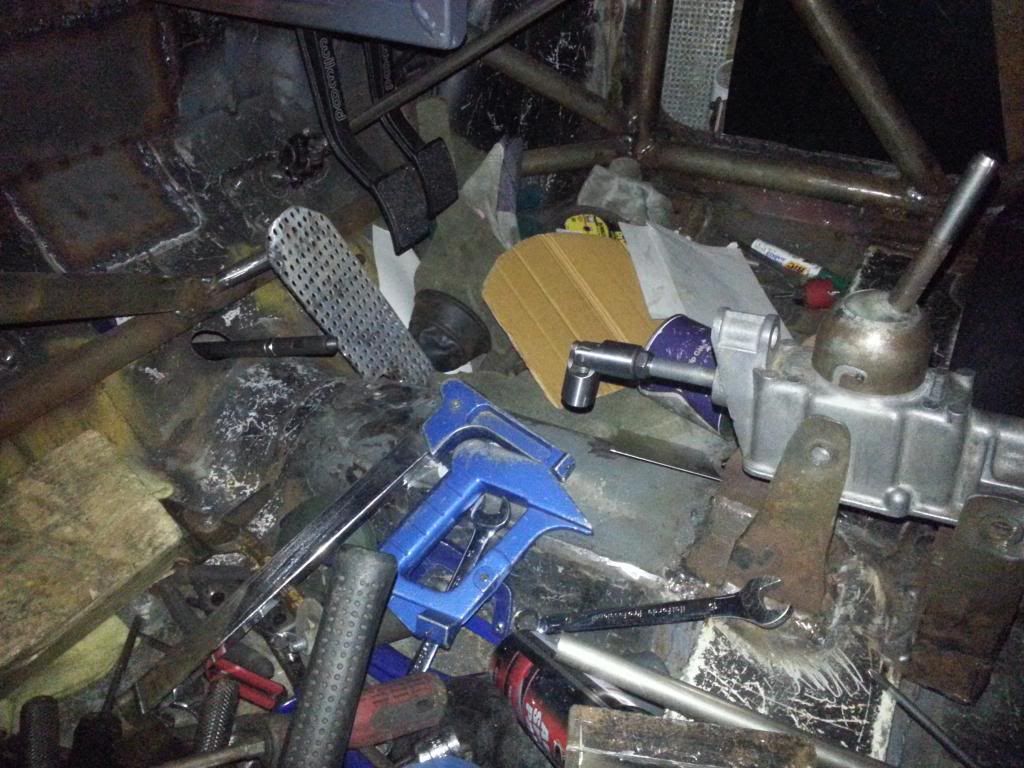
Posted Image
finished making the rods yesterday, fitted it this evening and..... it doesn't work properly :( where there's movement of the rod in the connecting sleeve to the gearbox followed by the movement of a uj it allows the linkage to 'wobble' too much. going to modify it at work next week by removing the connecting sleeve and shorter piece of the original linkage. will then bore out the thread from one end of the uj and drill a hole in it for the roll pin to connect directly to the 'box, then make a new longer piece of rod for the centre section. hopefully will cure my problems.

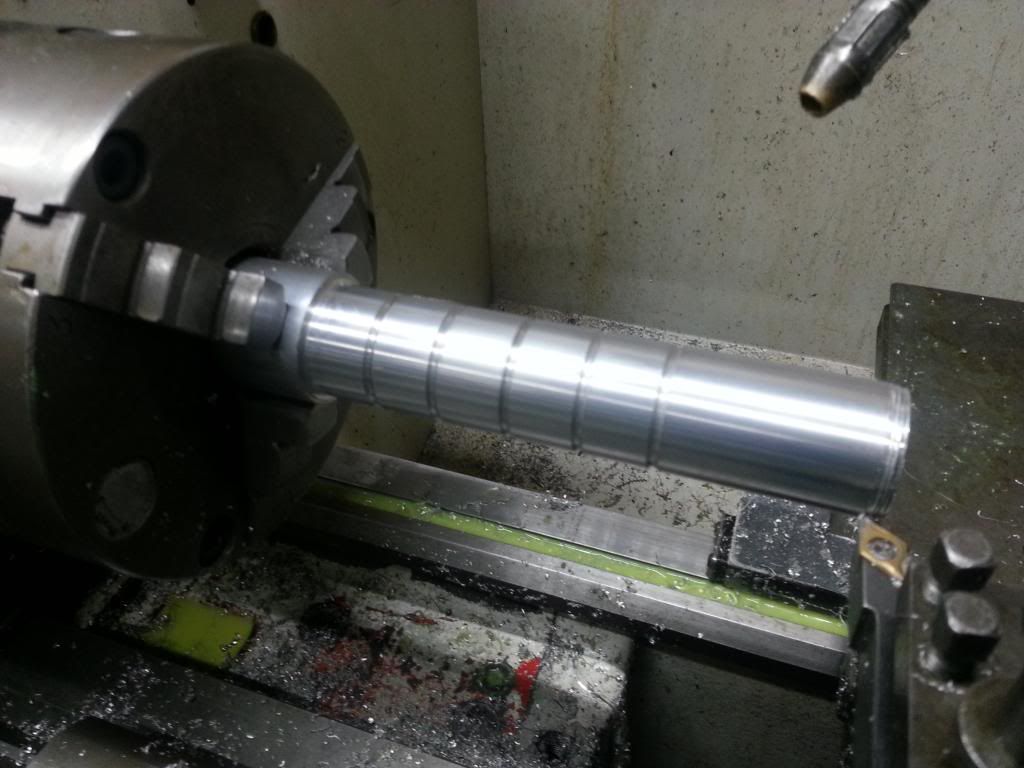
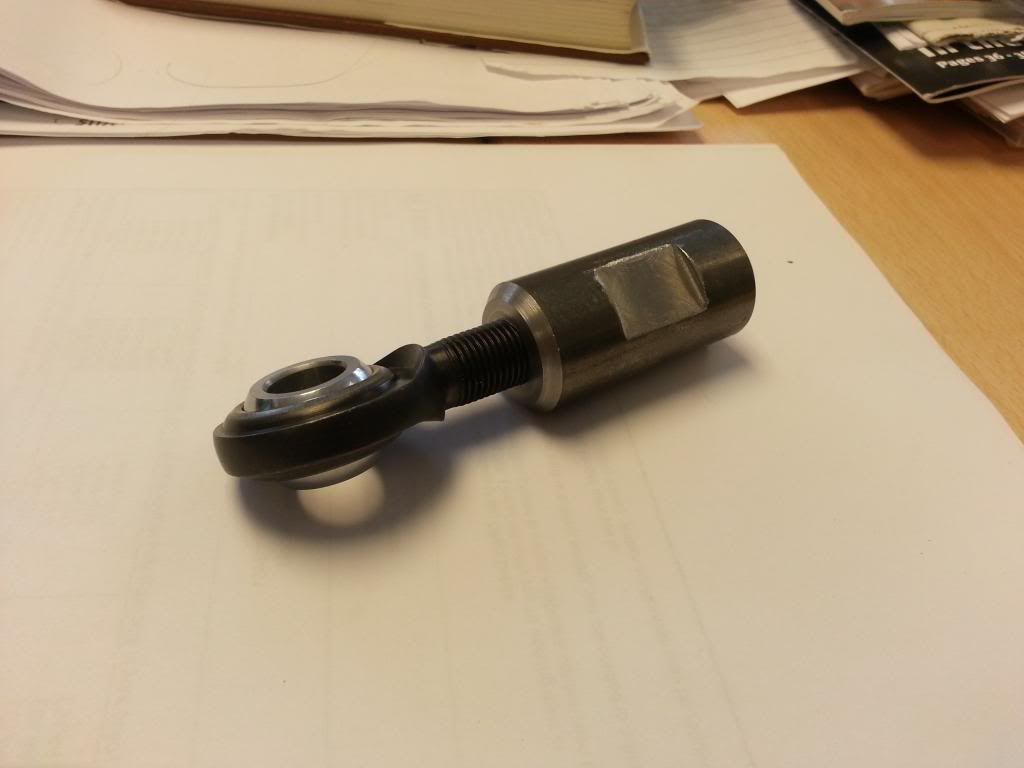
finished a pair of these today at work
Posted Image

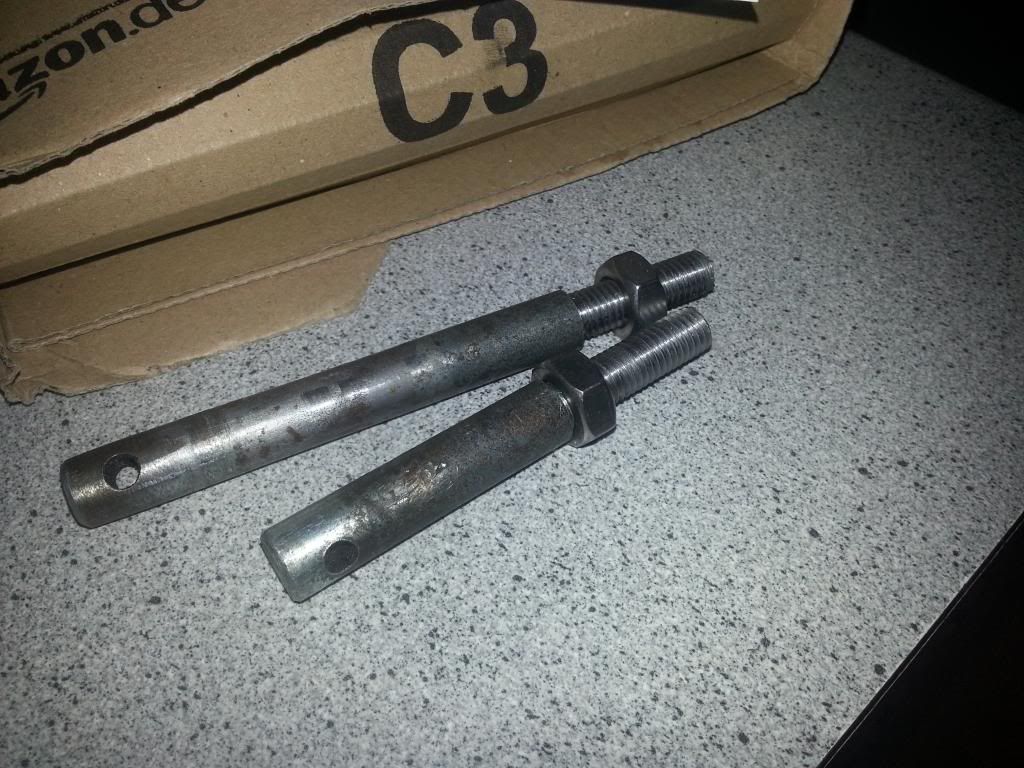
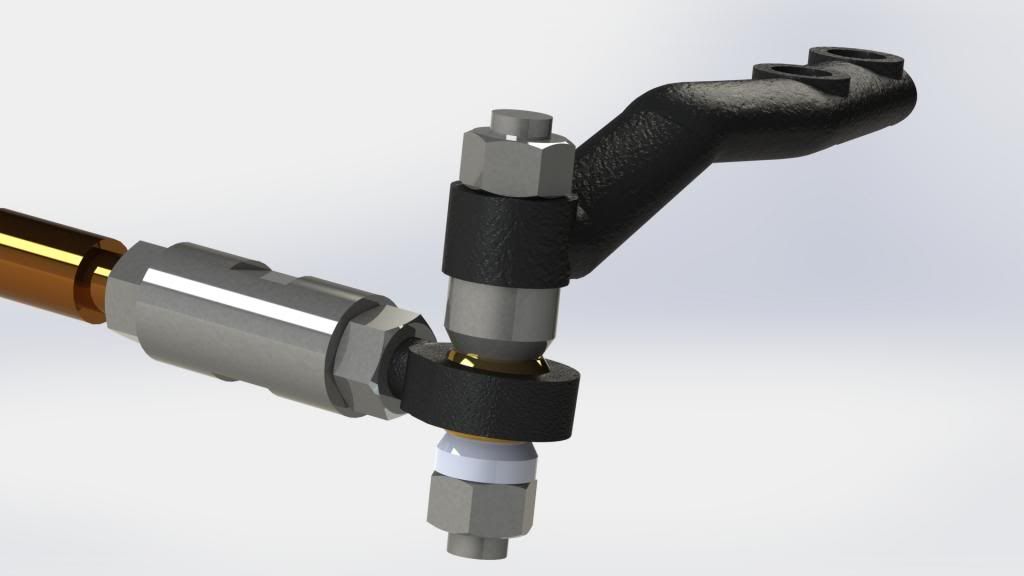
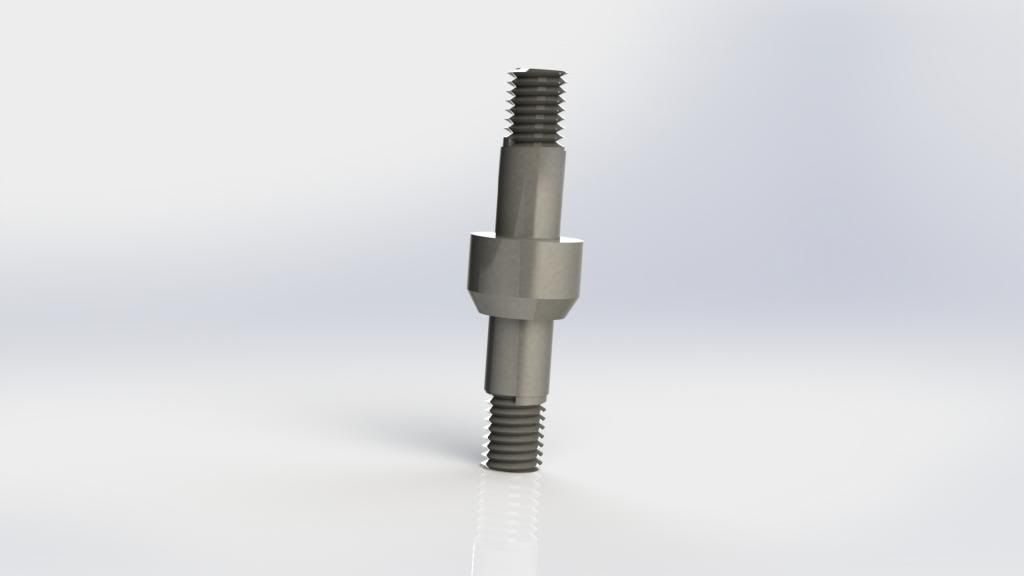
EN24T turnbuckles for steering rack. 1/2" unf LH and RH threads with high strength/misalignment spherical rod ends. Also have a pair of upgraded cooper s steering arms that have had their tapered bores drilled and reamed to 1/2". once i have set the ride height i can work out how much steering arms need to be lowered to help remove bump steer and make some spacer 'axles' to go between the rod ends and steering arms.

will look something like this (quick drawing/rendering i made in solidworks):
Posted Image

this is what the axle piece should look like roughly (rubbish threads i know)
Posted Image

#263 kcchan

kcchan

    One Carb Or Two?

  • Members
  • PipPipPipPipPipPipPip
  • 874 posts

Posted 19 January 2013 - 11:53 AM

I always followed this when it was going to be a valver, nice to see it still going.

I want a pair of steering rack turn buckles, fancy making me a set ;)

#264 evil ewok

evil ewok

    Speeding Along Now

  • Members
  • PipPipPipPipPip
  • 354 posts
  • Location: Stevenage
  • Local Club: A's of Herts

Posted 19 January 2013 - 07:48 PM

cheers mate, the valver idea was getting too expensive to do it how i wanted to, to be happy with it.

they're pretty easy to make, it's only about the 3rd thing i've ever made on a lathe! i'll just have to see how much stock i have left at the end...

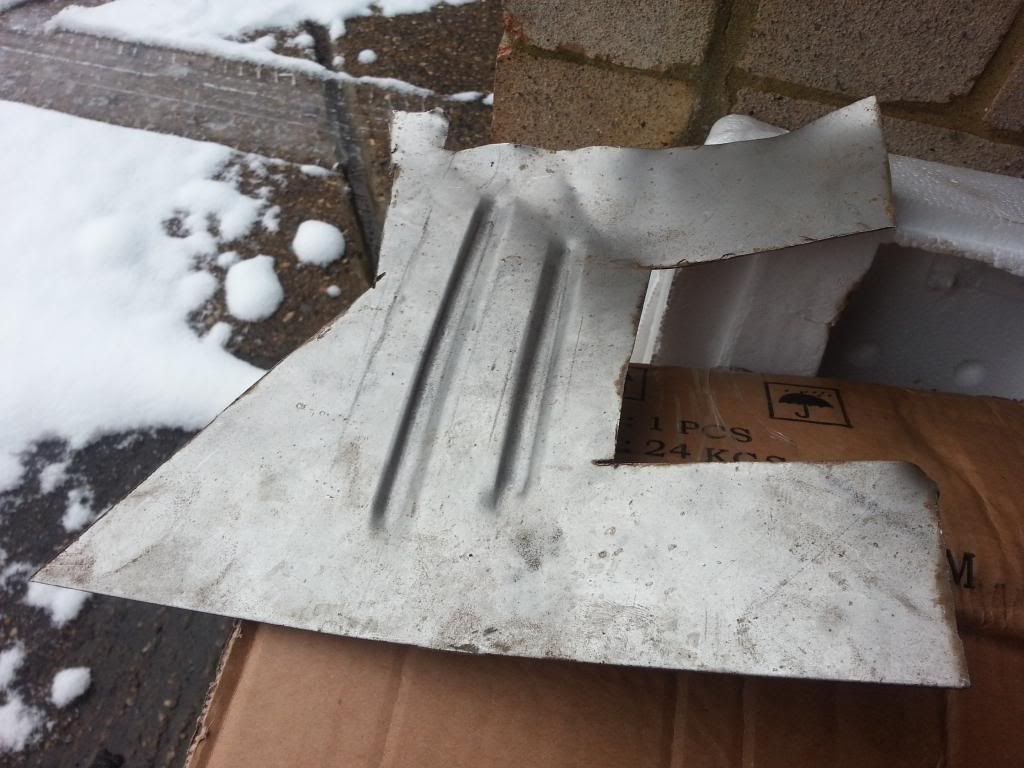
made a bit of room on a bench today in the garage and put together my bead roller i bought the other week. then had a little play with it

on steel, about 1.2mm
Posted Image

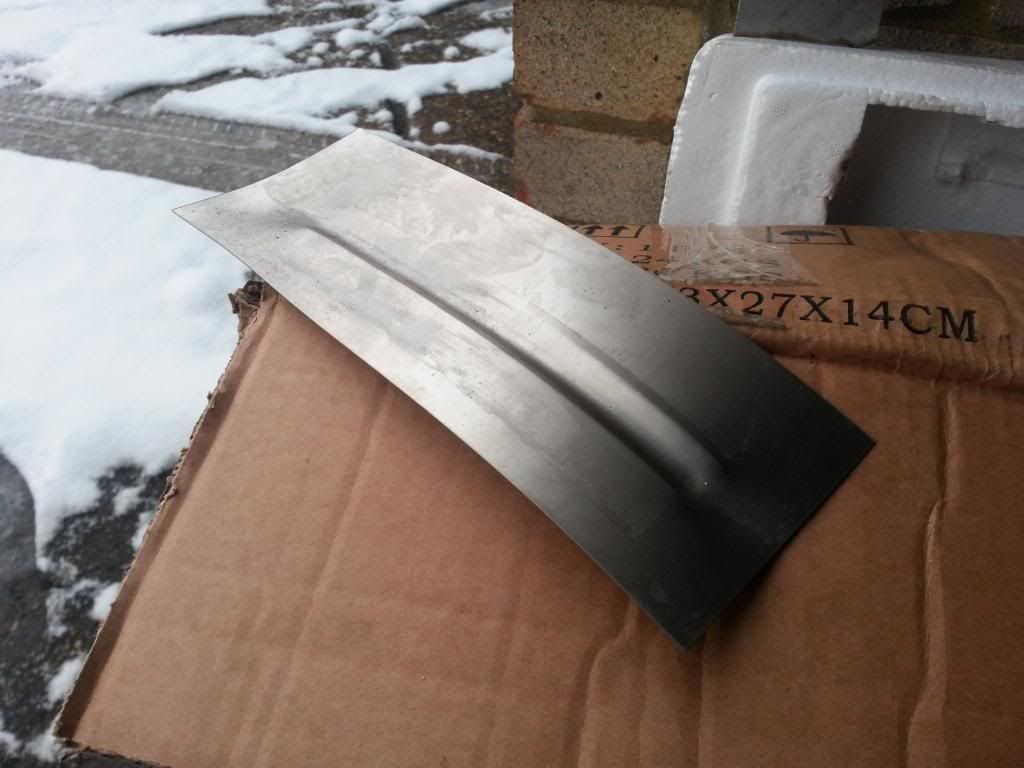
tried on a bit of Ti i had, only around 0.5mm
Posted Image
it put the swage in but curled the metal, might try again but put the depth in in slower stages

also been lightening my subframe a little more but no pics

#265 kcchan

kcchan

    One Carb Or Two?

  • Members
  • PipPipPipPipPipPipPip
  • 874 posts

Posted 19 January 2013 - 08:55 PM

Yea they're not complex items, its just that not that many people will have a LH thread 1/2" unf tap. I did have a look at making a batch myself but I couldn't be bothered. Plus the guys at my work make such a big deal of doing things for "home".

#266 evil ewok

evil ewok

    Speeding Along Now

  • Members
  • PipPipPipPipPip
  • 354 posts
  • Location: Stevenage
  • Local Club: A's of Herts

Posted 19 January 2013 - 09:03 PM

true, i bought the tap just for doing these 2 bits haha even buying the tools, once all done i still would have saved almost £200 by making my own kit! they are the complete opposite in the machine shop at work, they'll will stop their work work to help do homework. they're always happy to help and show me how to use the machines.

hopefully i can learn to TIG before i leave placement. might get to learn Ti in an argon chamber as well. i feel Ti switch pod plans brewing....

#267 kcchan

kcchan

    One Carb Or Two?

  • Members
  • PipPipPipPipPipPipPip
  • 874 posts

Posted 19 January 2013 - 09:49 PM

Some guys are, some guys aren't. I was allowed to play in the work welding bay for about 2 hours. Tried my hand at stainless and Ali tig and I got pretty good at it. In all honesty though, without the machine already set up and a good teacher, I wouldn't have got very far.

Was so proud of the last plate I practised on I took it home:

Posted Image

#268 evil ewok

evil ewok

    Speeding Along Now

  • Members
  • PipPipPipPipPip
  • 354 posts
  • Location: Stevenage
  • Local Club: A's of Herts

Posted 19 January 2013 - 10:25 PM

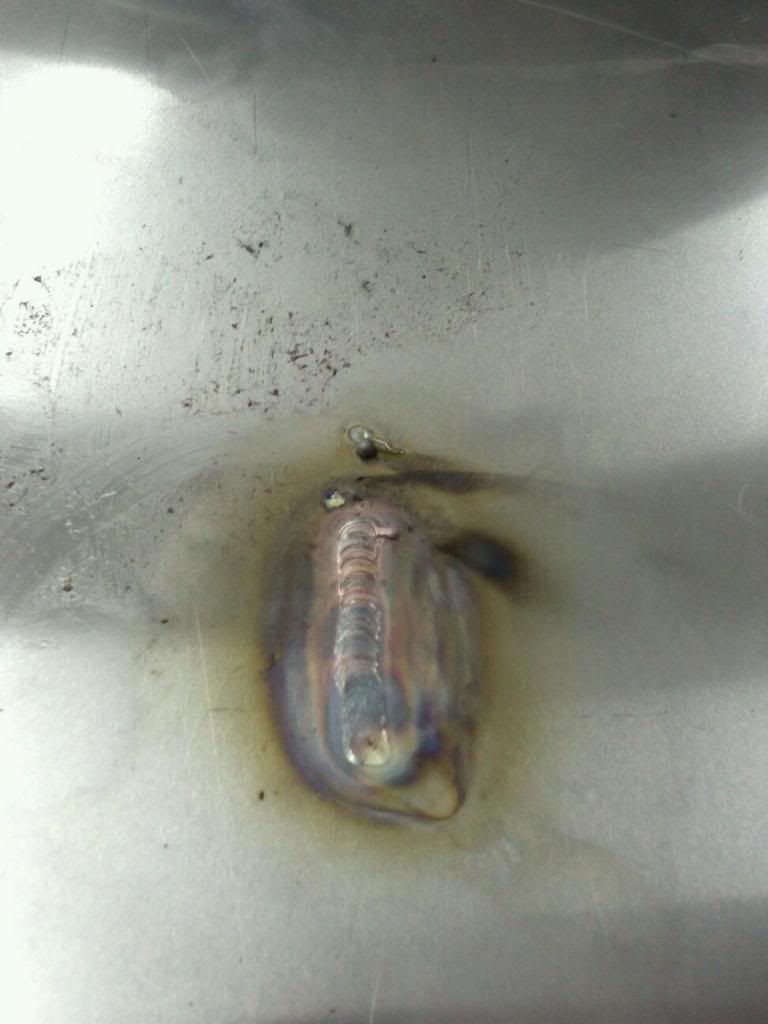
the welders at work are all certified as it's parts for aerospace so welds have to be x-rayed etc. had a little go before but want to learn/practice enough to be able to put it on my cv for future jobs.

only got one pic of my first attempt
Posted Image

didn't get any of my only attempt on Ti through the letter box hole of the argon chamber but wasn't good haha think i have the plate laying around somewhere

did some TIG on thick stainless (around 1" plate onto a cast stainless press tool) and found it alot easier that thin sheet metal. its been in the hot press a few times and nothing has fallen off so couldn't of done too bad a job.

#269 kcchan

kcchan

    One Carb Or Two?

  • Members
  • PipPipPipPipPipPipPip
  • 874 posts

Posted 19 January 2013 - 10:35 PM

Ahh, I work for a company that makes insulation for aerospace but most of our products are made up of stainless steel corrugated foils. Some stuff is Ti but again thats foil, all of which is resistance welded.

It's only actually our tooling and some specialist products that require the tig machines, hence not being used all that often and me not having that much of a play with them haha

#270 evil ewok

evil ewok

    Speeding Along Now

  • Members
  • PipPipPipPipPip
  • 354 posts
  • Location: Stevenage
  • Local Club: A's of Herts

Posted 19 January 2013 - 10:41 PM

ah ok, the company i'm at produces pressed Ti panels for aerospace (plane body panels, helicopter blade shrouds etc). they also make water tanks, air ducts etc which are all TIG welded.
all the material is sheet/plate Ti from around 0.5mm up to around 8-10mm thick.

i'm up in the engineering office so don't get much time to play with the welders much now. only get to play with the lathes and mills if i go down after work to do homework


1 user(s) are reading this topic

0 members, 1 guests, 0 anonymous users