Project 'lesbian Rose'
#166
Posted 24 March 2011 - 12:13 AM
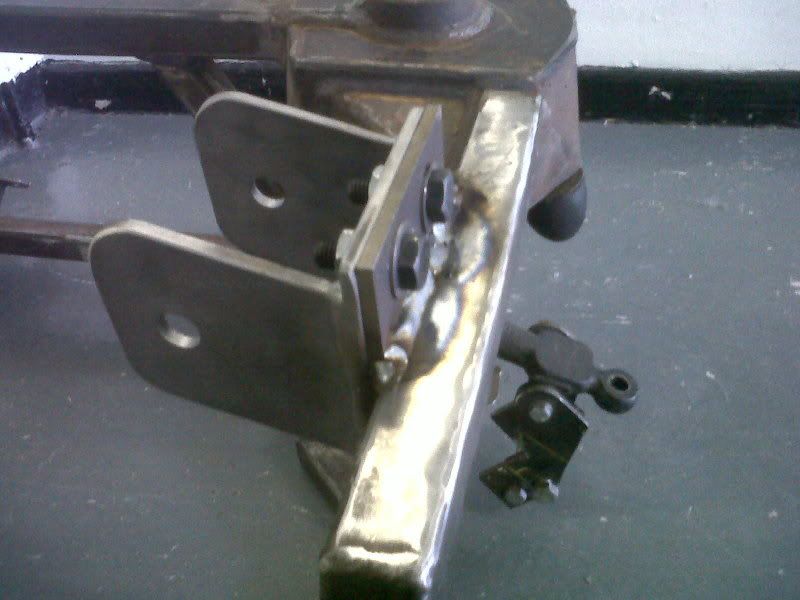
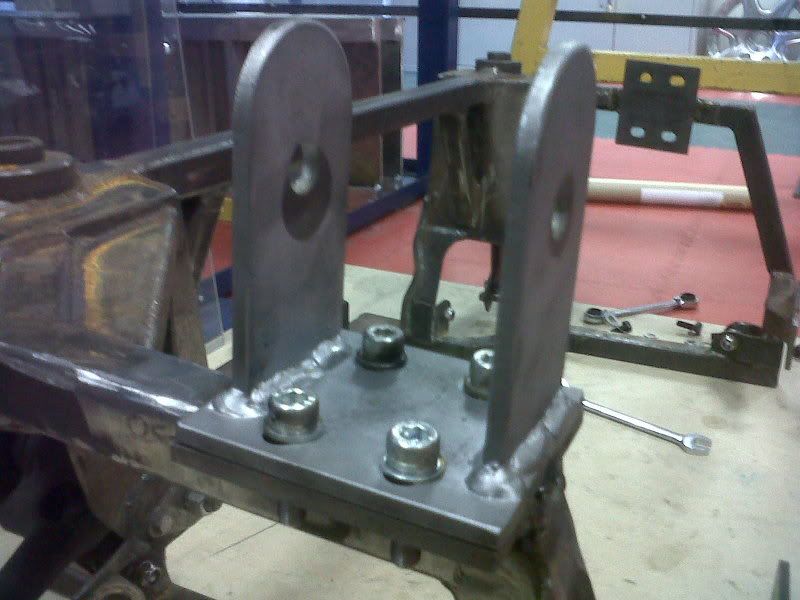
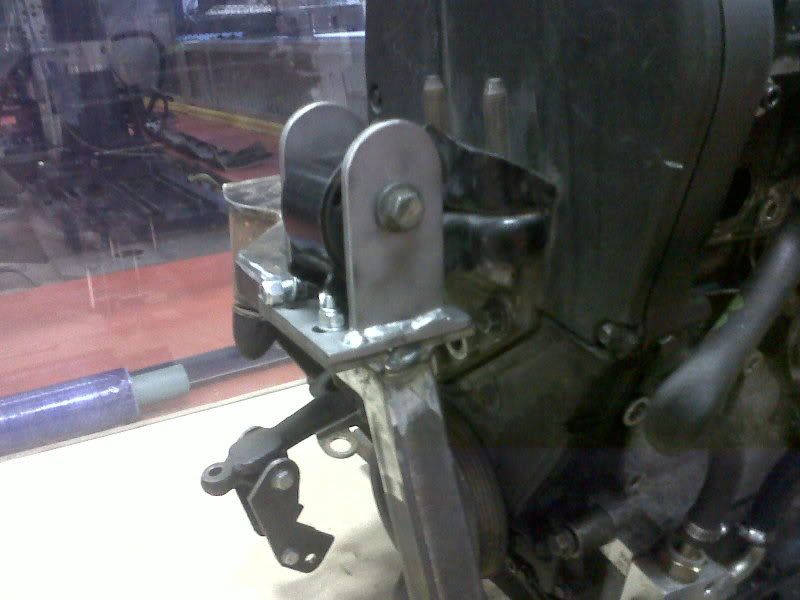
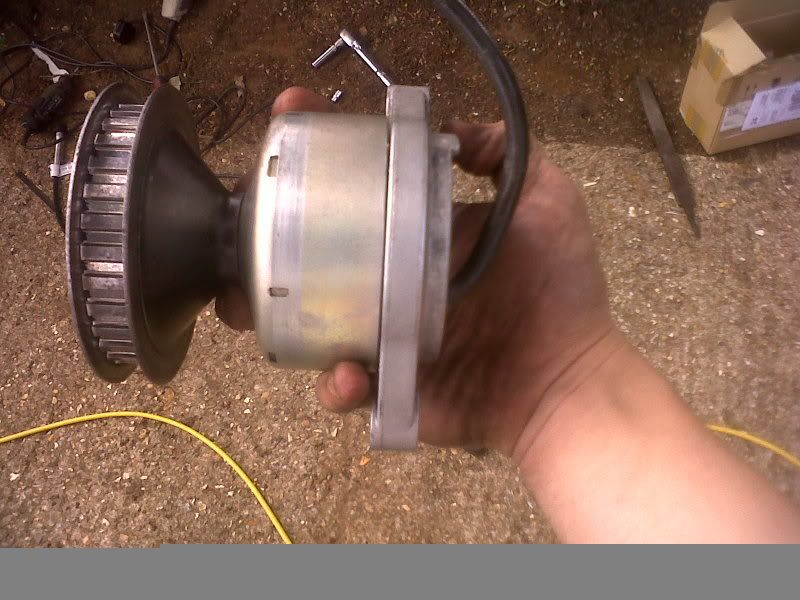
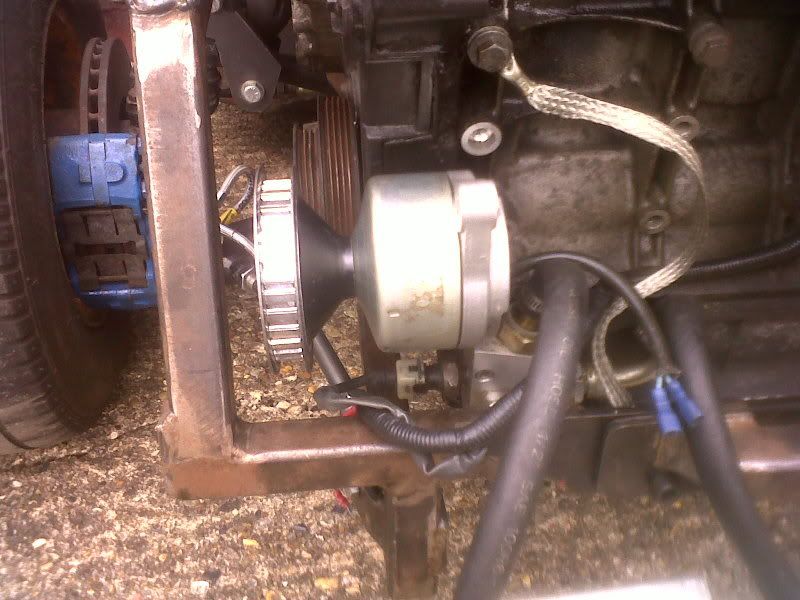
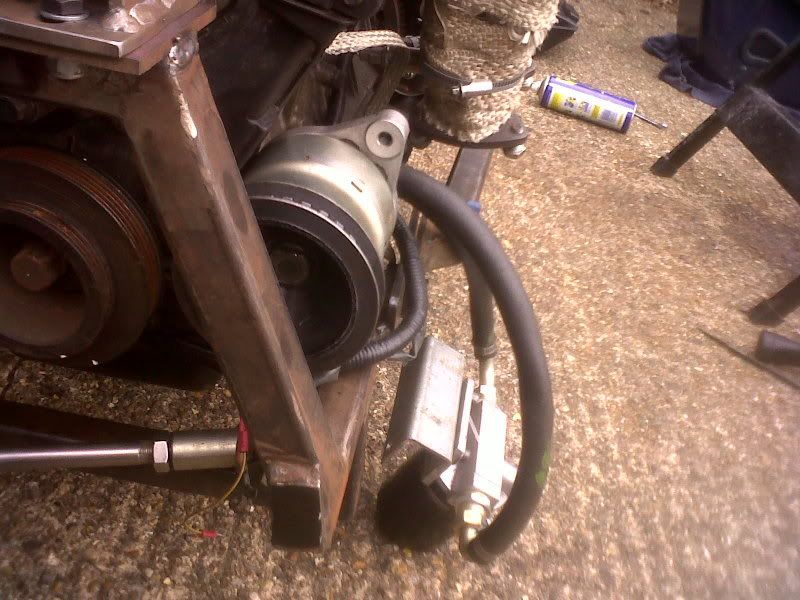
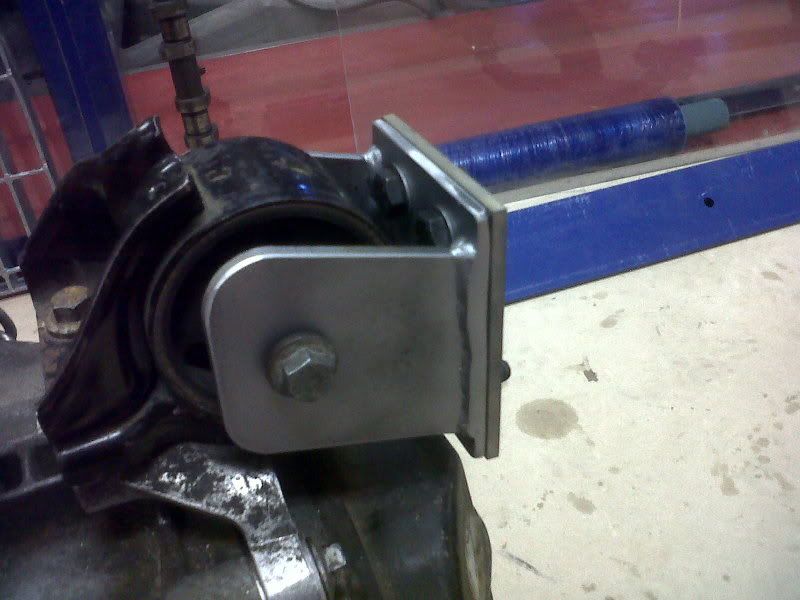
with the new subframe mounts being the exact size of the engine mount itself, it seems to of eliminated pretty much all the movement in the mounts.
anyway heres some pics:
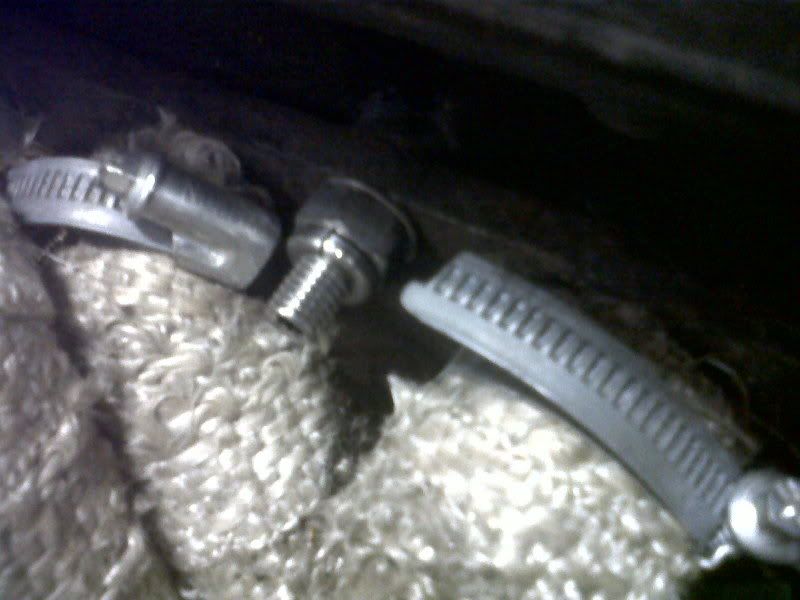
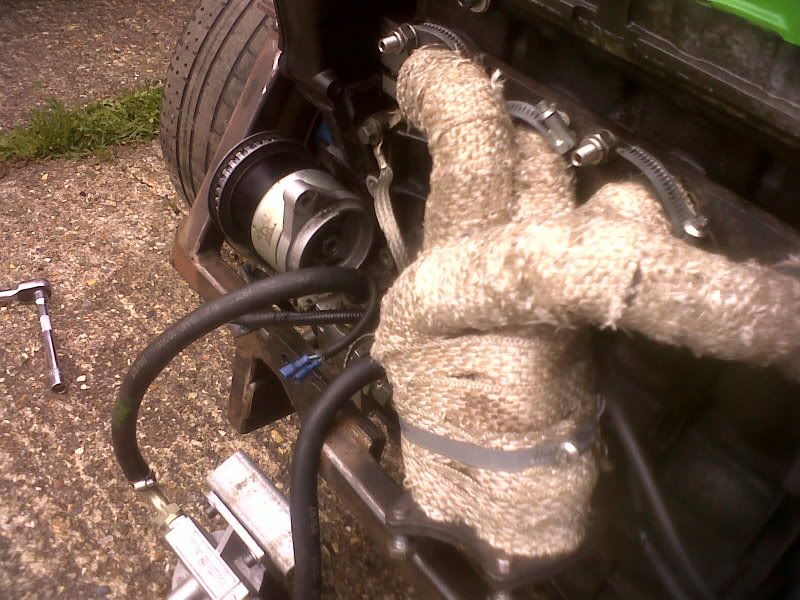
also fitted the new exhaust manifold studs and nuts. if i remember rightly i think they are aerospace style nuts (with slits at the top)
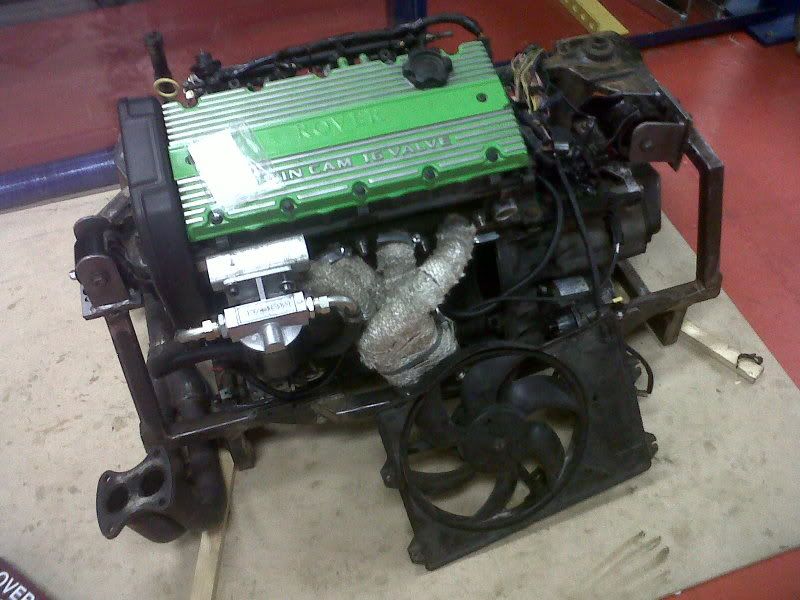
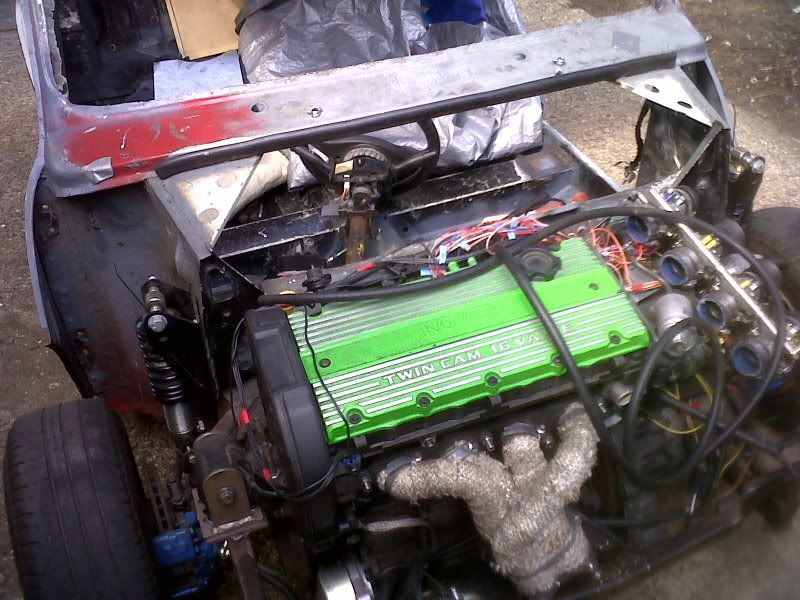
put the engine back in, manifold on and hooked up the engine loom to see which connectors are no longer required.
sorry about the pics, dont have a camera at uni and phone camera is rubbish
cheers
#167
Posted 26 April 2011 - 07:39 PM
chopped the seat mount C section rails back out as wasn't happy with them, chopped out the bottom dash rail as will be having one on the roll cage, so it was just excess weight, the head lining rail mount panels have been chopped out to save an extra 5 grammes and make it easier to integrate the cage into the shell and add some strength into the shell as the roofs been chopped out. also made up some spreader plates for roll cage mount bolts to go on the outside. made up some swaged plates for integrating cage to A pillars, roof etc.
also got hold of another vvc exhaust cam so now have a pair to try and get a little more power.
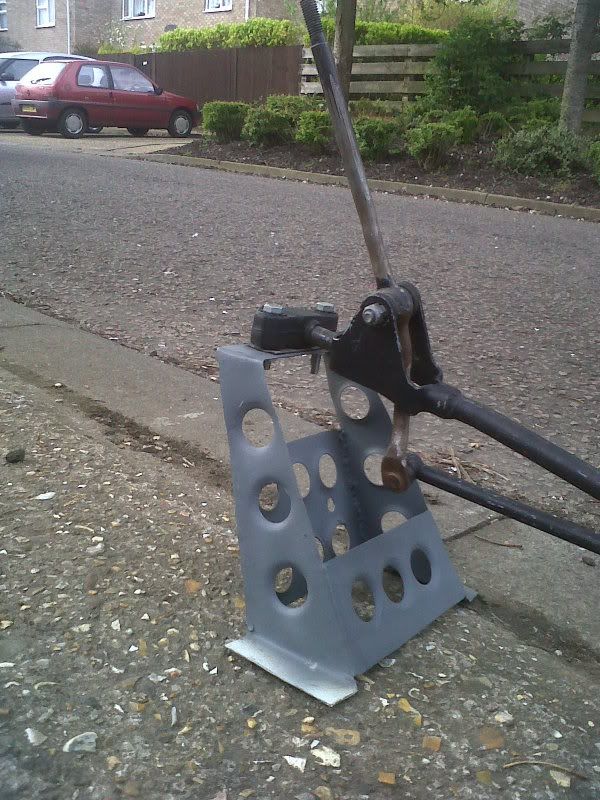
made up a mount for the gear lever and linkage to lift it 7" to where i wanted it in the cockpit, its still got a little bit of flex, but hopefully that will go once its all welded into the shell
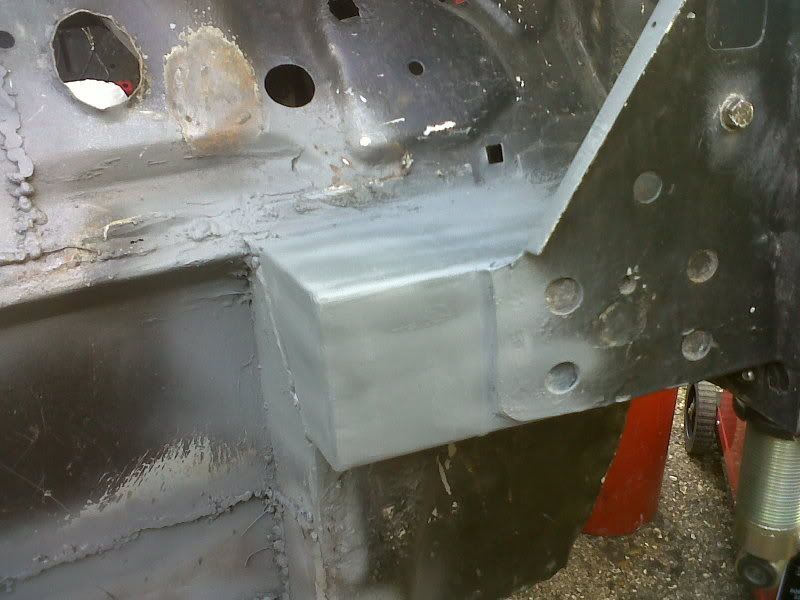
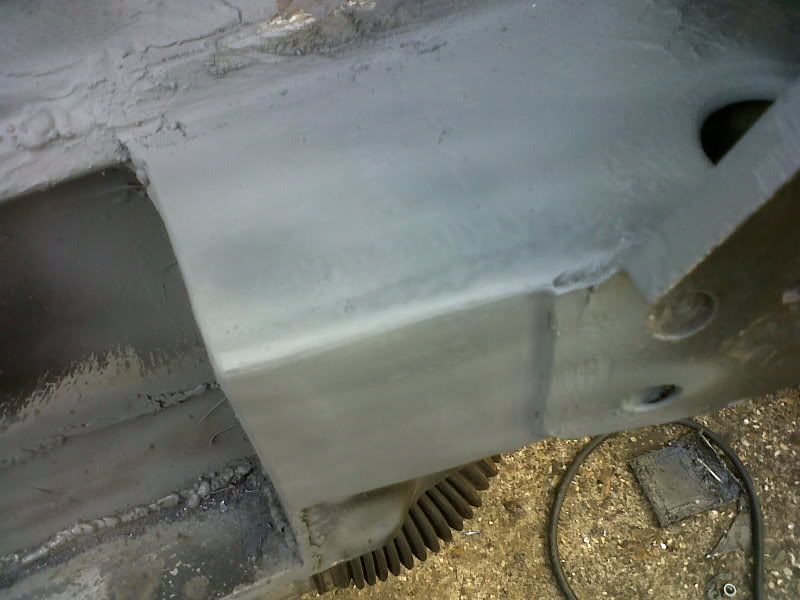
cut out the angled side of the turbo box and built up the bulkhead box section again from part that my brother cut out for his turbo box.
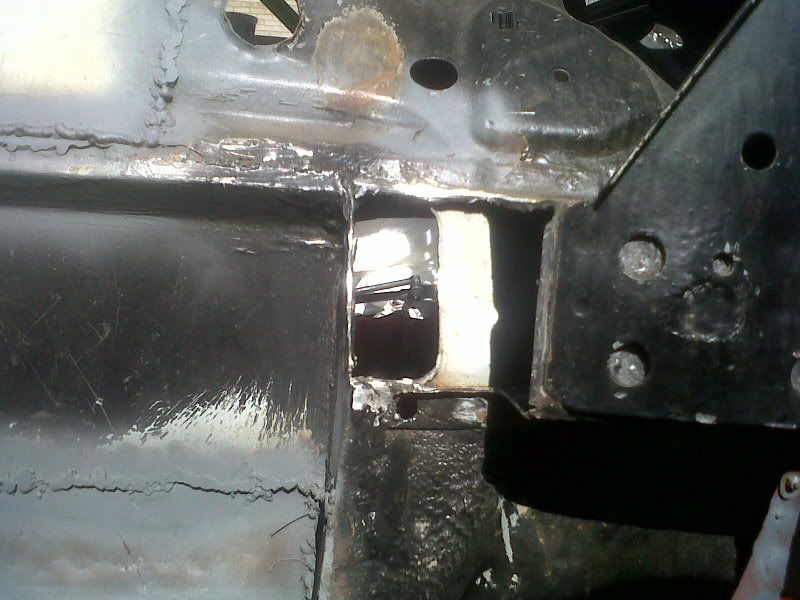
fairly happy with how it turned out
then cut some nice holes in the bulkhead and welded some roll cage tube in them
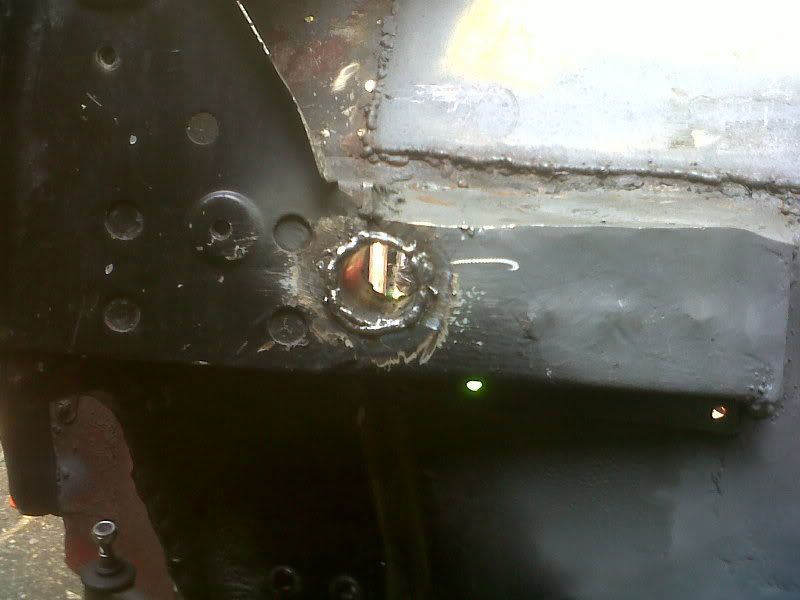
put a 3mm plate over it on the inside which the main cage will be linked to, to strengthen the bulkhead, suspension and top subby mount points.
tube notcher arrived today to start making bars to add to the cage but may not get a chance to use until next visit home as may be heading back to uni tomorrow. hopefully my welder will be up to the job for the cage.....my main concern should probably be my abilities hahaha
there may be a couple of little bits i've forgotten but in that case they can't be too important.
cheers
#168
Posted 28 April 2011 - 07:43 AM
#169
Posted 14 May 2011 - 01:16 PM
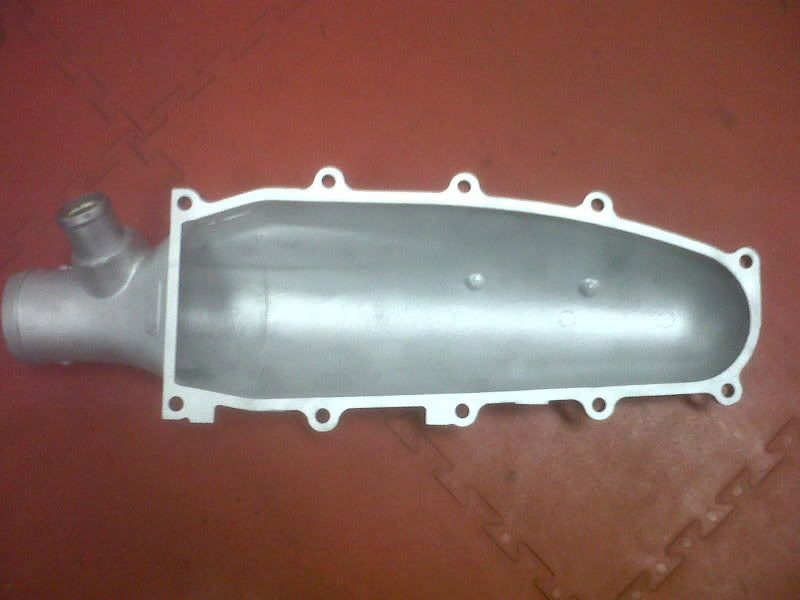
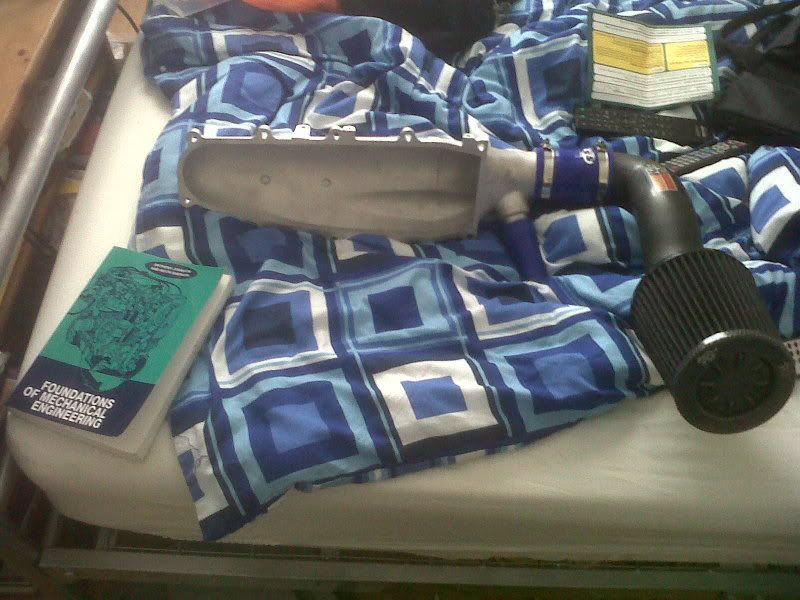
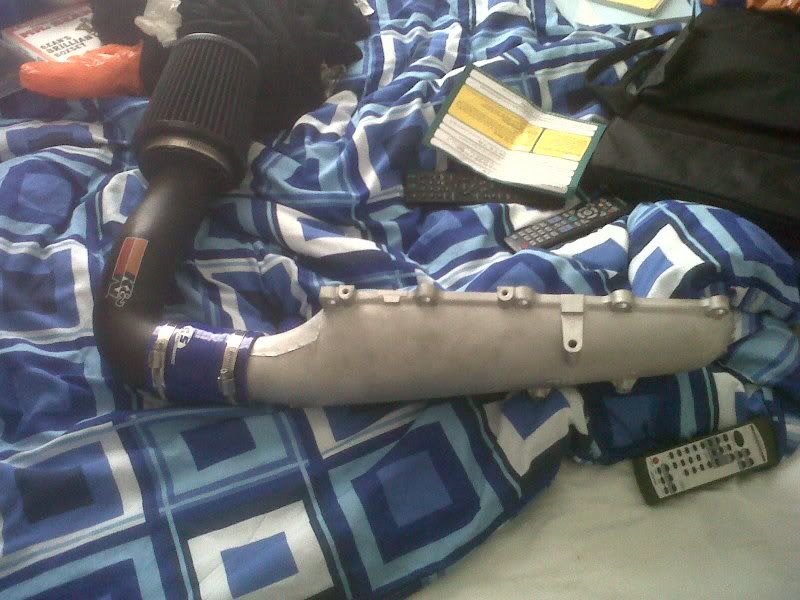
sand blasted my nissan pulsar plenum at uni, got some silicon hose for free from the technician and built it up.
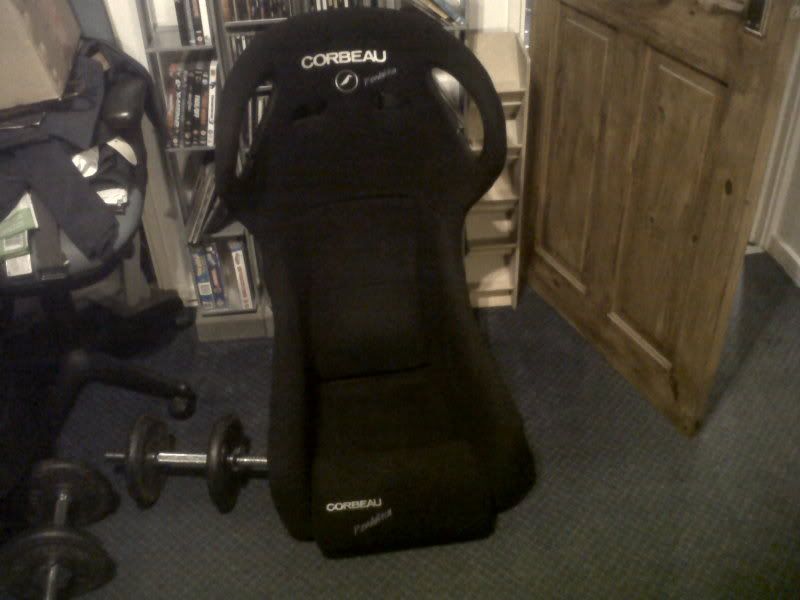
also picked this up from Mark Smith, the miglia driver, at the beginning of the week
megasquirt is connected to the engine now and got it to fire up yesterday, but its rougher than a badgers arse. will only start with opening up the throttle, sounds like the ignition timing is way off and by the state of the plugs is very rich. although the the black plugs may be due to ignition timing if its not burning right.
alot of work ahead to get it running but may take a while as never worked on a fuel injection engine before, let alone mapping one so any help would be greatly appreciated haha
#170
Posted 06 July 2011 - 10:58 PM
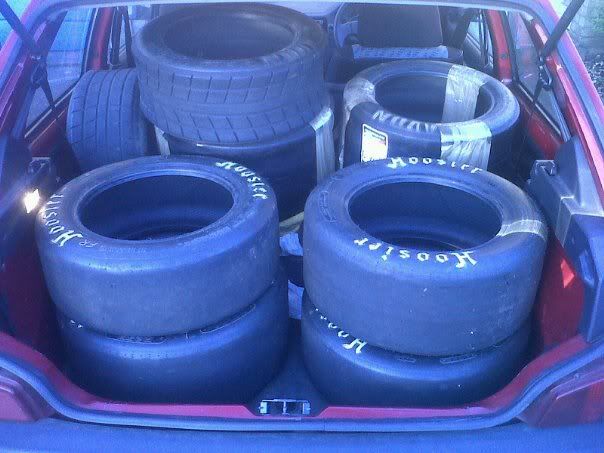
got some free new avon slicks, a set of hoosier slicks and 2 avon wets from uni. now i just need some 13" wheels to fit them on haha
back home for summer so done a few things.
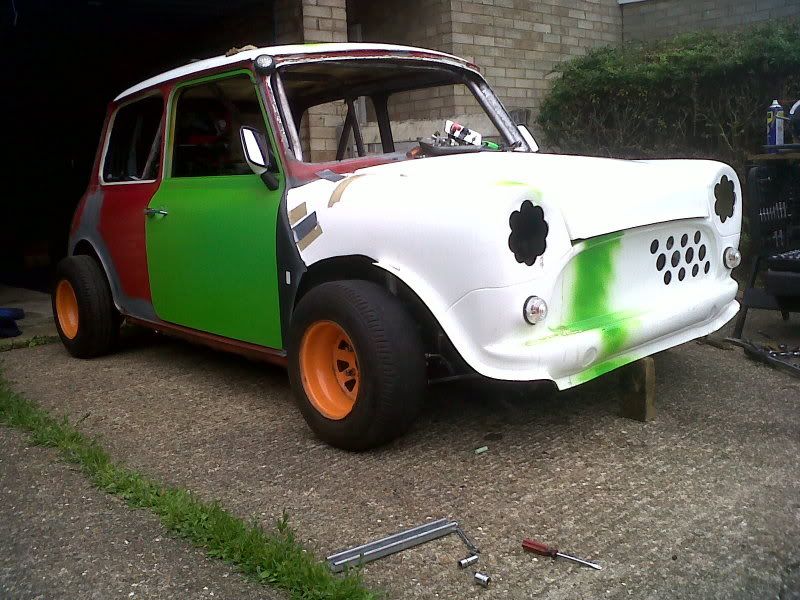
got the subby back on and sat the front on. think i've decided for definite that i dont like the look of an extended front so going to make the install as compact as possible and shorten the +90
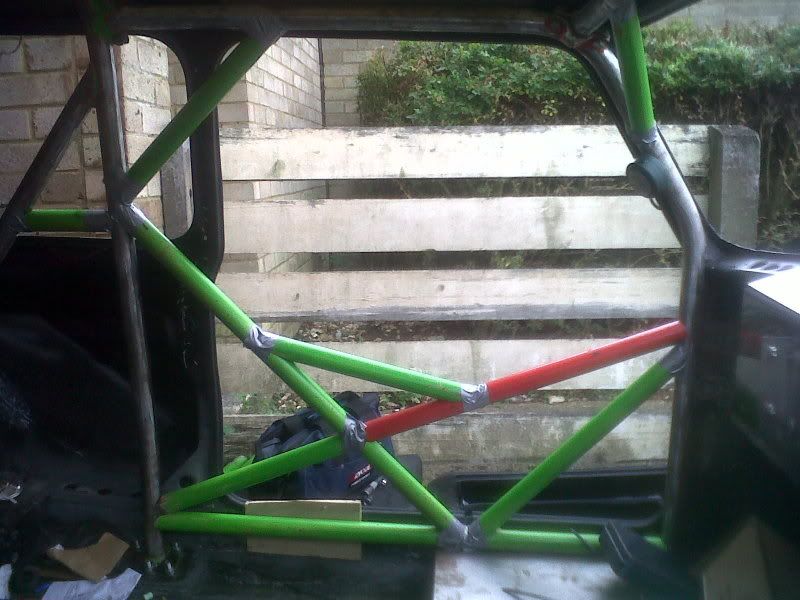
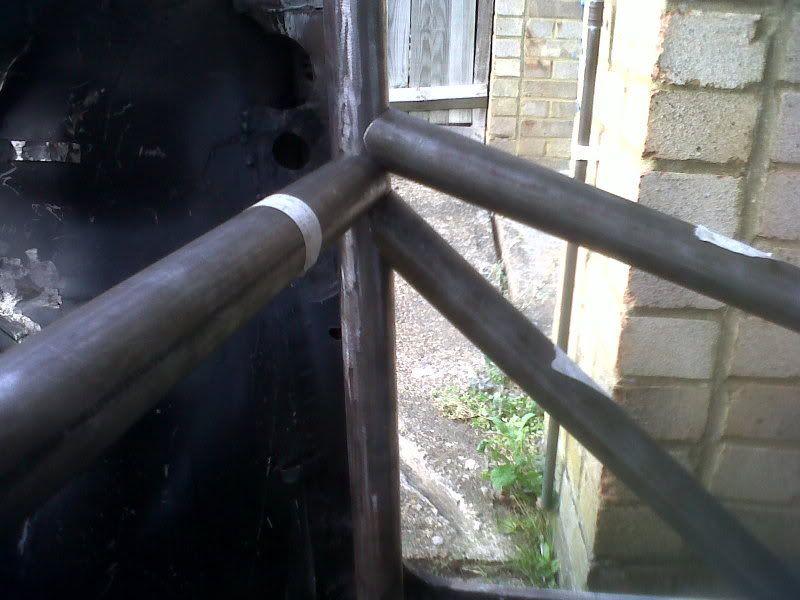
been working on the door bar design and think i've sorted it. been looking through a lot of miglia pics to get ideas. may not weld it and just leave the gaffa tape, sure it more than strong enough...
the fun part will be trying to remember the angles of notches and mirroring it on the other side
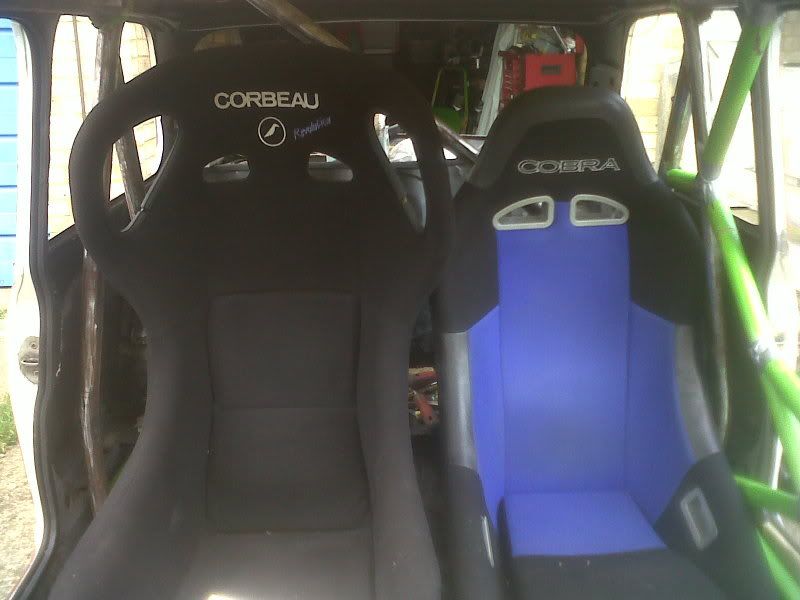
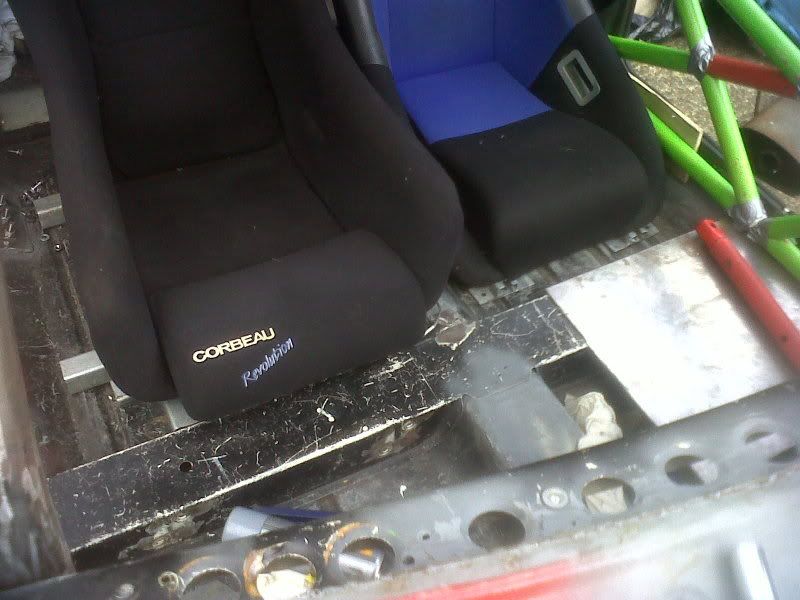
sat the bucket seats in and not sure if i'll be having a passenger seat now, its rather tight
that's with the passenger seat on the floor for clearance round the revolutions head piece
may just use a childs folding chair haha
got hold of a kubota mini excavator alternator and regulator off a mini miglia
need to sort out a new pulley to align with the engine but otherwise fits in well
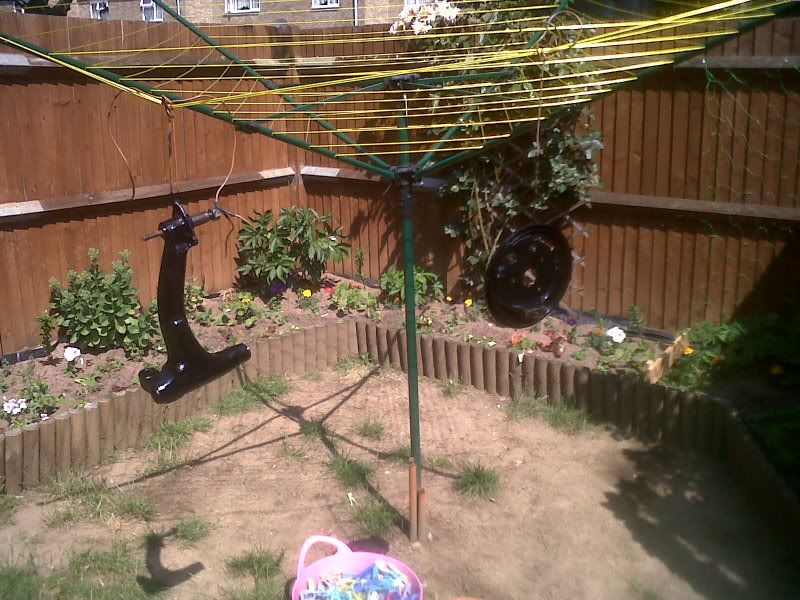
also found out how to use the washing line...
waiting on a few bits of water jetting to arrive as well....
#171
Posted 20 July 2011 - 06:39 PM
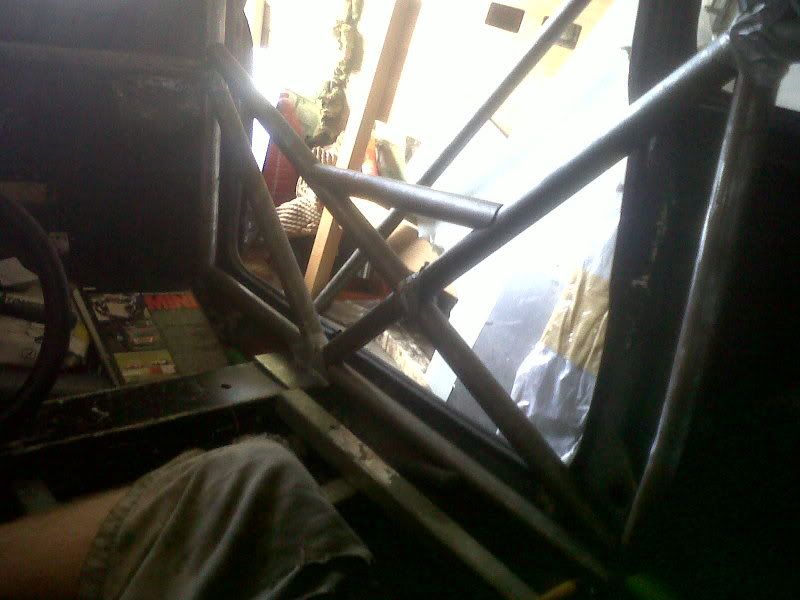
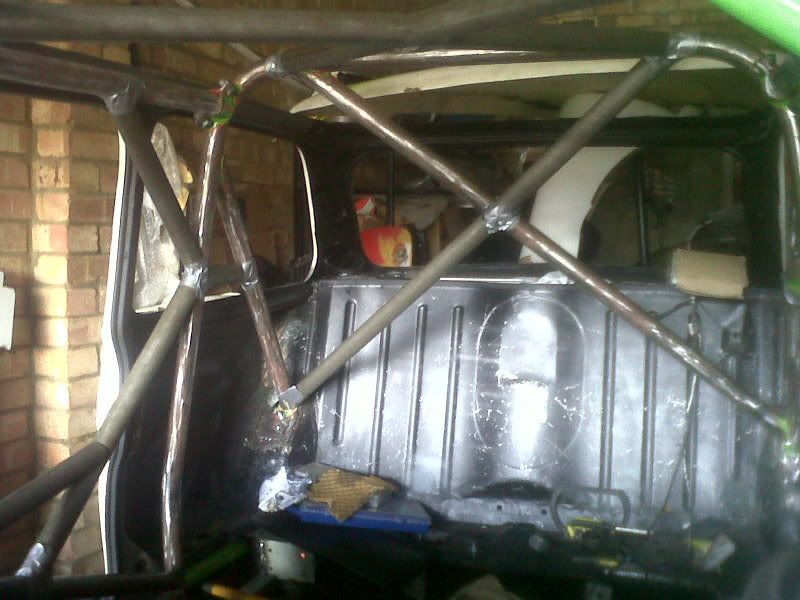
drivers door bars and dash bar in
rear cross
roof bars
#172
Posted 21 July 2011 - 12:26 PM
keep going (Y)
Ben
#173
Posted 22 July 2011 - 12:28 AM
the cds came from Hub Le bas, was around £7.50/m for 1 1/2" and £6ish for 1 1/14", was the cheapest prices i found.
http://www.hublebas.co.uk/
i'm using this tube notcher:
http://www.frost.co....ng-notcher.html
for £66 i cant complain, only problem is drill batteries keep dying after a few cuts so constantly having to swap and use one whilst charging the second.
#174
Posted 22 July 2011 - 10:17 AM
looking forward to updates (Y)
Ben
#175
Posted 30 July 2011 - 08:14 AM
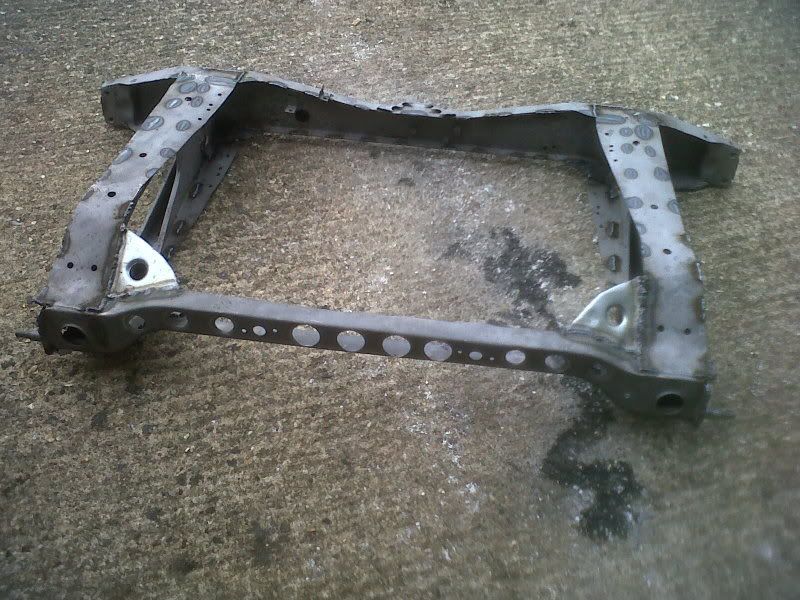
got a subframe off my brother to replace the beam axle. my dad took it to his works workshop, along with brackets and my £2.20 ebay grill and got it shot blasted...for free
been strengthening it up and now trying to work out where i can save weight?
gerald dale motorsport say they can save 1.5+ kg from a standard subby but i cant see how?
#176
Posted 31 July 2011 - 11:53 PM
been filling holes in the shell today, found a bit more rust but not a problem.
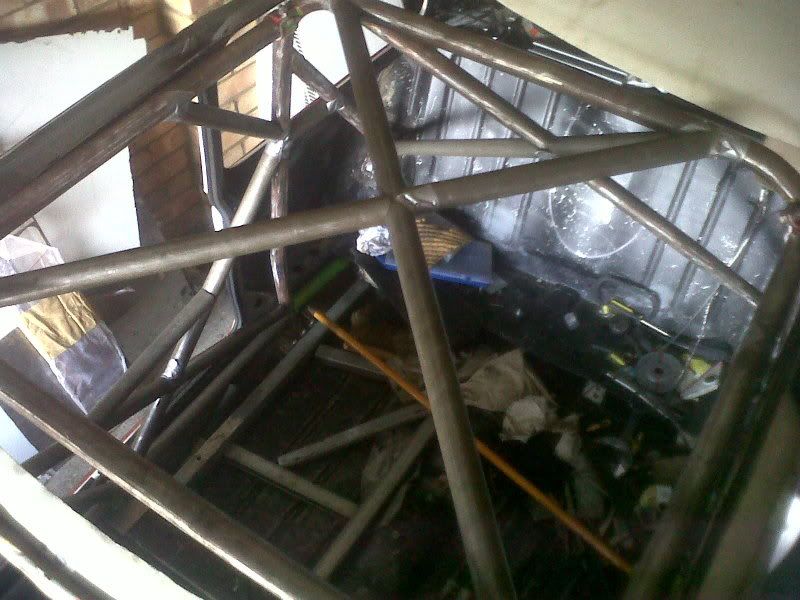
welded in some 3mm plate on the box where the lower door bar will be welded
got this in the boot but not sure how to sort it?
its over a few layers so do i need to cut it out and weld in 4 layers of 1.5mm like it is originally or can i just weld in 1/2 layers of thicker metal?
cheers
#177
Posted 03 August 2011 - 08:06 AM
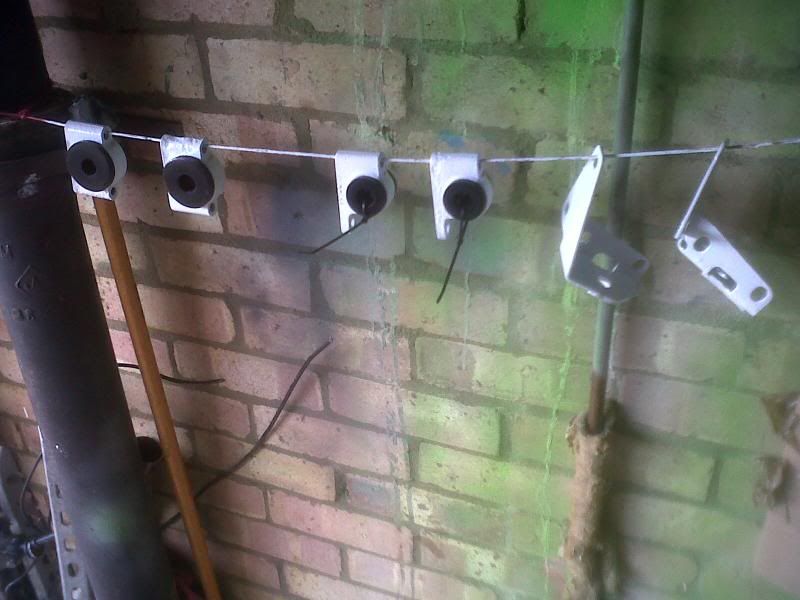
subframe trunnions and brackets are all painted now with poly bushes pushed in
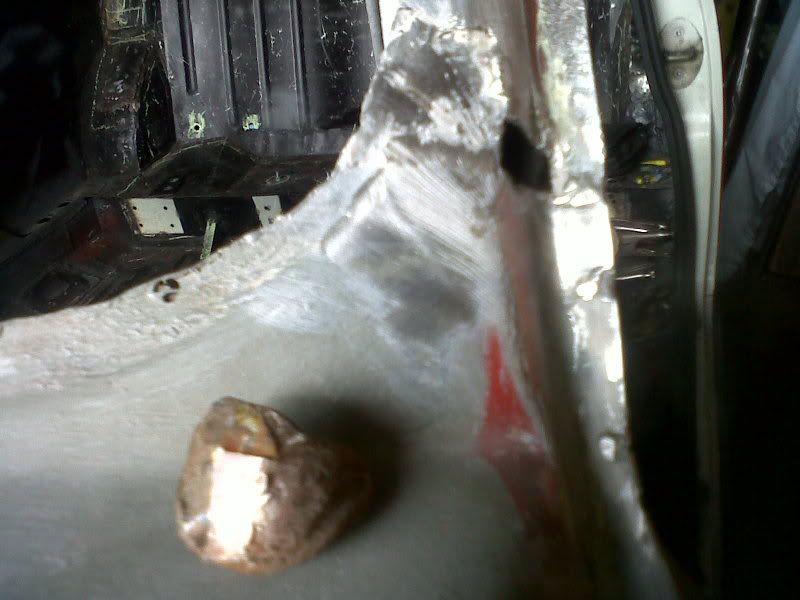
the replacement scuttle was a non genuine to wasn't a great fit. originally the difference was filled with fg and giller but wasn't happy so ripped it out, knocked the difference out as much as possible so it just needs a skim welded in a patch to fill the hole
the size of fg i pulled out compared to the hole...
just need to grind it down
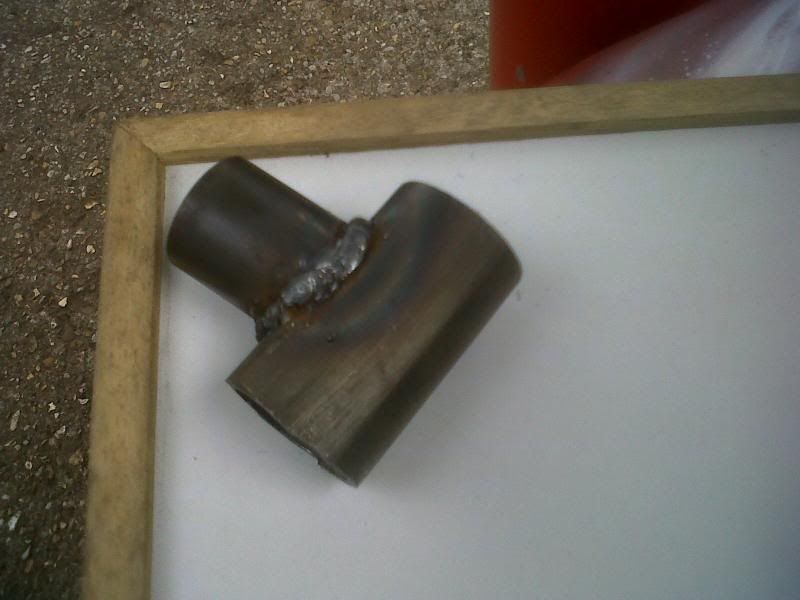
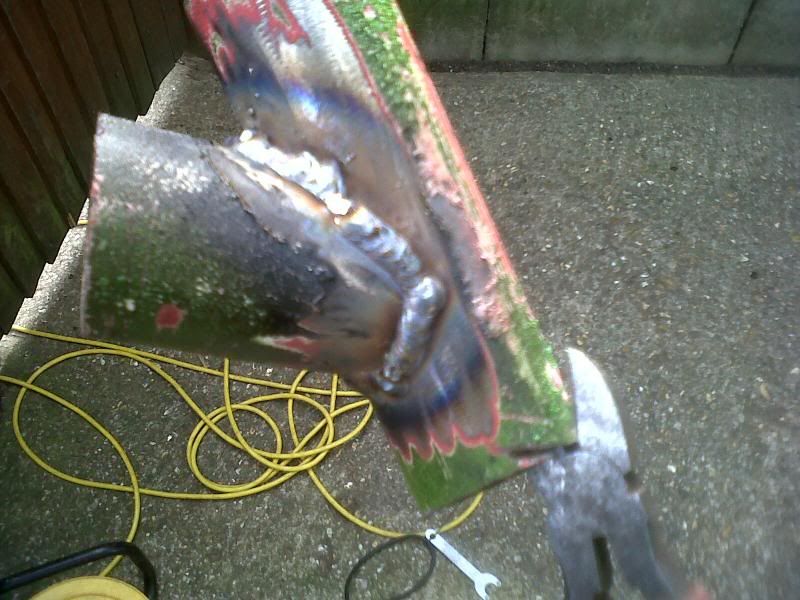
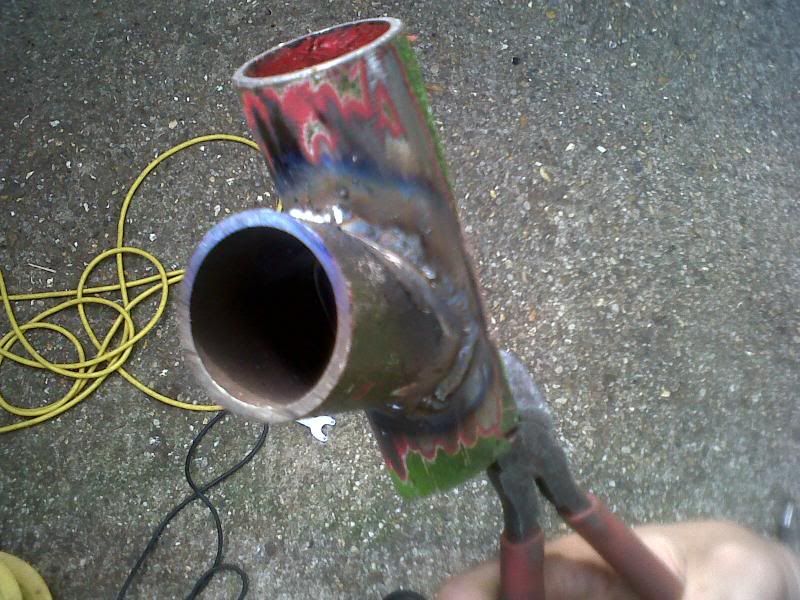
right now i'm after some opinions from people who know about welding.
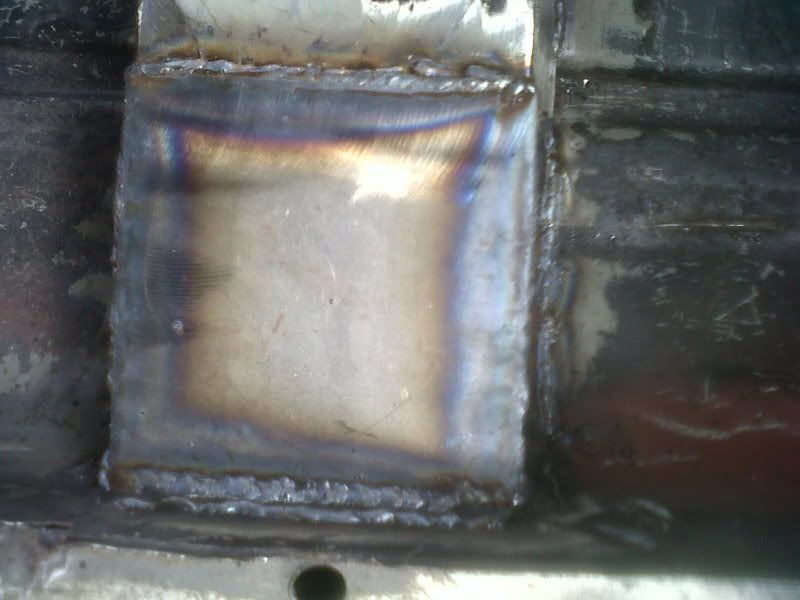
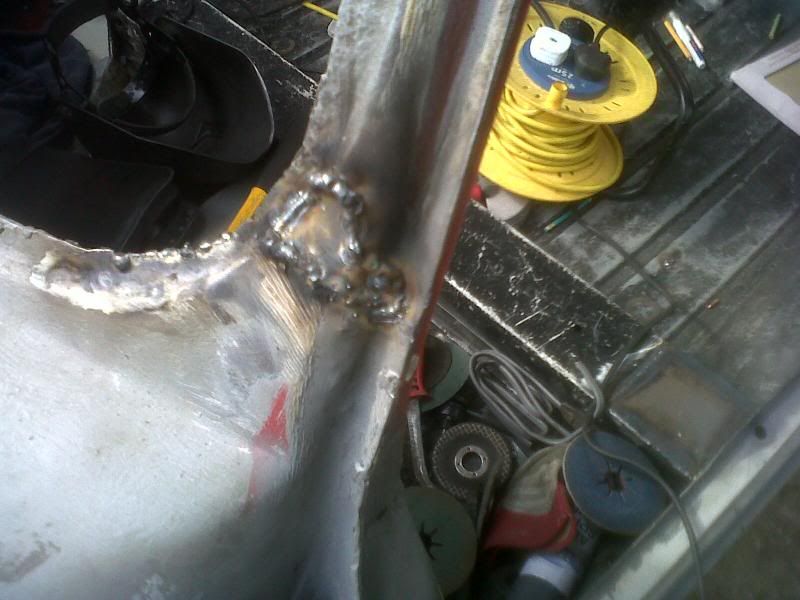
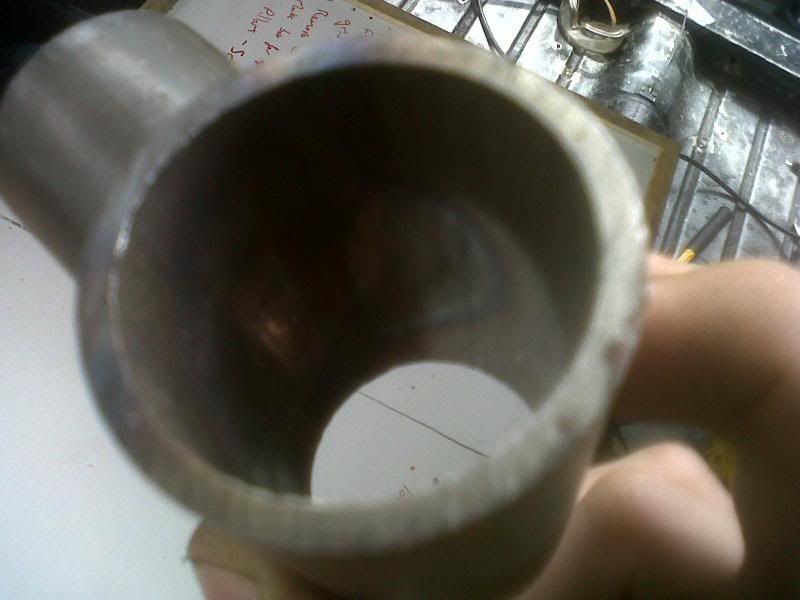
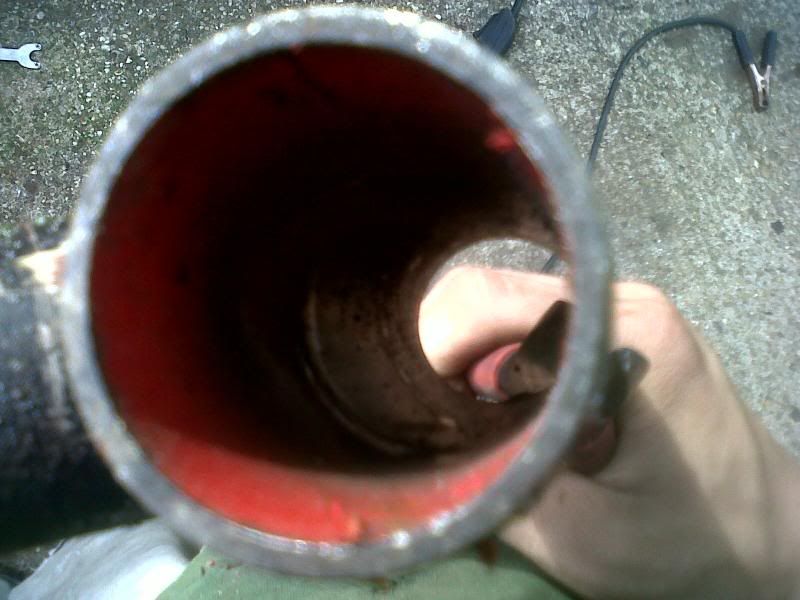
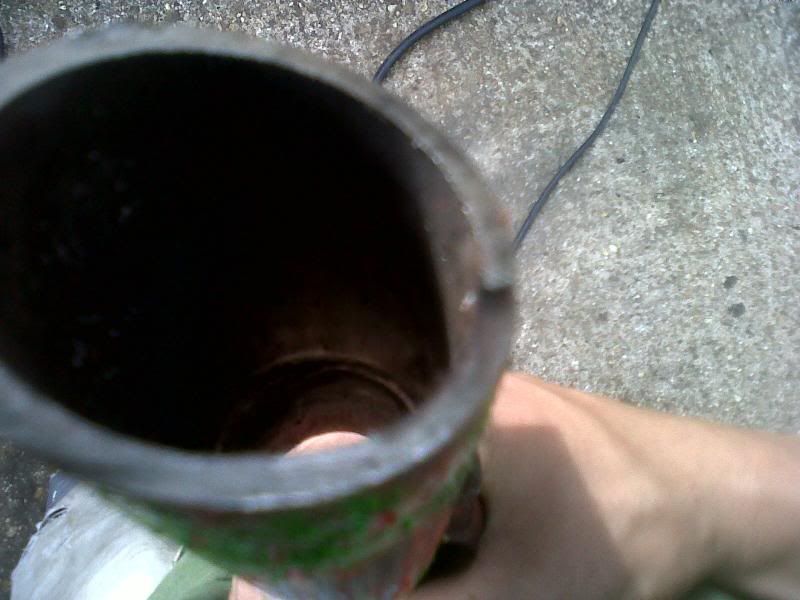
had a couple of goes welding offcuts off cds tube and want to know what you think about penetration etc if it would be good enough to do my cage?
this was with 0.6 wire
and this with 0.8 wire
its hard to see but there is a ring around where i've welded on the inside.
sorry about the rubbish pics
cheers

#178
Posted 03 August 2011 - 03:40 PM
Nice progress.
#179
Posted 03 August 2011 - 05:56 PM
had a small accident today with the angle grinder....
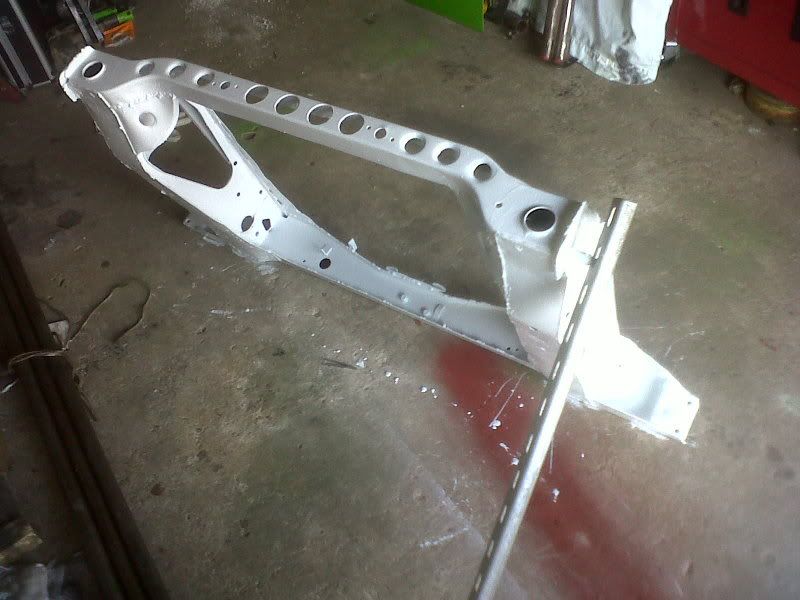
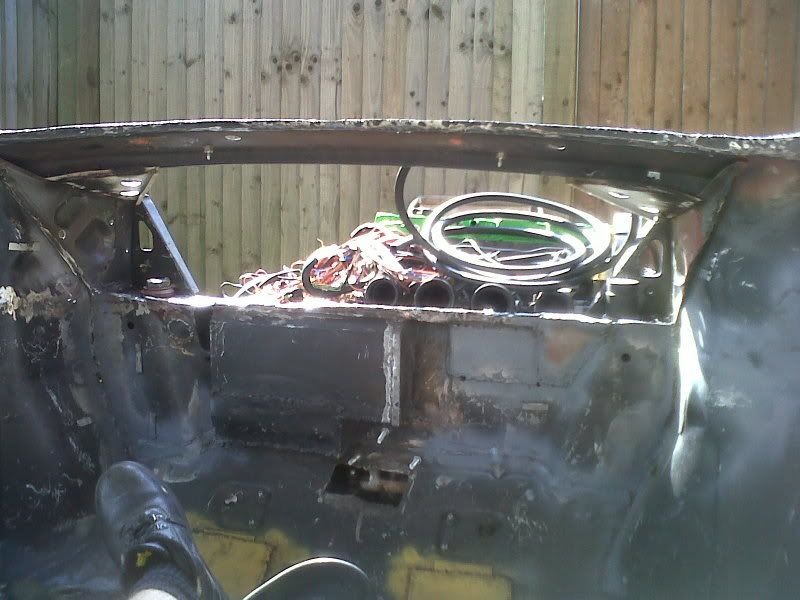
with all the patches and holes it looked a bit crap so decided to cut it all out and start again. going to make myself a miglia style bulkhead box.
this is how the door bars currently join to the front leg
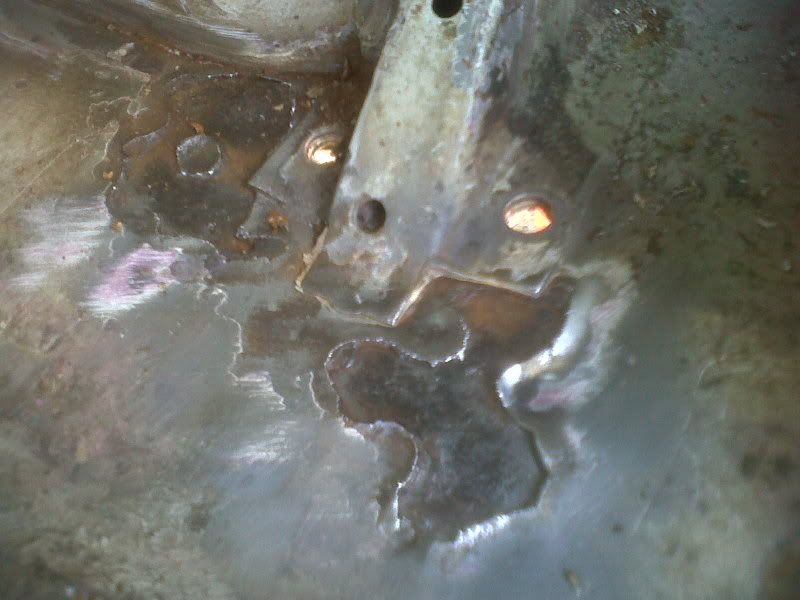
is this ok or do they need to all converge at the exact same point for the cage to distribute the forces properly?
#180
Posted 10 August 2011 - 08:05 PM
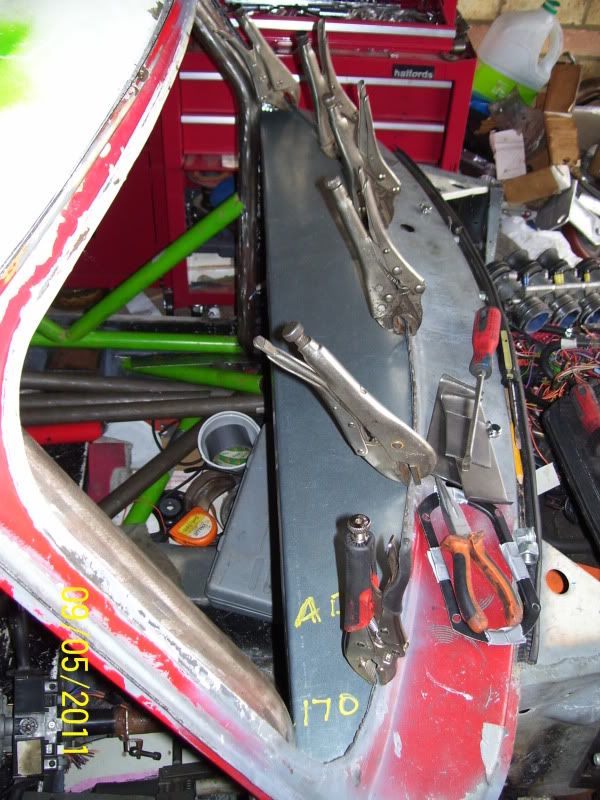
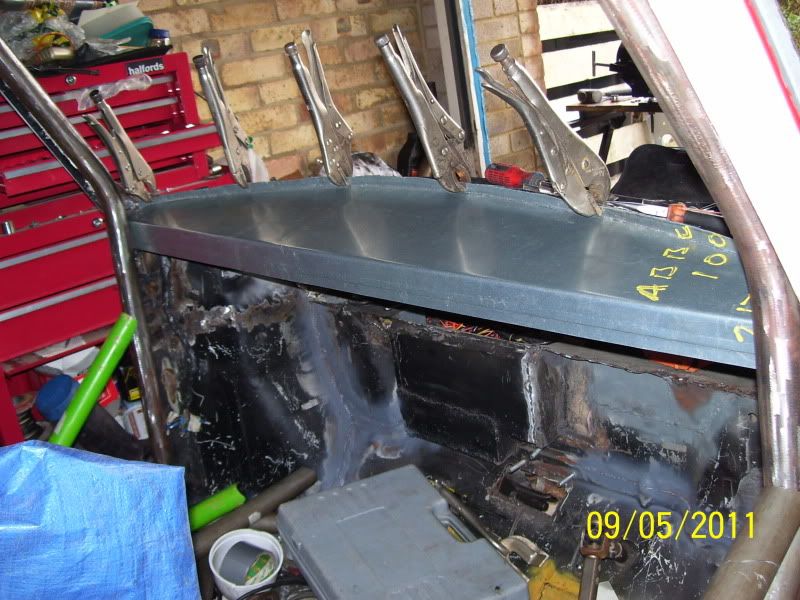
spent about 3 hours just doing the windscreen lip, its harder than it looks to make a lip on a curve. so much time spent shrinking the metal but quite happy with it as my first bit of metal work from flat sheet
joggled the bottom of the front edge so when i fit the back panel it will sit flush....hopefully.
need to get some more 16g sheet before i can do any more to the bulkhead
4 user(s) are reading this topic
0 members, 4 guests, 0 anonymous users